My husband jokes pretty often that if something lays around our house too long, it might get painted white. I can’t really argue with it though… I do have a tendency to use the color white when I’m updating a piece. I’m a big believer in repainting and repurposing before you go out and buy something new. I take pride in doing a customized project, rather than spending gobs of money on something that isn’t even exactly what I want. I’m blessed to have a dad who’s a wood-working expert, and lets me use his workshop space for my projects! He has taught me everything I know and I definitely get my love for projects from him.
I like to brain-storm with my dad about new ideas, and one idea I had recently was to repurpose this ugly, outdated bench that had no character, and give it some farmhouse charm.
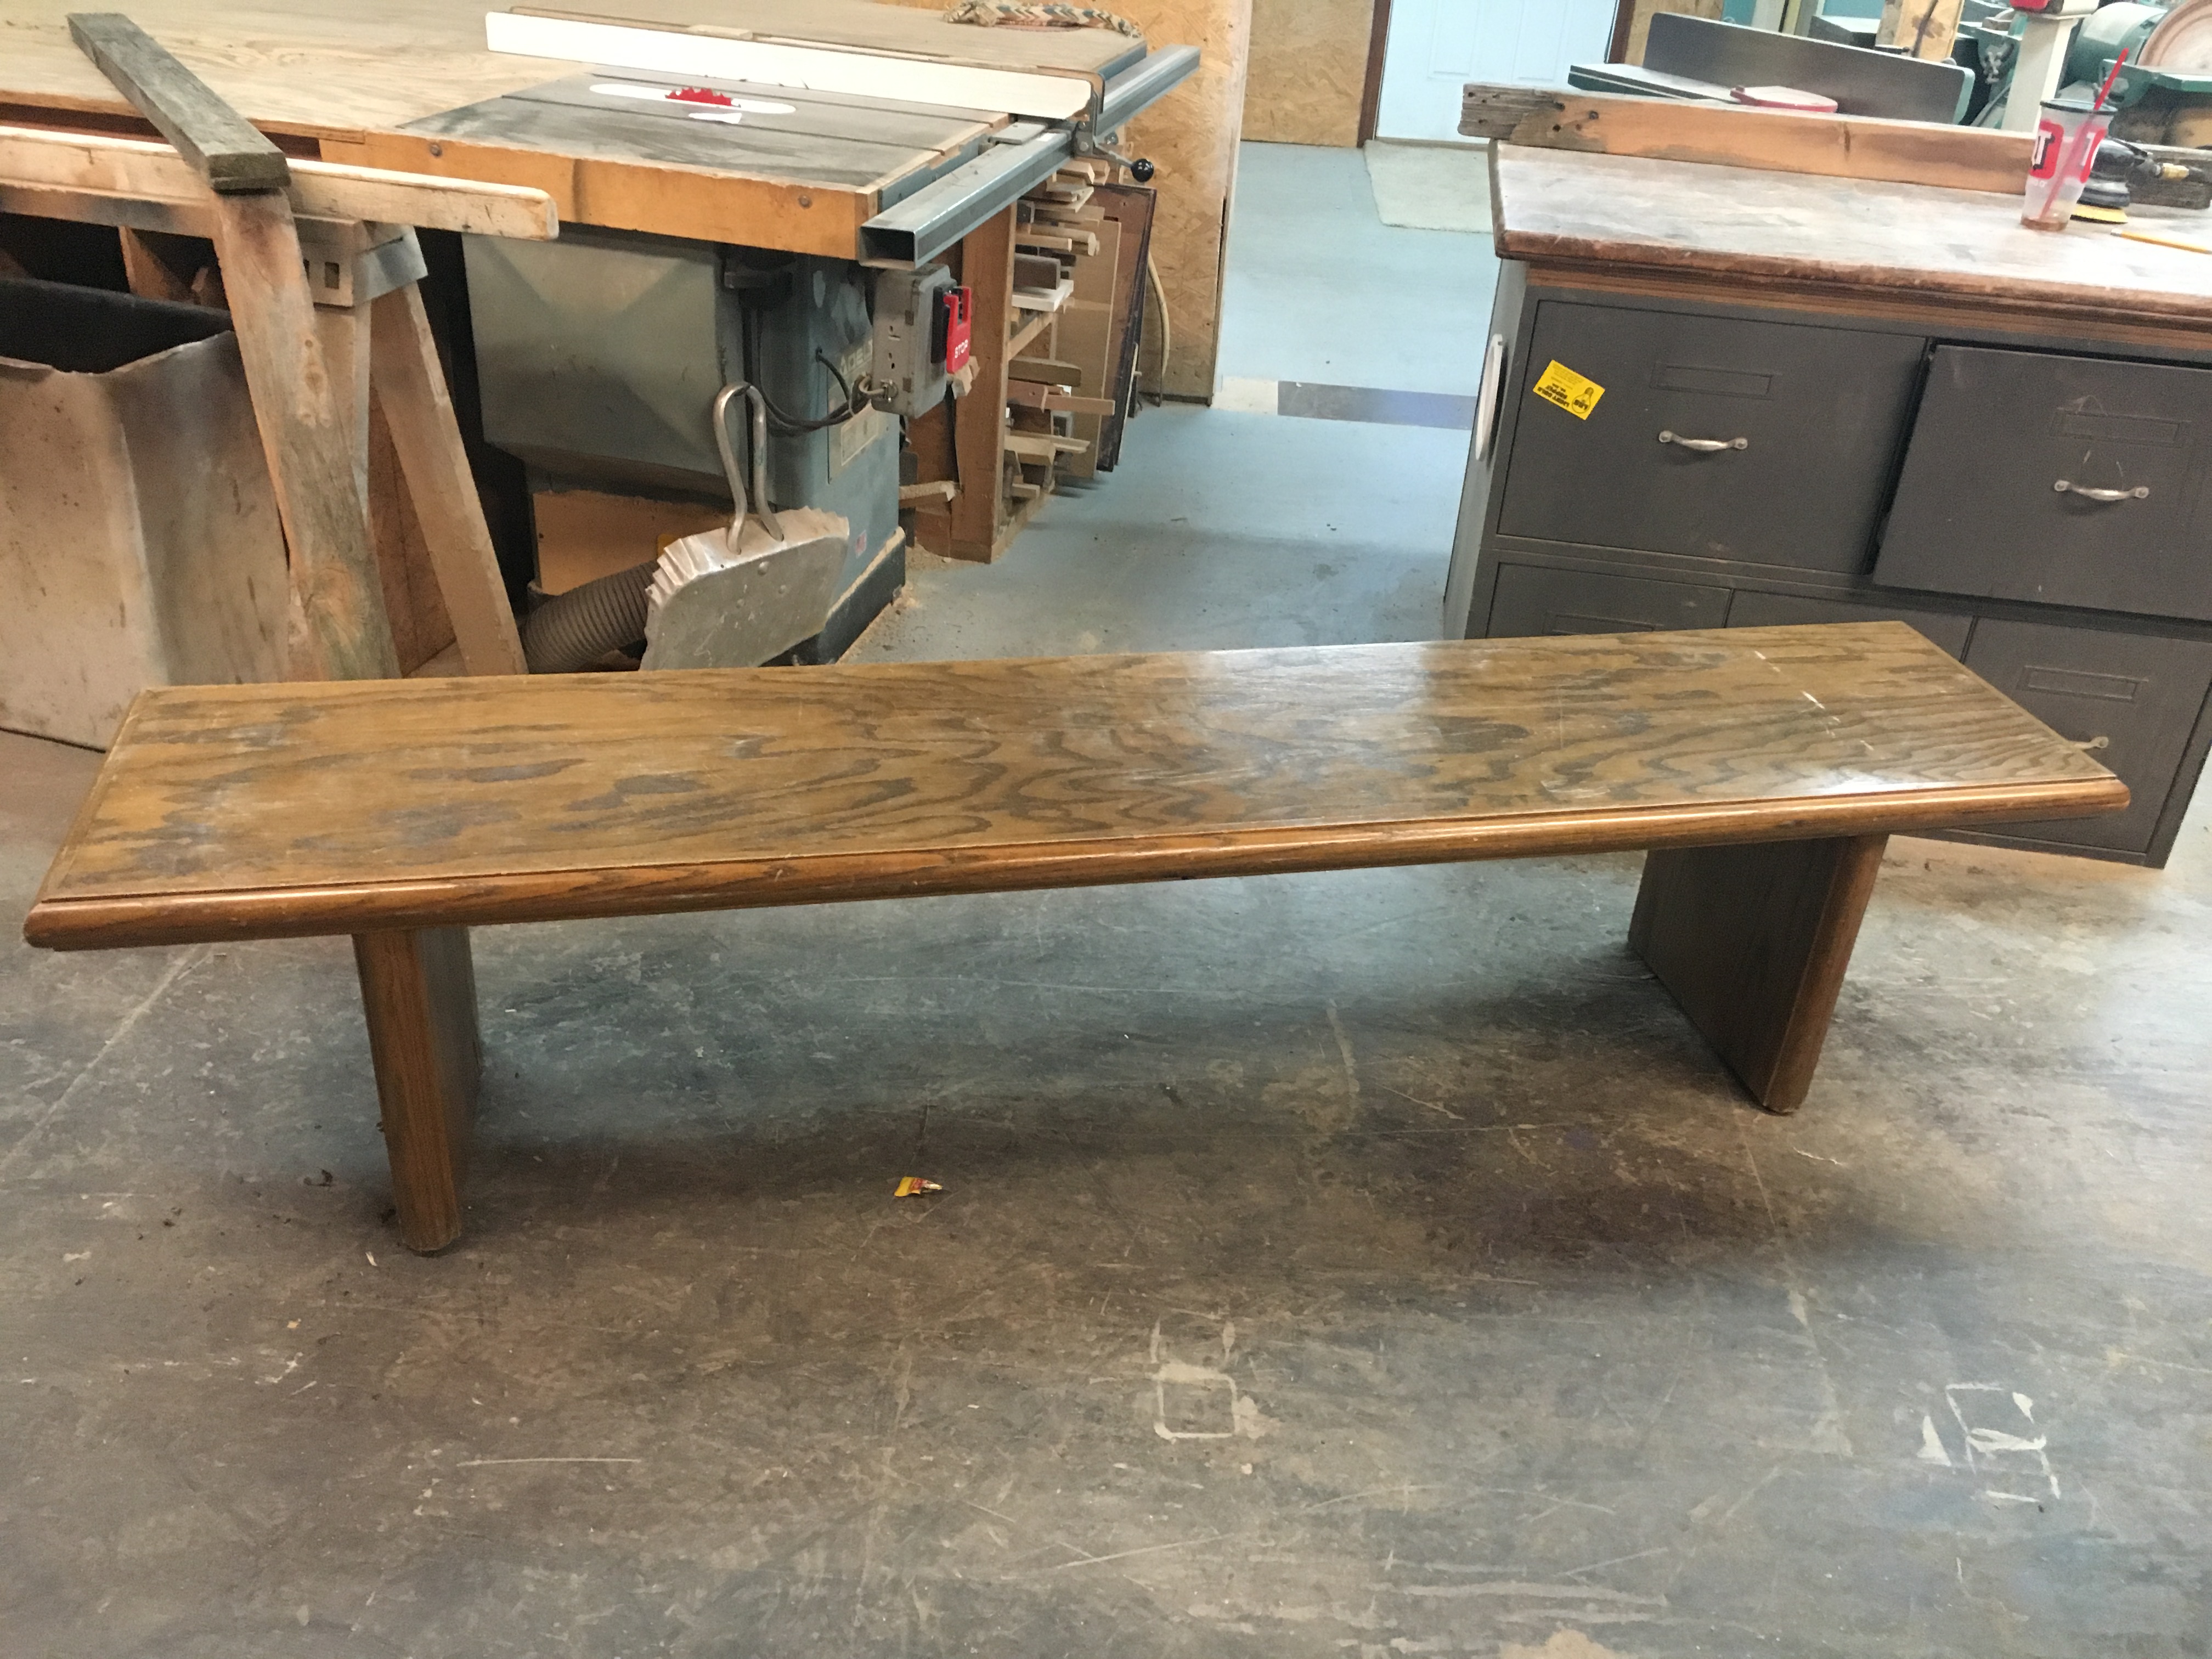
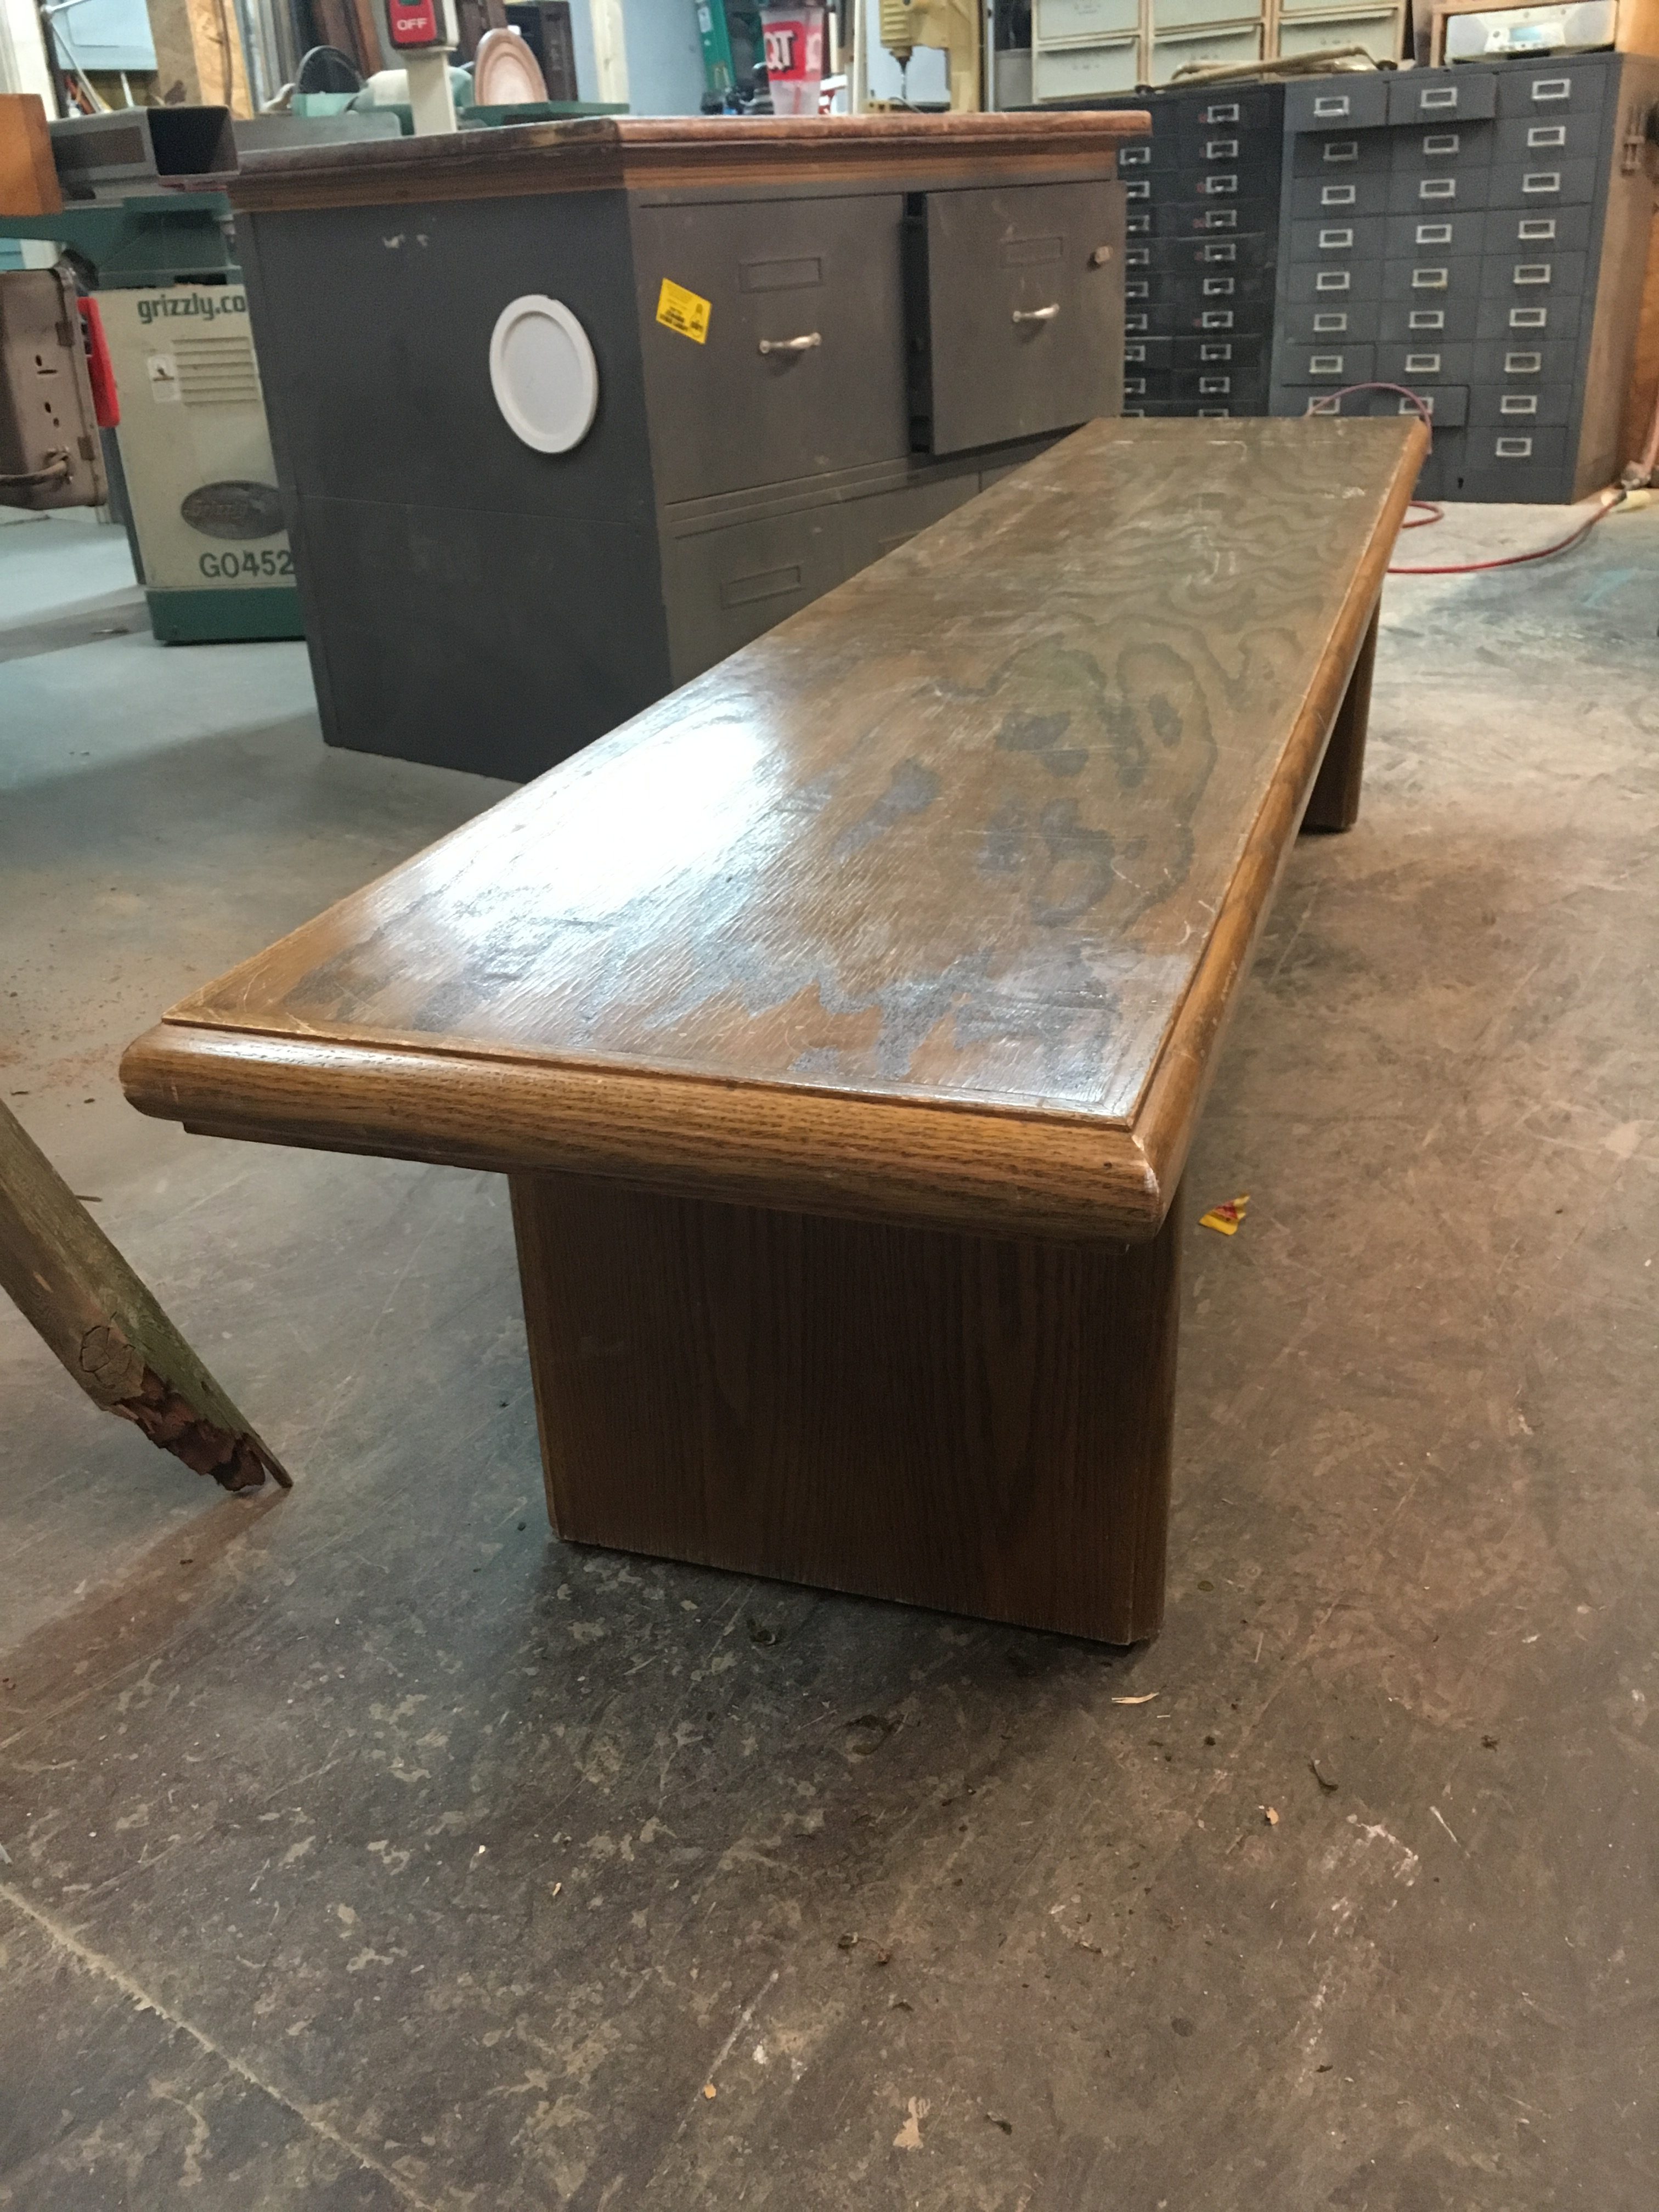
This was purchased for $25 from an art museum liquidation sale. Since this bench was built for commercial use, it is very solid and sturdy. It has good bones, but it obviously needed some help if it was ever going to be used again.
Base Modifications
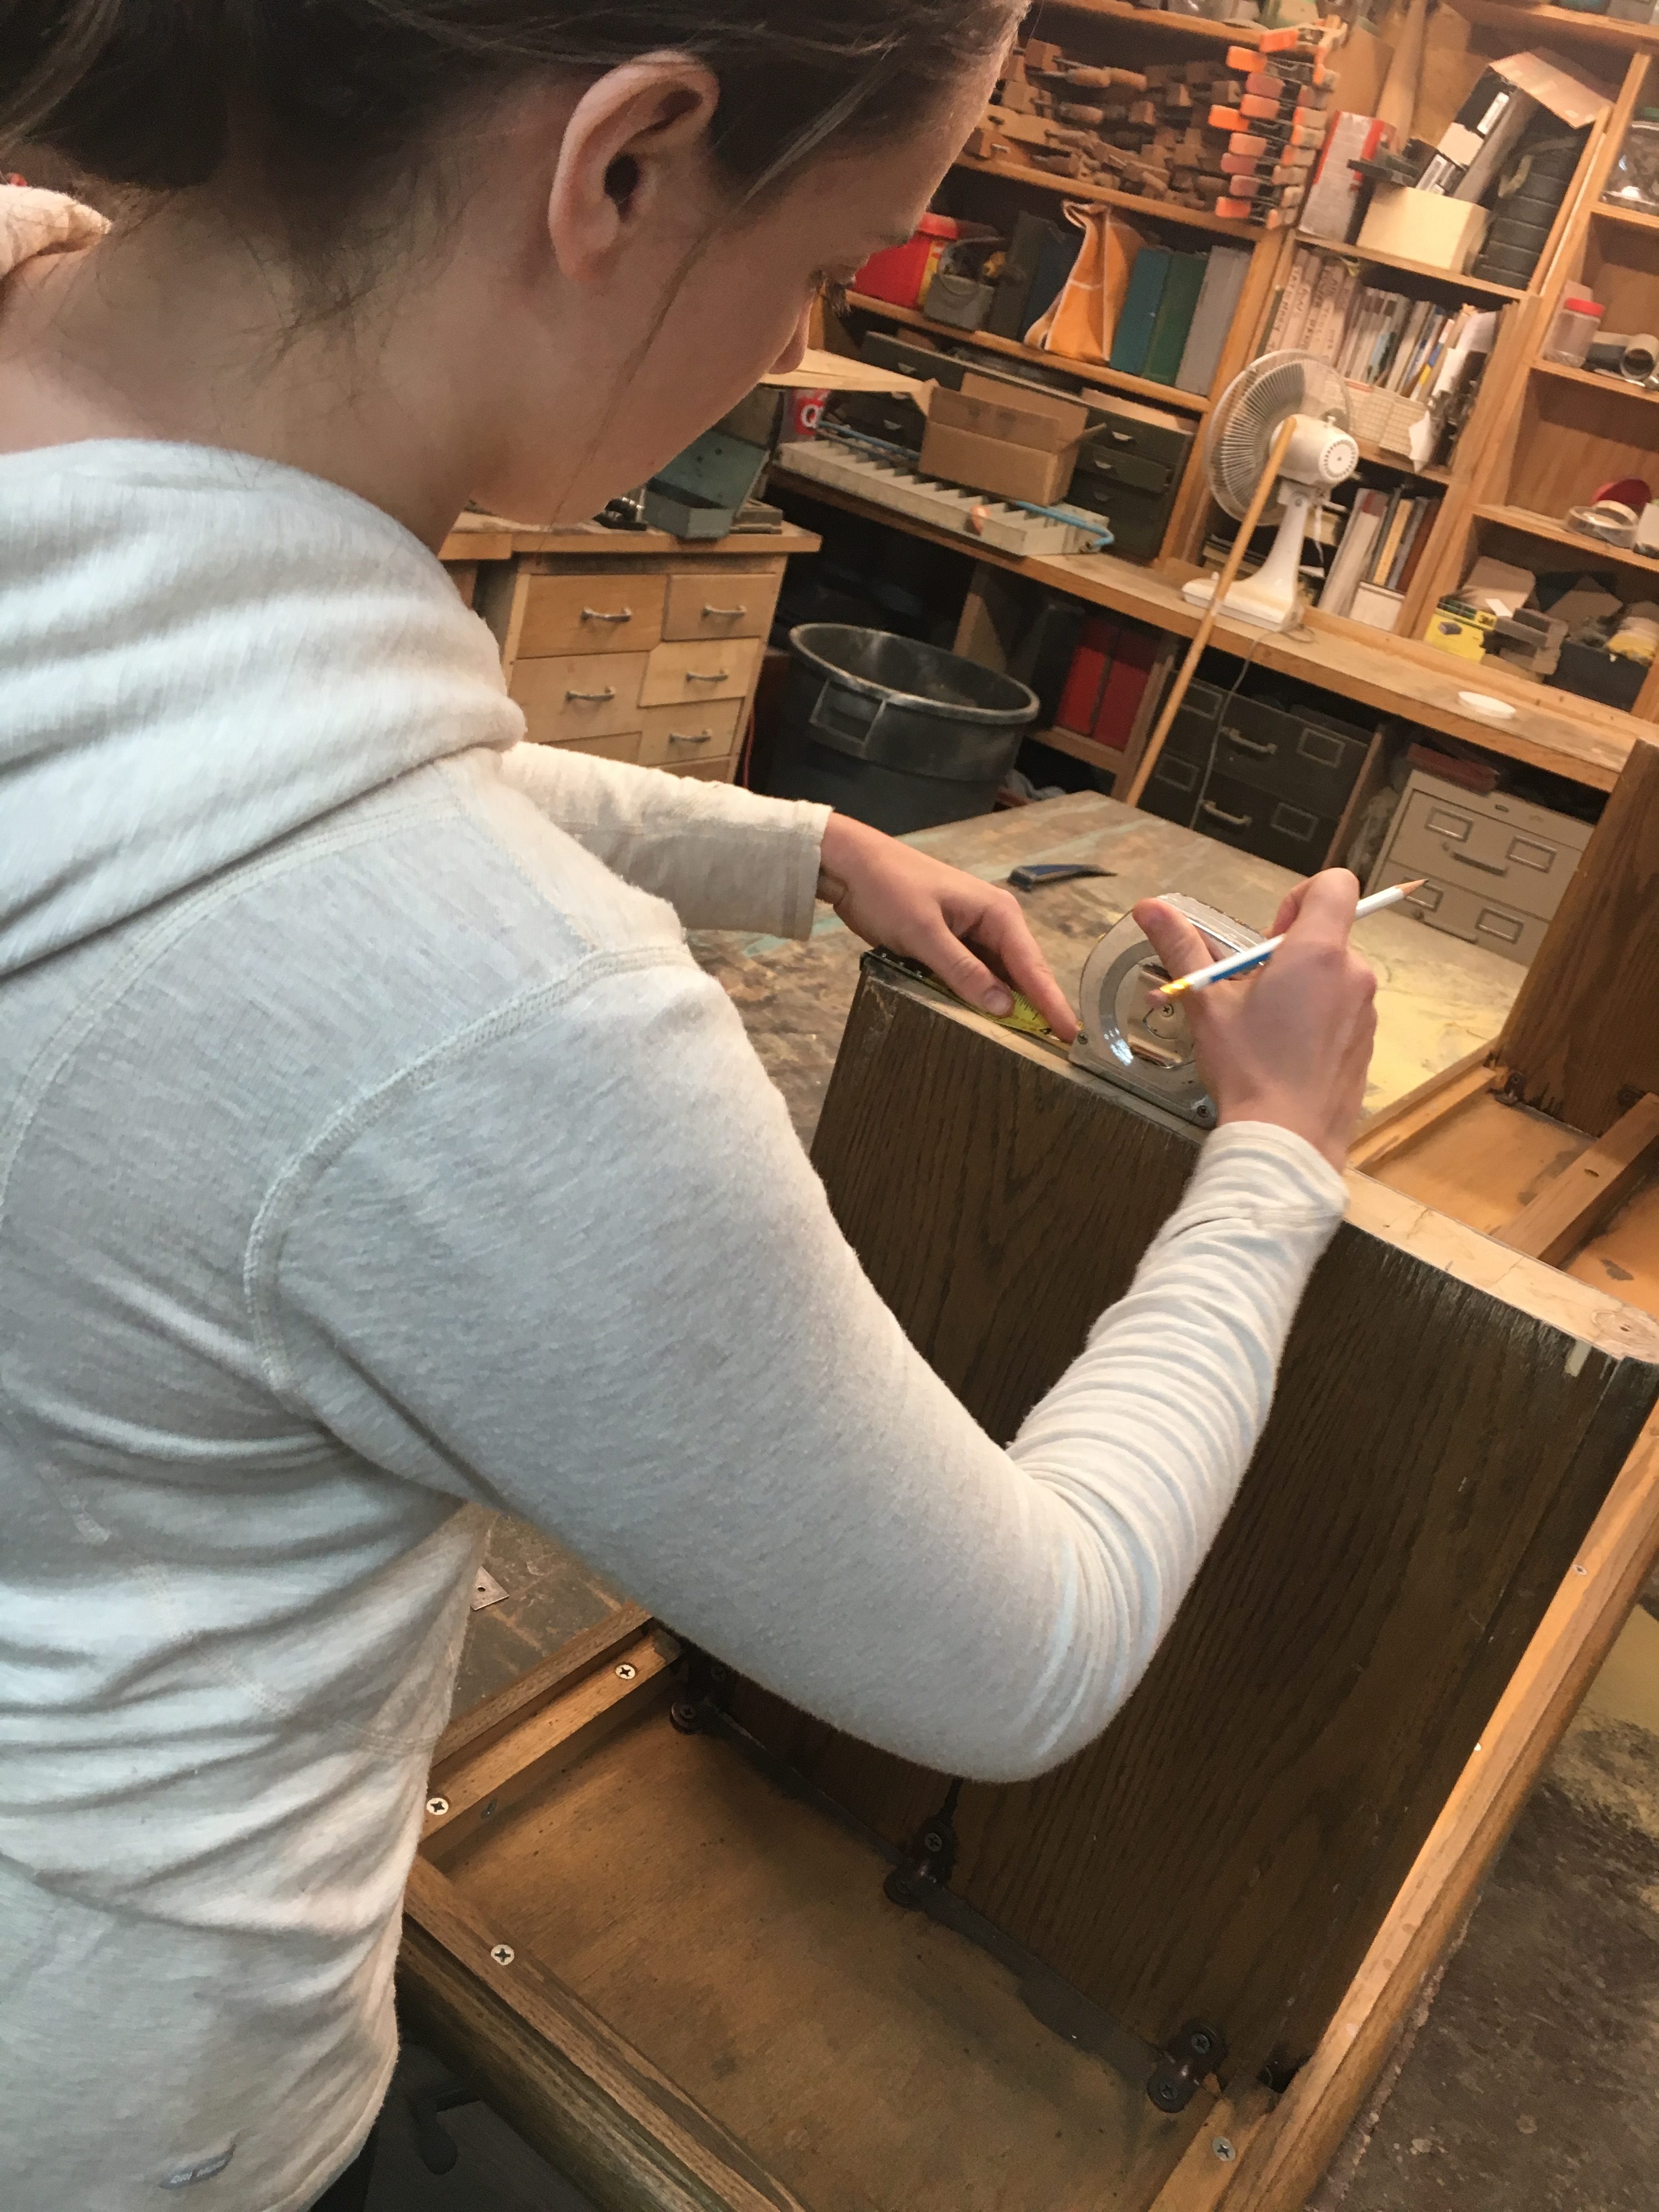
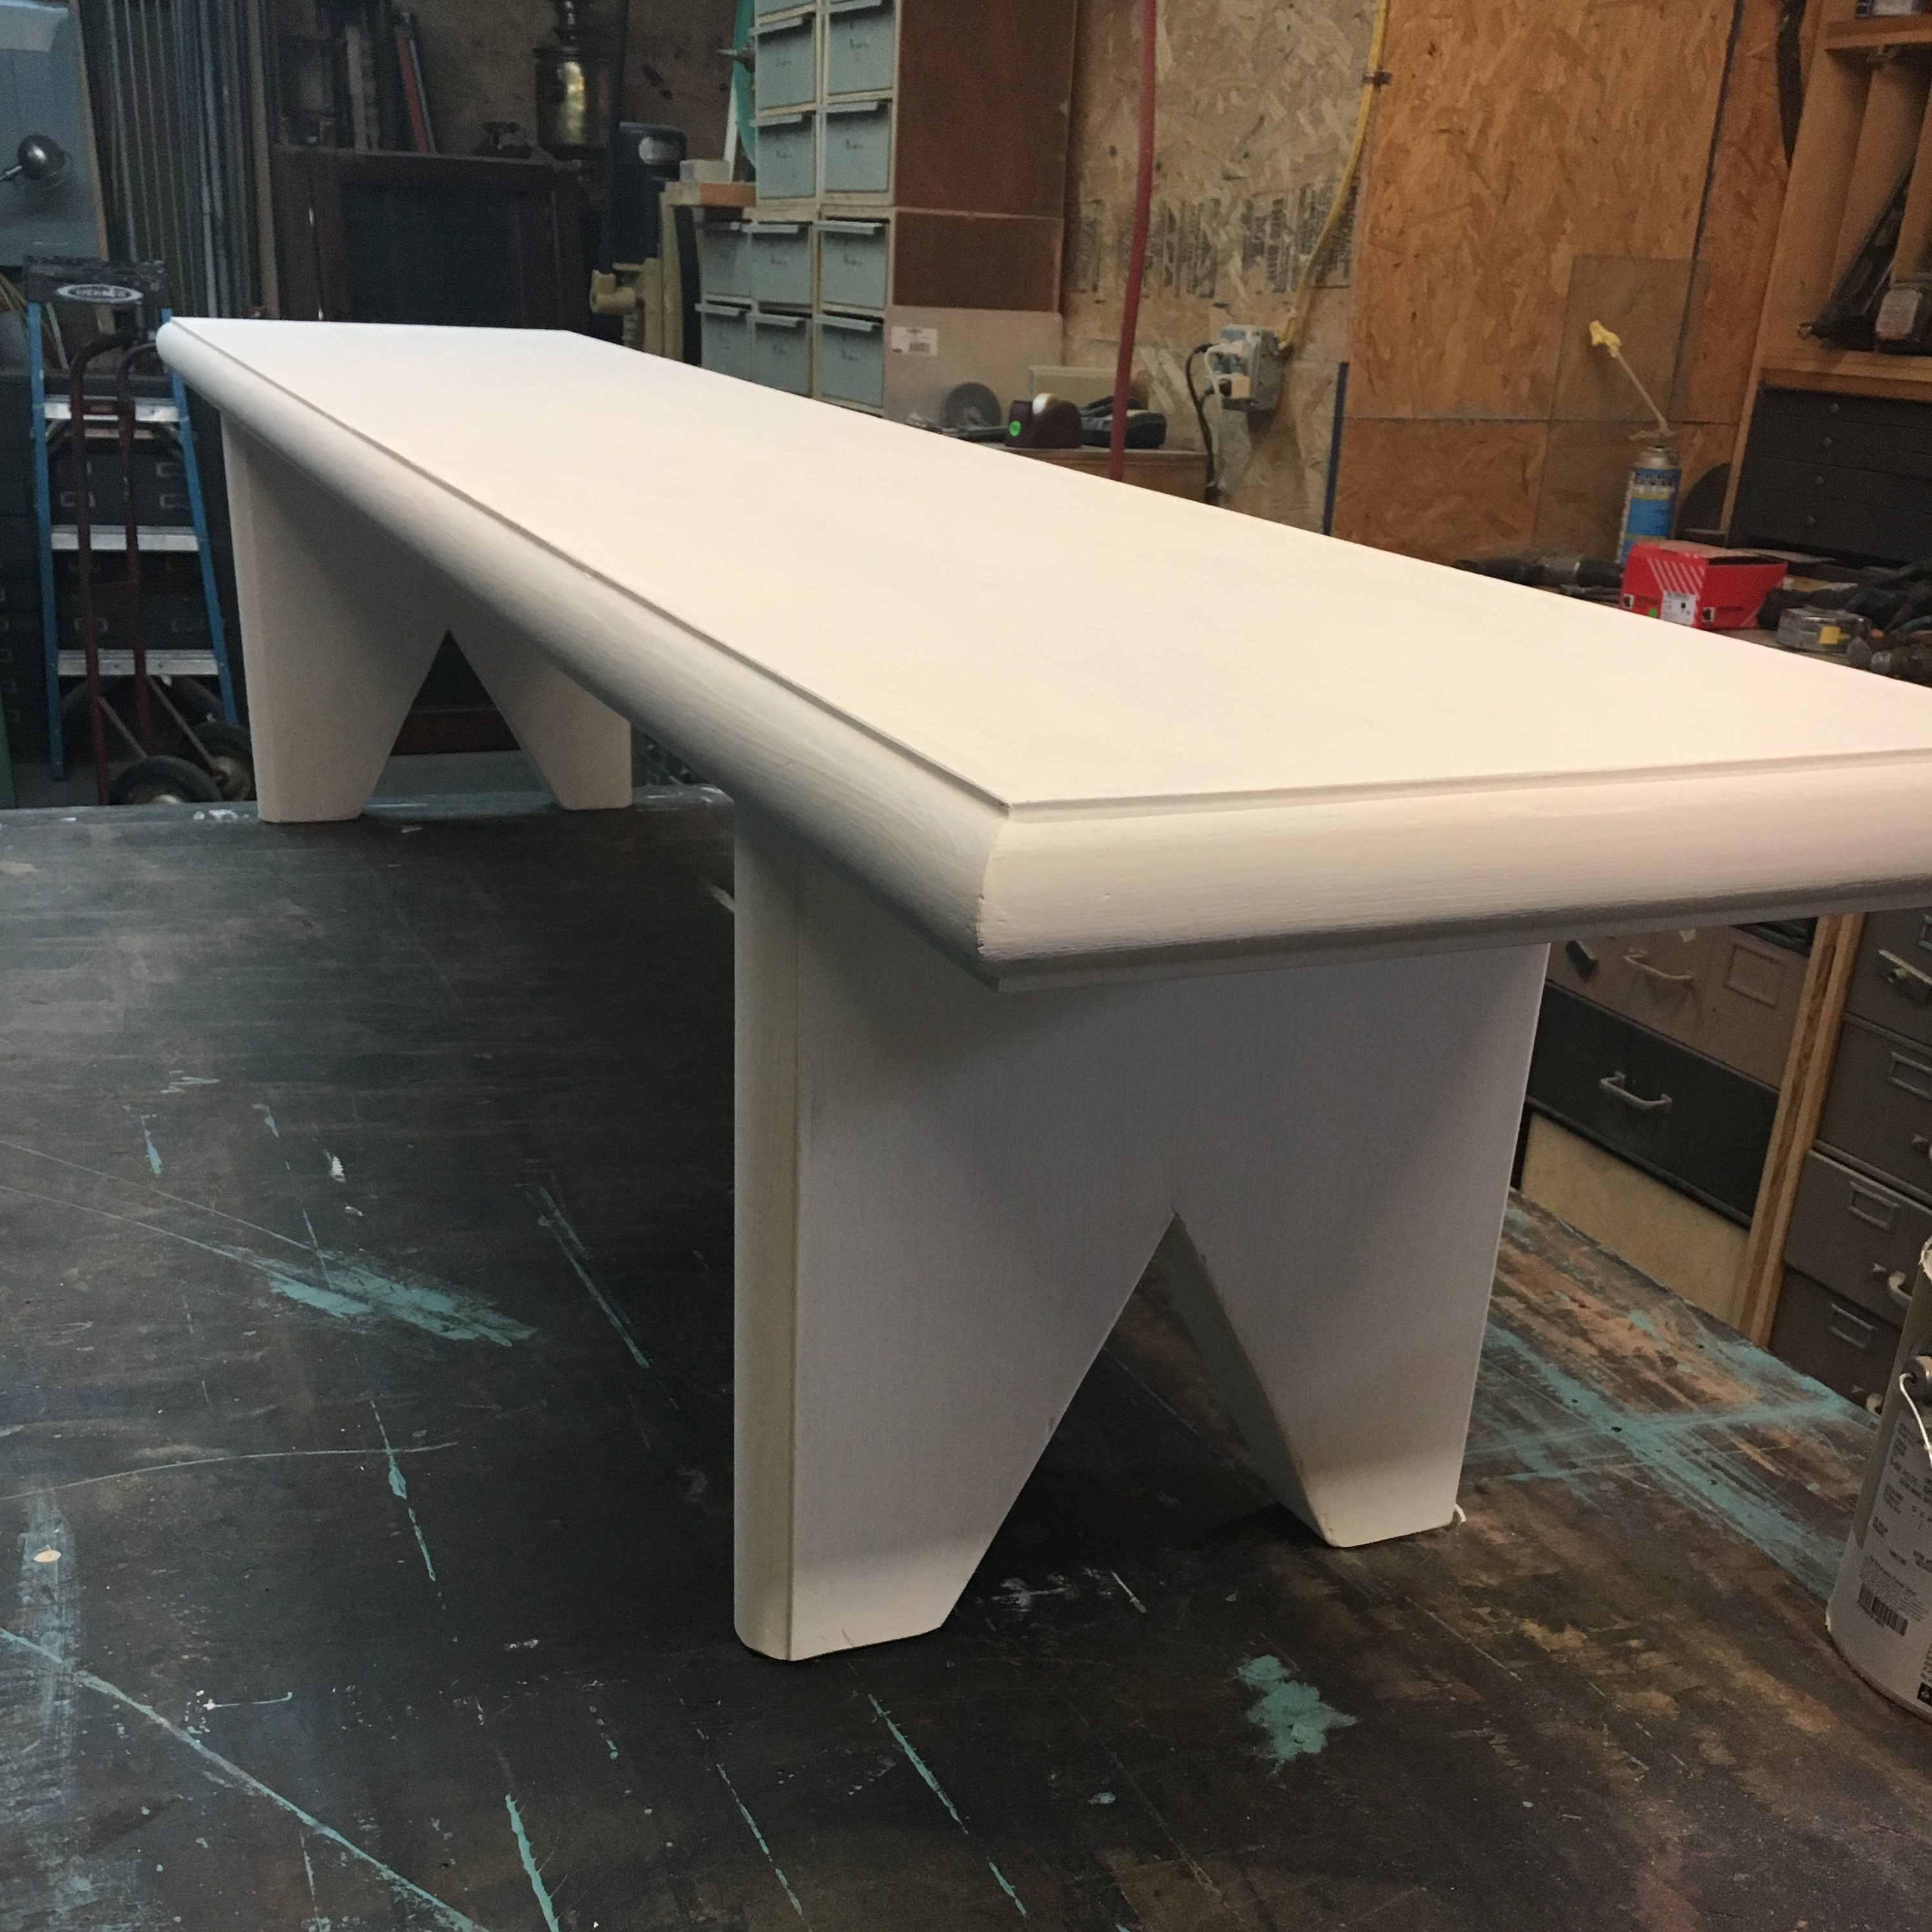
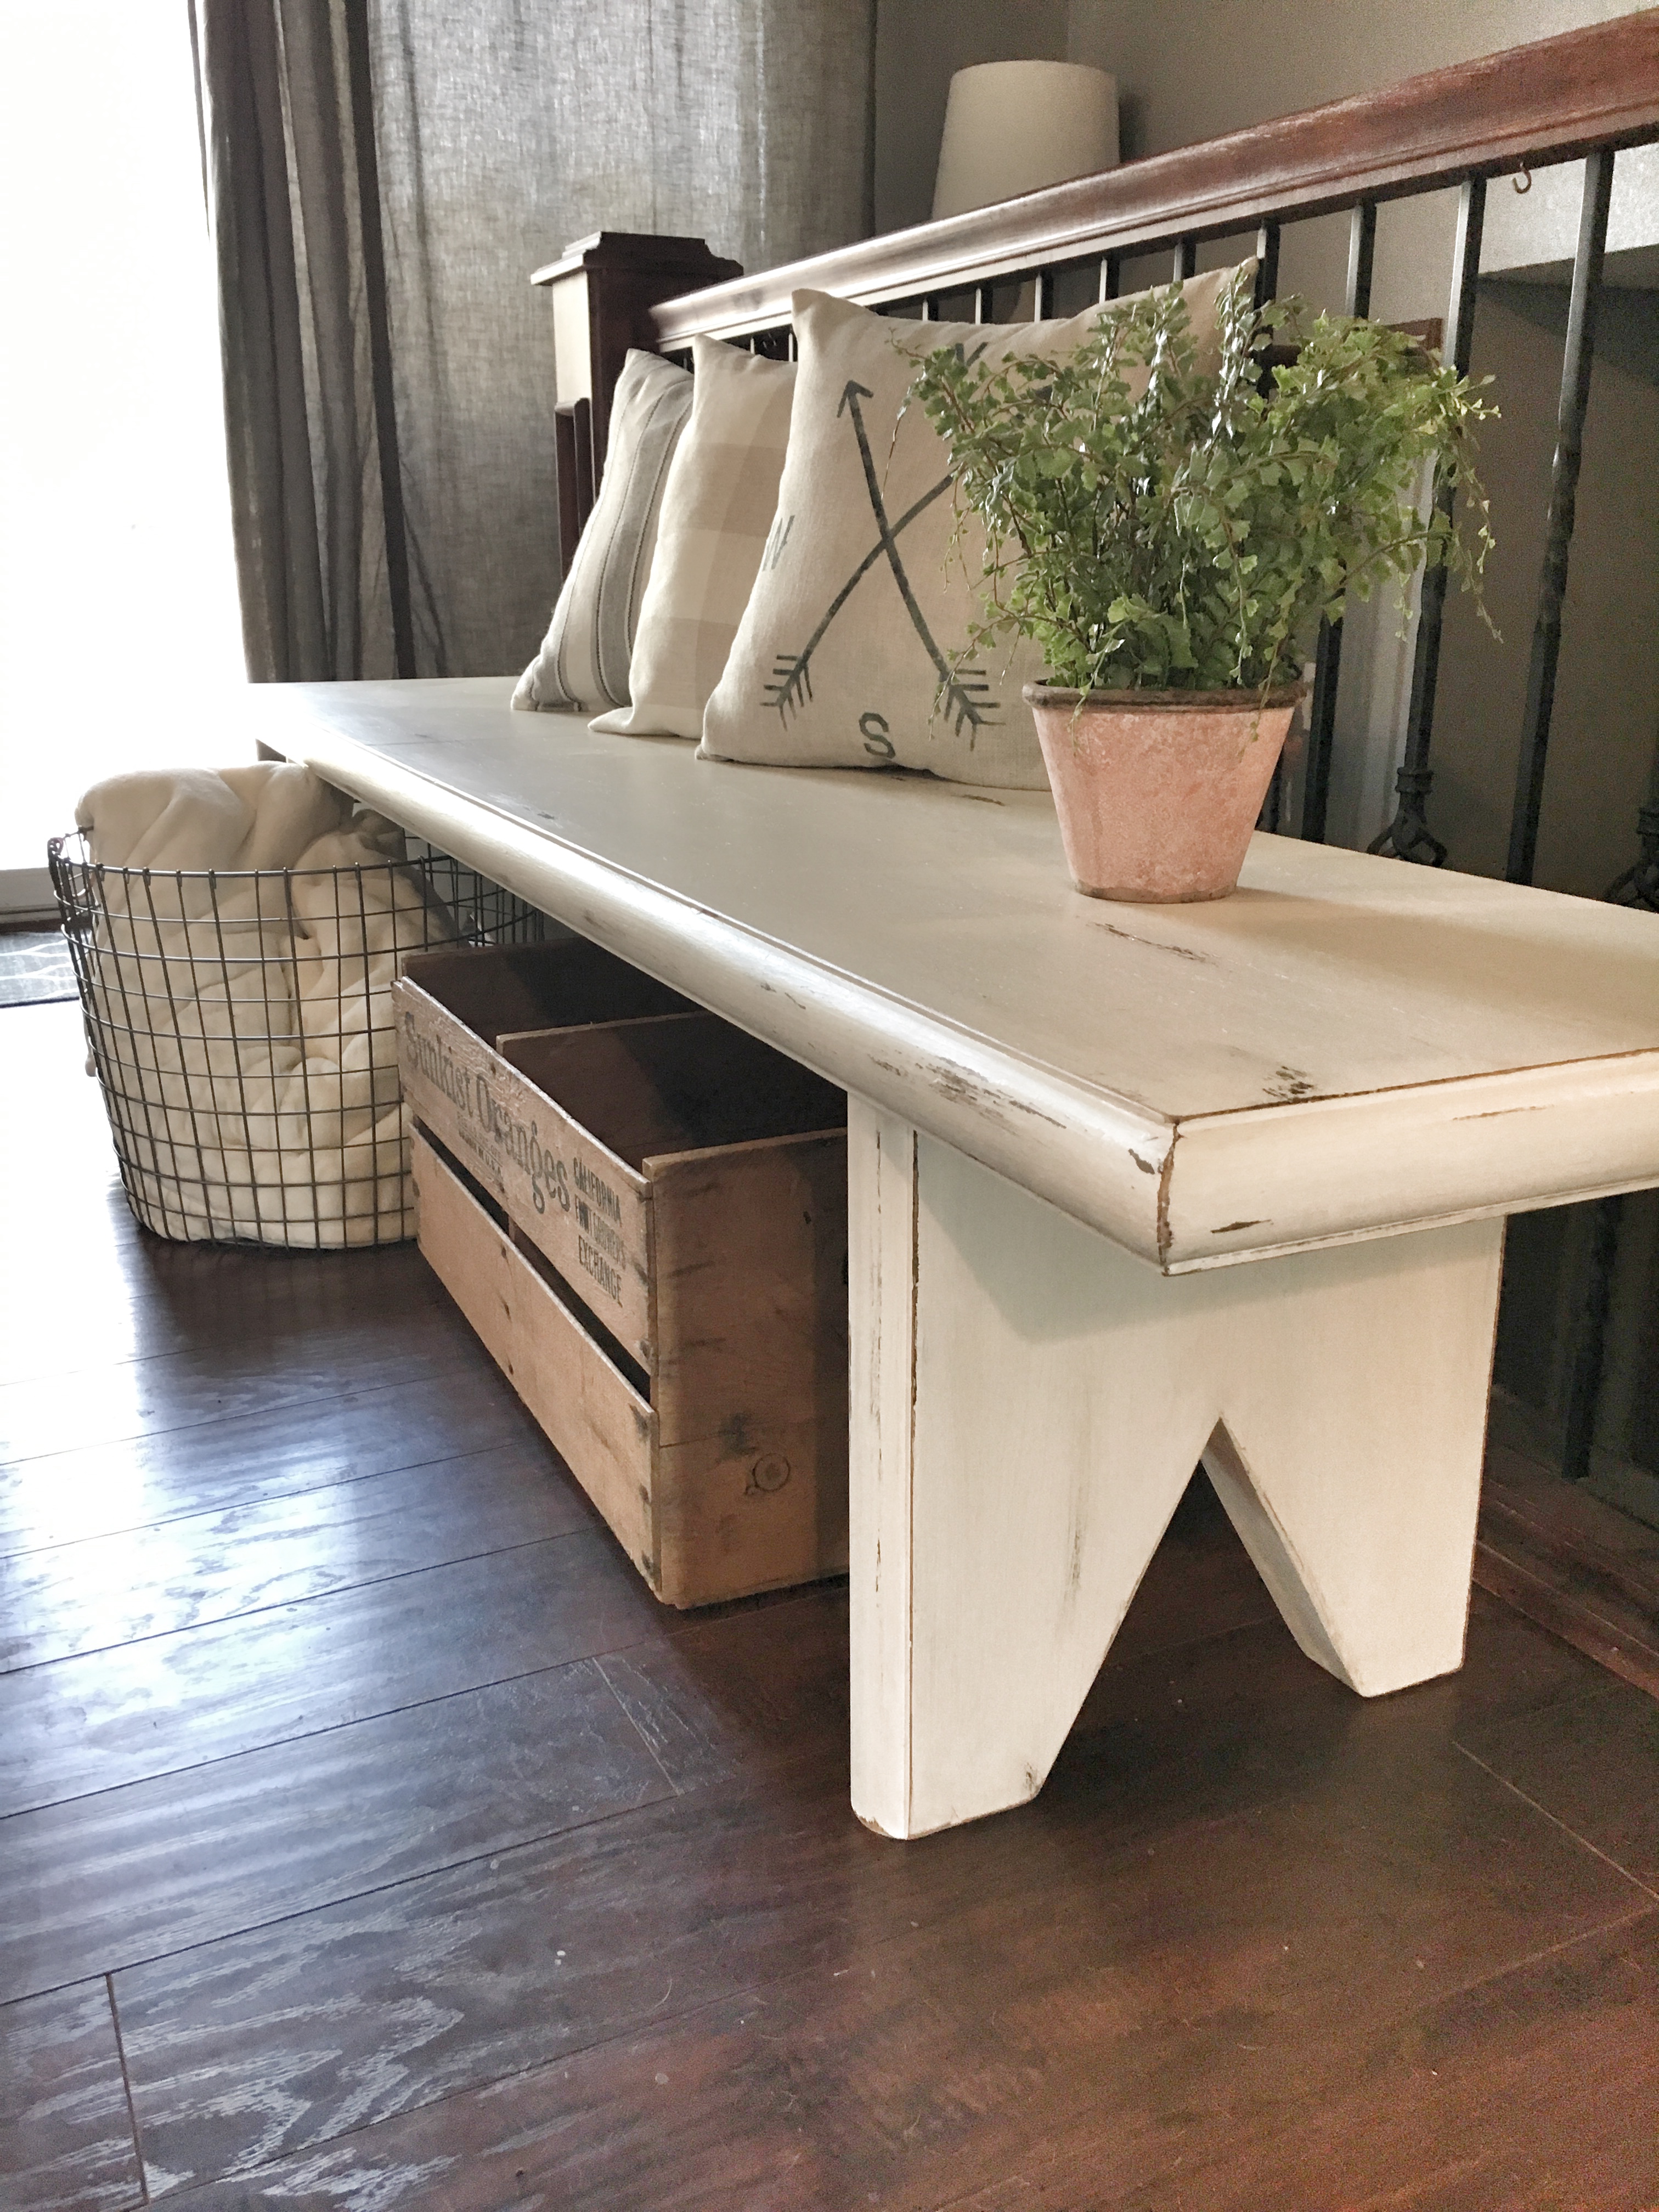
My first initial thought was, of course, paint it white, but I wanted to take it a step further. I kept asking myself how I could add character to this otherwise dull, shapeless bench. That’s when I decided to do cut-outs on the base to make it look more like legs. I measured 3″ from each side, and halfway up on the base to find the lines for the triangle.
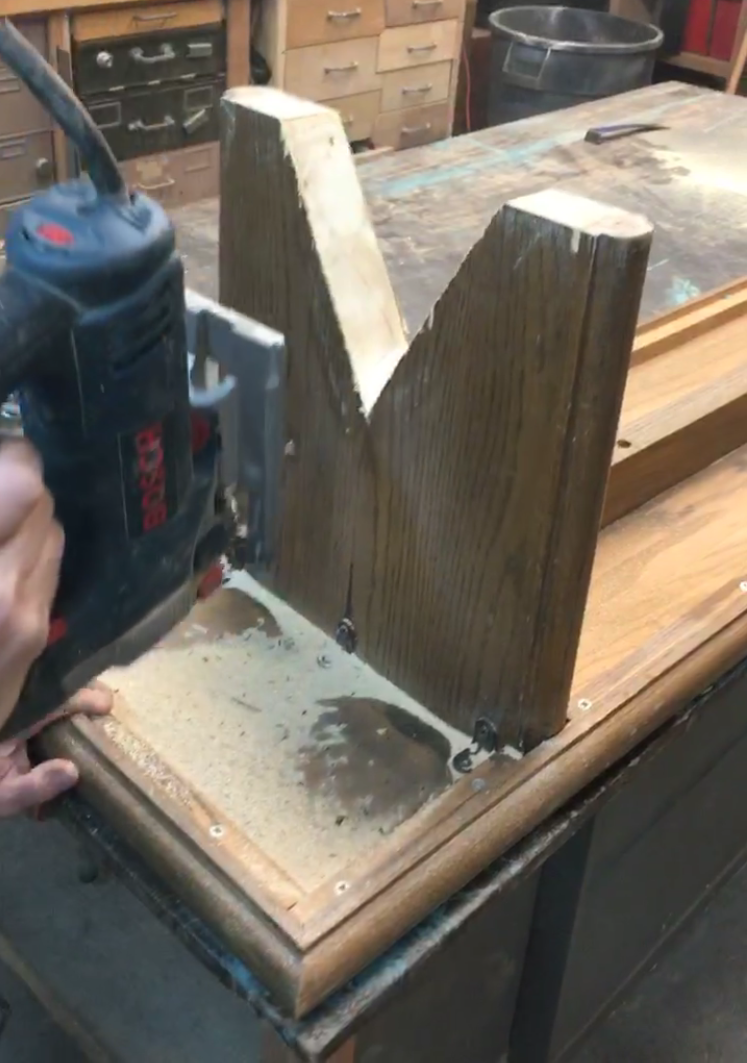
The base was almost too thick, but luckily we were able to use a jigsaw to make the cuts. After sanding it down, it was time to paint!
Painting and Distressing
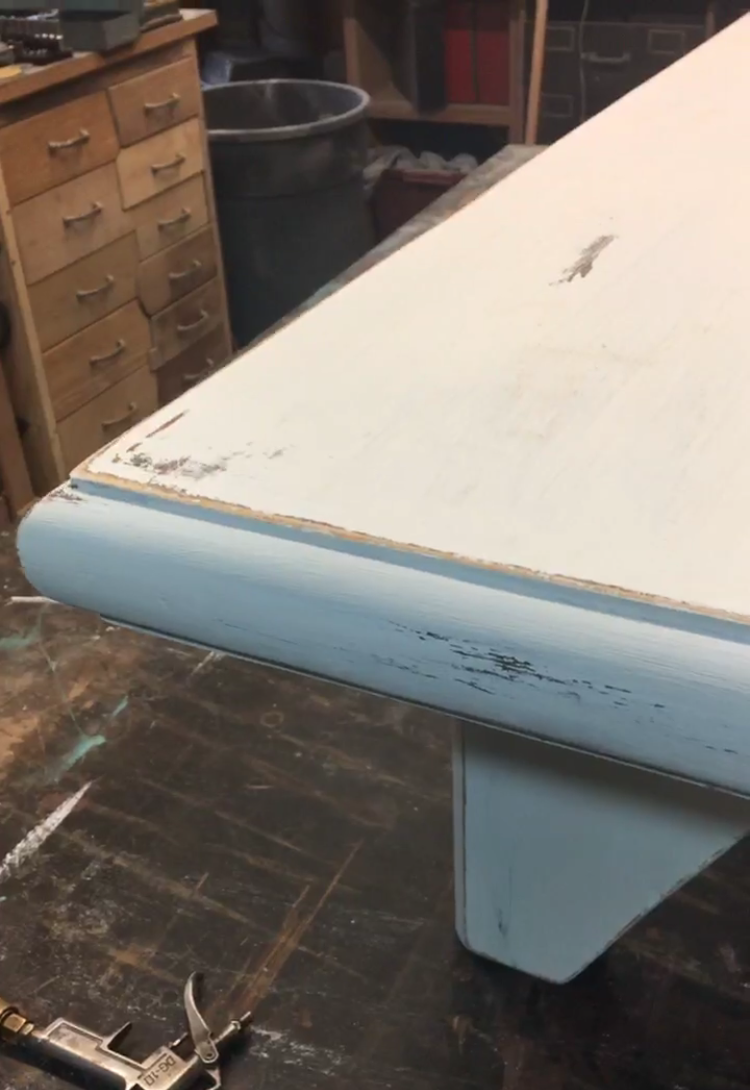
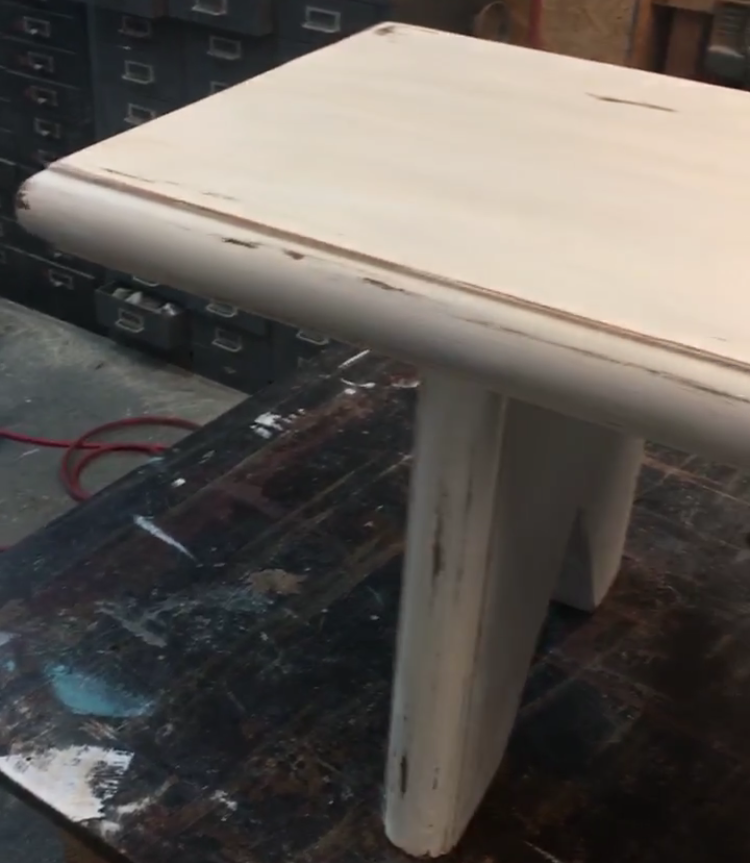
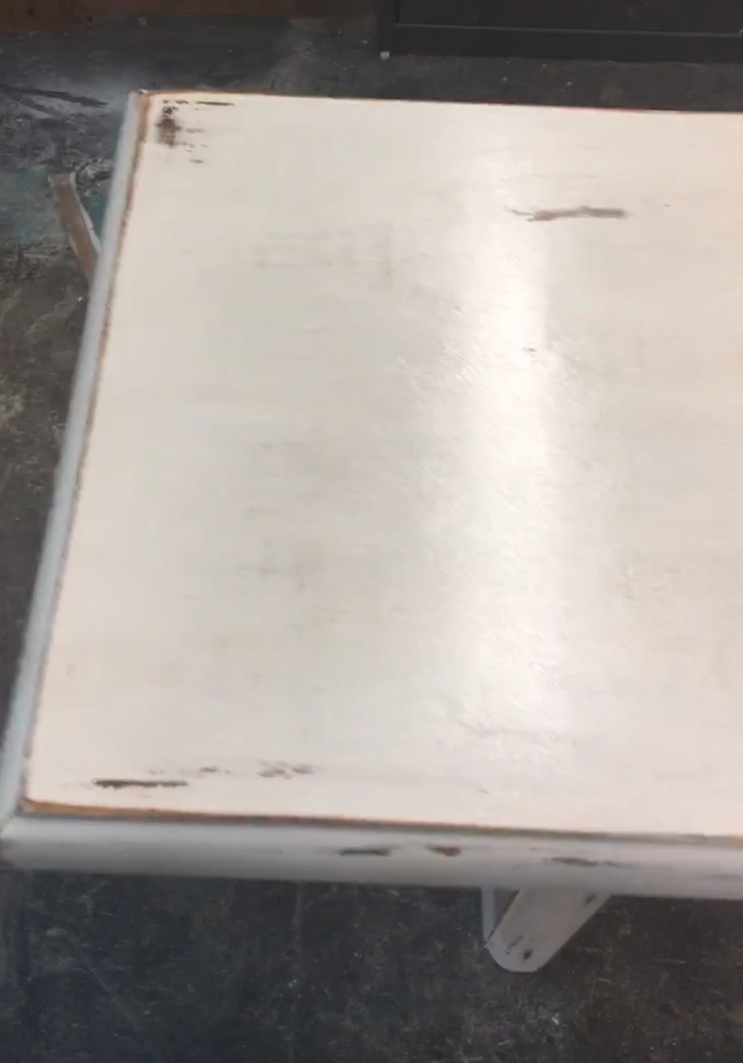
We used a custom paint color from Sherwin Williams, which we cleverly named, “Ashley-white.” It’s a latex paint, and it’s the white I usually use for anything in our home. I applied two coats of paint, and once it was dry I started sanding the edges to distress it. To me, this is what really starts to give it character. Paint can make anything look new, but distressing it adds old-charm, and an aged look, which is usually what I’m going for.
Antiquing
I could have stopped after sanding it, but I wanted to take it another step further and use an “aging” technique that we did on our farmhouse table and I love how it turned out!
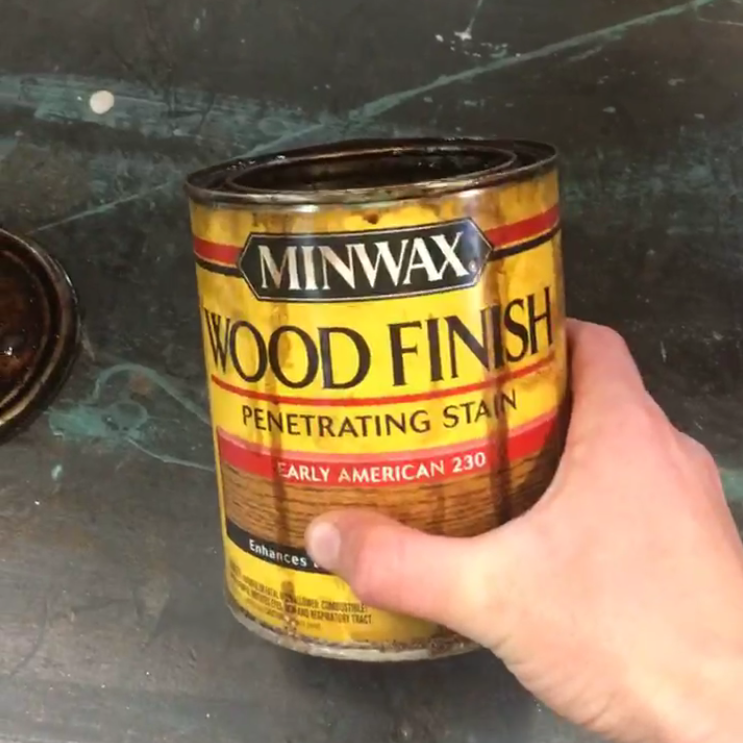
Step One: I used Early American stain and rubbed it all over the bench to cover the paint. I’ve found that a t-shirt rag blends the color a lot better when you are using stain. I was a little freaked out the first time I tried this, because it obviously wasn’t a subtle color difference, but the next step is where the magic happens.
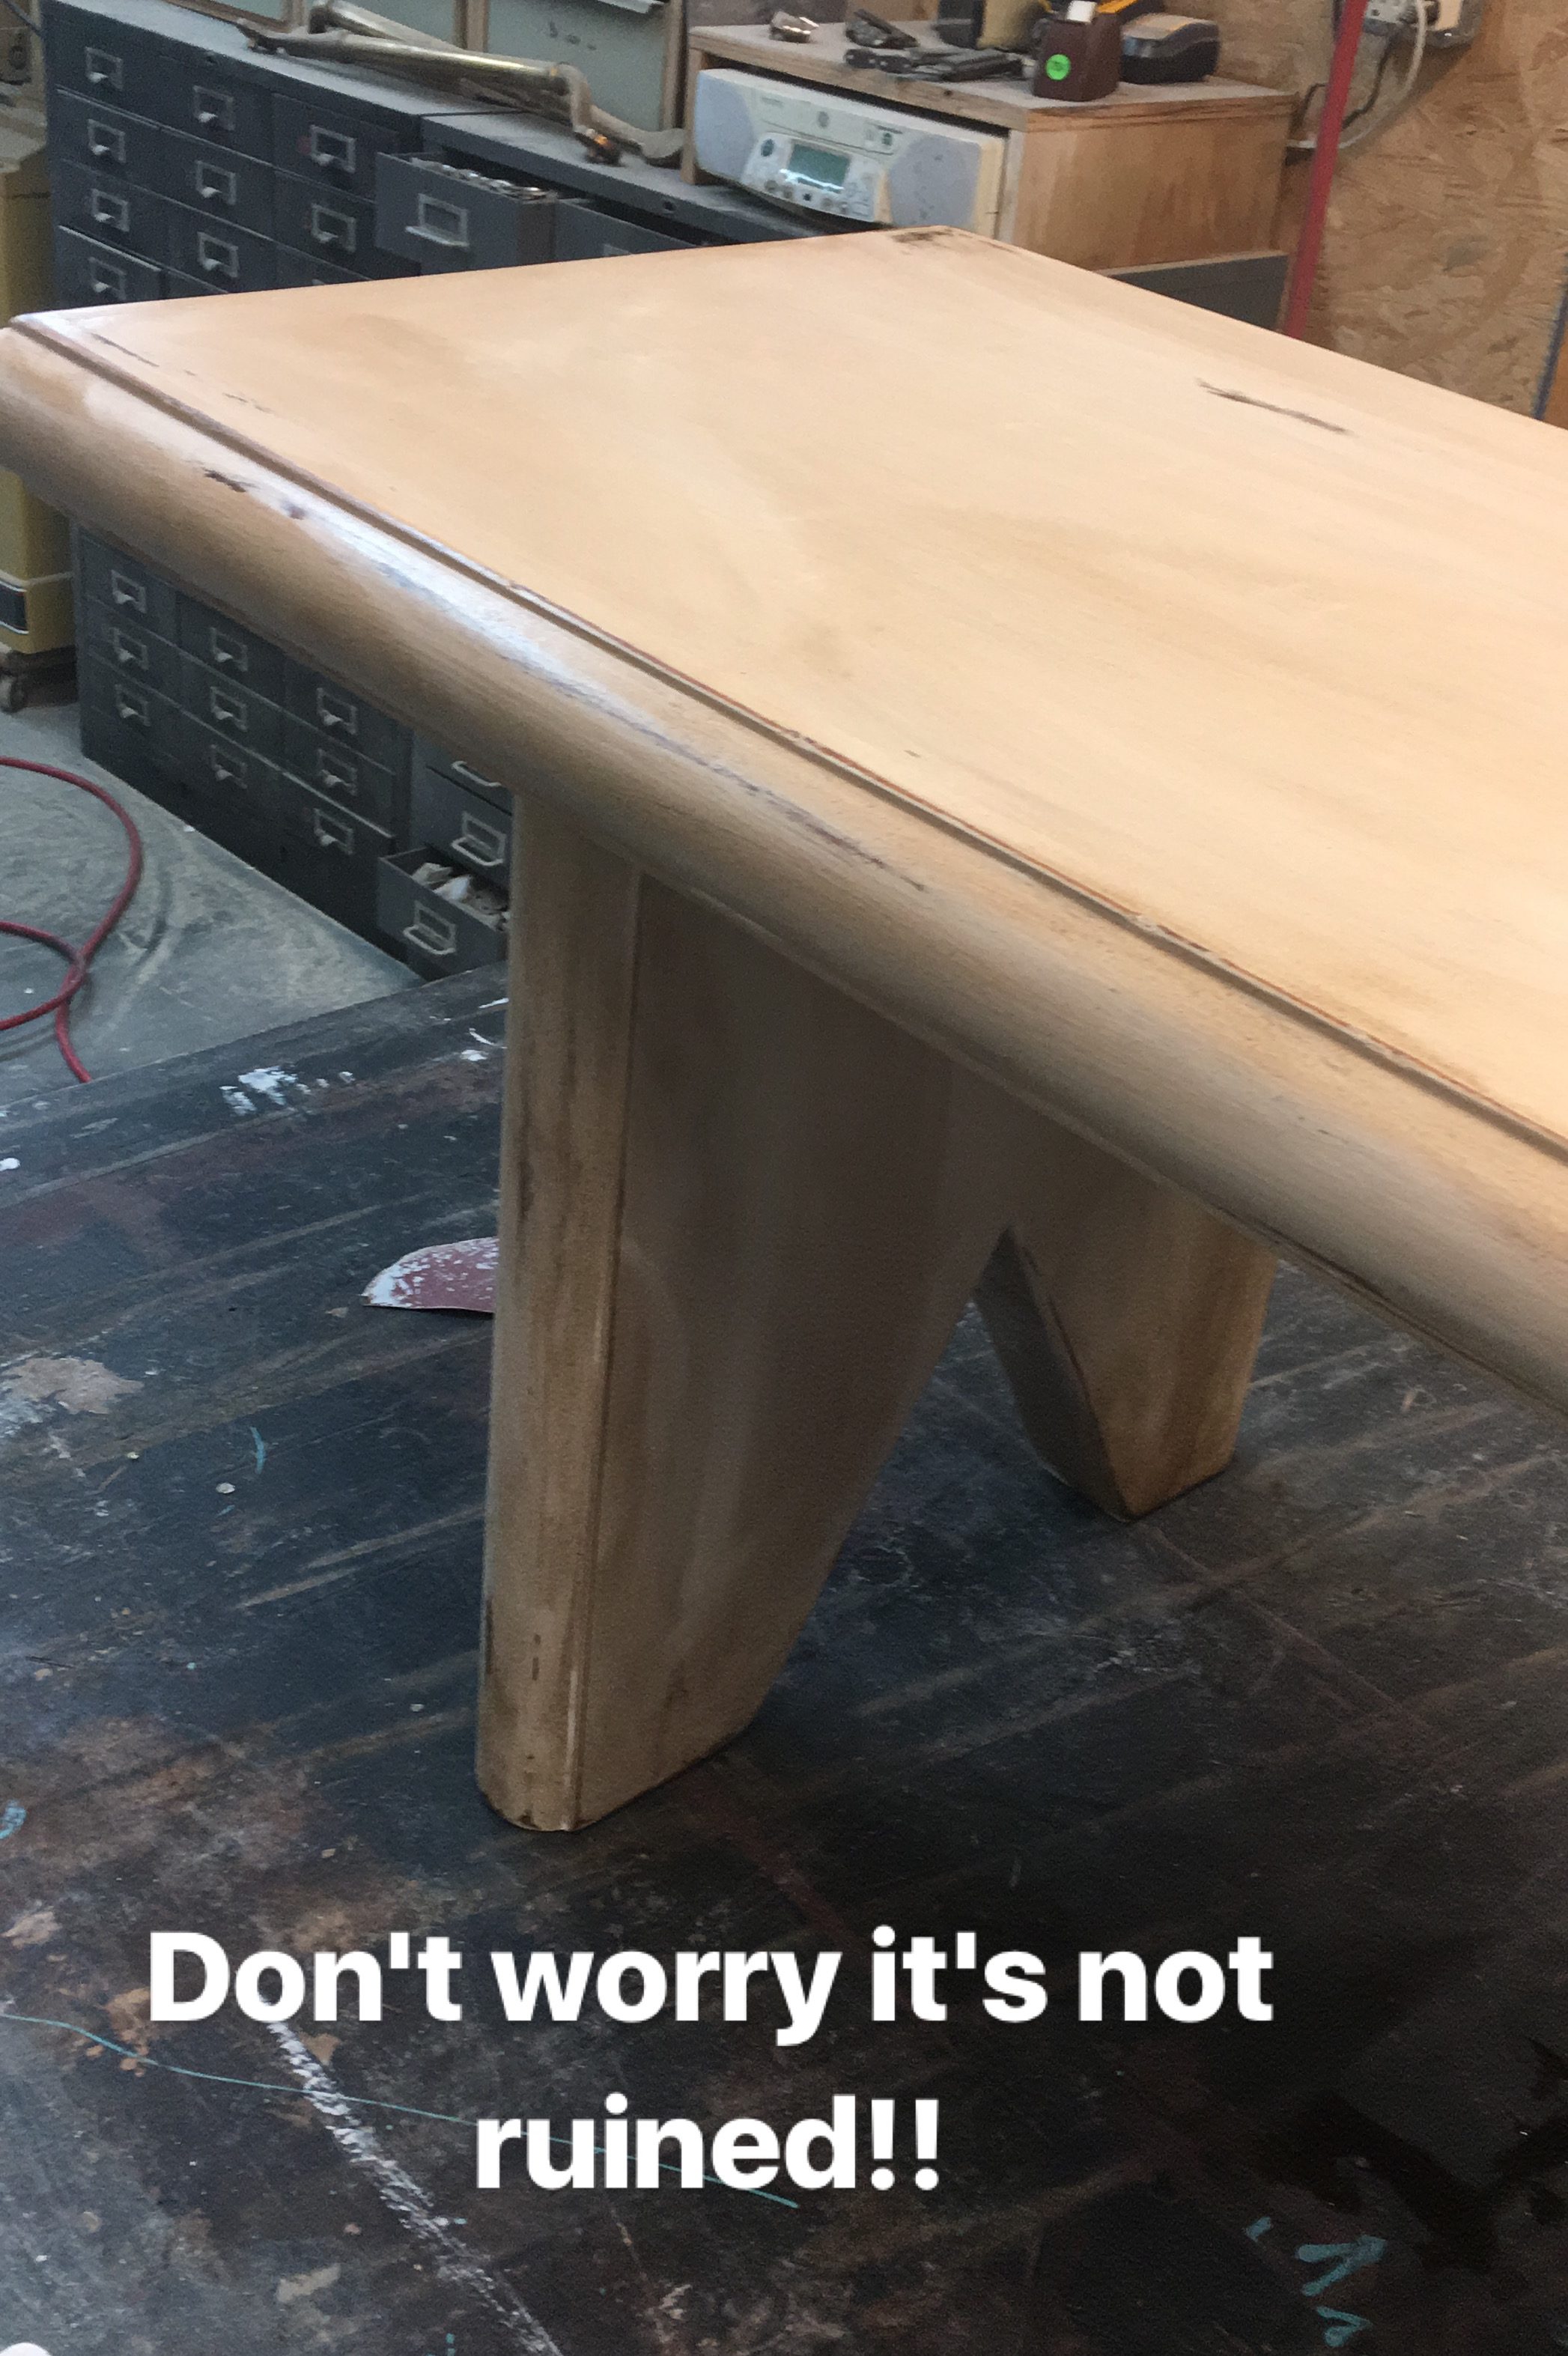
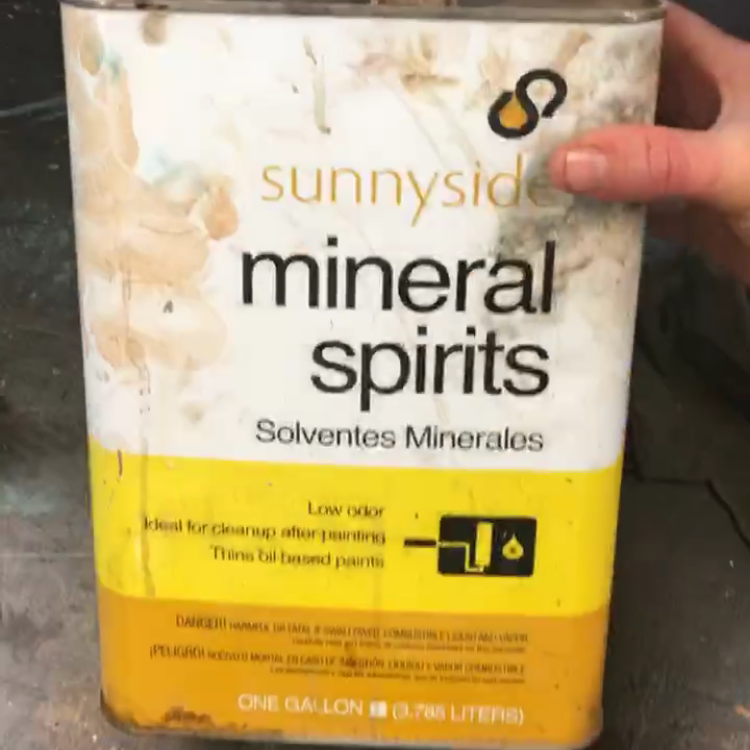
Step Two: I used mineral spirits and another t-shirt rag, and started to wipe off the stain. The mineral spirits will take the stain color away and leave a beautiful aged look to the paint. This also enhances the spots where the paint was sanded off, giving it a richer color. I love the affect this gives it! Again, it just adds another level of dimension and charm.
Clear Coat
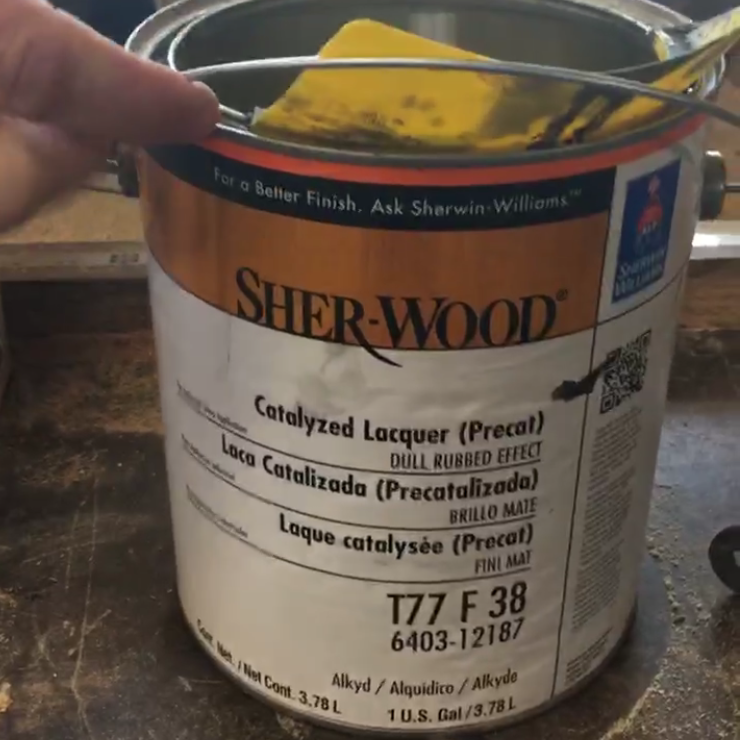
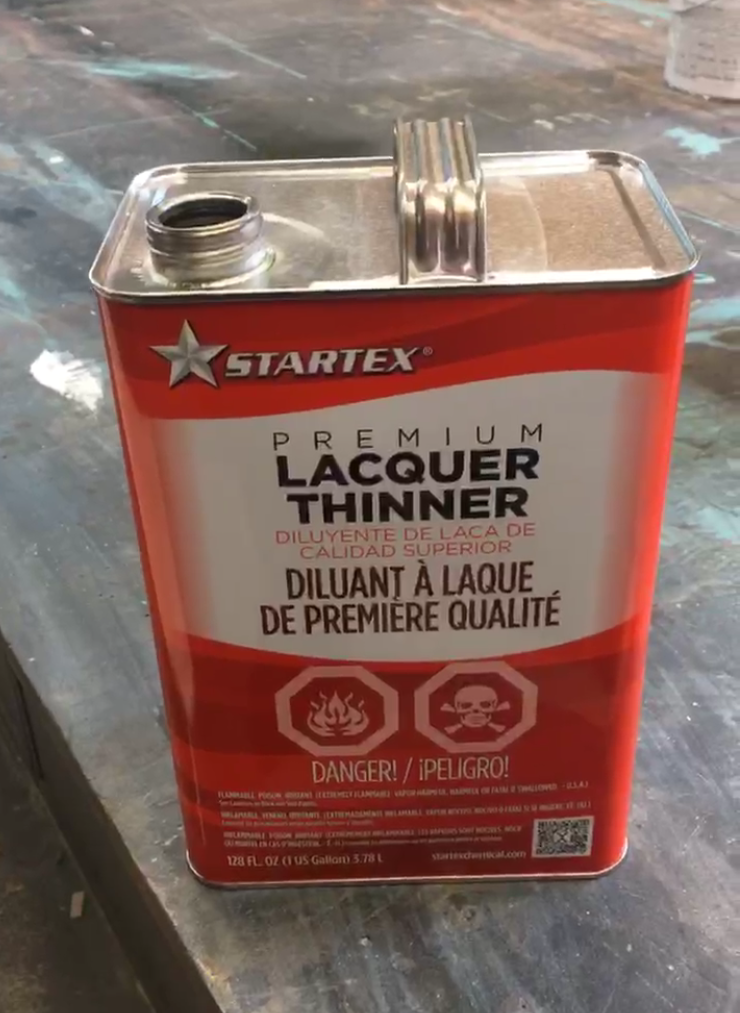
After letting the stain dry for a few hours, the last step I did was apply a clear coat. I’ve used several kinds of clear coat finishes, and they all work just fine. But I prefer to do a lacquer clear coat using a spray gun. Lacquer dries quickly, it’s very easy to use, and it goes on really smooth. I used a technique that my dad uses all the time, where I mix half lacquer and half lacquer thinner, to get the smoothest finish.
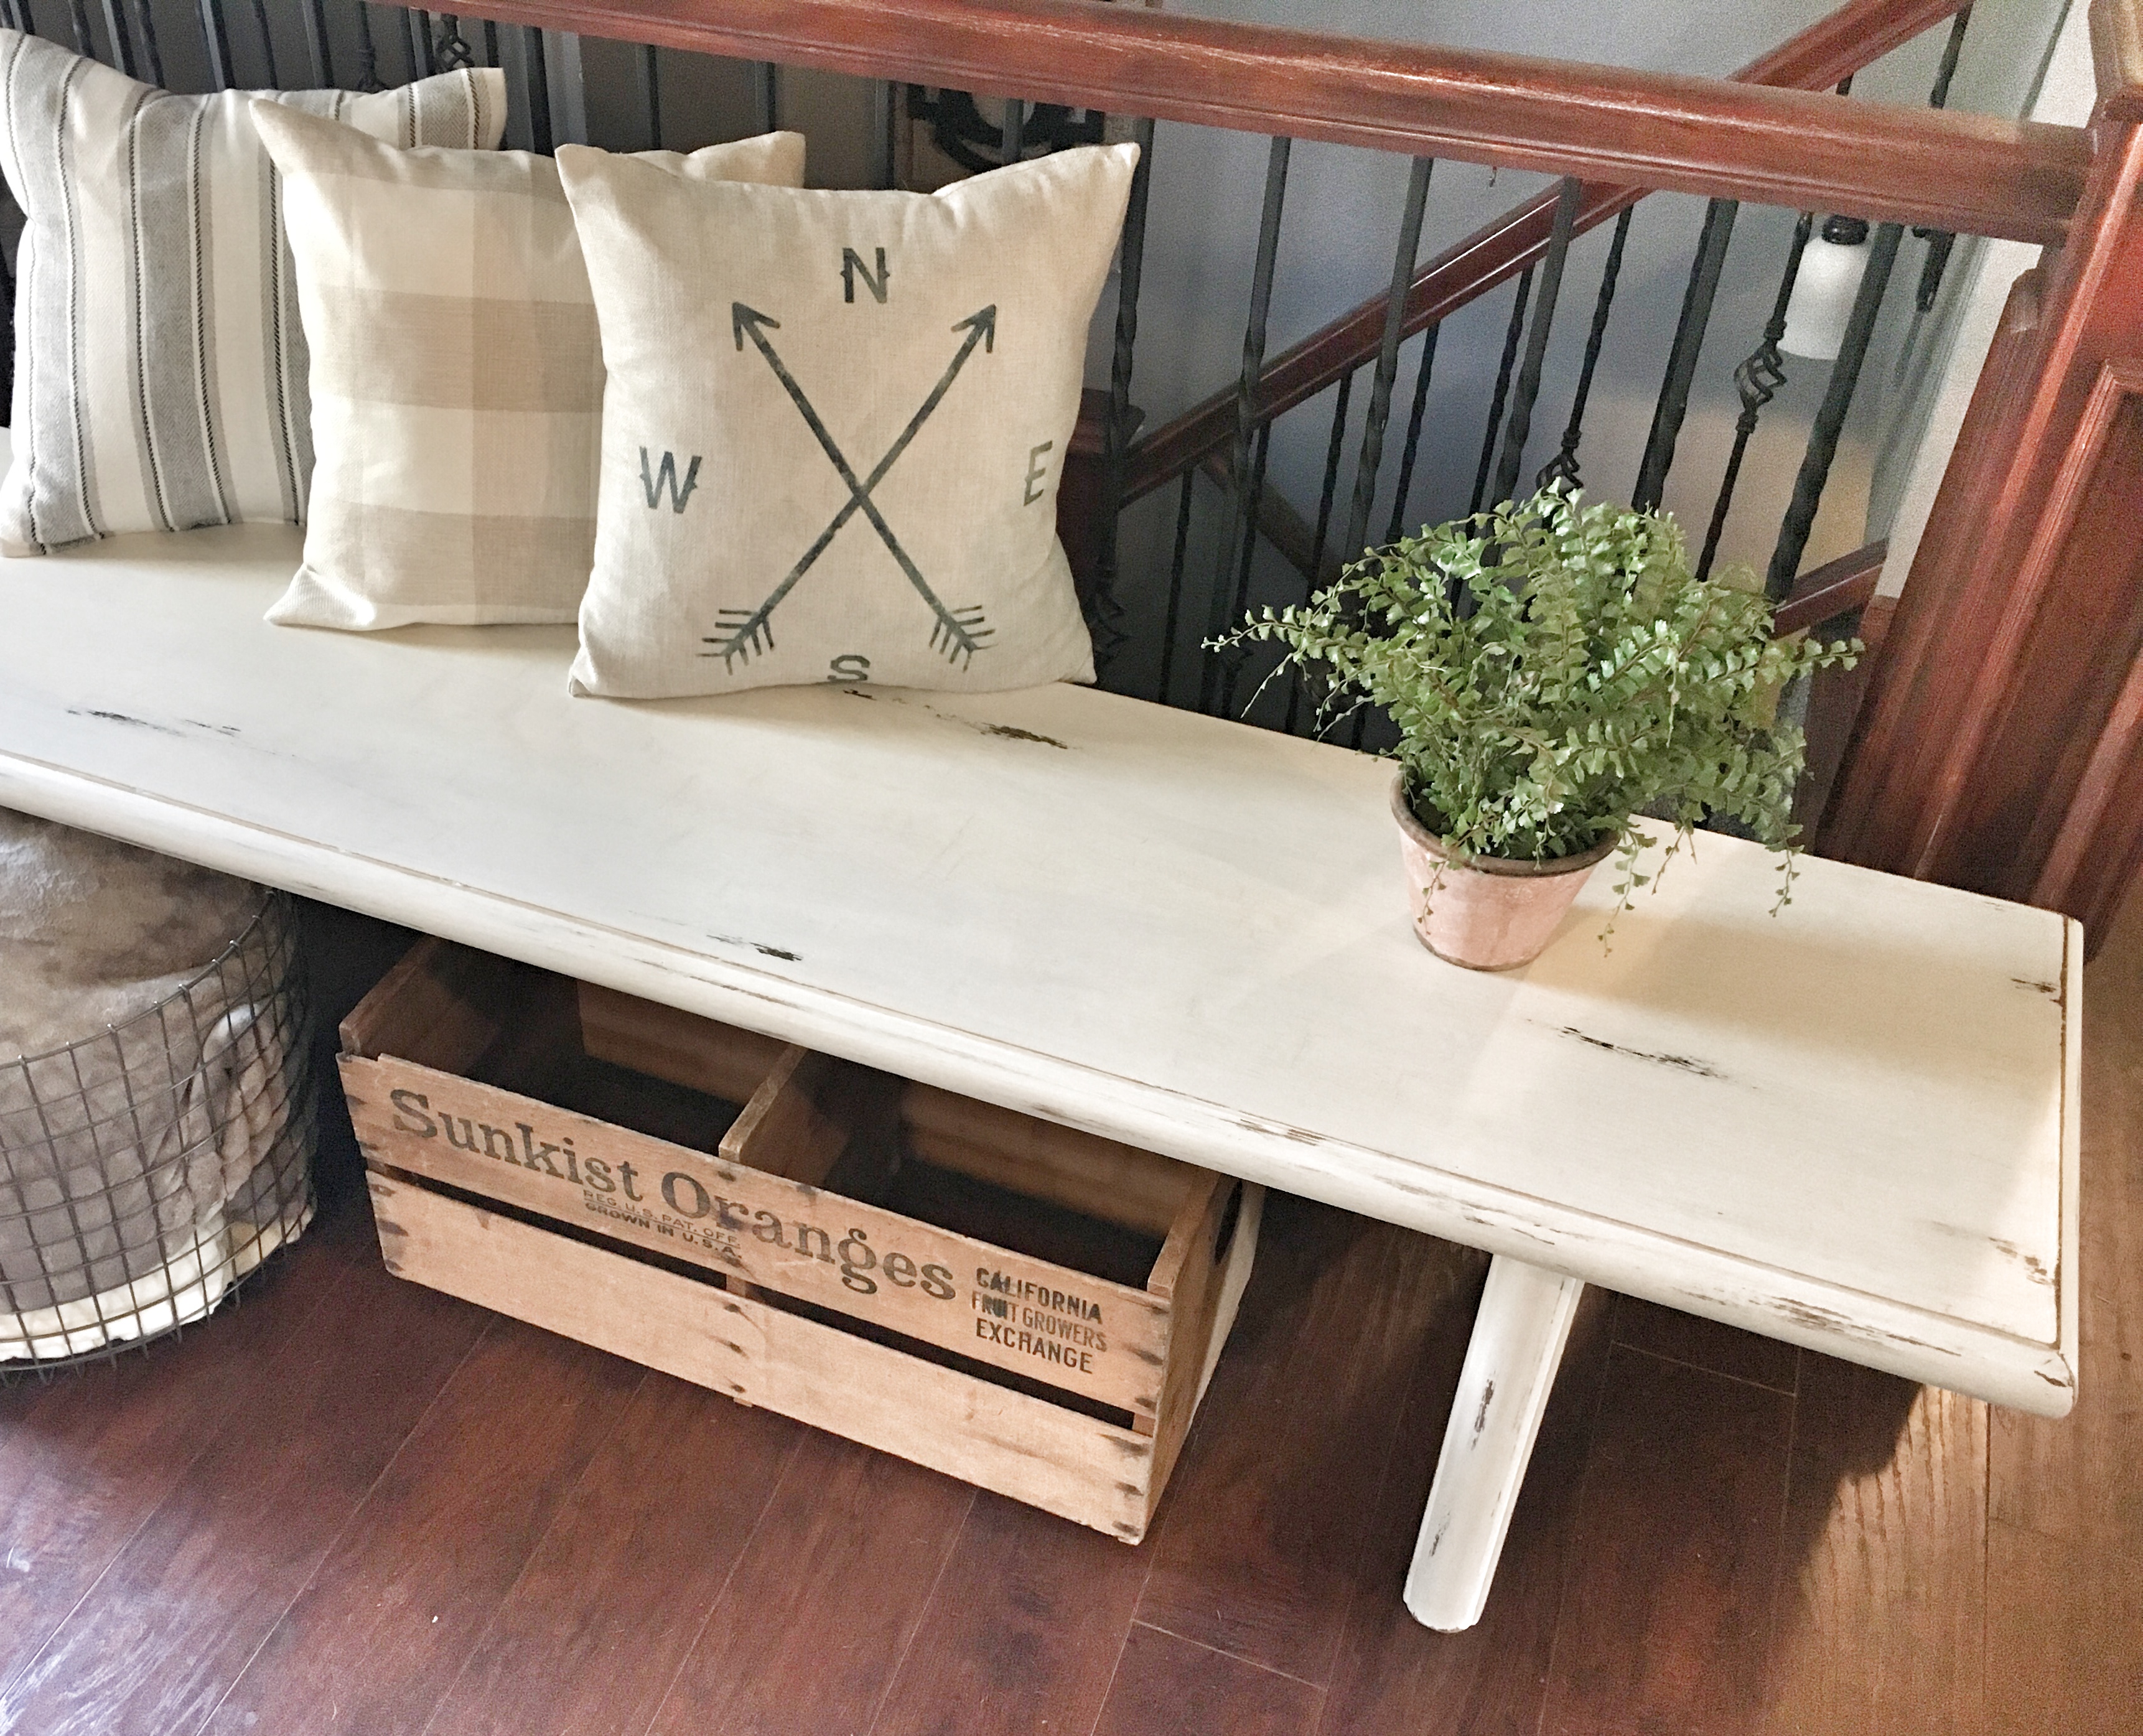
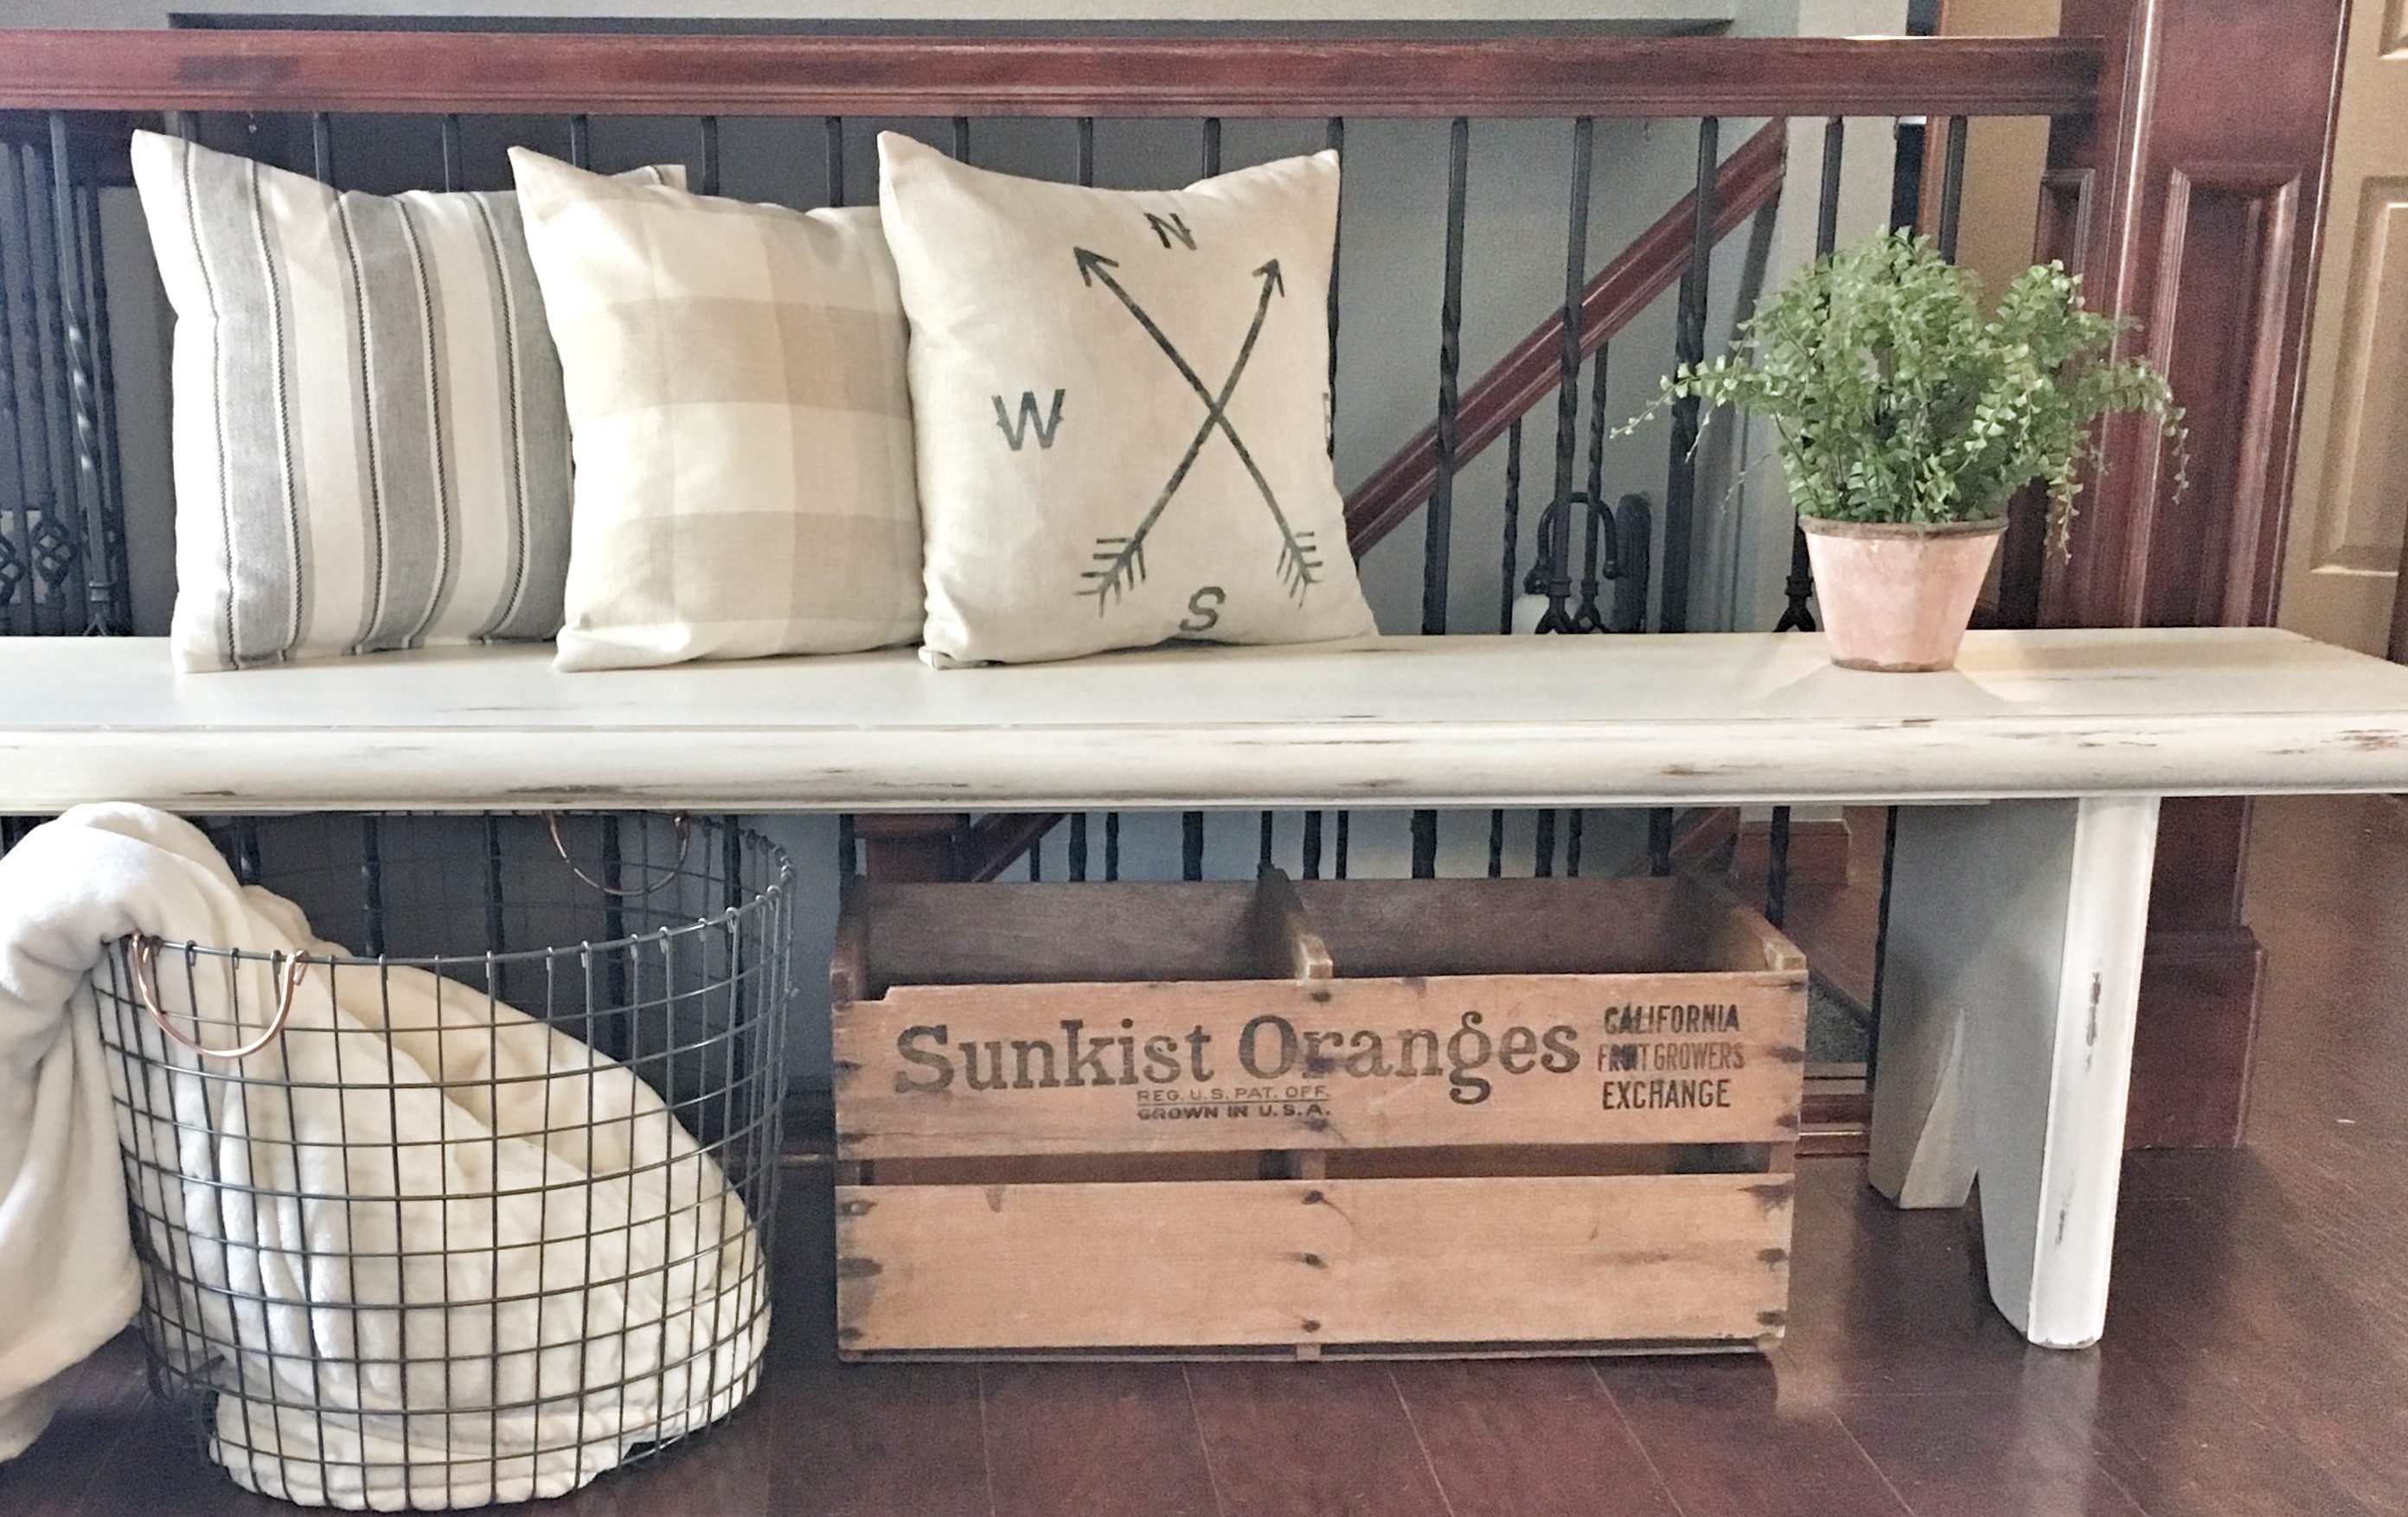
The clear coat really is the perfect finishing touch. The paint might look aged and chippy, but the clear finish will preserve it. Now that this bench has that farmhouse charm I love, it is making a statement in front of our banister at home! I couldn’t be more happy with how this project turned out, and hopefully some of these tips and techniques can be useful for you!
Check out my Instagram “Antiquing” highlight for a video tutorial! Thanks so much for reading, and God bless!
XOXO
ASHLEY DIANN
Products Used for This Project: