Coming up with creative storage solutions is one of my favorite things about designing. In my opinion, this is what overlaps any interest or hobby out there. Whether it is crafts, cars, music, or sports, storage solutions are a necessity. A clean, organized hobby space gets the creative juices flowing, and allows for a clear head and productive day.
A few months ago, my brother, Alex, started telling me about an idea for a makeup vanity he wanted to customize for my sister-in-law, Sarahi. Now, makeup is not my area of expertise, by any means, but storage solutions definitely are, and they were in desperate need of some. So of course, I jumped on board! Sarahi absolutely LOVES makeup, and she’s been asking for a vanity for awhile now. She’s signed up for every makeup subscription out there, so as you can imagine, this girl has a TON of makeup, and virtually no where to store it.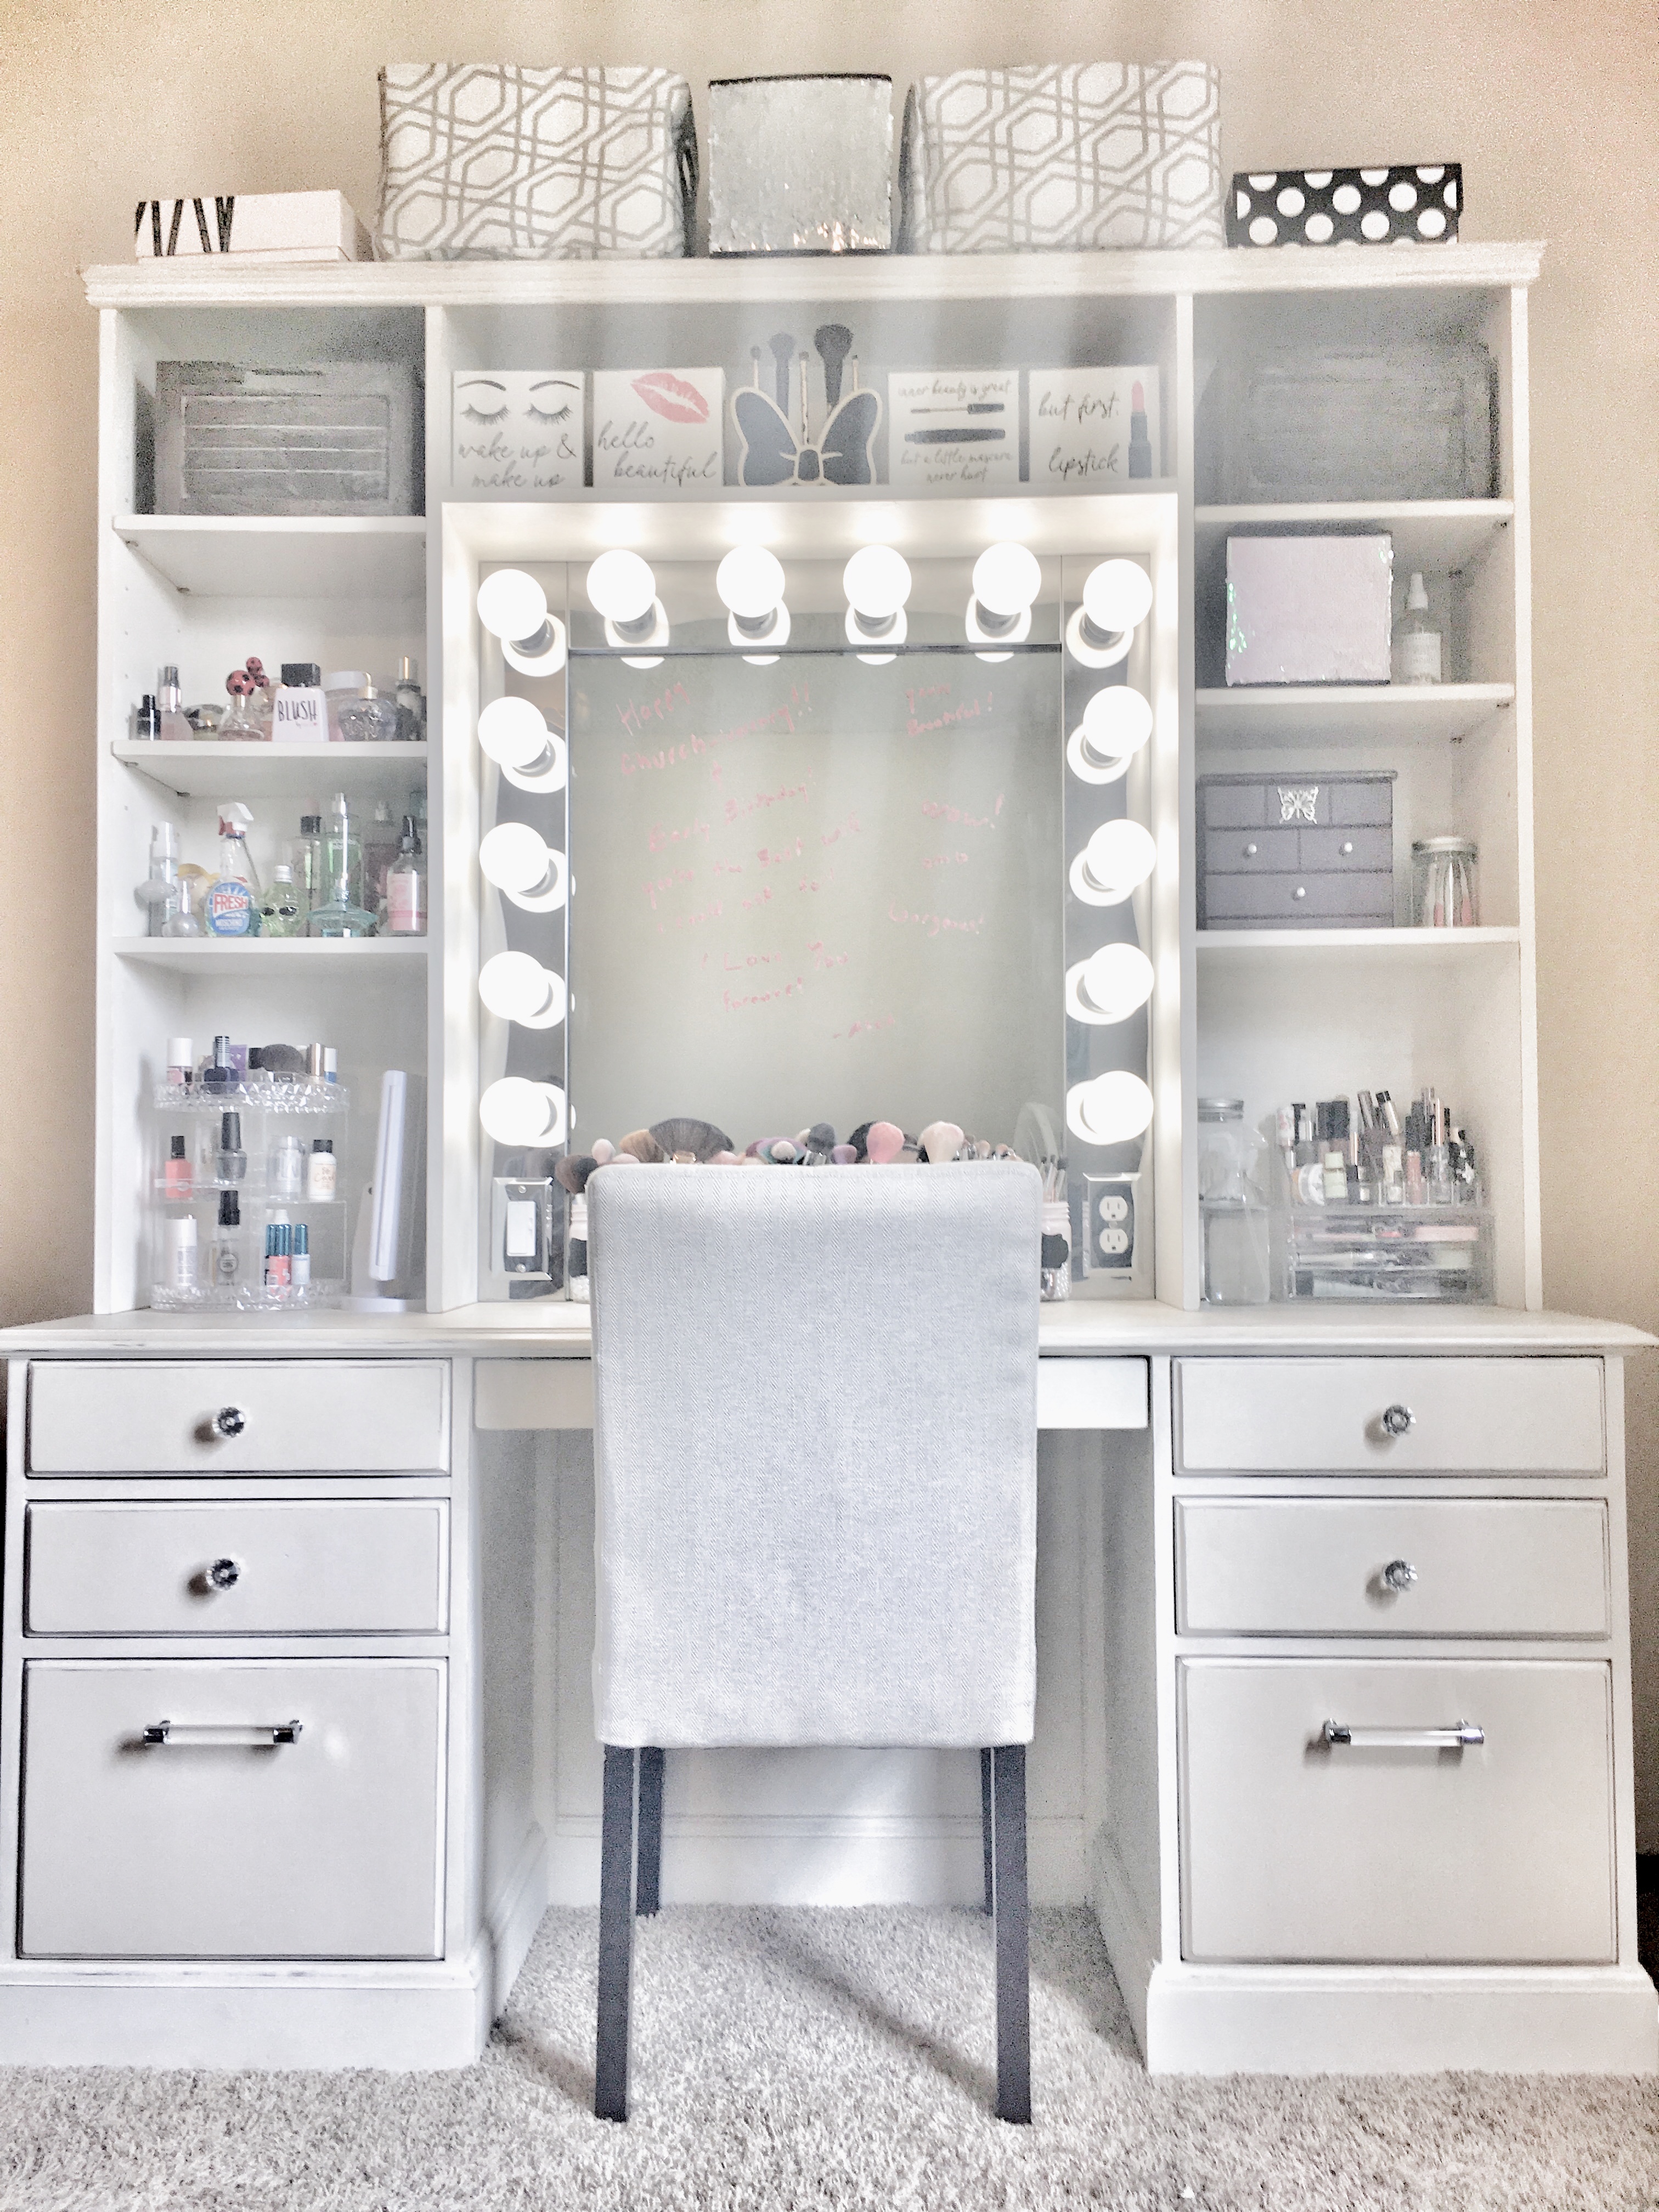
They have slowly been getting settled into their new house, and her lack of storage has been an ongoing issue. But, instead of telling her to get rid of all of her makeup, Alex decided to surprise her with a custom vanity that would not only store things, but also encourage her to use her talent and passion for makeup!
Base
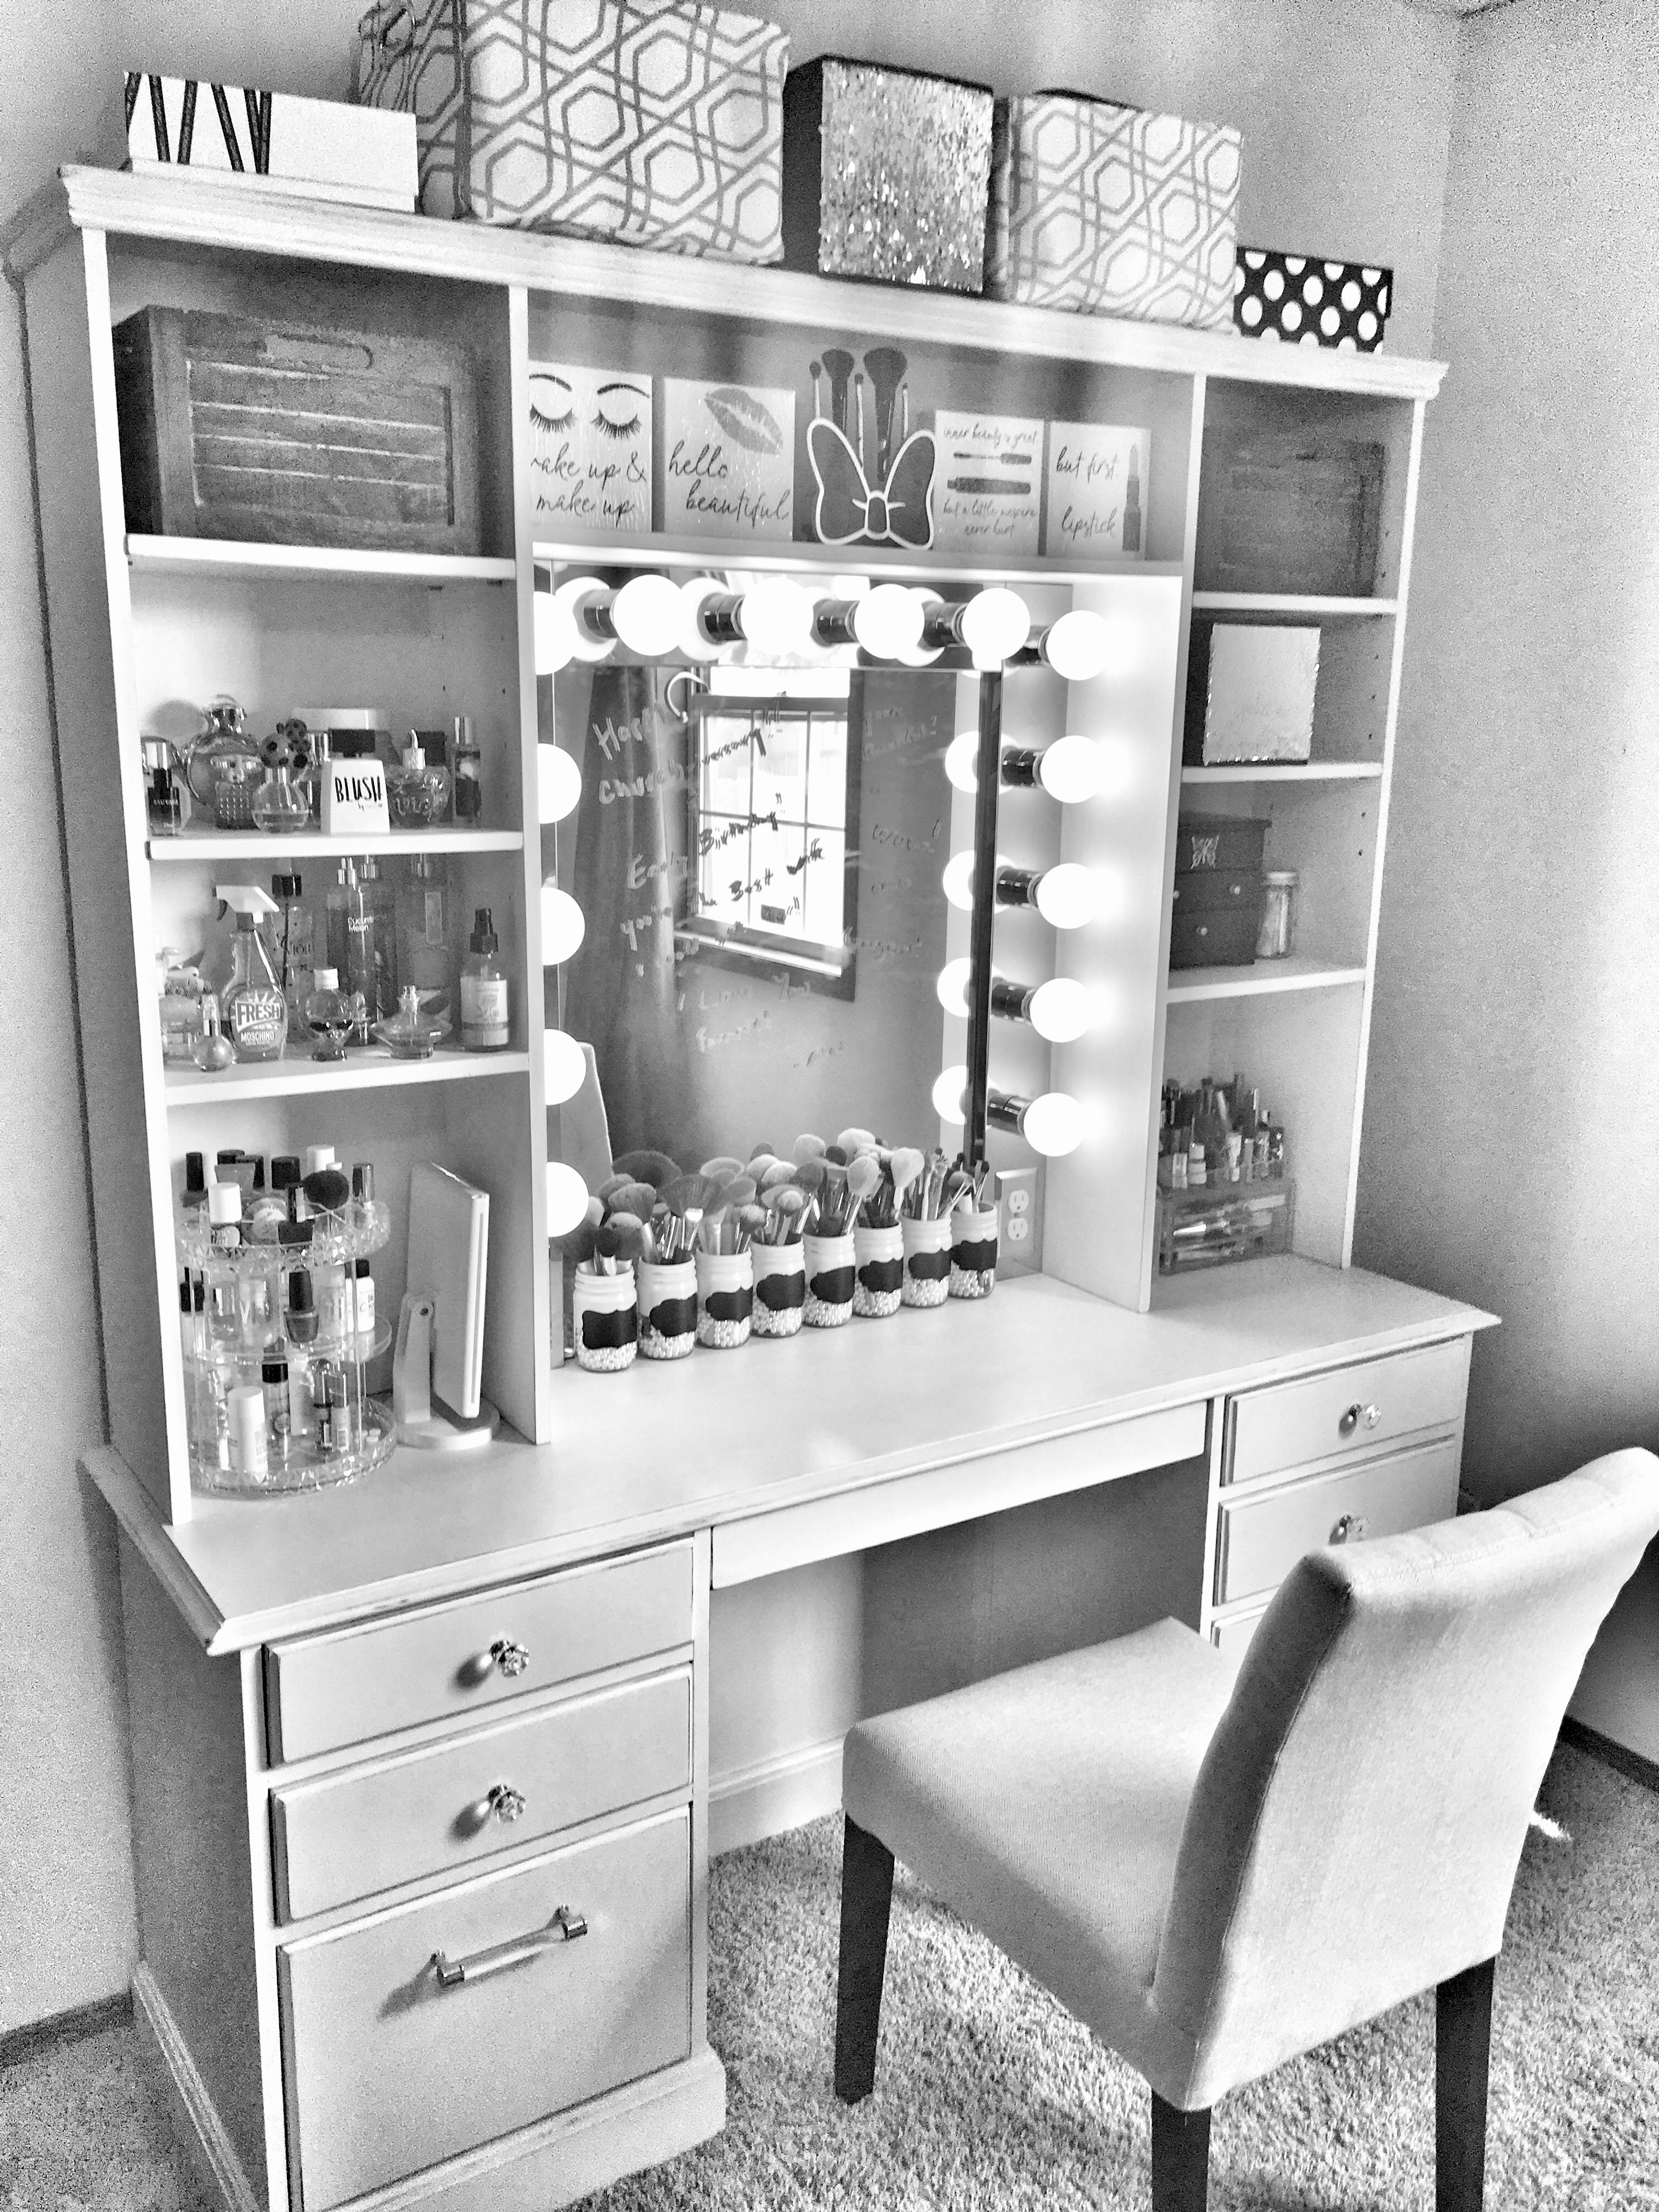
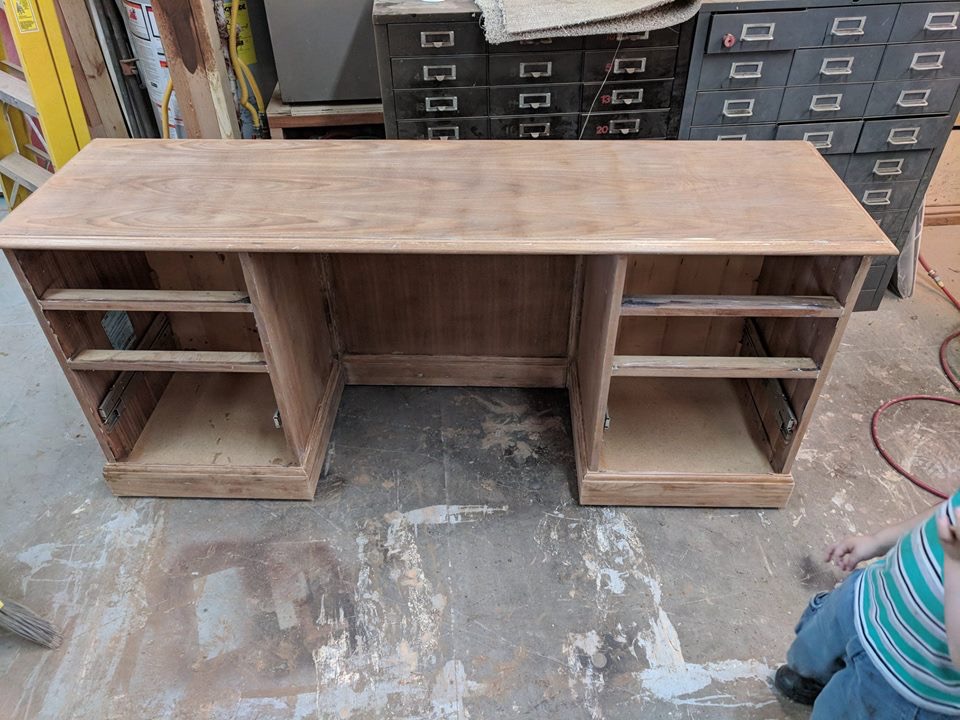
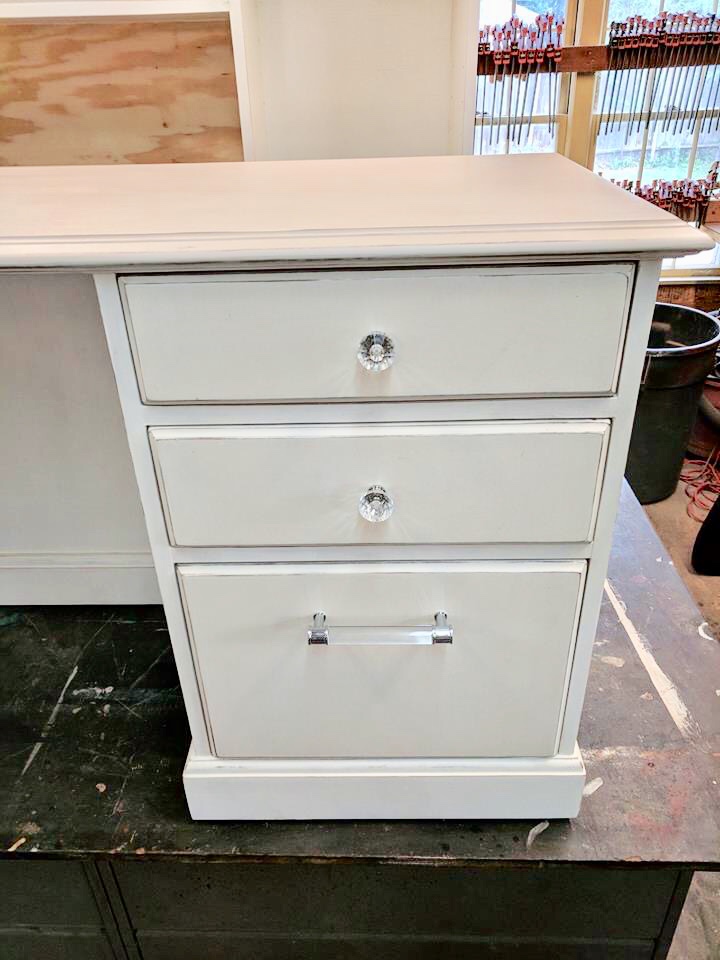
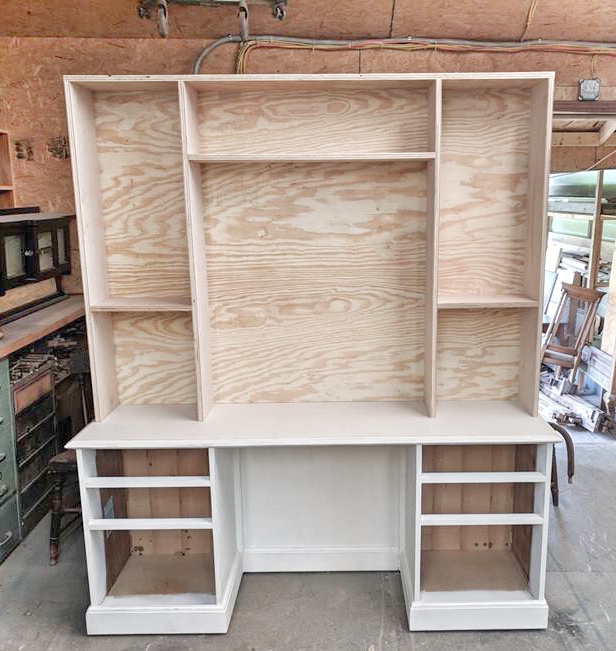
I began to search for ideas, and found a desk on a buy/sell/trade site that looked sturdy and had lots of drawers. I knew we would probably have to design the top and mirror from scratch, so it was nice to start with a solid base and build from there. The paint job was terrible, so it had to be completely stripped, sanded, and repainted. Alex liked how I refinished our farmhouse bench, and wanted to do the same for the vanity.
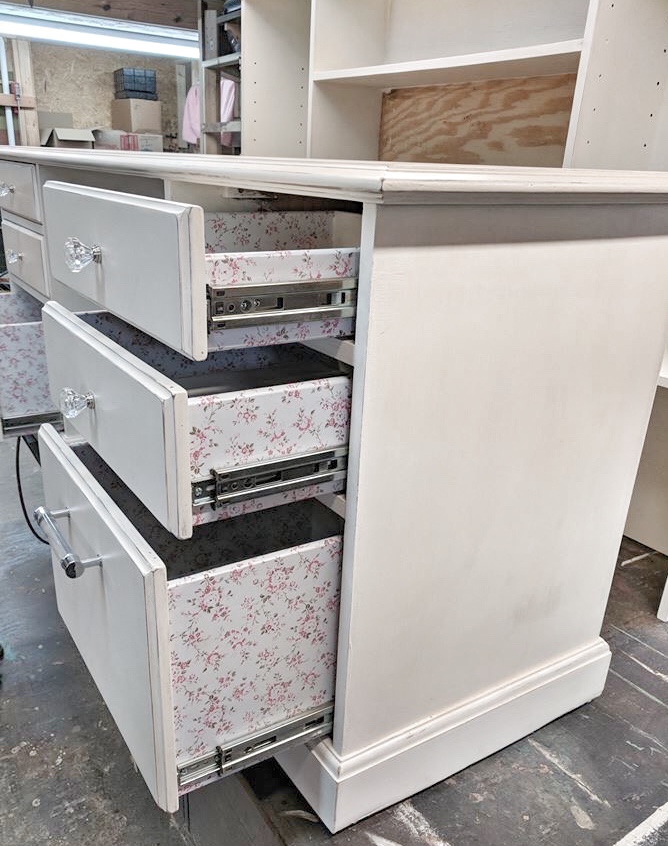
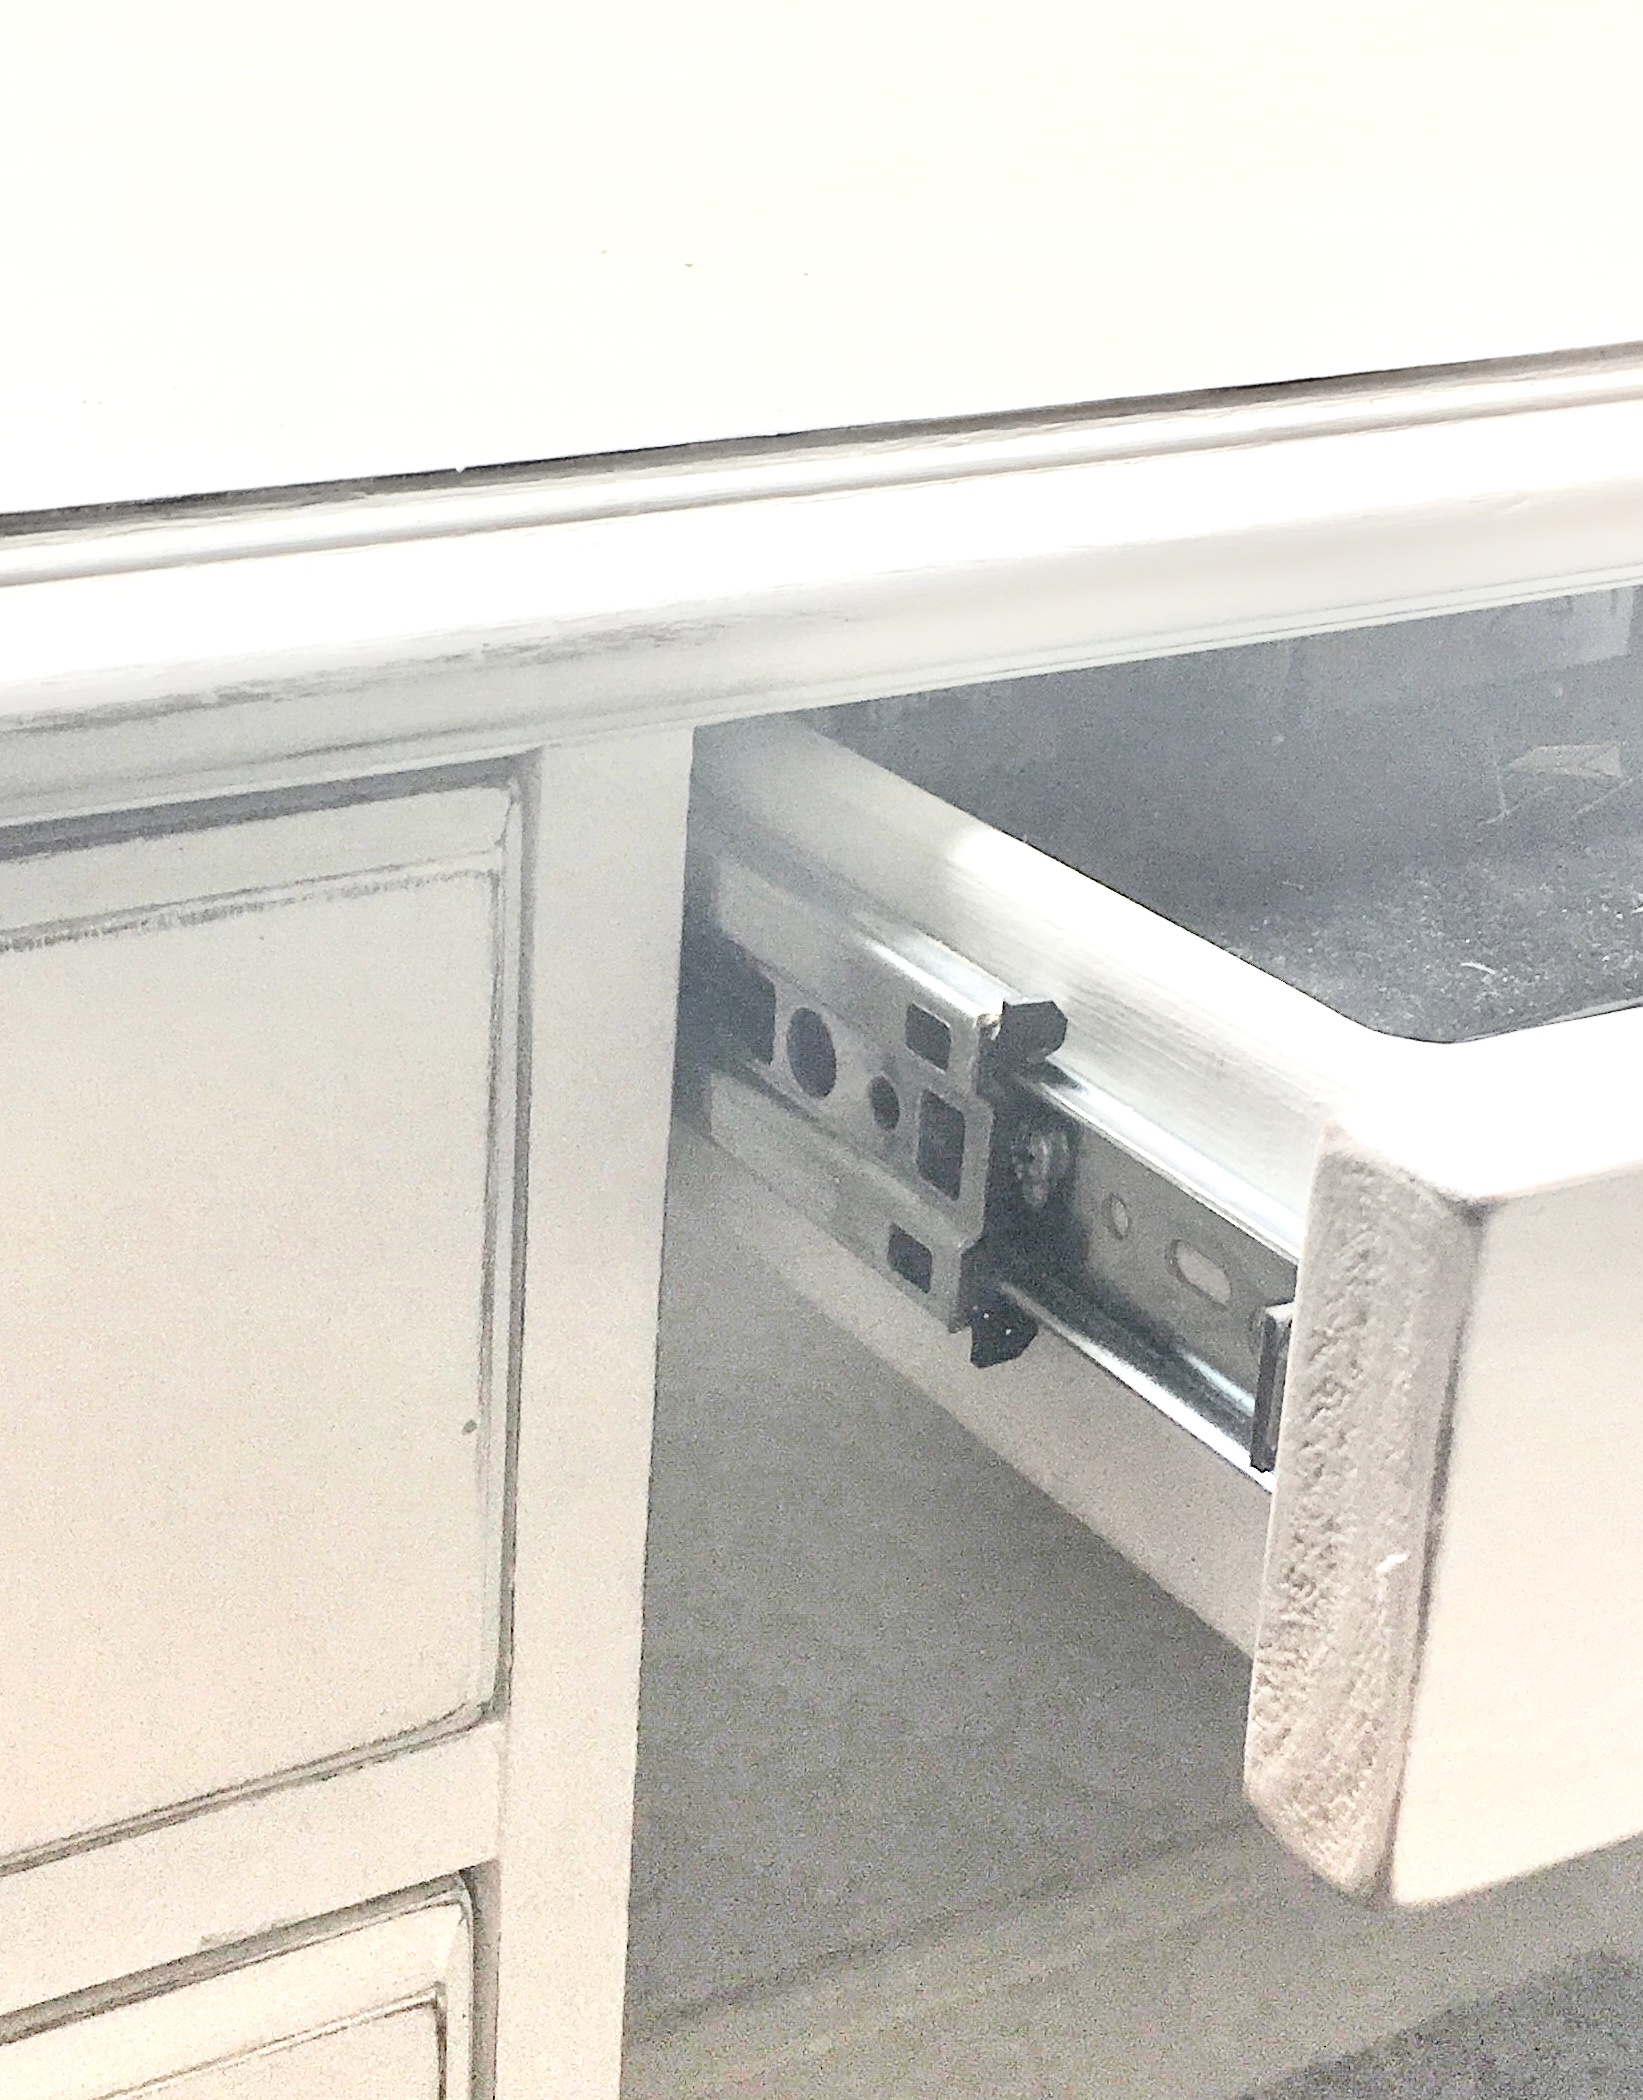
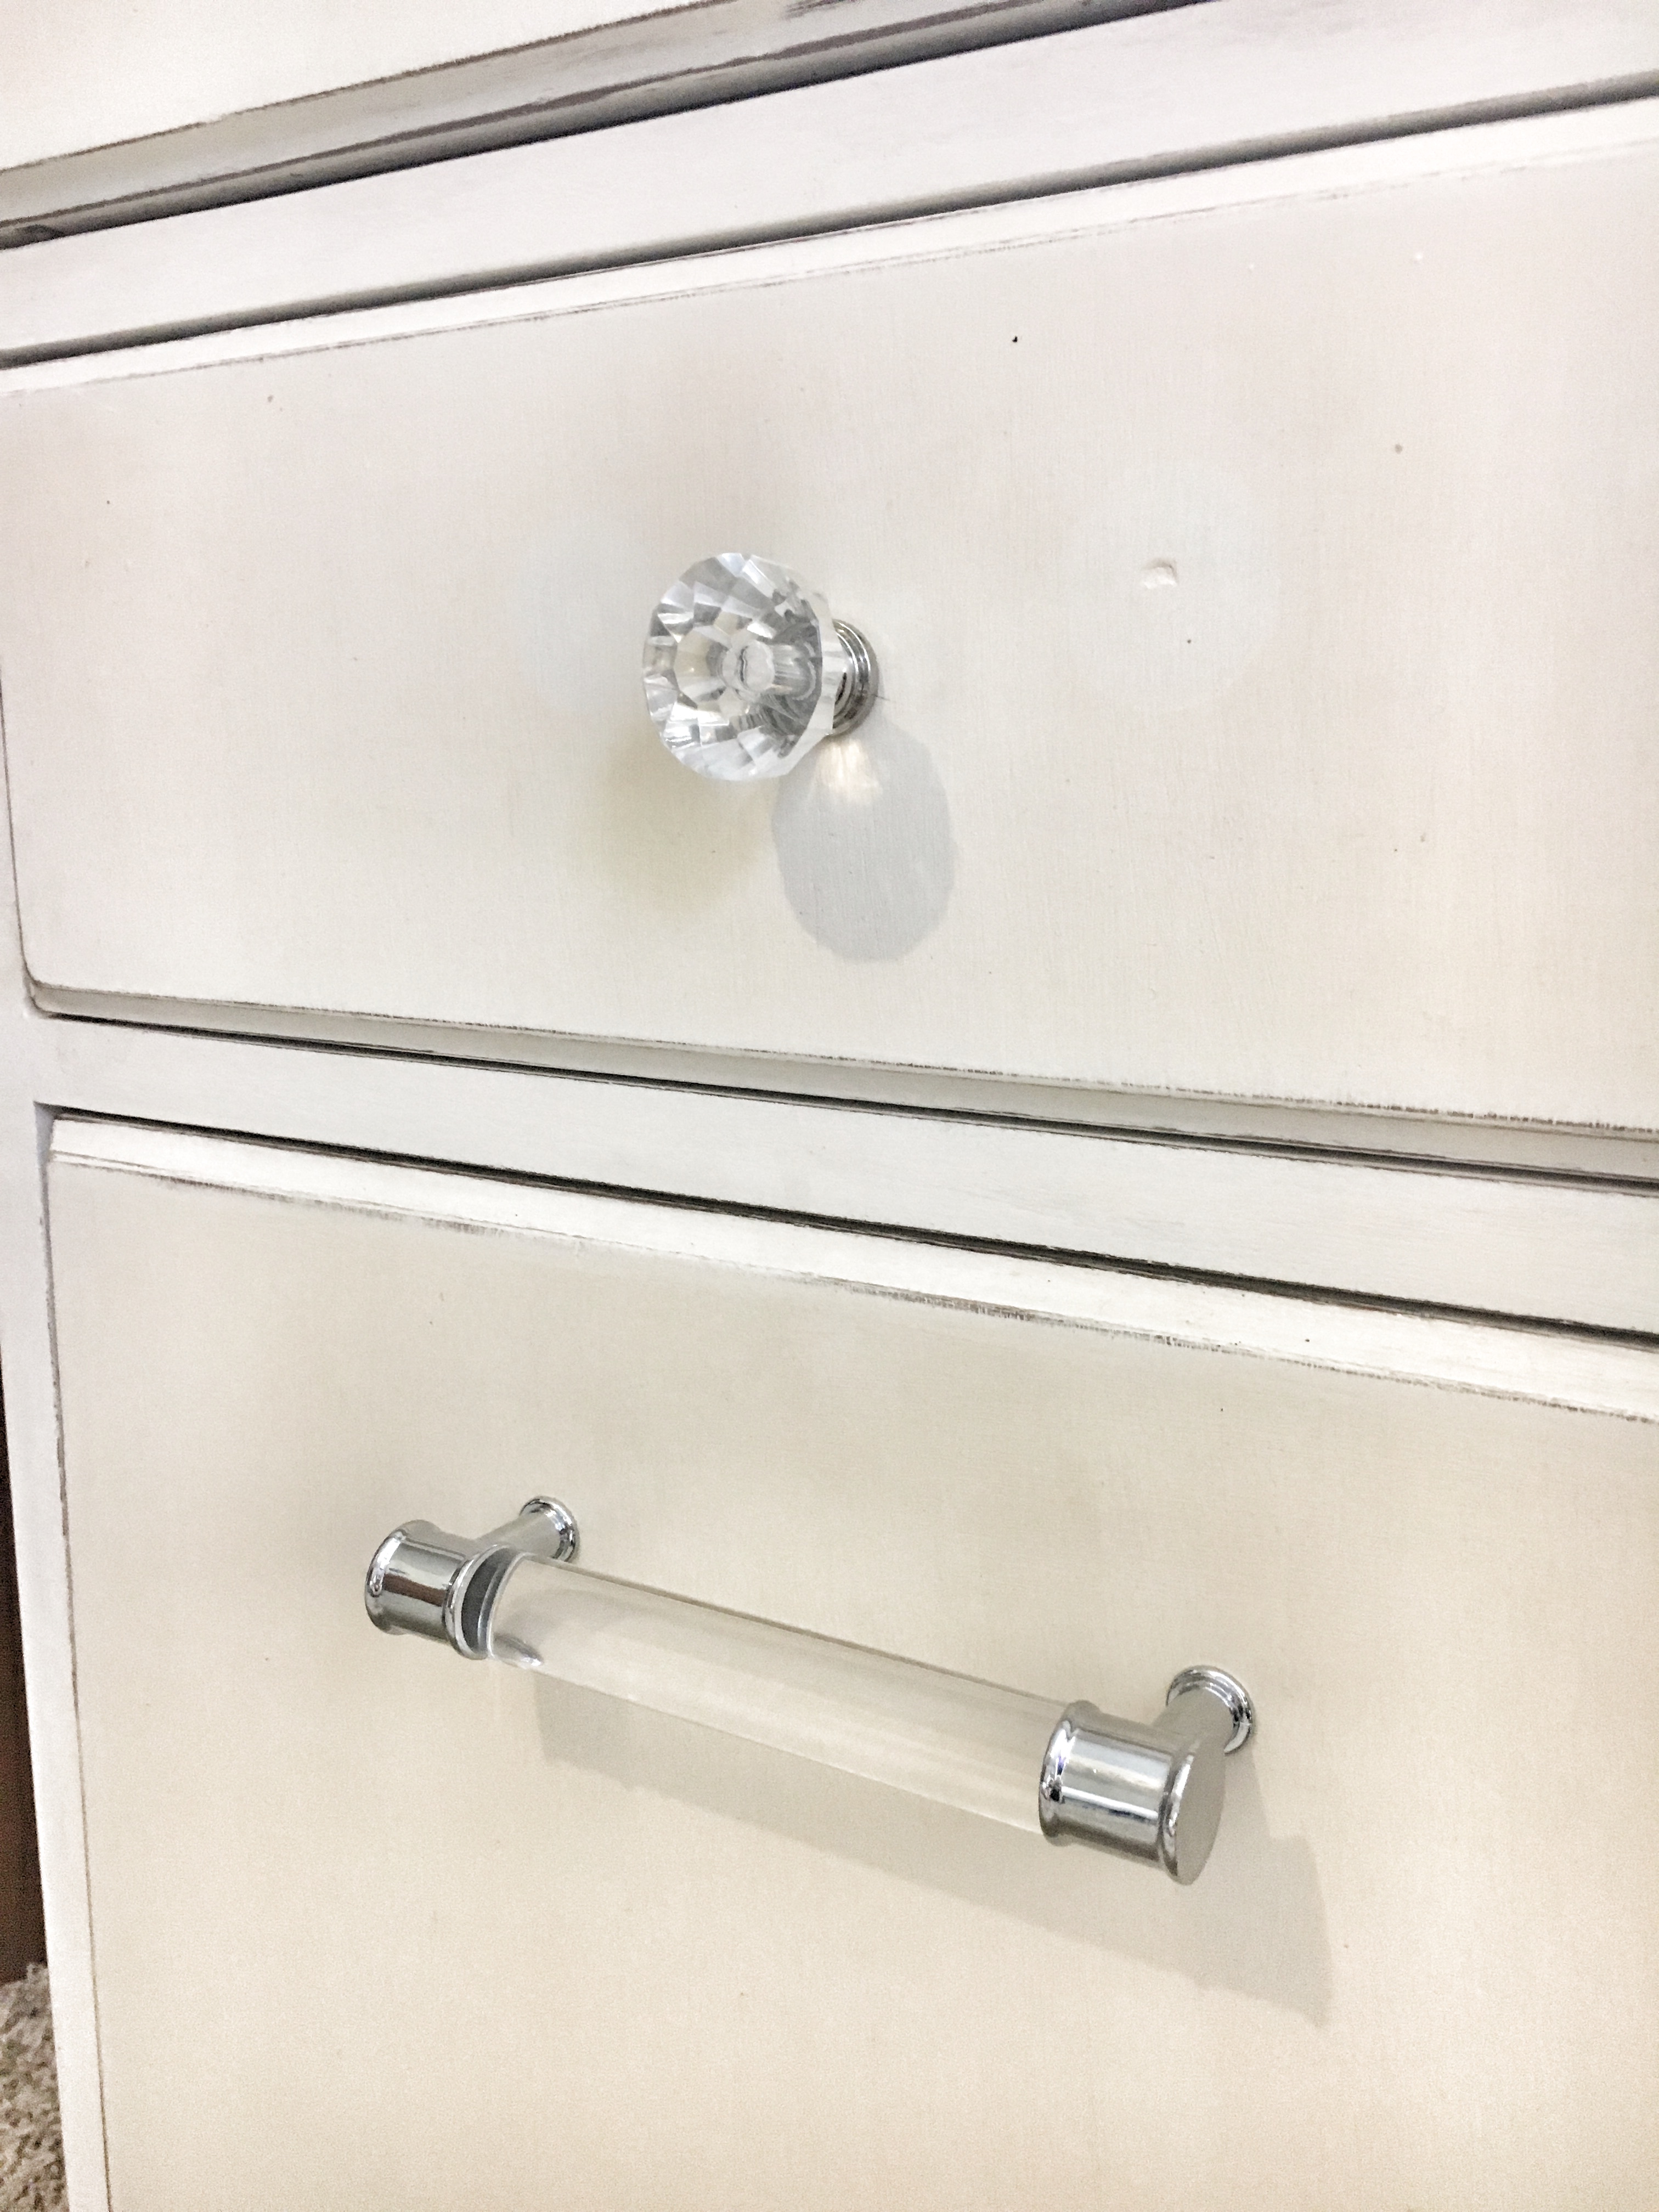
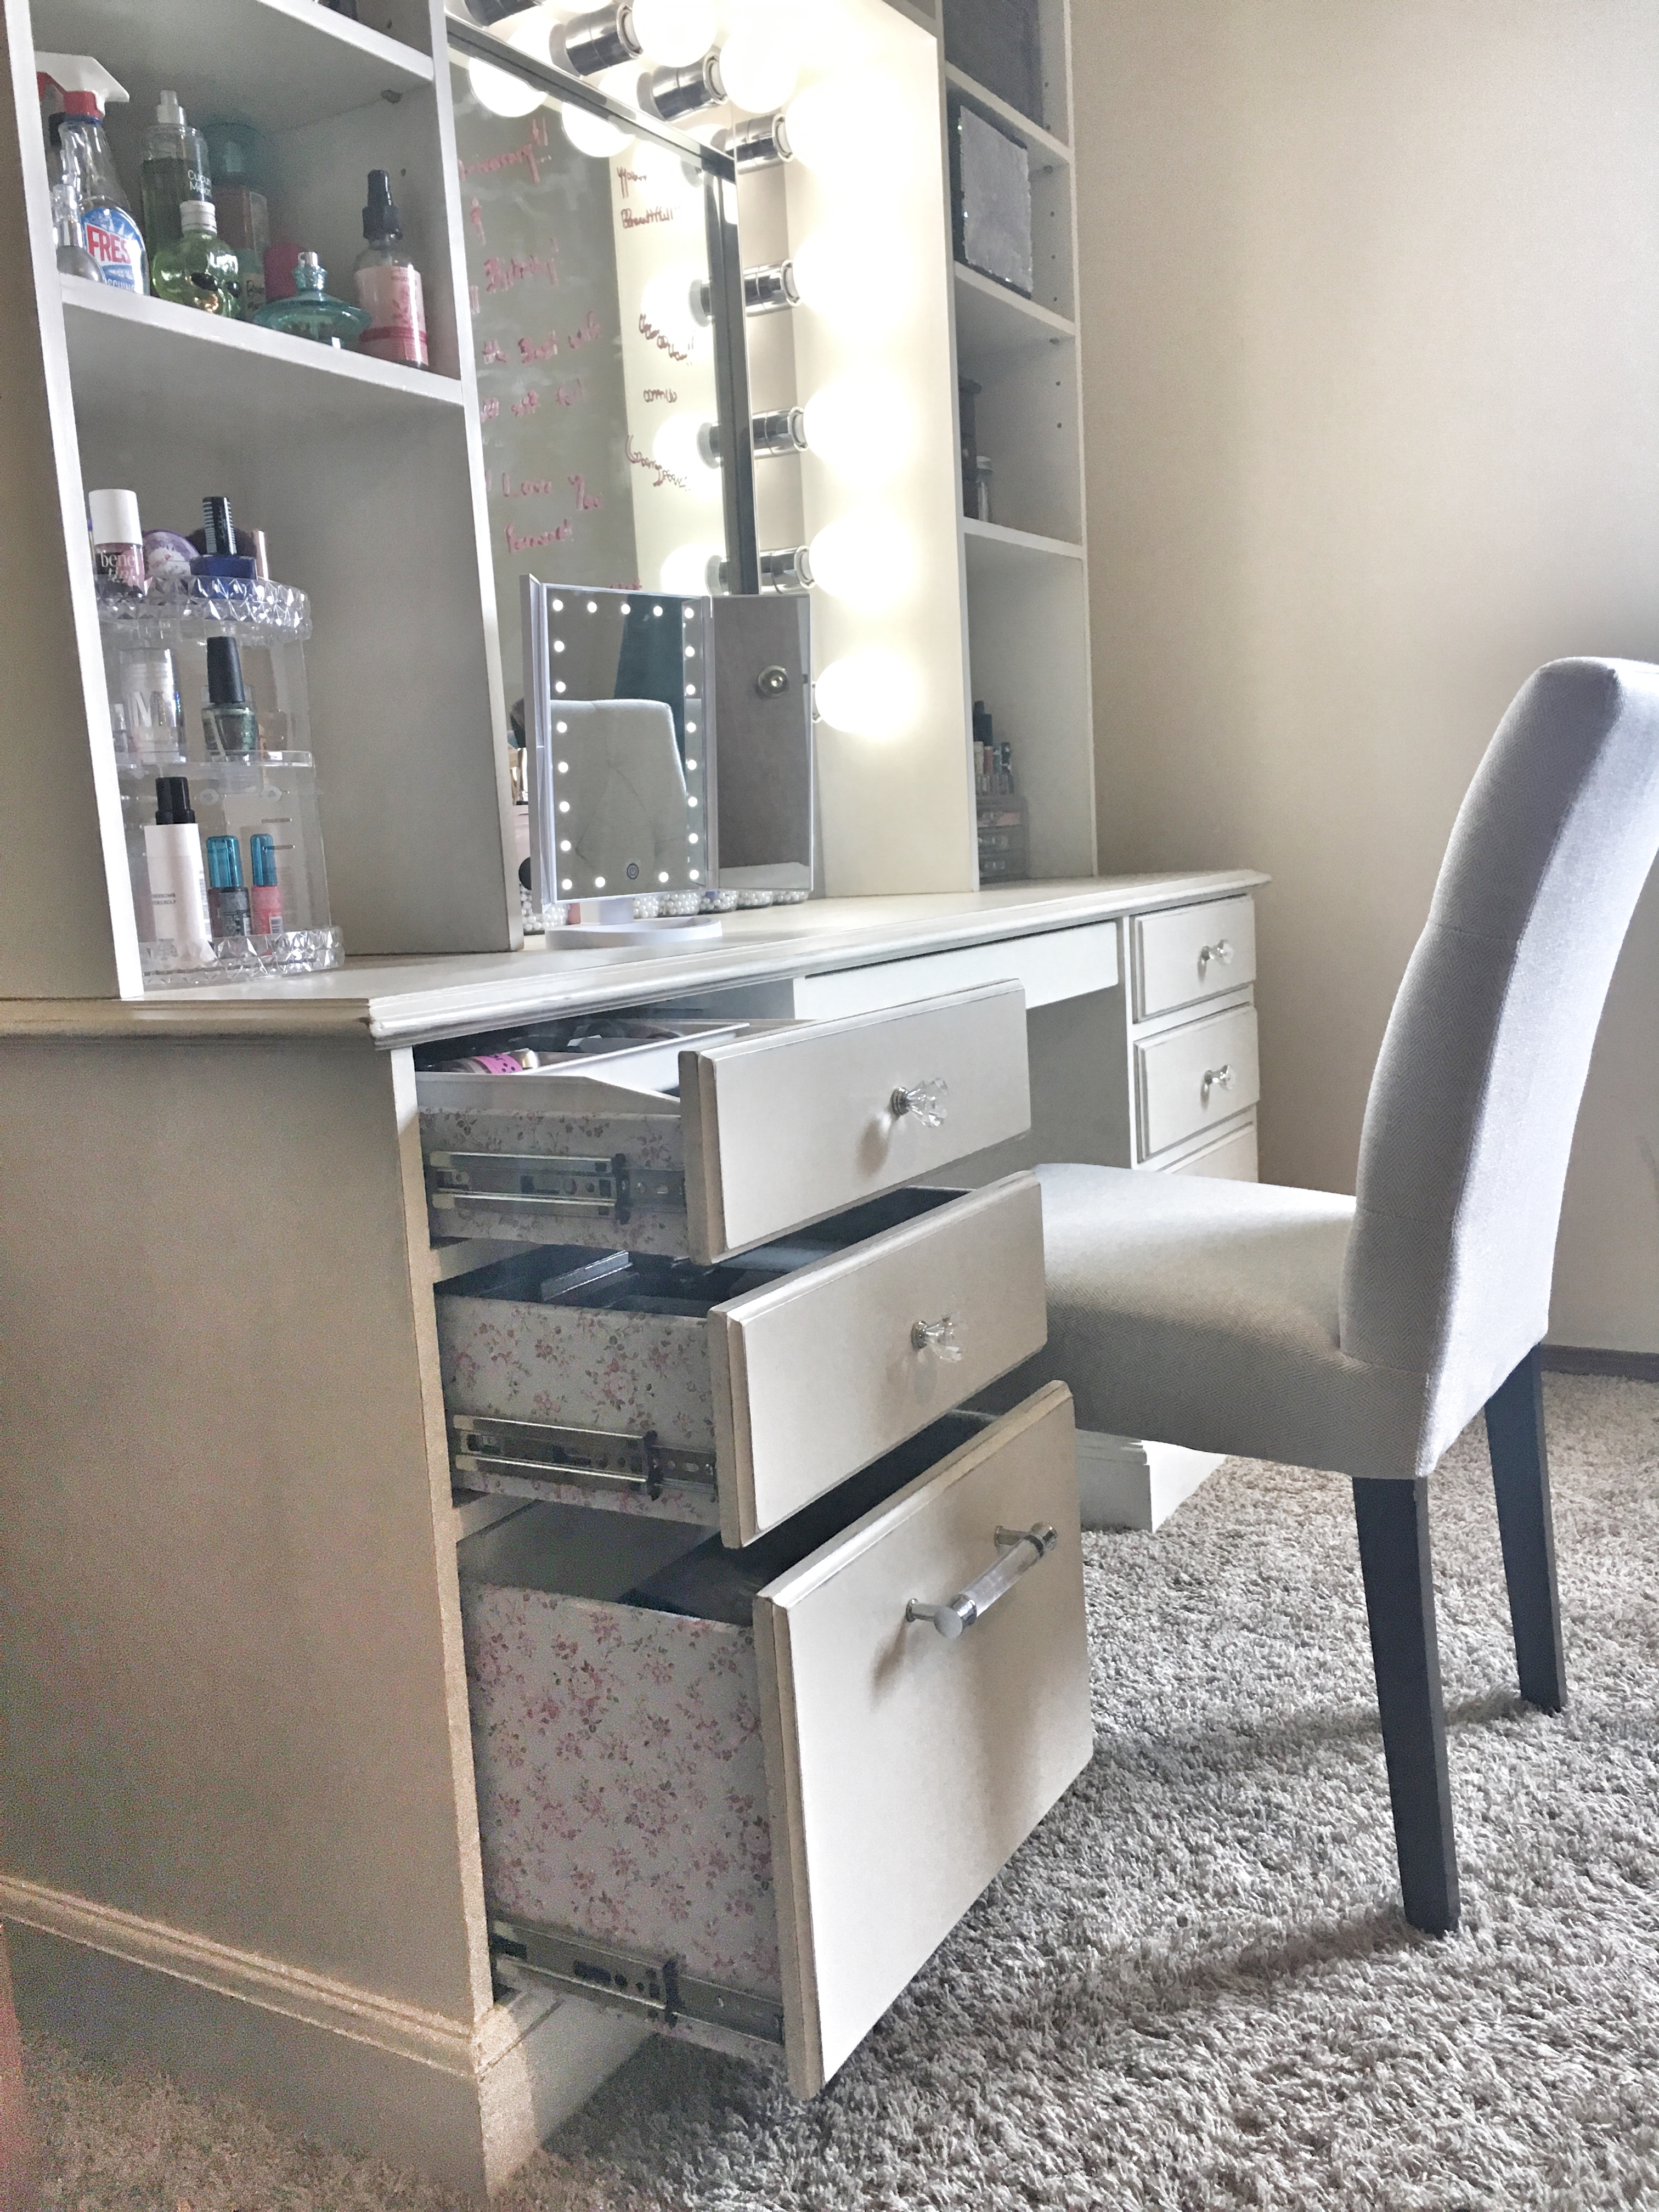
Once the paint was finished, the next step was to tweak the drawers a little bit. They were not on full-exend tracks, so anything in the back of the drawers wouldn’t be easy to see or get to. Those were pretty easy to switch out, and that made it a lot more functional! My dad also built a drawer to fit in the middle to give it a little more storage. Adding crystal pulls on the drawers really added an elegant feature to finished off the base.
Top
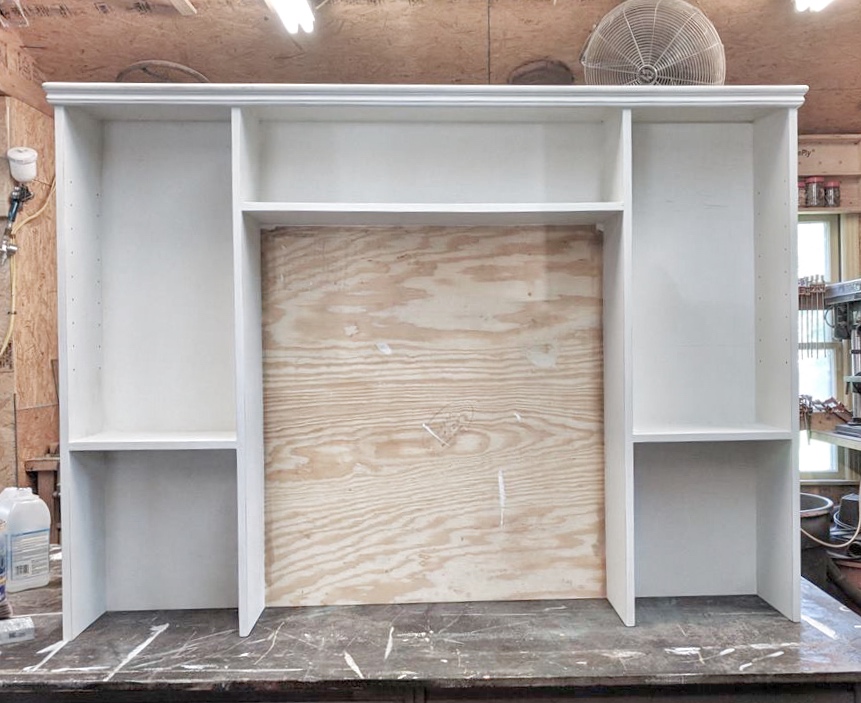
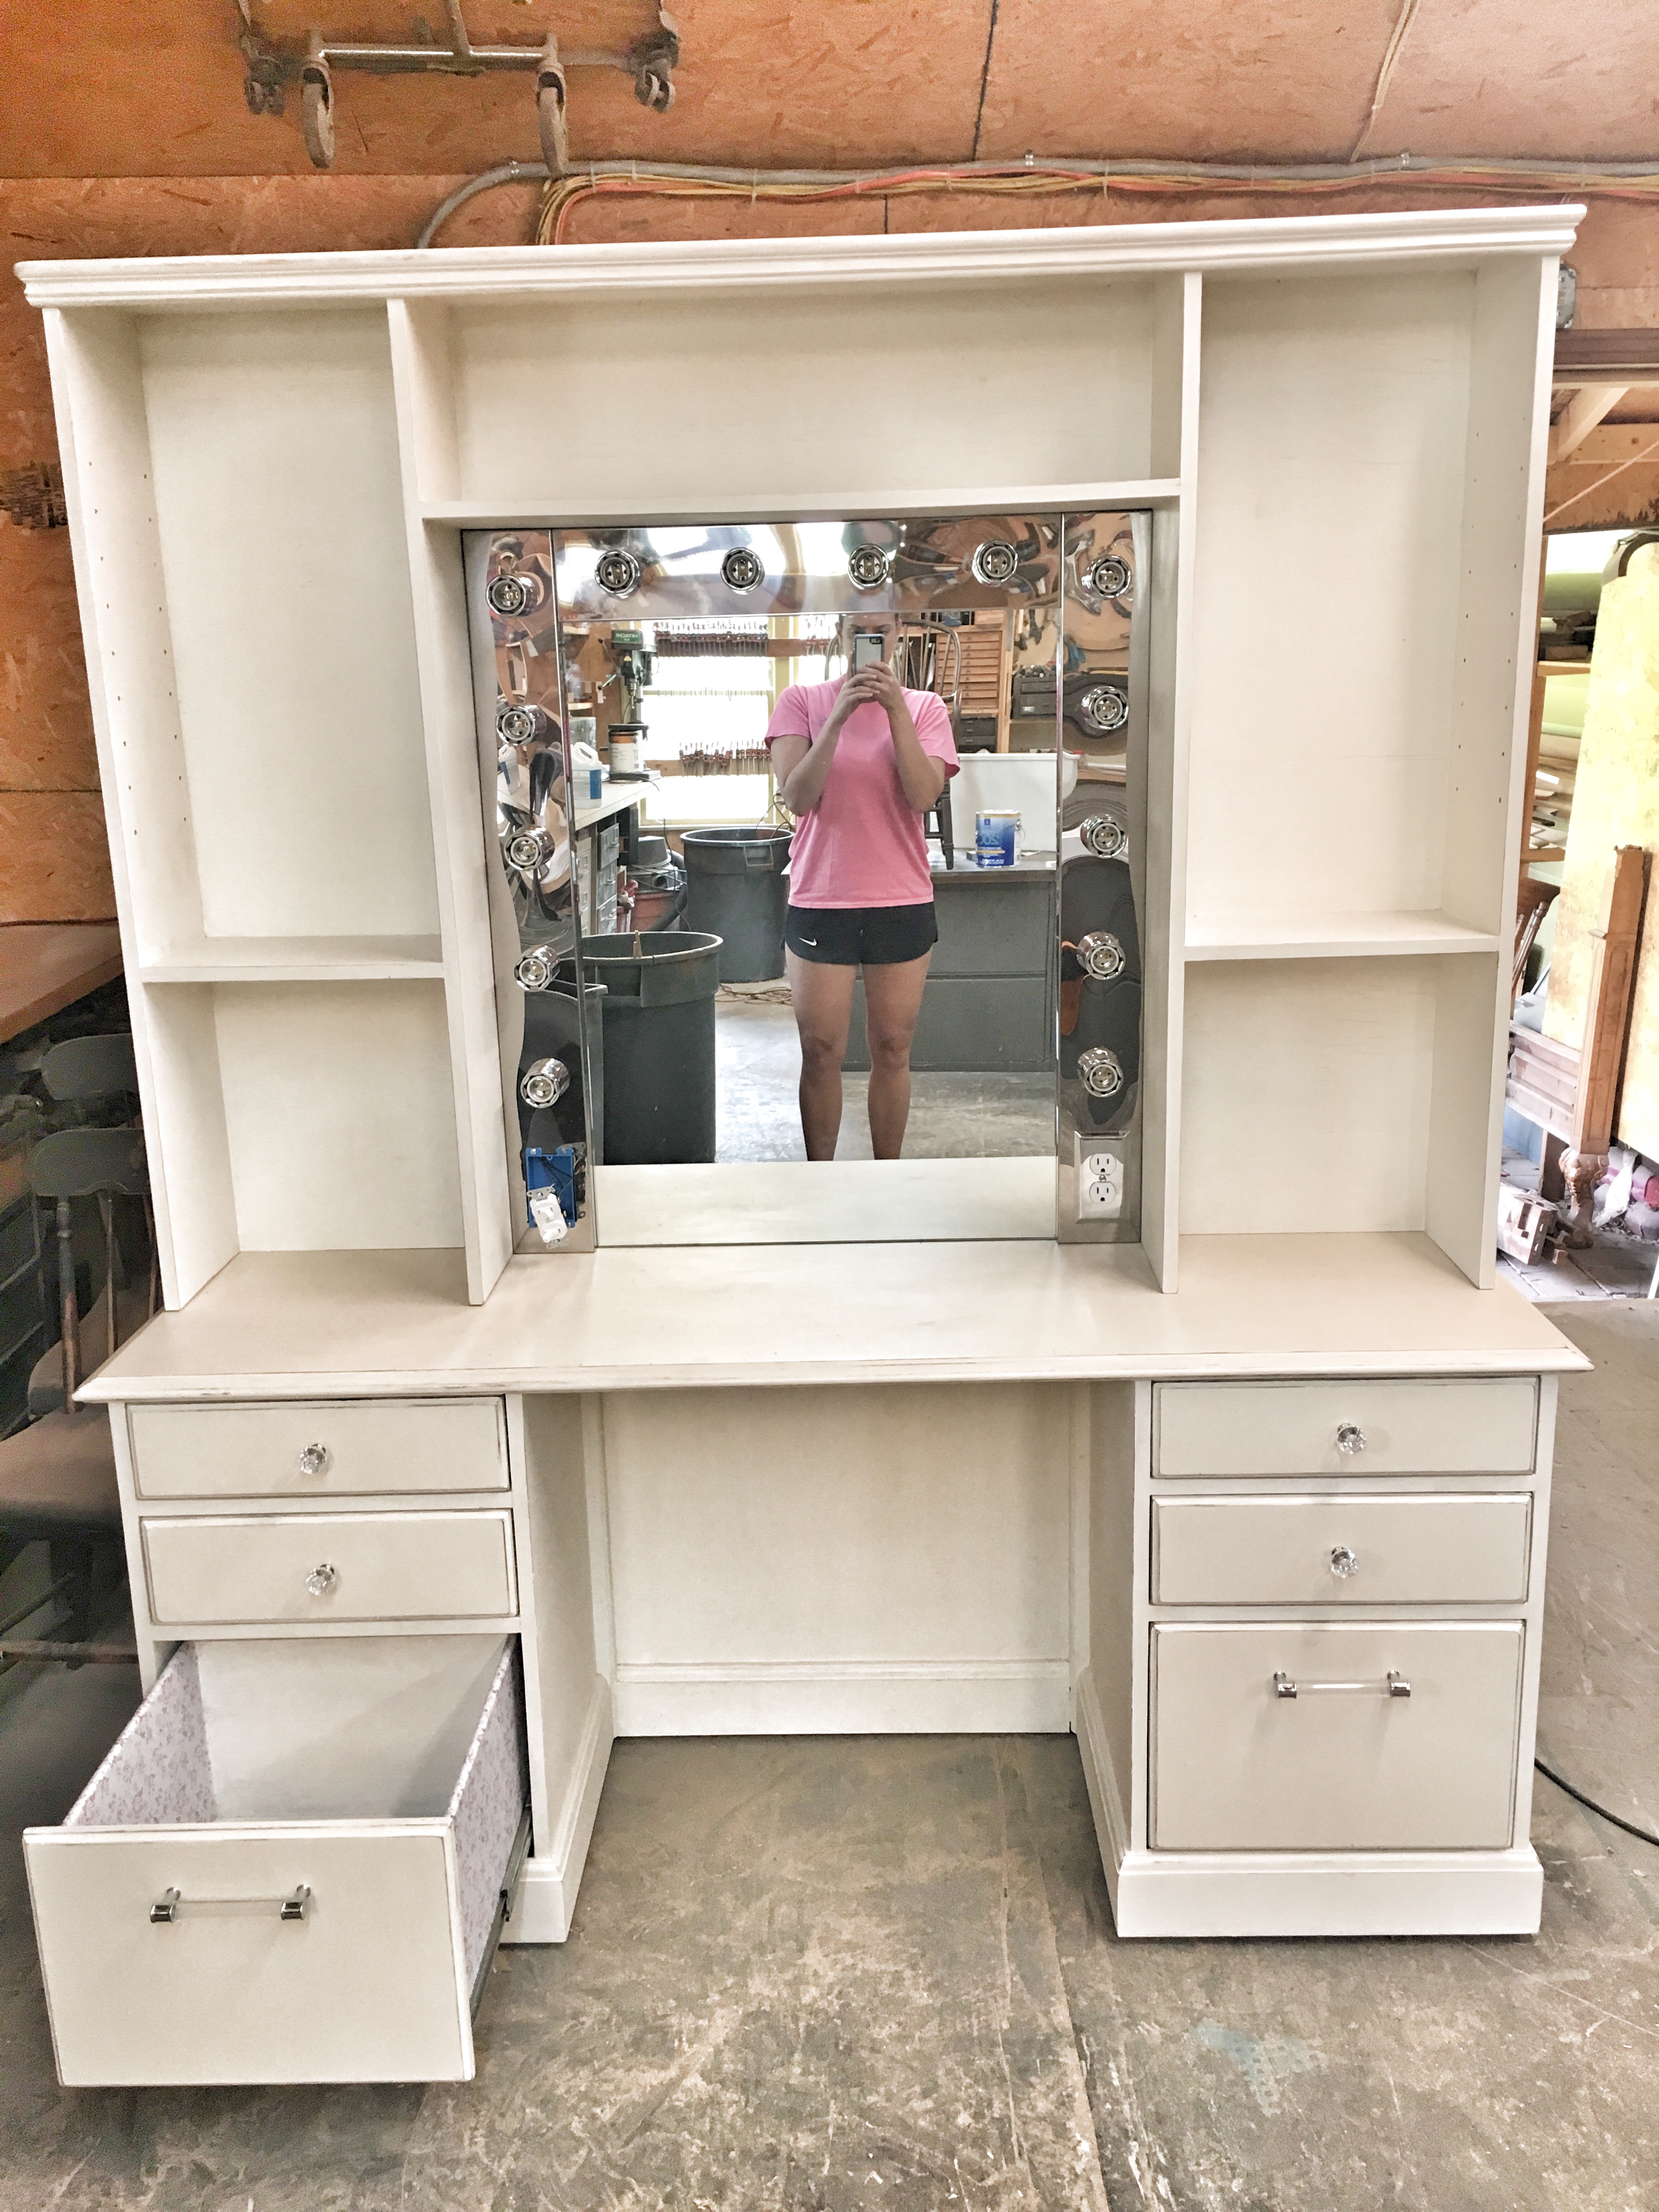
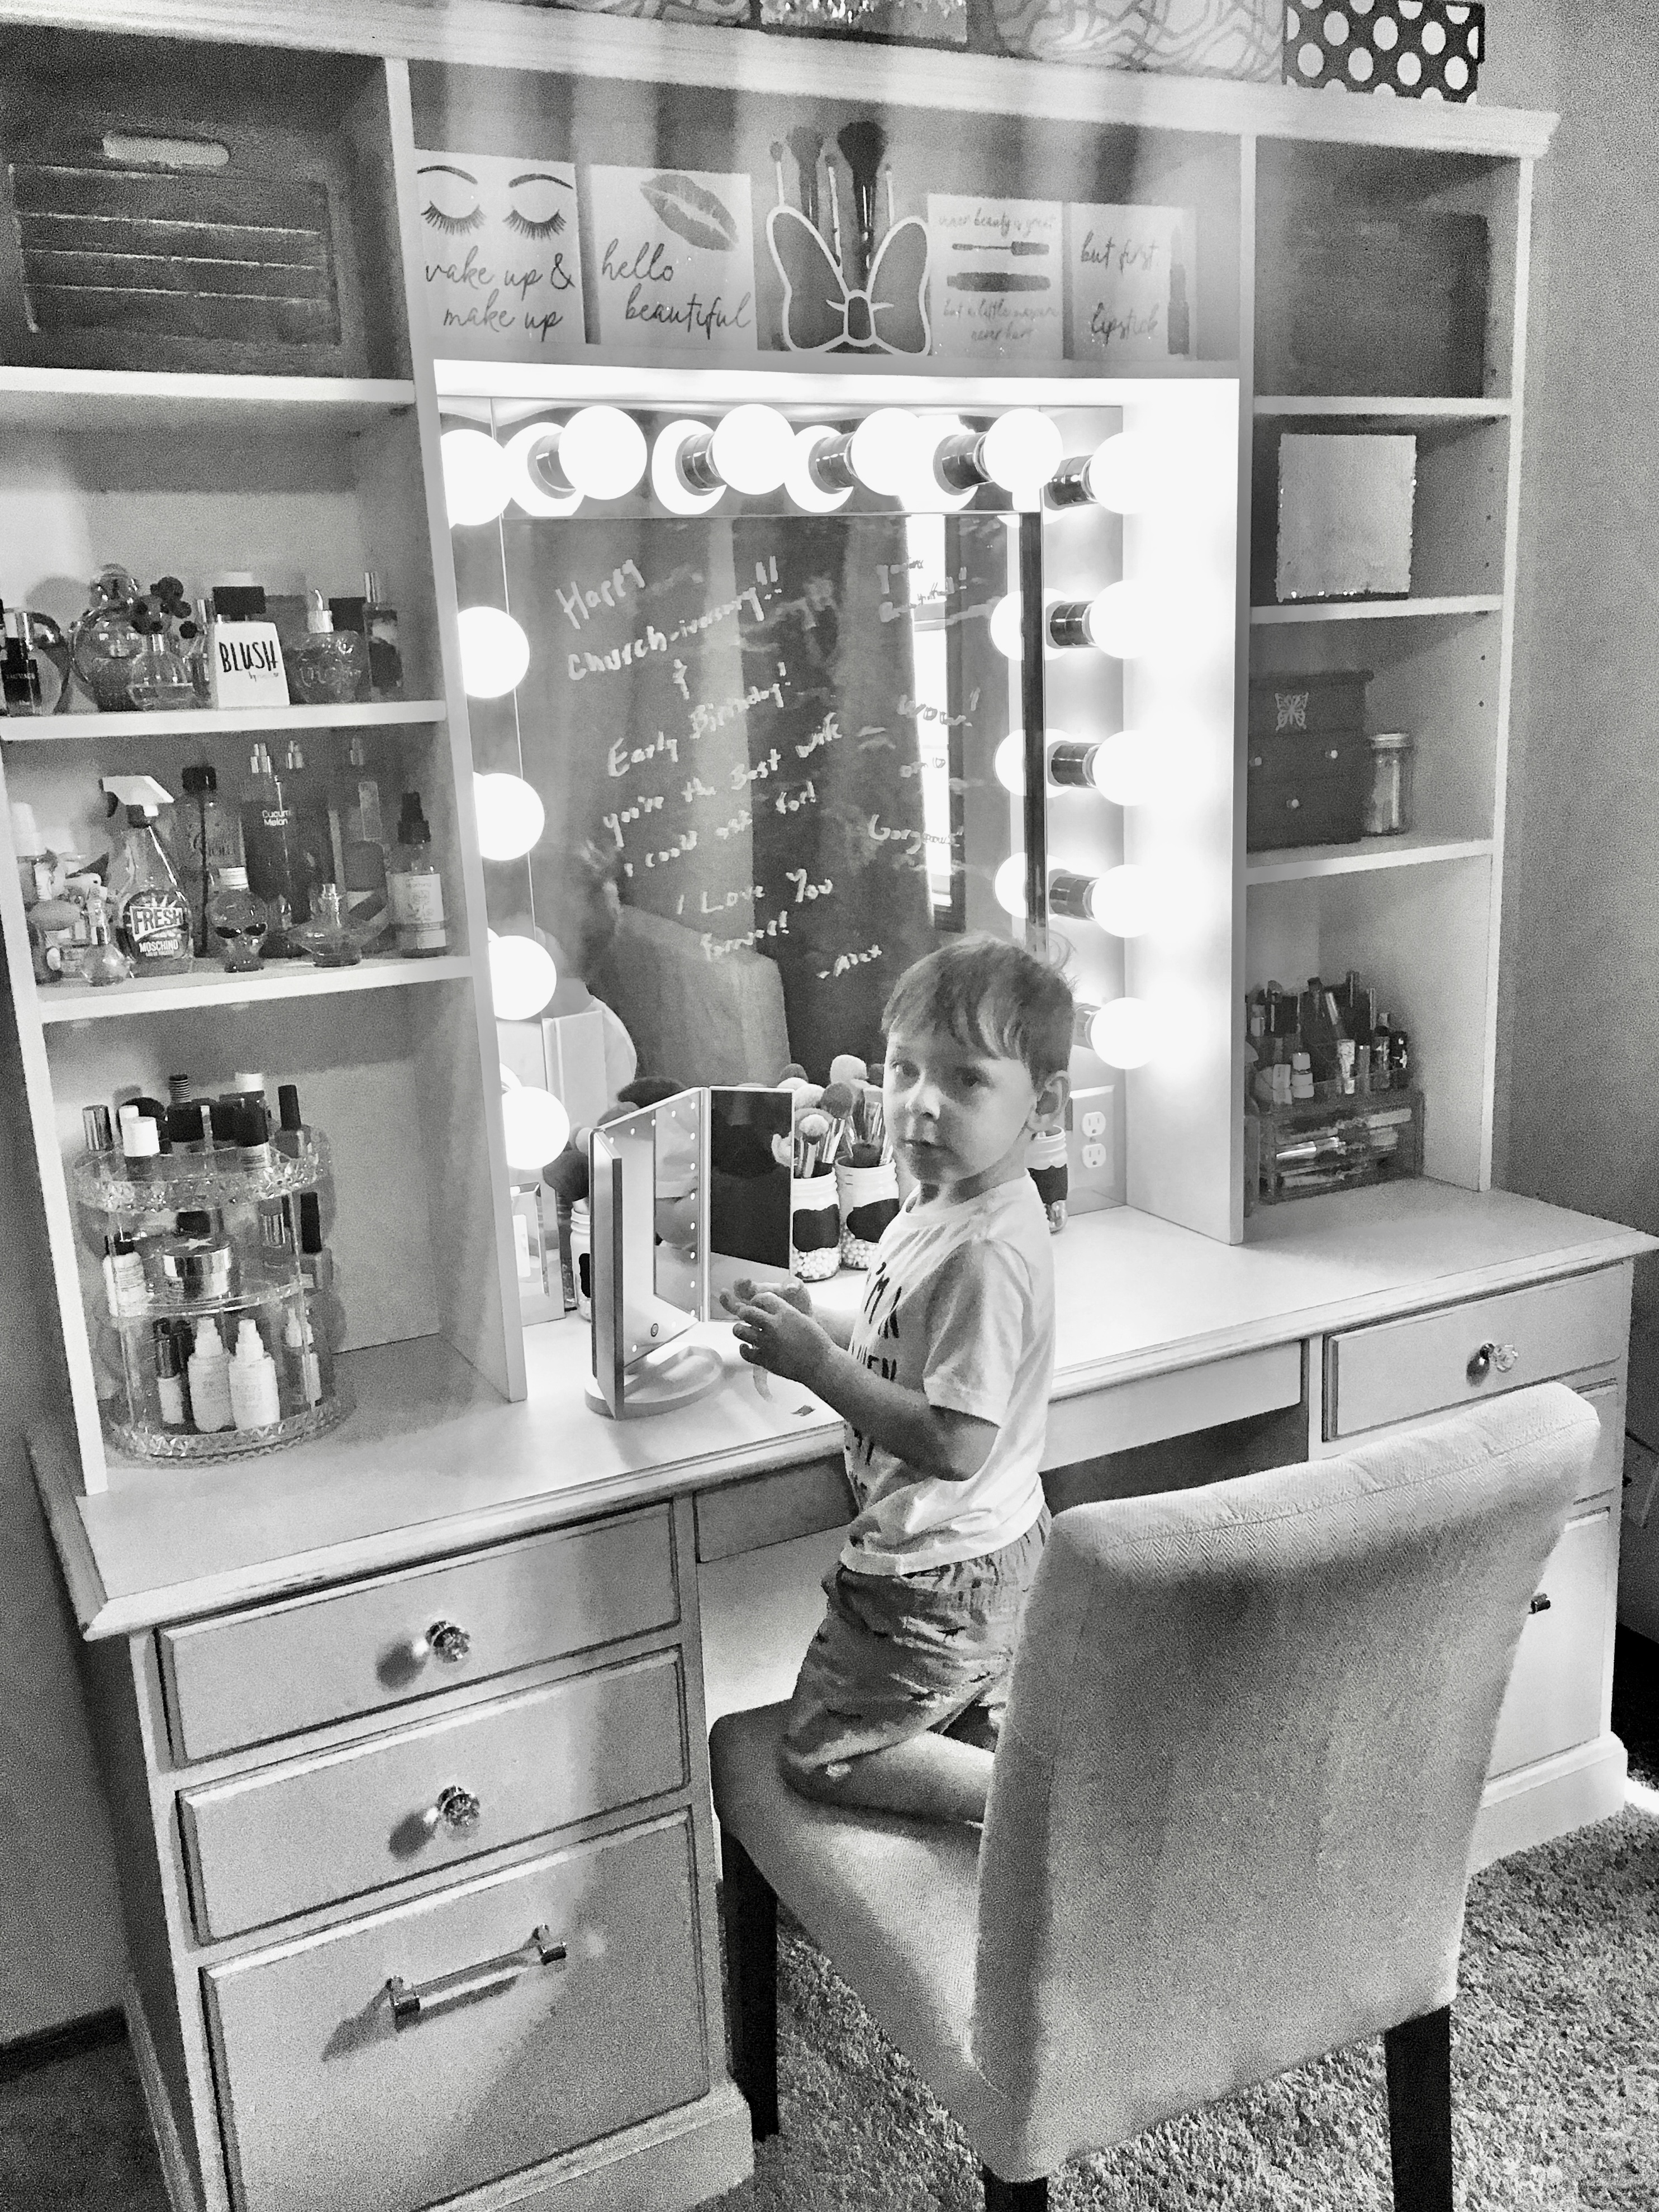
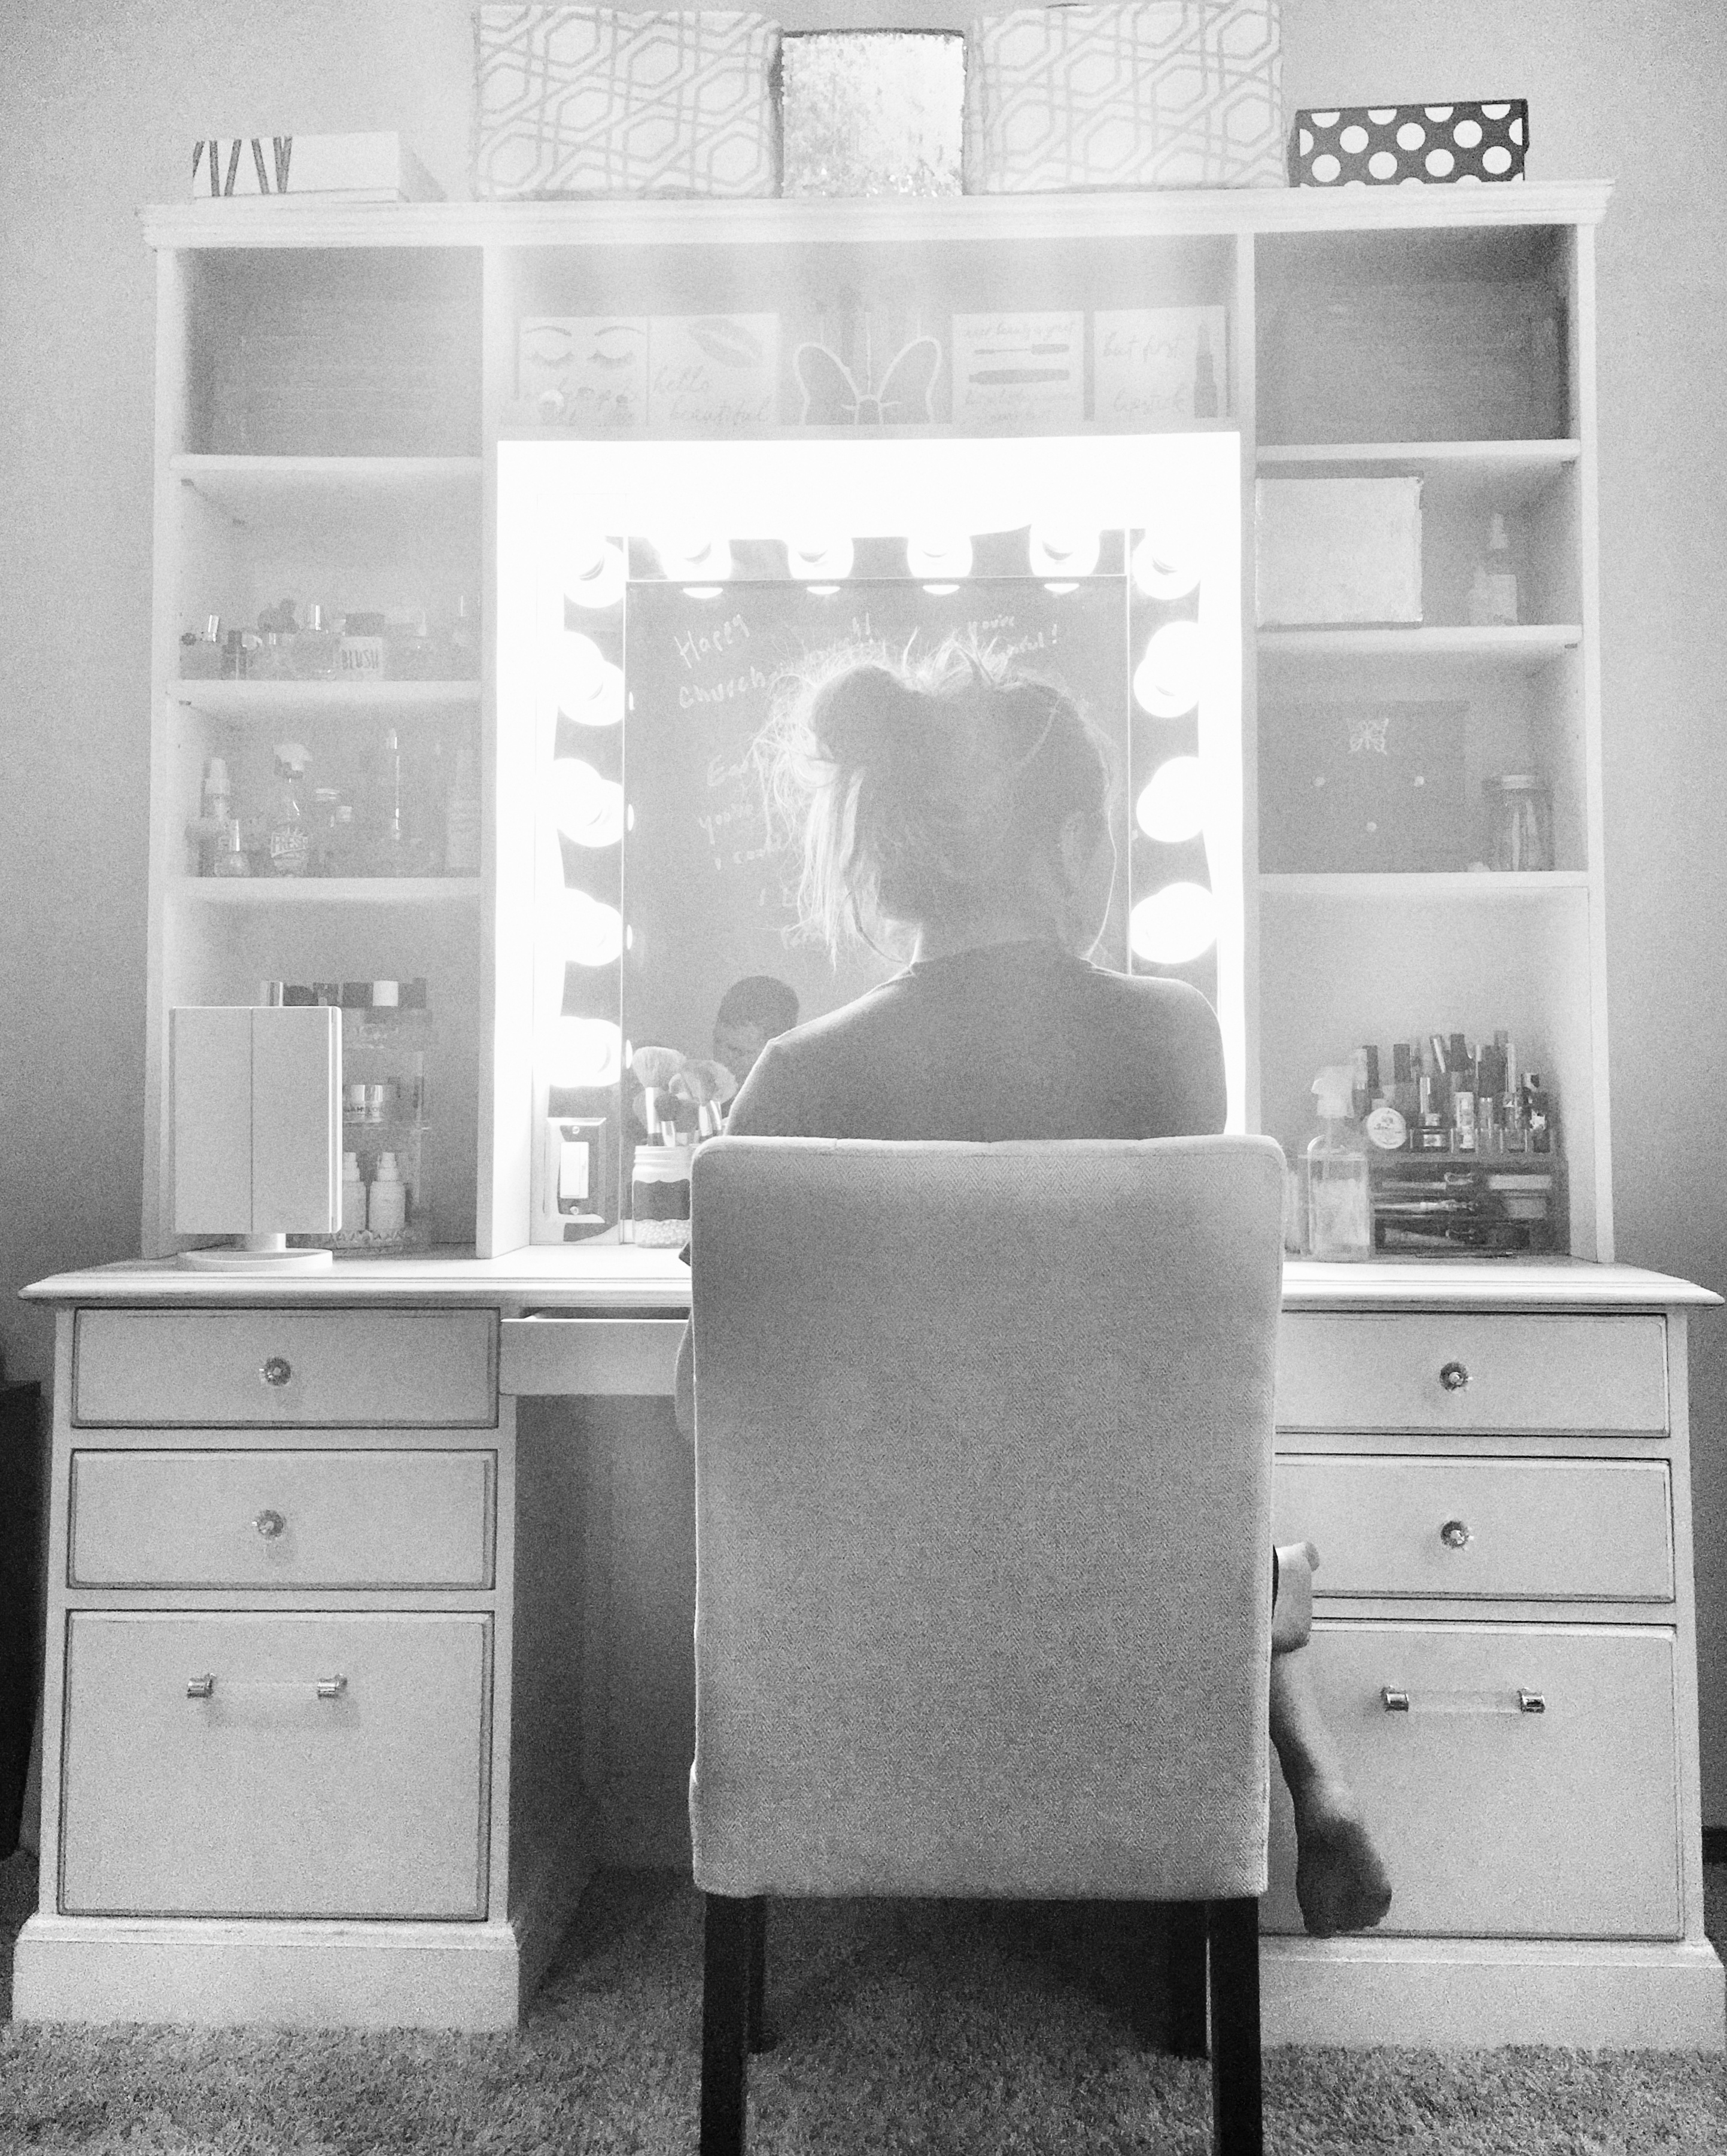
The drawers, by themselves, weren’t going to be enough storage, so we decided to design a top with vertical cubbies and attach the mirror to that. The top was built out of a two sheets of plywood because we needed enough for the vertical cubbies, and a back piece that covered the whole thing. One shelf was built in to each cubby to hold the units together, and one across the top to connect the cubby units. Every other shelf is adjustable. Trim was added to the top, and we used iron-on edge banding so you wouldn’t see the unfinished plywood edges. We painted it the same as the base, leaving the middle portion empty for the mirror.
Hollywood Style Mirror
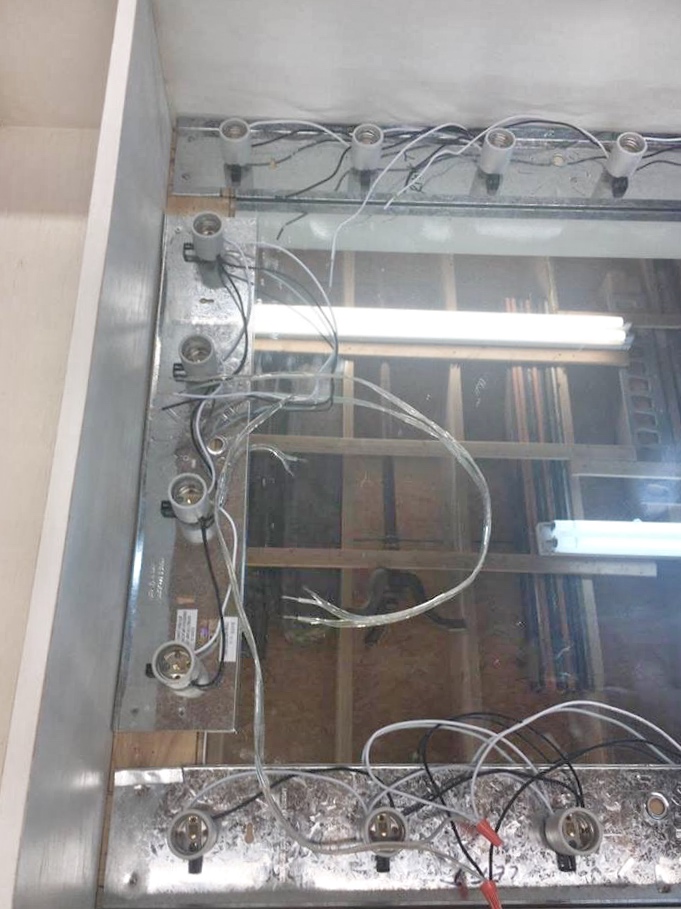
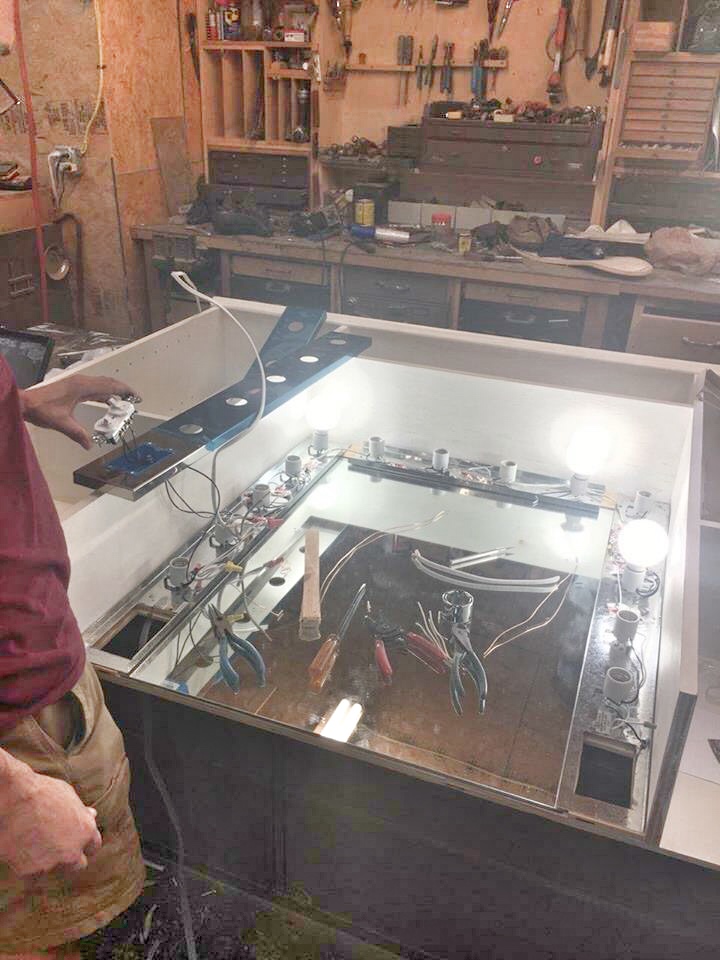
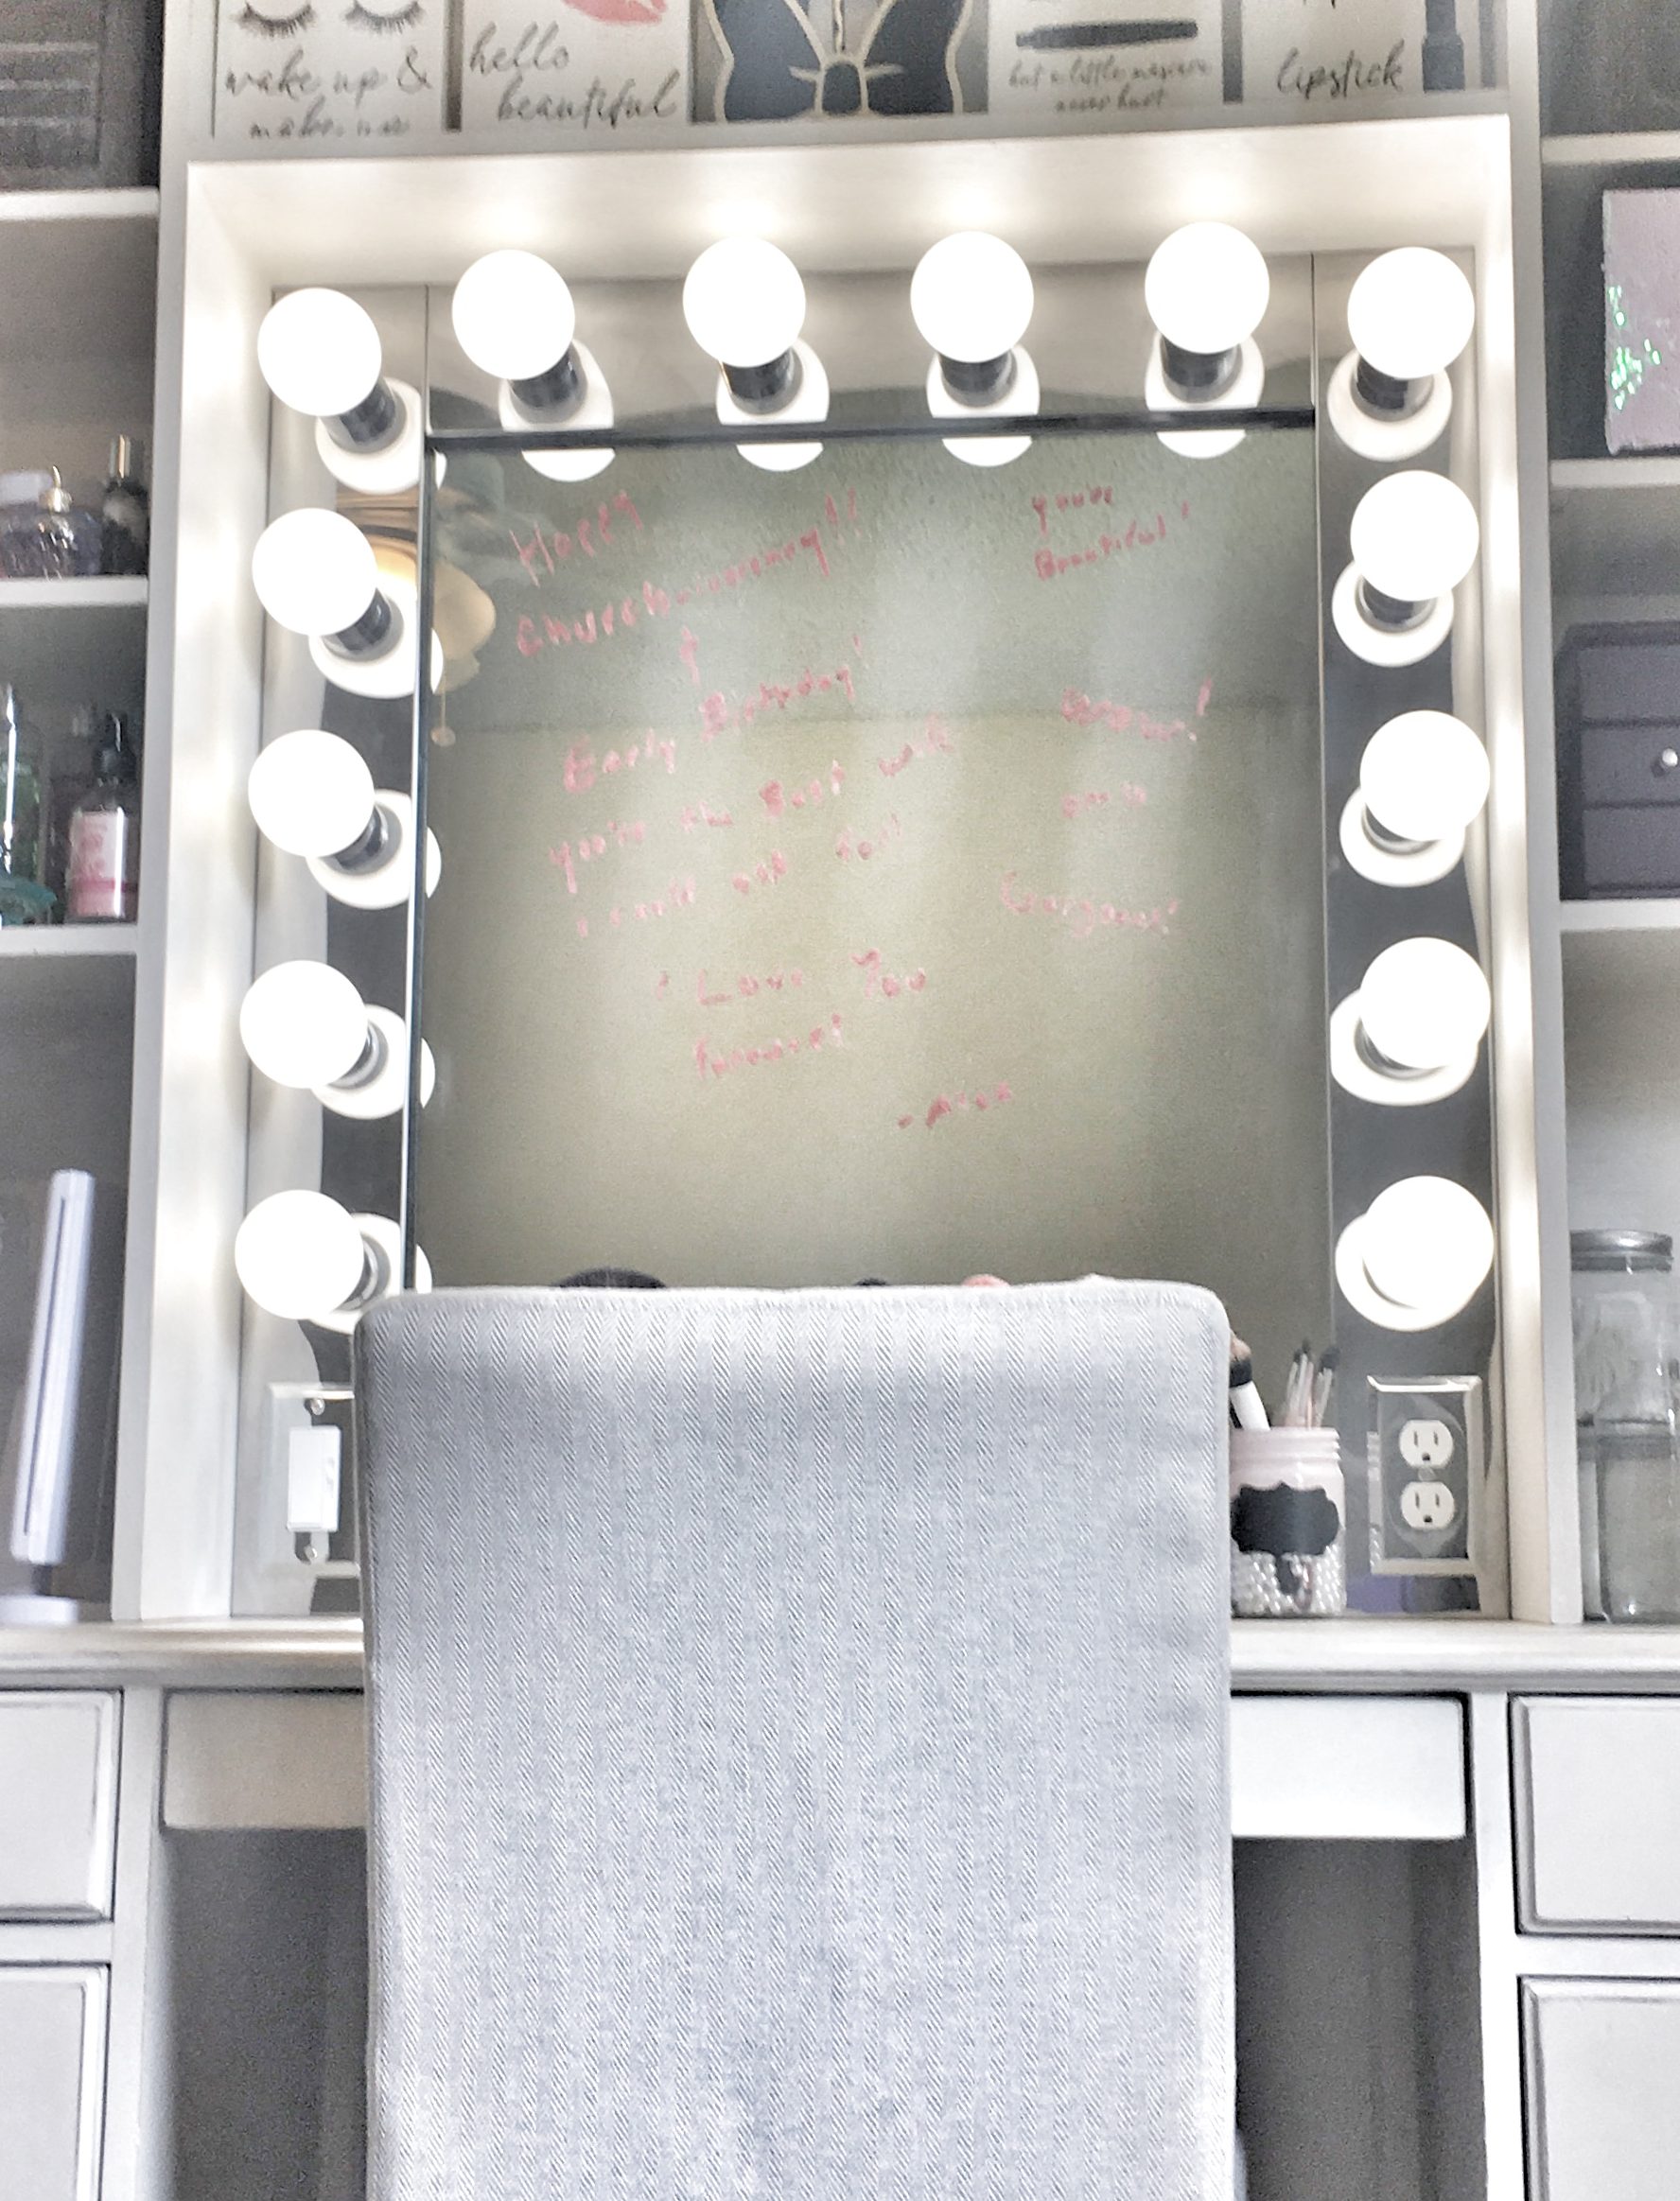
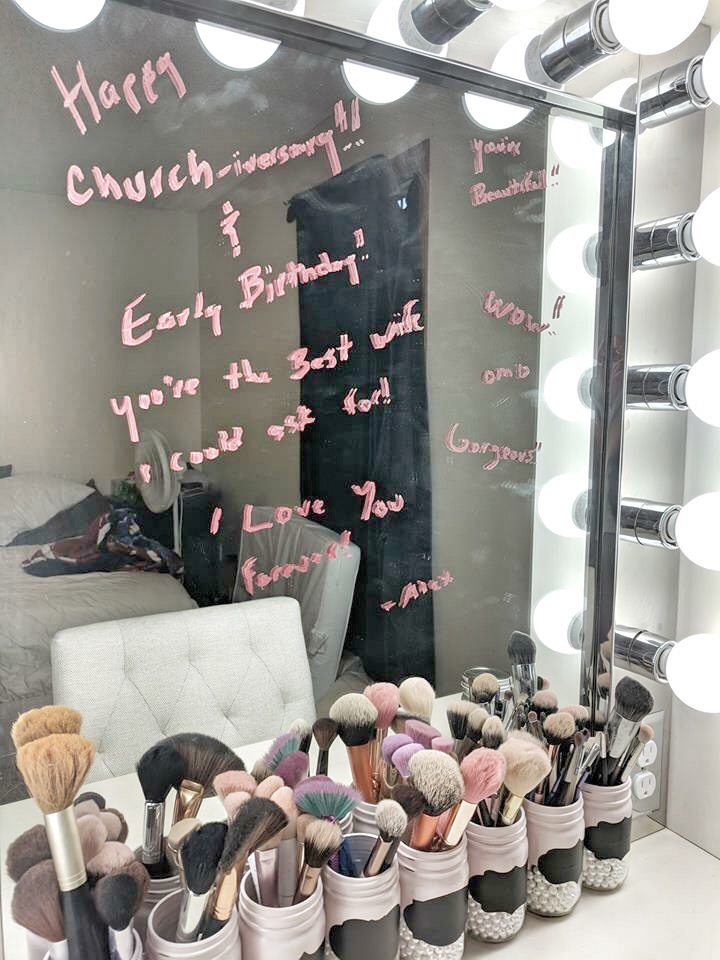
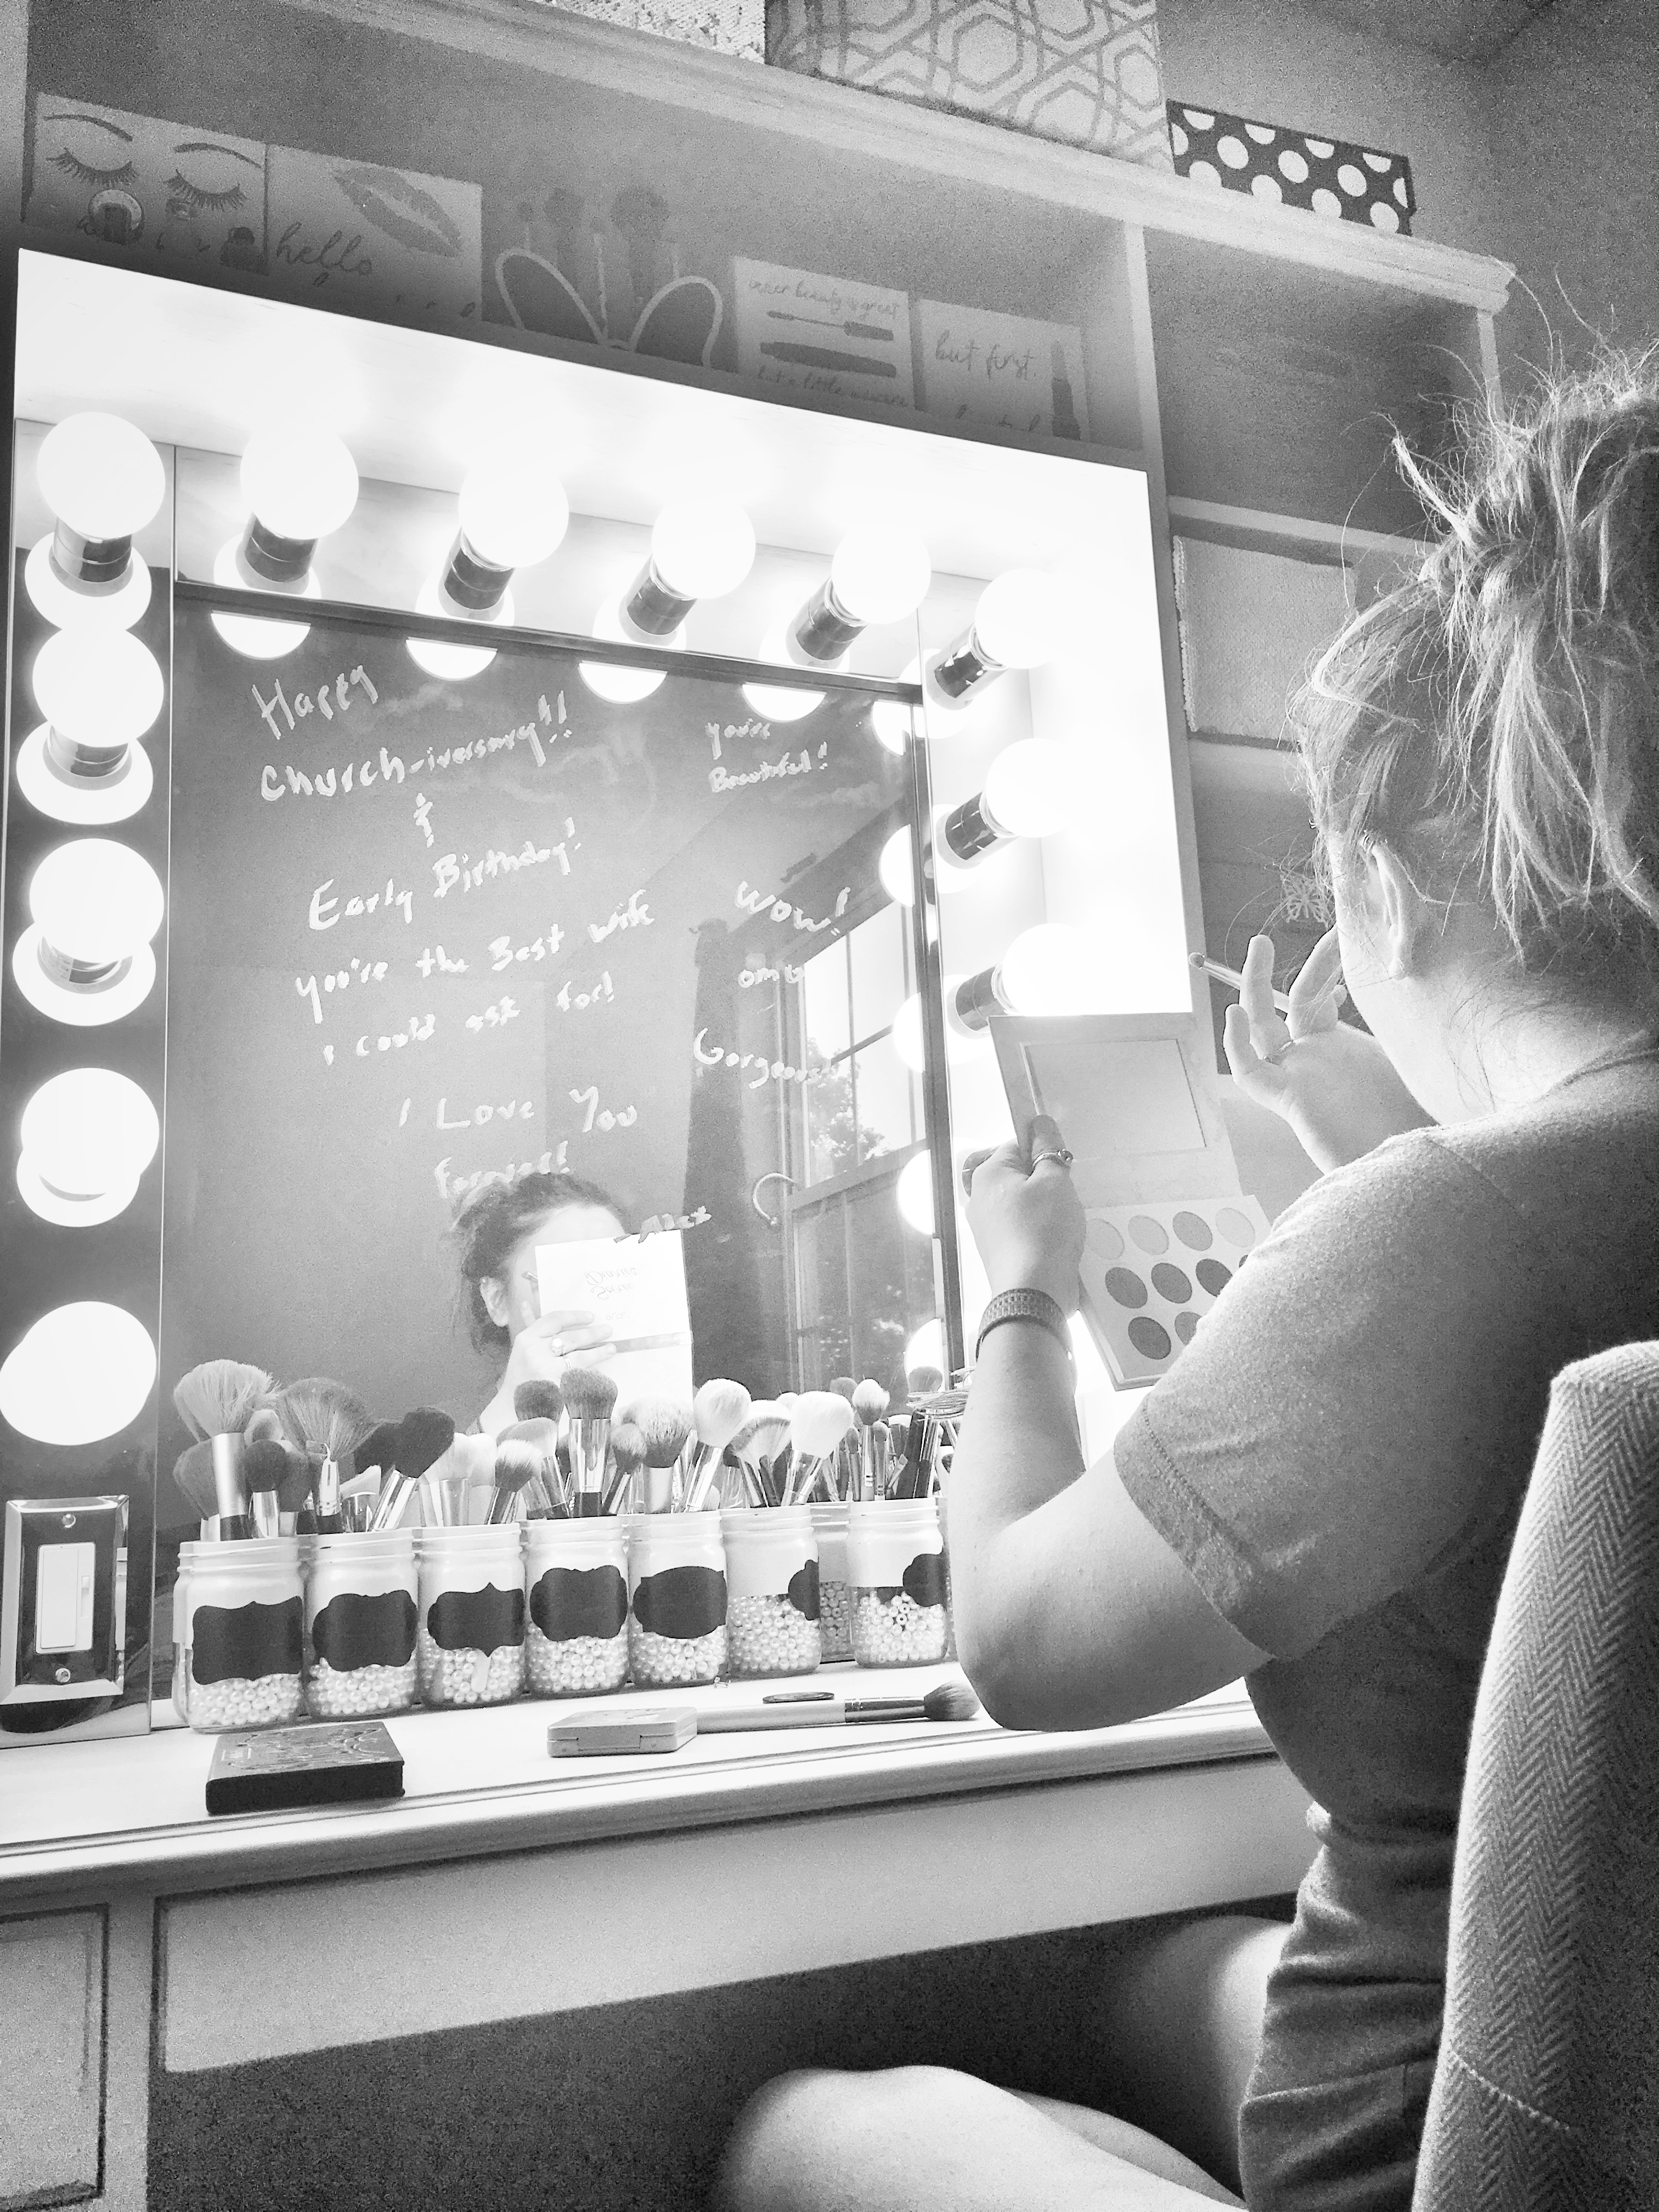
The mirror with the hollywood style lights was number one on the list of must-haves. This vanity has been Sarahi’s dream for a long time, so Alex was not about to skip out on the fancy mirror! These mirrors, if you were to buy one already wired for lights, run upward of $300. However, Alex found a cheaper alternative with three vanity light strips. He purchased two 36″ strips with six lights and one 24″ strip with four lights that we used to frame the mirror.
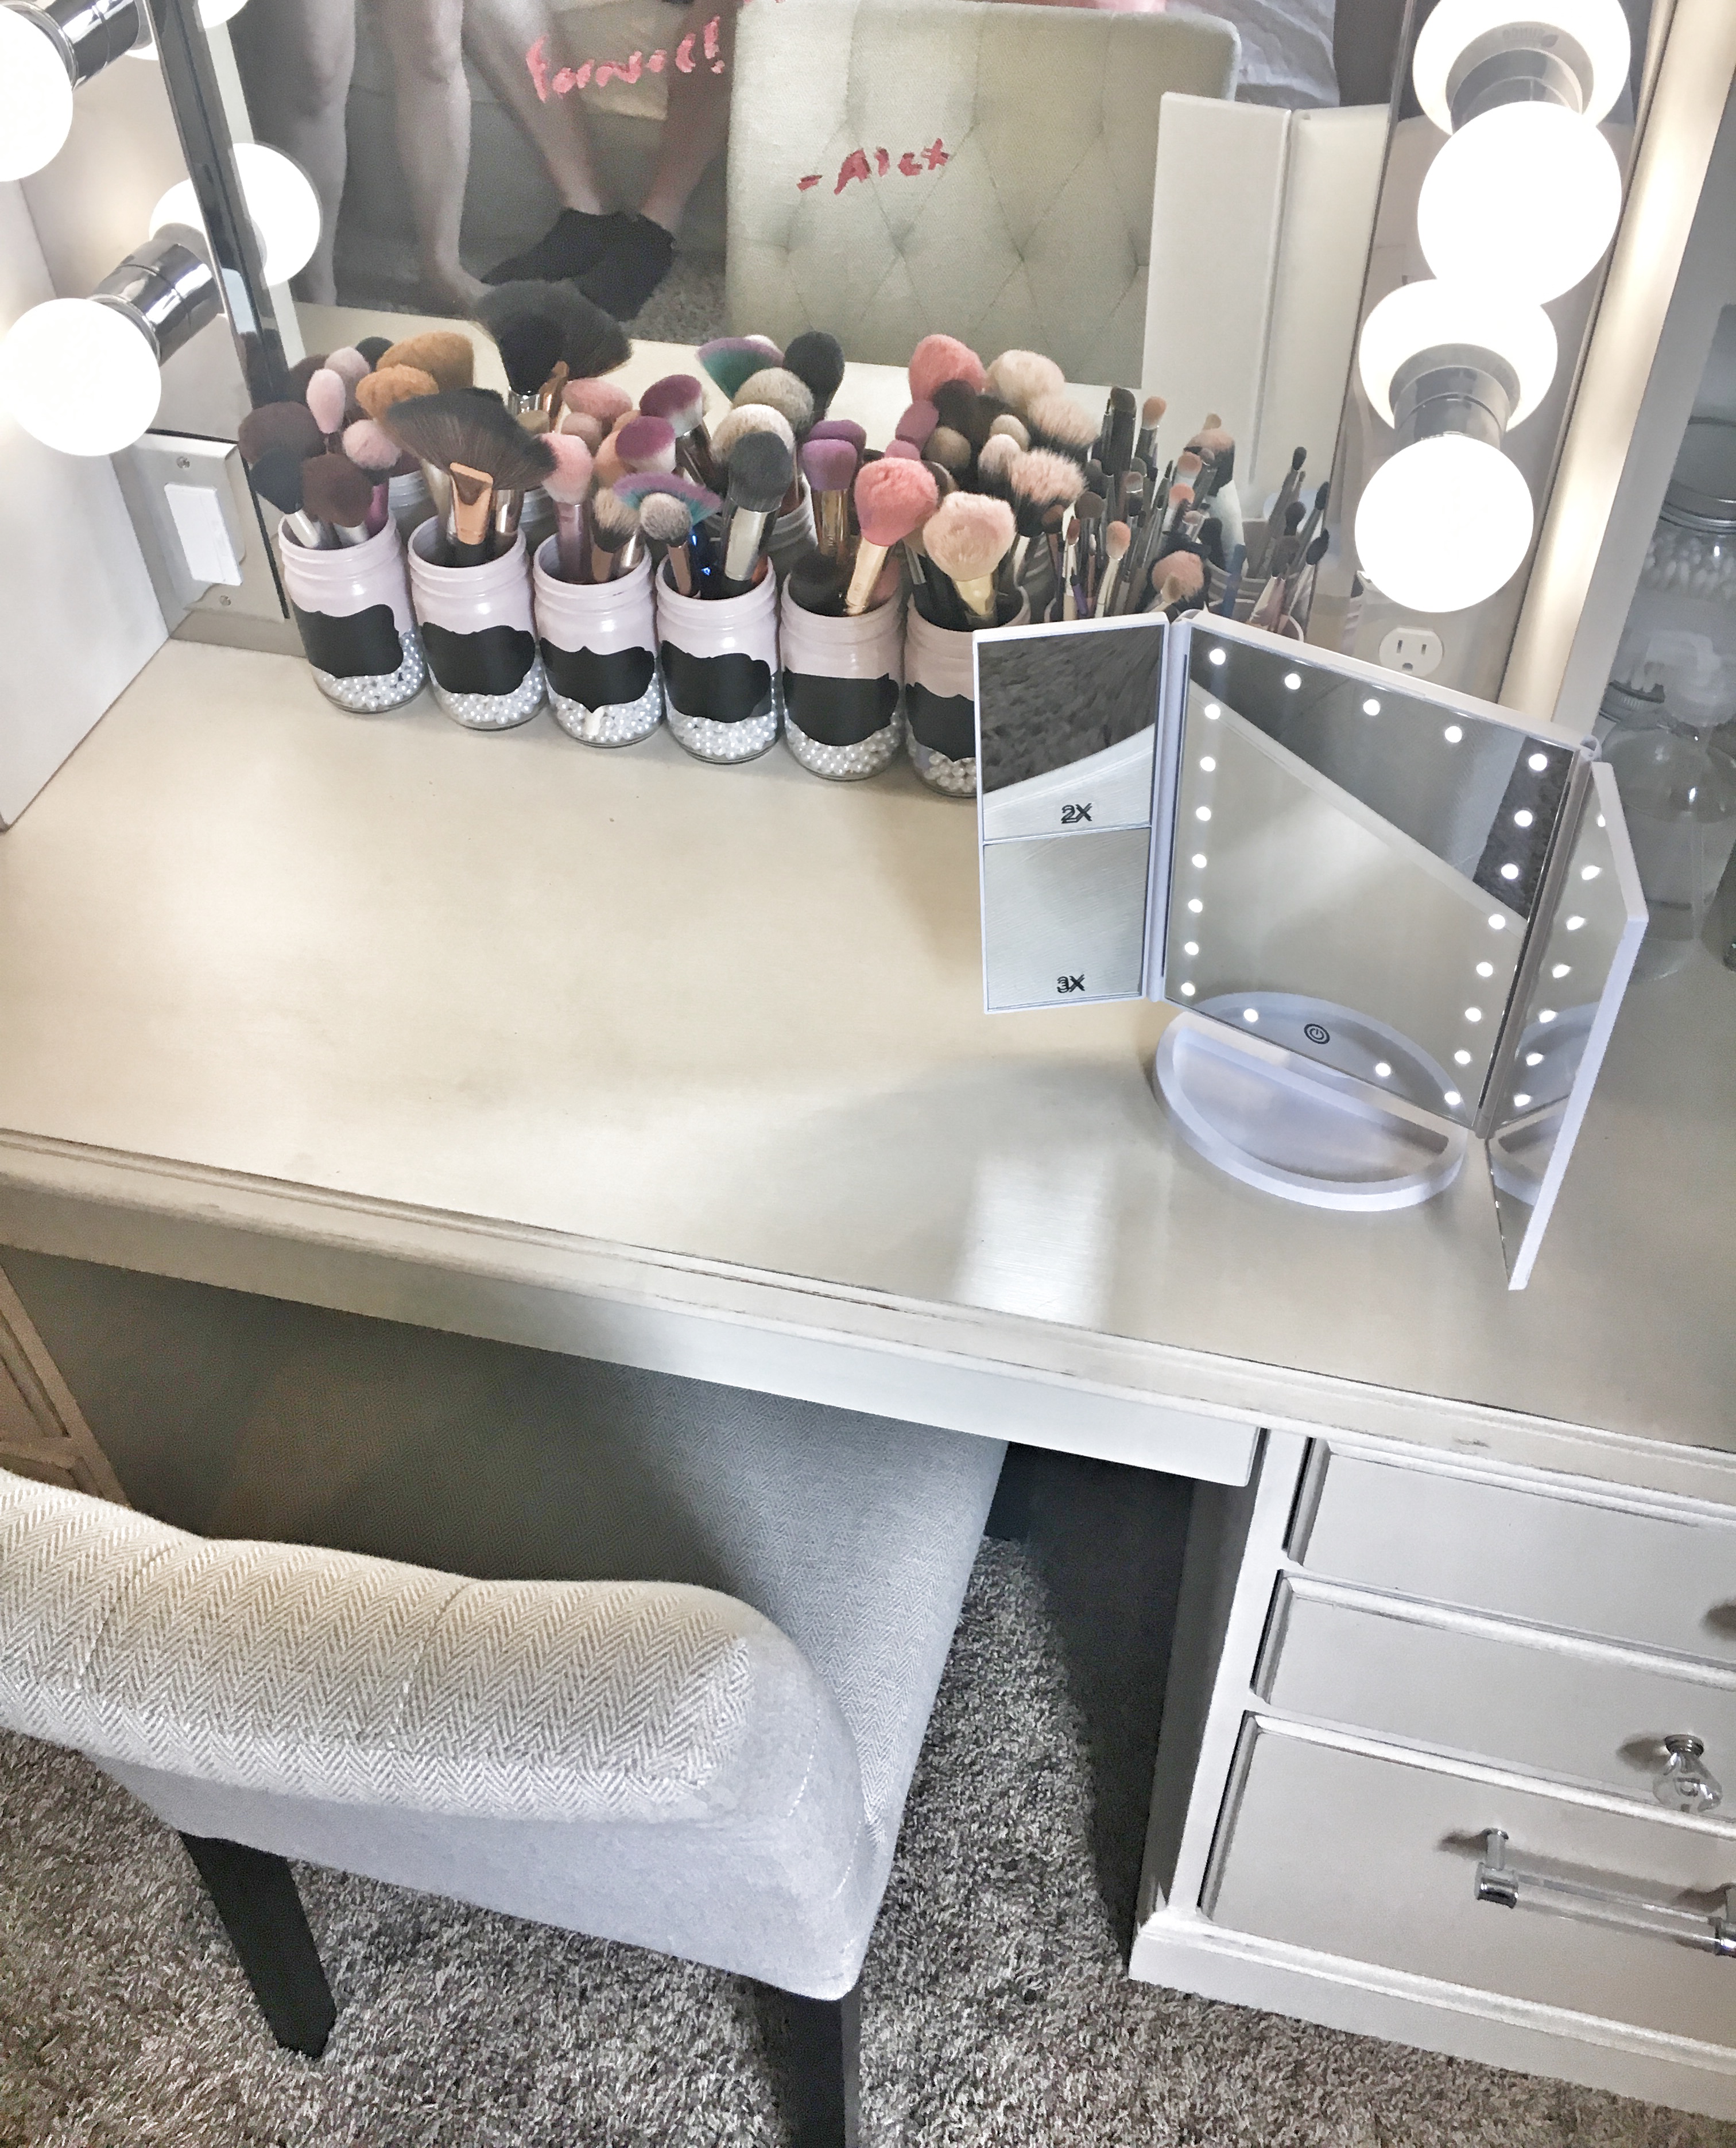
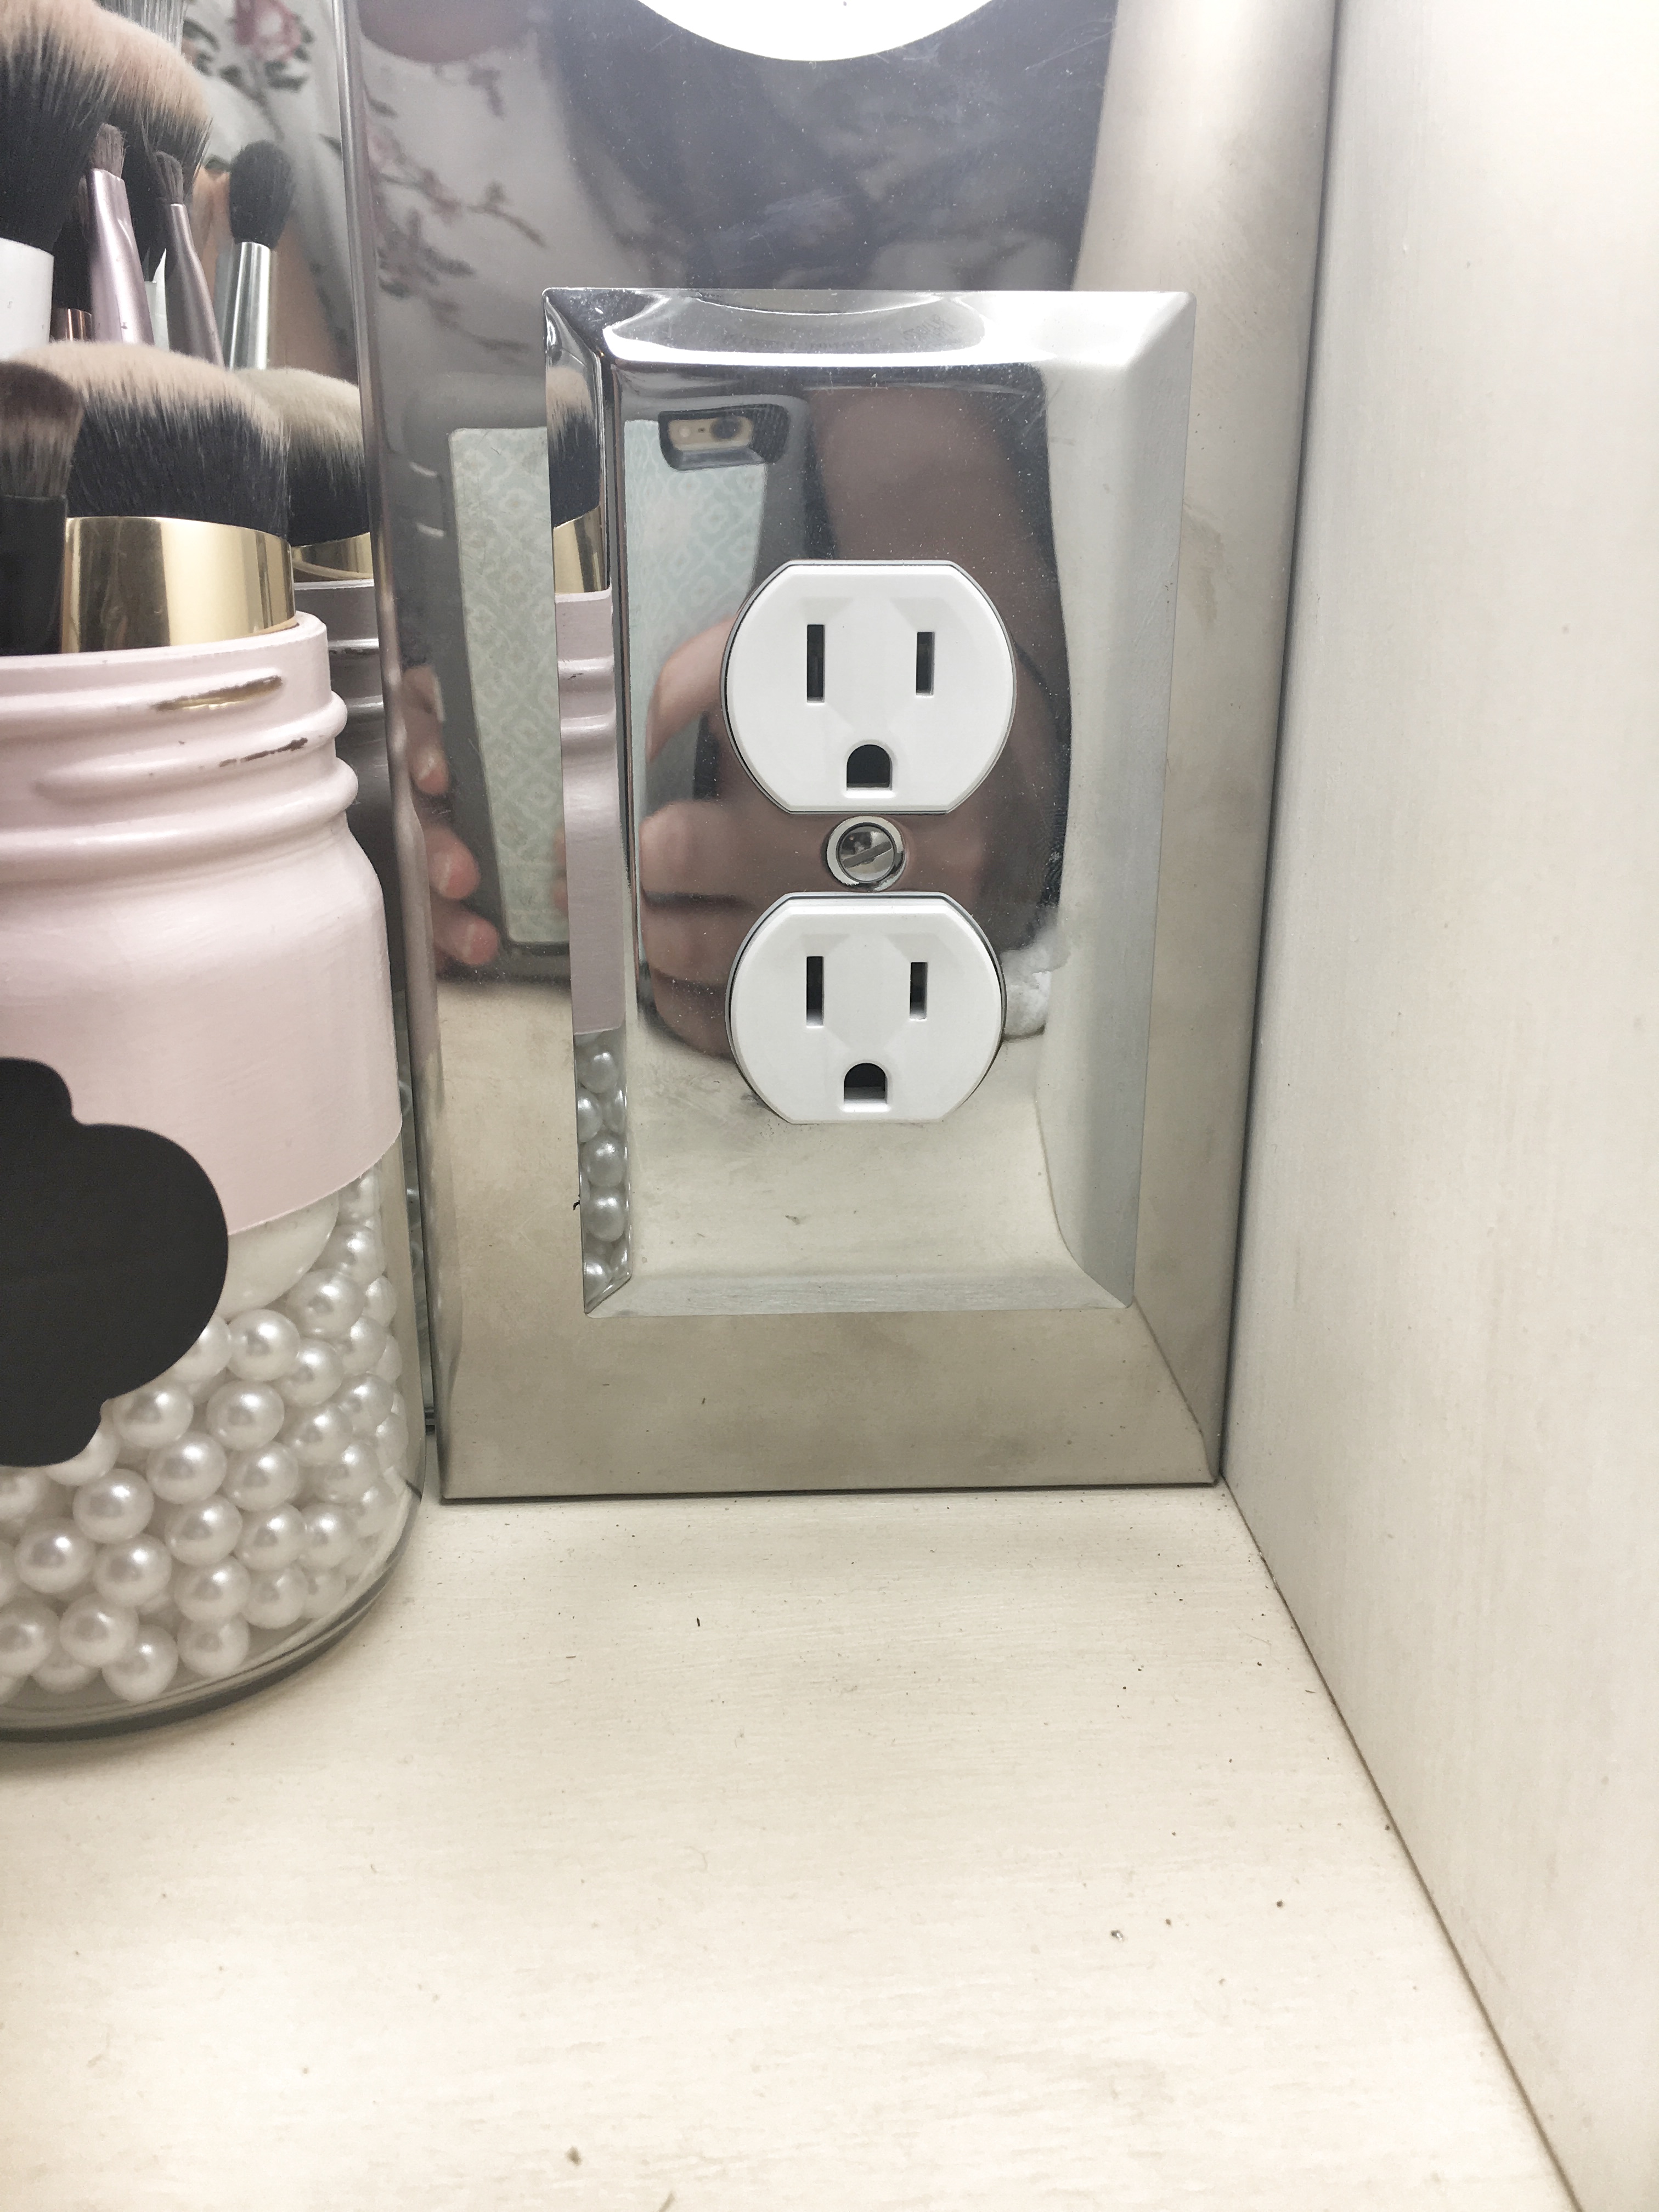
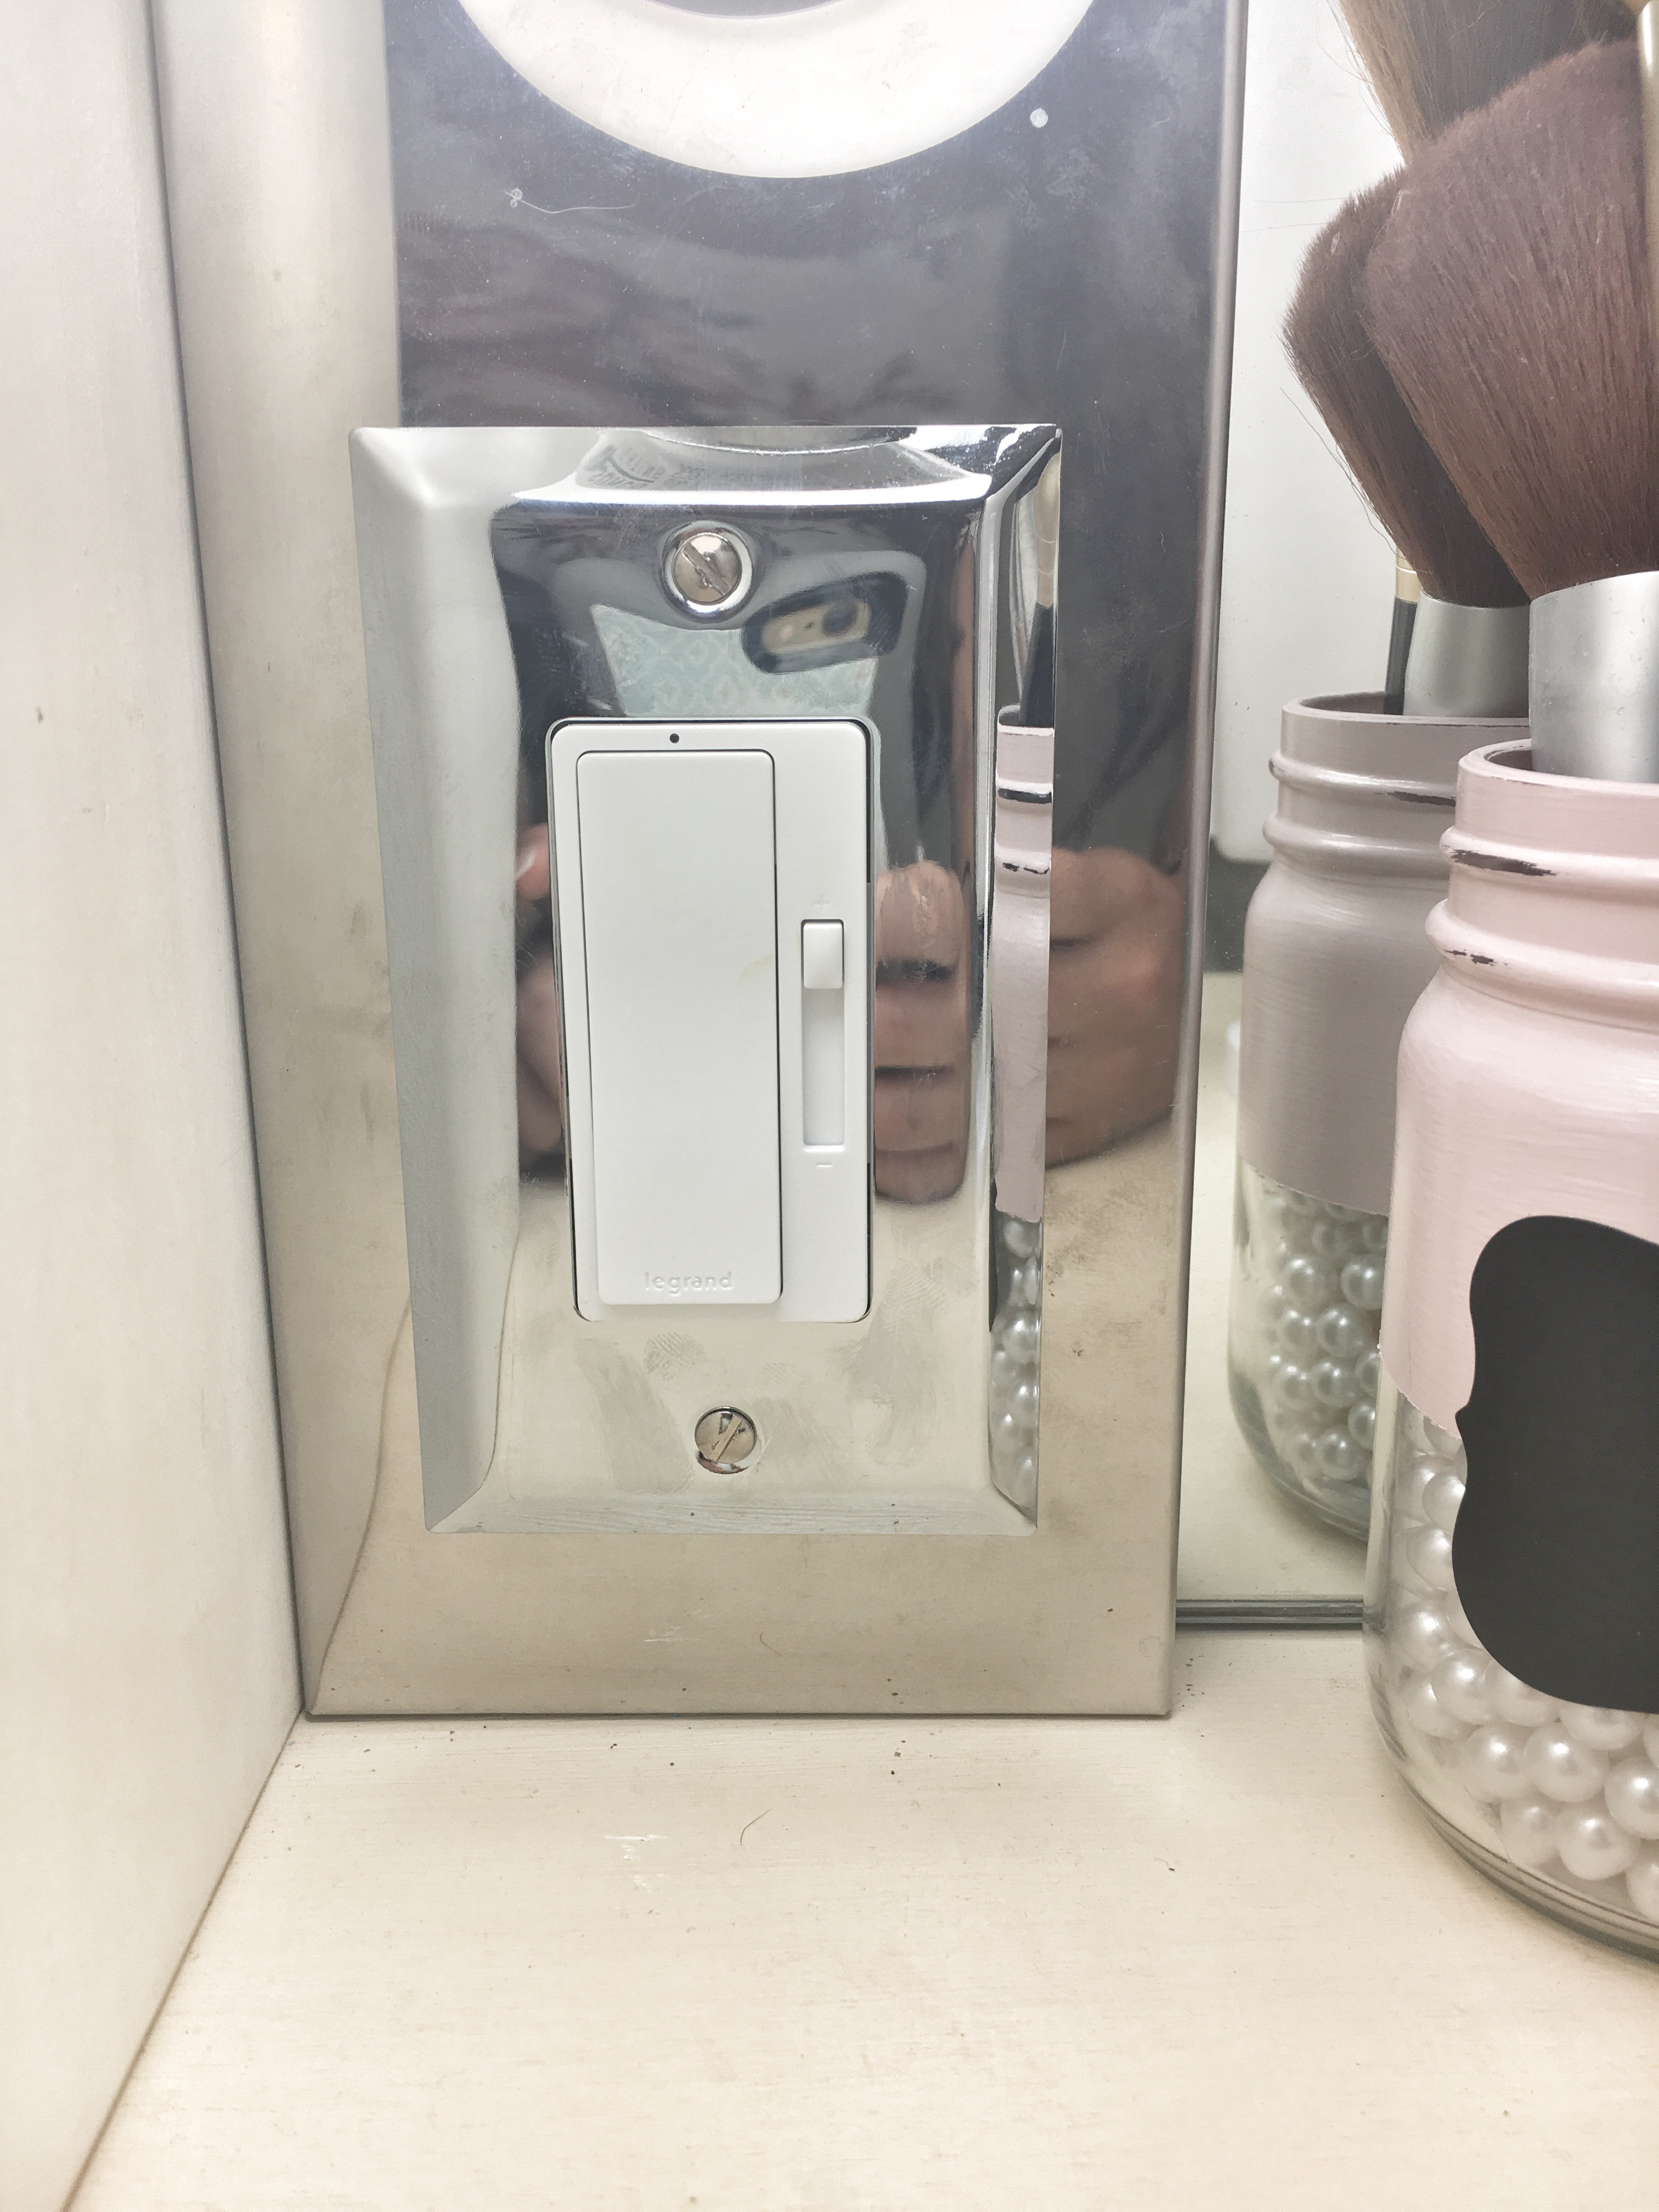
We salvaged a bathroom mirror and had it cut to the right size to fit in the opening with with light strips. The top was intentionally designed and measured to fit with these lights and mirror. We glued the mirror down, secured the light strips to the backing, and wired all three strips together (it looks complicated but it wasn’t too bad). There is a hole behind the mirror for the chord to plug into the wall, and just to be a little extra, we decided to take out the bottom two lights and cut slots for a light switch with a dimmer on one side, and double outlet on the other side.
Details
From thinking about how to utilize each drawer, to how to decorate the shelves, Alex went above and beyond on his thoughtfulness in every detail to really make this something that Sarahi would love and use for a very long time.
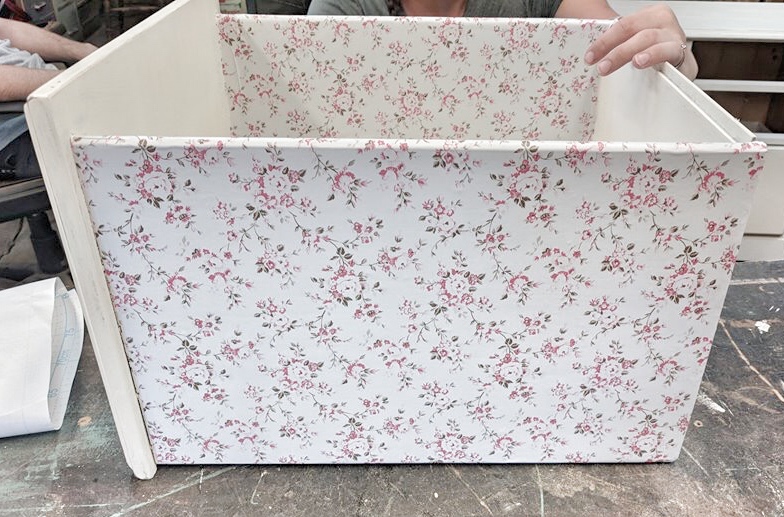
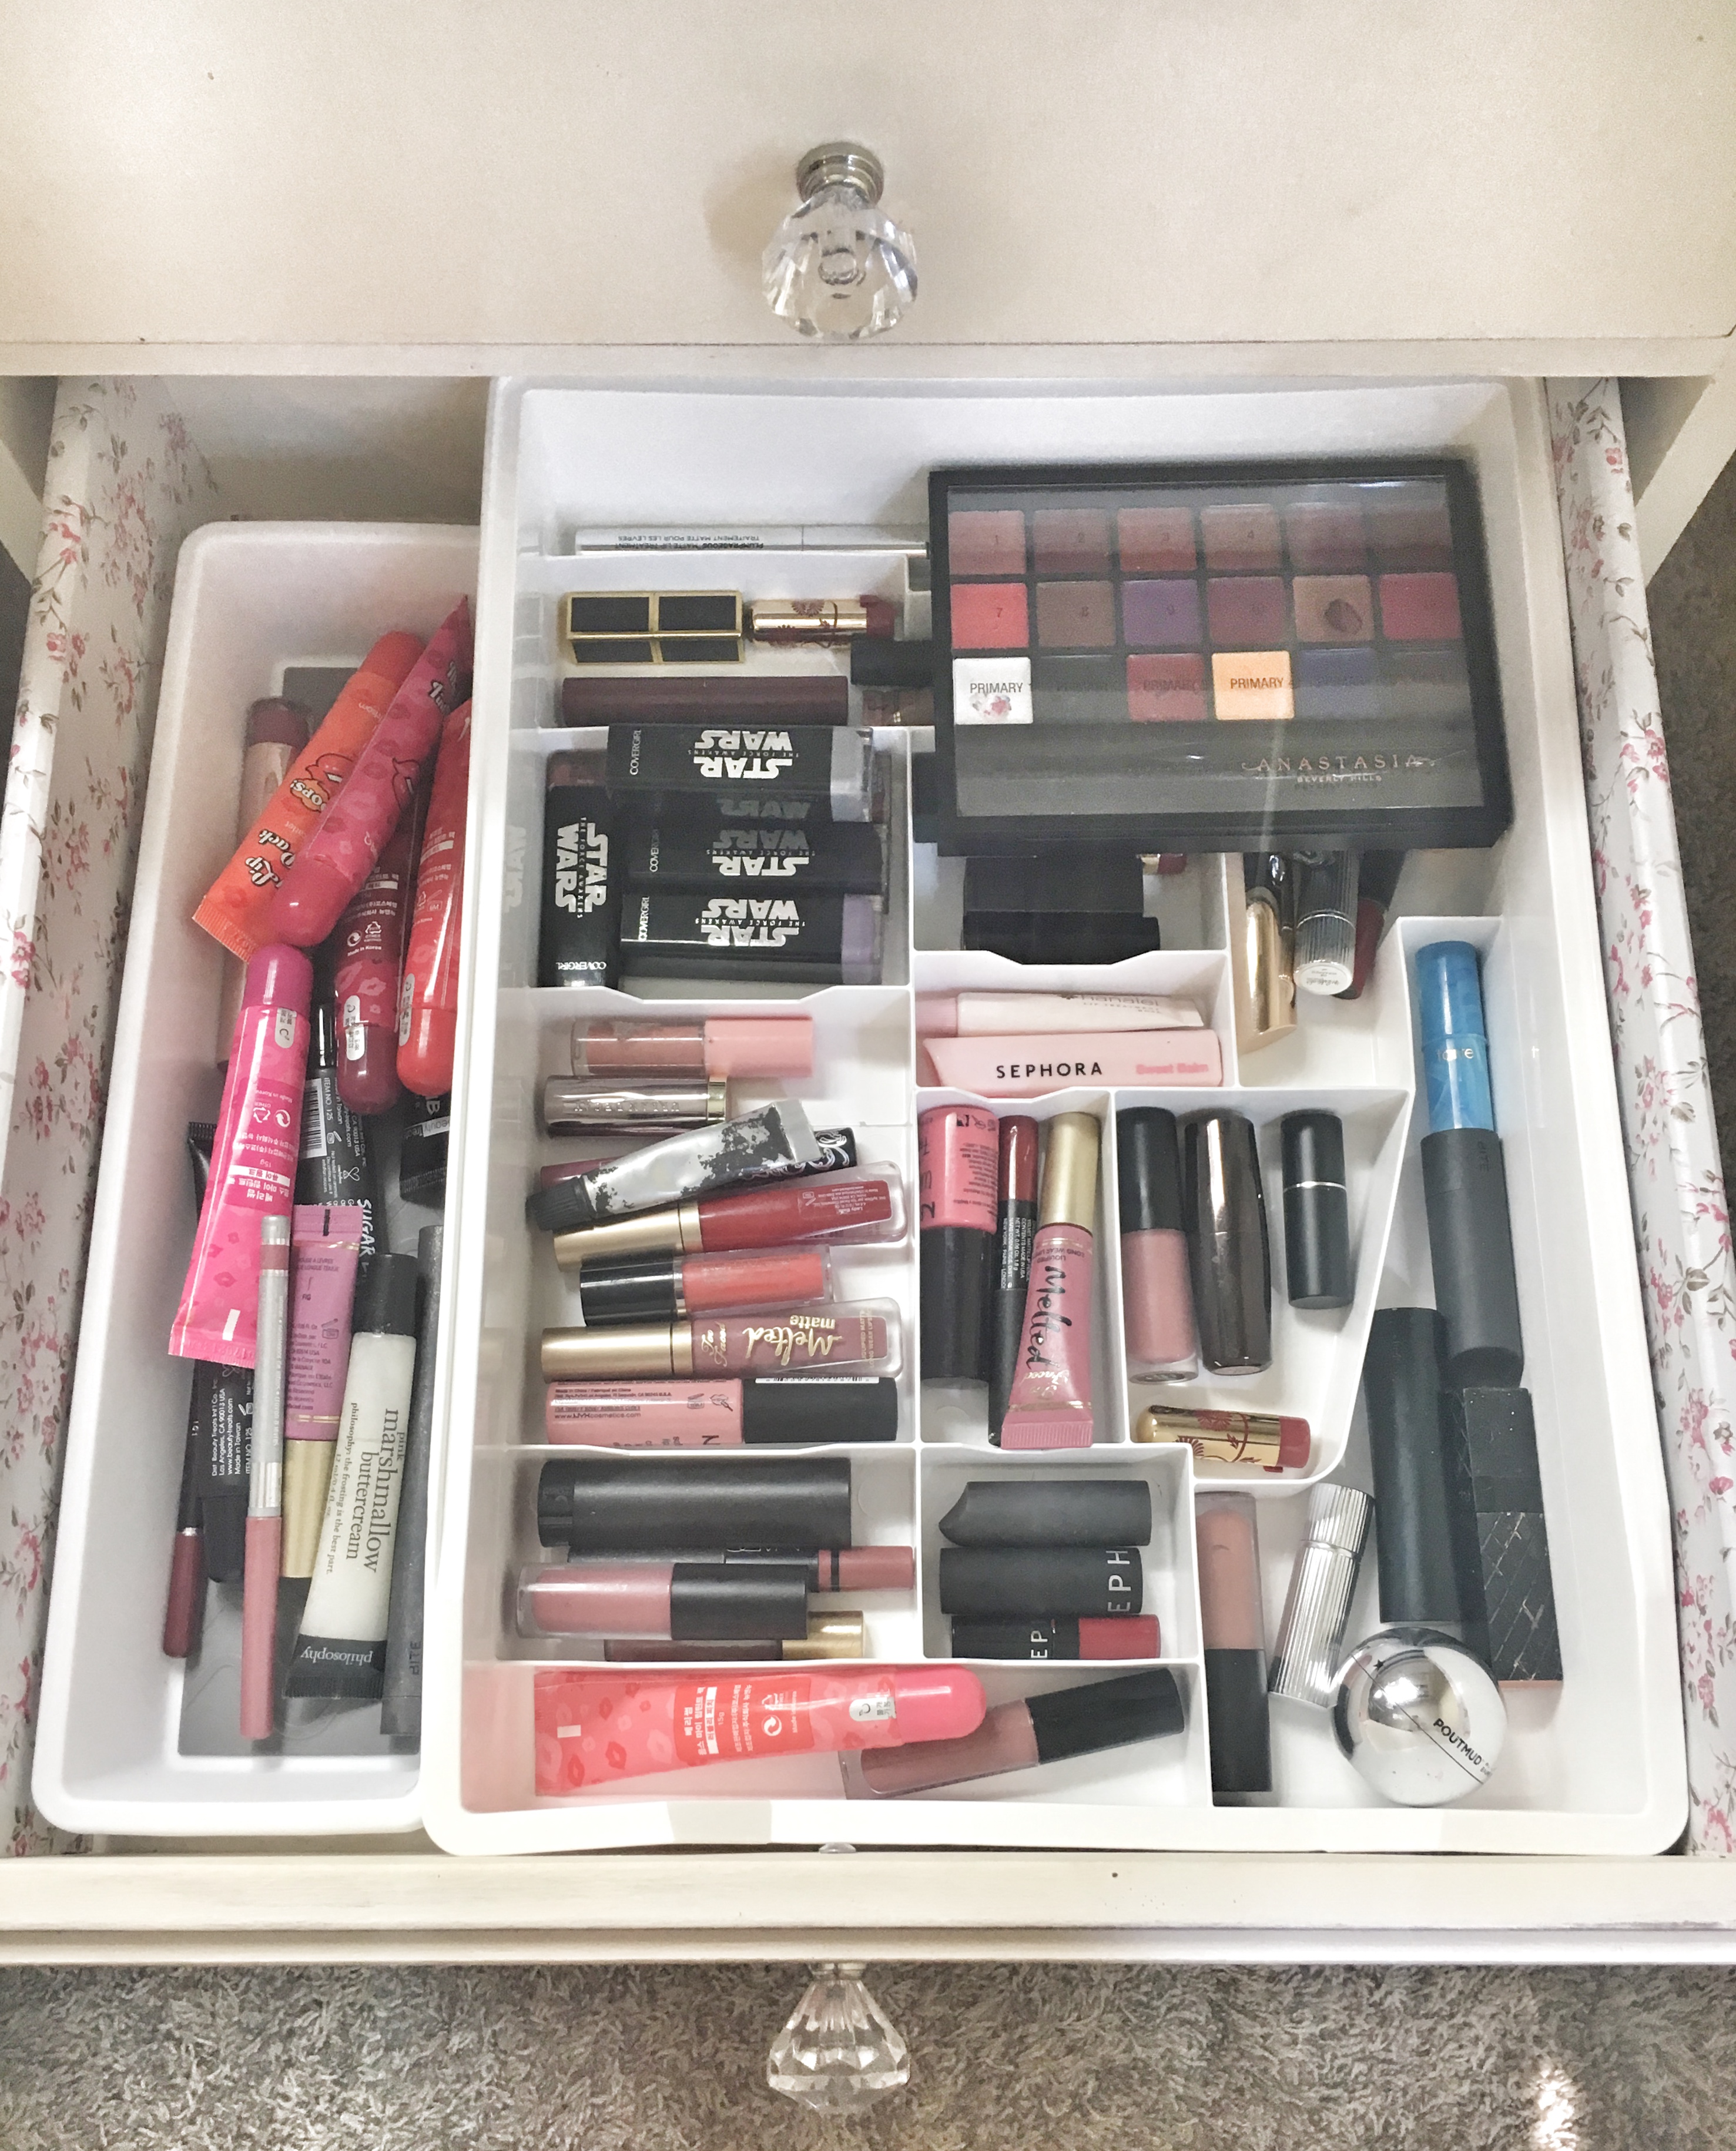
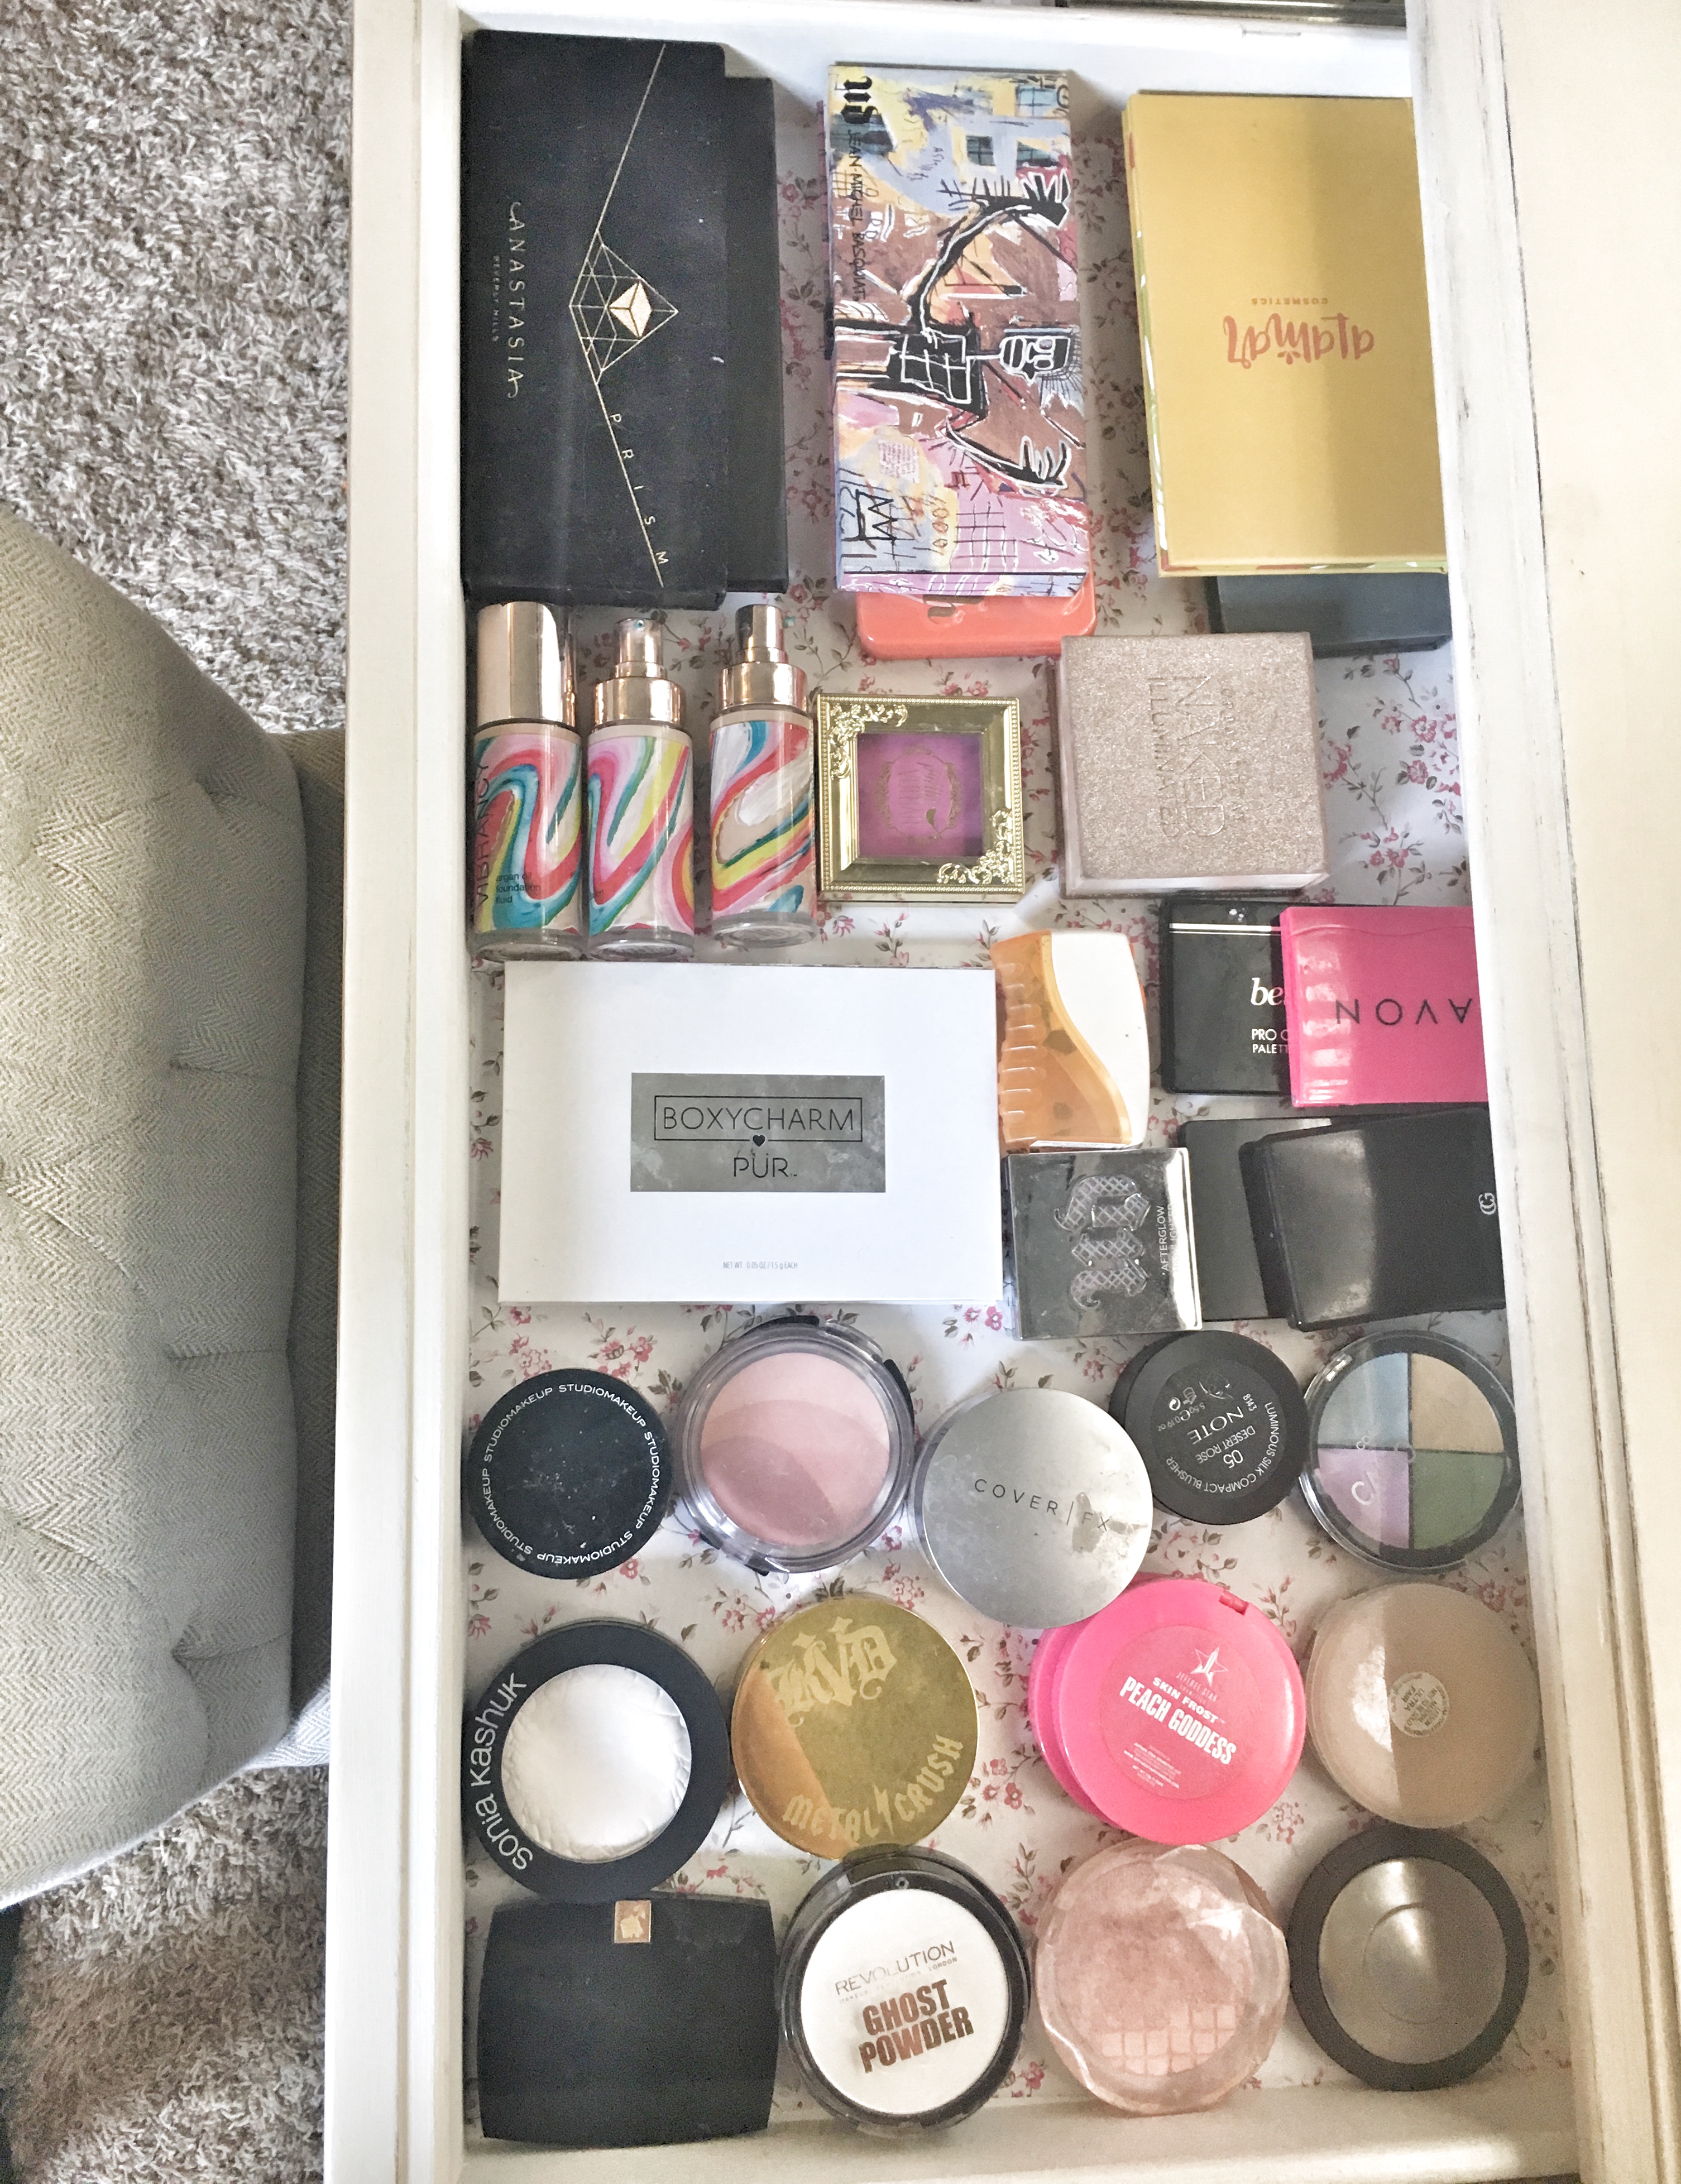
- Contact Paper—He bought some adorable floral contact paper, and I helped him cover the sides of every drawer. This gave it the vintage, “old-Hollywood” style she loves. Again, it’s the attention to detail that made this project so special!
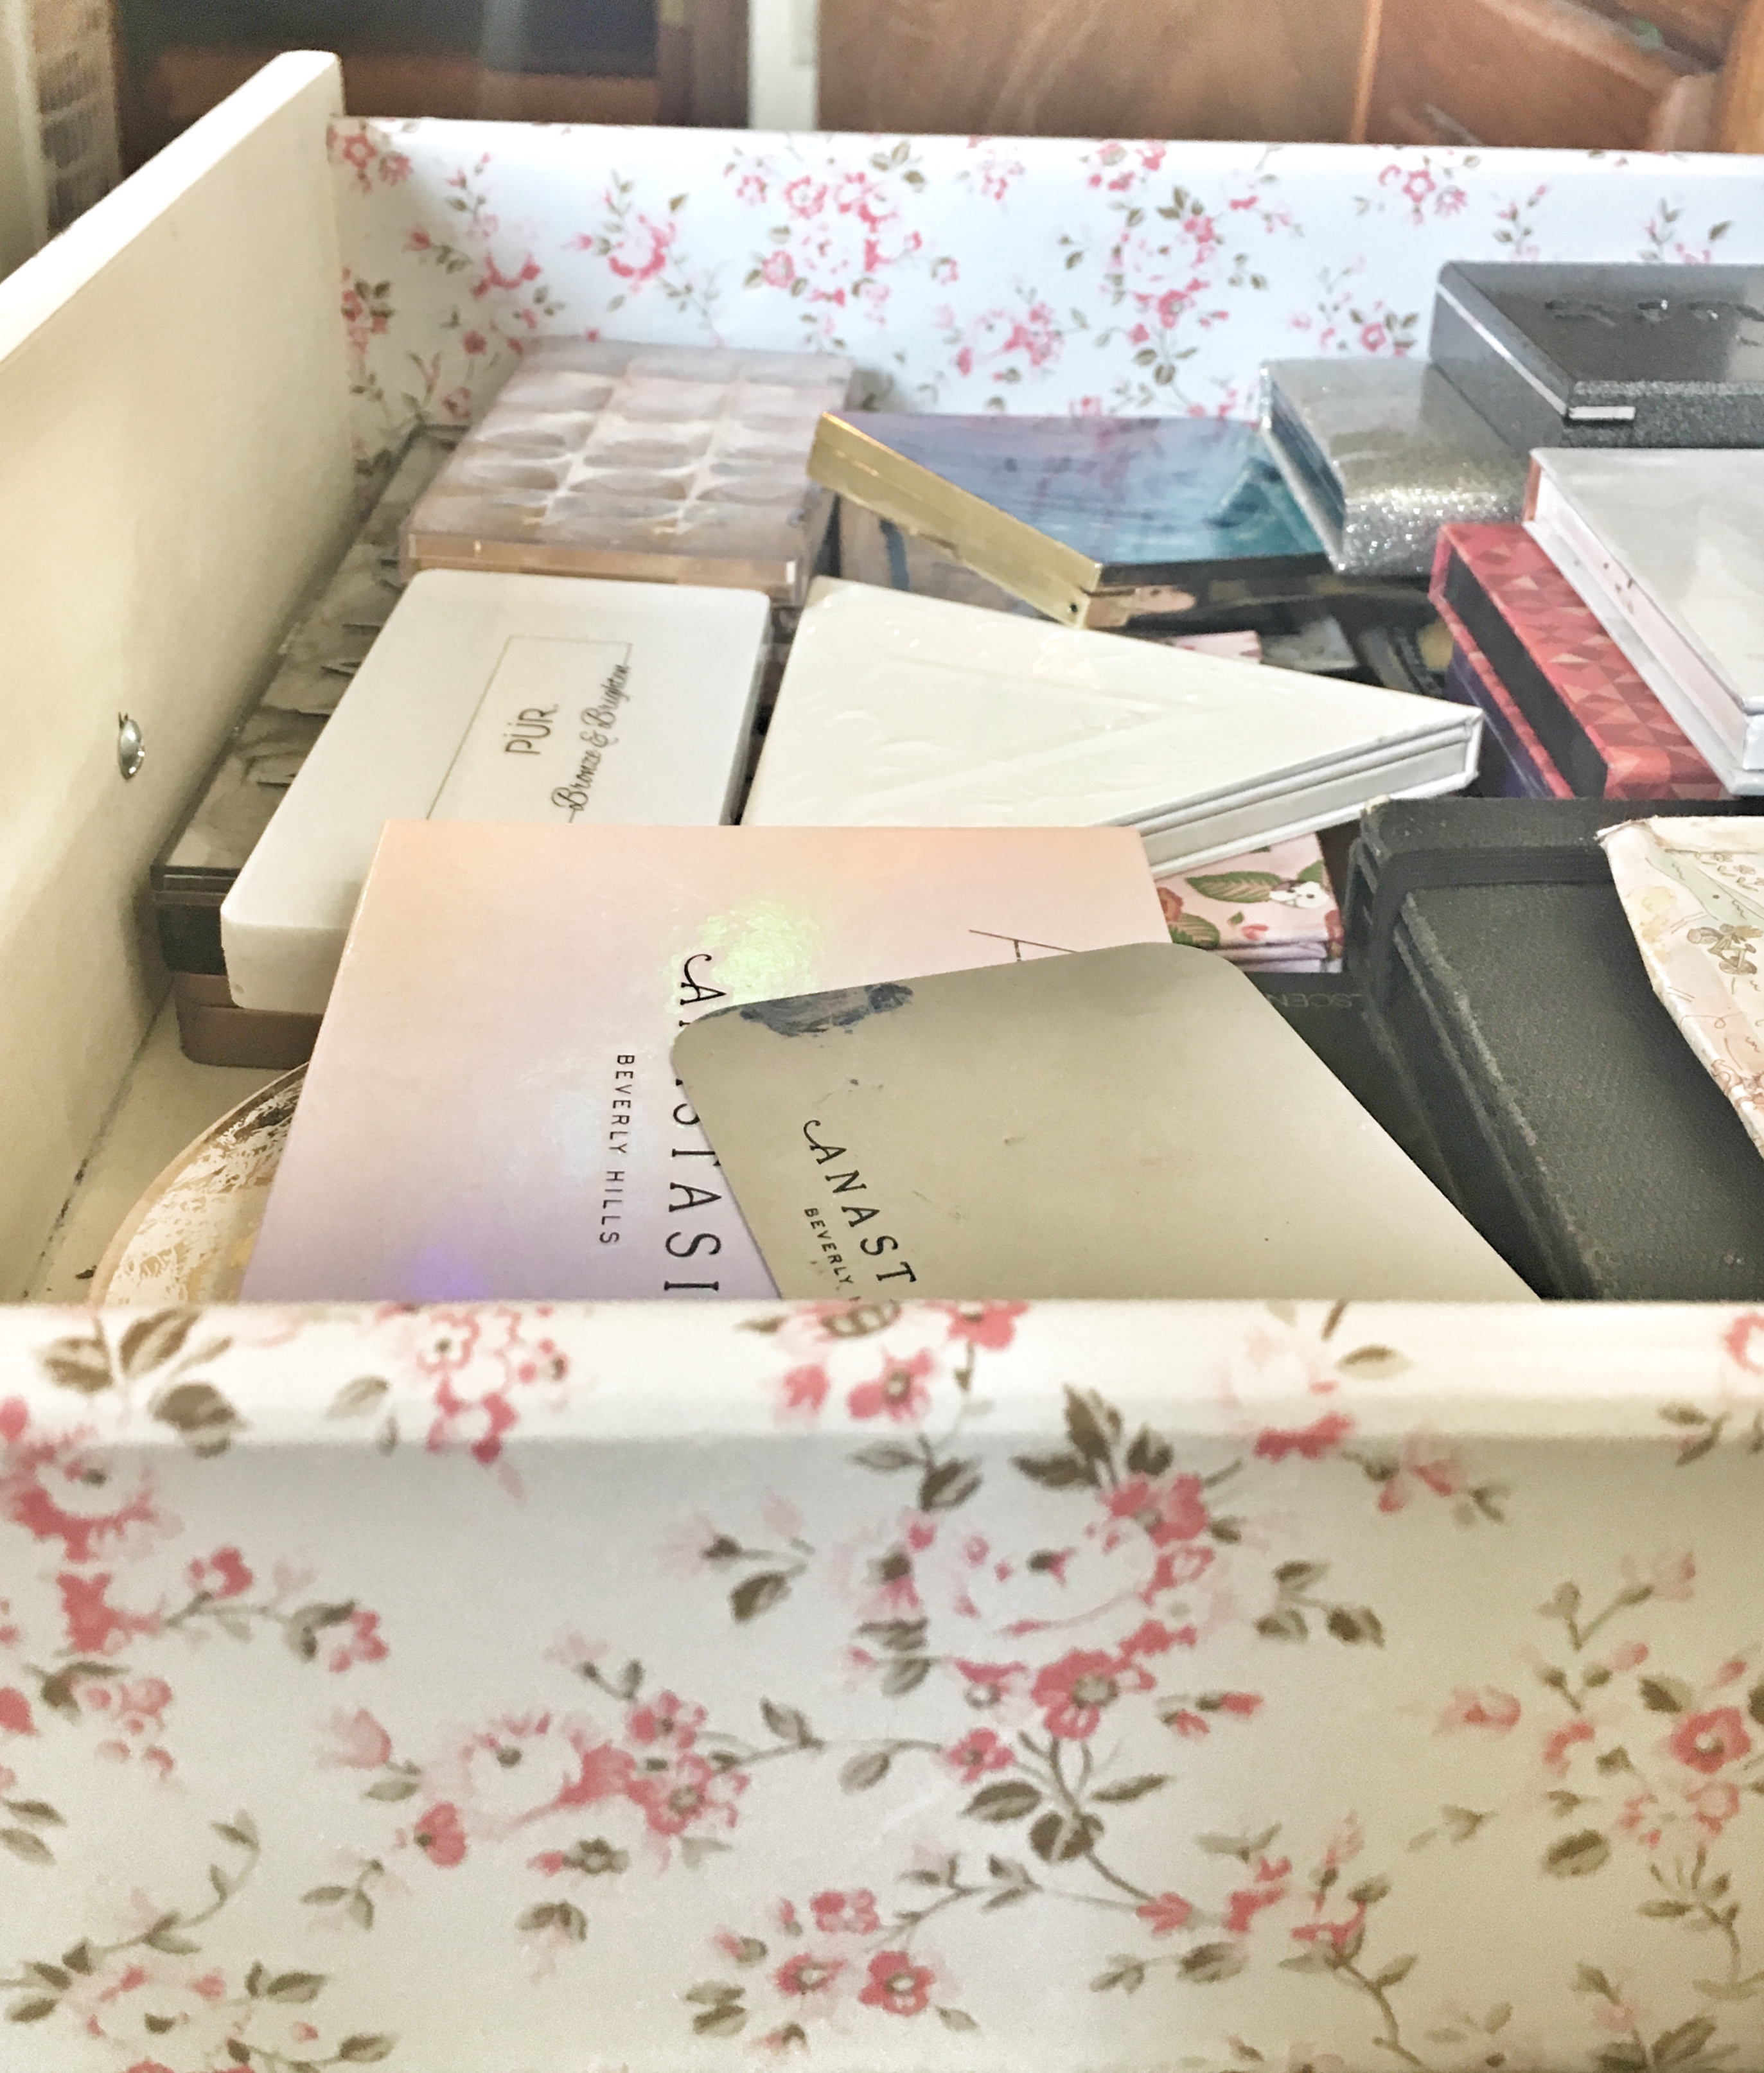
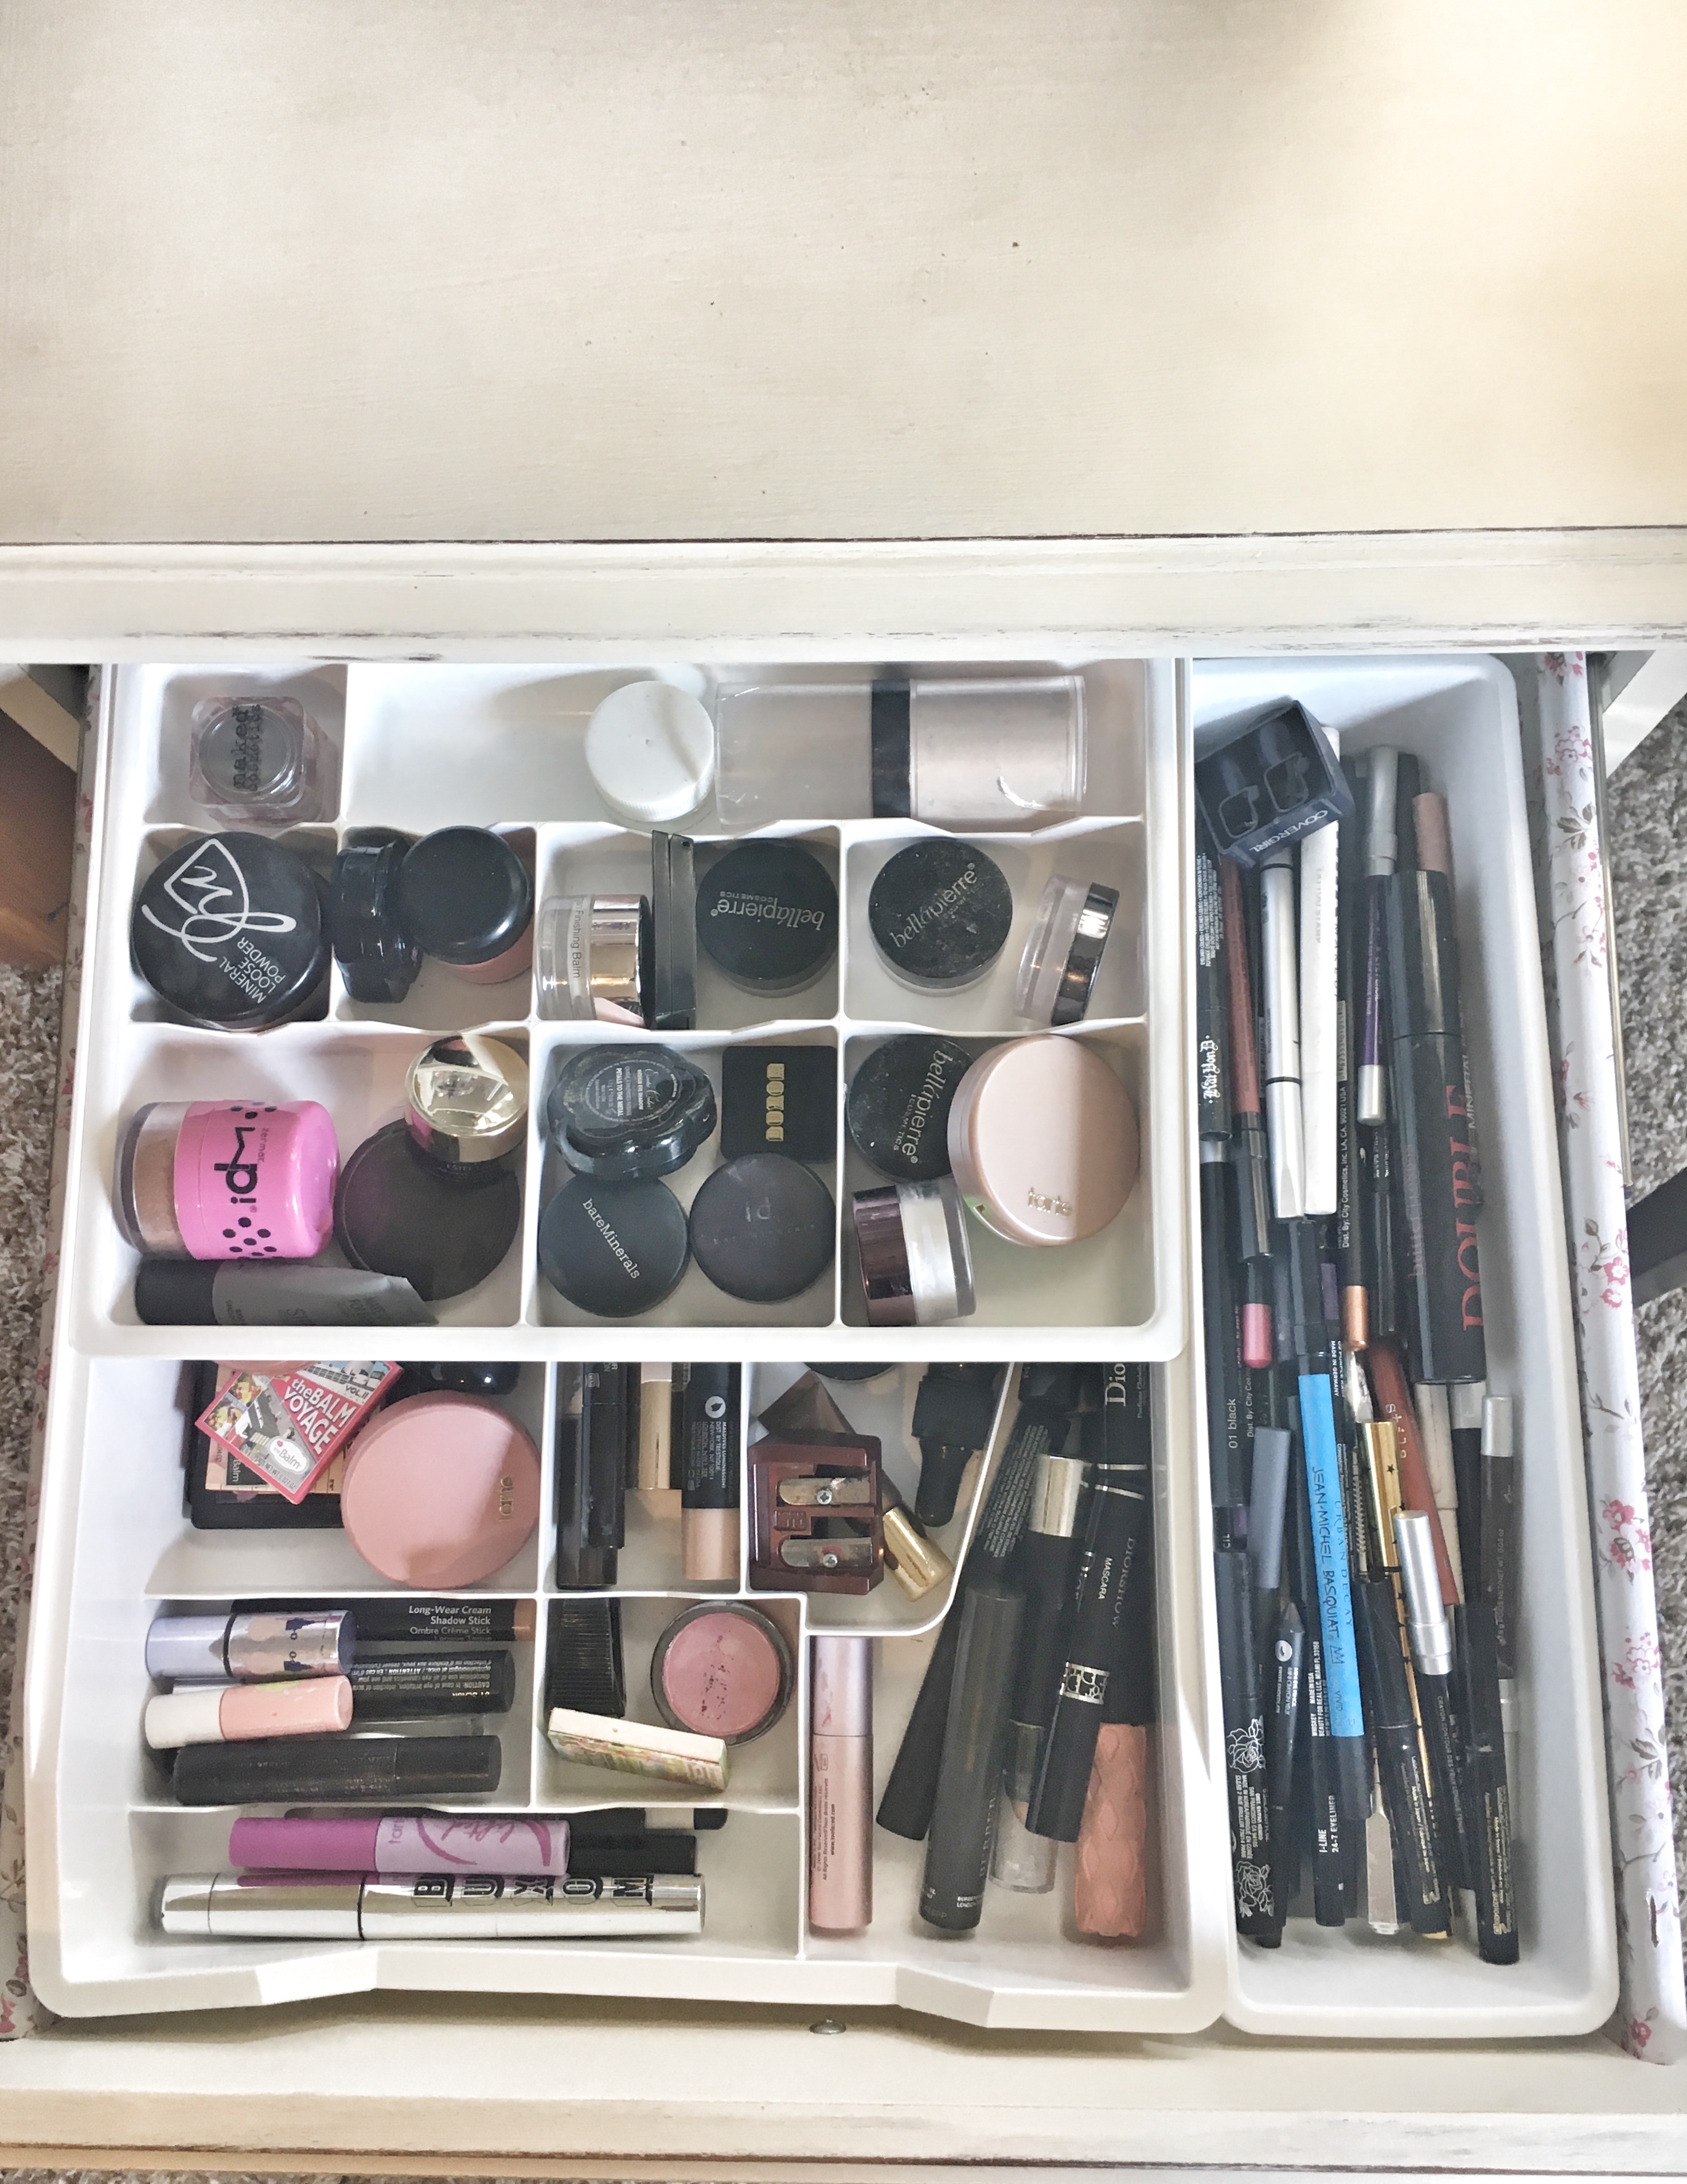
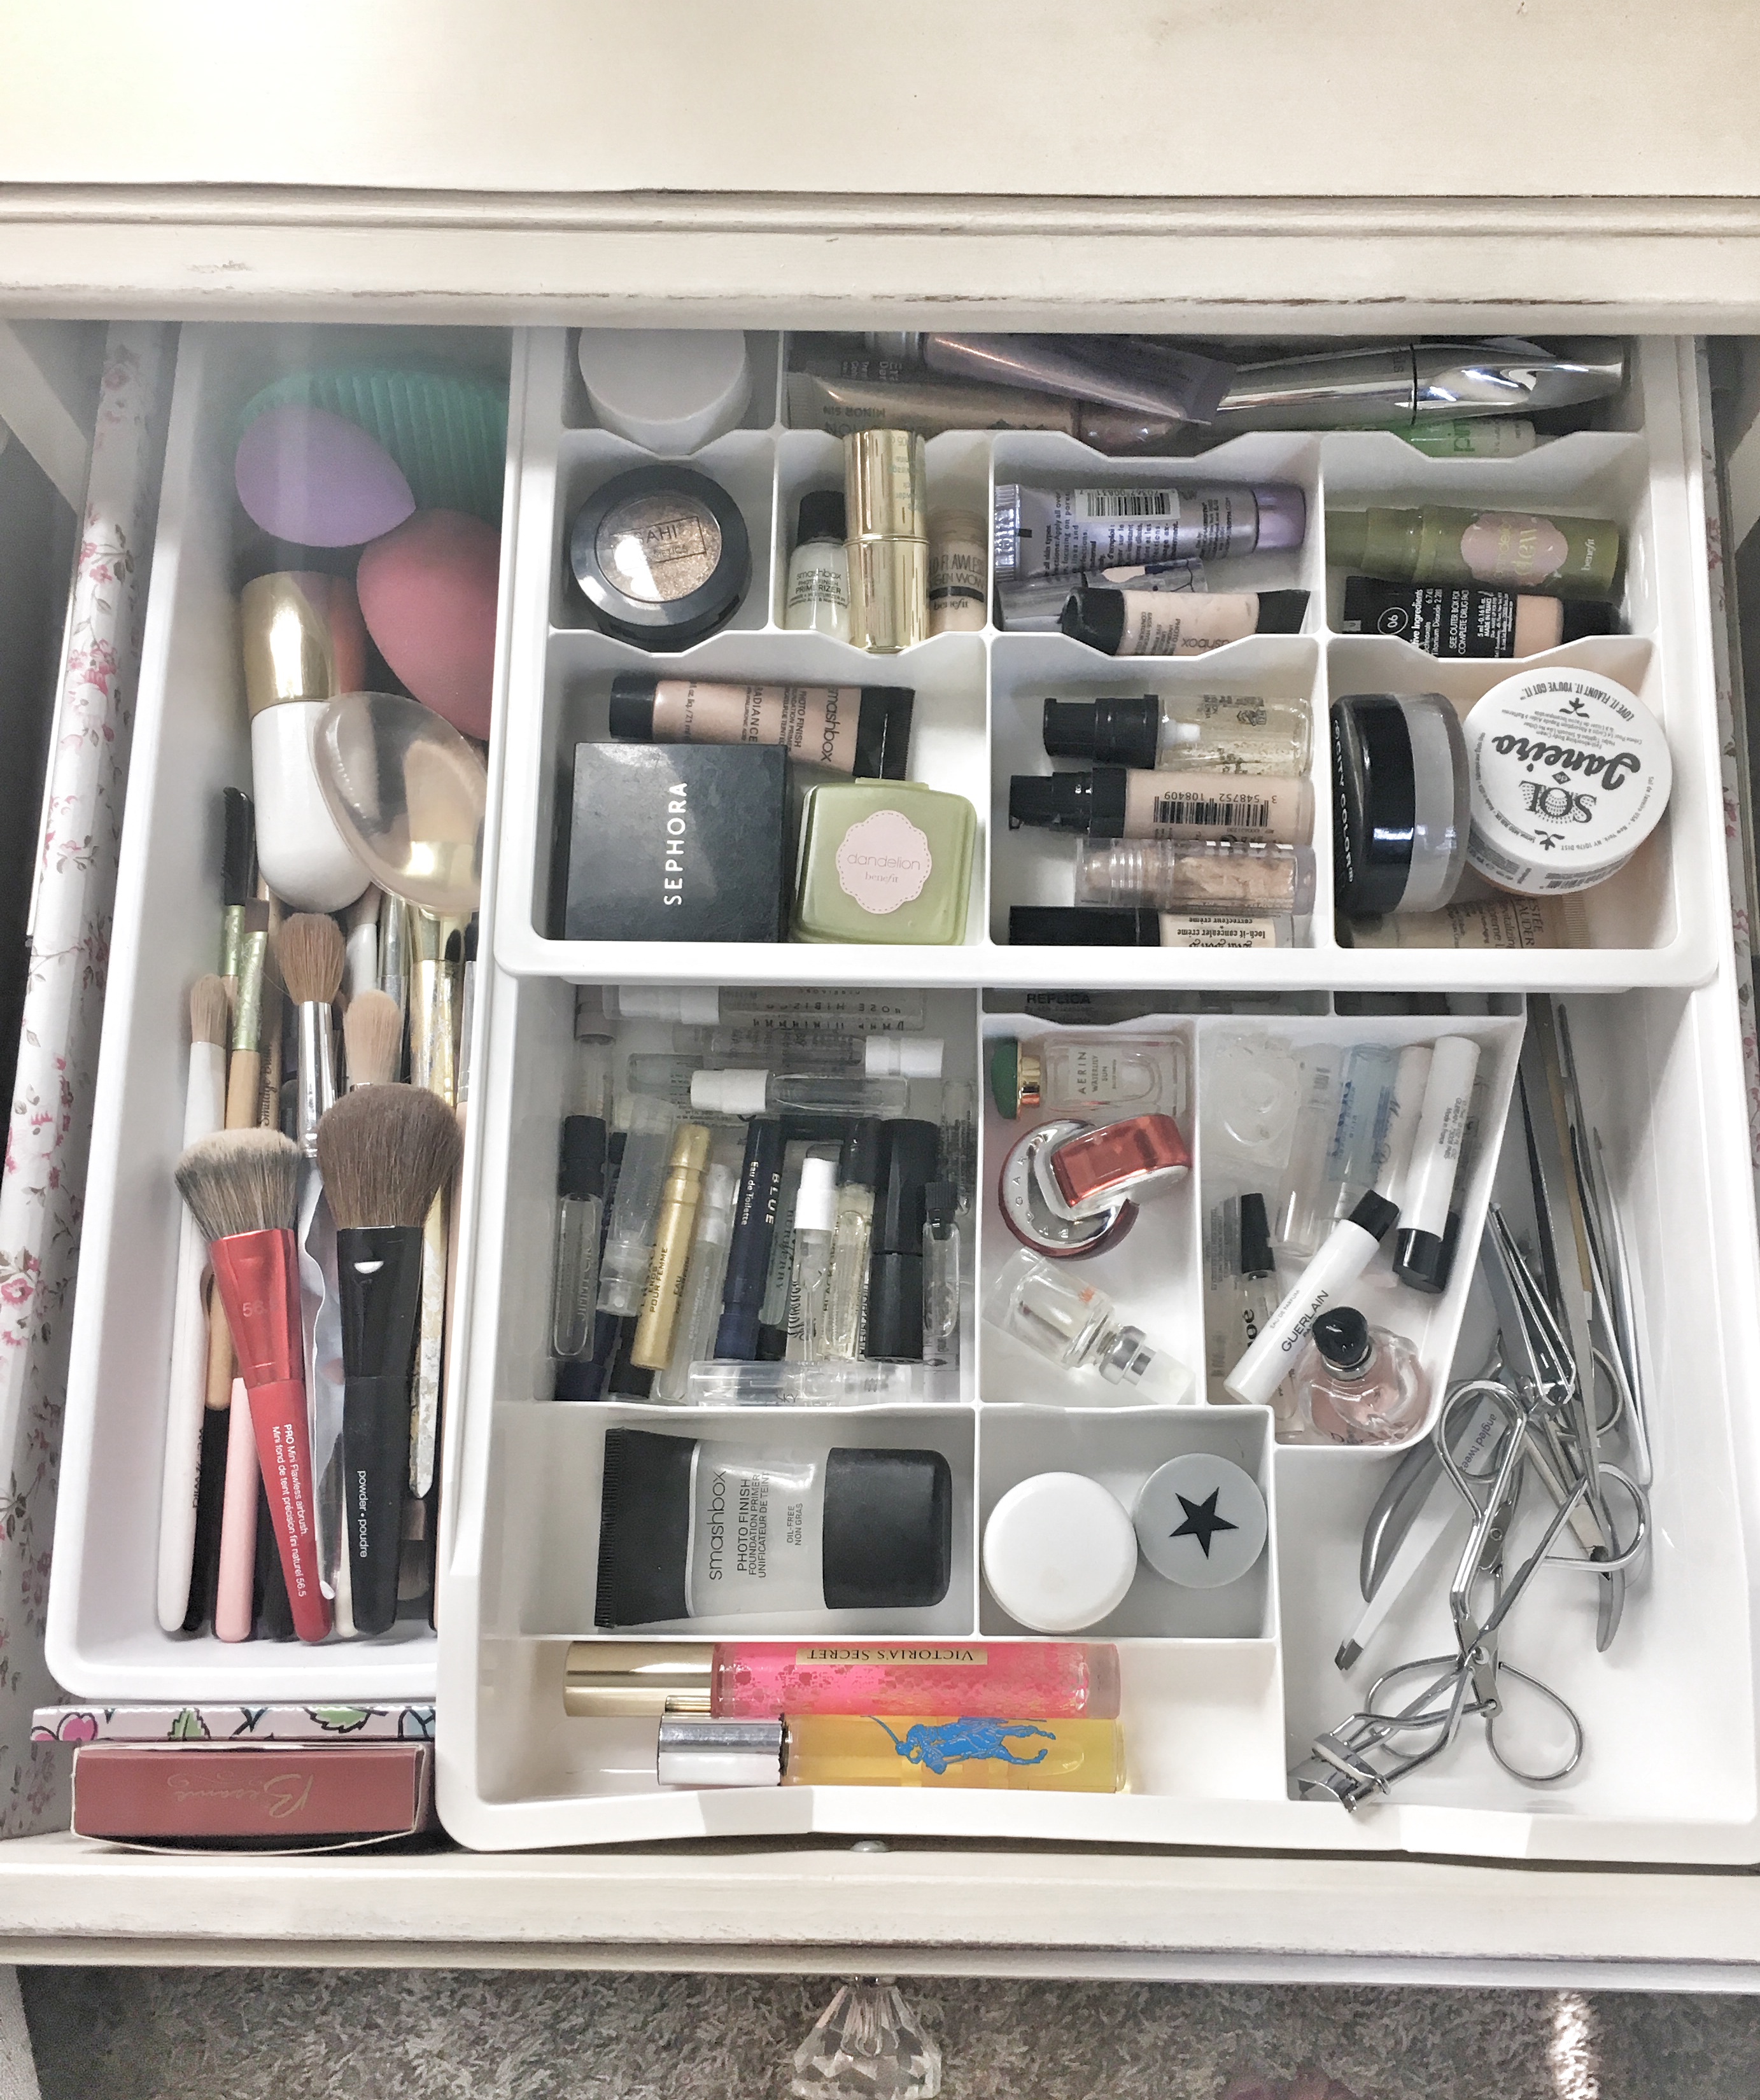
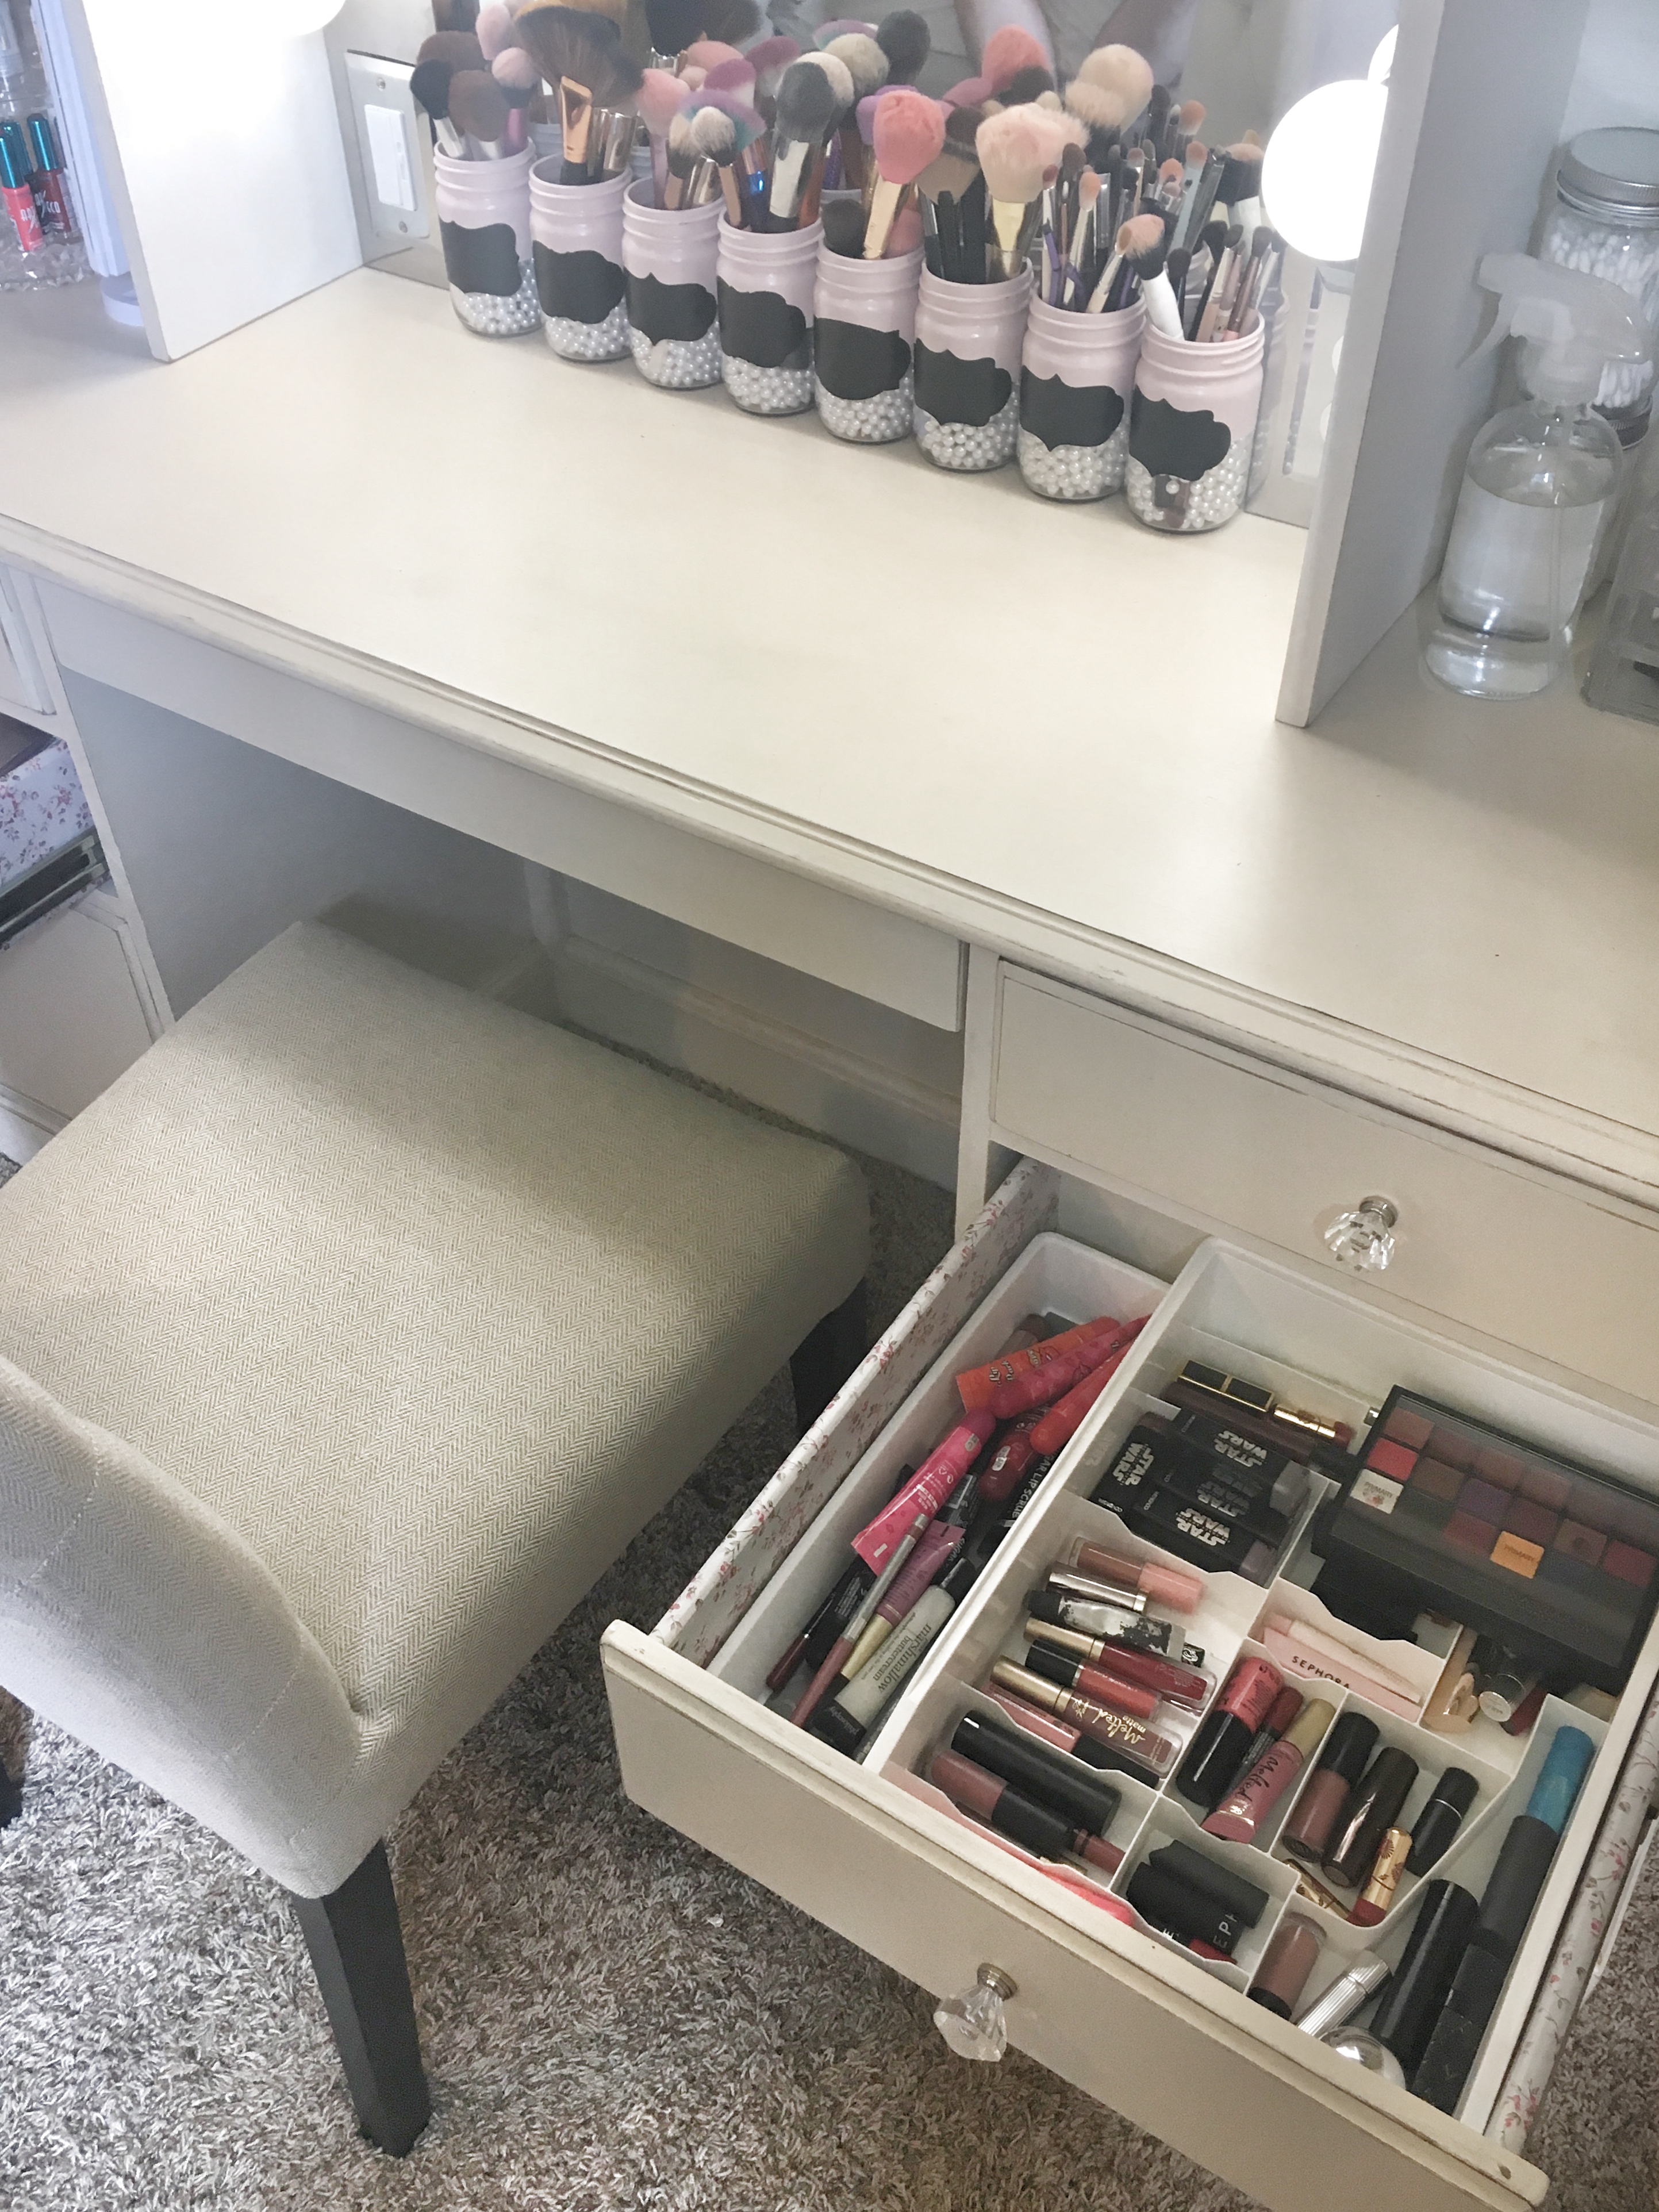
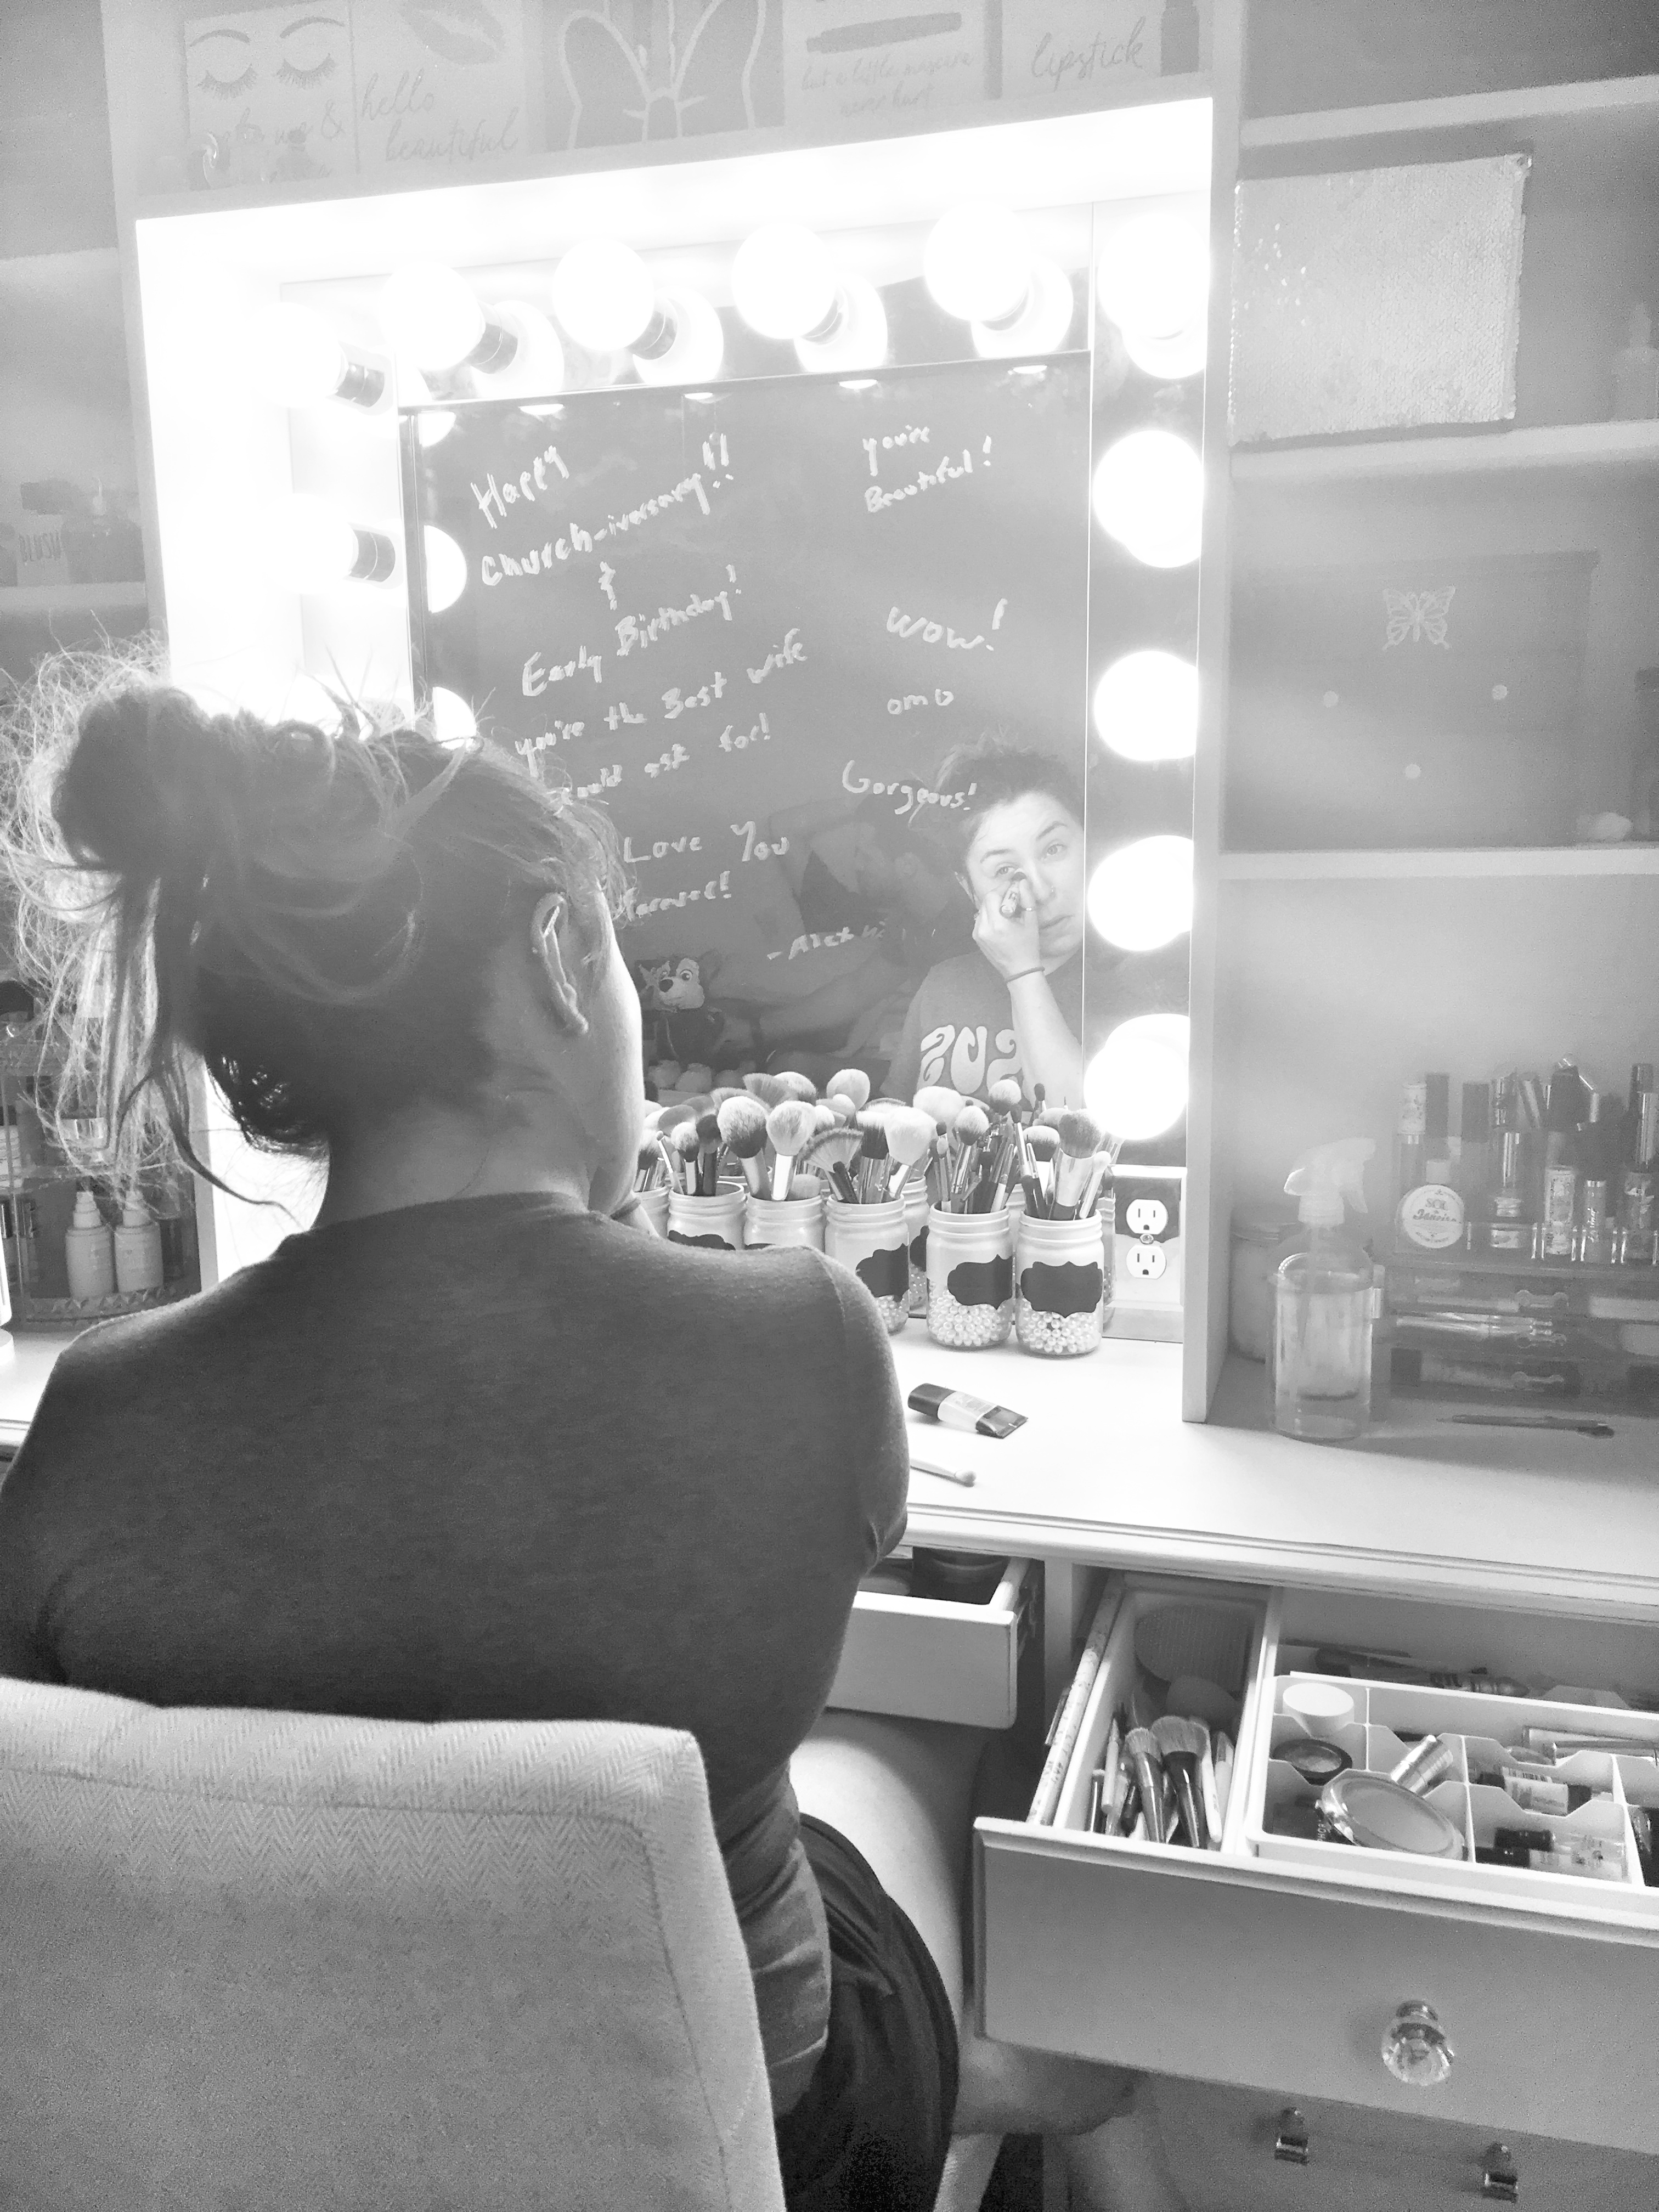
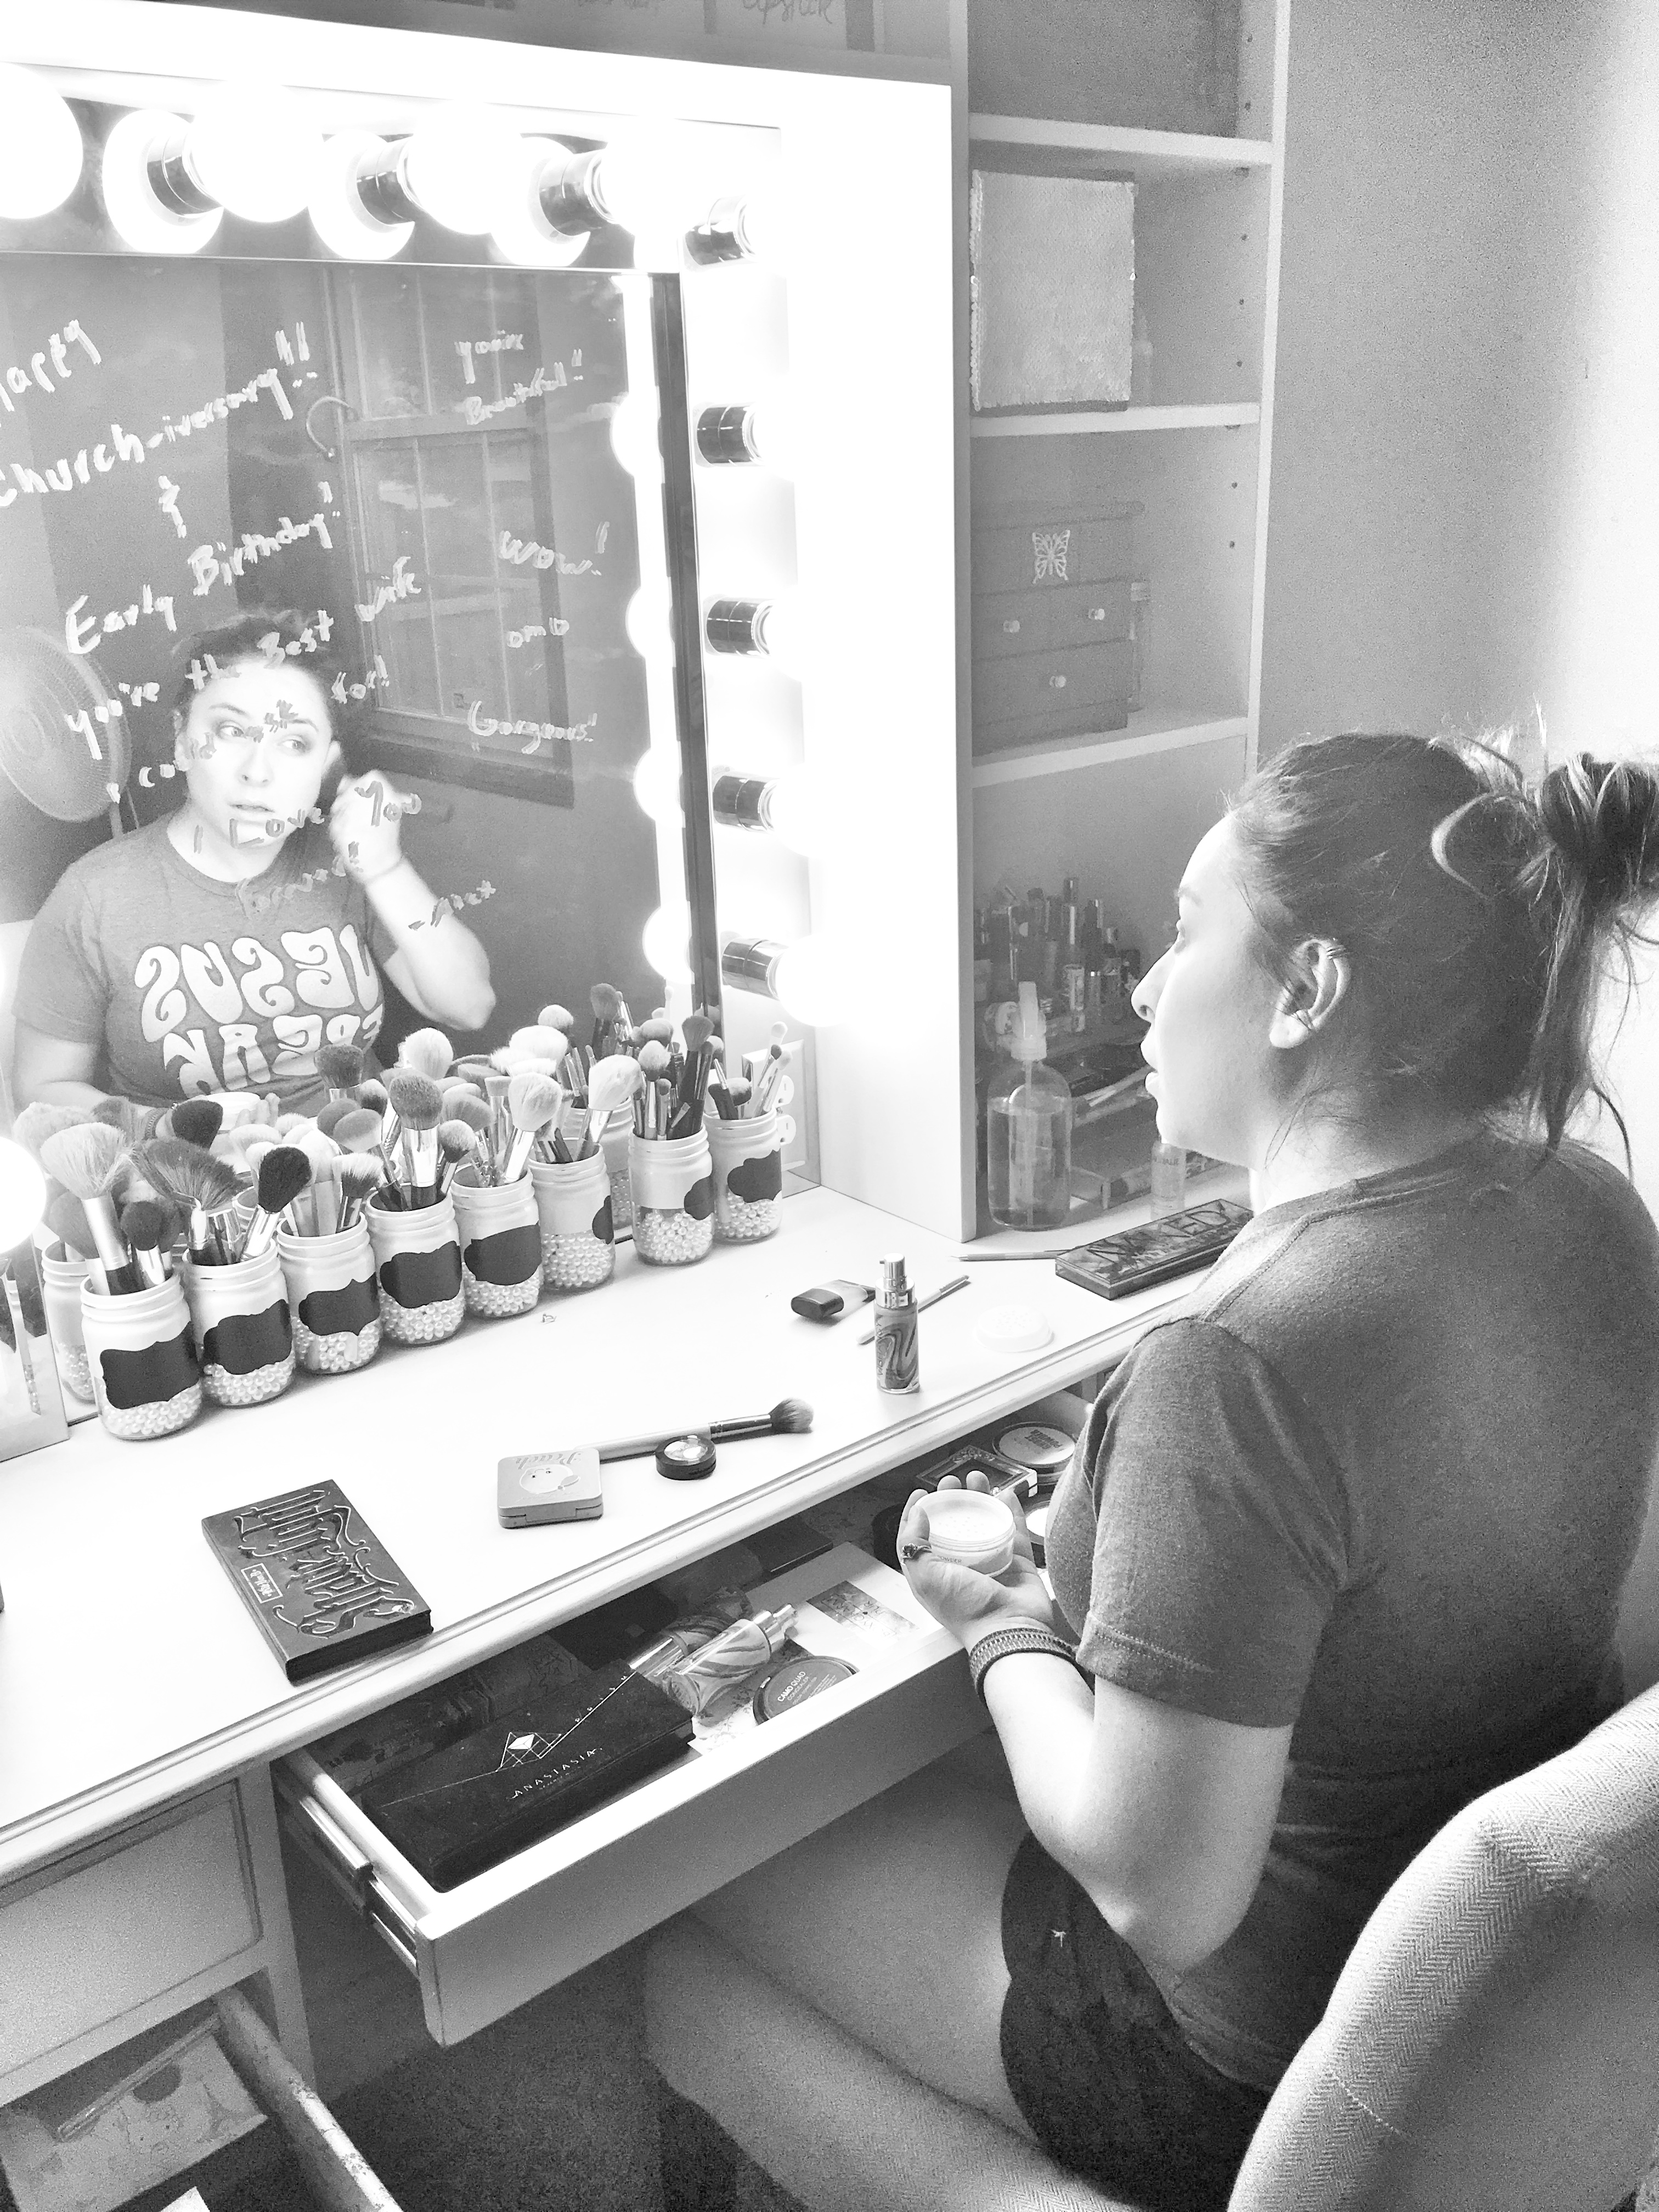
- Drawer Organizers—We went back and forth on the drawers, whether or not to make custom organizers, or buy some. For the sake of time, we decided to buy some plastic organizers. They were pretty much the perfect size, and they even had a two-tierd tray that slid across the top for more storage.
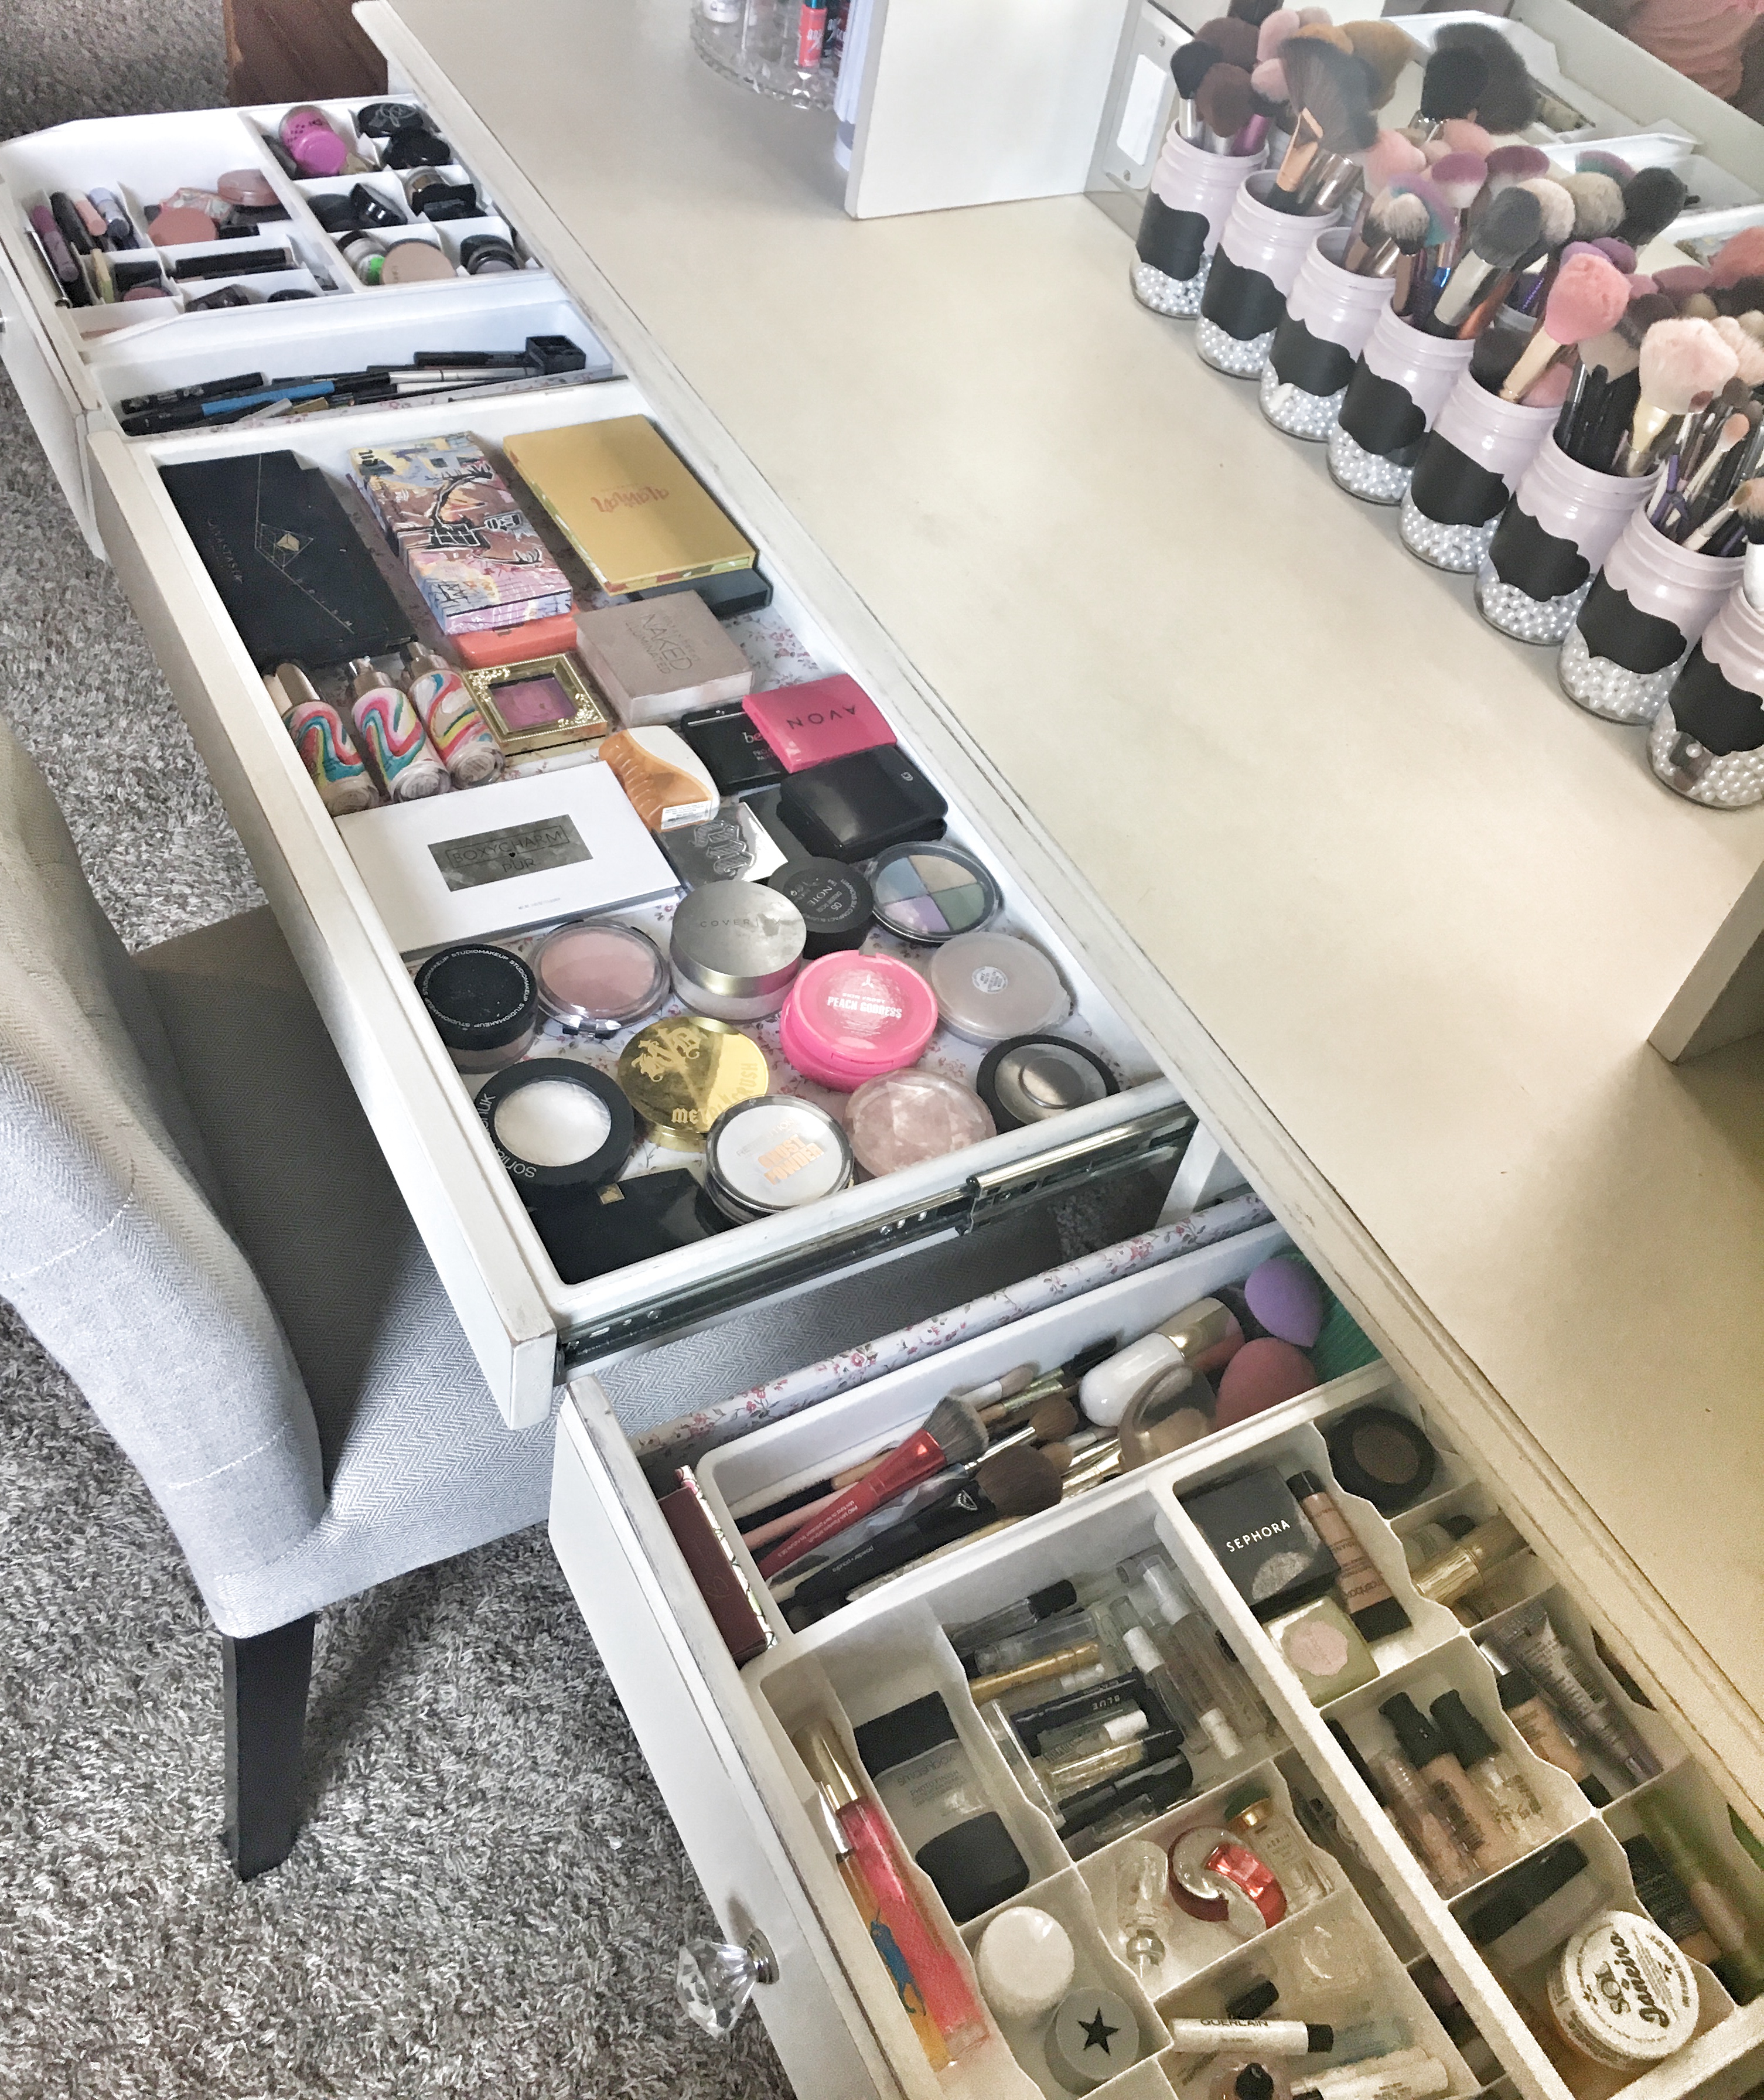
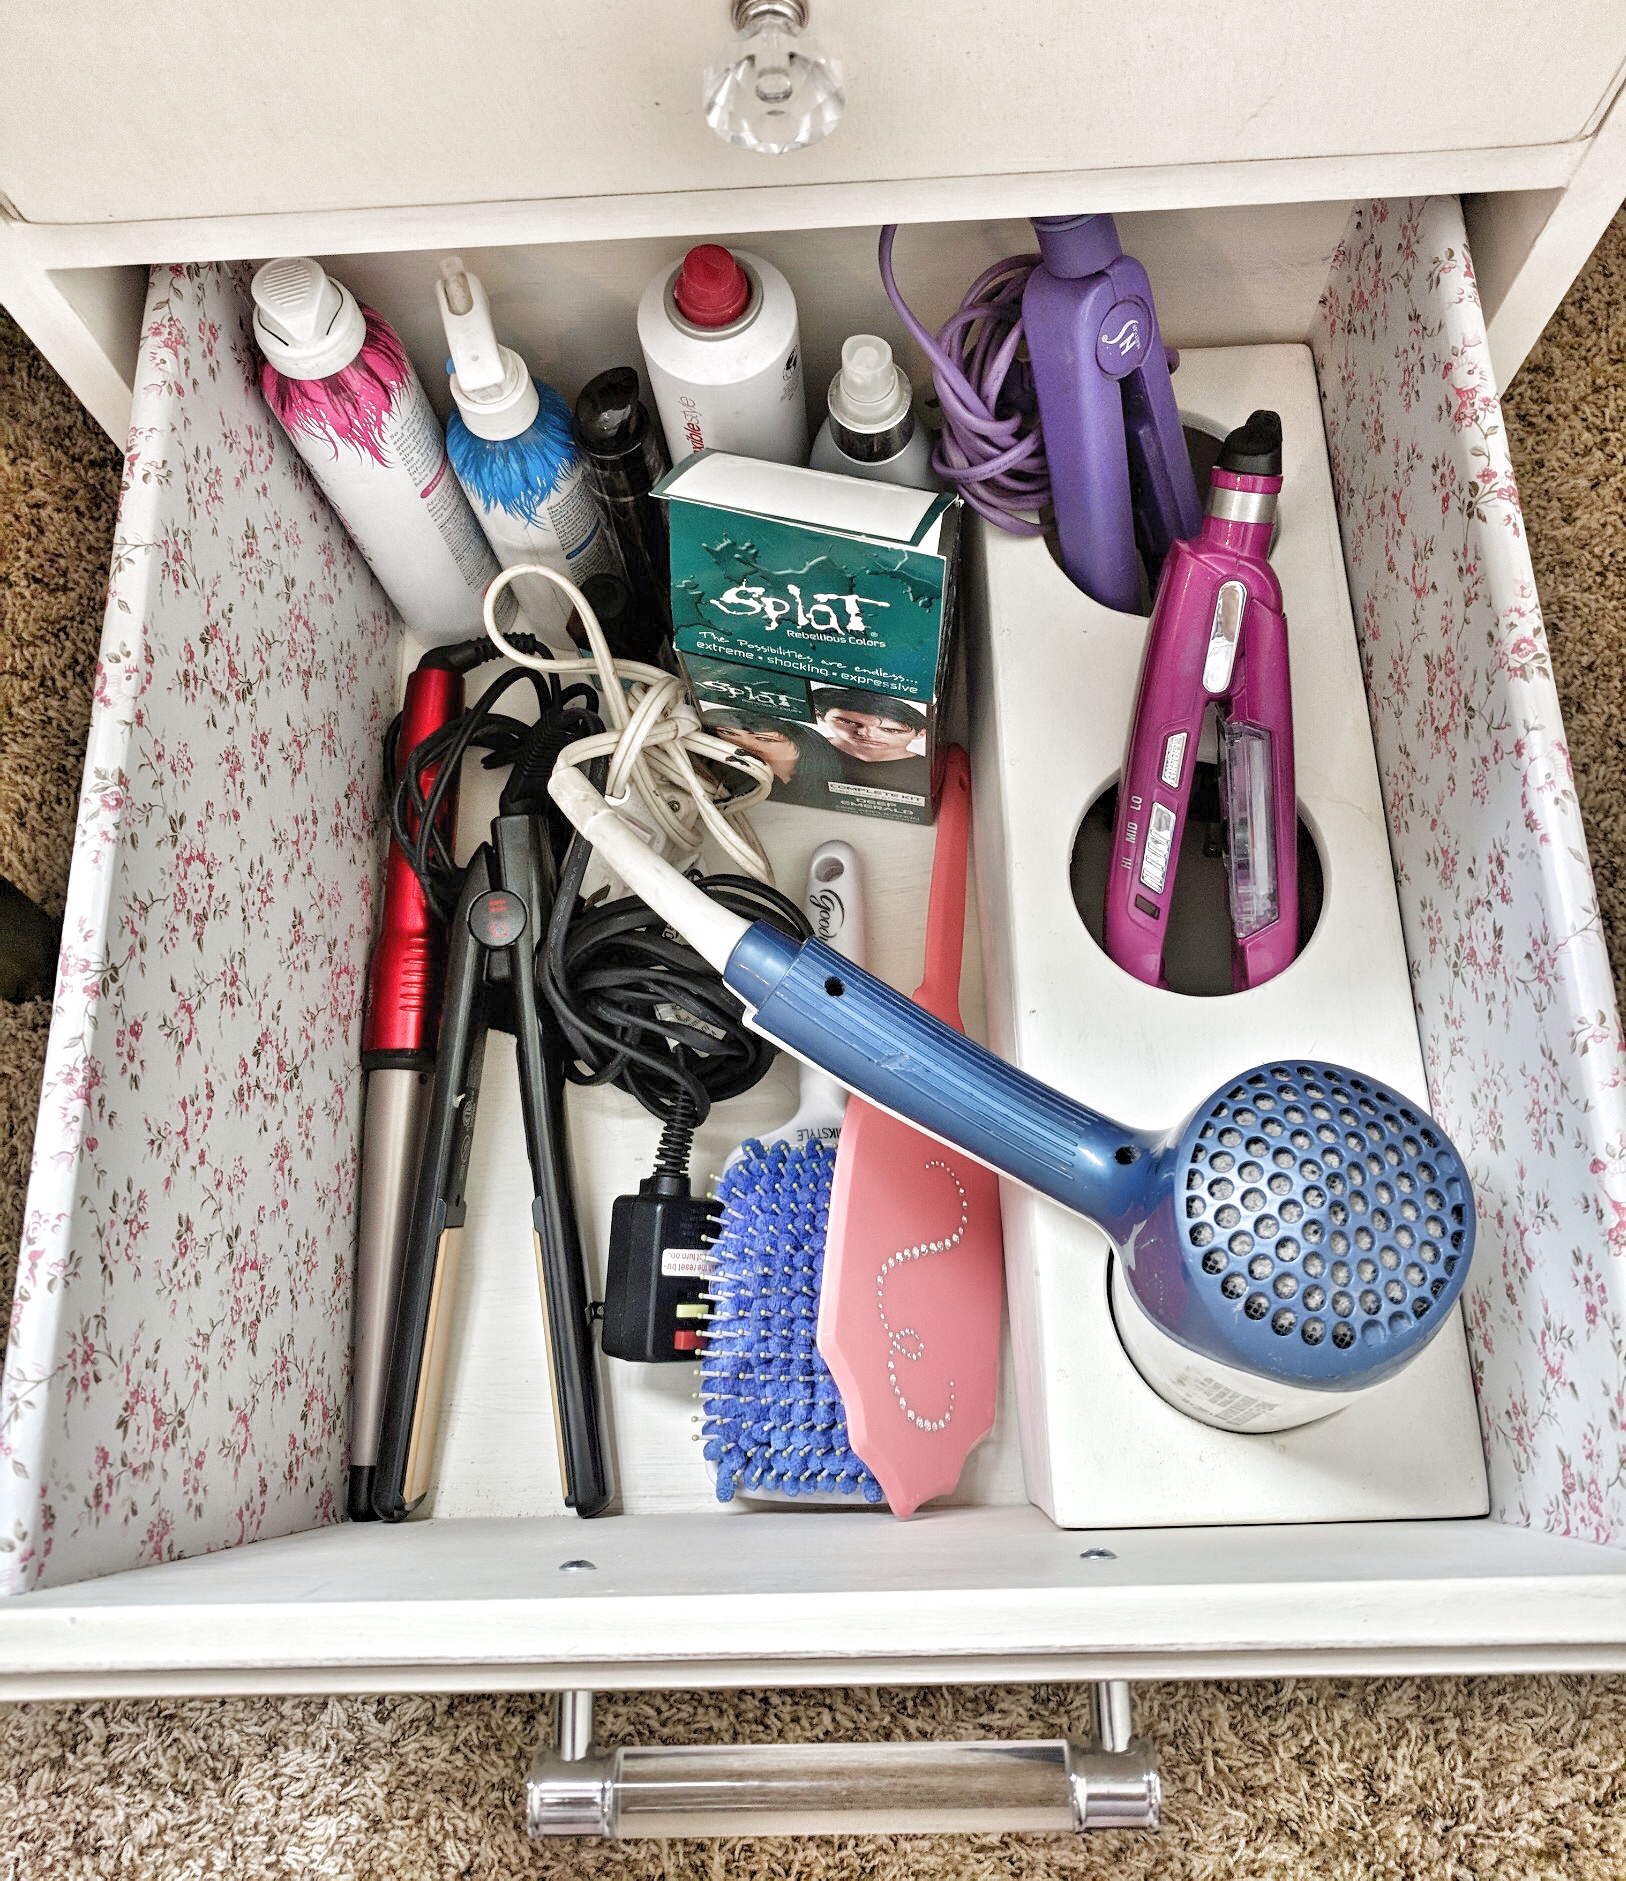
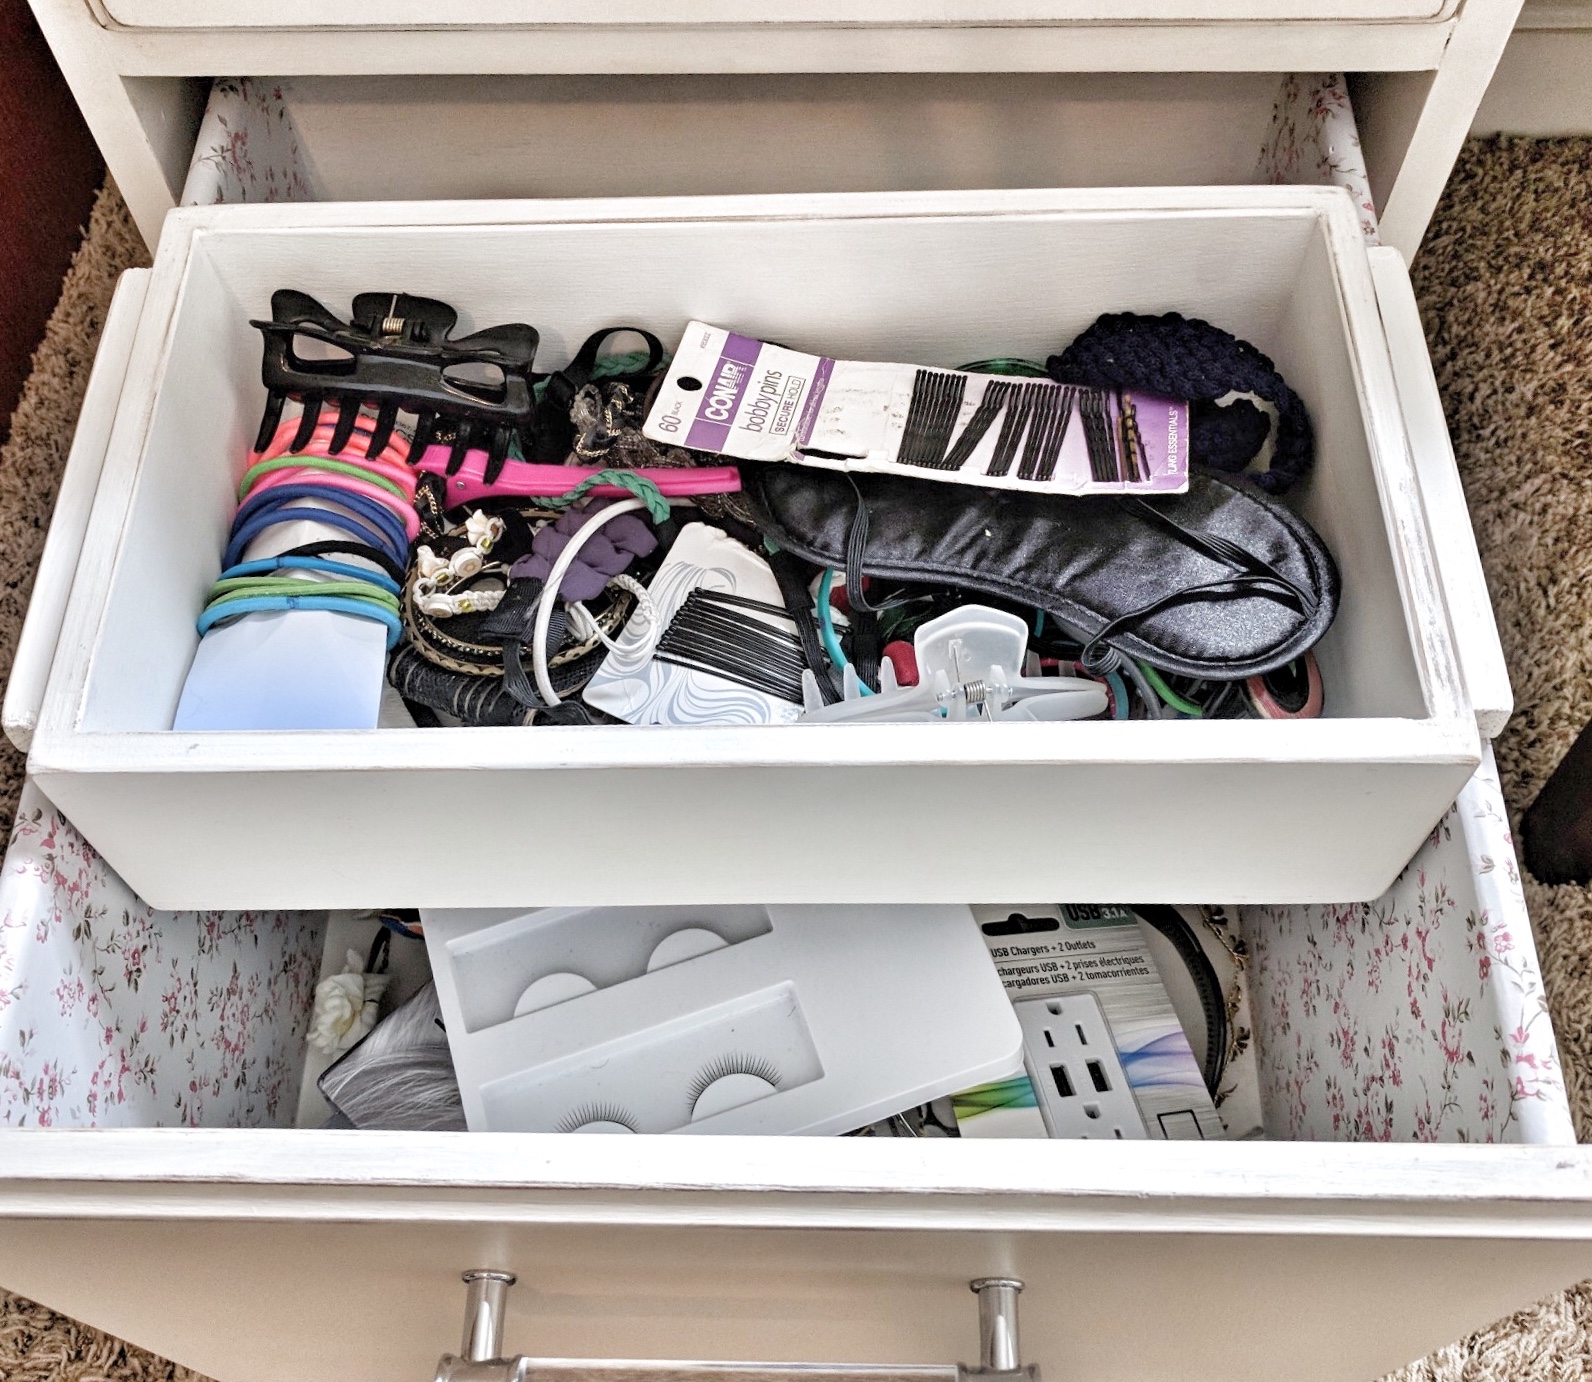
- Accessory Storage—For the deeper drawers at the bottom, my dad built slots for a hair dryer and straight iron in one, and a box that slides across the top for the other one, which is perfect for hair accessories and other beauty products.
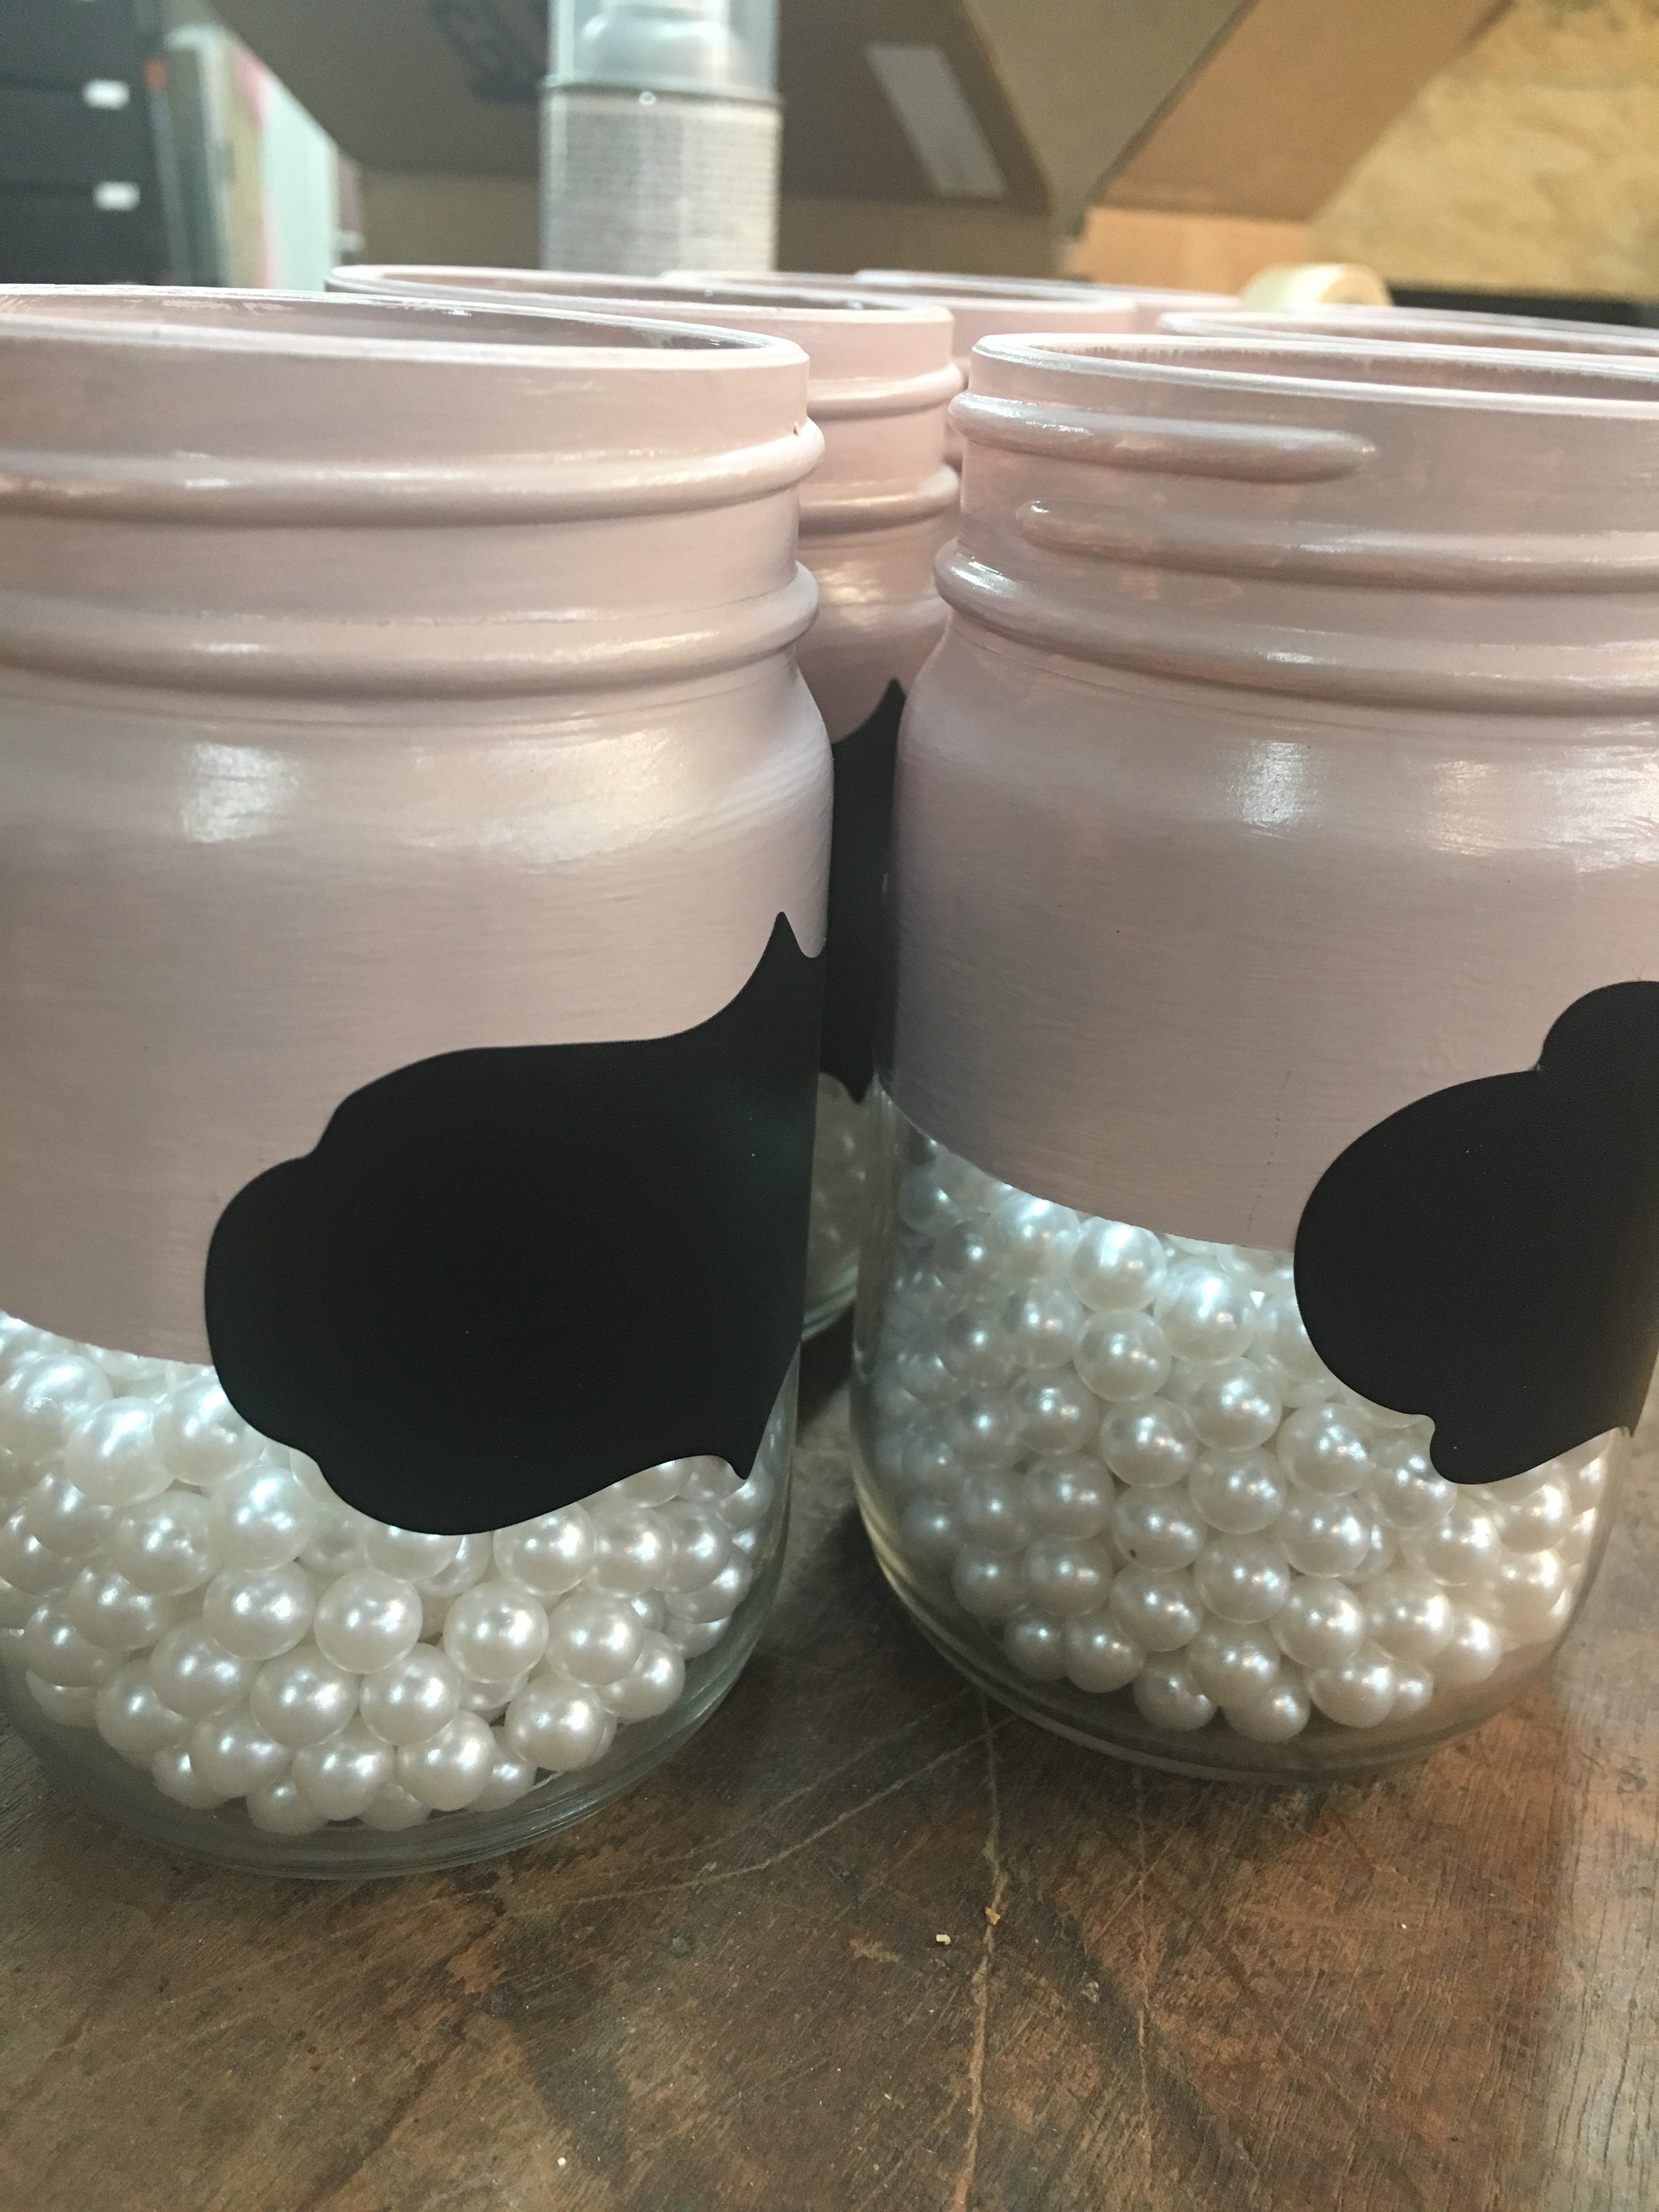
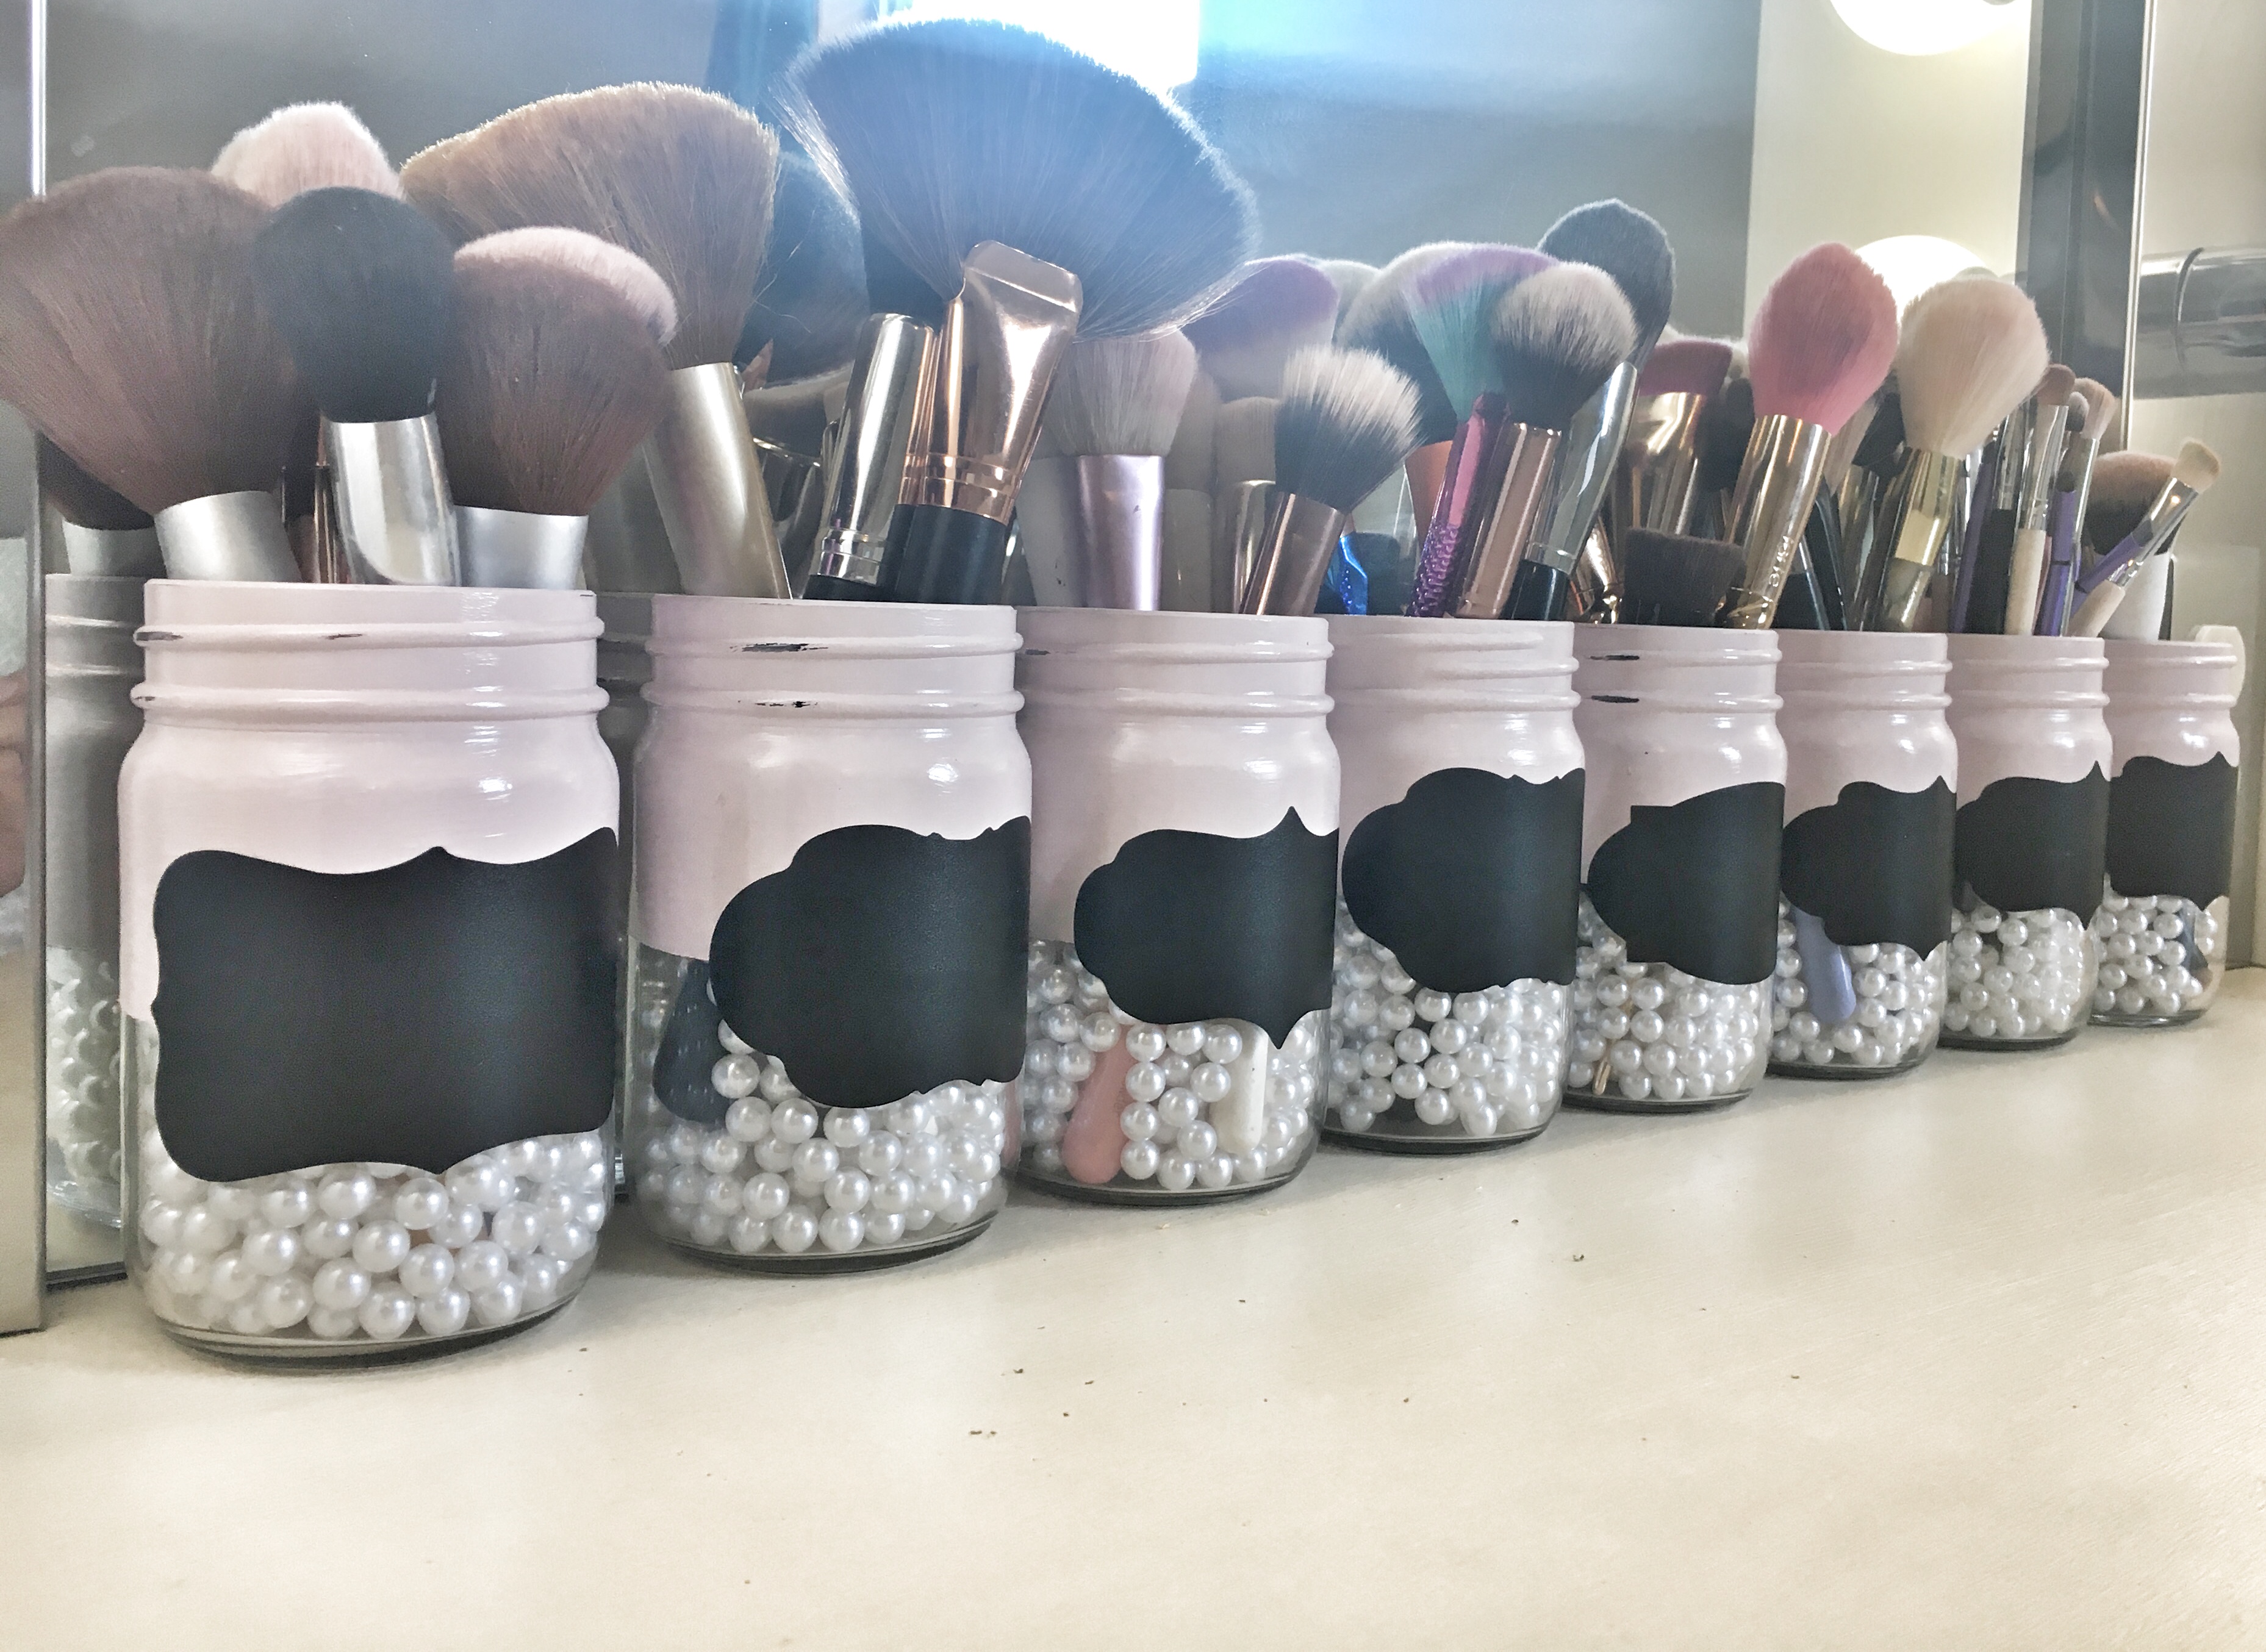
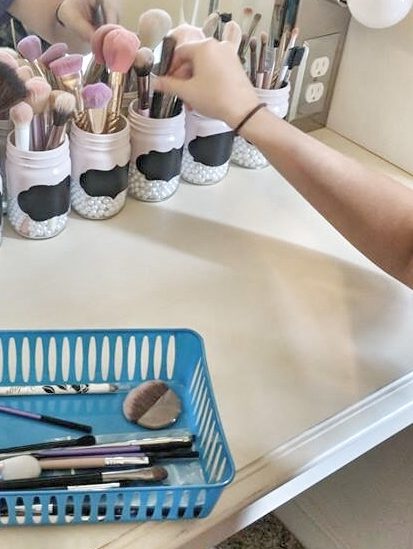
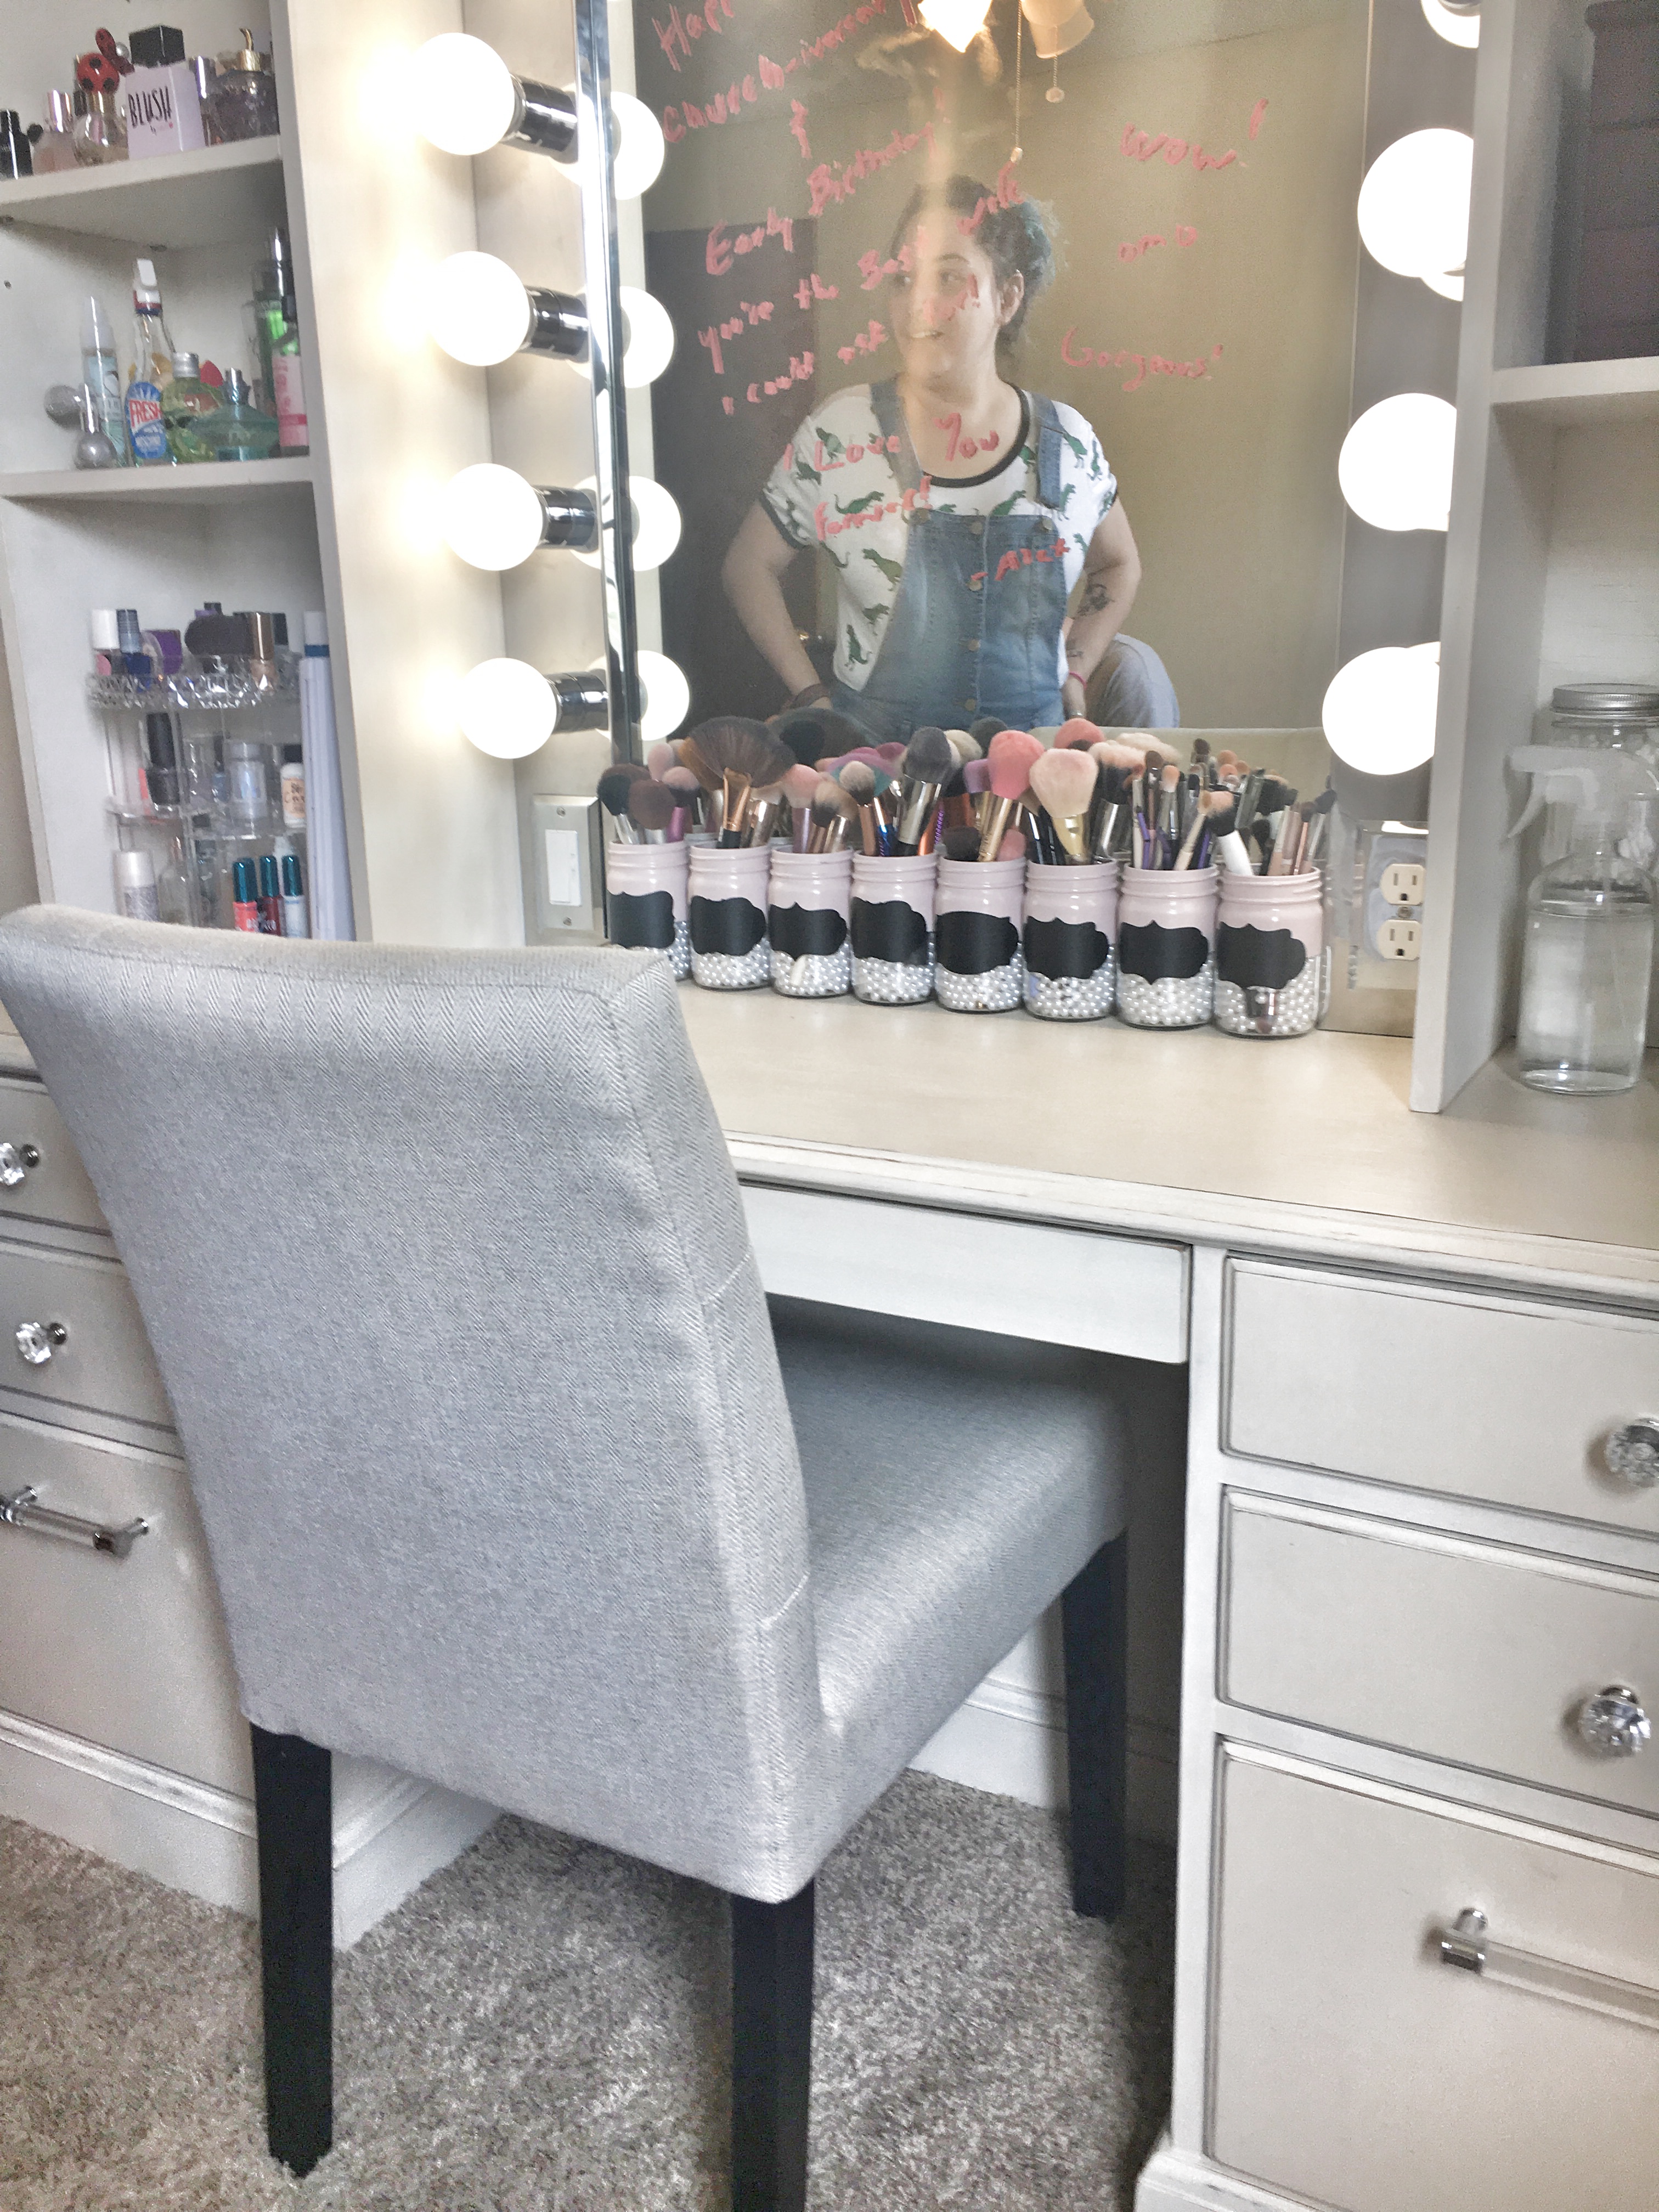
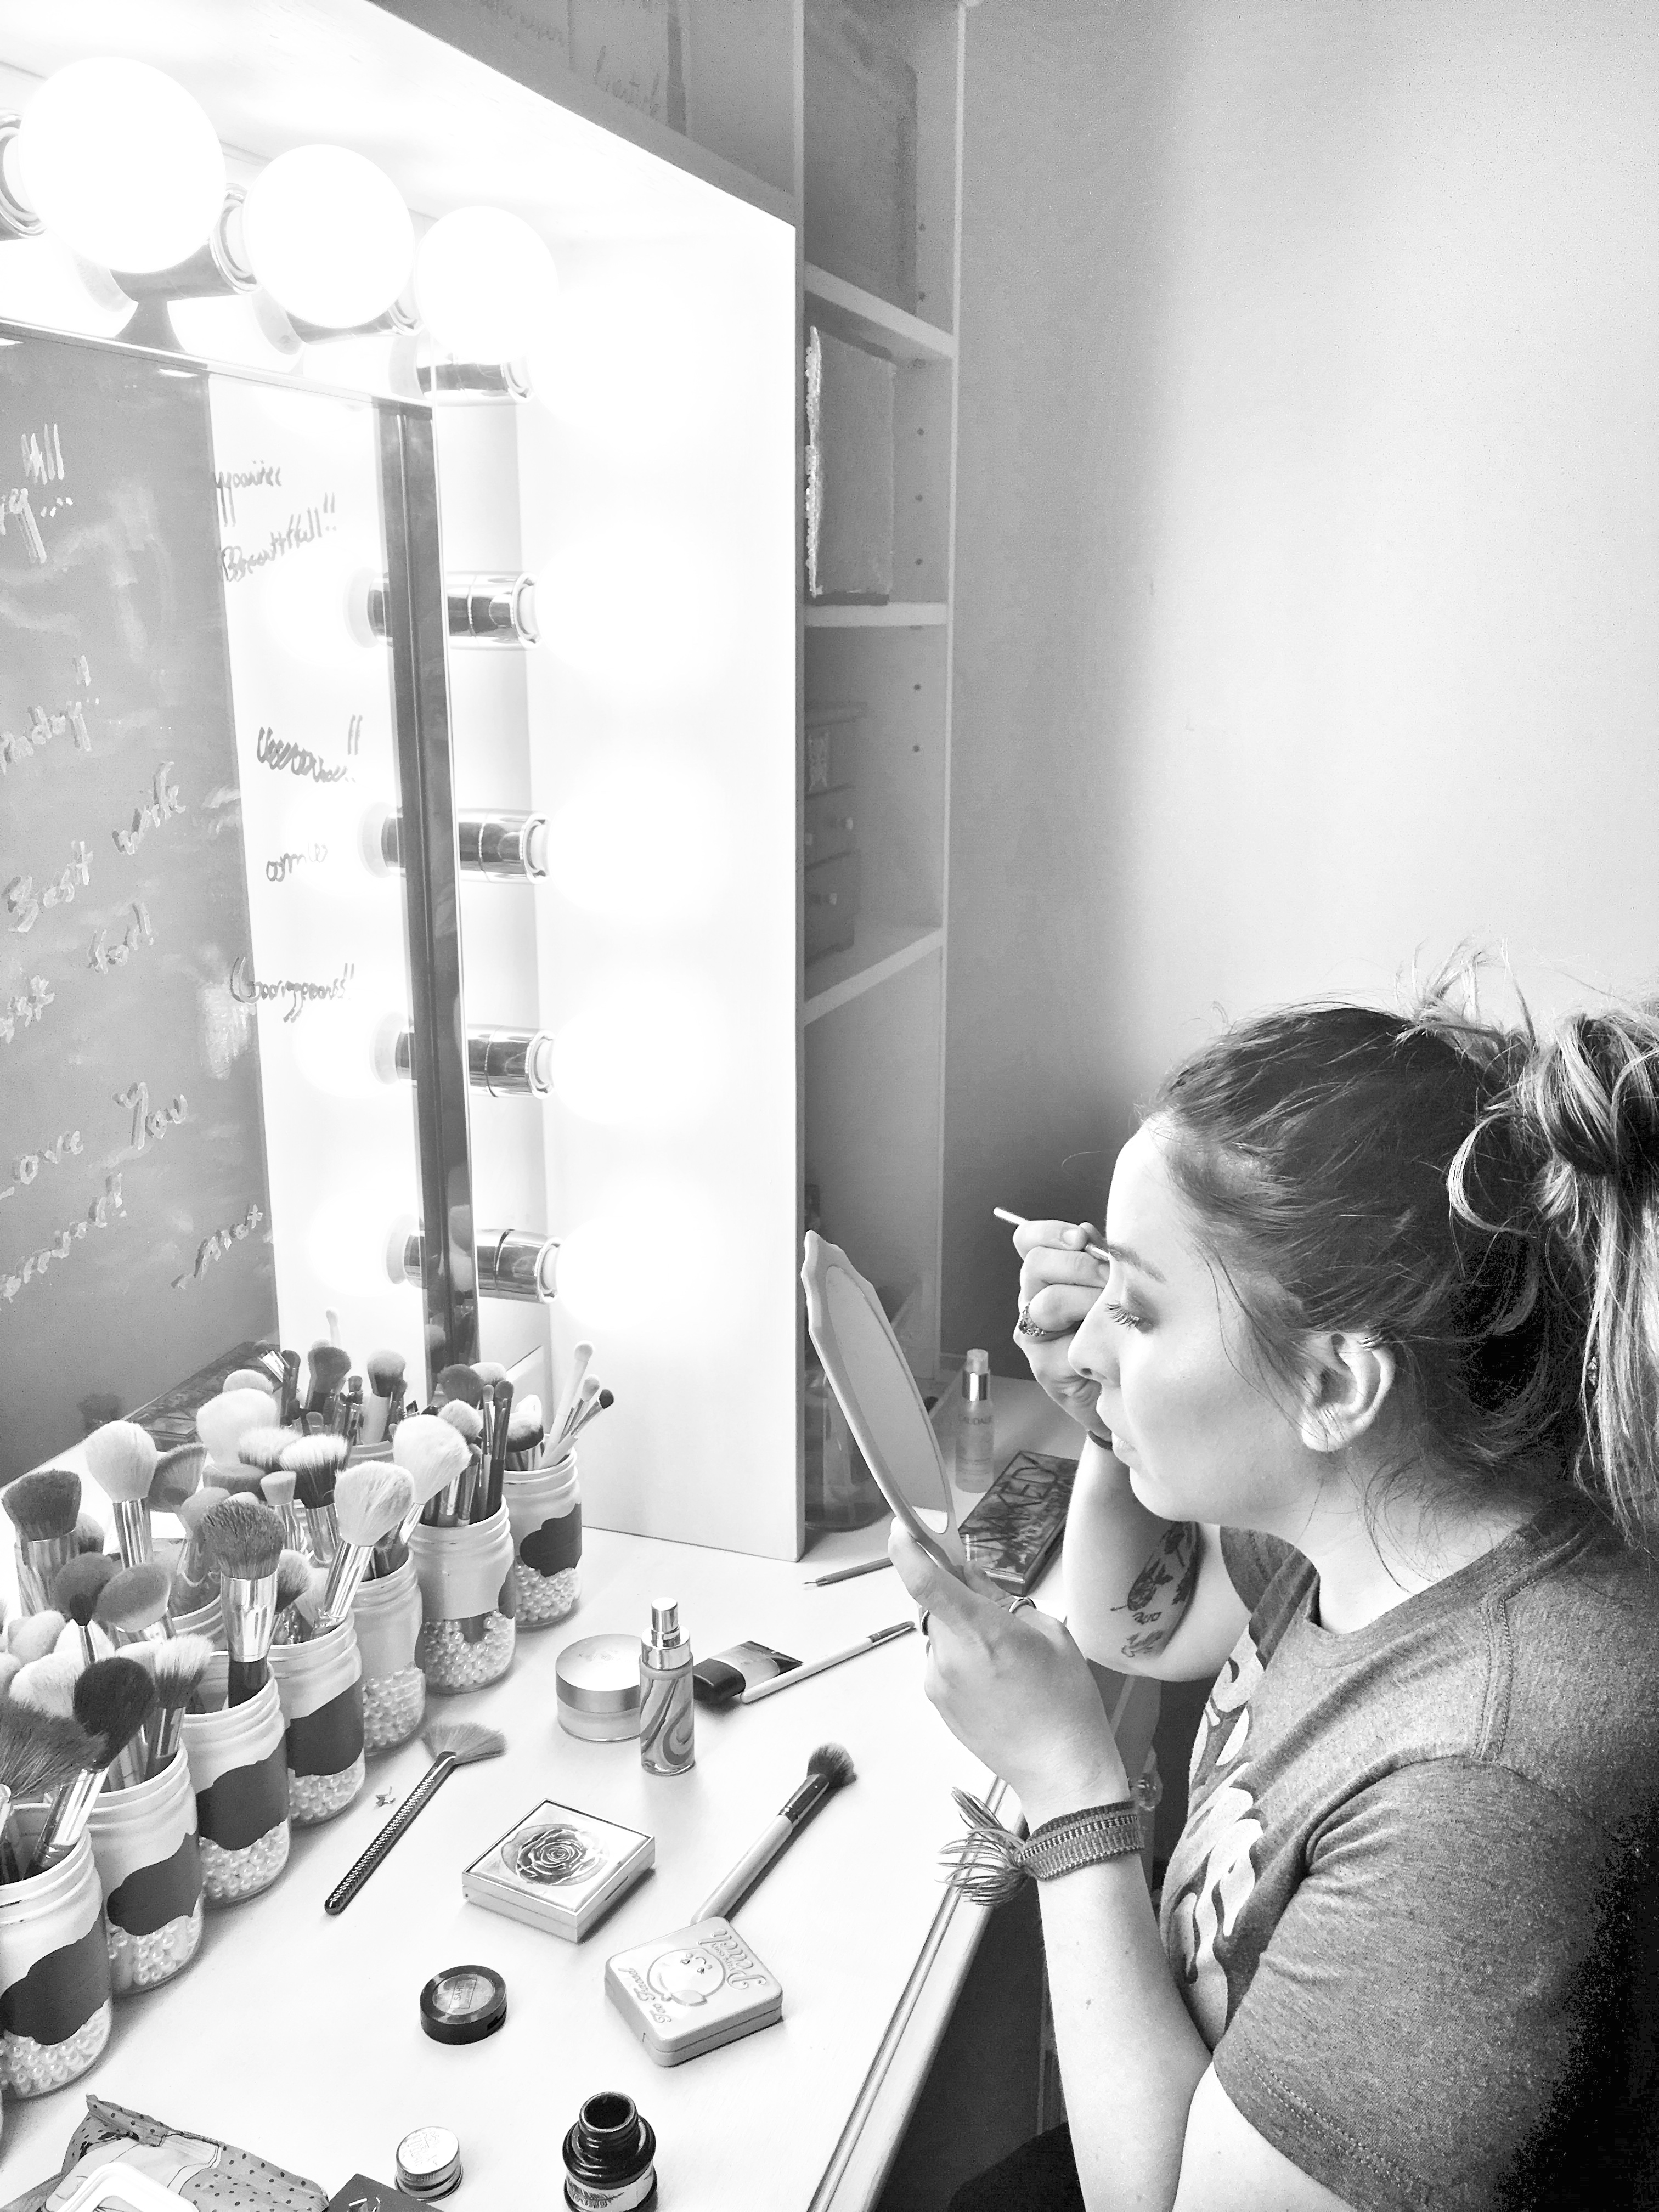
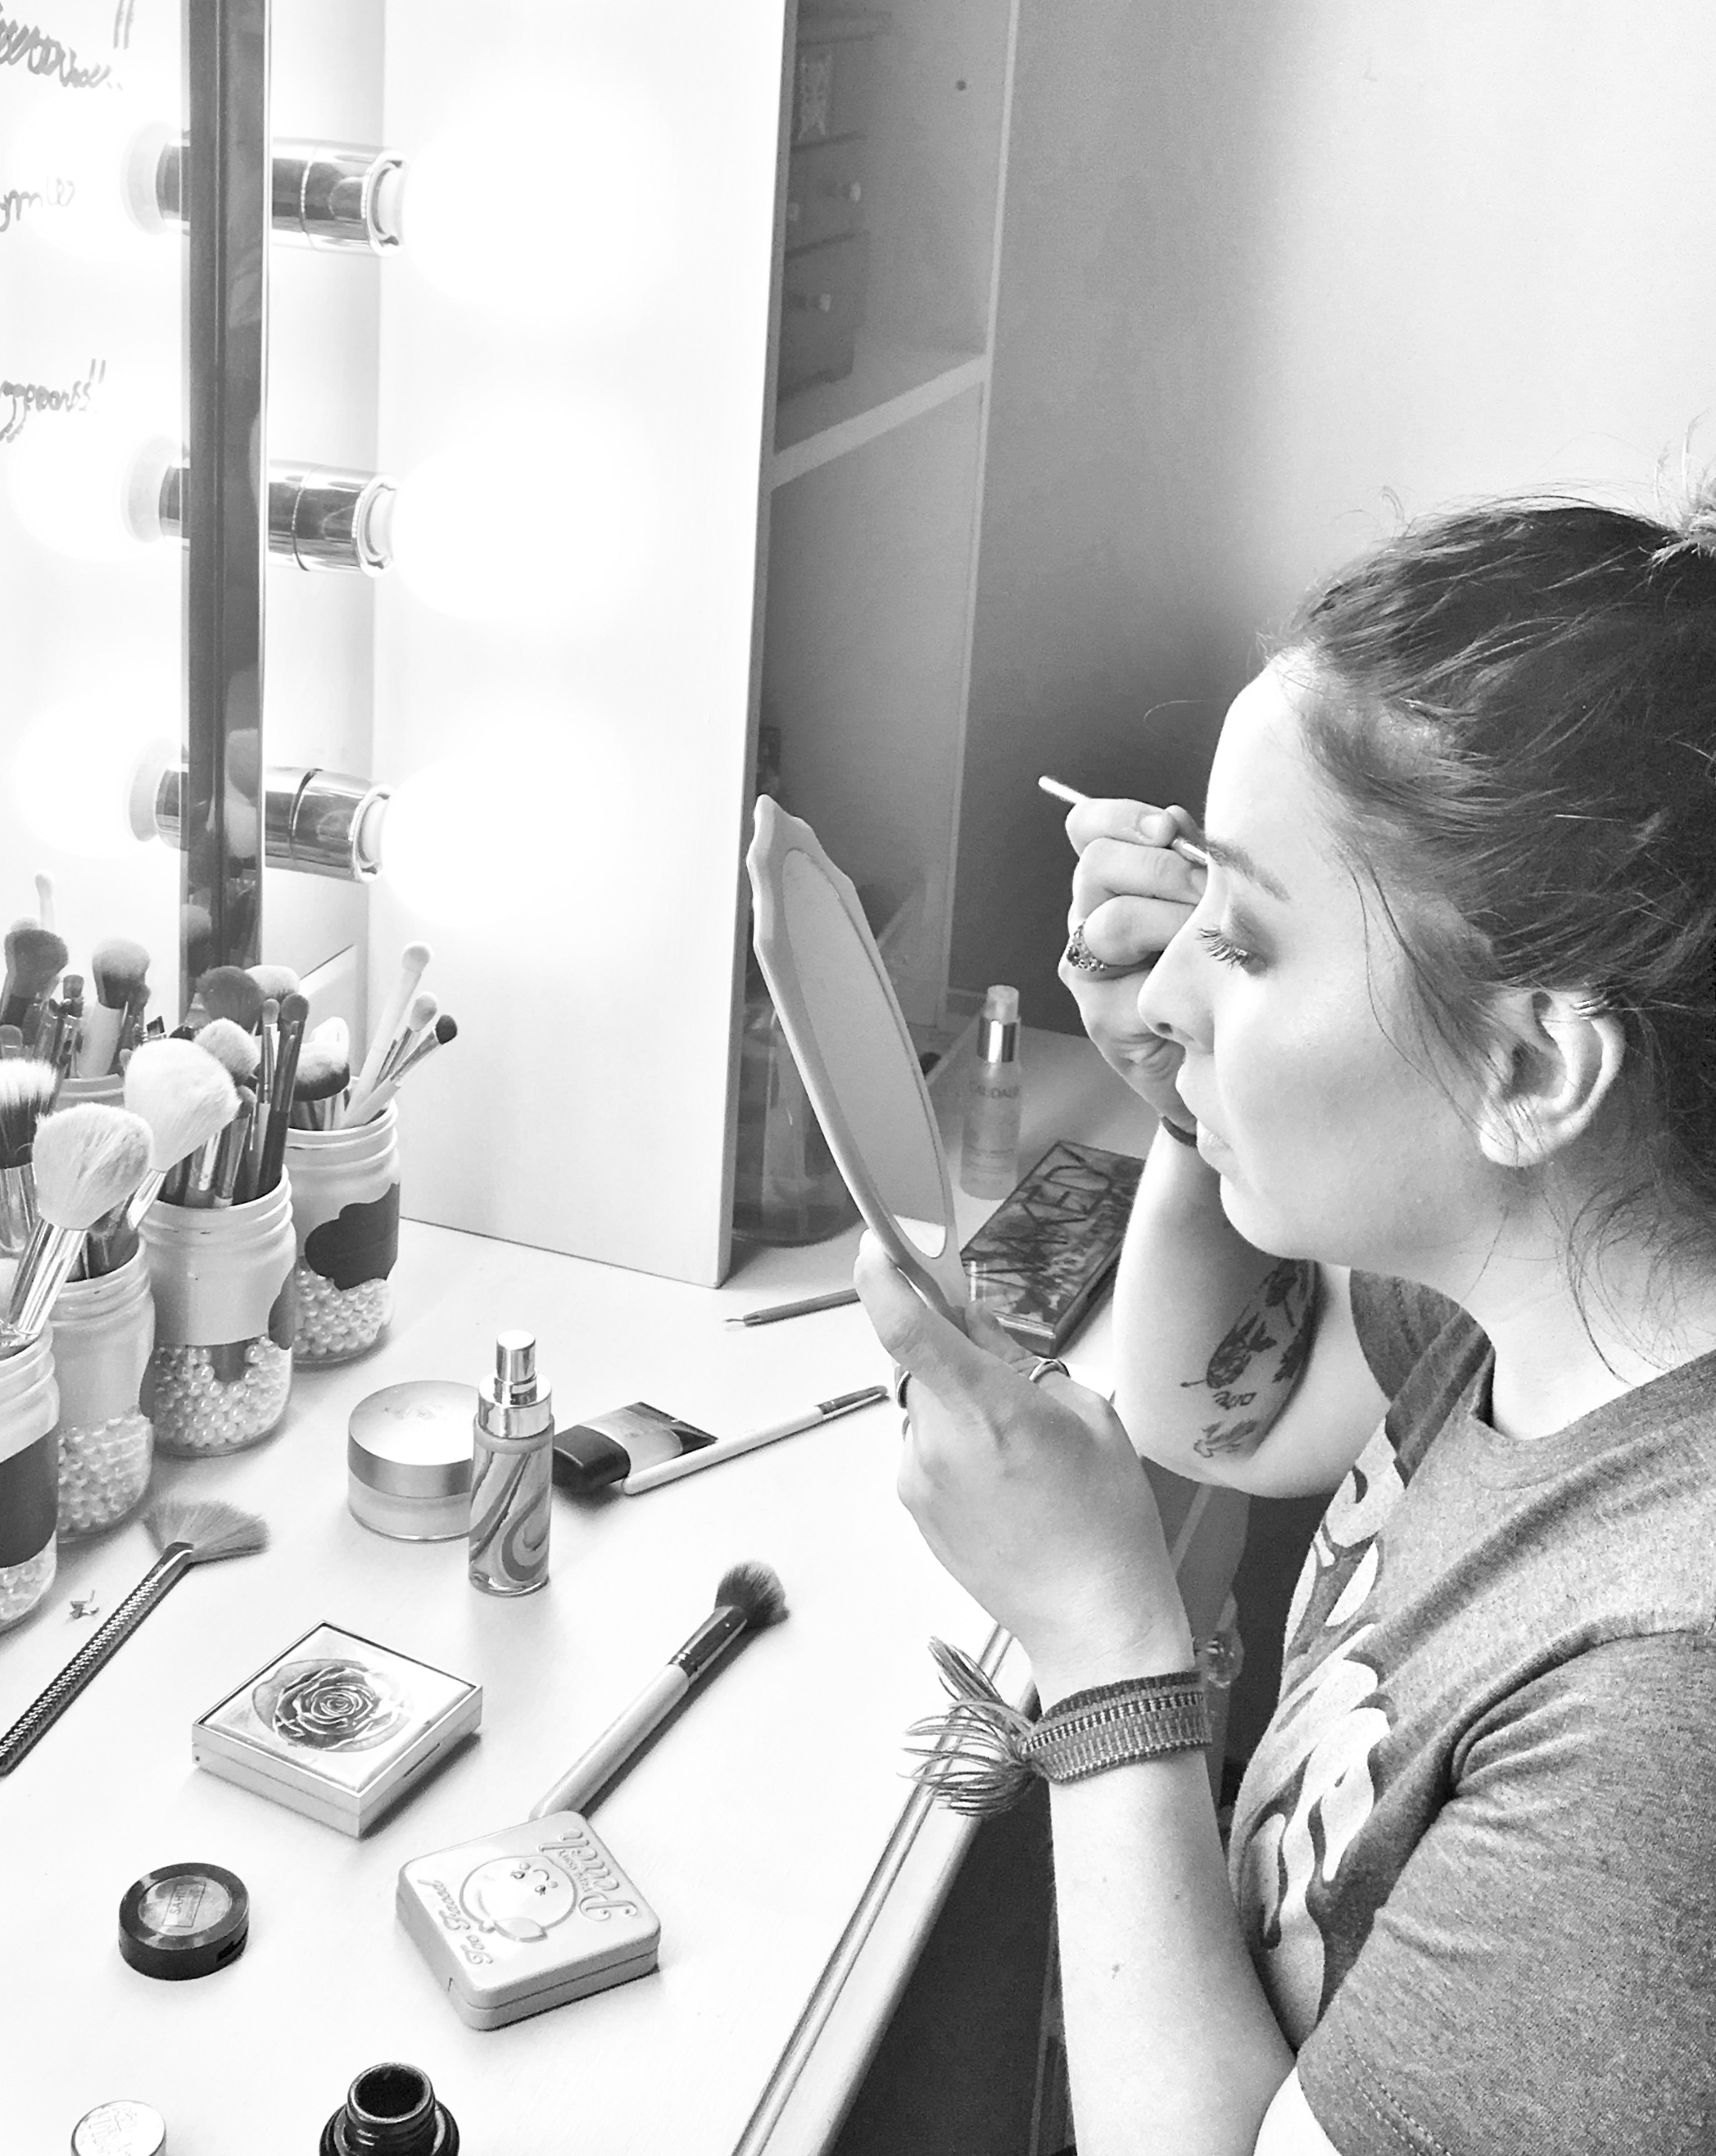
- Brush Storage—My favorite detail is the mason jar makeup brush holders. Alex bought pearl beads to fill the bottom of the jars, and I painted the top half with pink chalk paint to match the floral paper. We added black chalkboard stickers so she can label each jar. These turned regular organizers into beautiful decor for the tabletop!
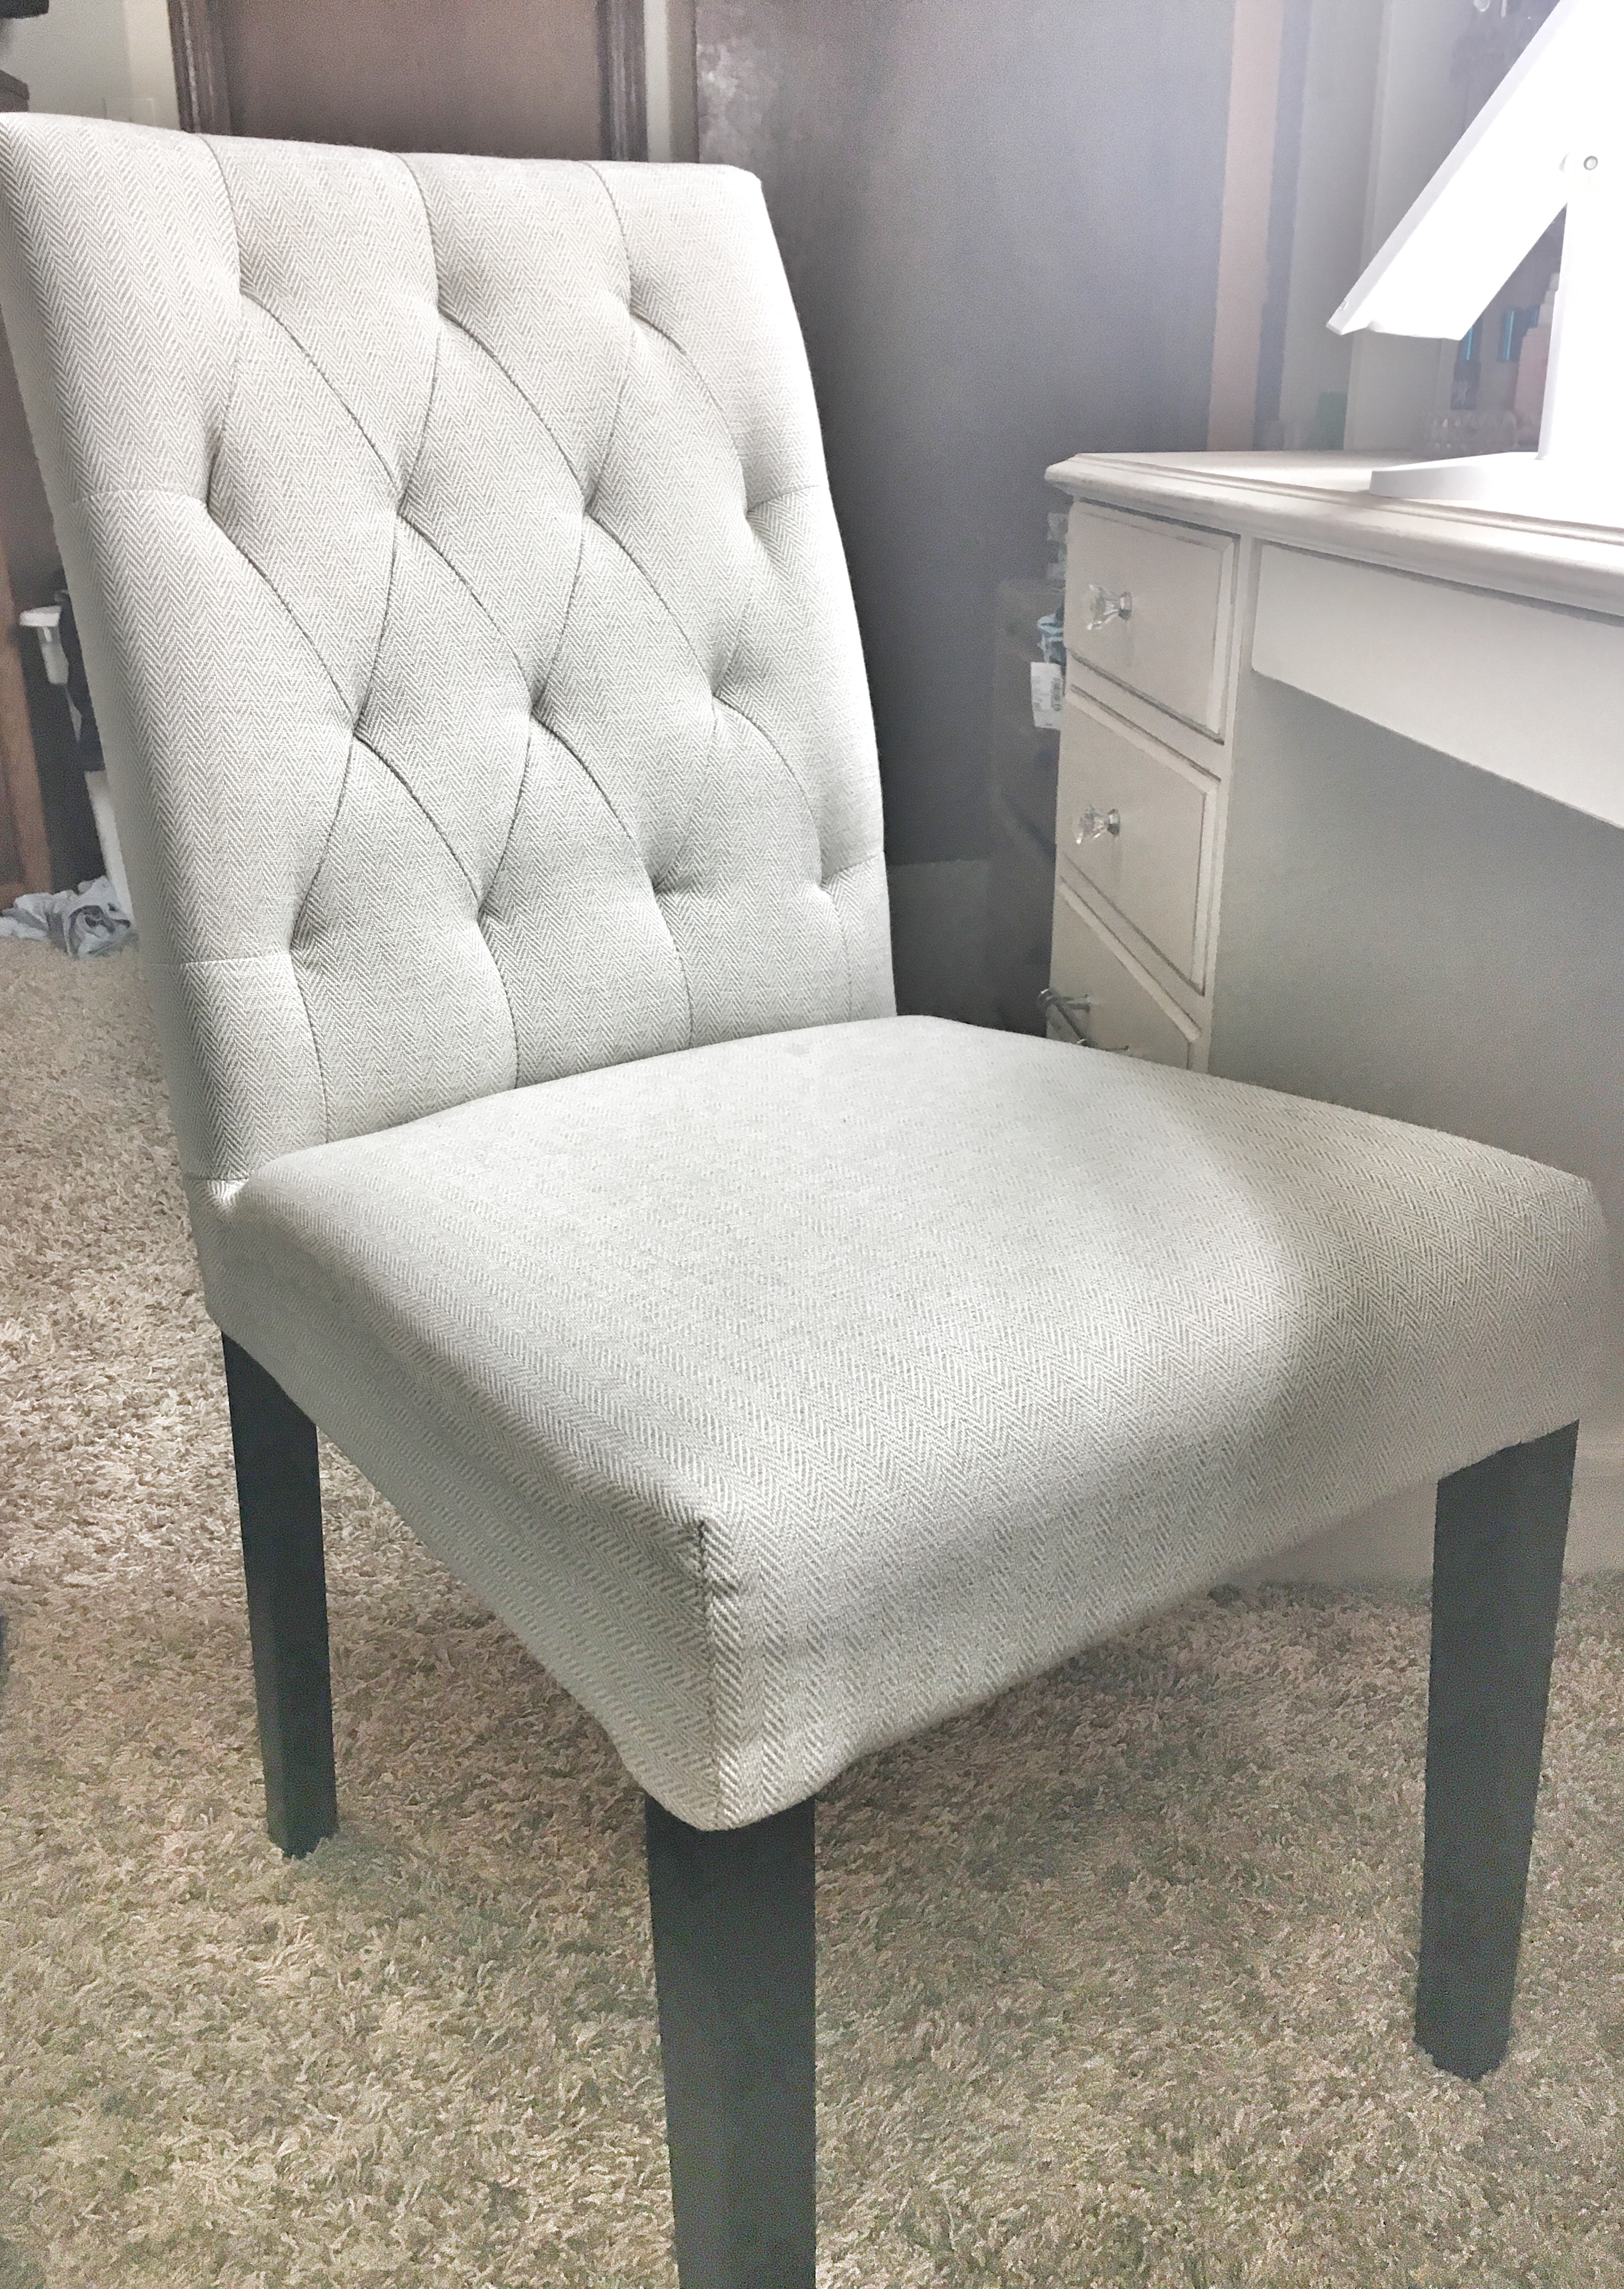
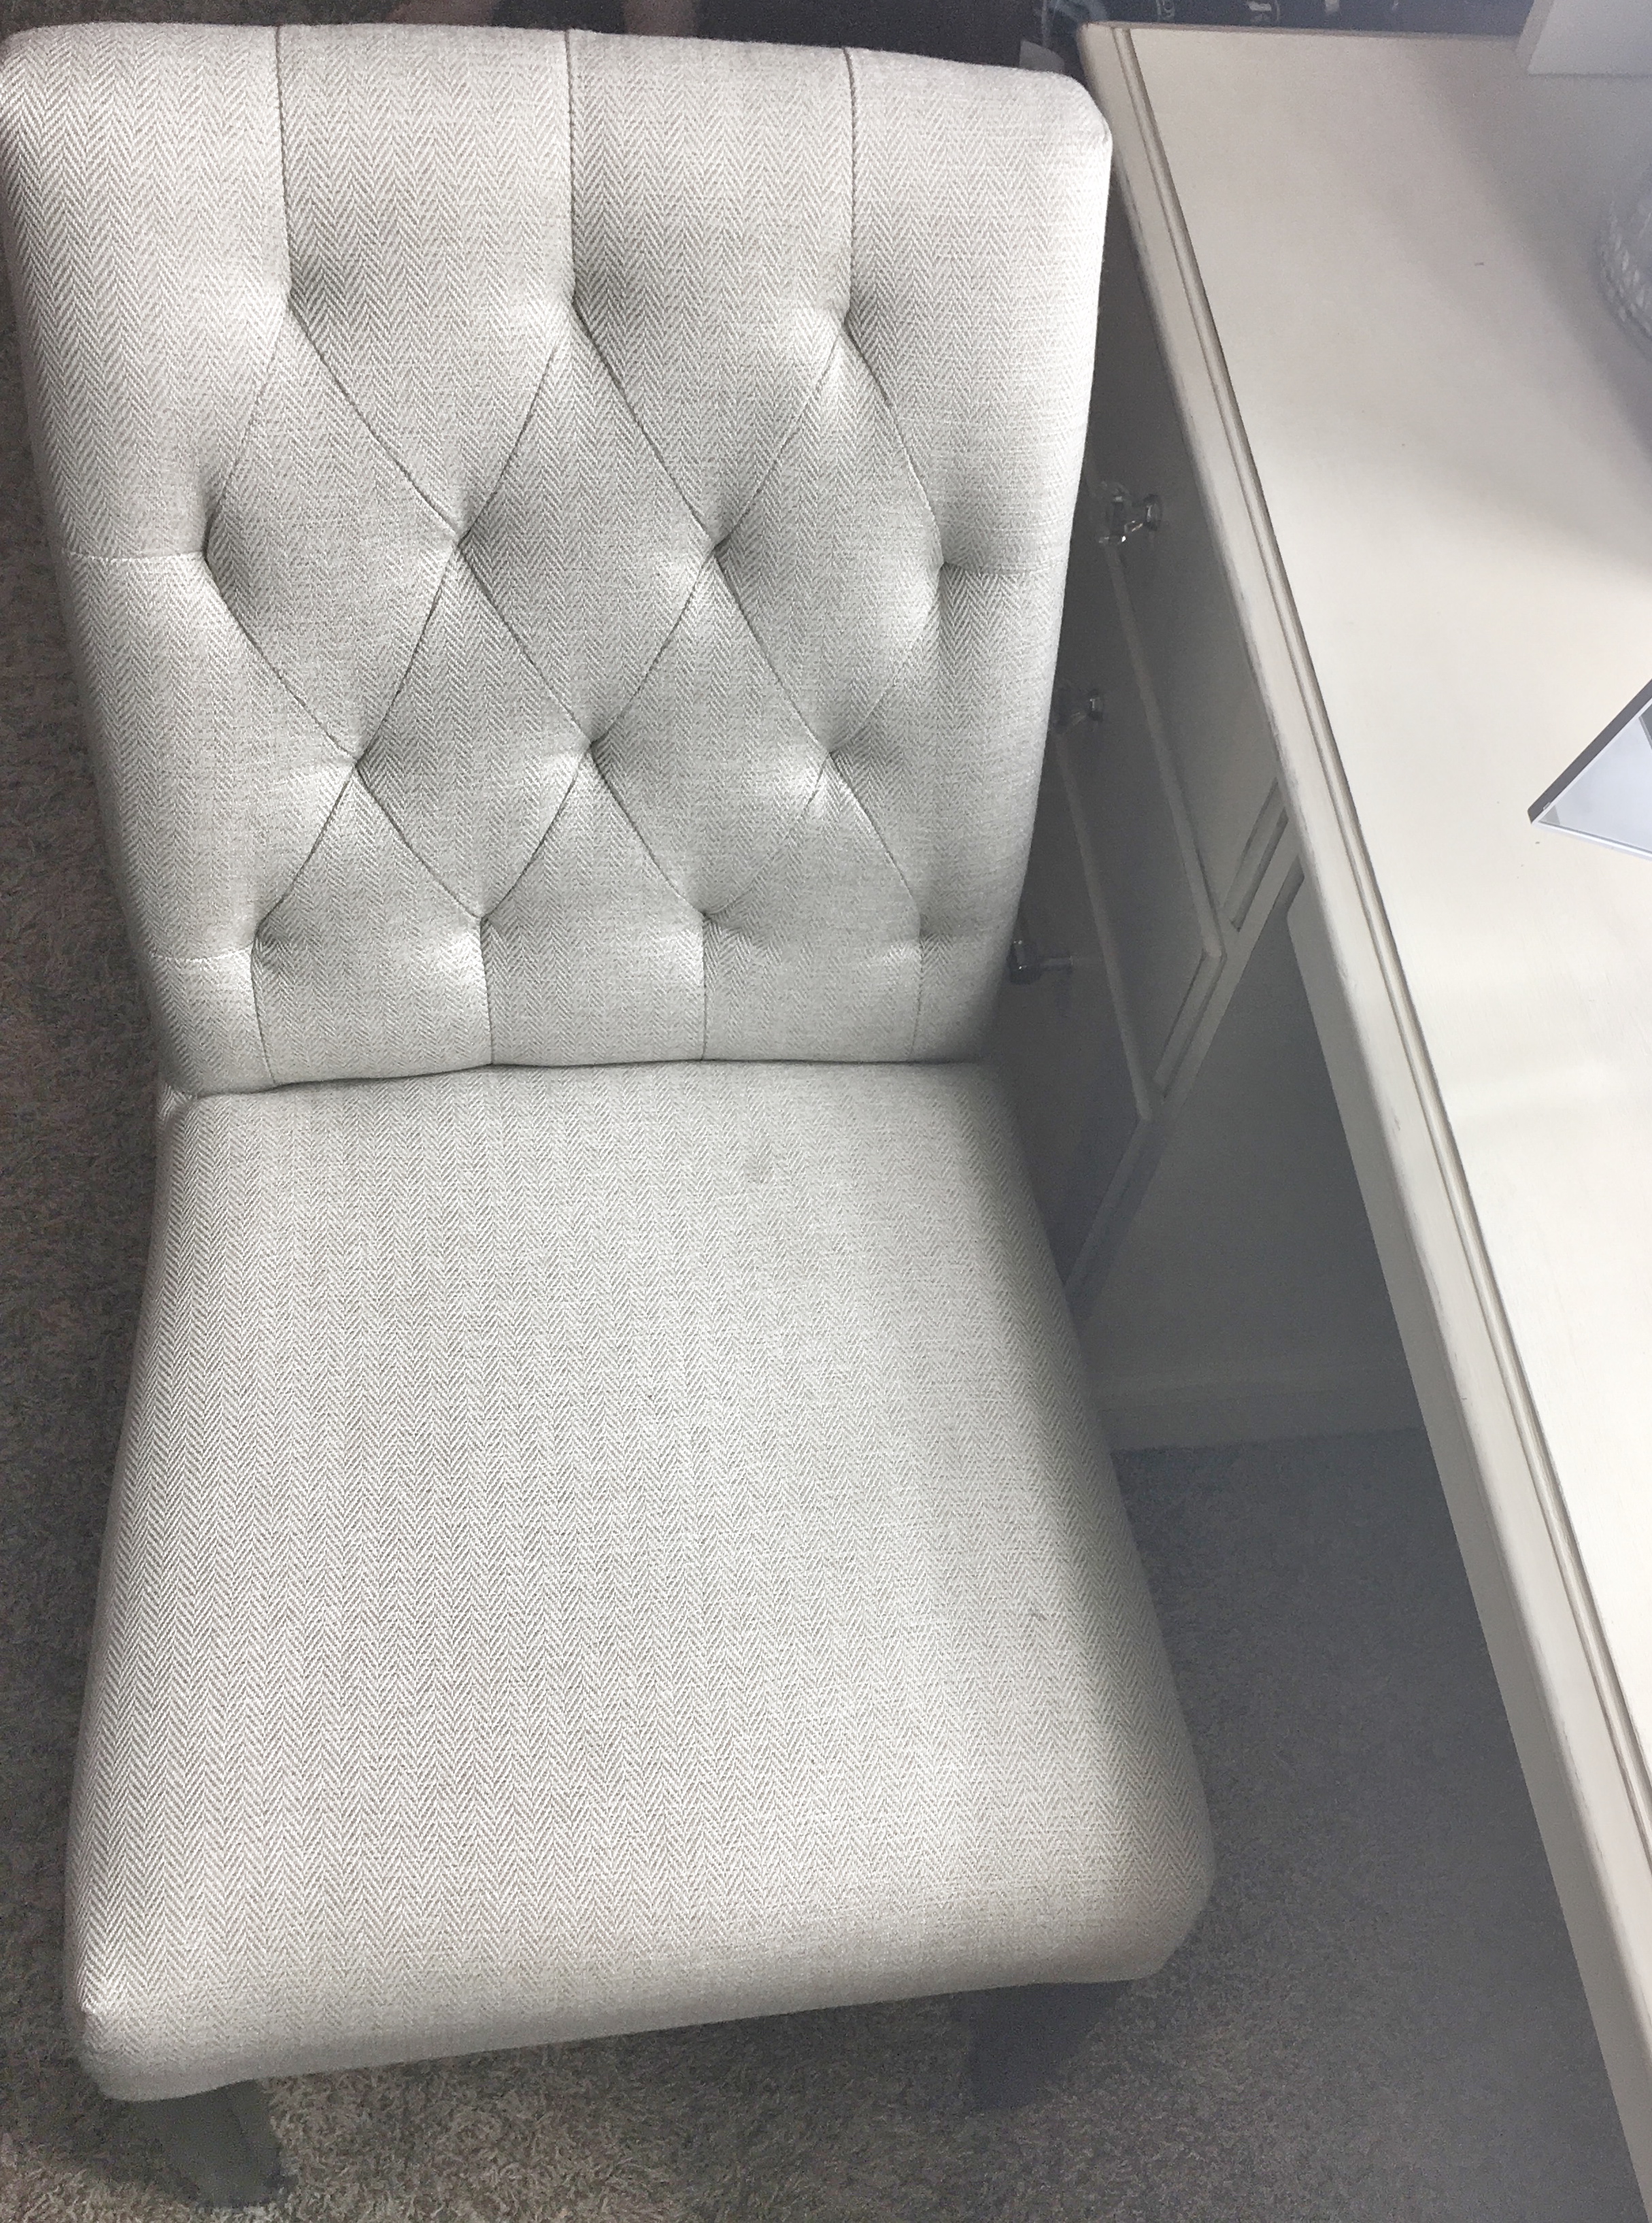
- Vanity Chair—I looked for a couple weeks to find a chair that would be perfect for the vanity; something not too expensive, but still good quality and matched what we had. We finally decided on a vanity chair I found at Ross that really complimented the style of the vanity!
Finishing Touches
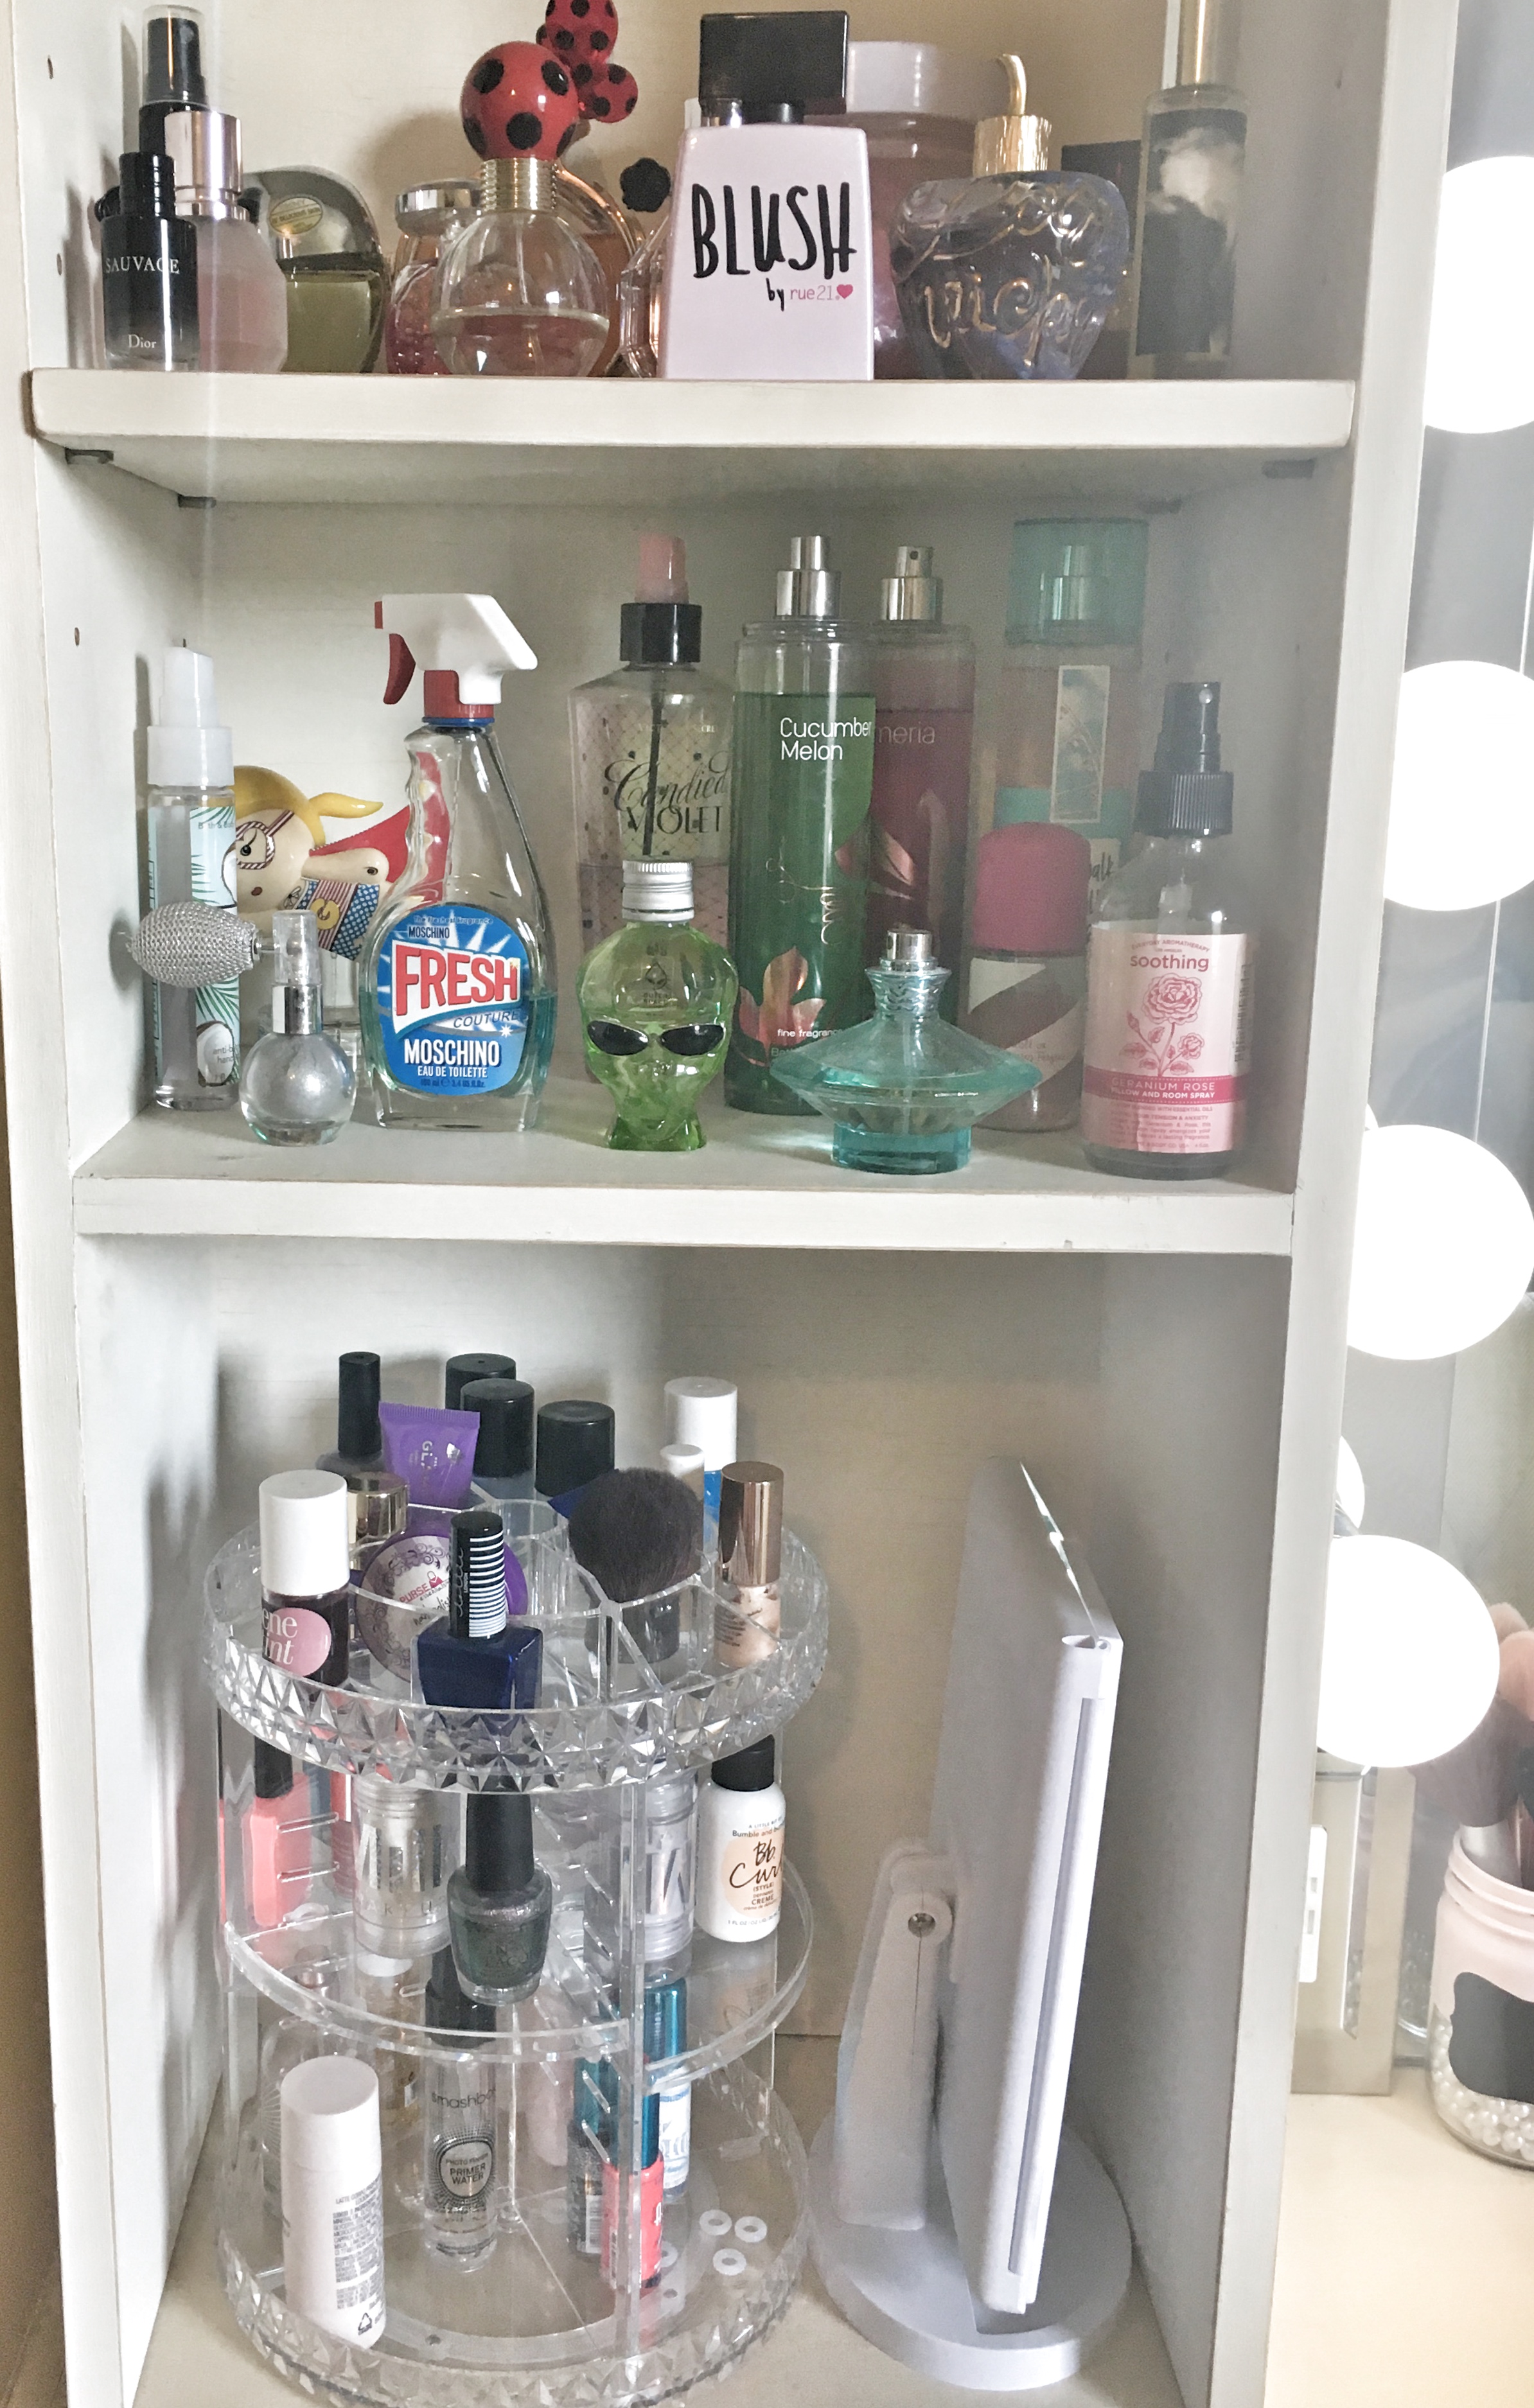
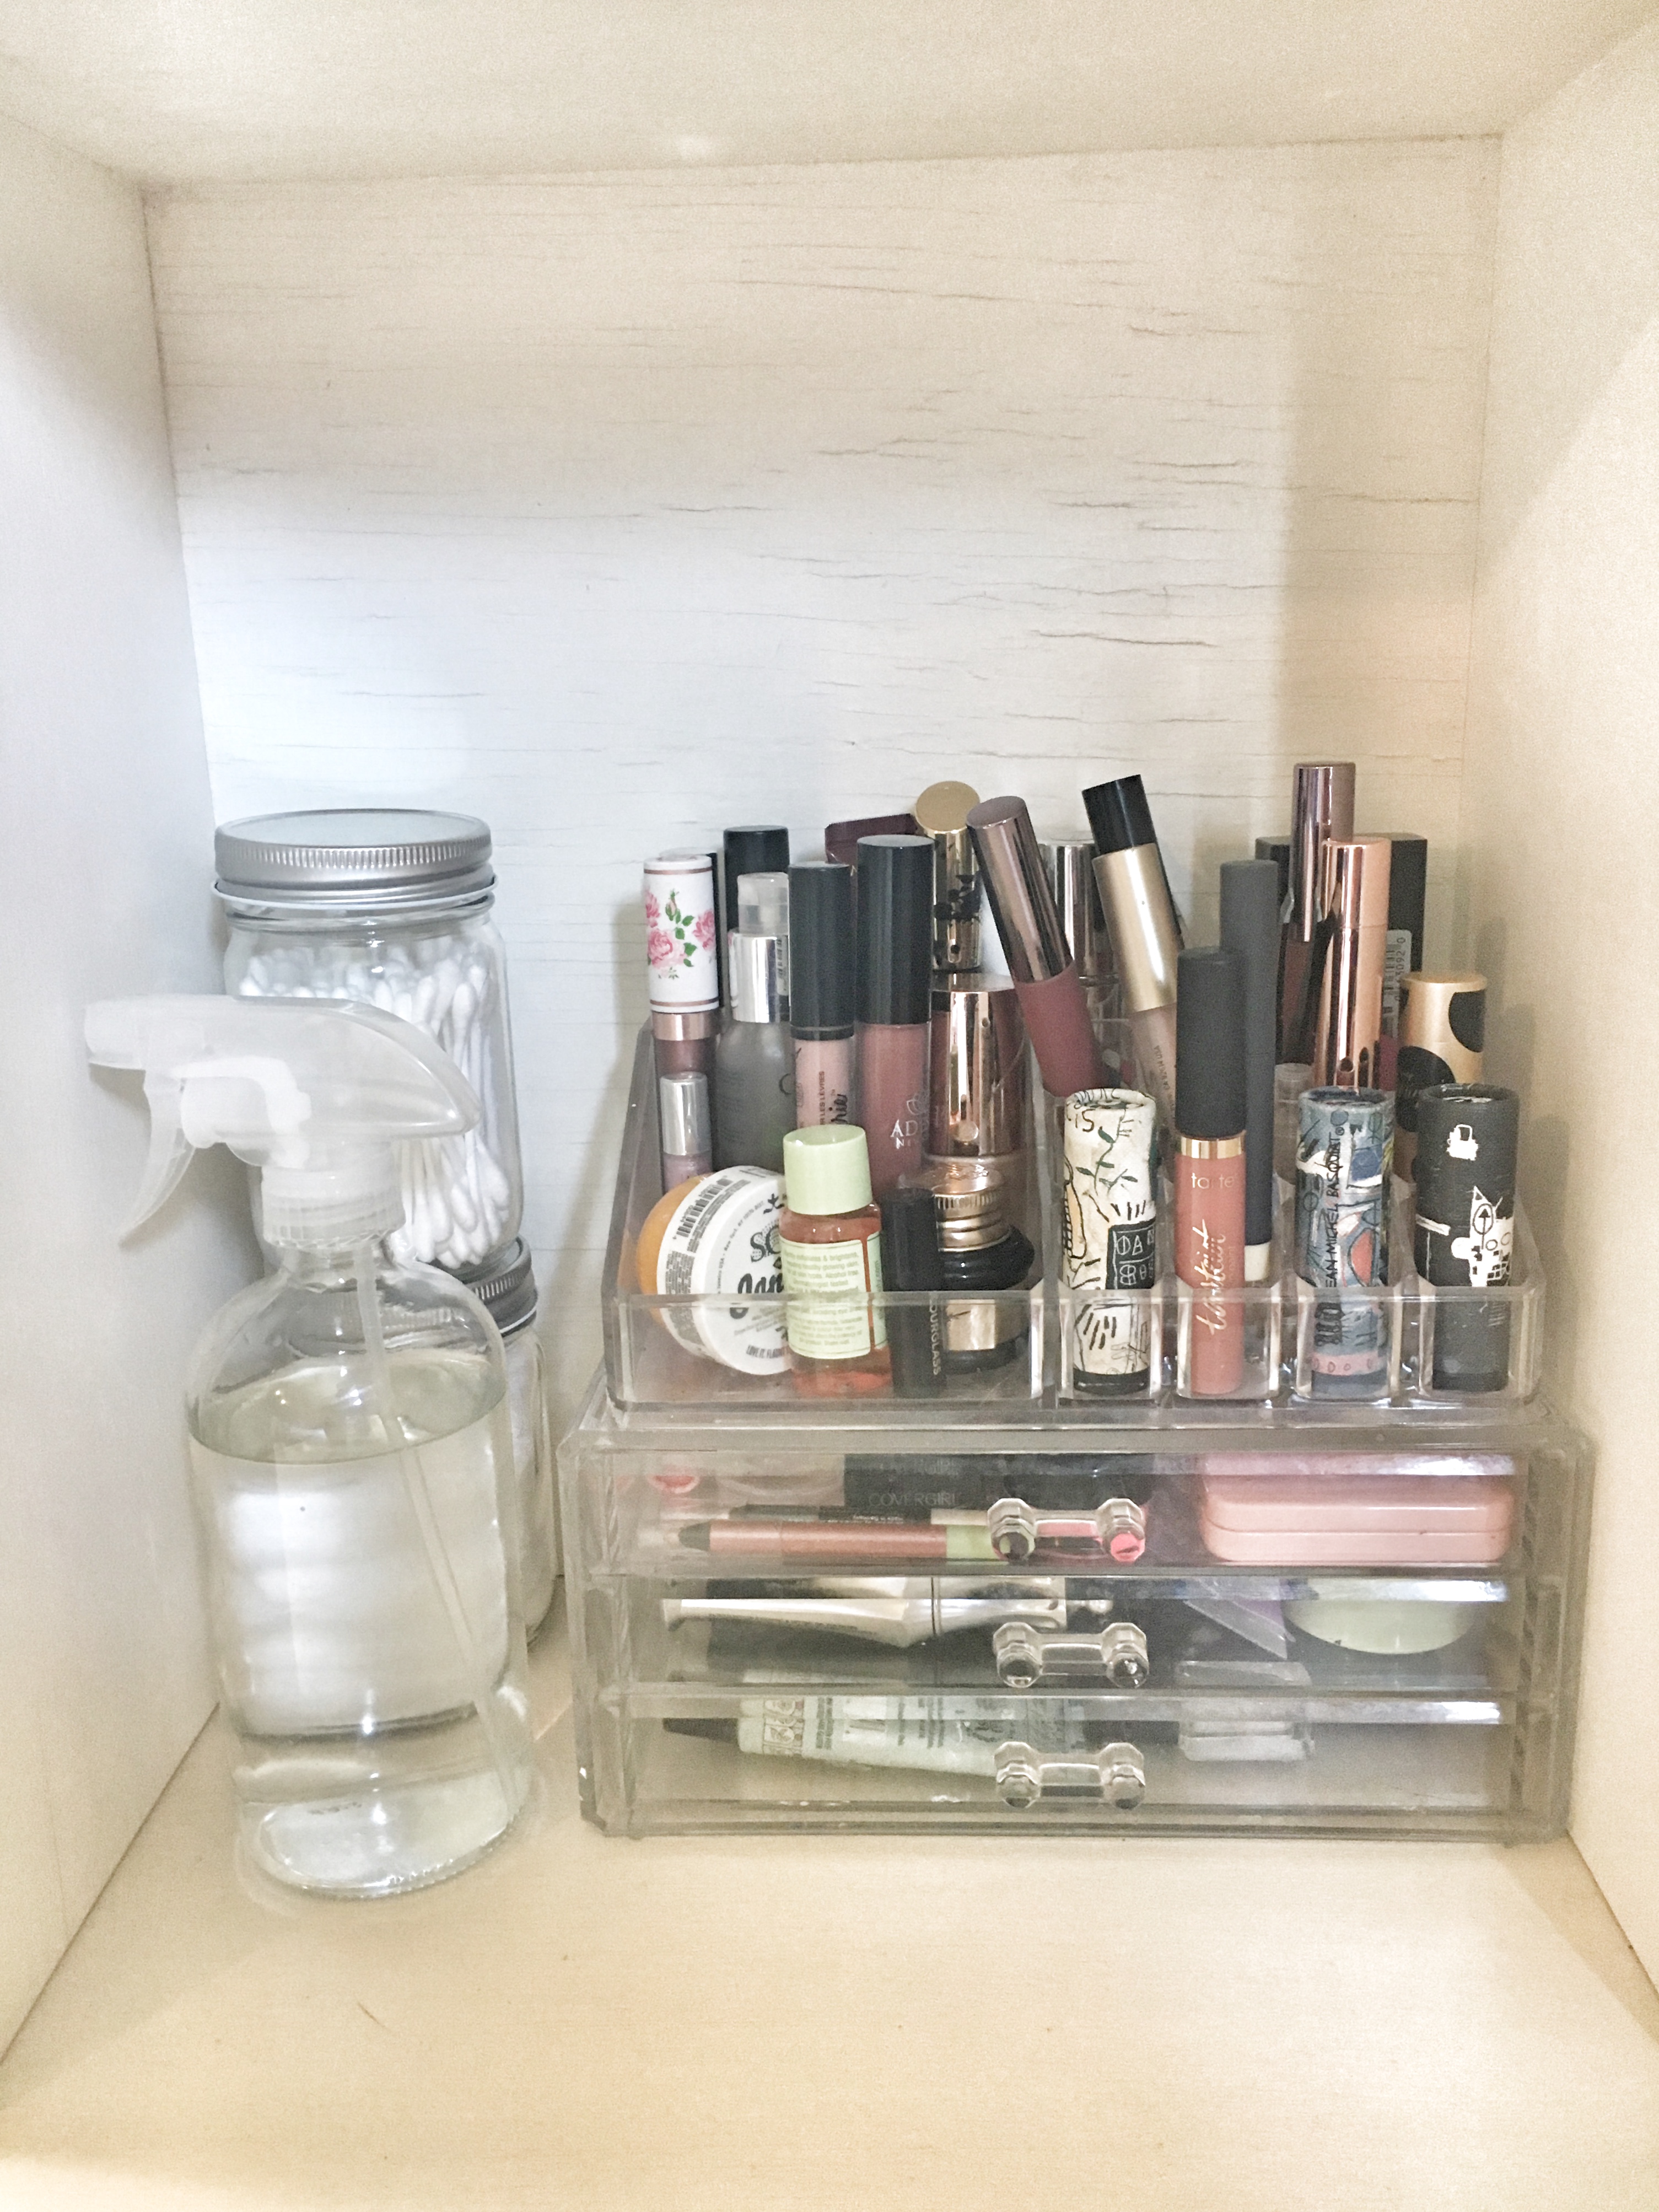
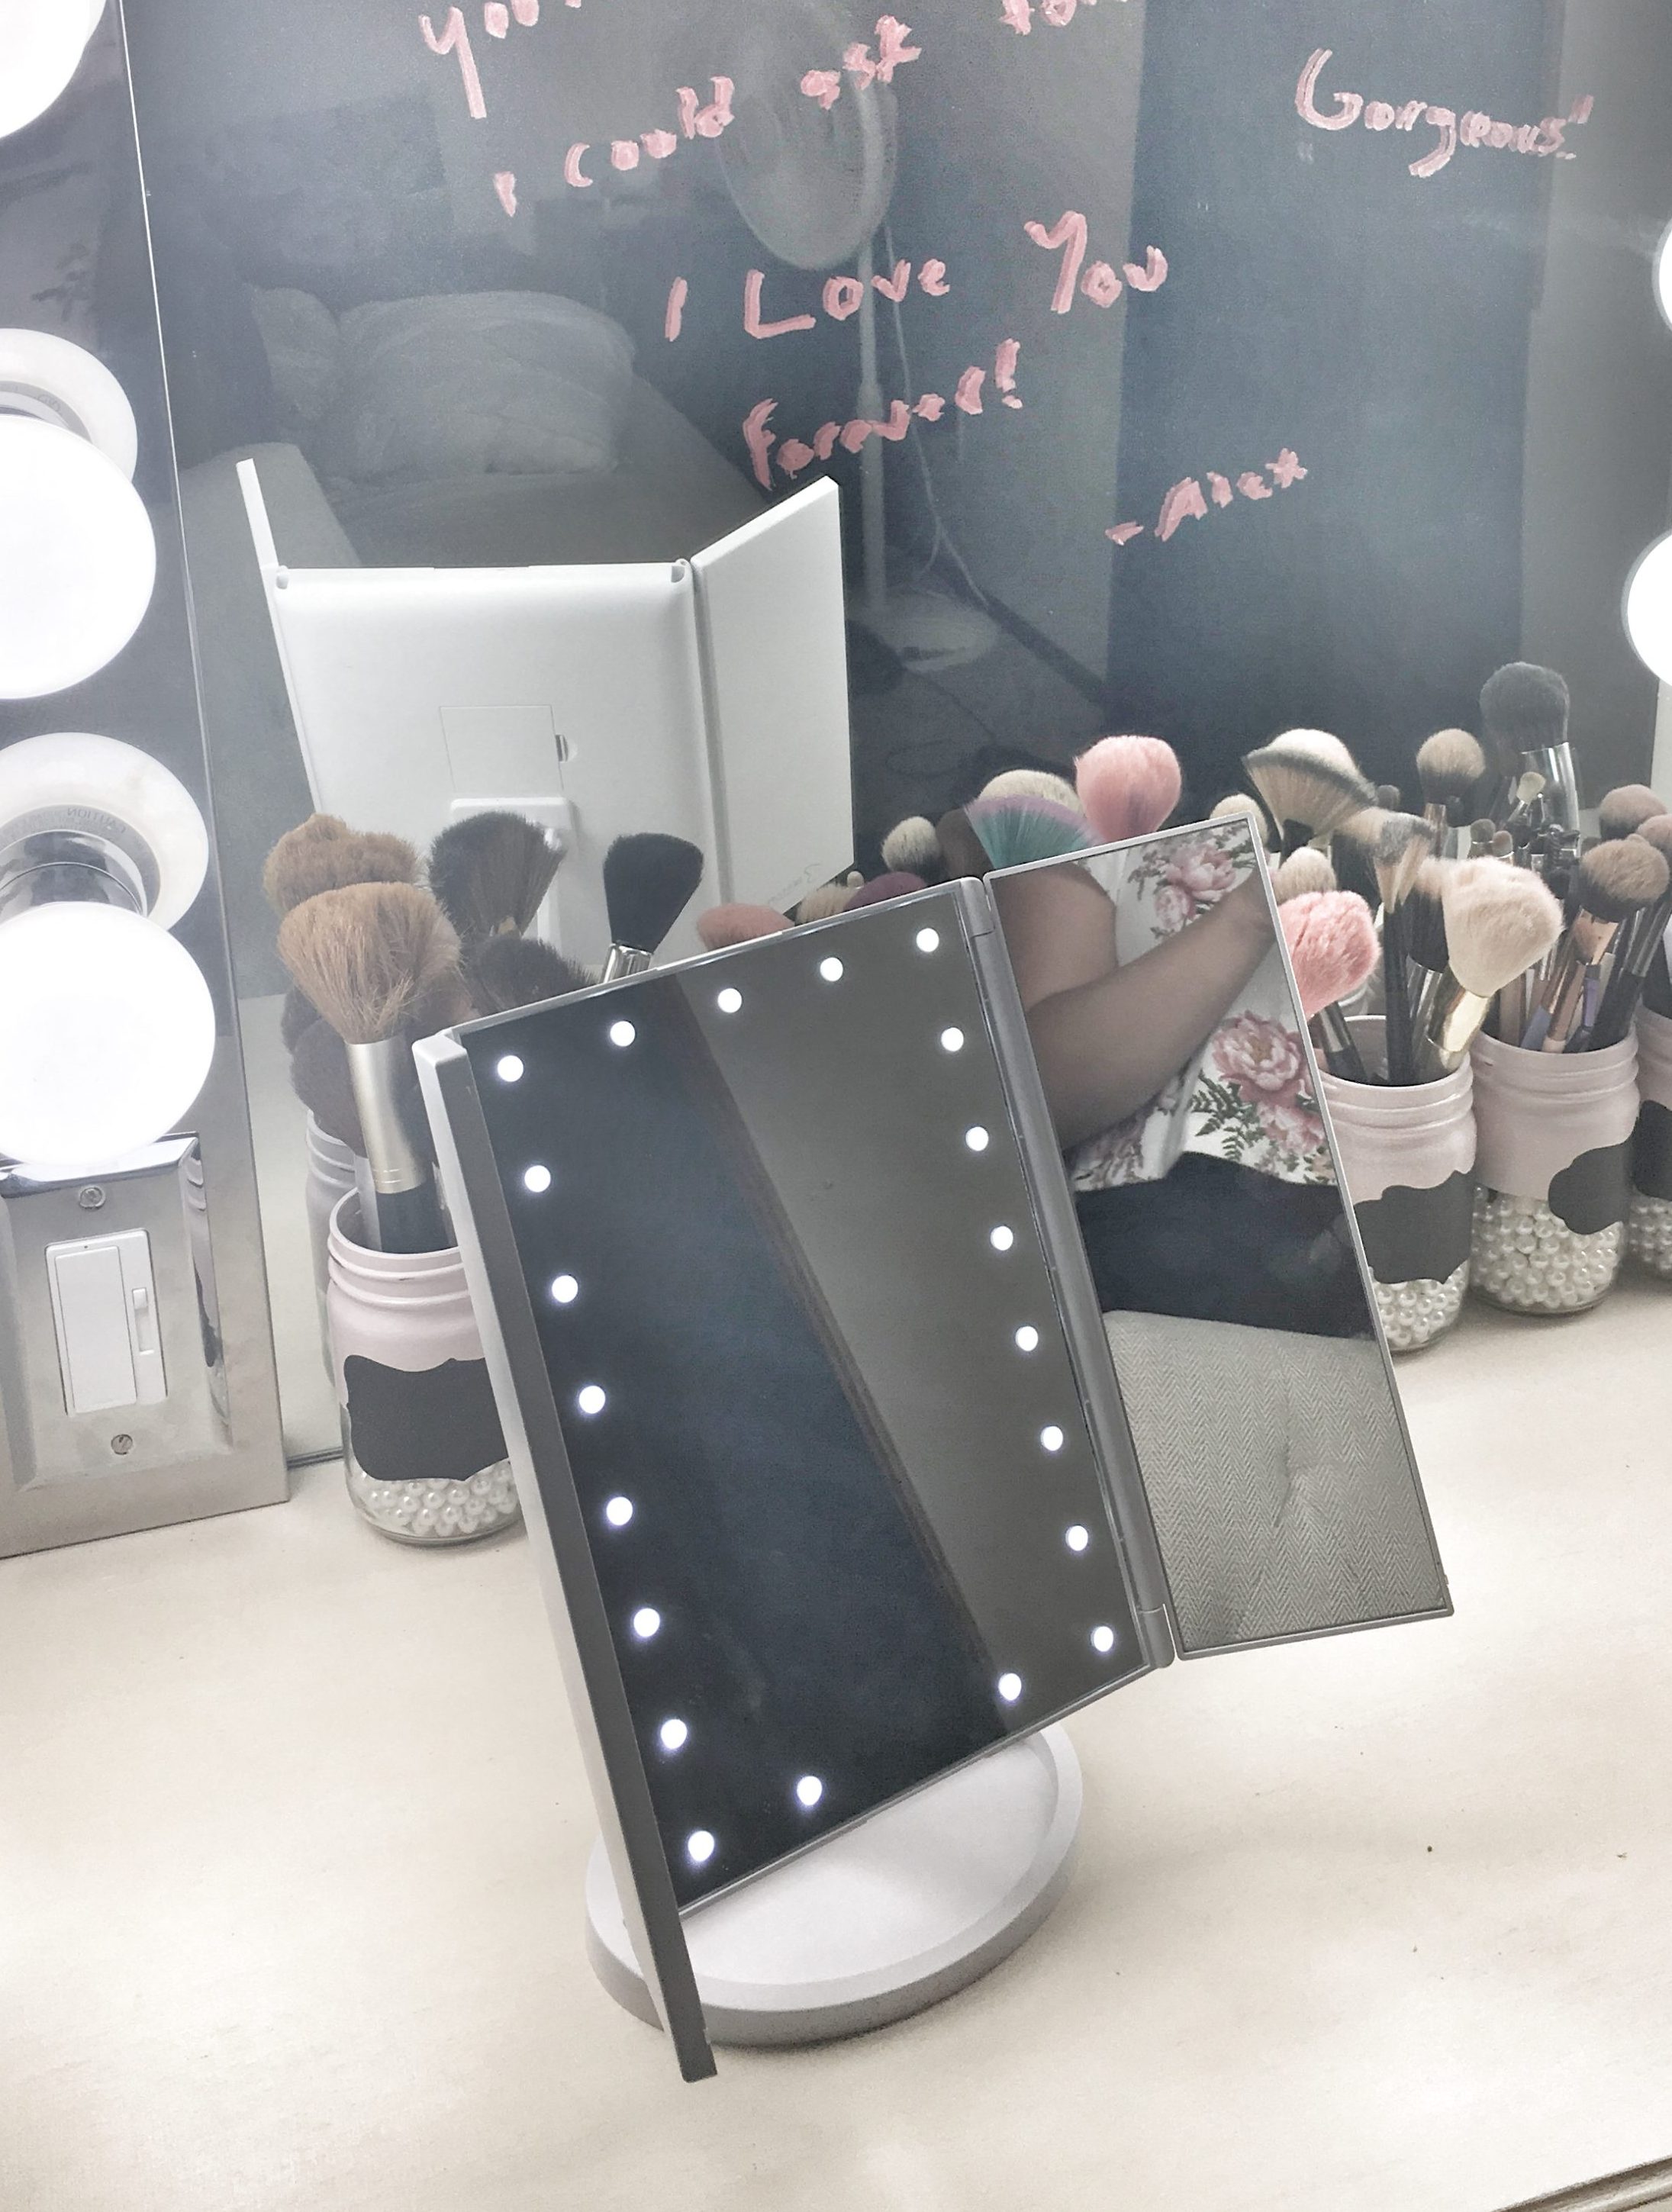
We brought the vanity over to their house to set up and organize while Sarahi was out shopping with some girl friends. She had no idea we were even building this, let alone setting it up to reveal to her when she got home. Somehow, Alex was able to convince her to organize some of her makeup the day before, so our job would be easier! All we had to do was put it away in the drawers and display things. The shelves hold her perfume, nail polish, jewelry and more makeup! Alex only purchased a couple storage bins, a rotating makeup caddy and a small tabletop mirror for close up details. Everything else was already there, just waiting to be organized!

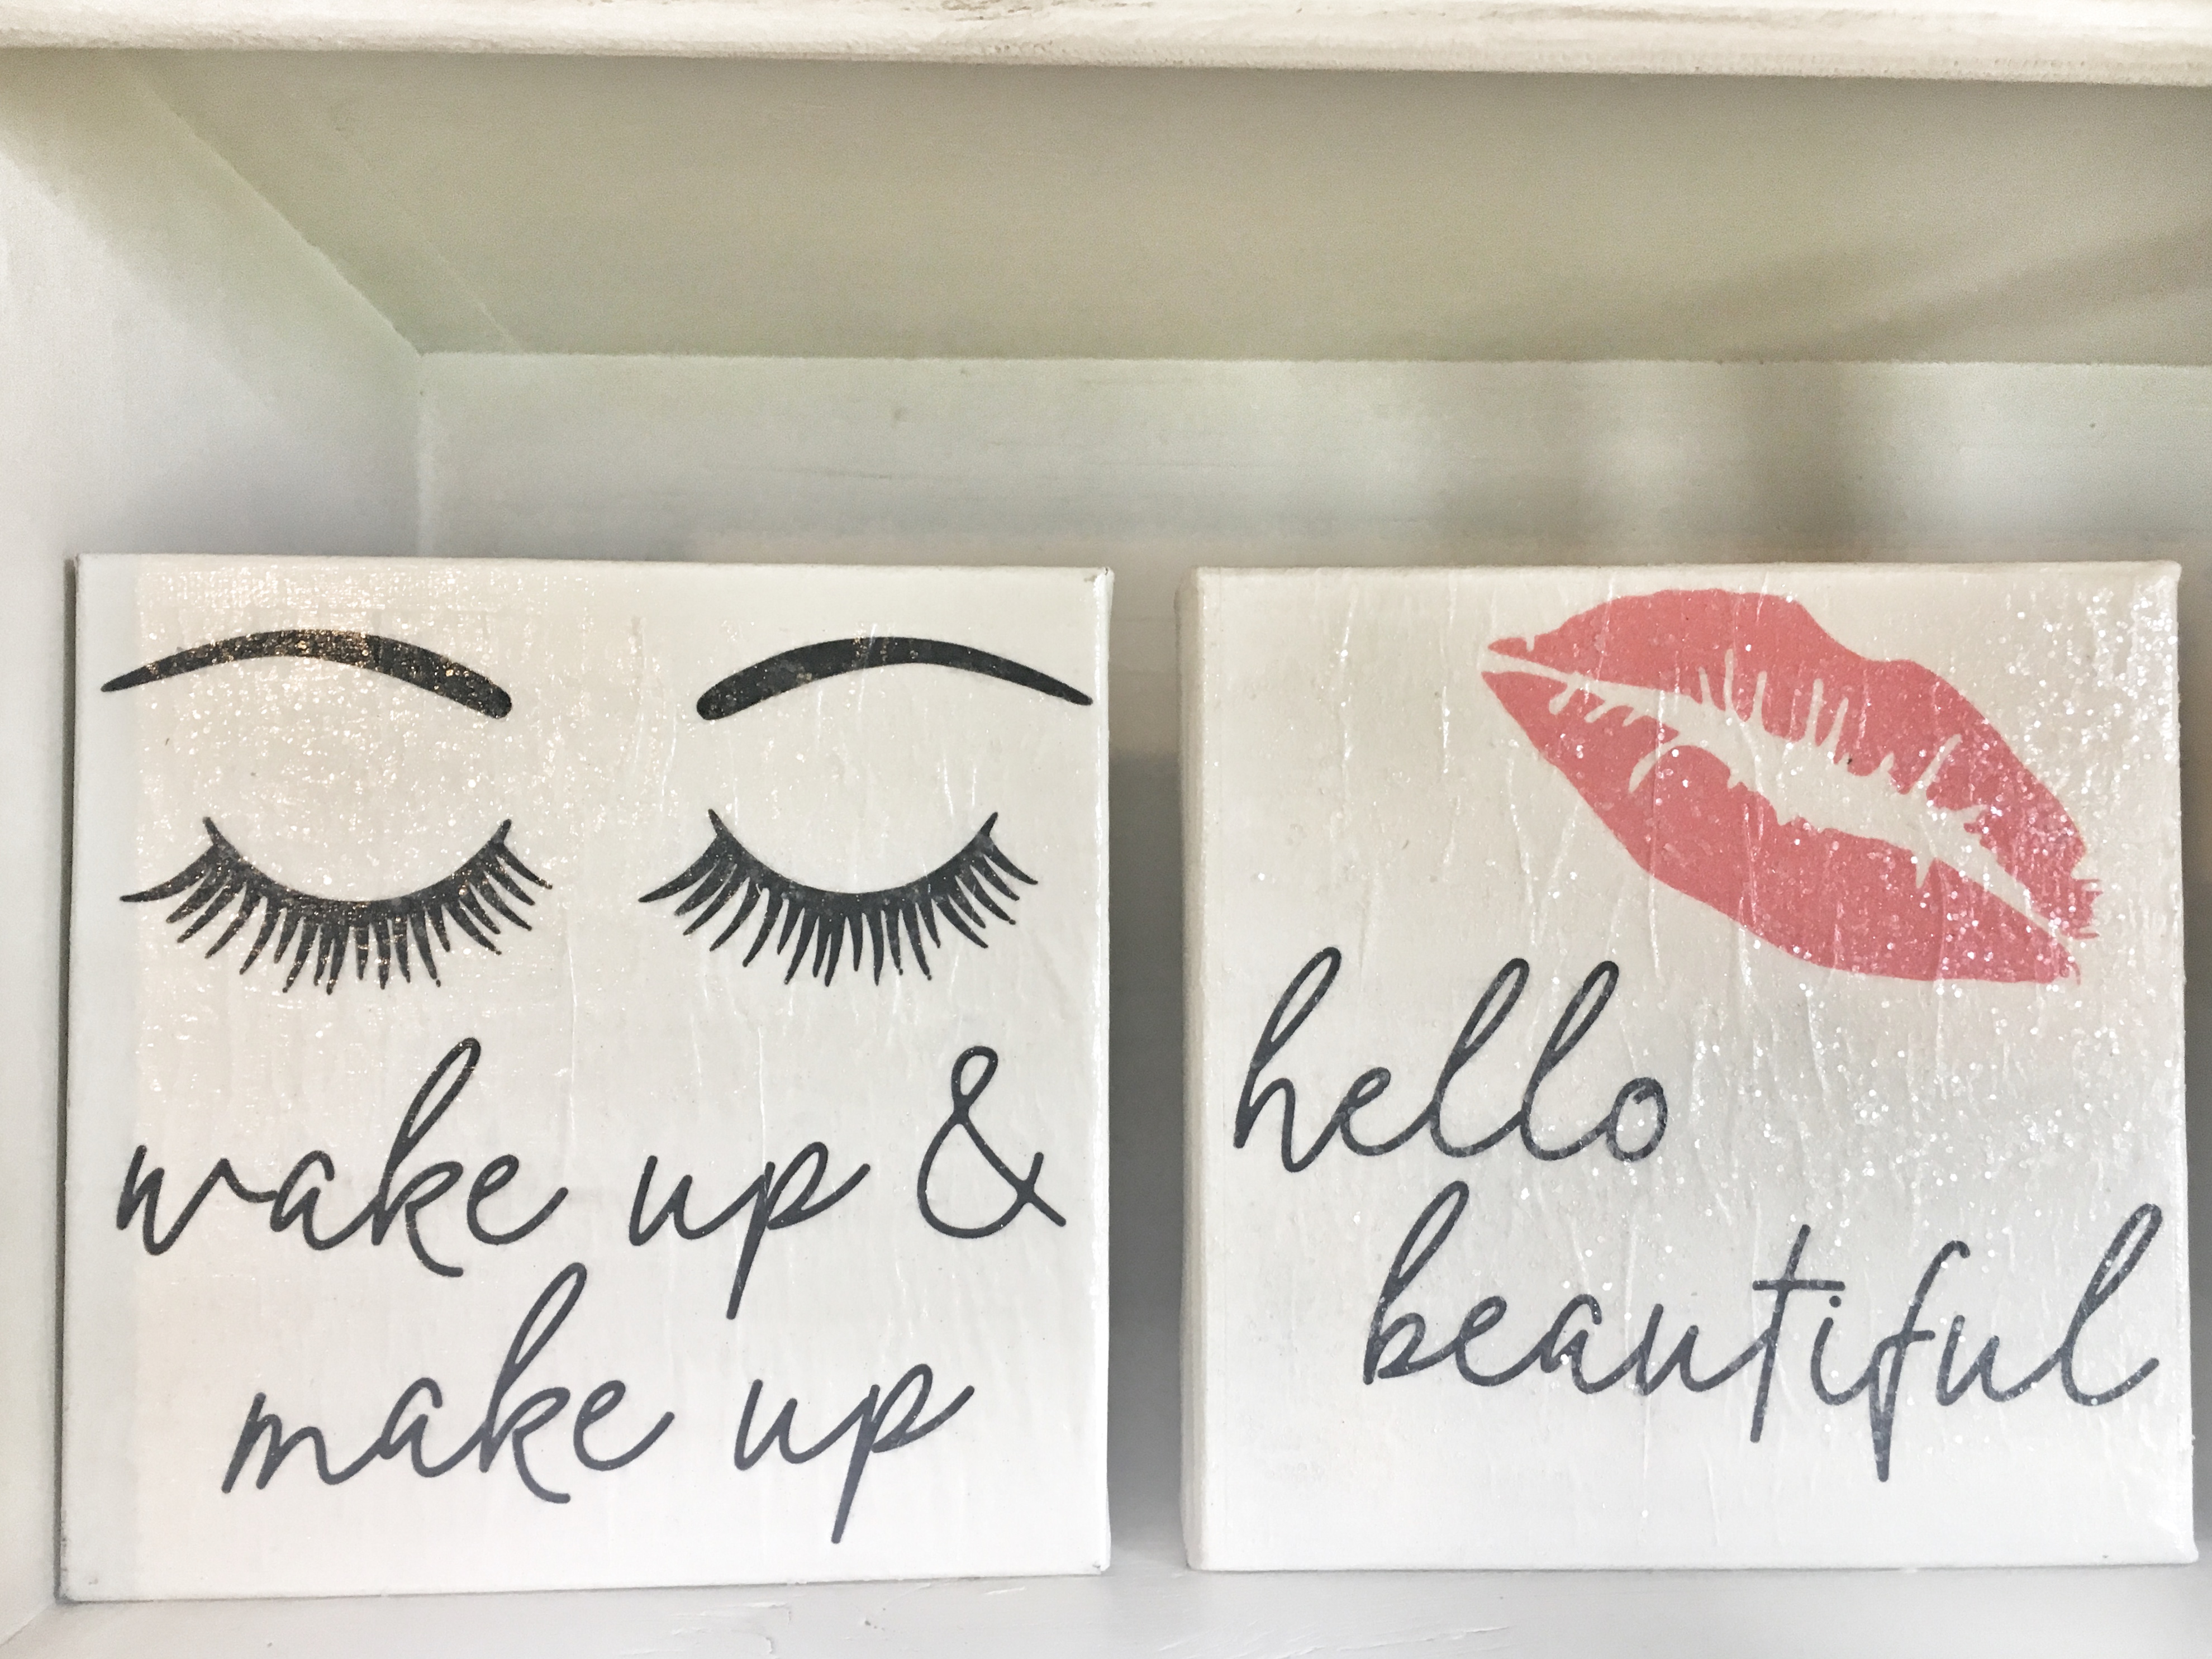
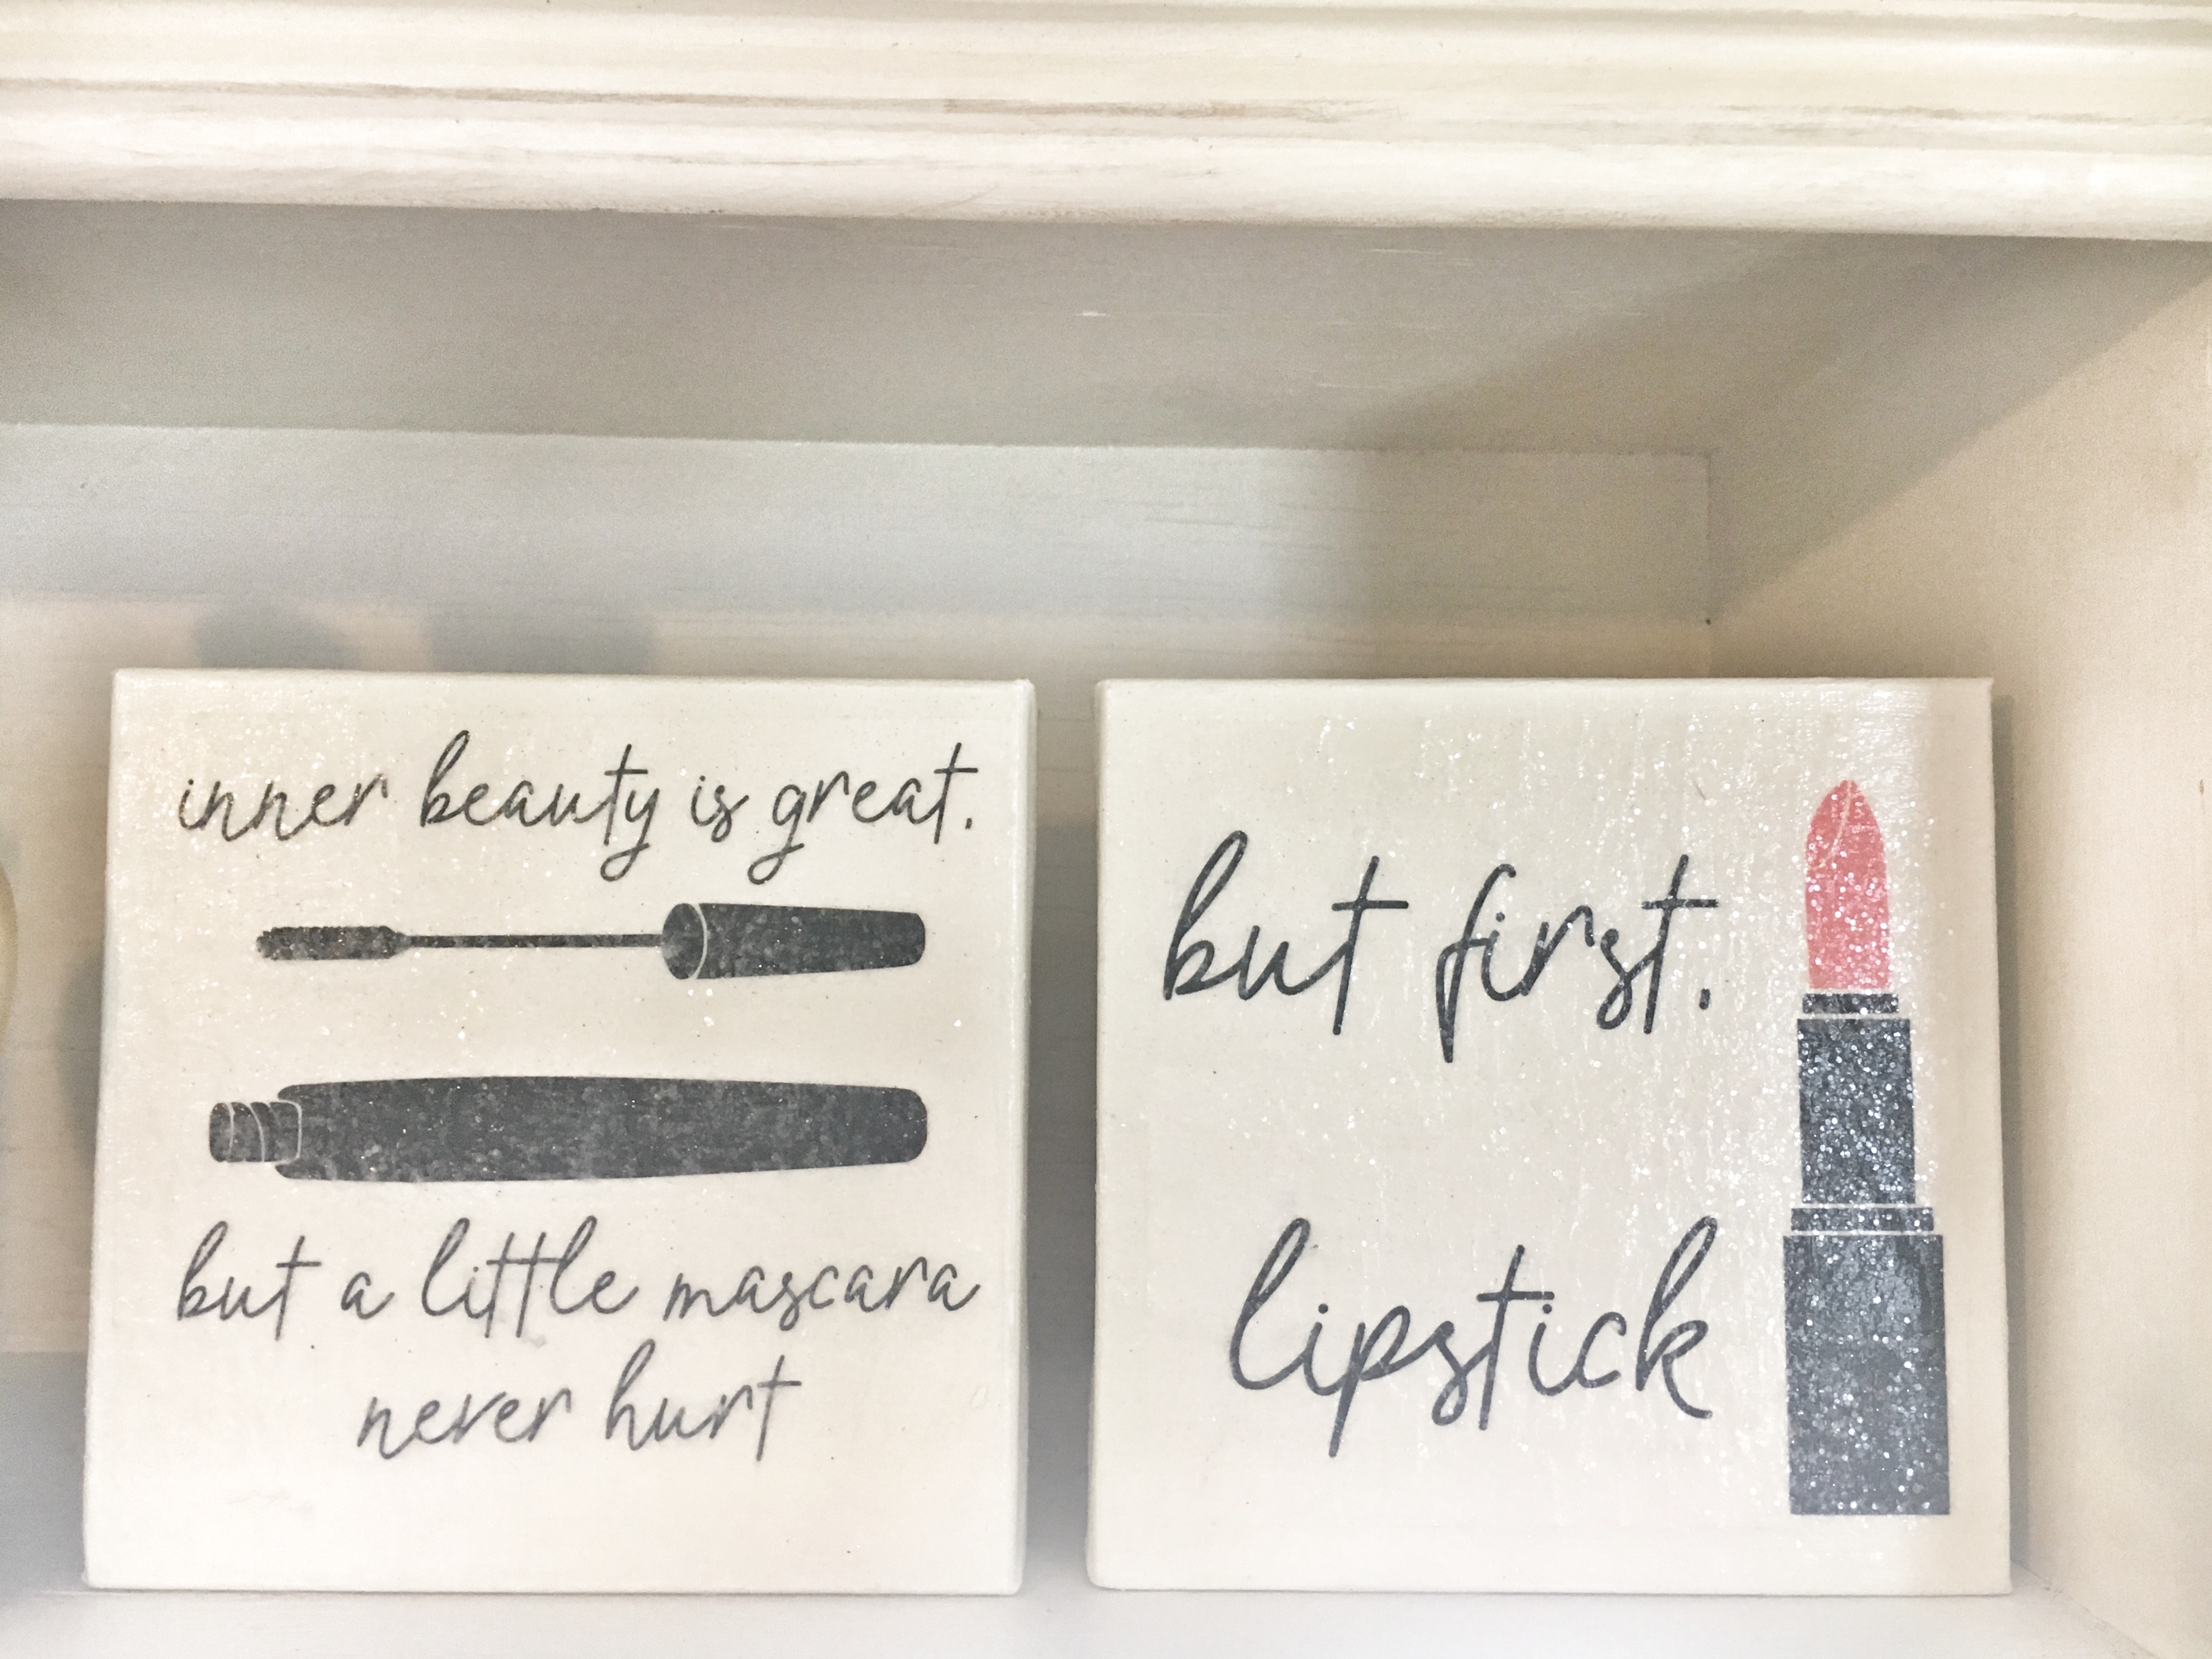
I wanted to contribute something fun to decorate with, so I designed some canvases with cute makeup sayings on them! This really finished off the space and added a personal touch that she loved!
So… makeup isn’t even my thing, and I’m jealous of this vanity! I don’t think it could have come together any more beautifully! My brother did an incredible job with this vanity and I’m so glad he consulted me! This project took two months, altogether, because we were only able to work on it once a week; during Alex’s day off and while Sarahi was at work. I still don’t know how we pulled off the surprise, but I had a blast helping with it, and even more so getting to spend quality time with my big bro and our dad, doing something we all love. I just love that my passion for design was able to compliment her passion for beauty and makeup!
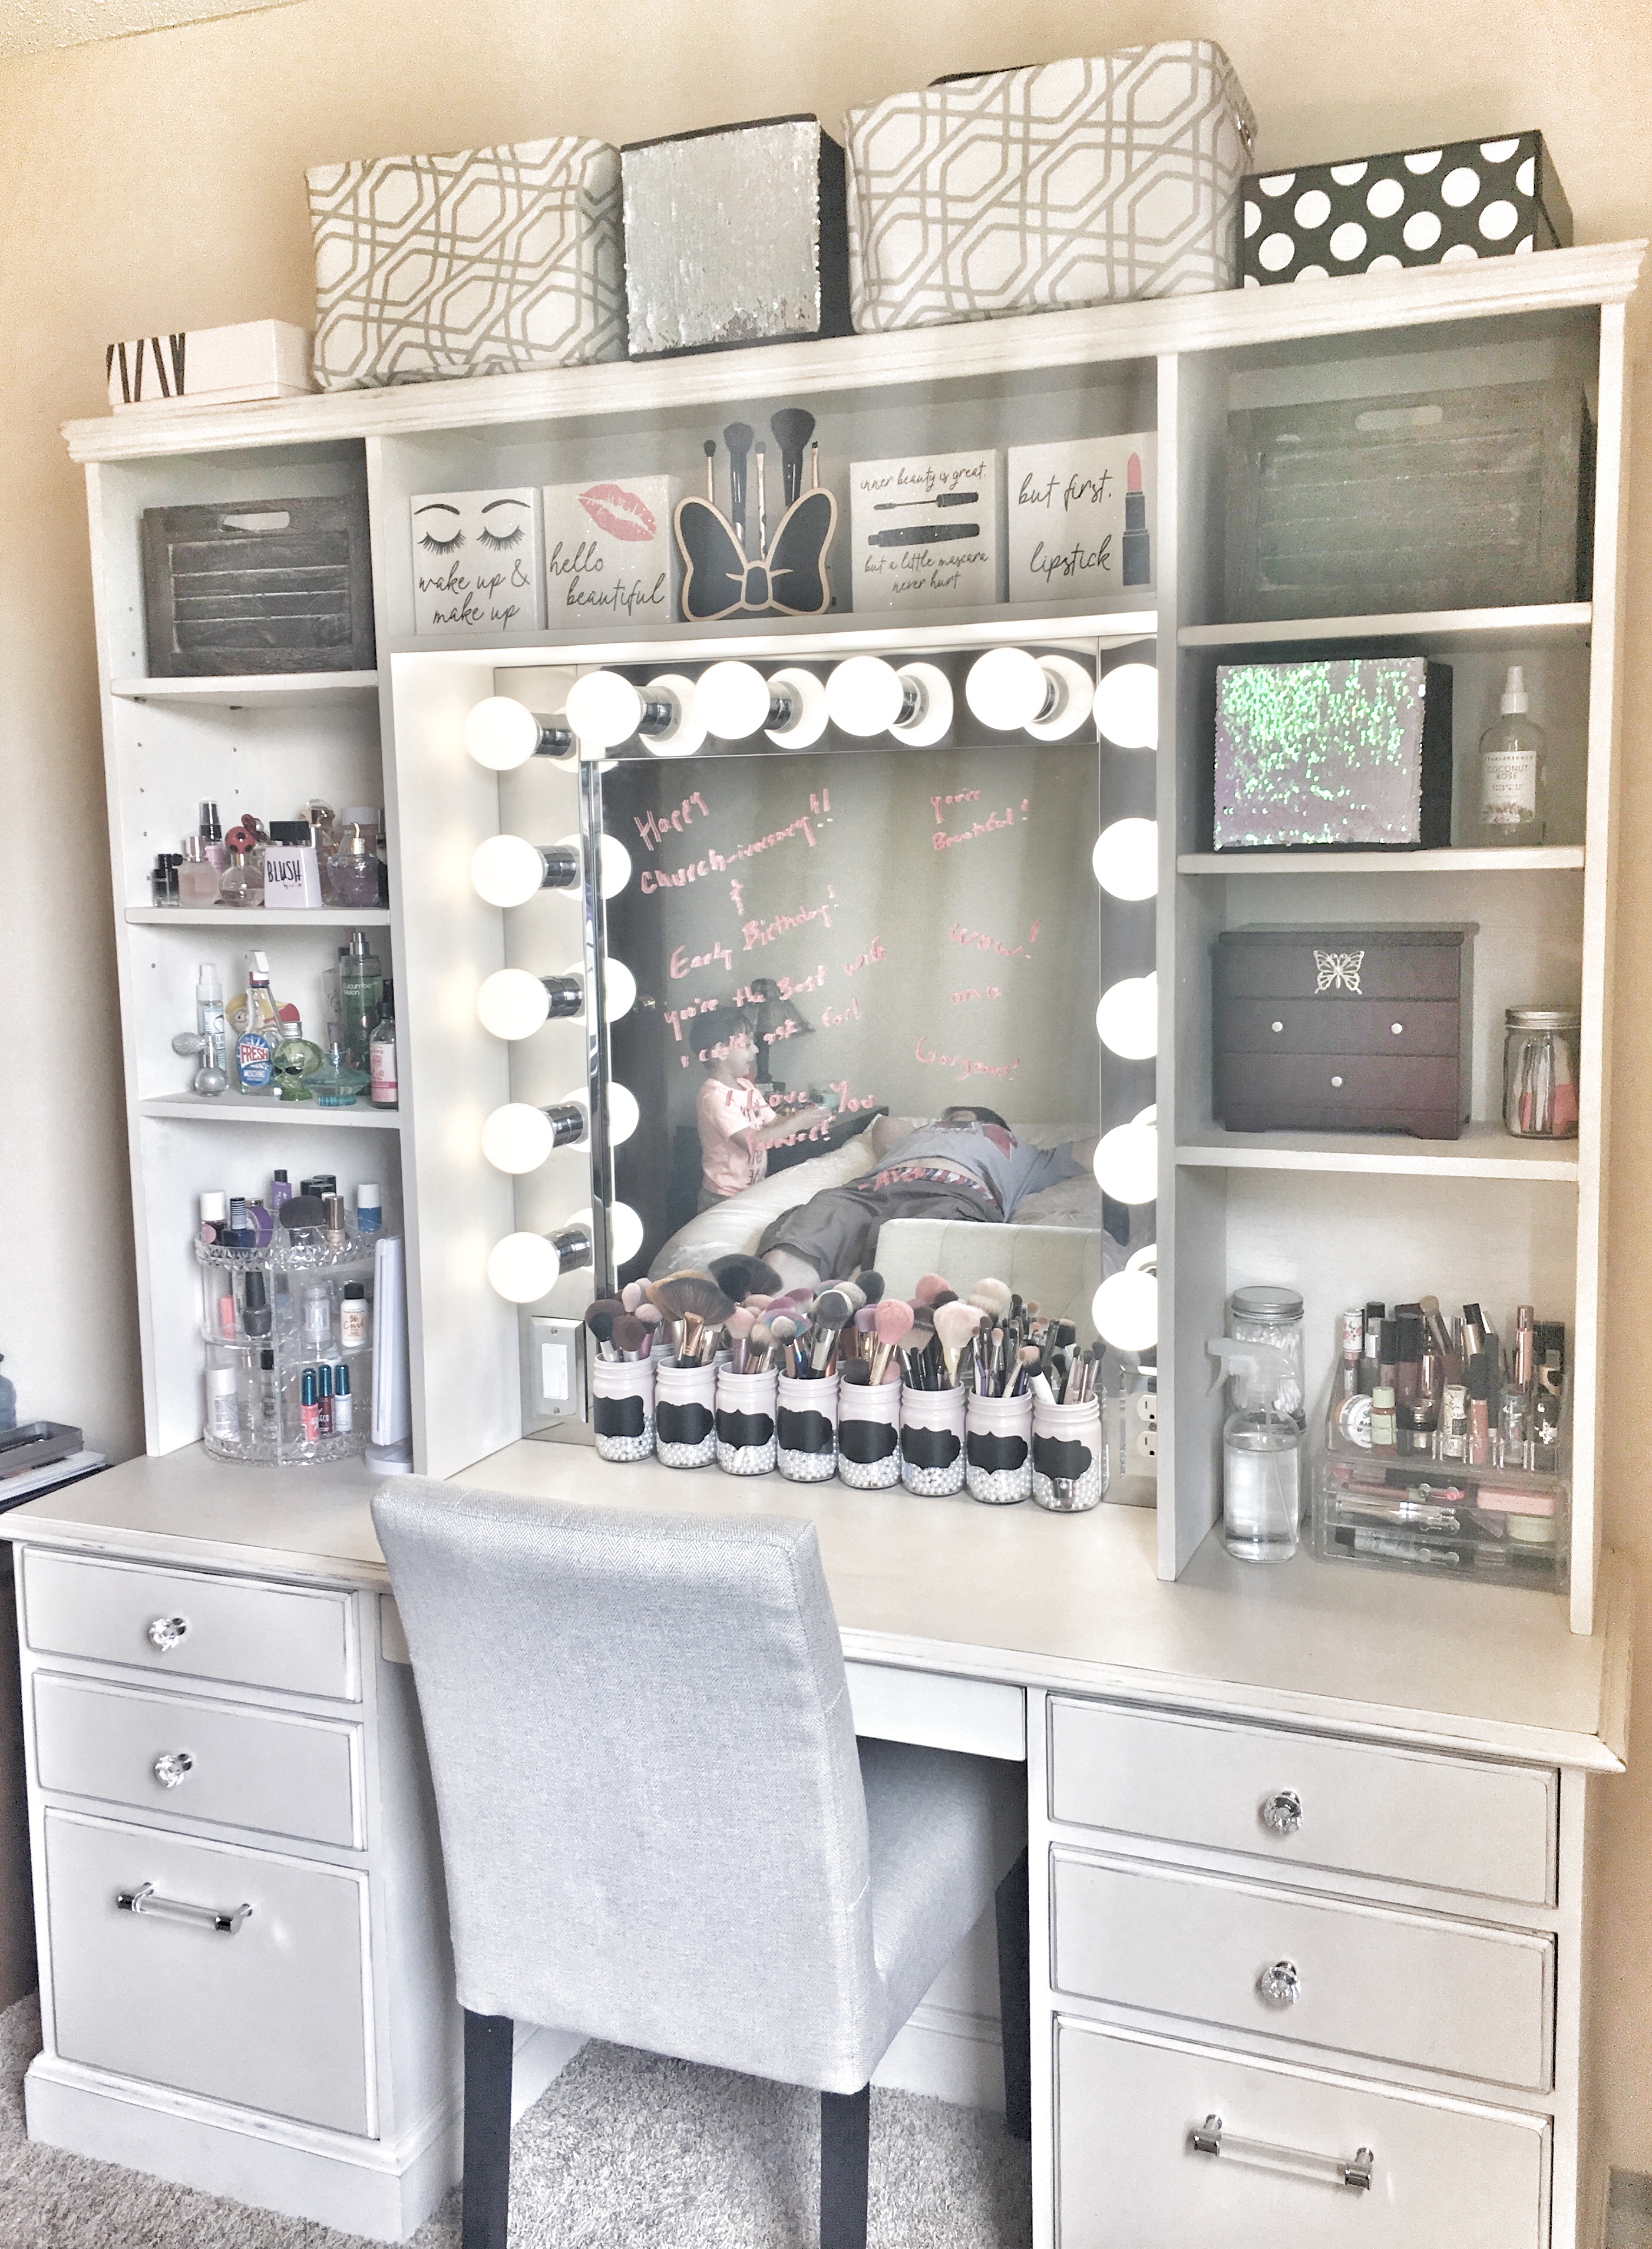
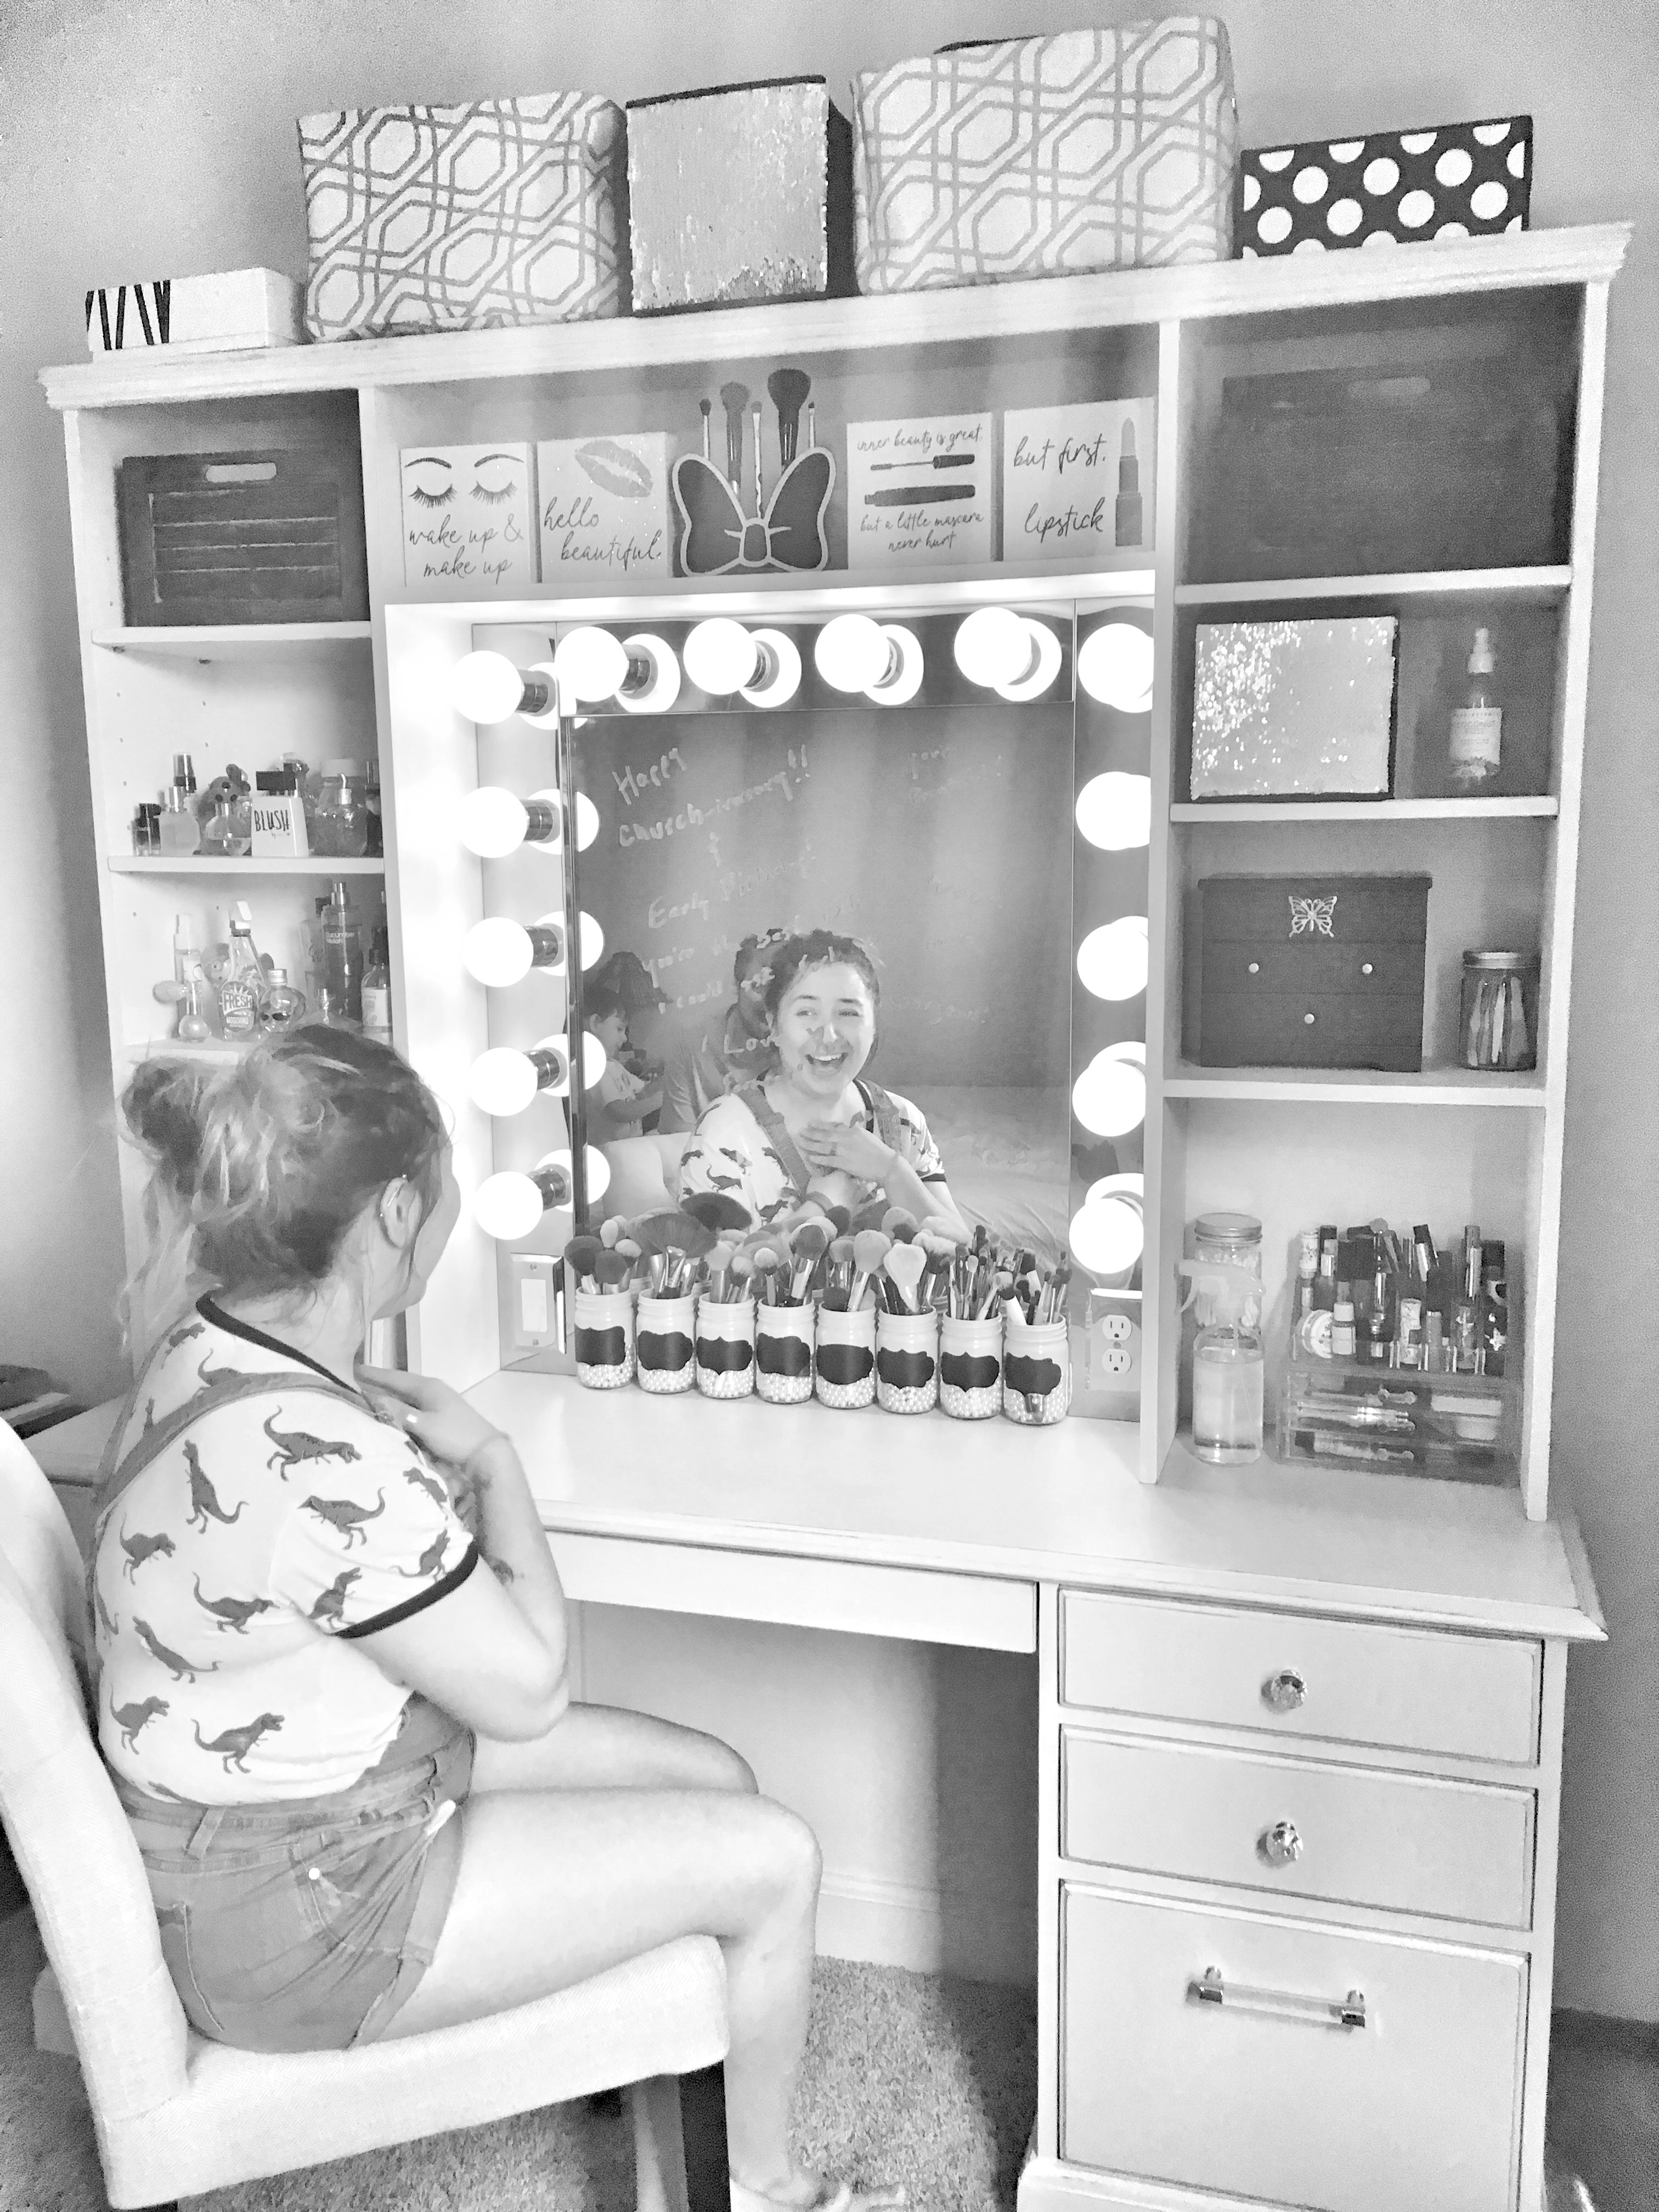
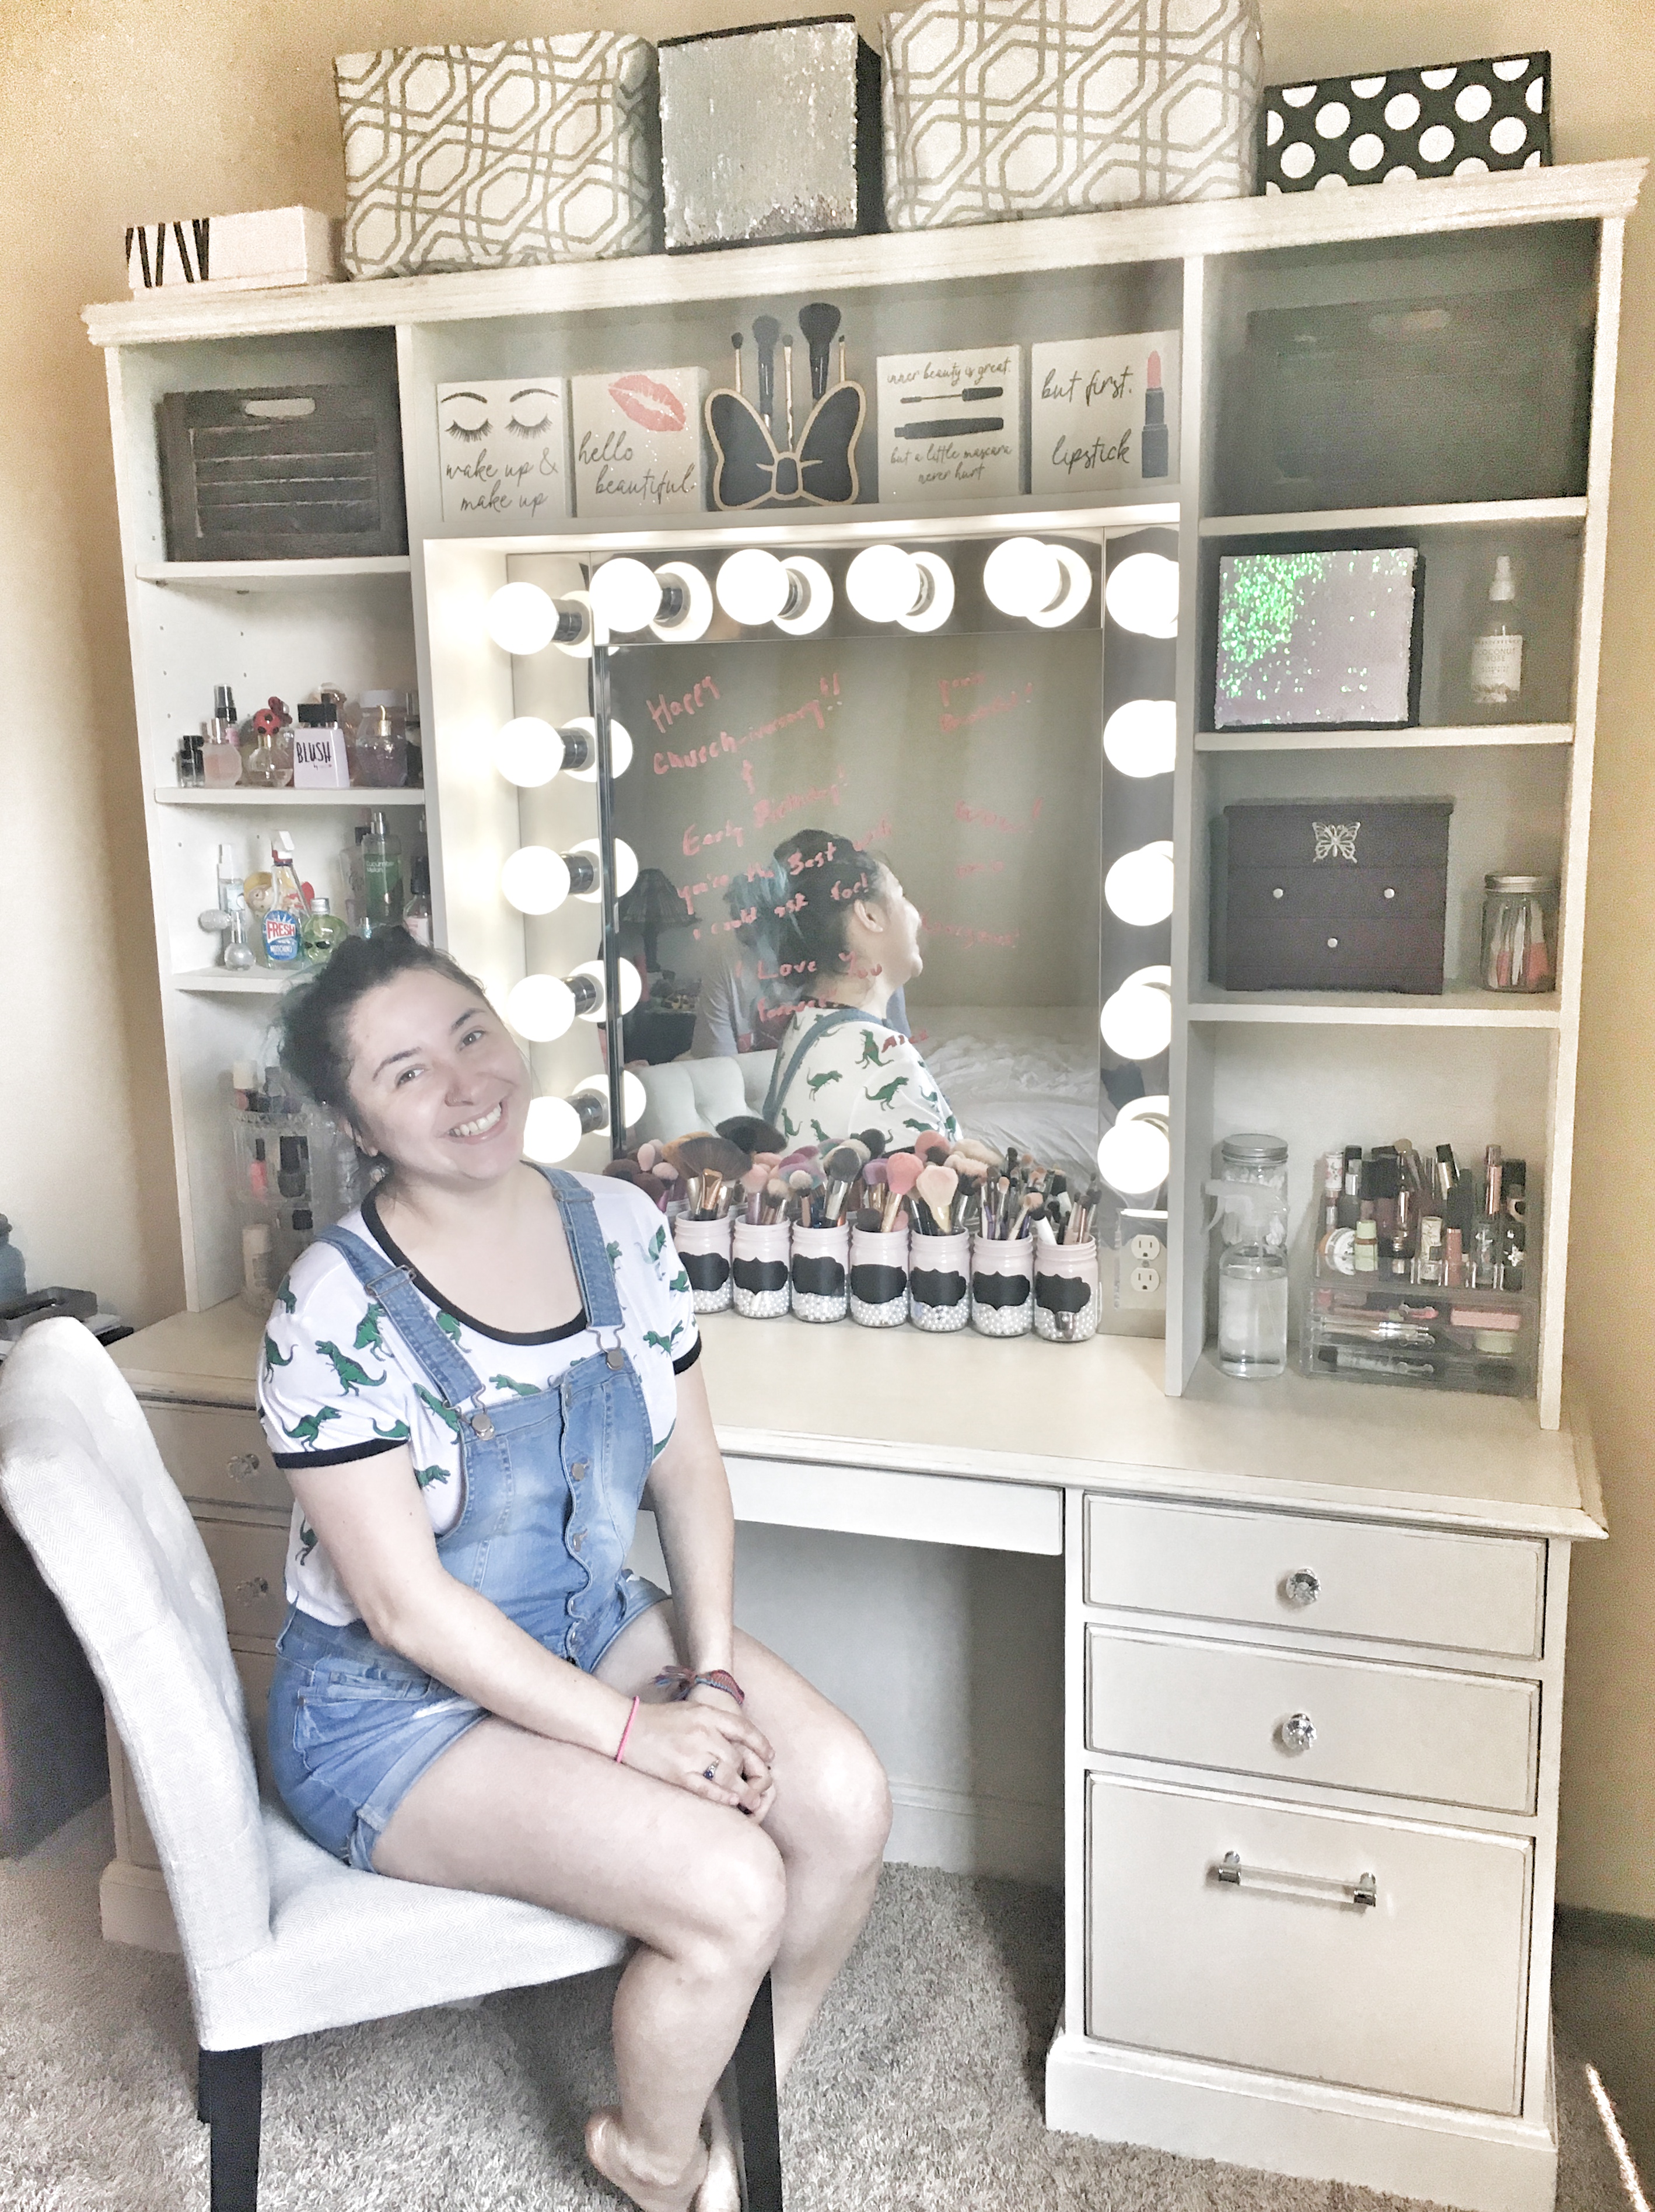
The surprise was a success and she absolutely loved it! What an amazing anniversary and birthday present that she will cherish for many years. Even my three-year-old nephew, Zion, seems to like it! I think my brother deserves an award, for real. This was a labor of love from all of us, and my beautiful sister-in-law now has a professional-level place to do what she loves!
Thanks so much for reading, and I hope this gives you some inspiration and ideas on organizing makeup and building a custom vanity! God bless!
XOXO
ASHLEY DIANN
The vanity you hand made was very beautiful and its the vision i have for a vanity for my room if i wanted that exact vanity what would need to be done?
Thank you! I would start with a desk base the size you want, then refurbish it how you want! The top hutch is completely custom, so you can design the storage exactly how you want! Happy building (:
This is exactly what I had in mind but couldn’t find. This is so beautiful! You are very talented. Thanks for the inspiration!
Thank you Amanda! You’re so welcome, I’m glad this gave you some inspiration! (:
Hi Ashley,
I love this so much! I am going to be building something very similar. This gave me some GREAT ideas! Would you be able to tell me how thick the plywood sheets you used are? Did the top secure down to the desk itself or just sit on top with a wall secure?
Thank you so much for creating this post! It’s exactly what I needed. <3
Thank you, I’m so glad it could inspire you! I believe we used 3/4″ plywood. It secured to the desk by anchors in the back!
Is it for sale?
no unfortunately