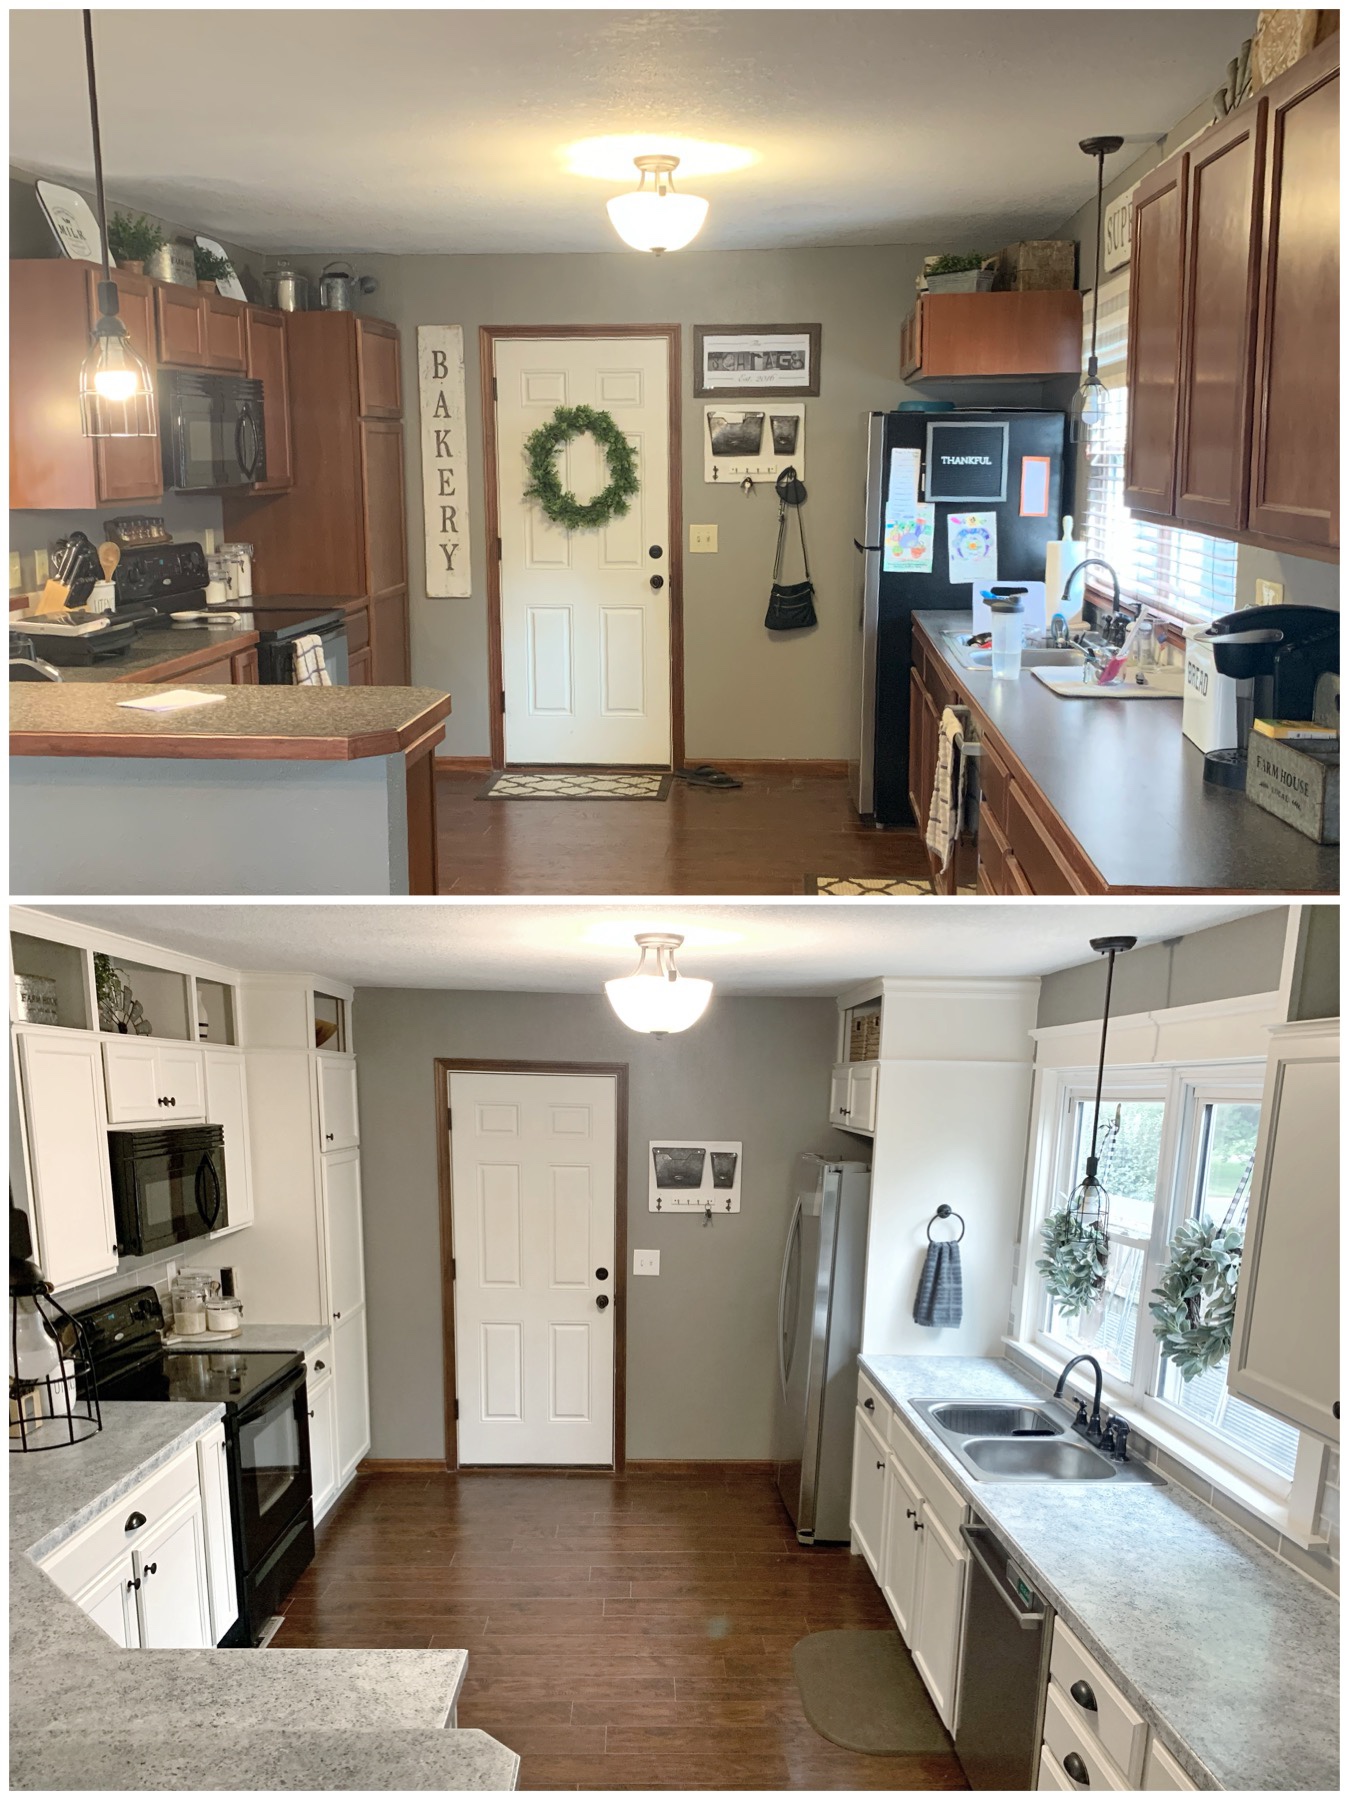
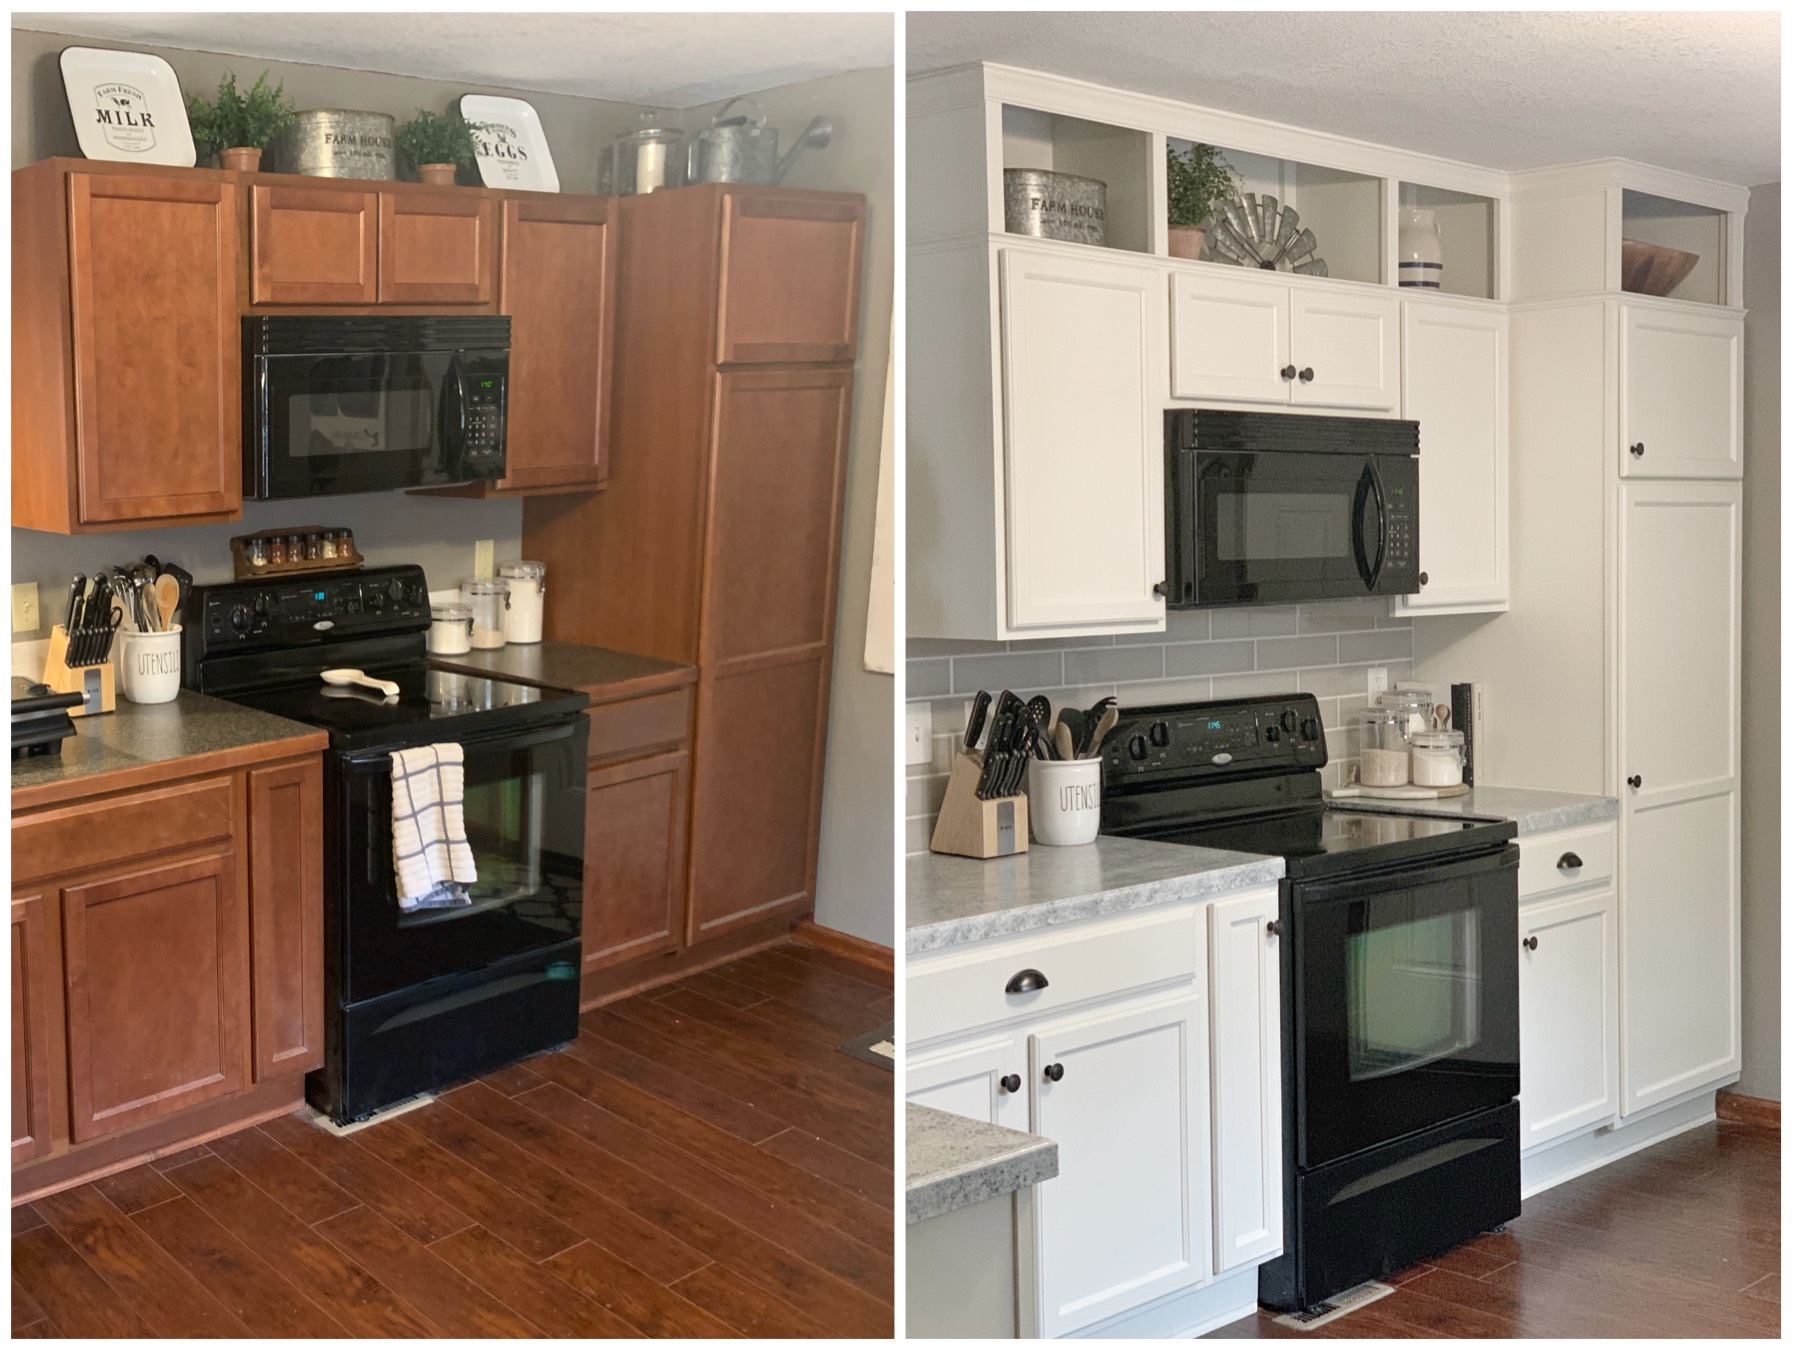
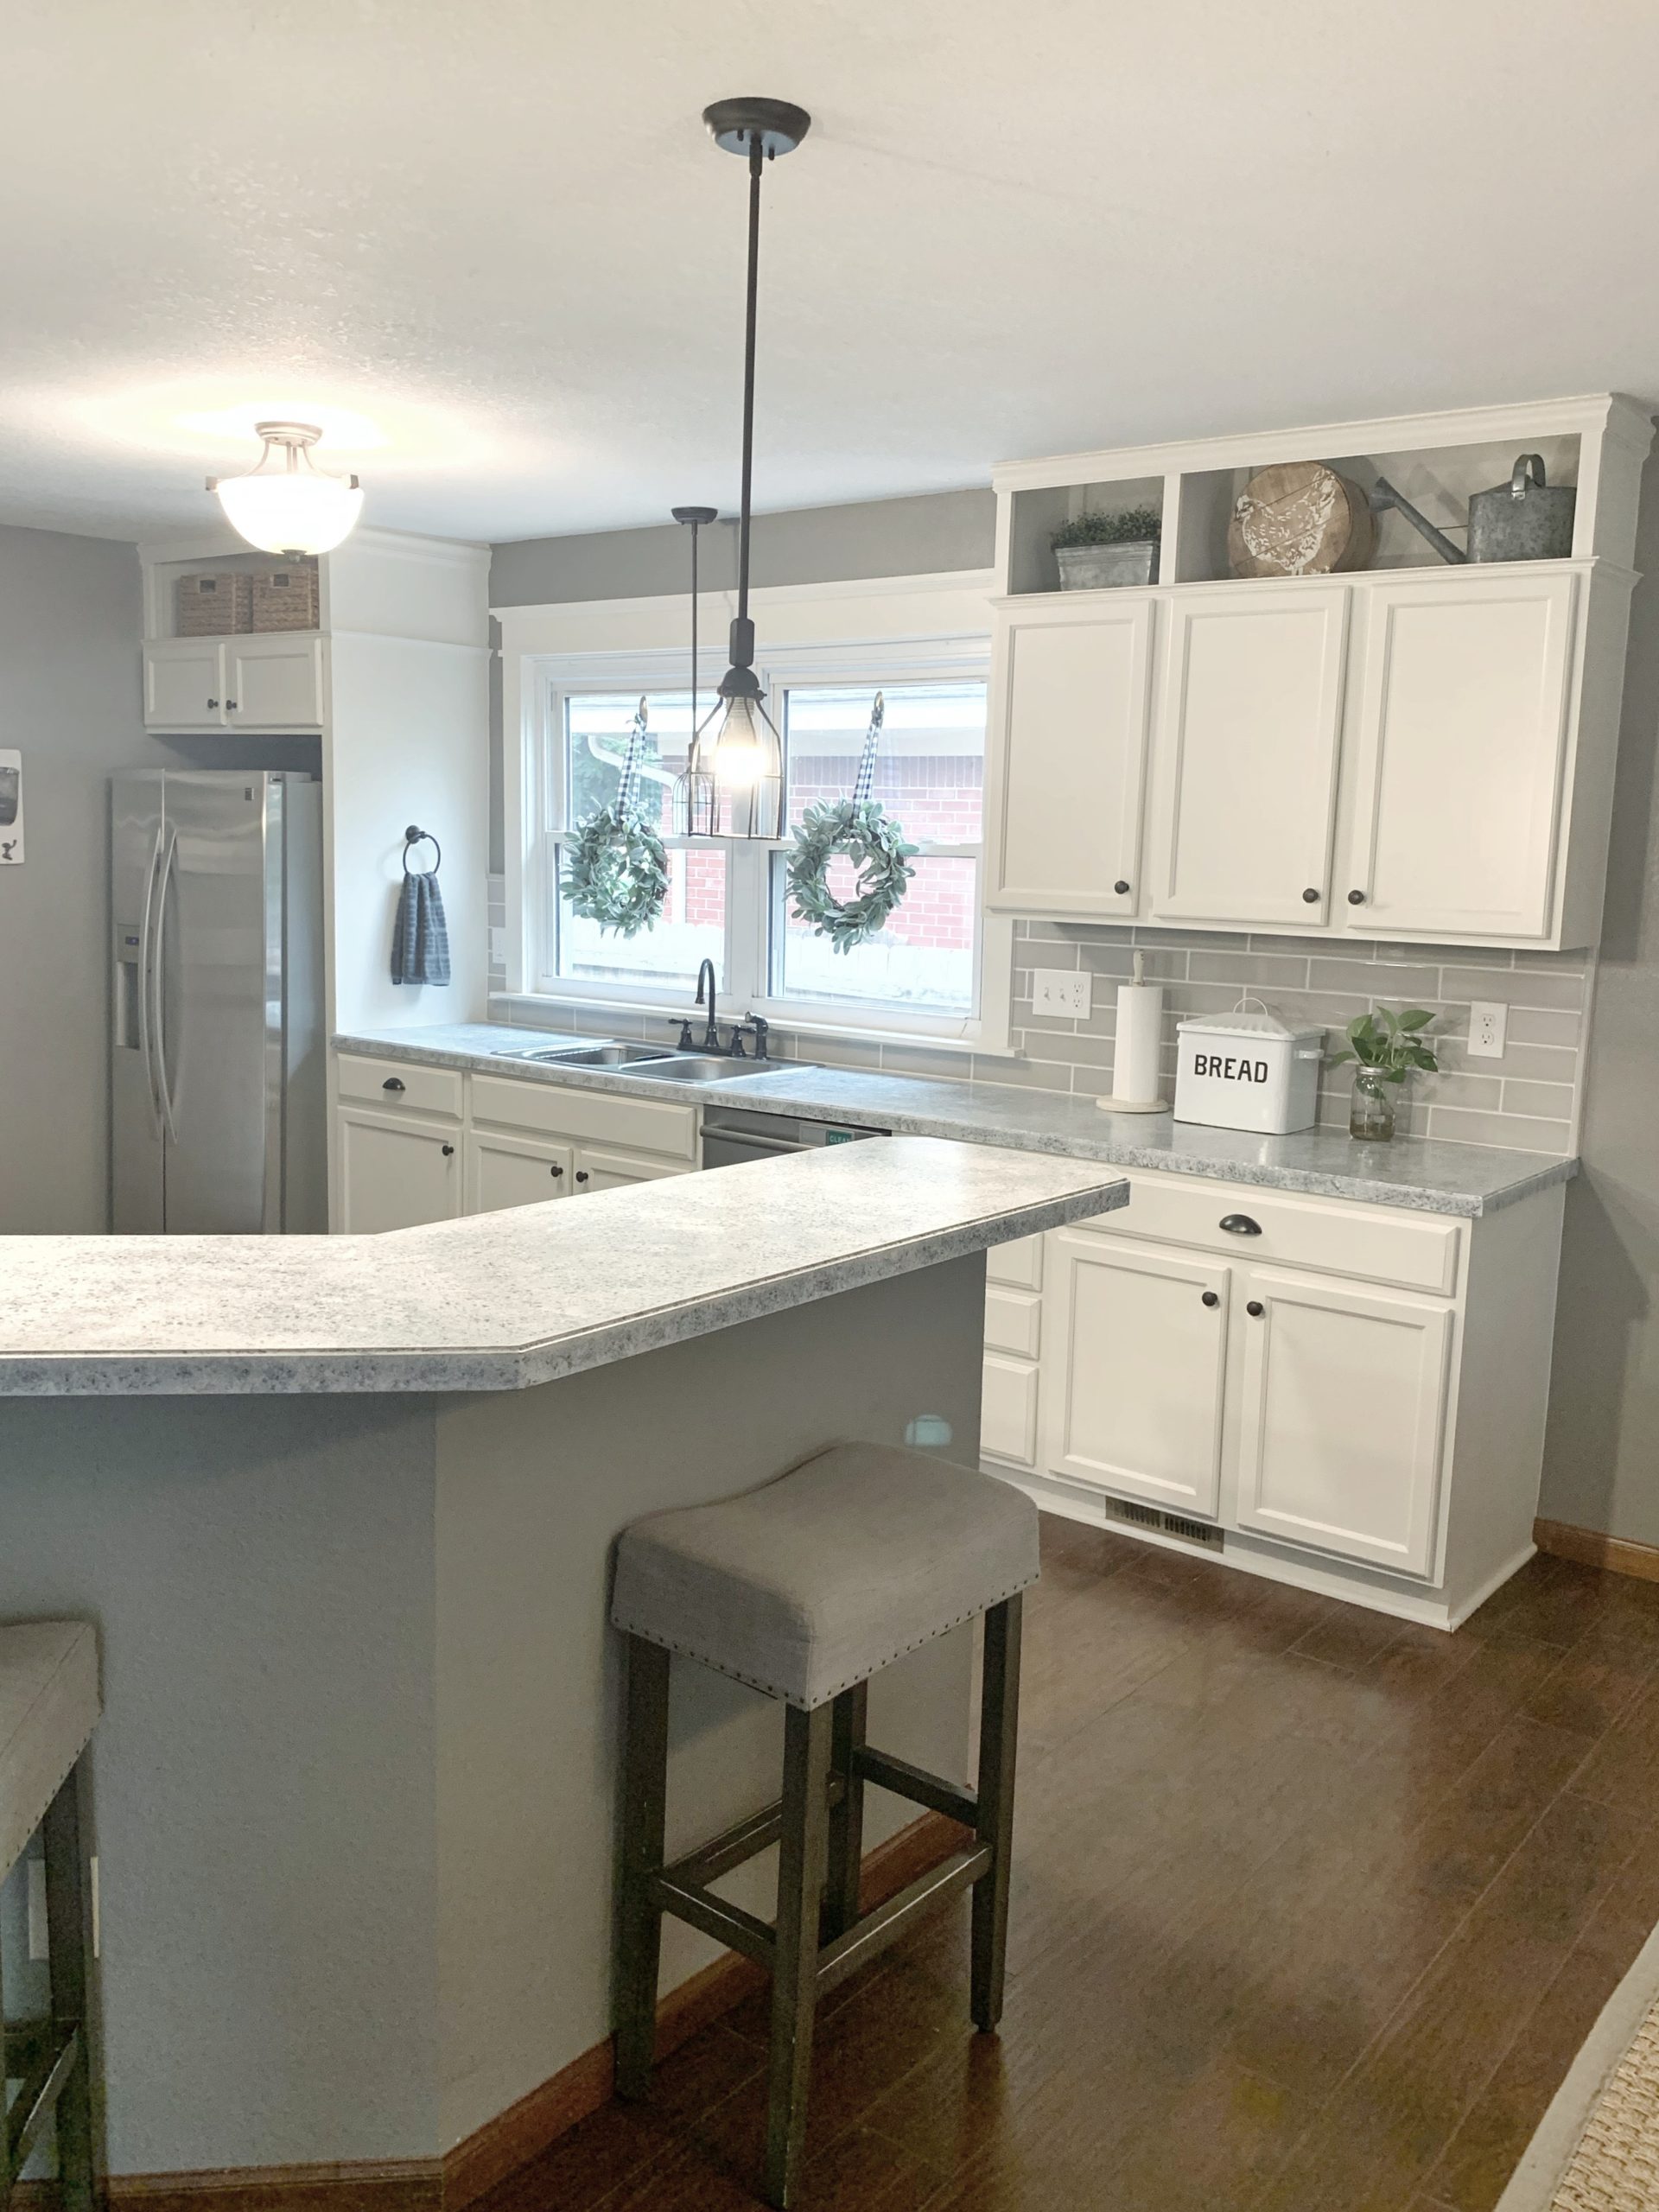
Last November we decided to update our kitchen on a budget! Our old kitchen was pretty basic. Nothing was really wrong with it, but it was so builder-grade and plain. I’m in love with white kitchens, so I knew I wanted to paint the cabinets, but I wanted to take it a step further too.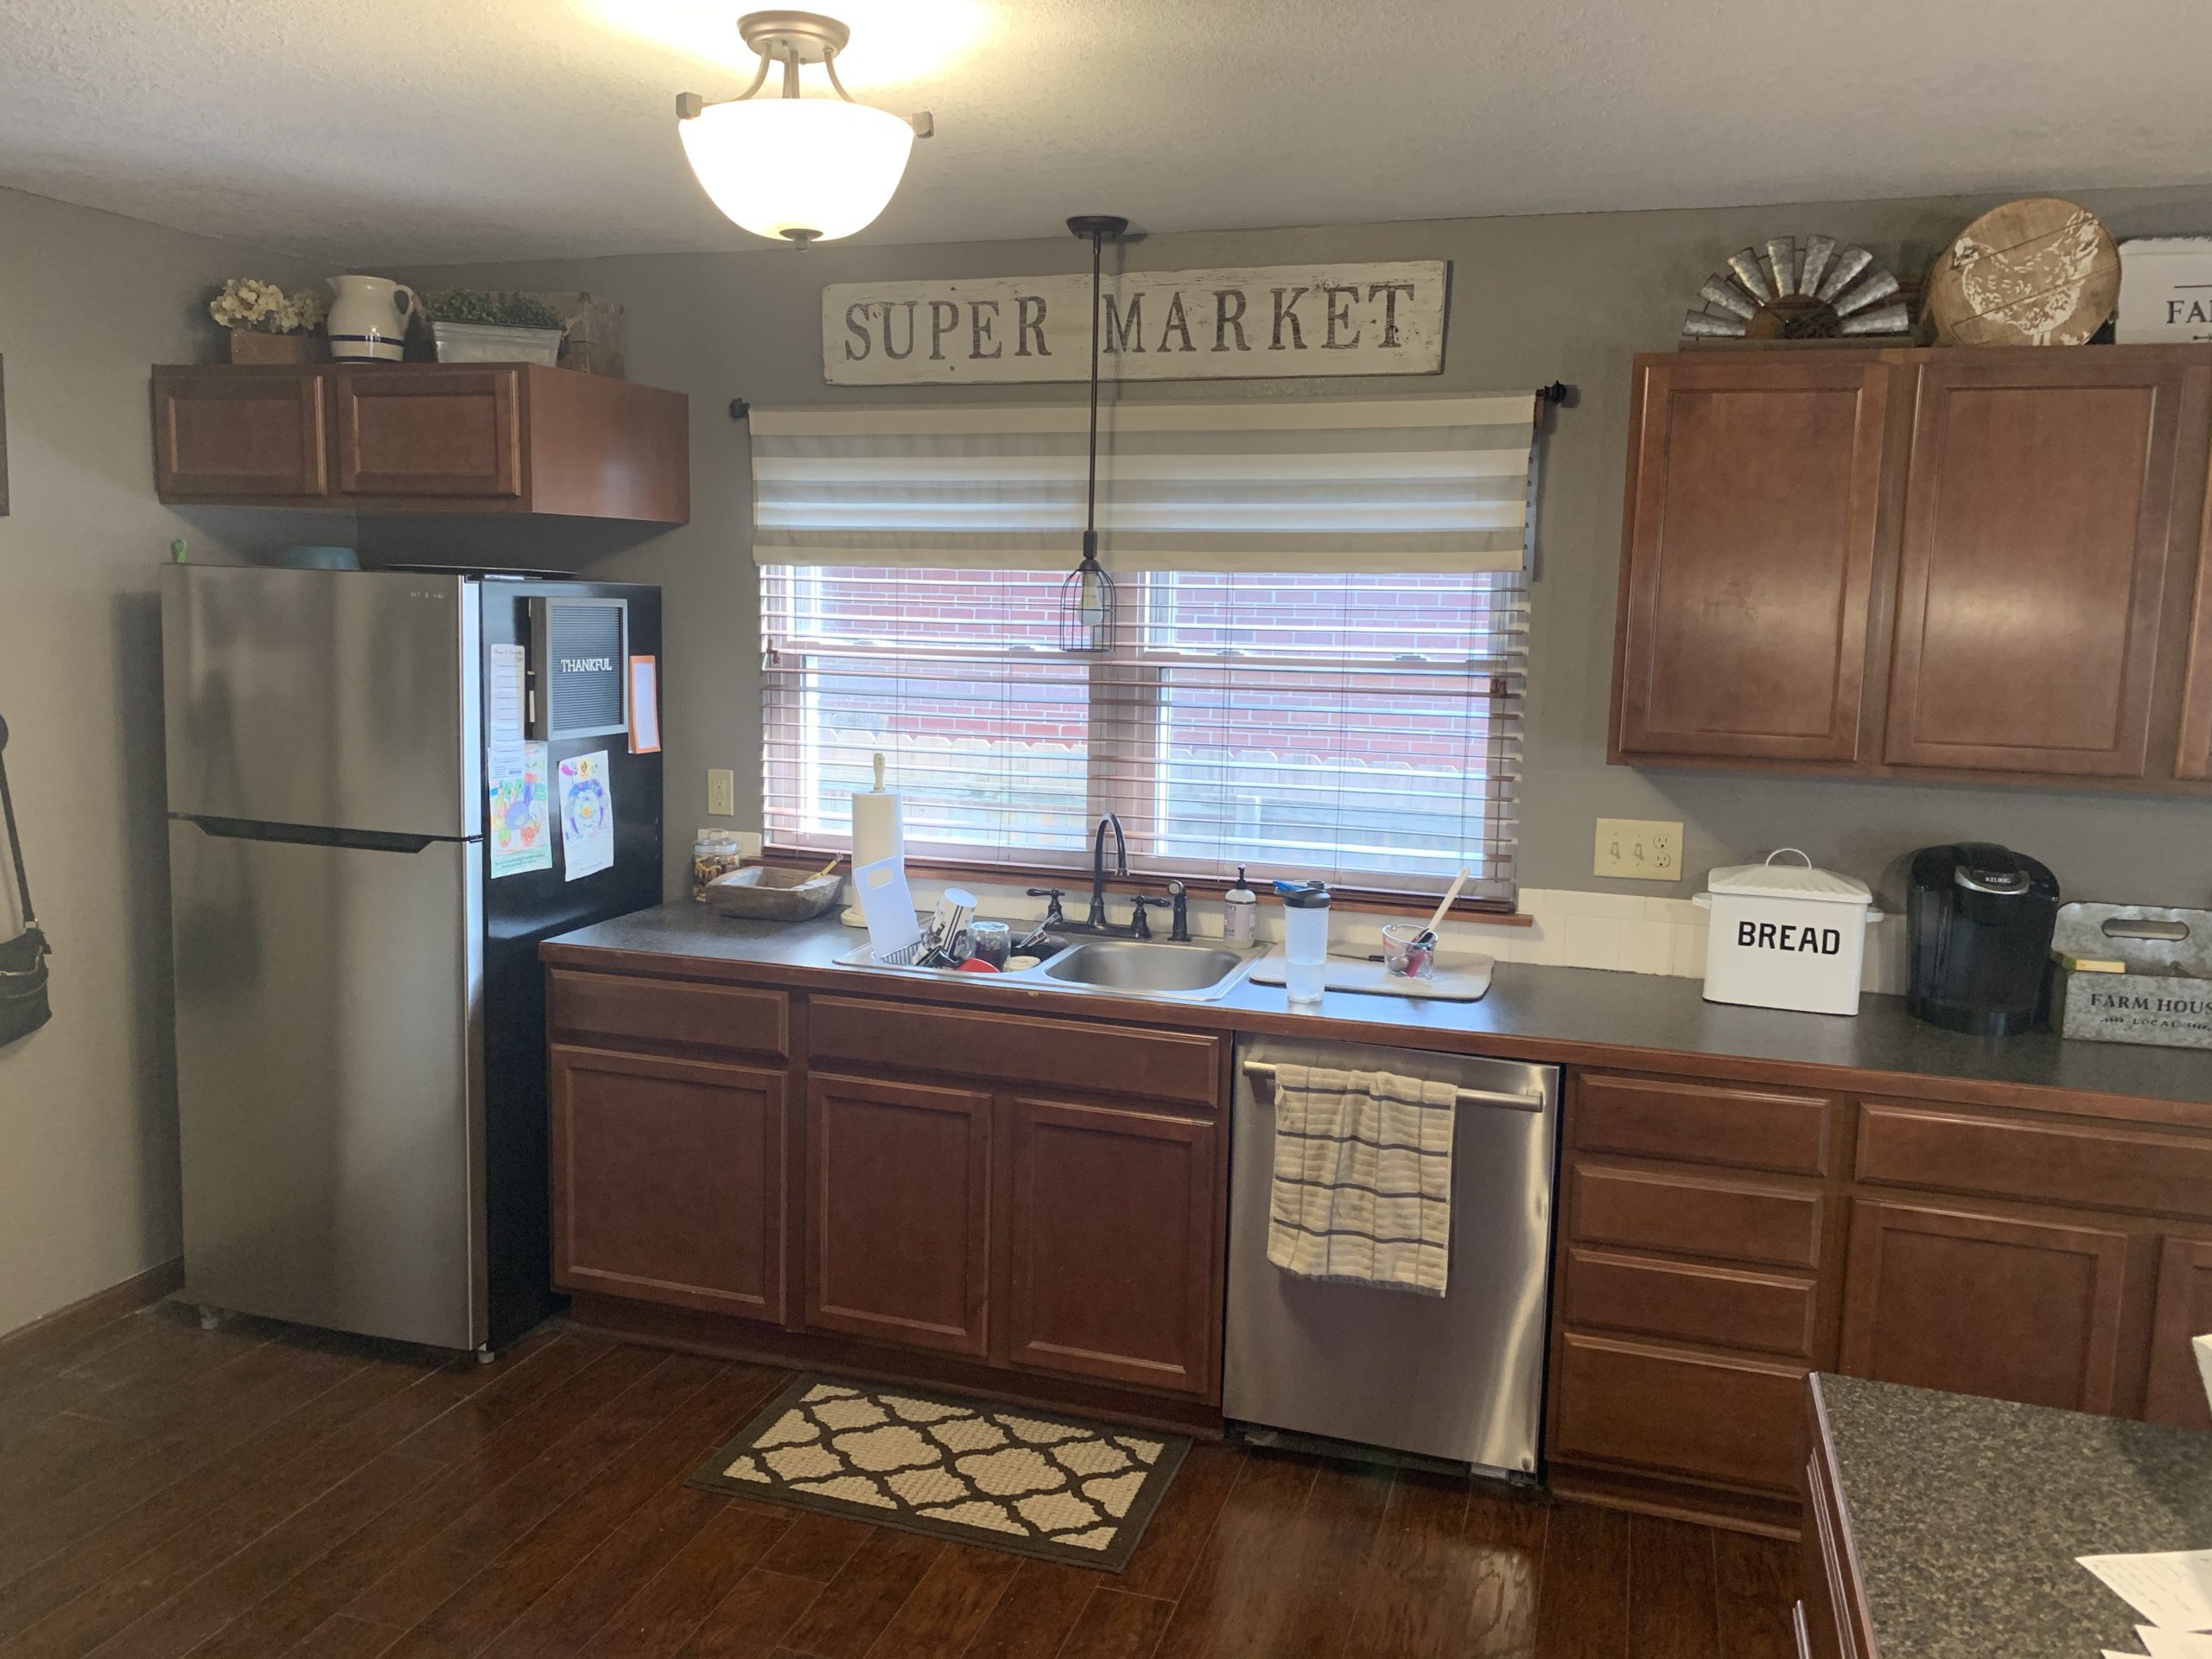
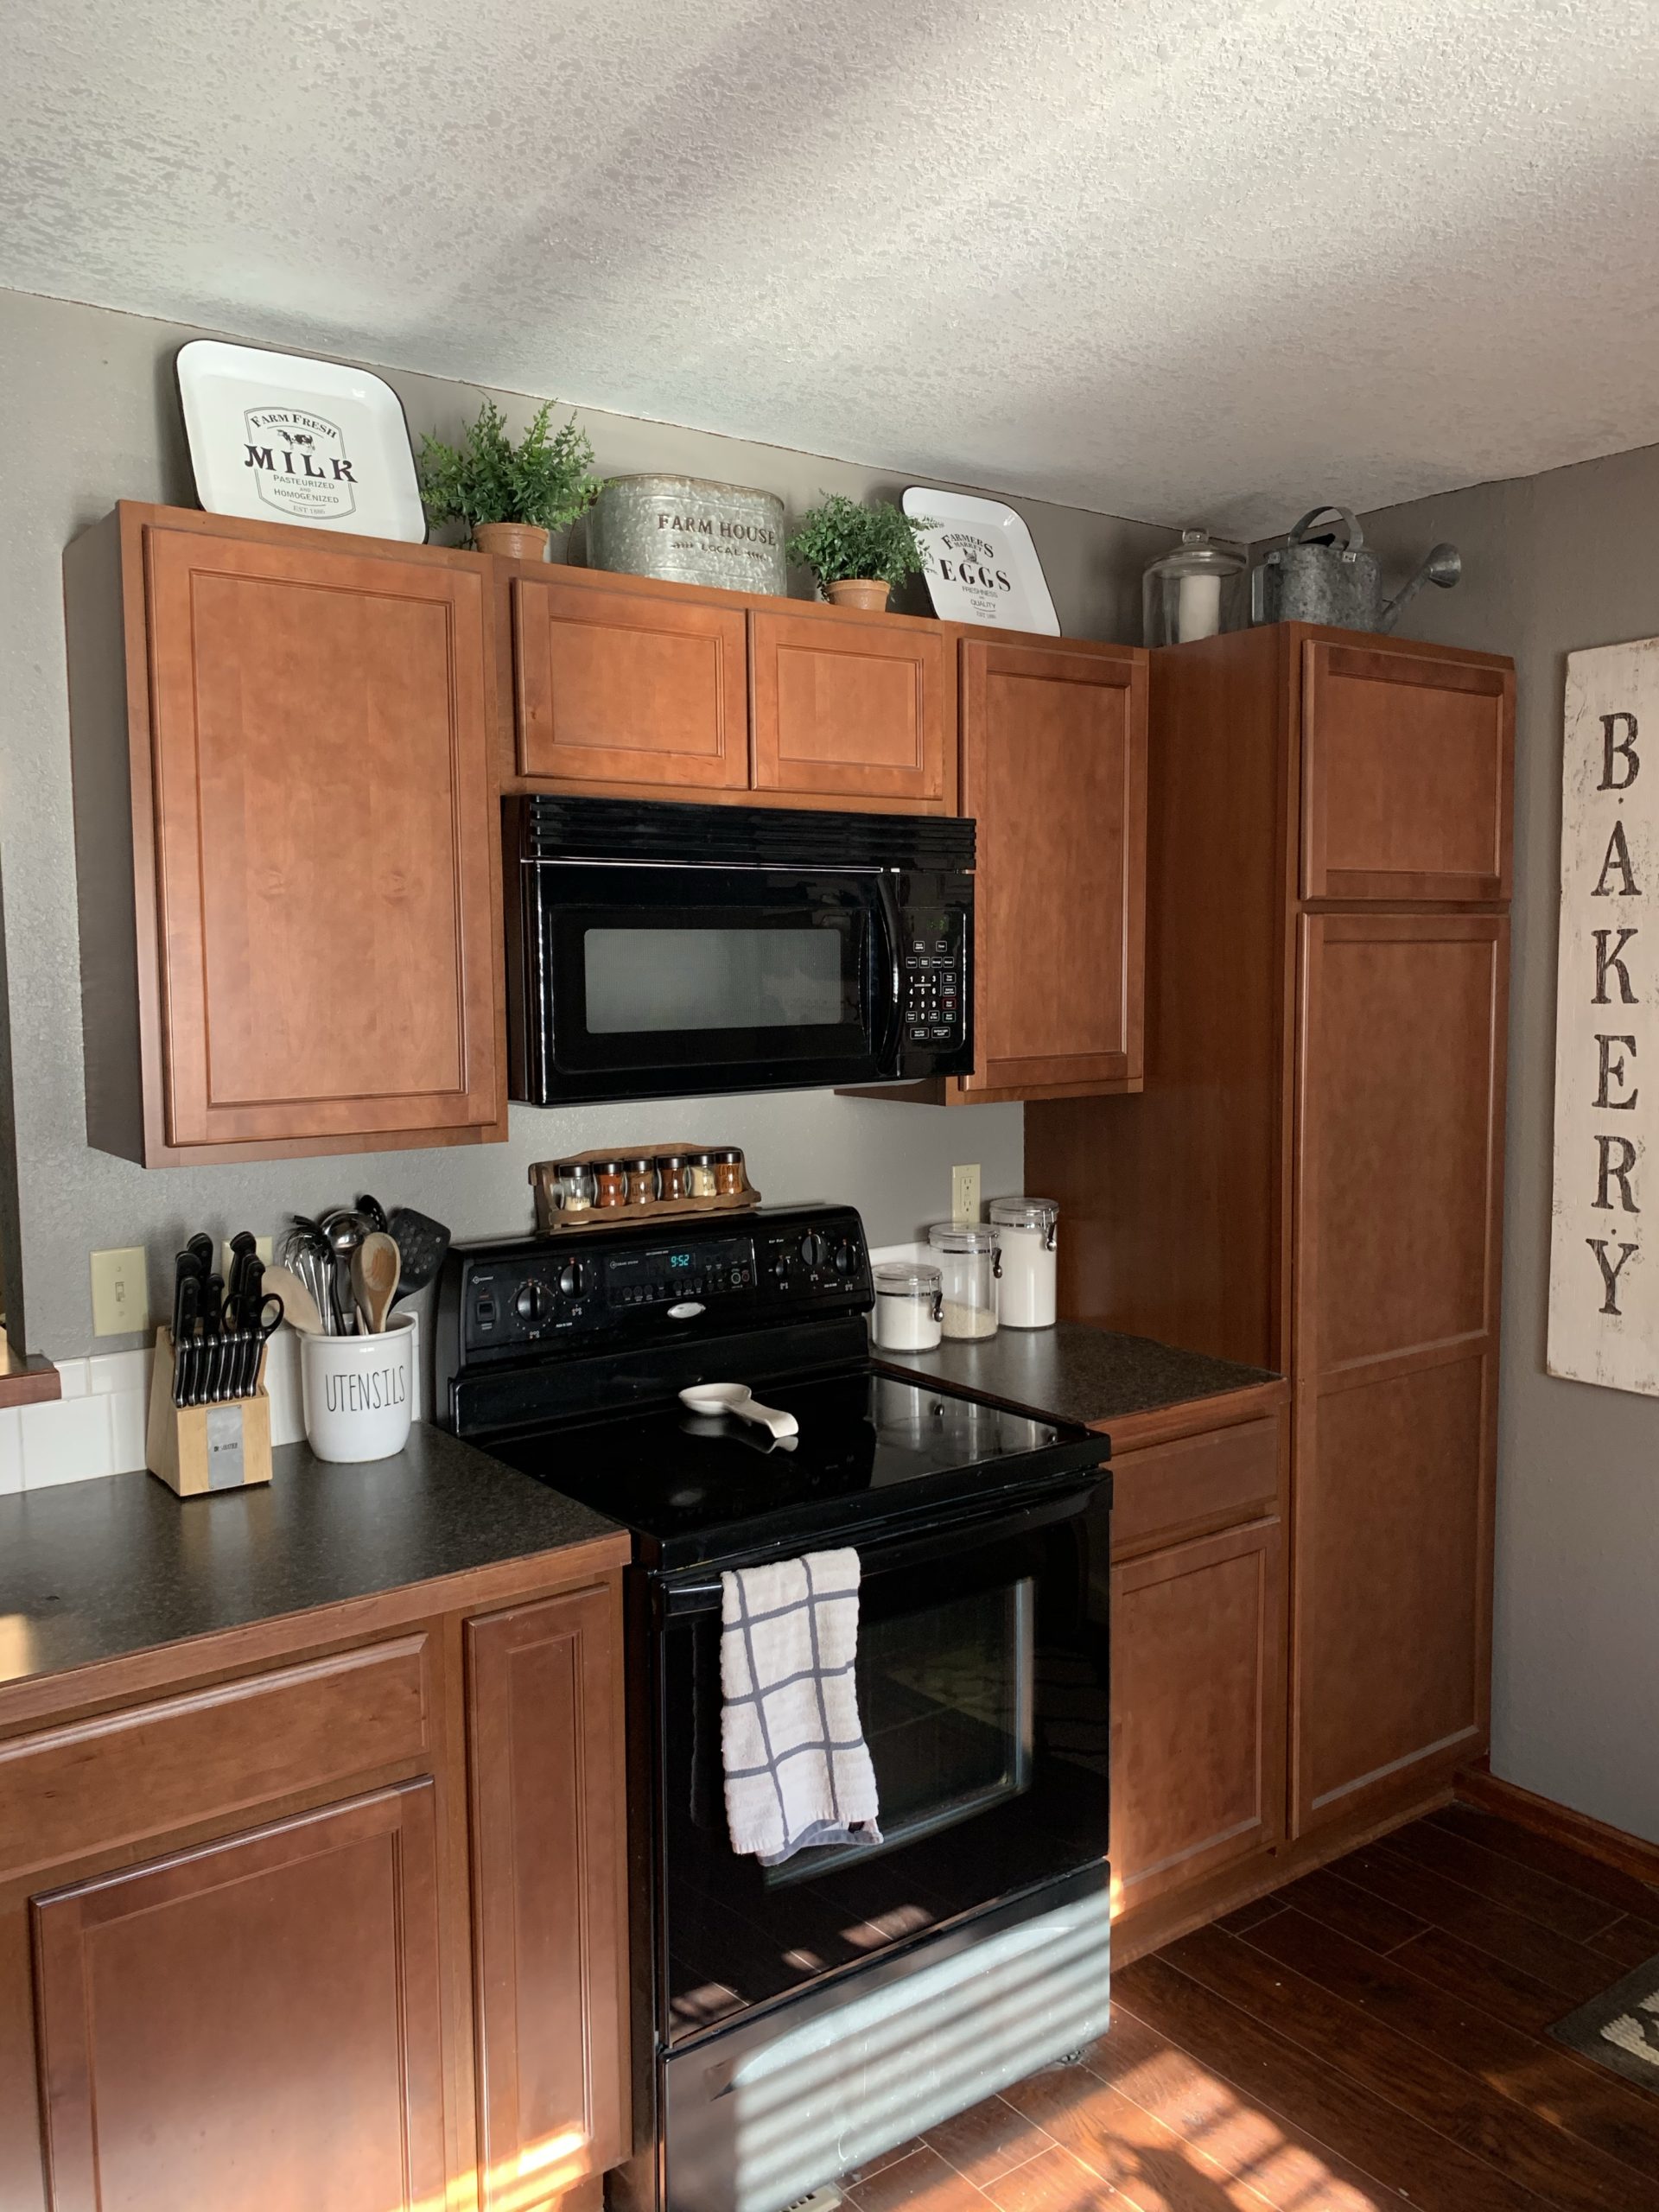
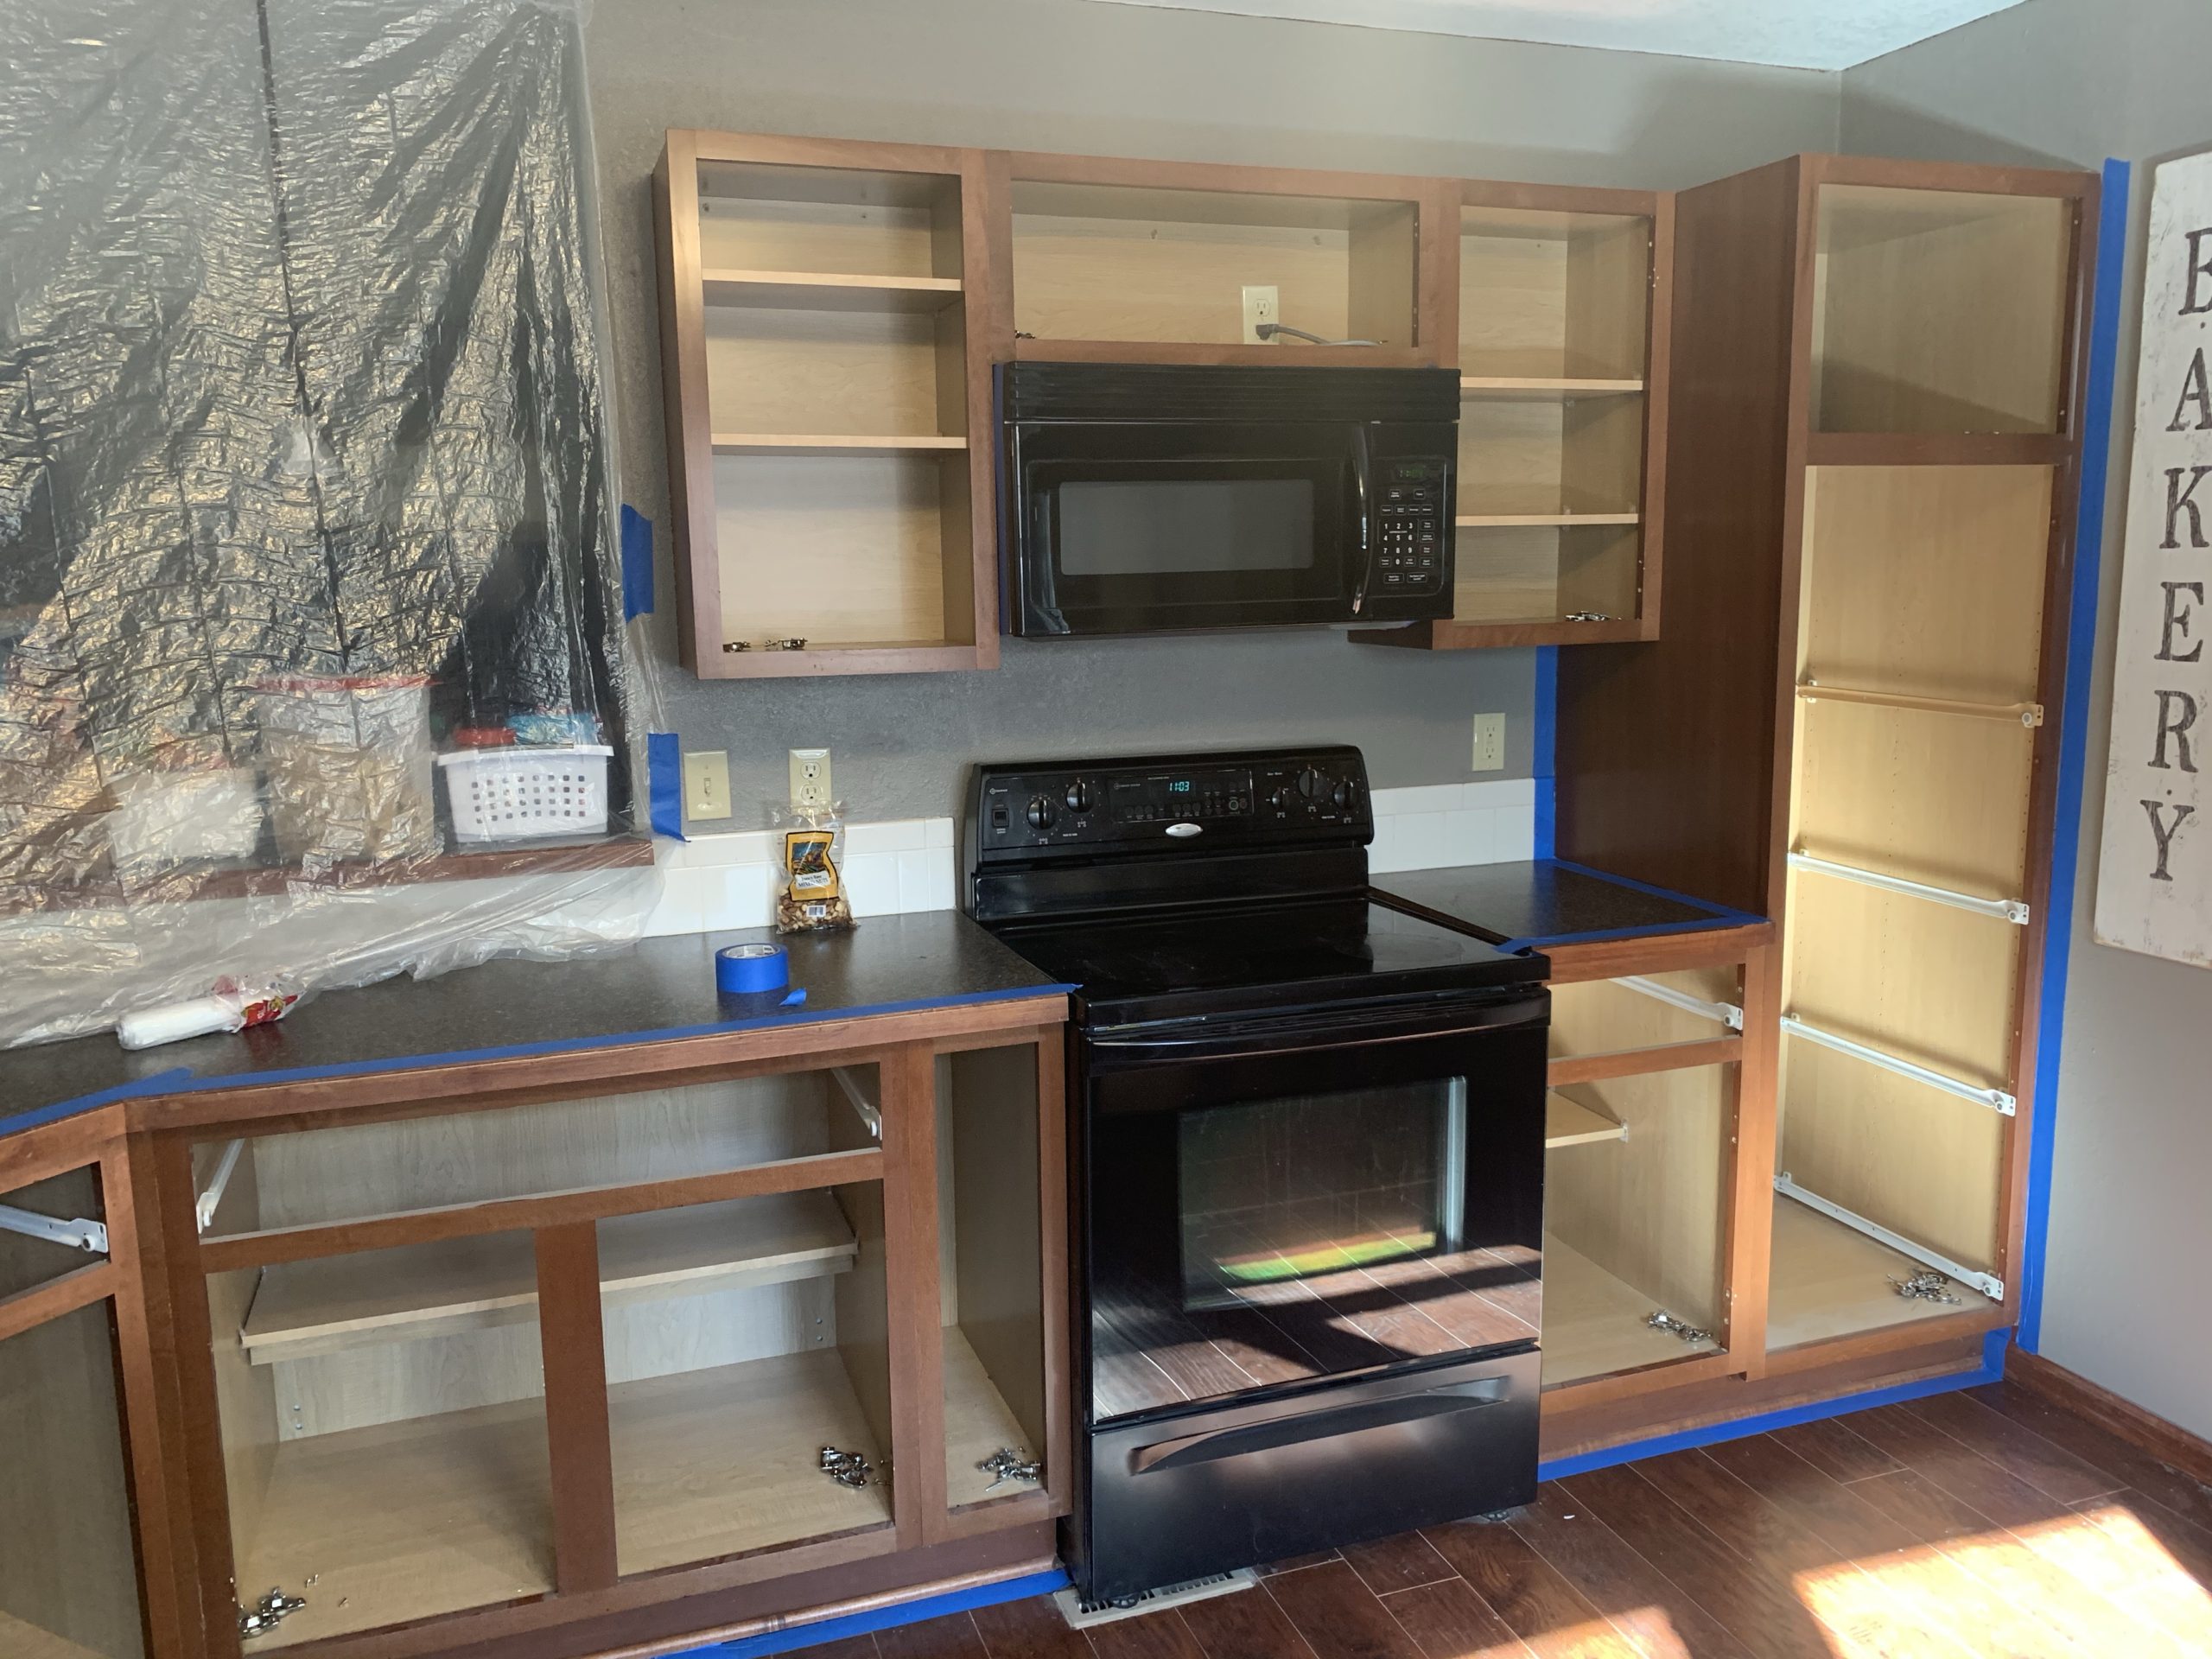
I had the idea of building the cabinets up to the ceiling to give the illusion of custom, high-end cabinetry with decorative moulding, practical storage, and a purposeful design.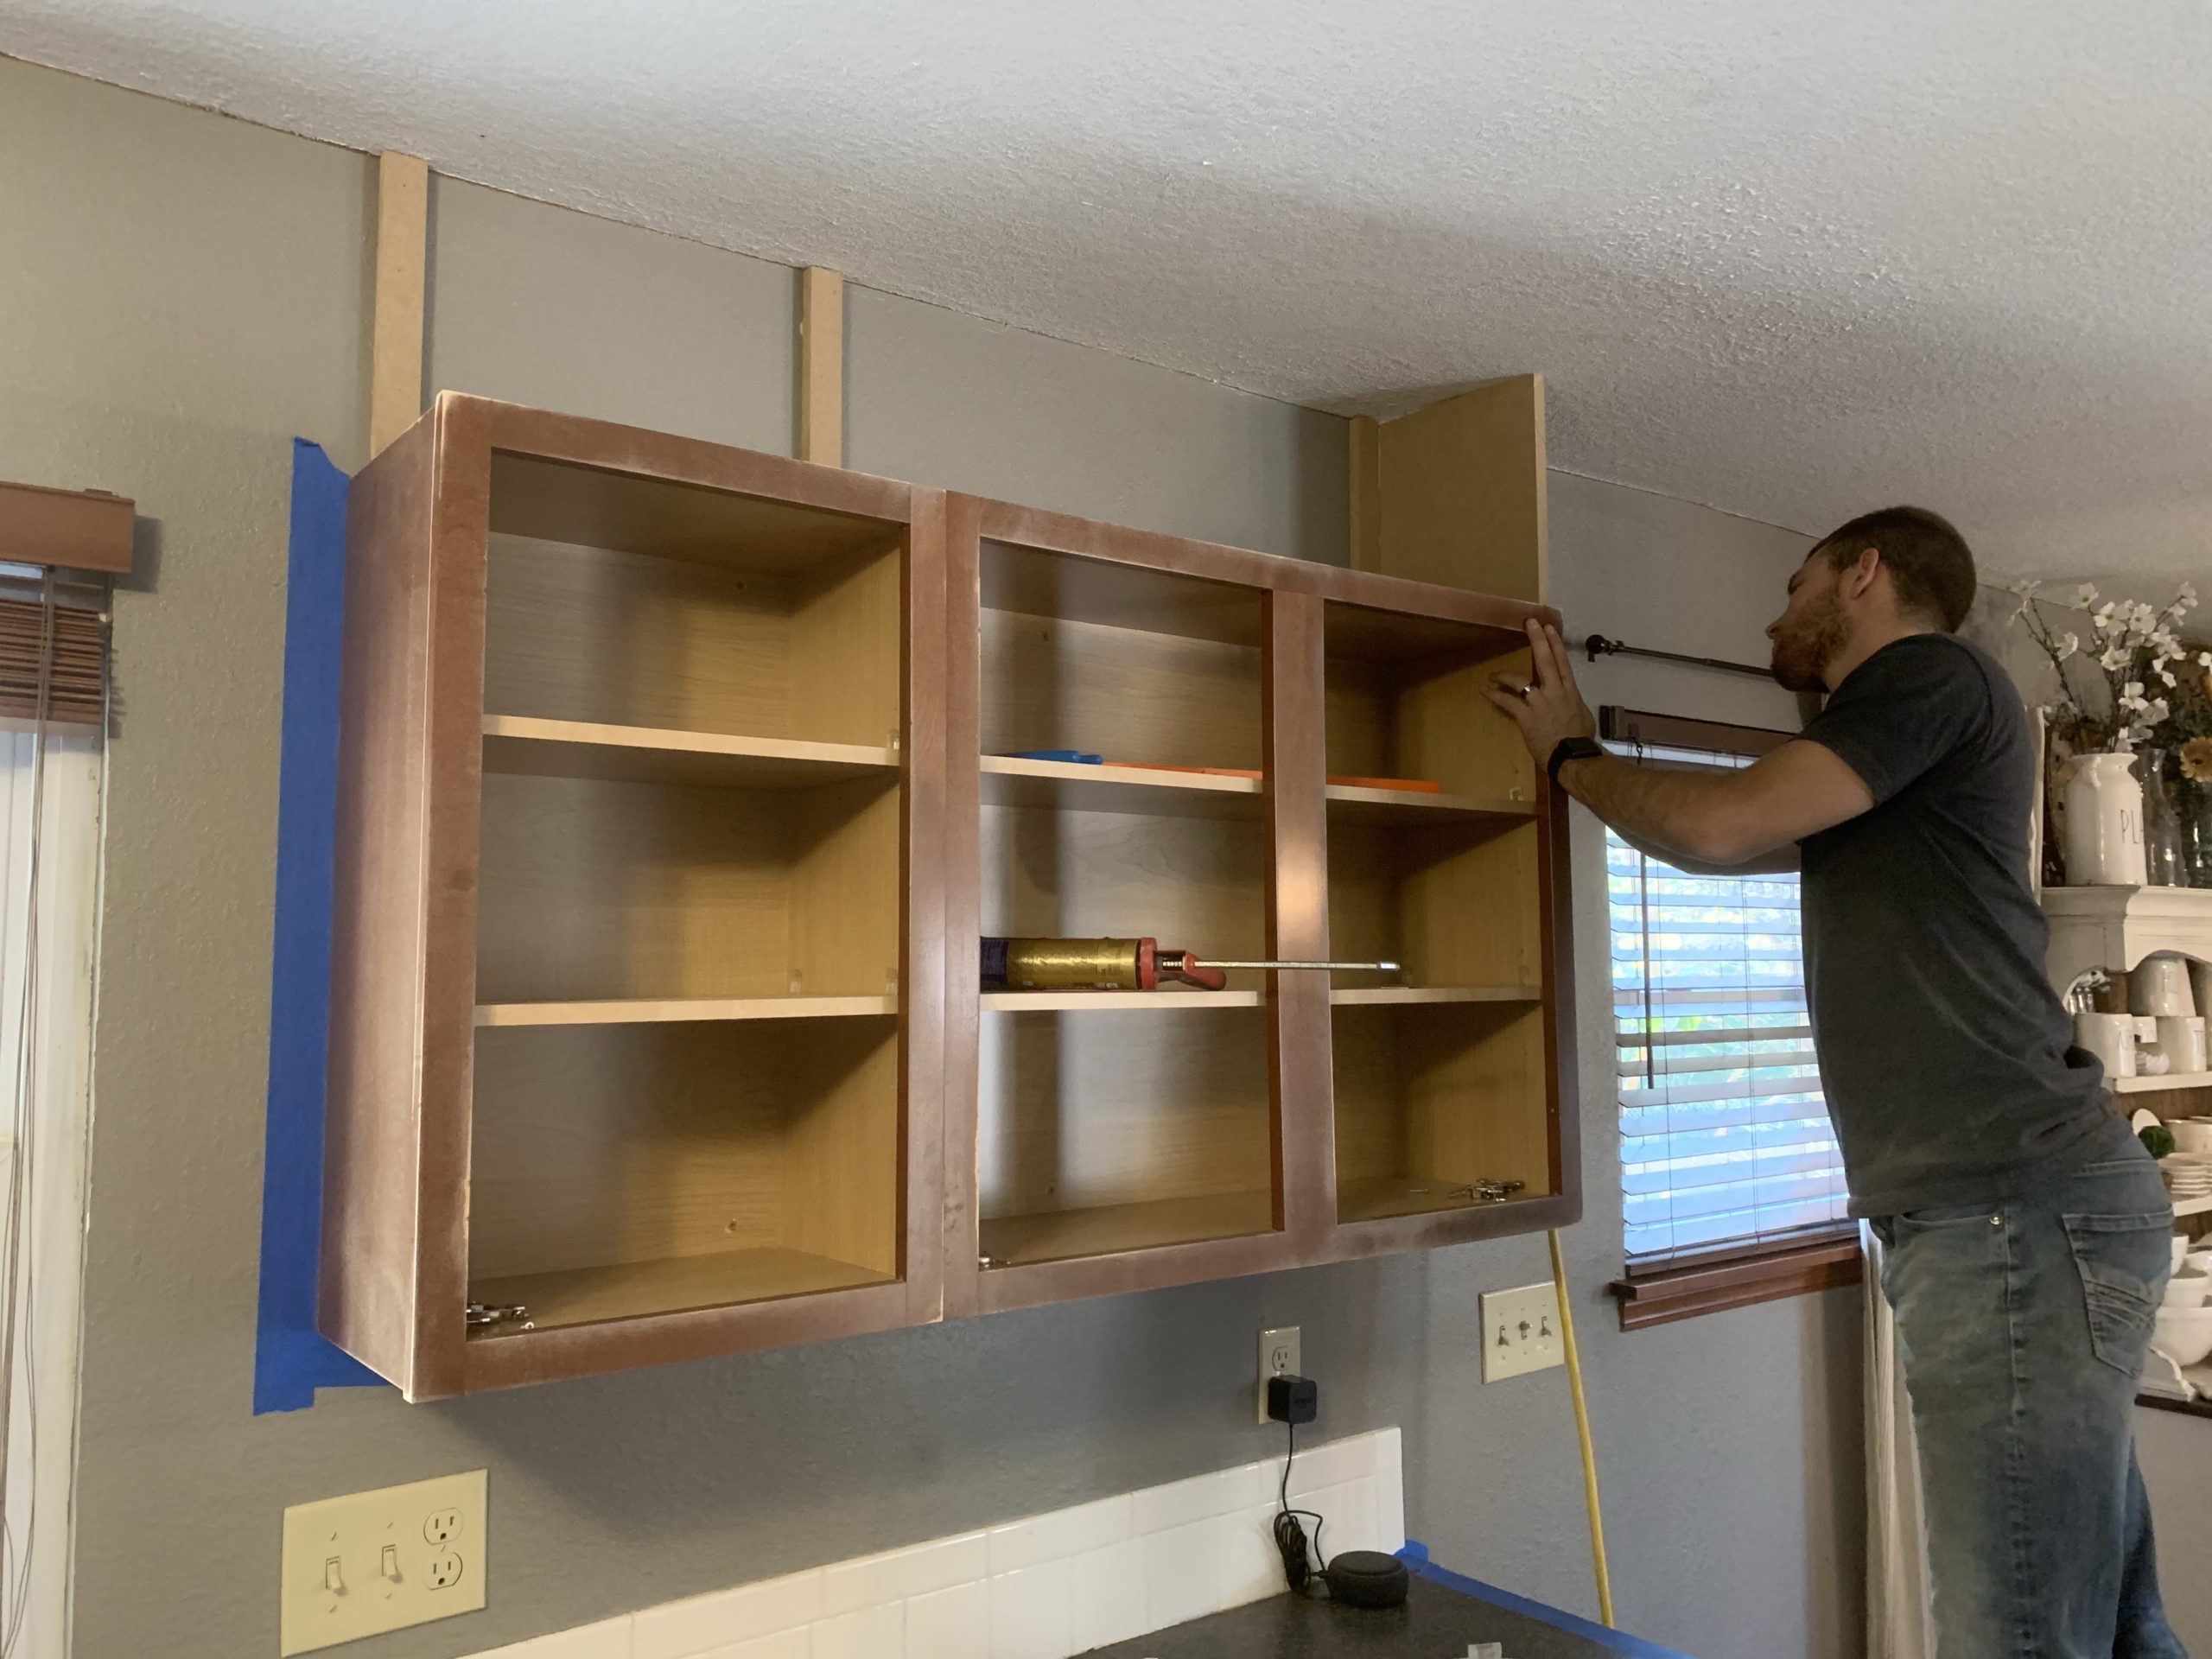
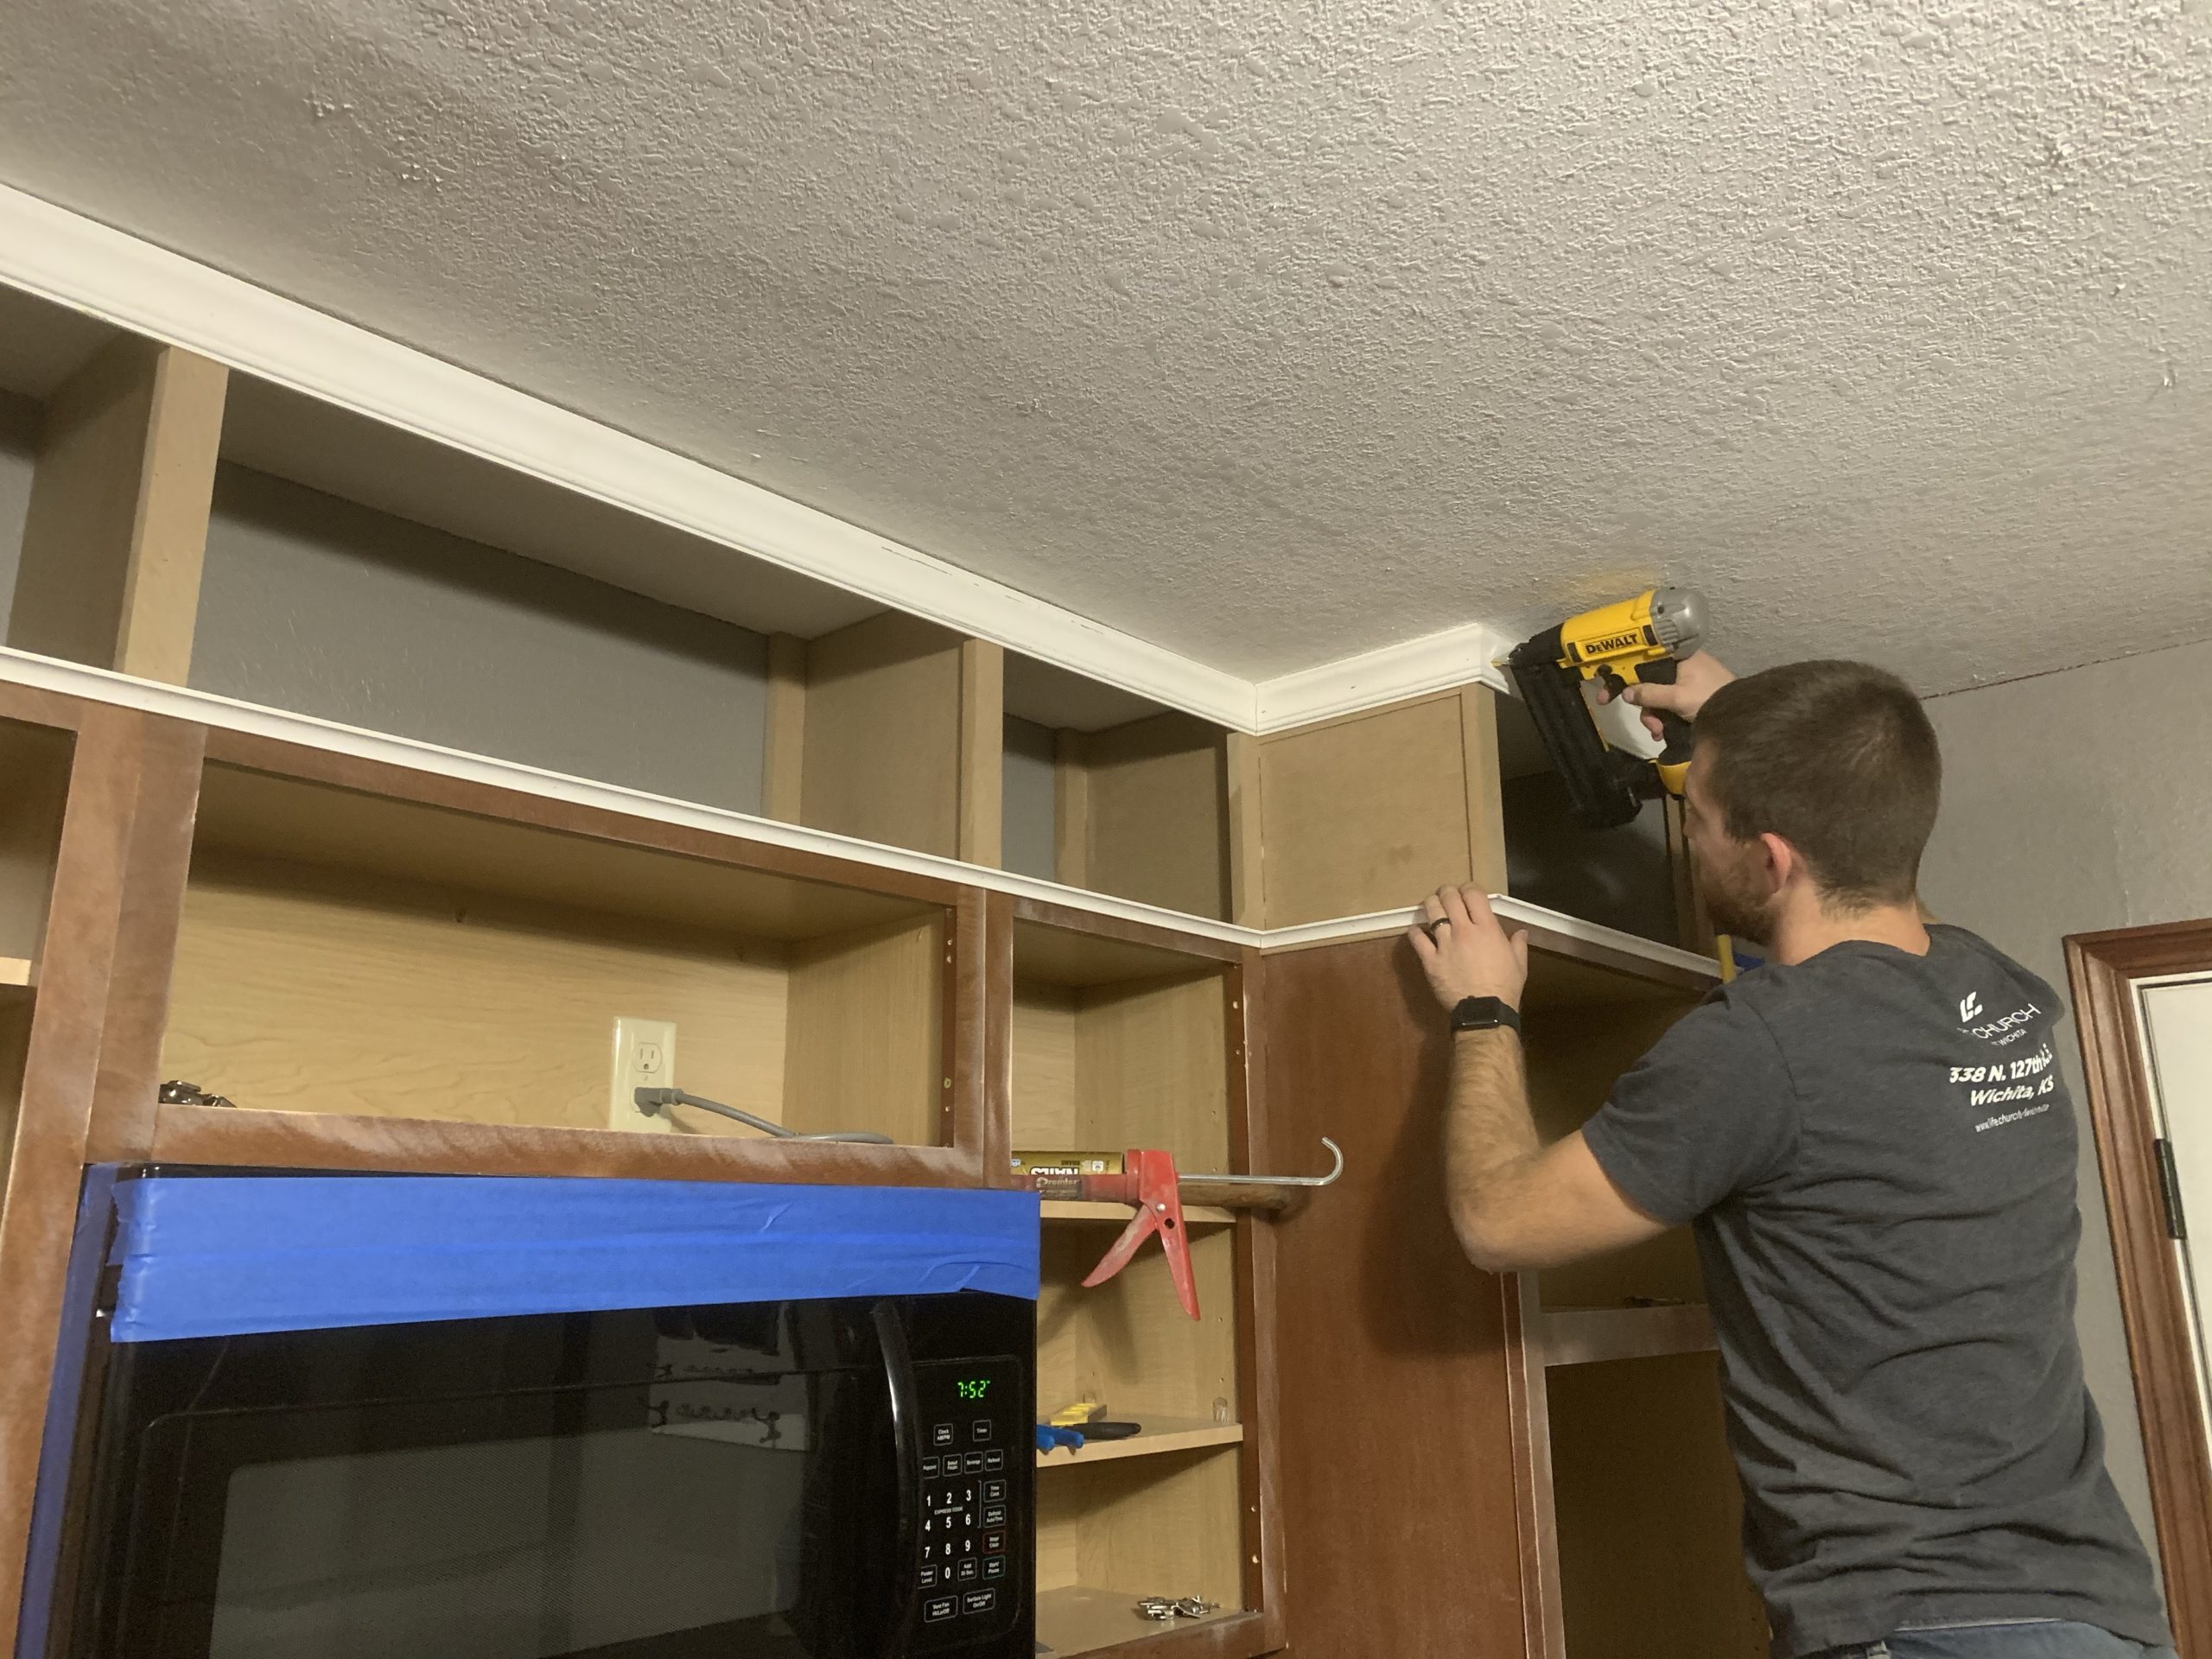
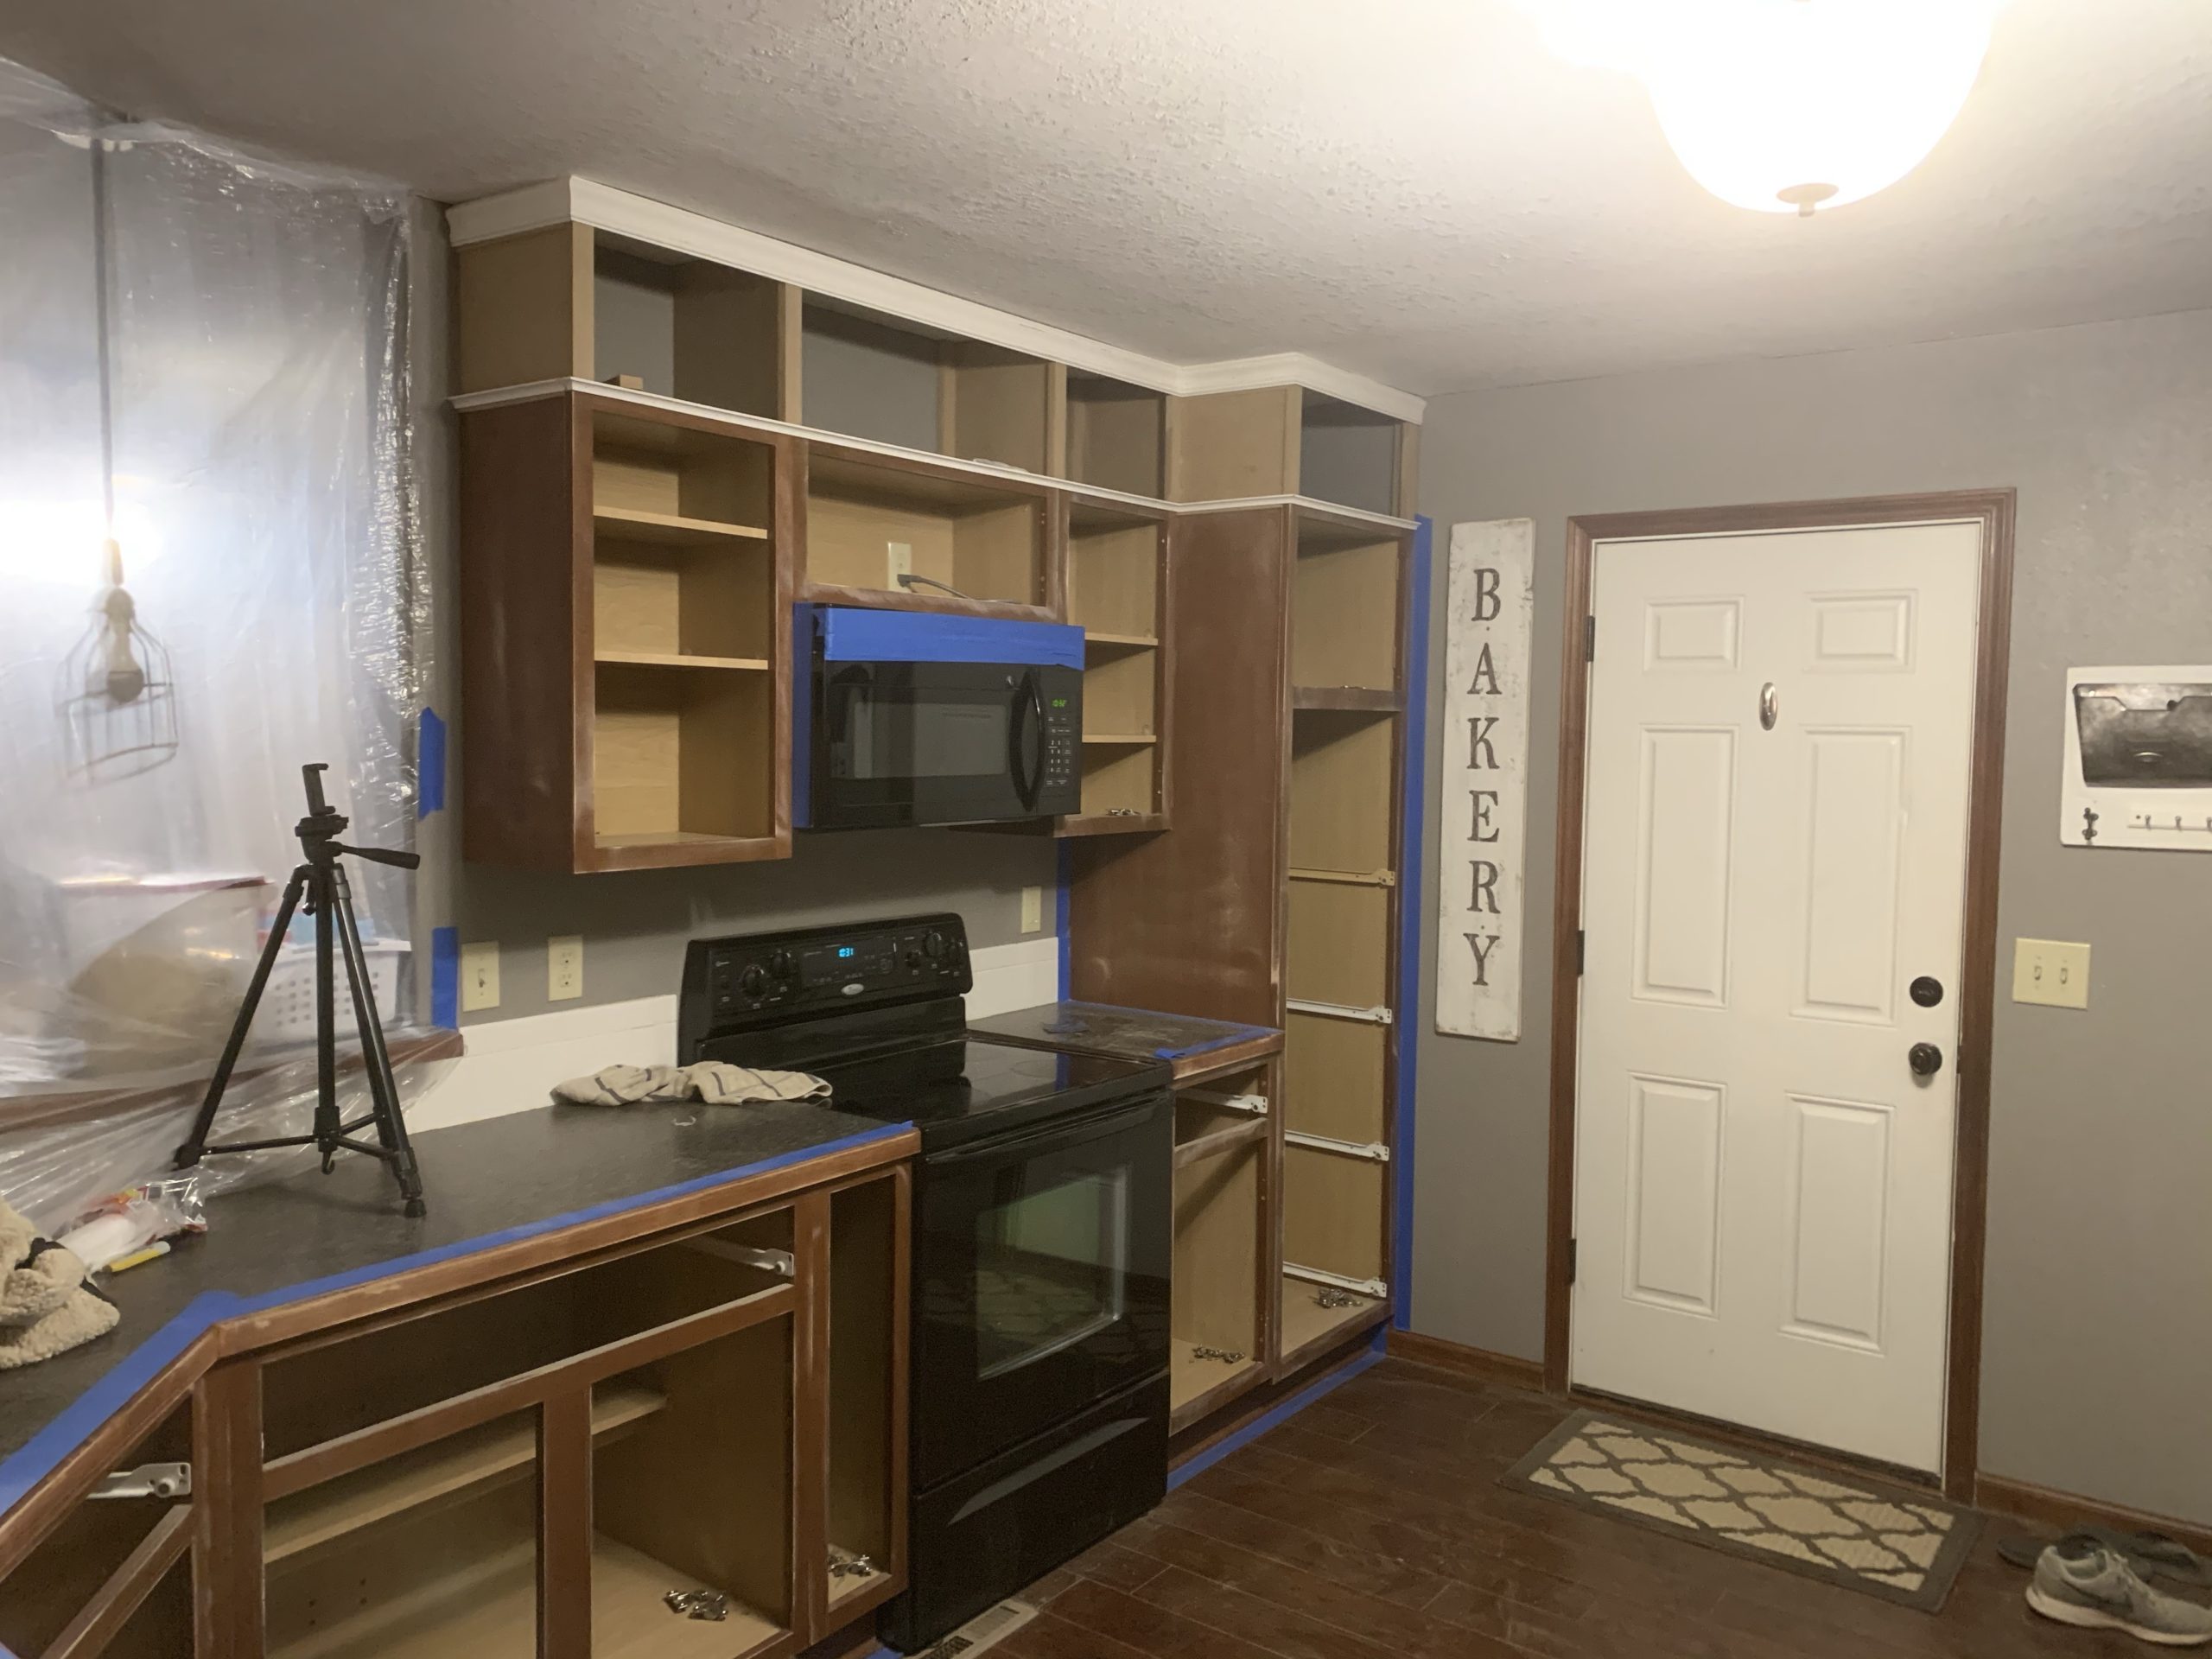
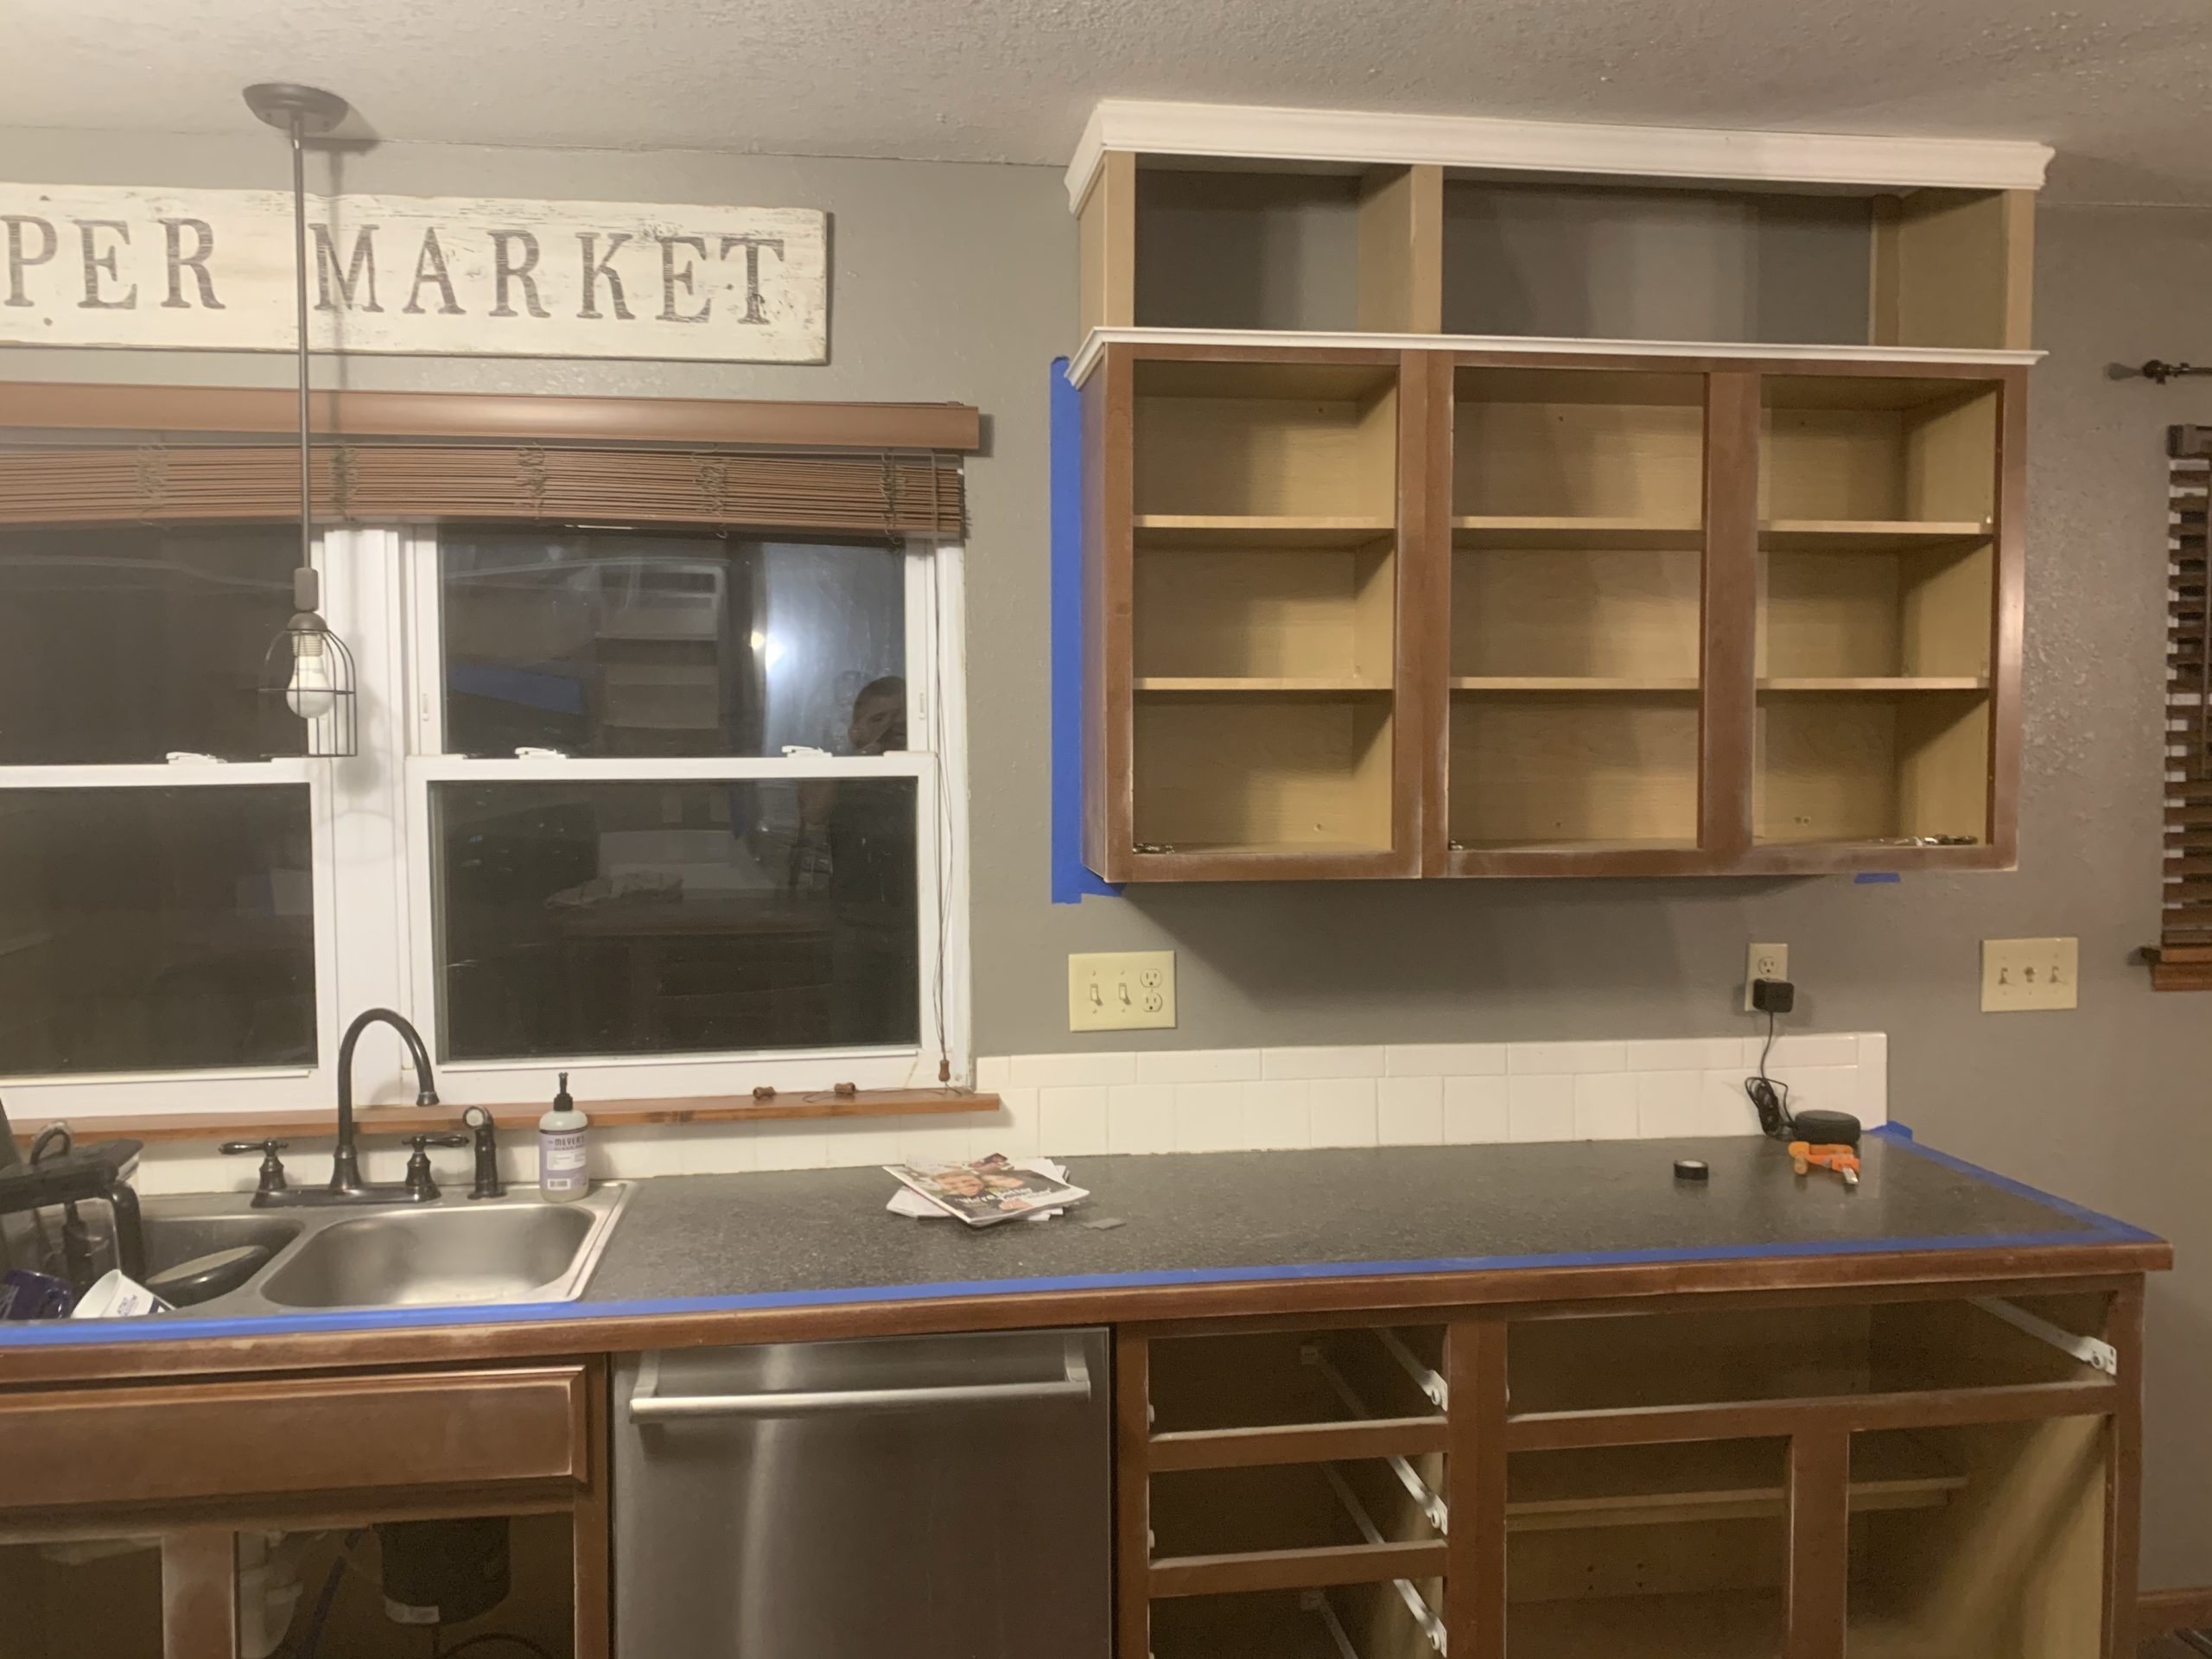
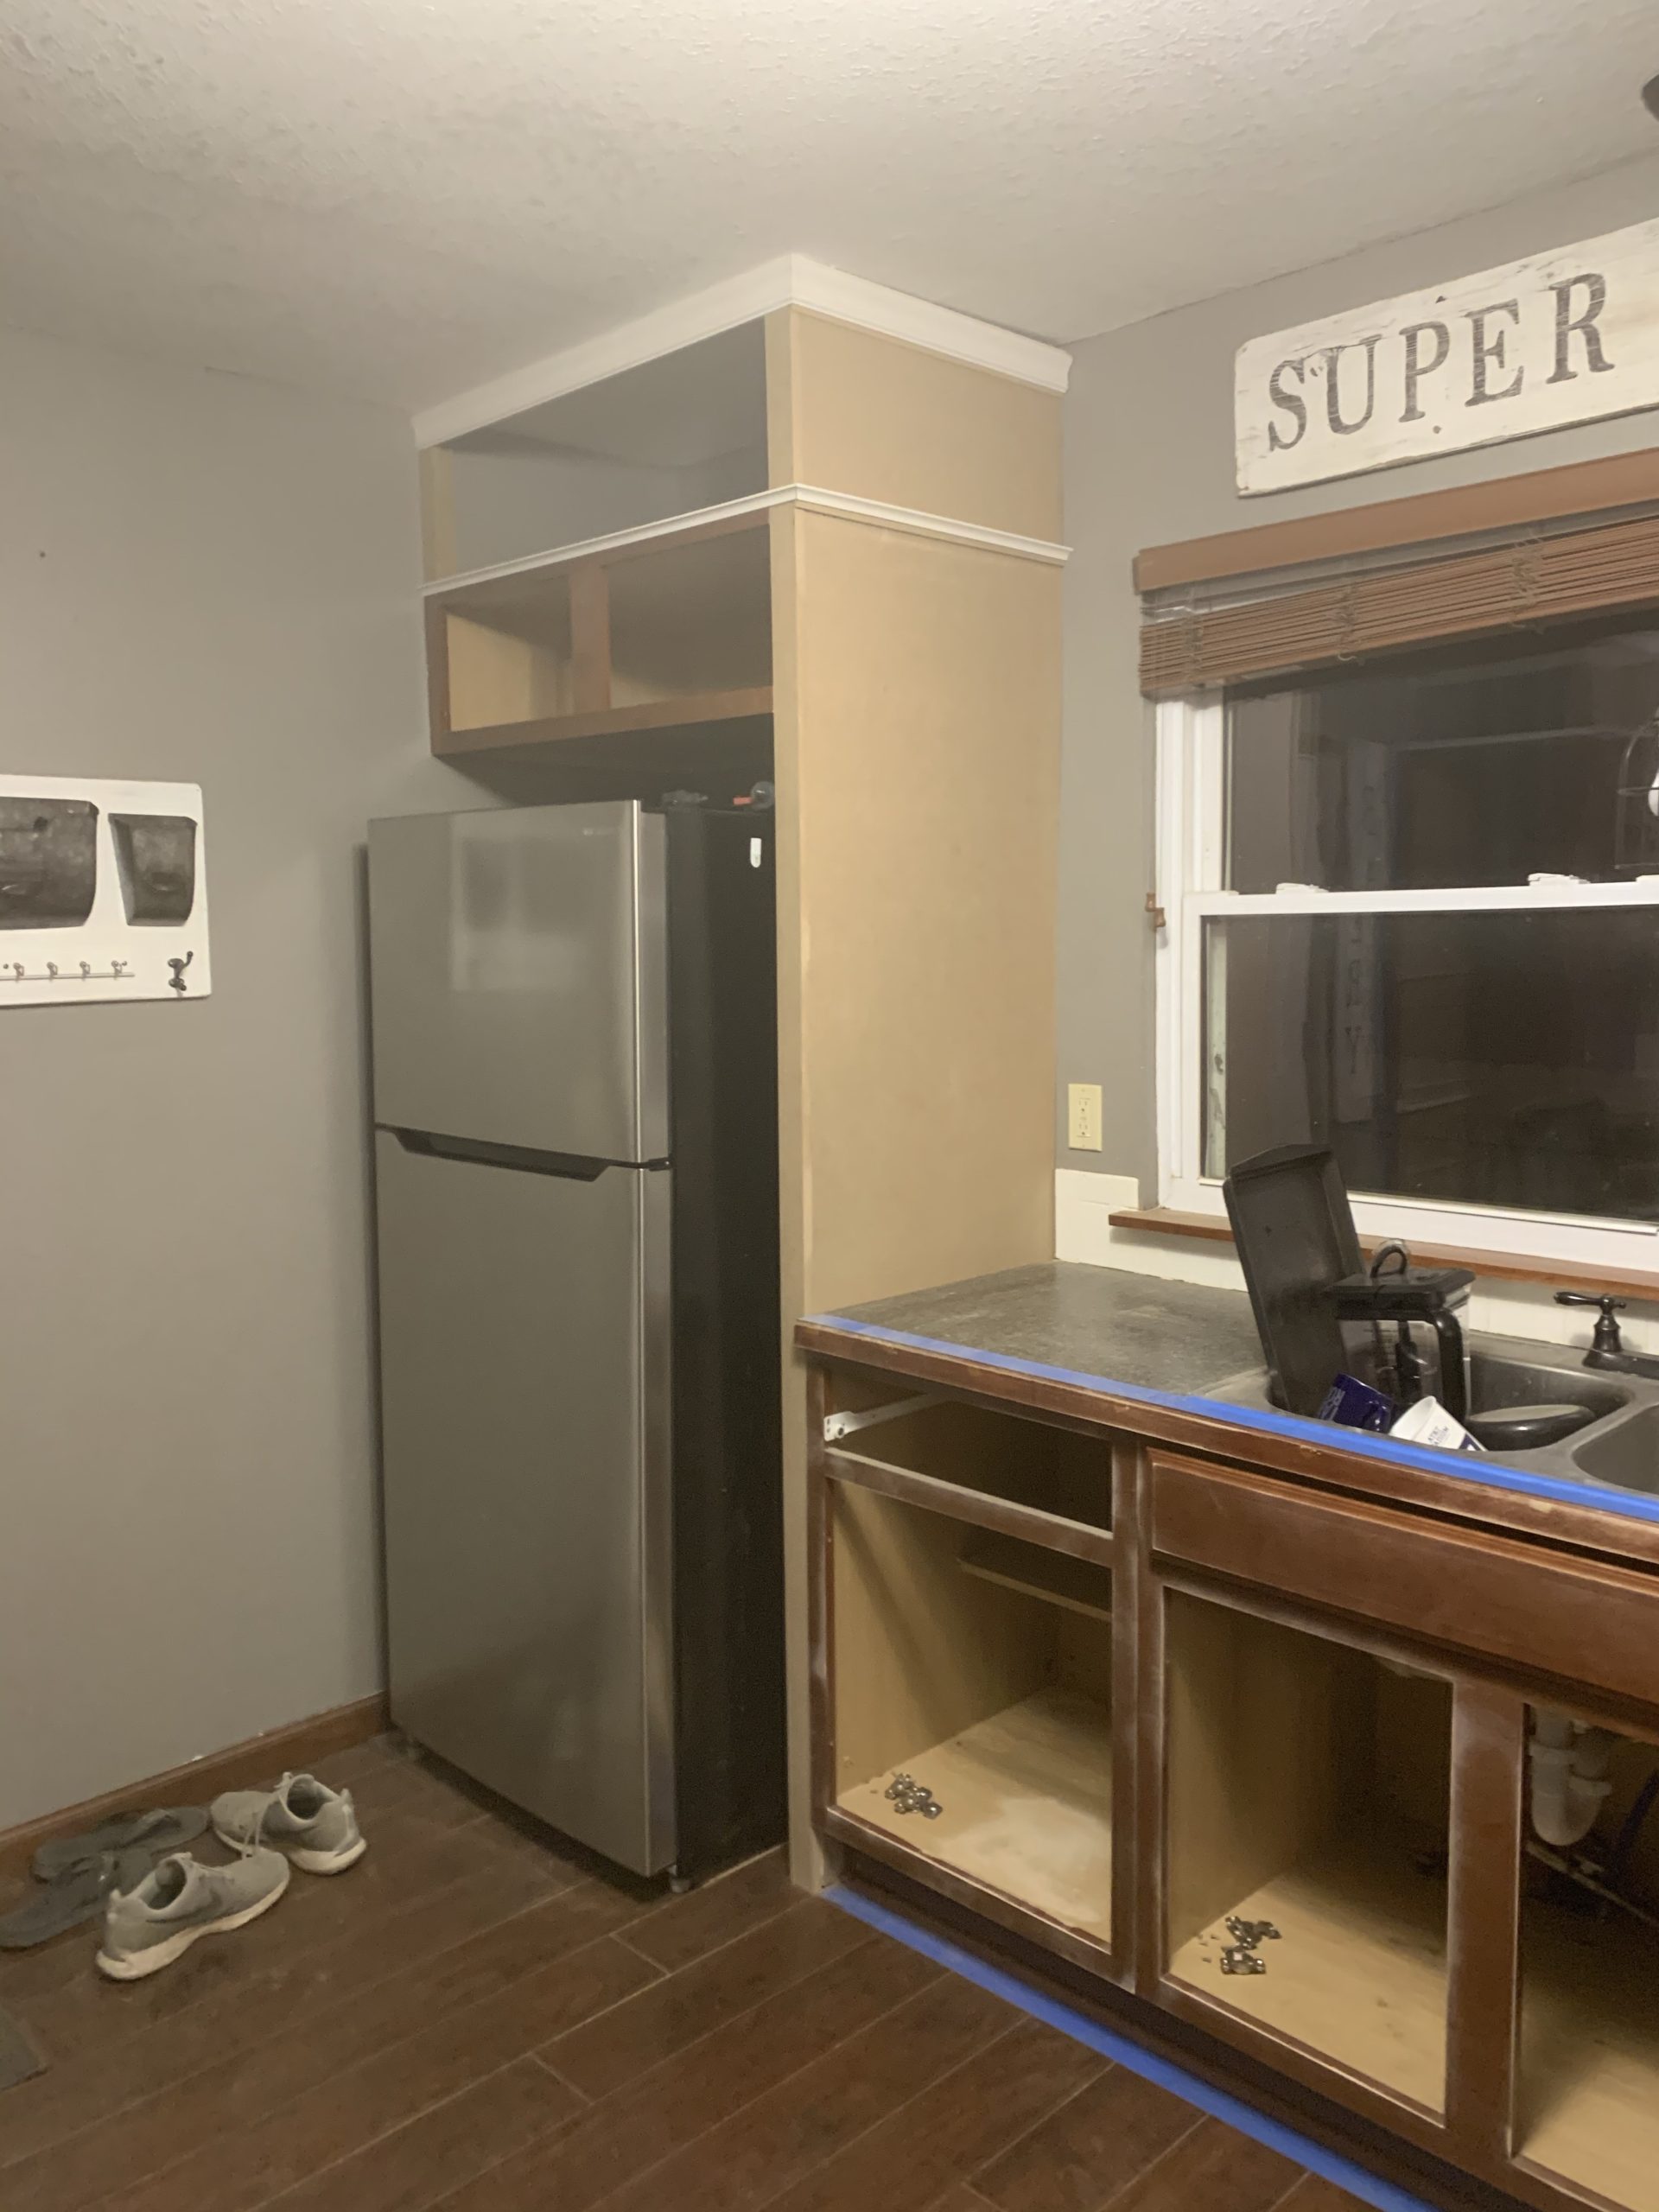
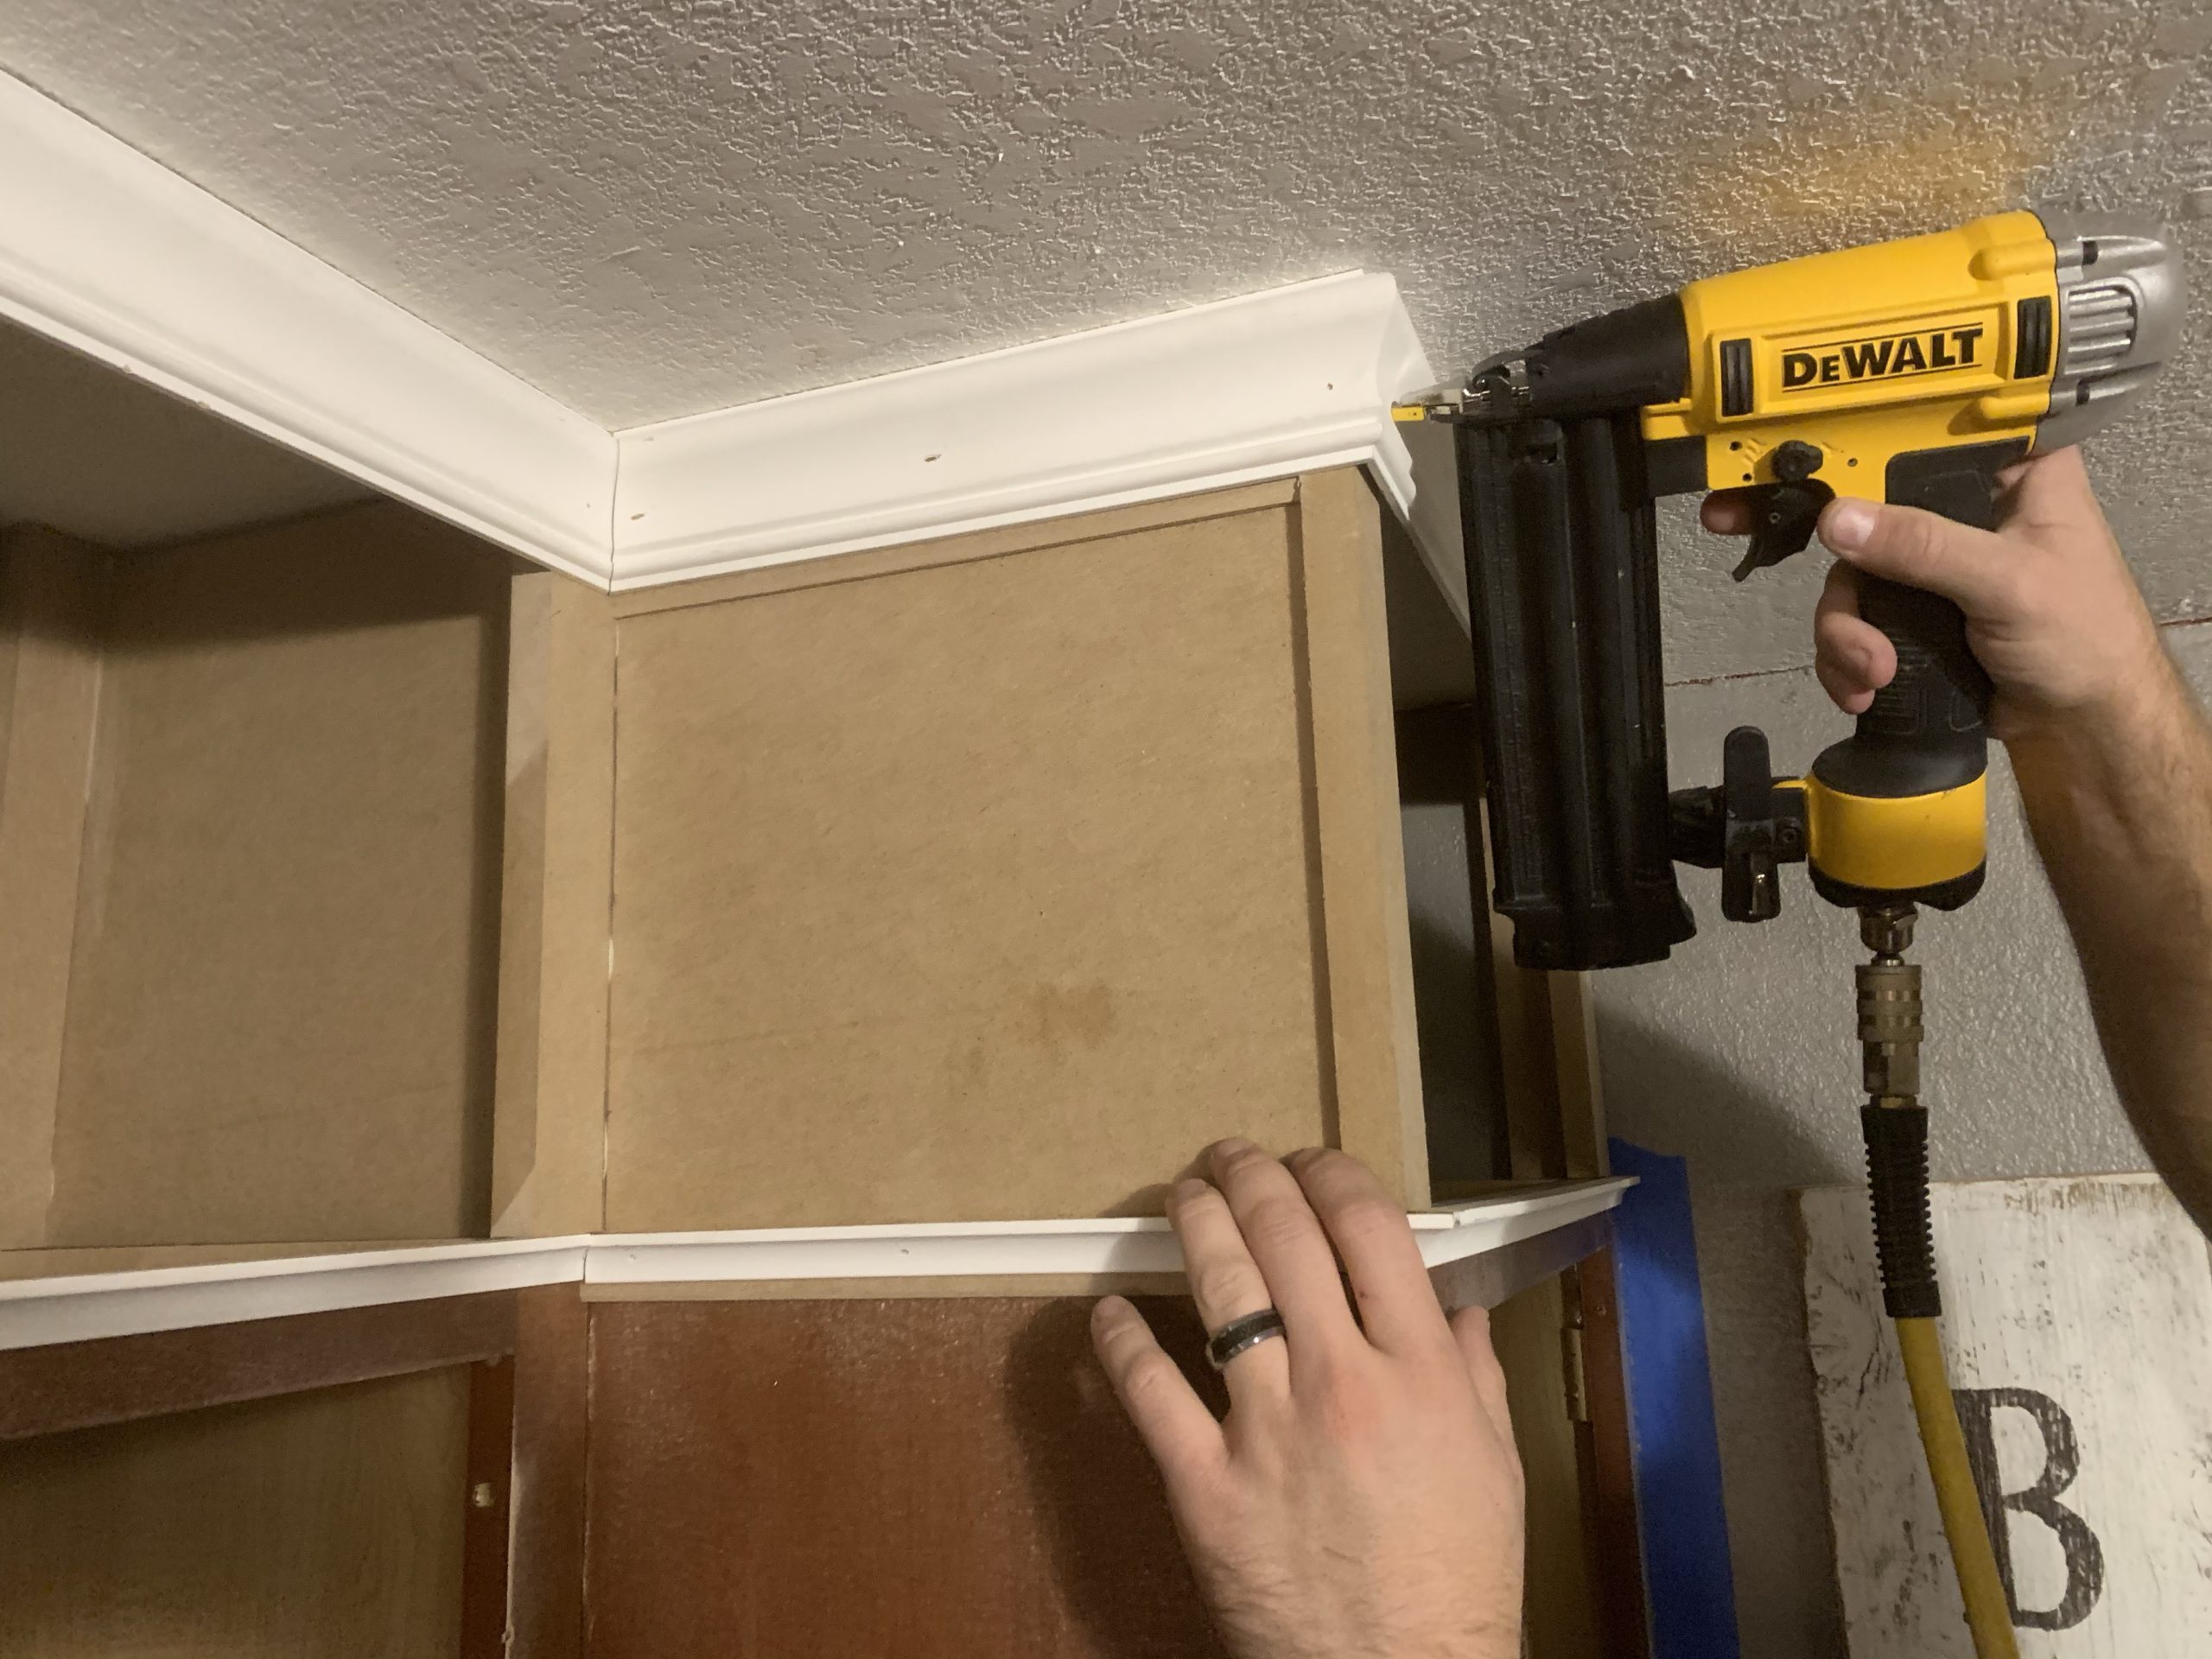
We used MDF for the top extension and connected it to the existing cabinets, then hid all the seams with trim. To really tie in the whole kitchen, we built the fridge box to make it look built-in as well.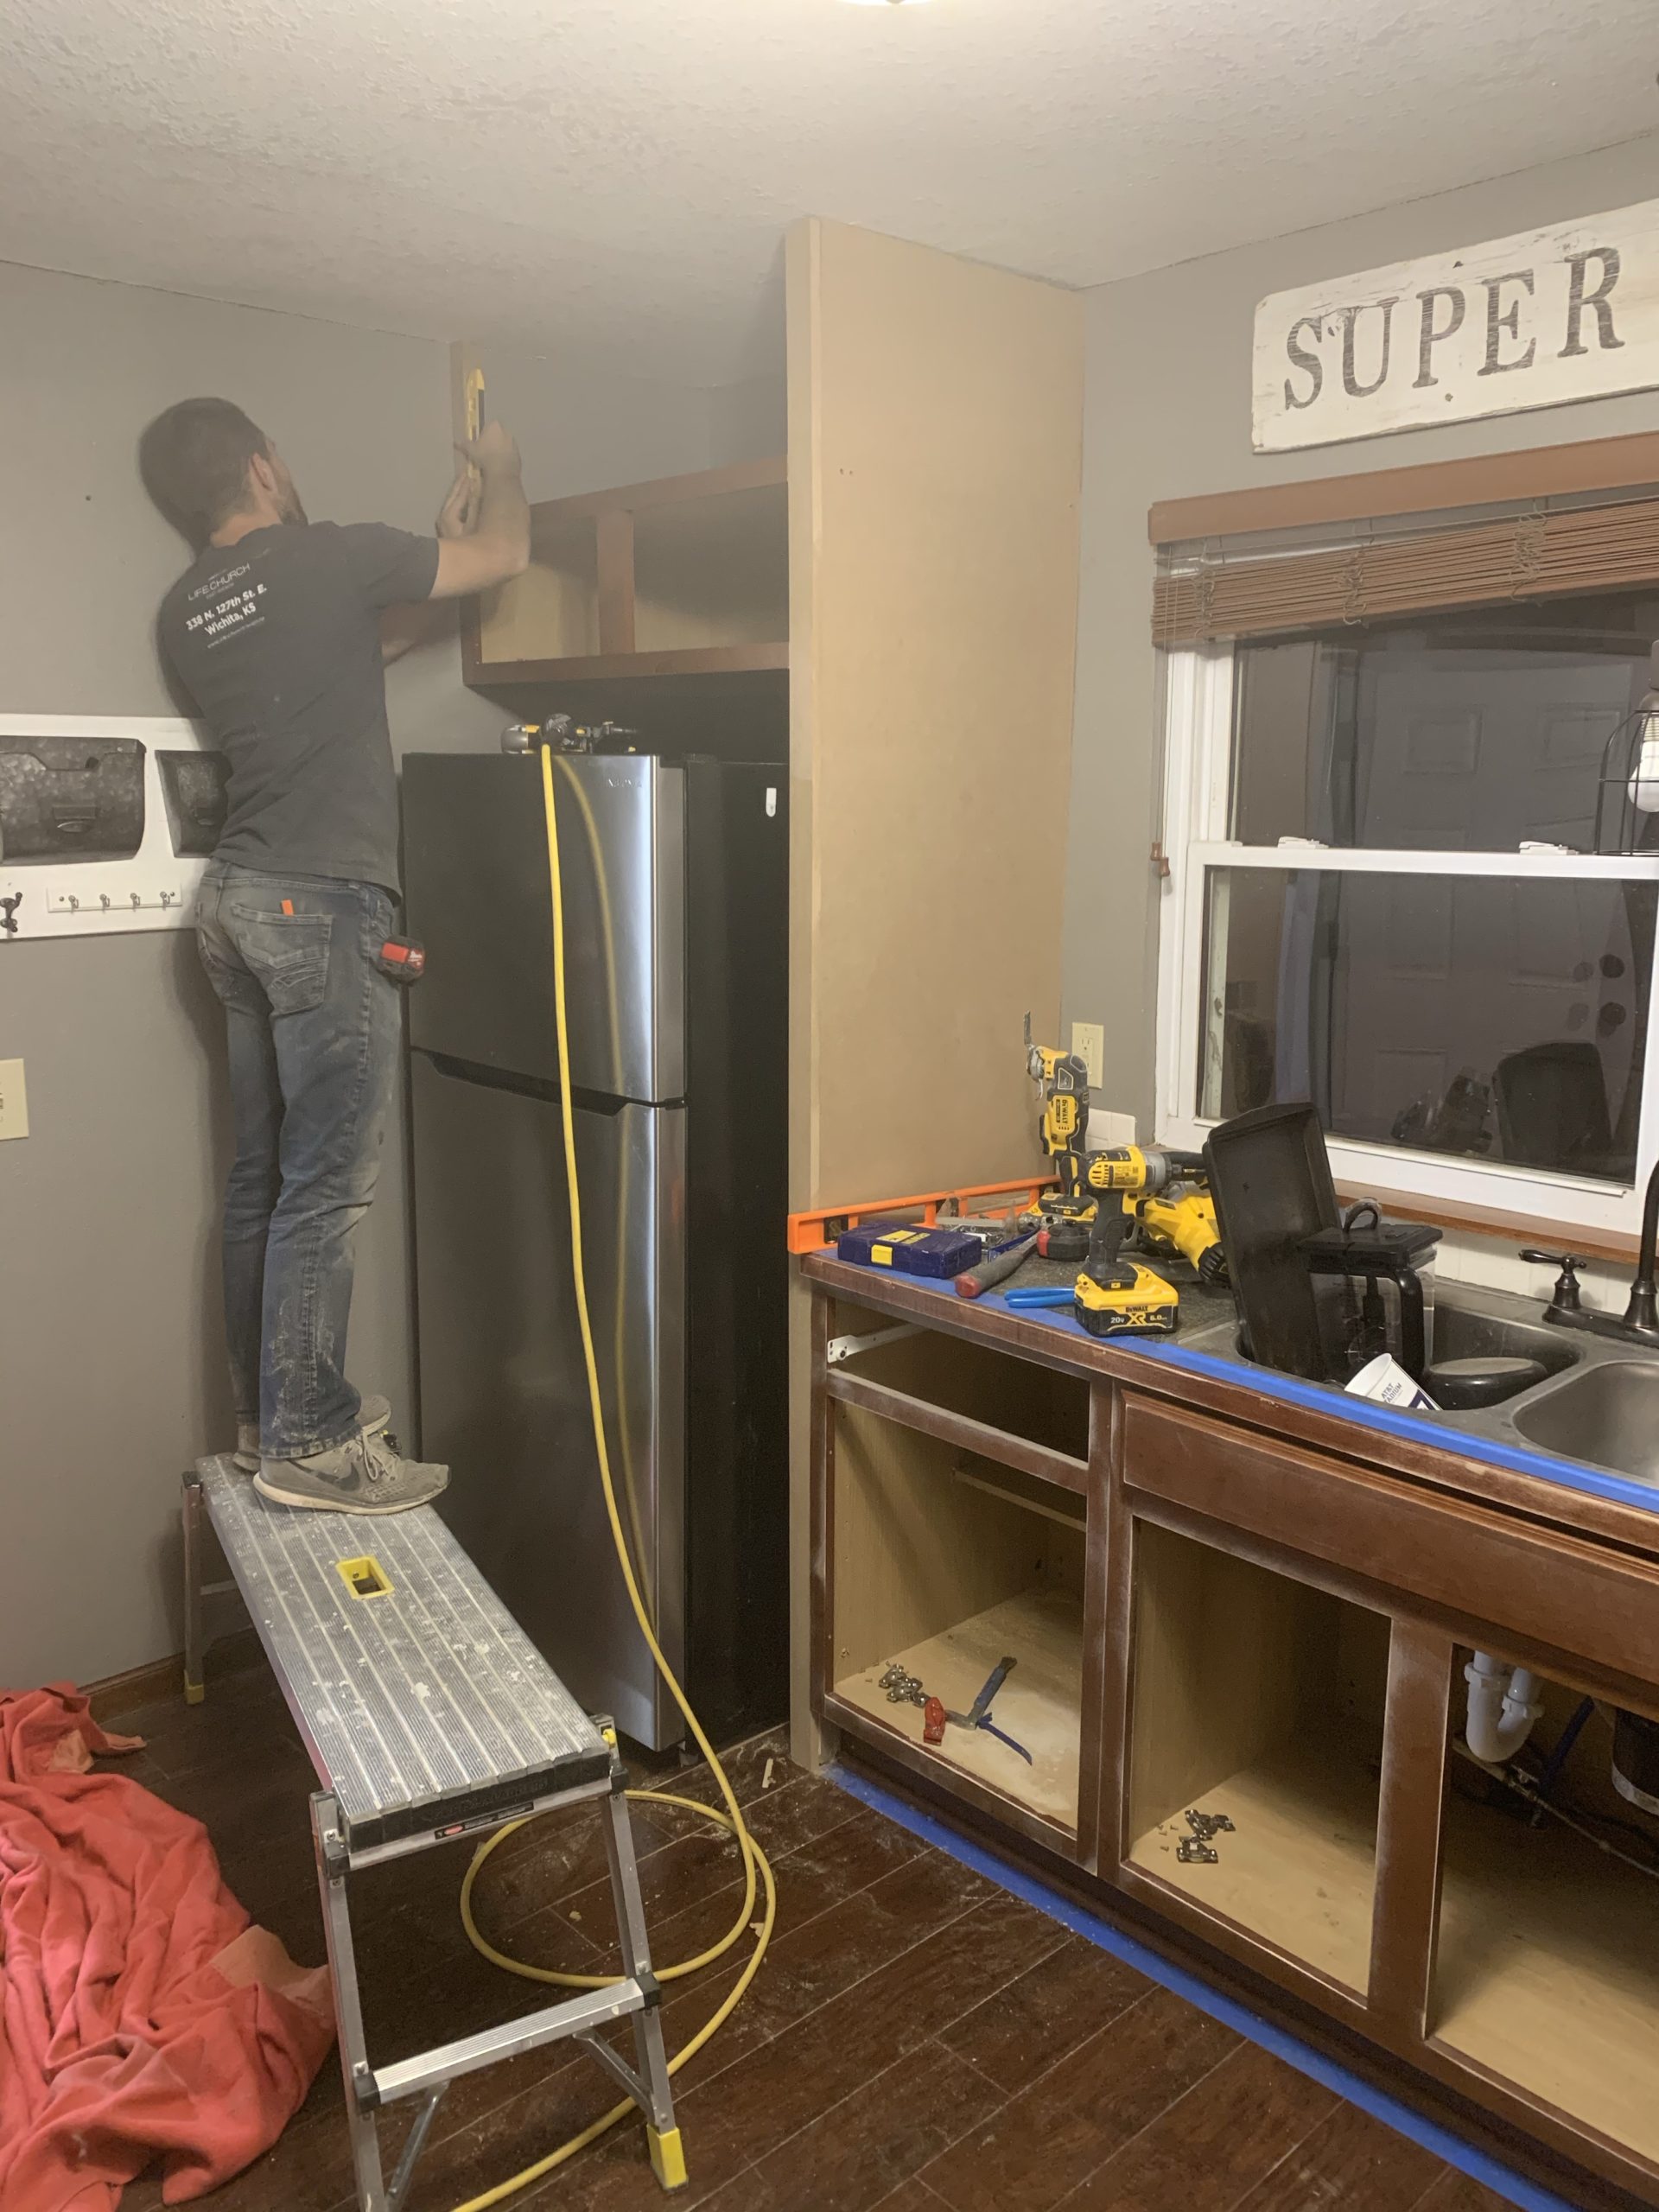
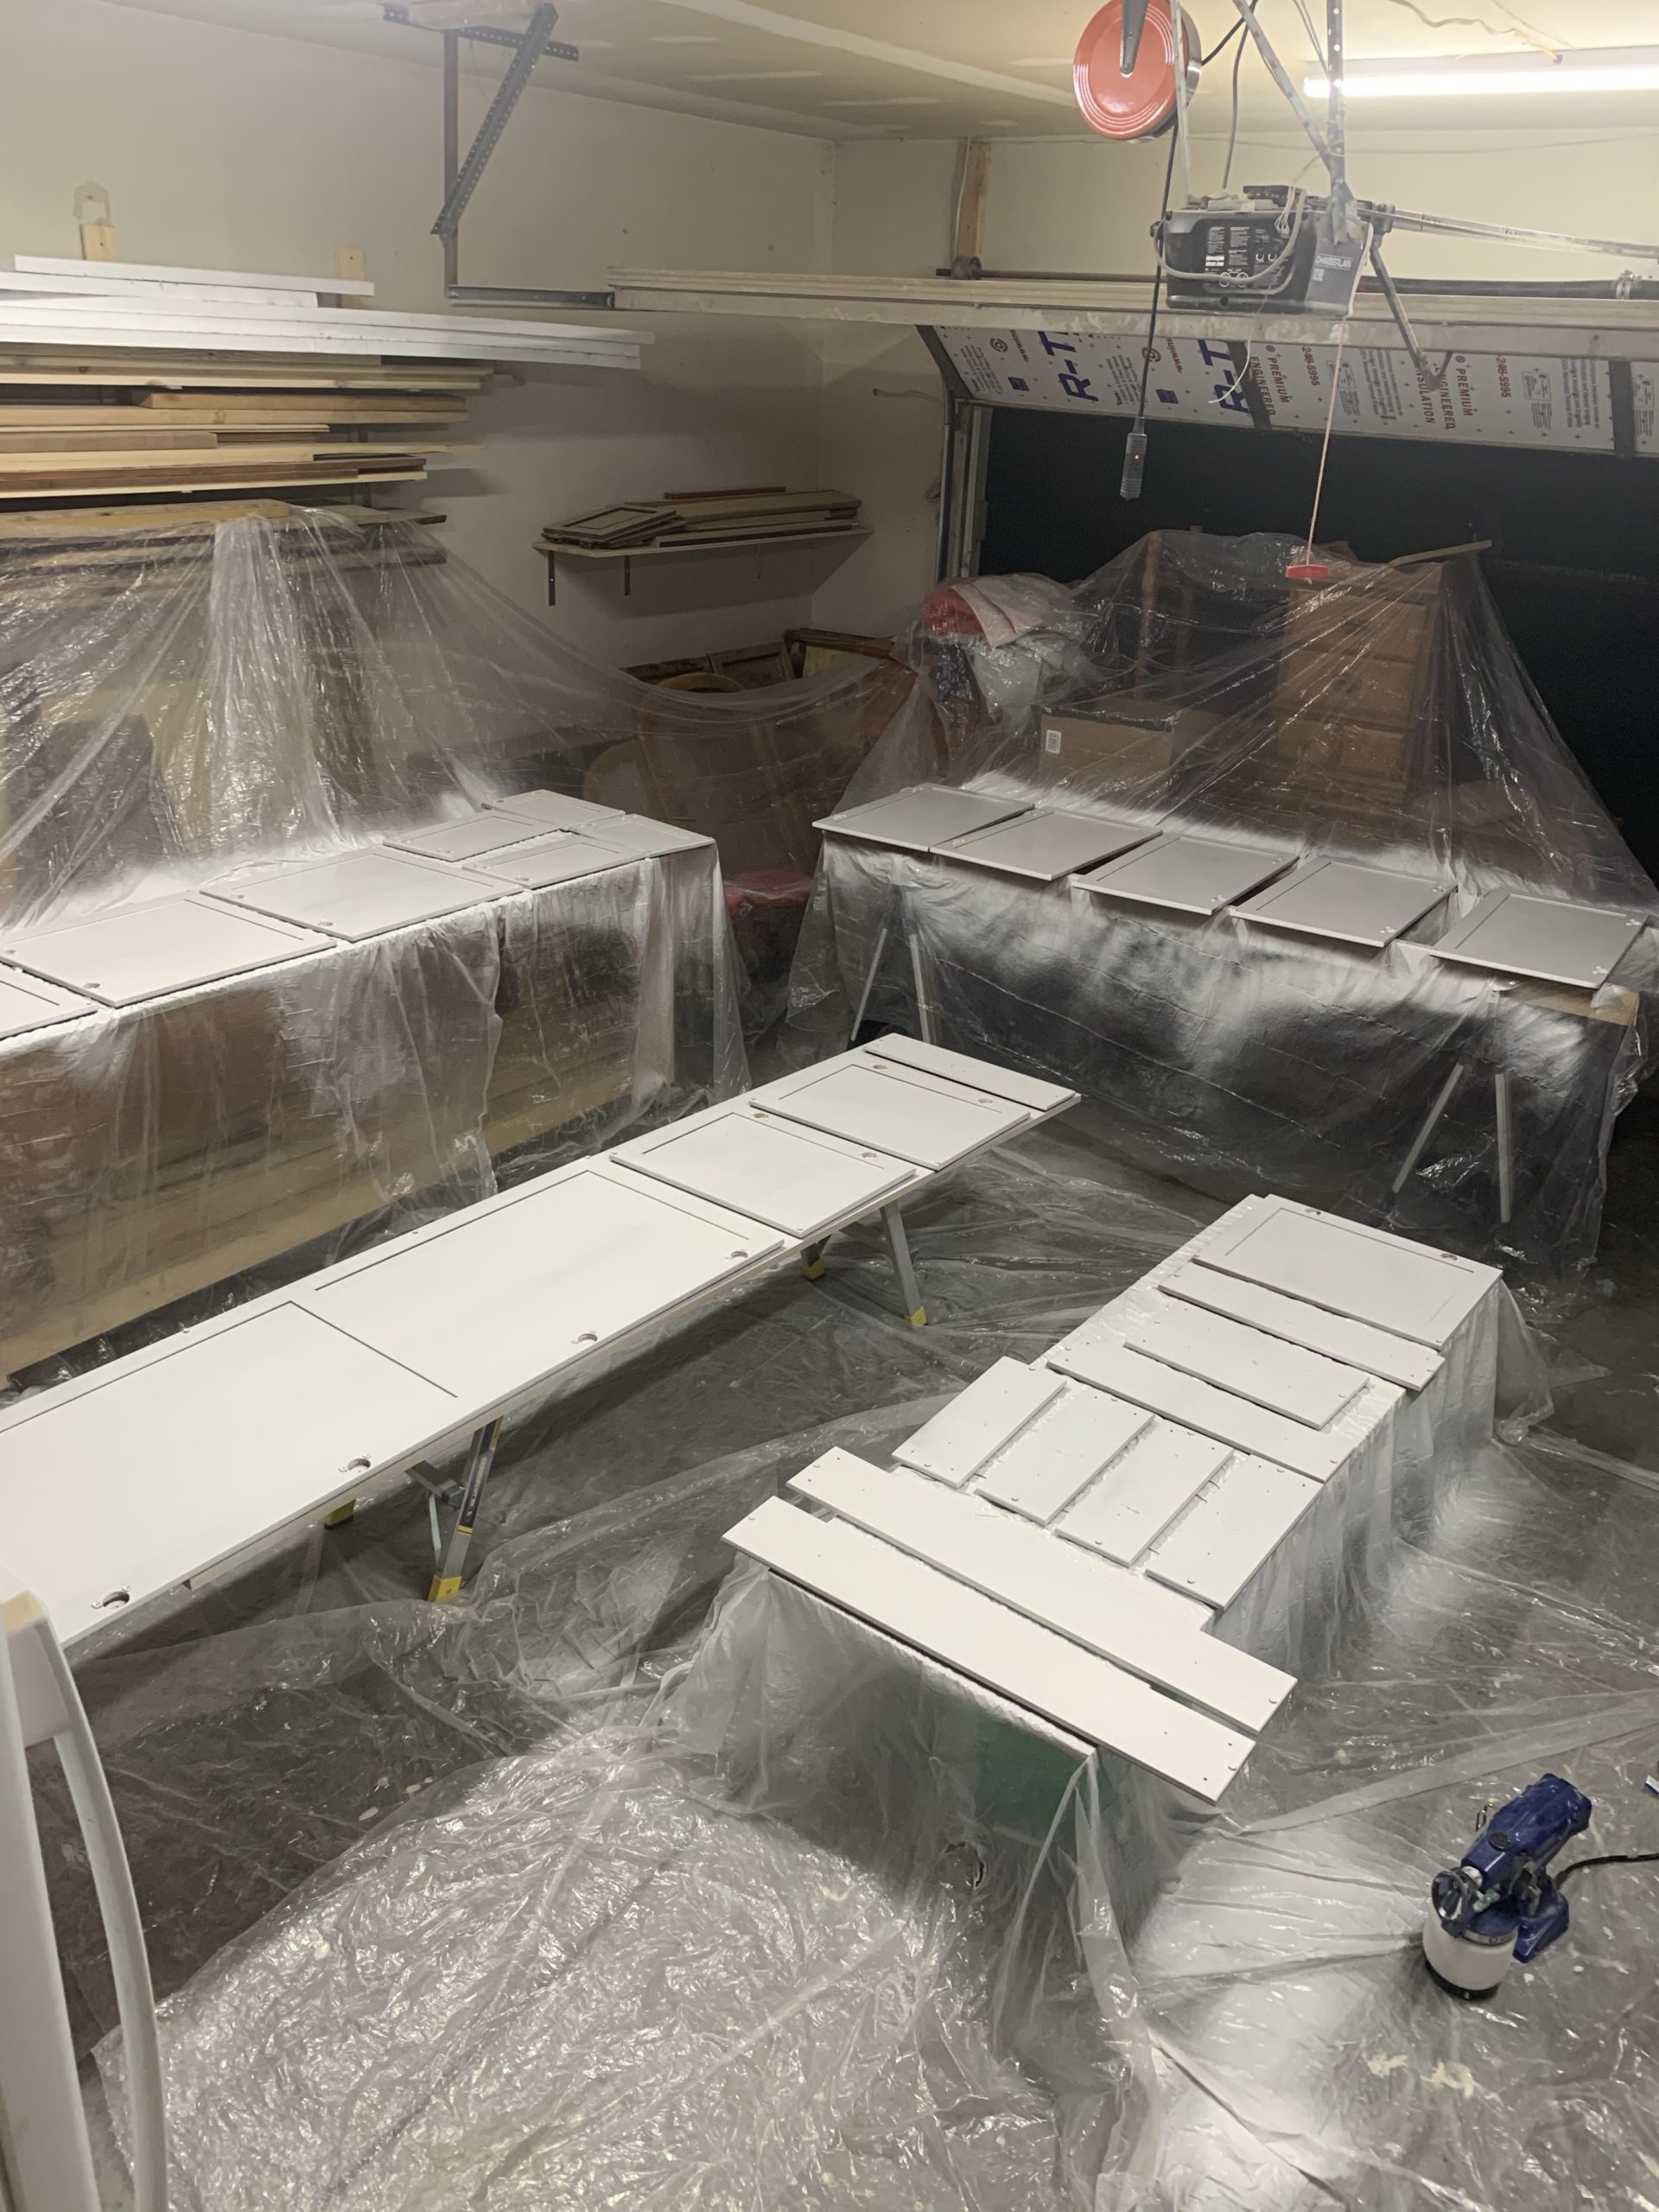
To avoid having to mask things off in the house, I rolled the primer and paint on the cabinets, and sprayed the doors and drawers fronts in our garage.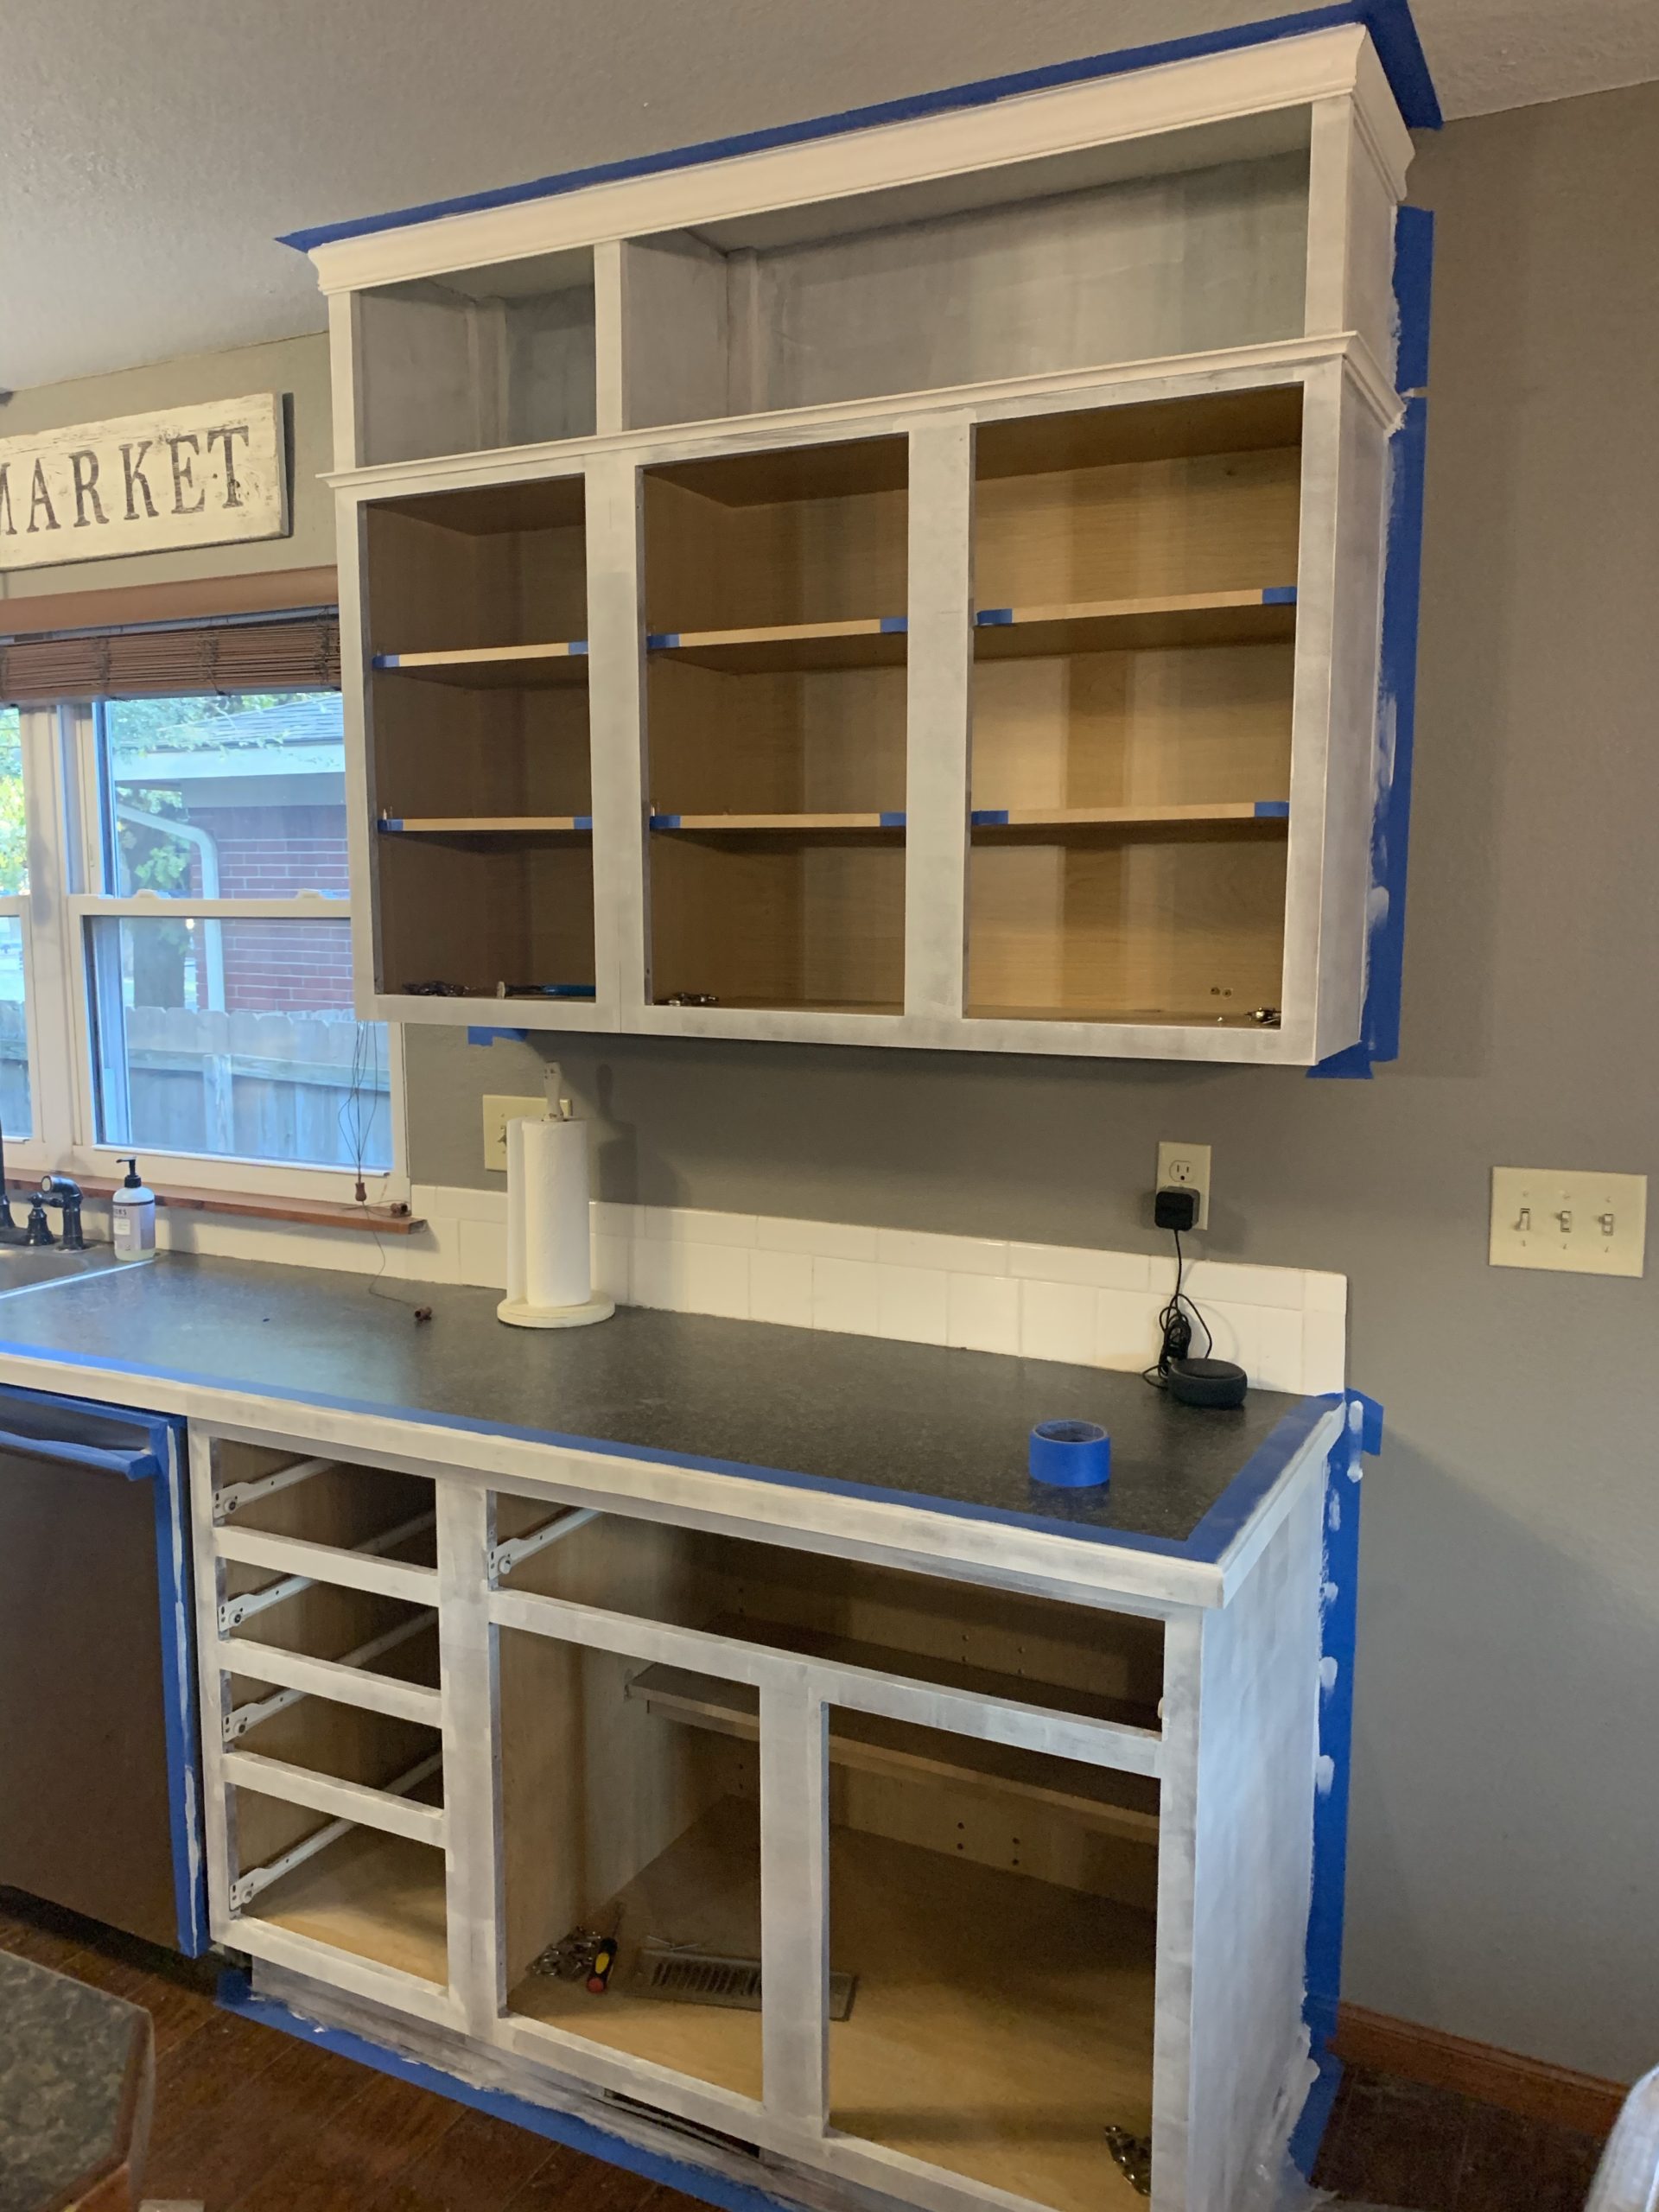
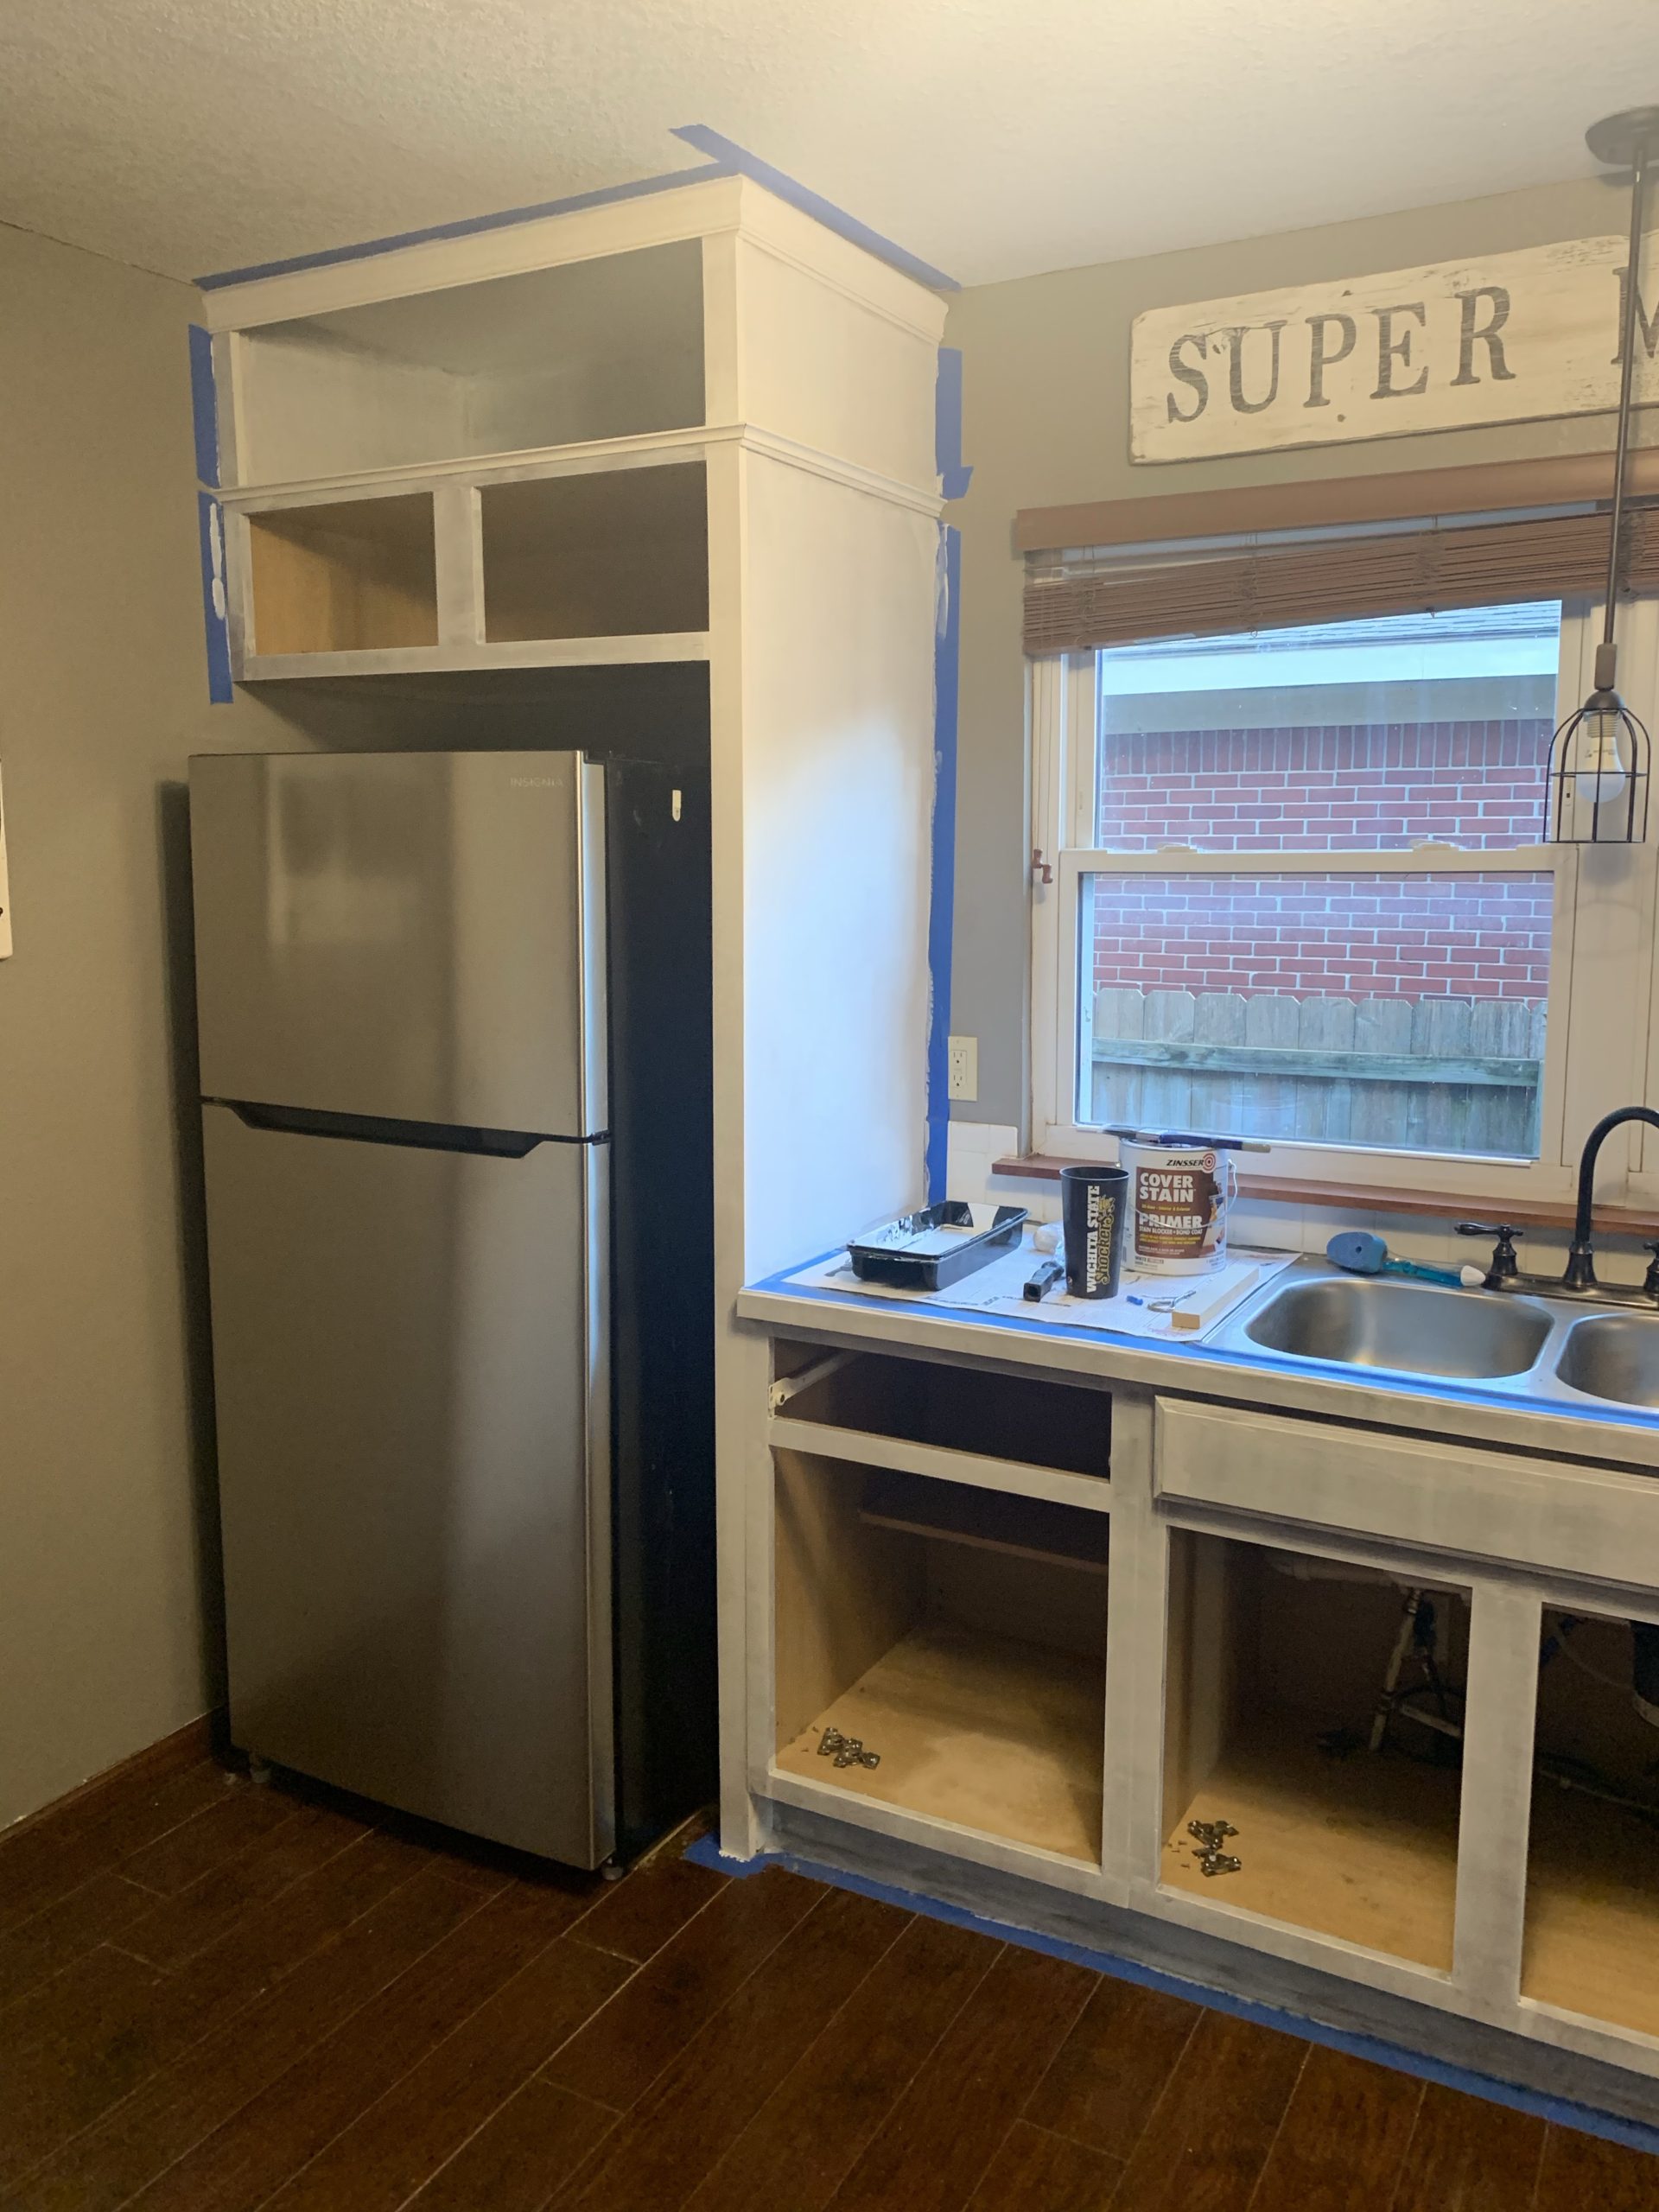
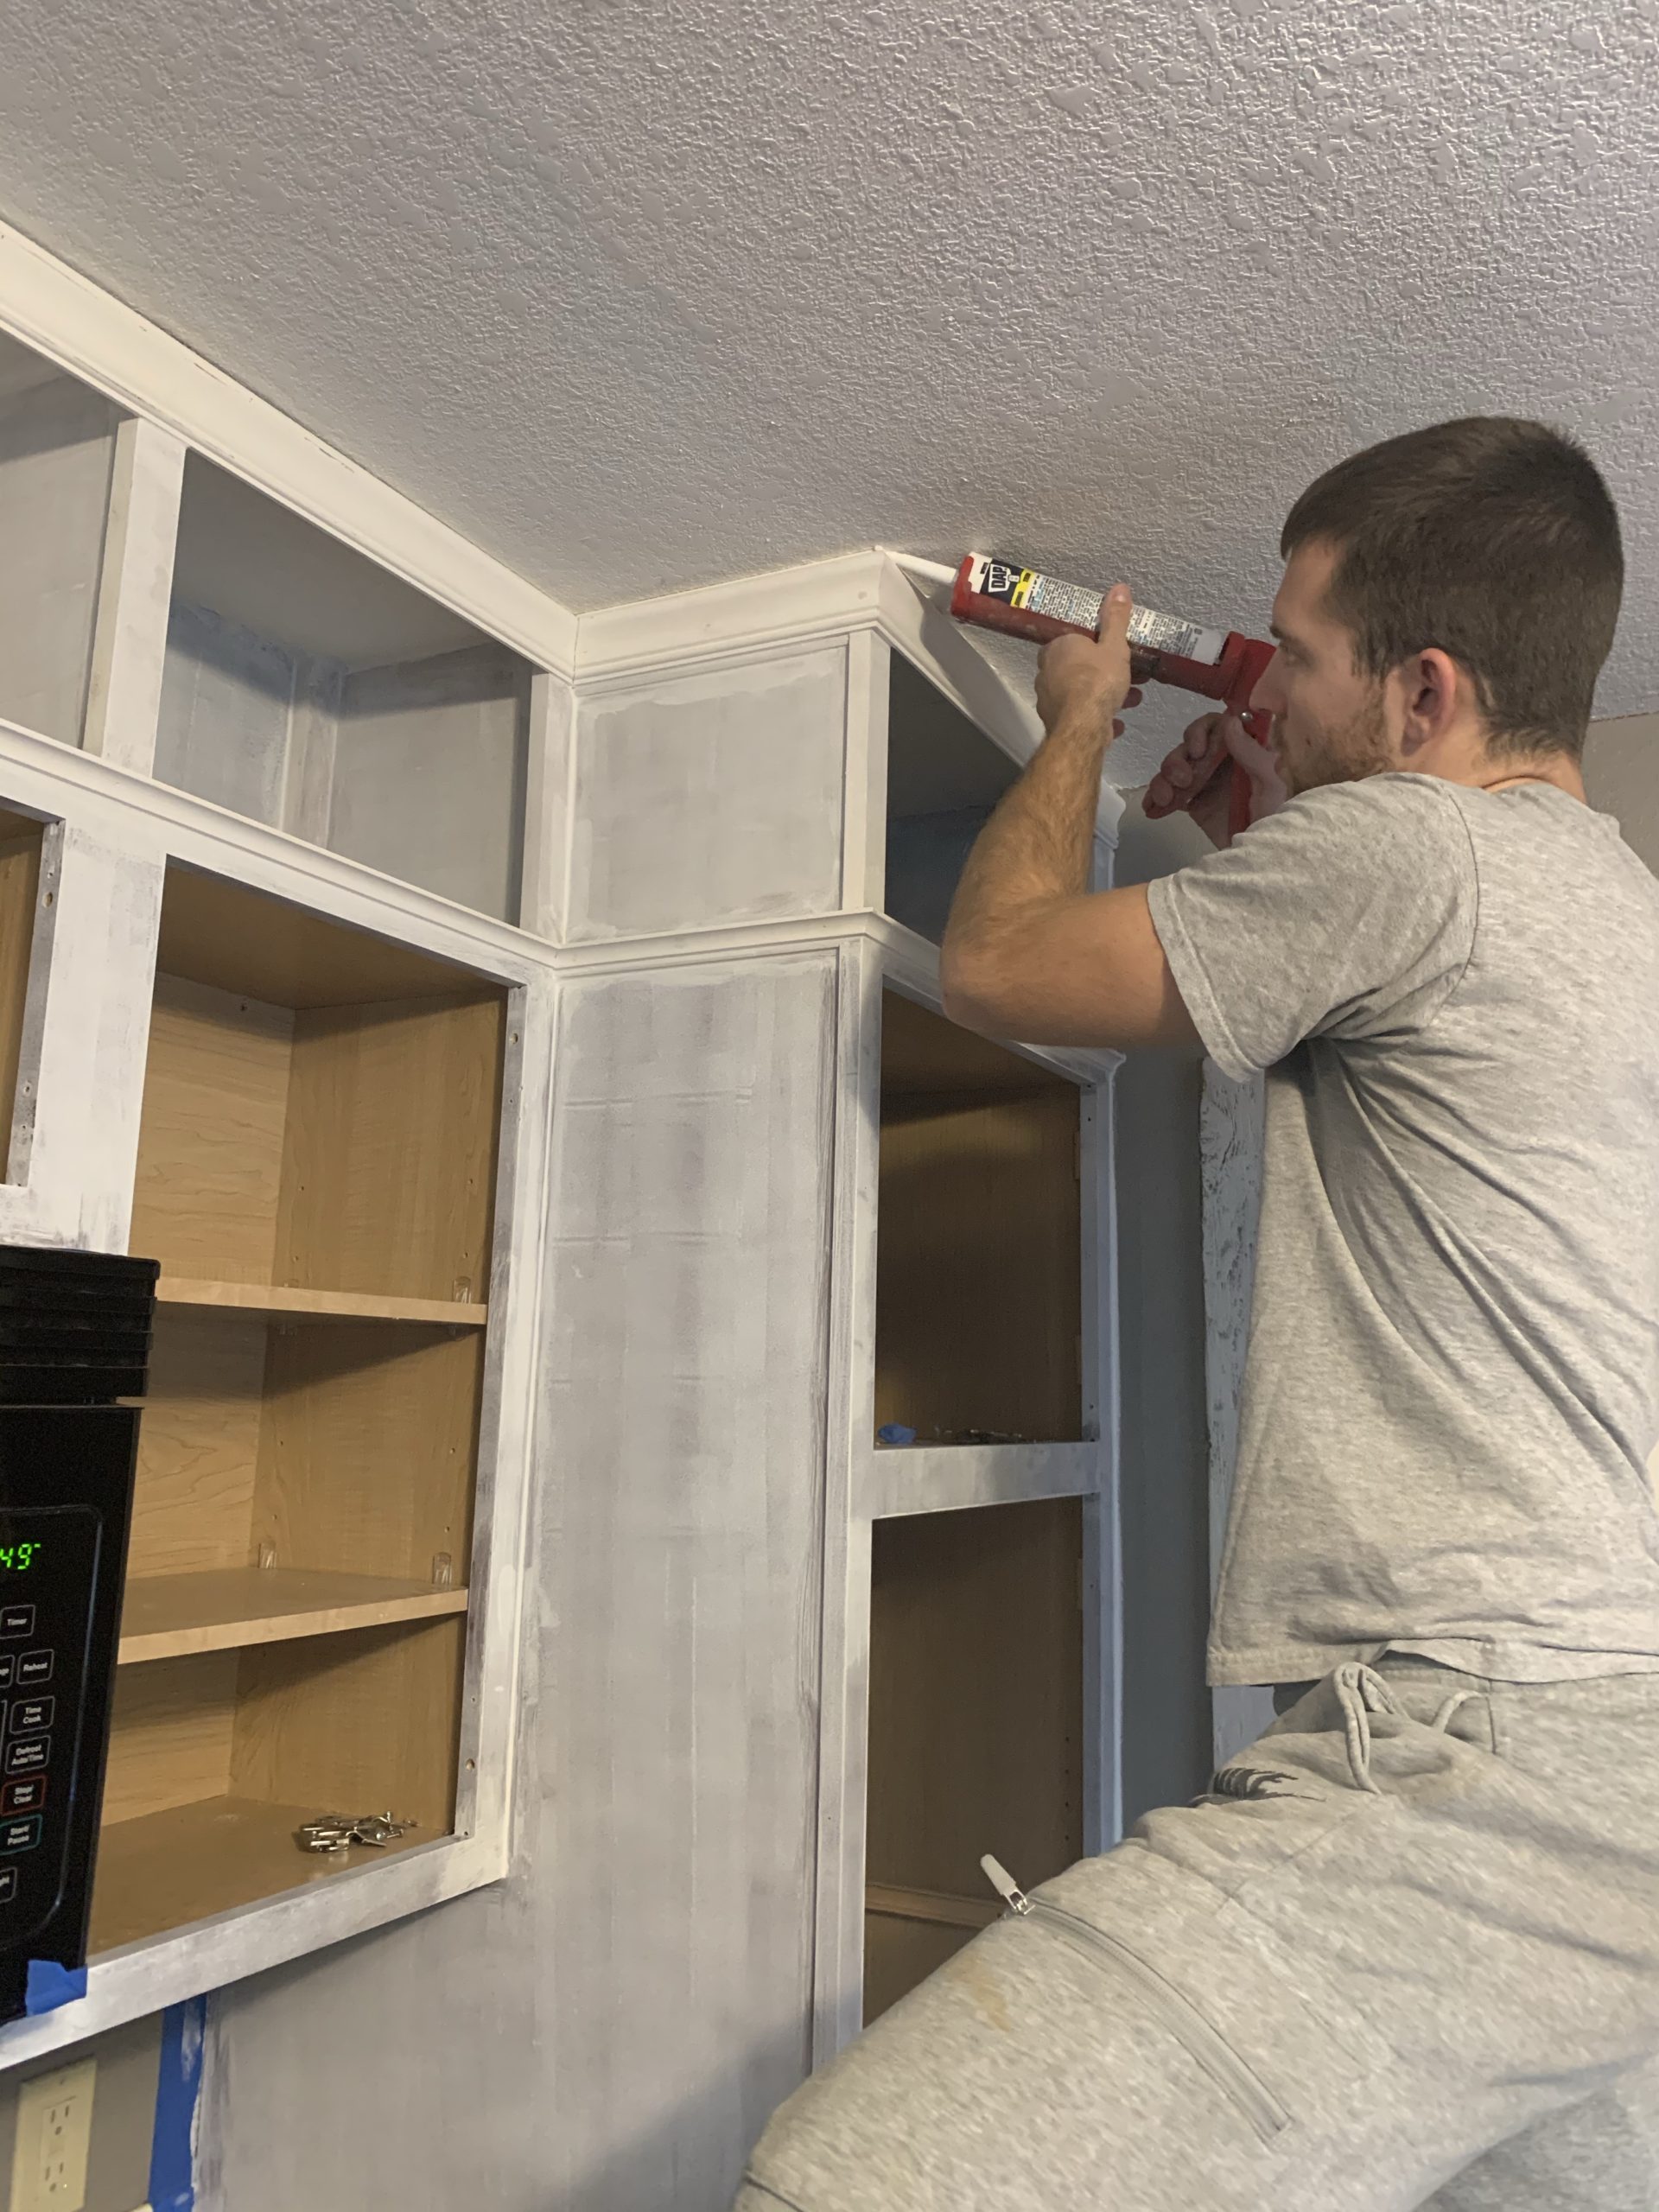 A bead of caulking disguised any gaps in the trim.
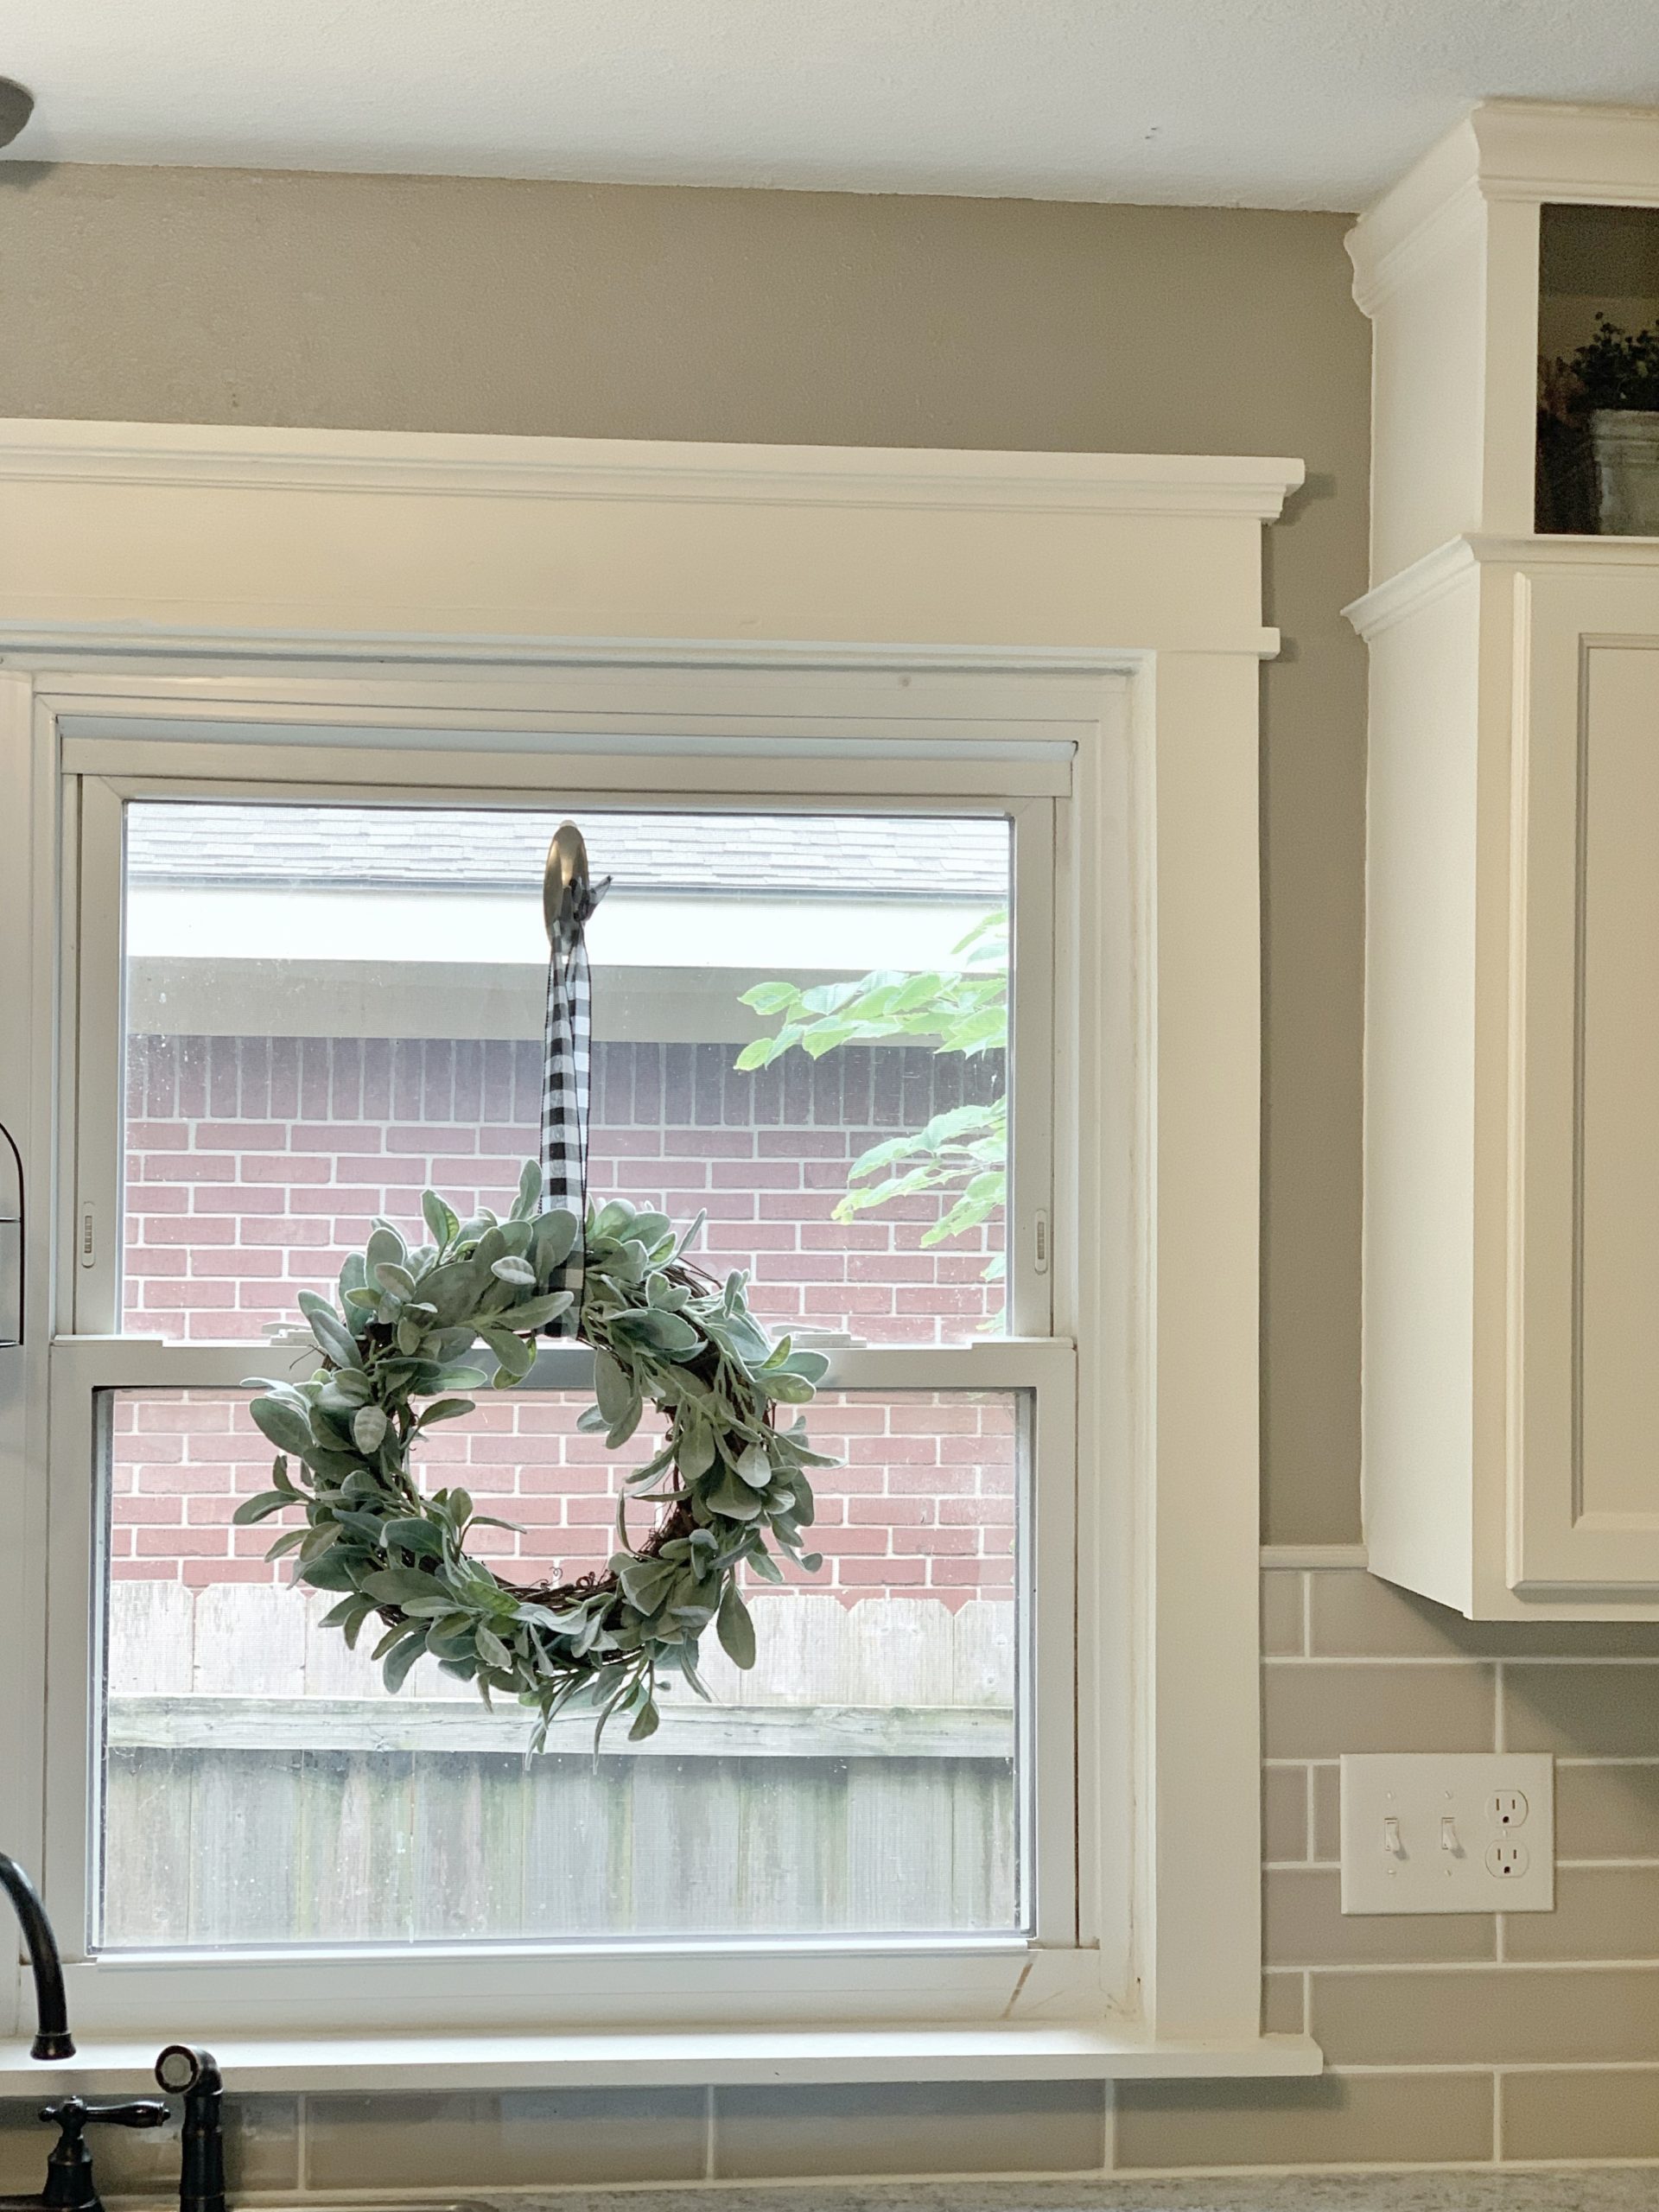
The huge window was begging to be showcased in beautiful white trim. We used 1x4s and created a craftsman style trim to match the top of the cabinets.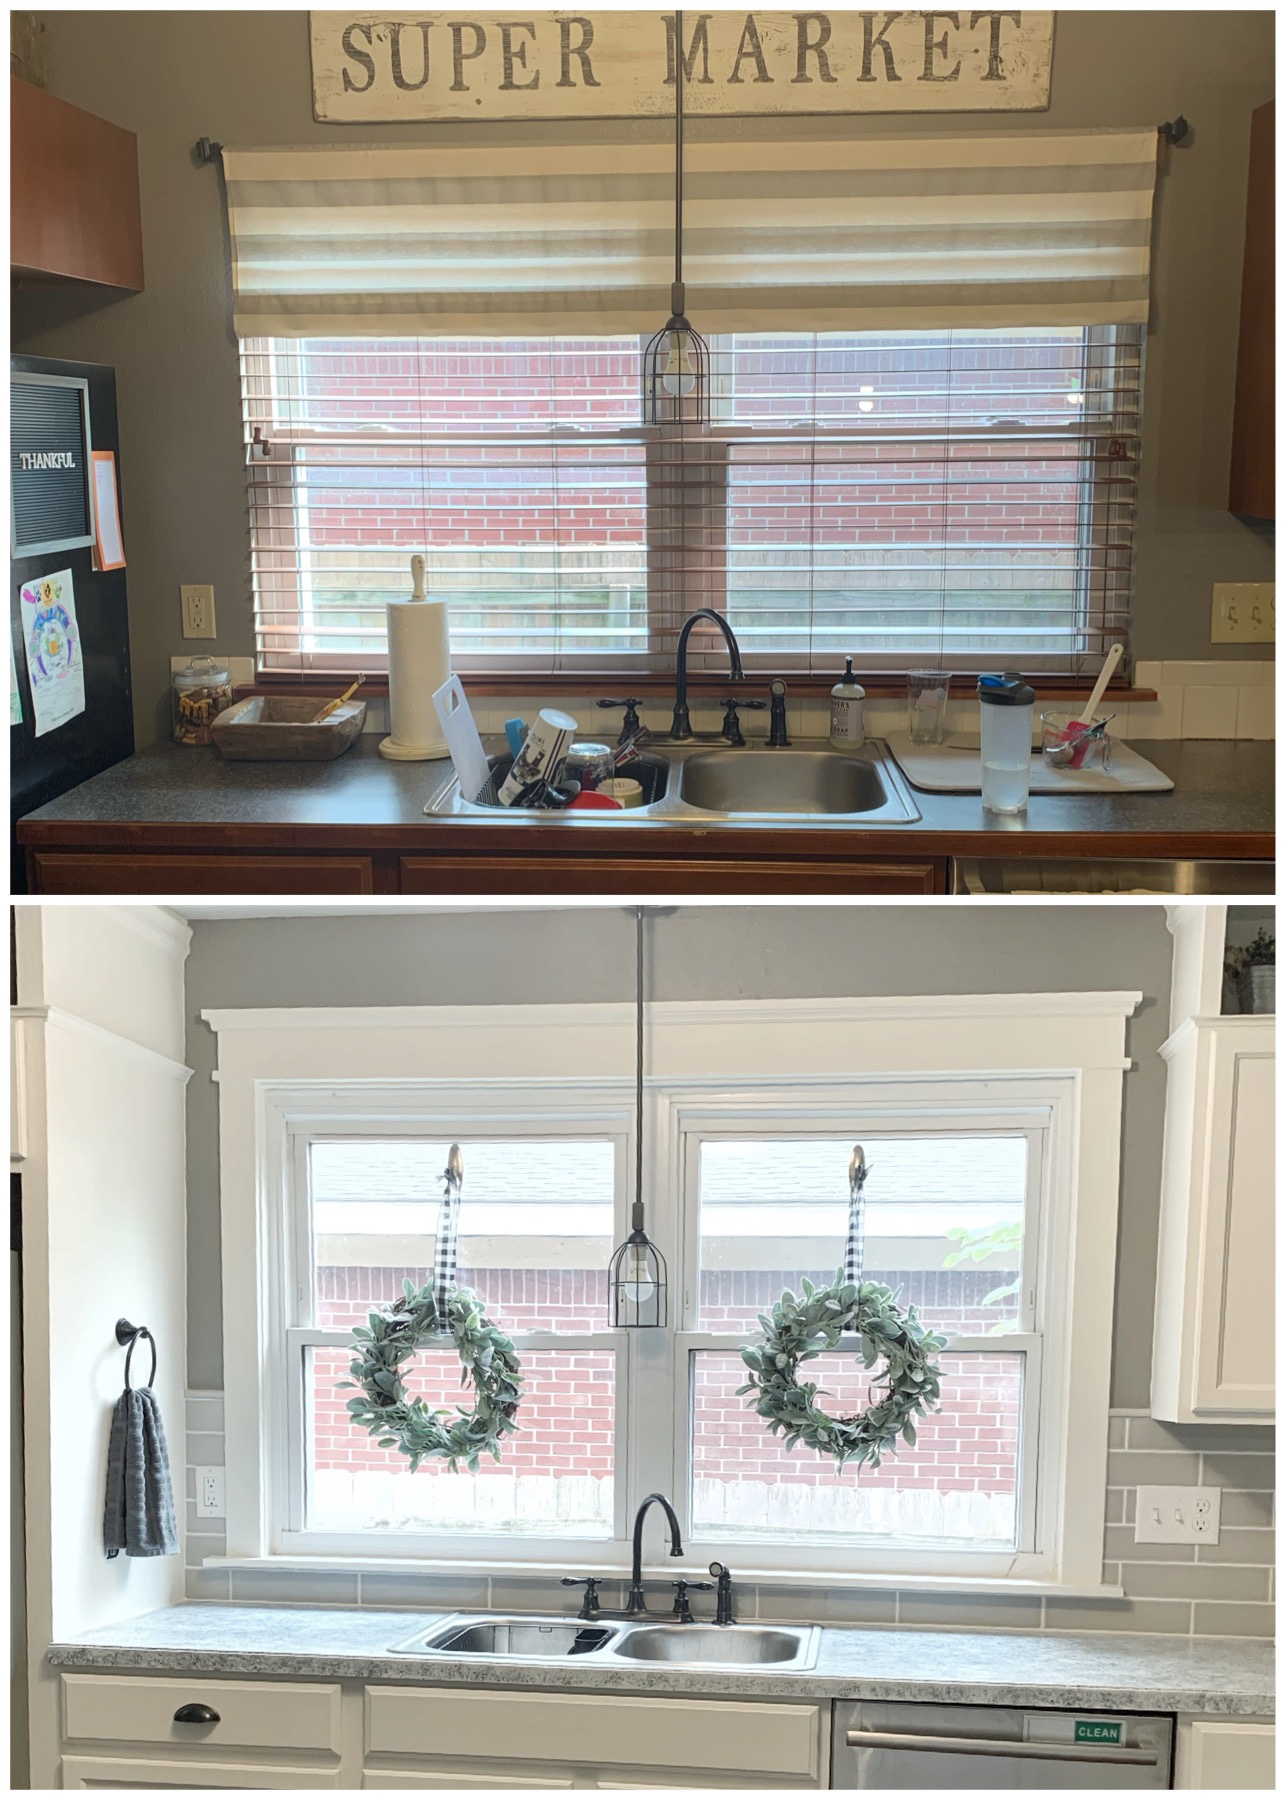
We chose a gray subway tile for the backsplash and I just love it with the white paint.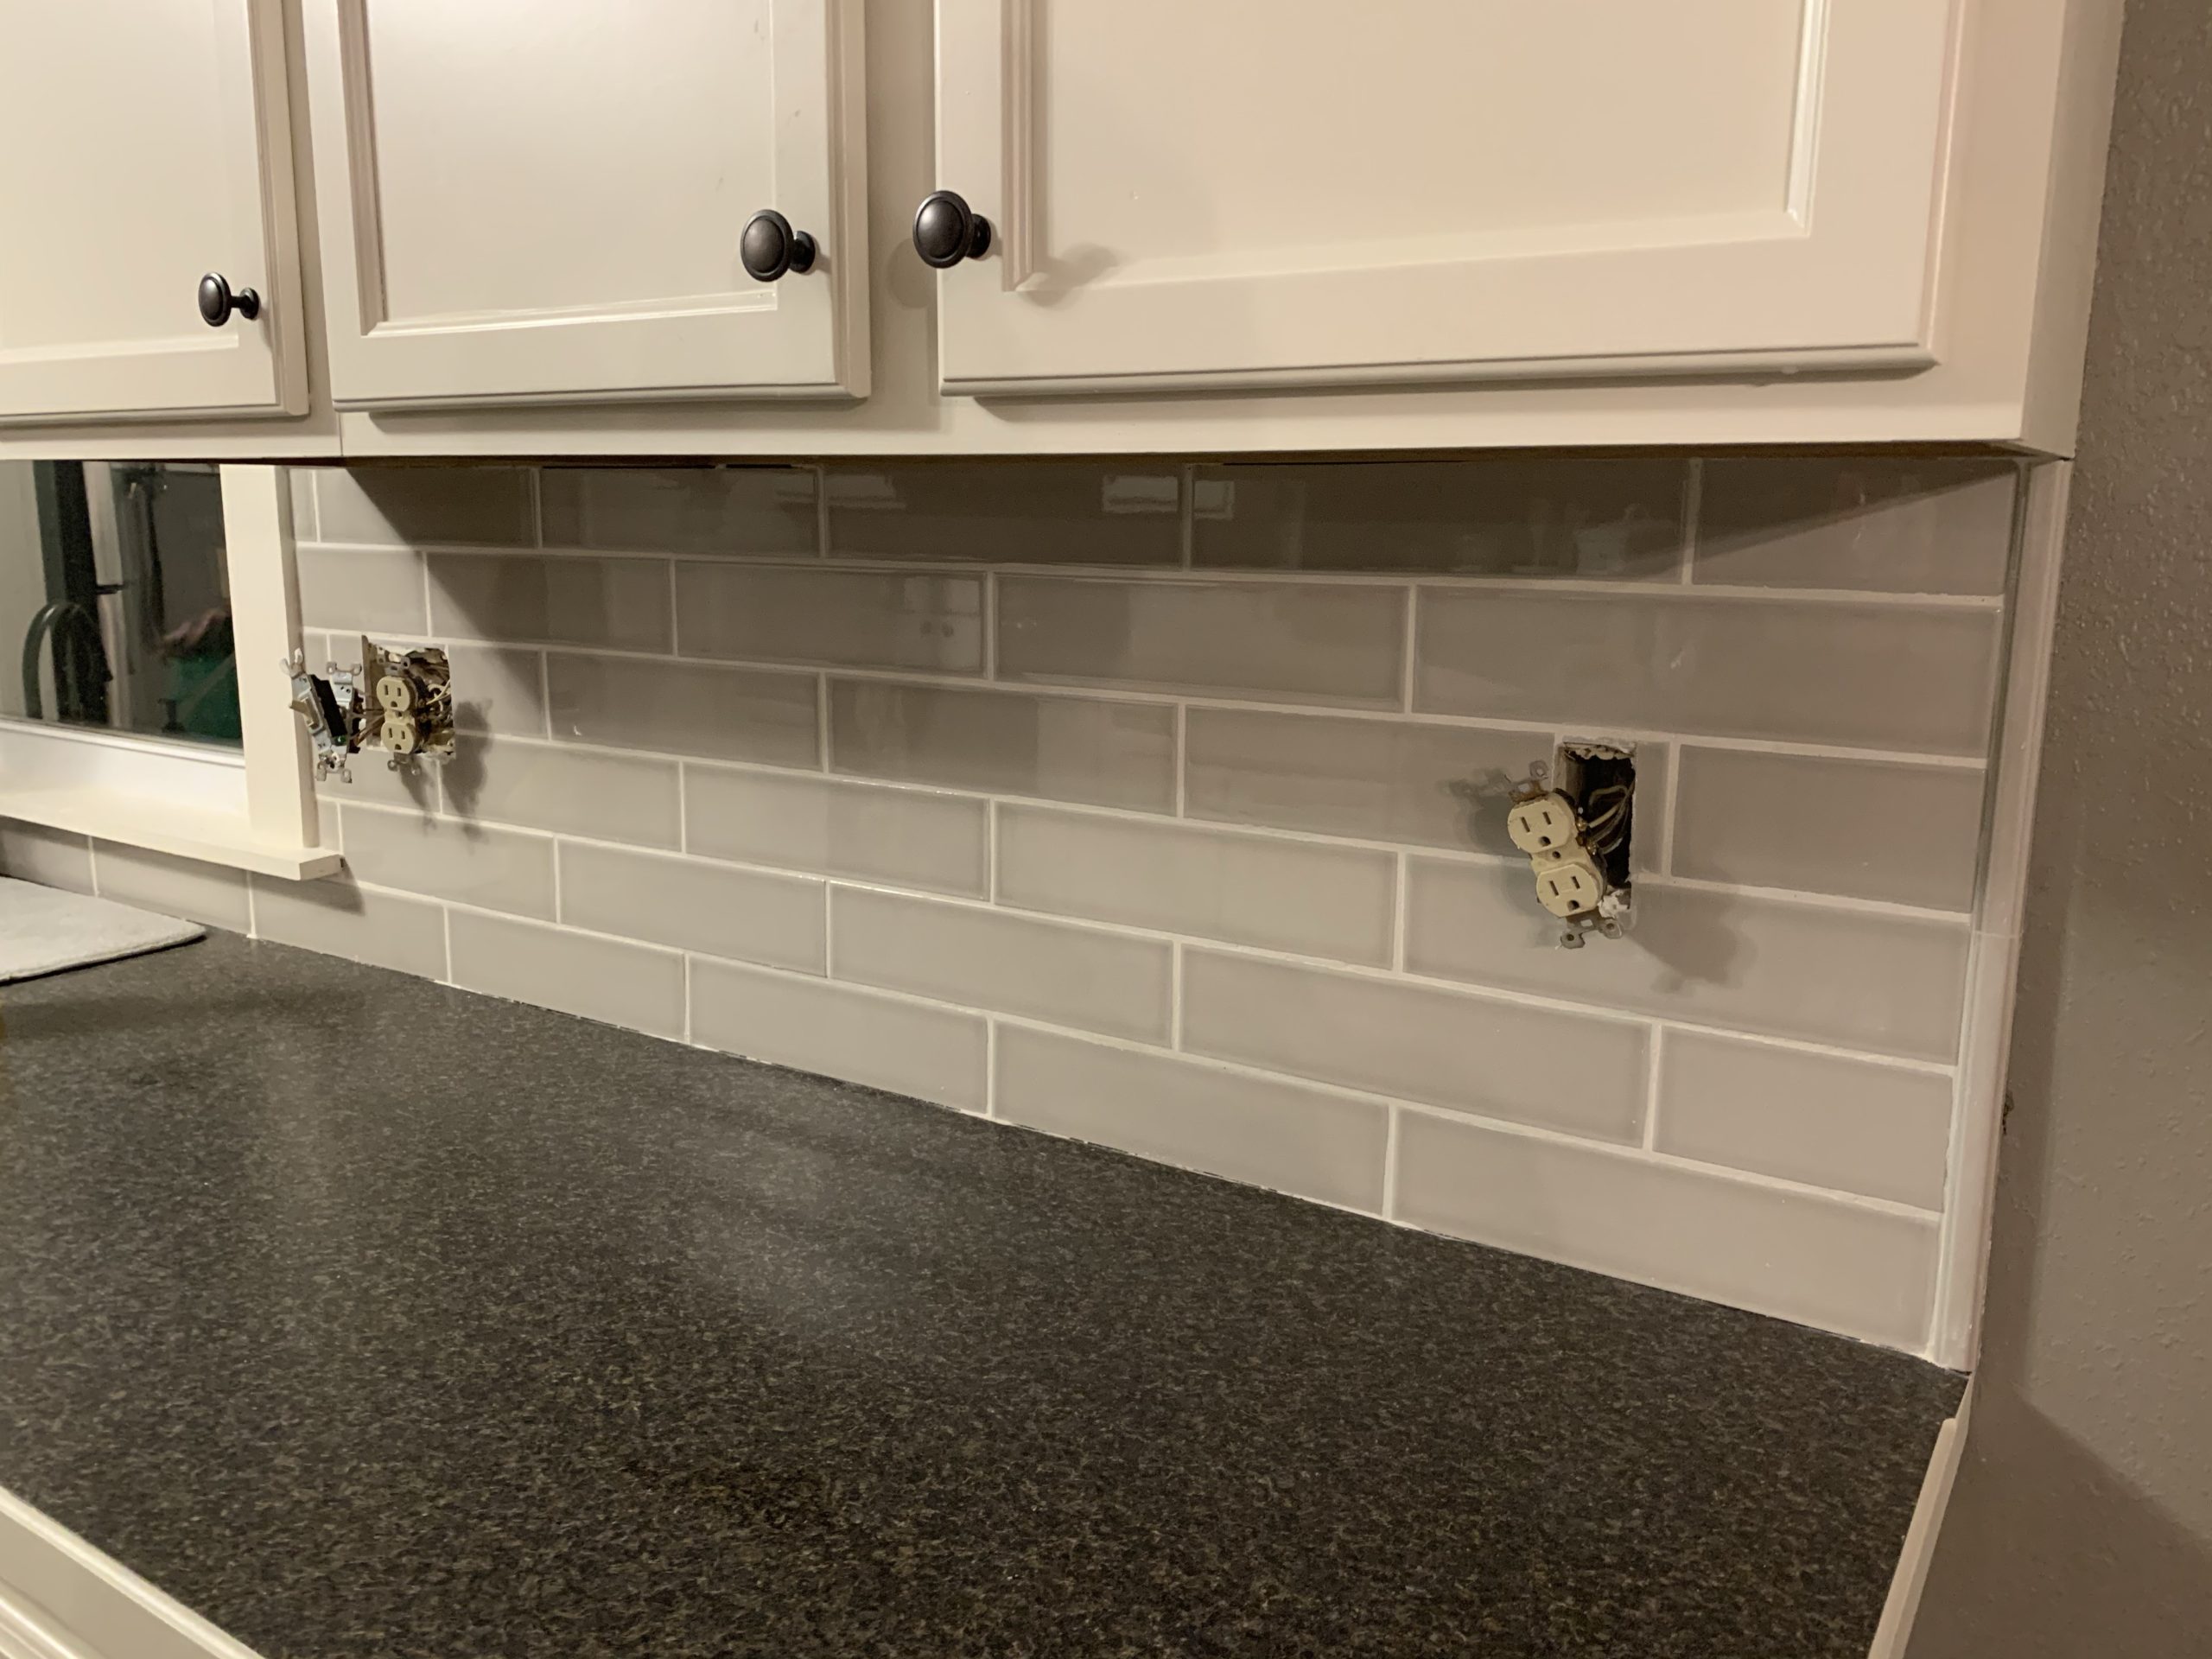
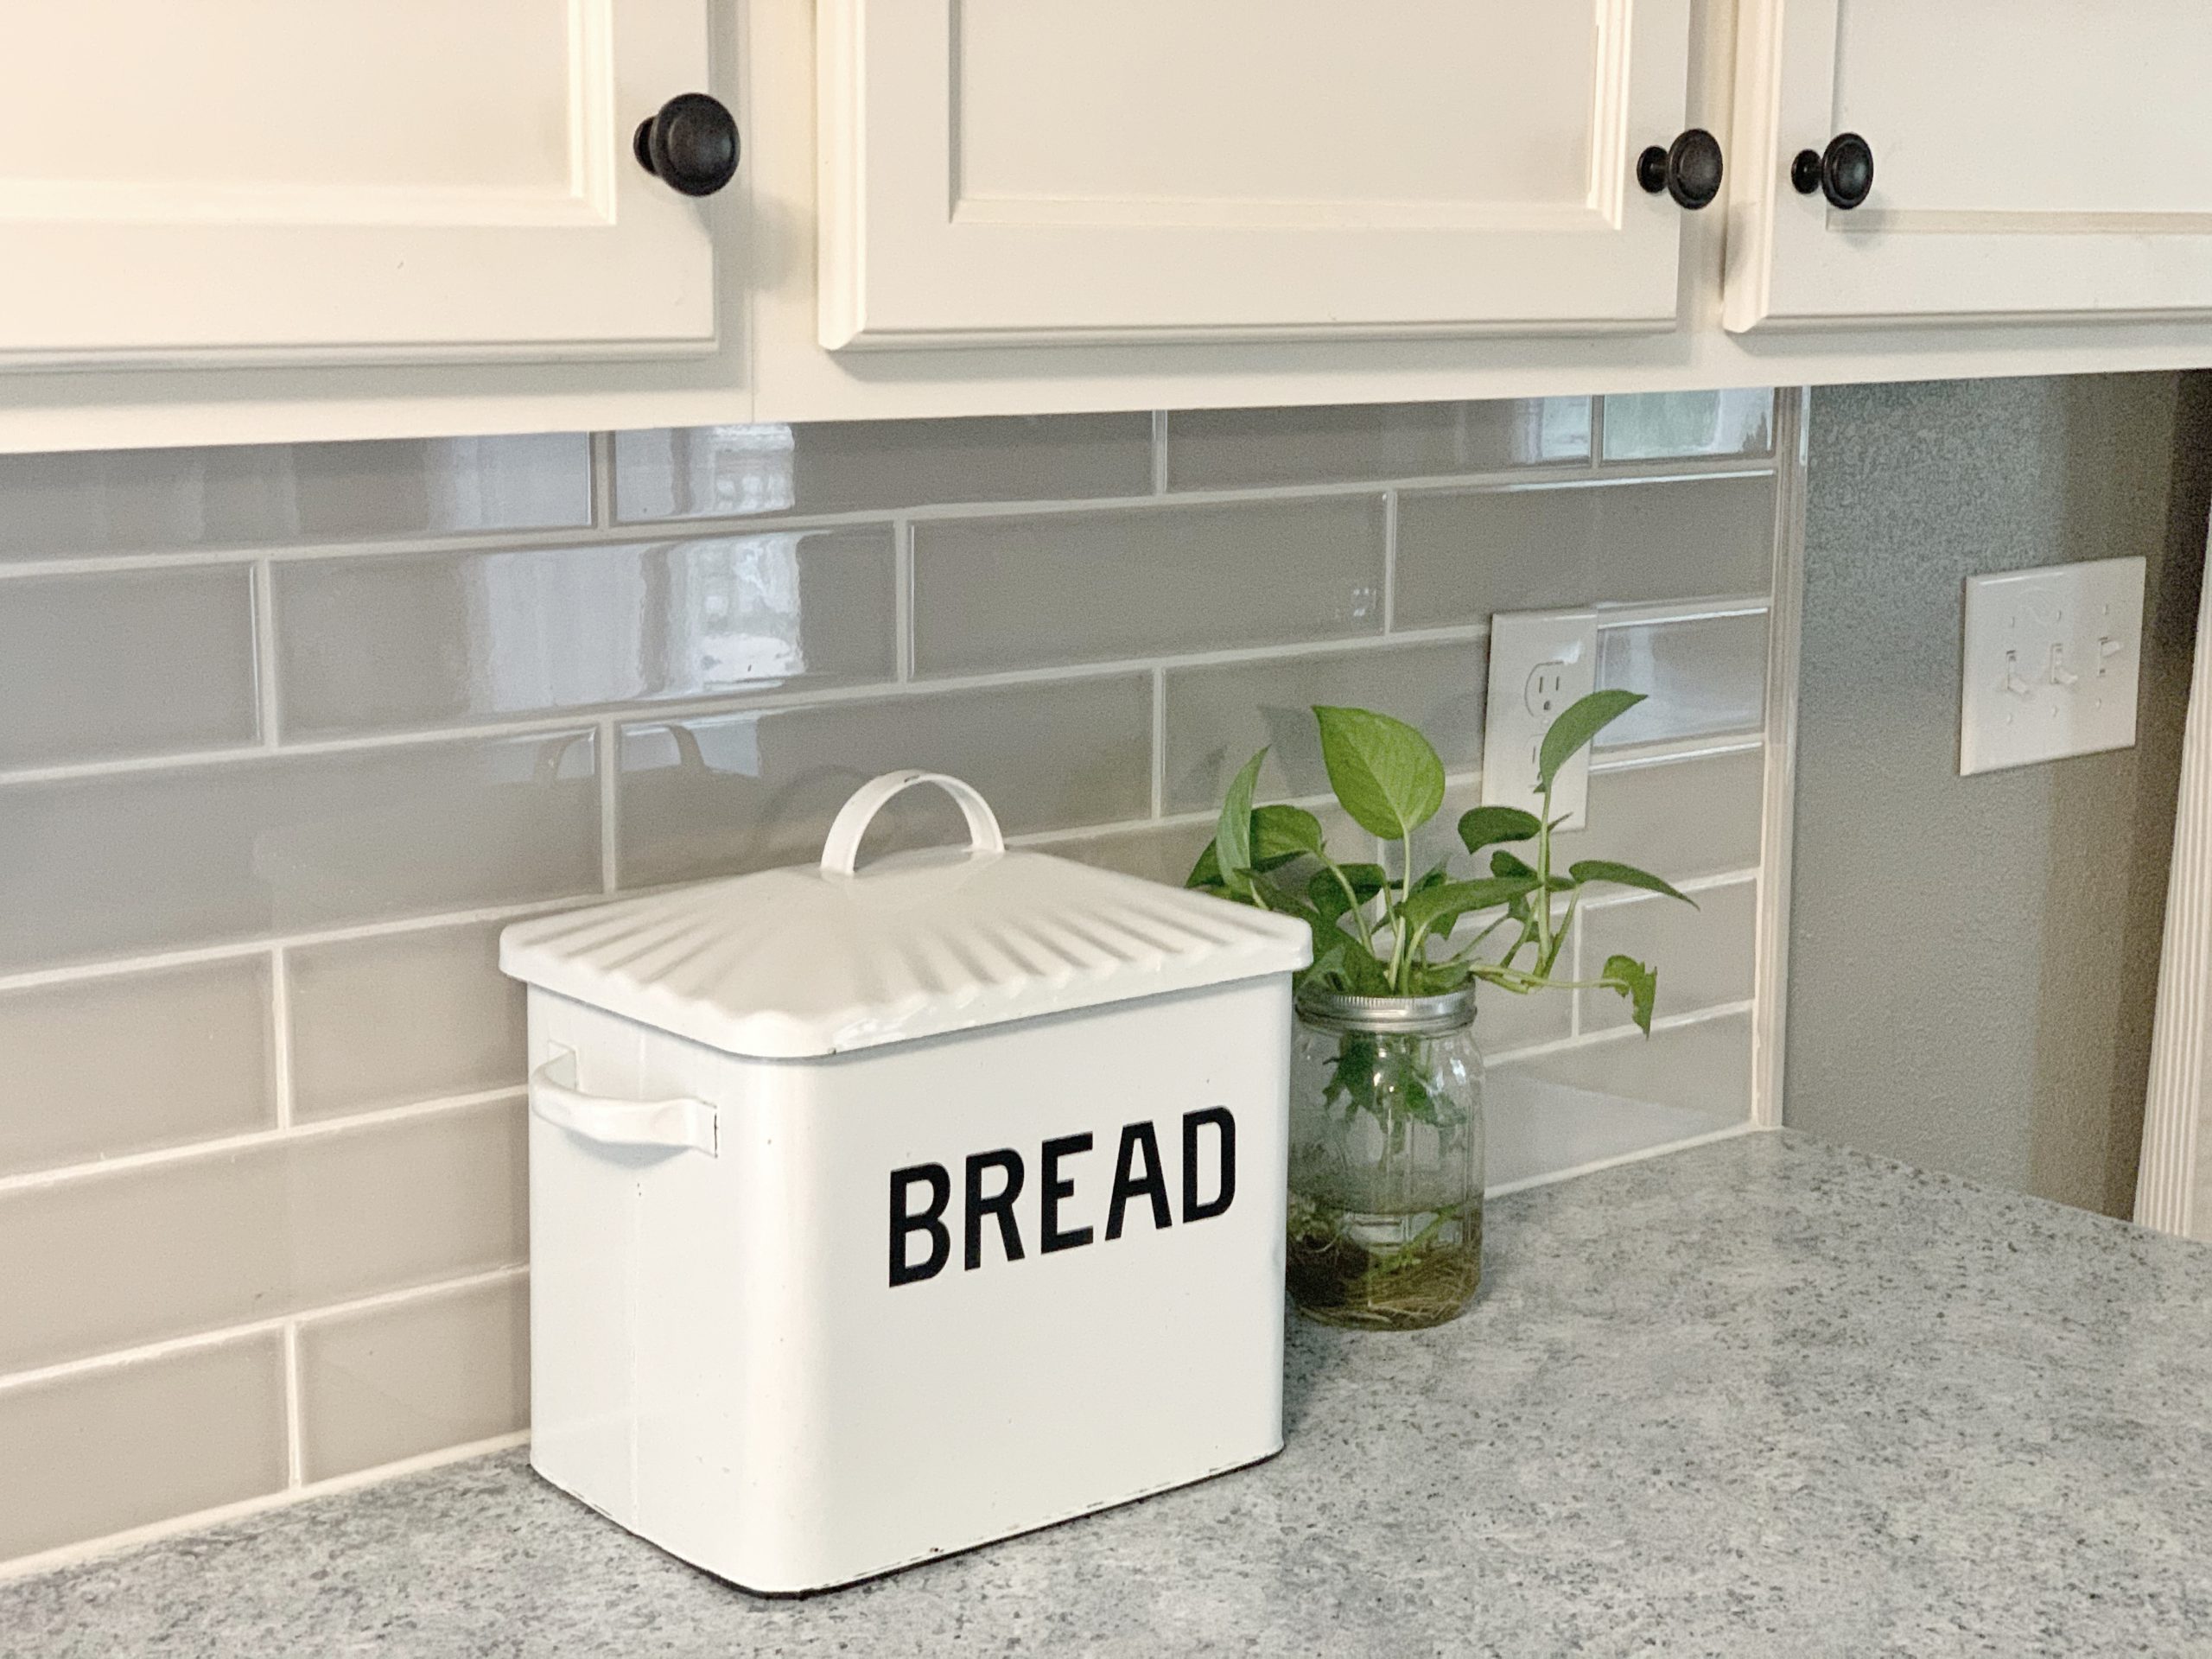
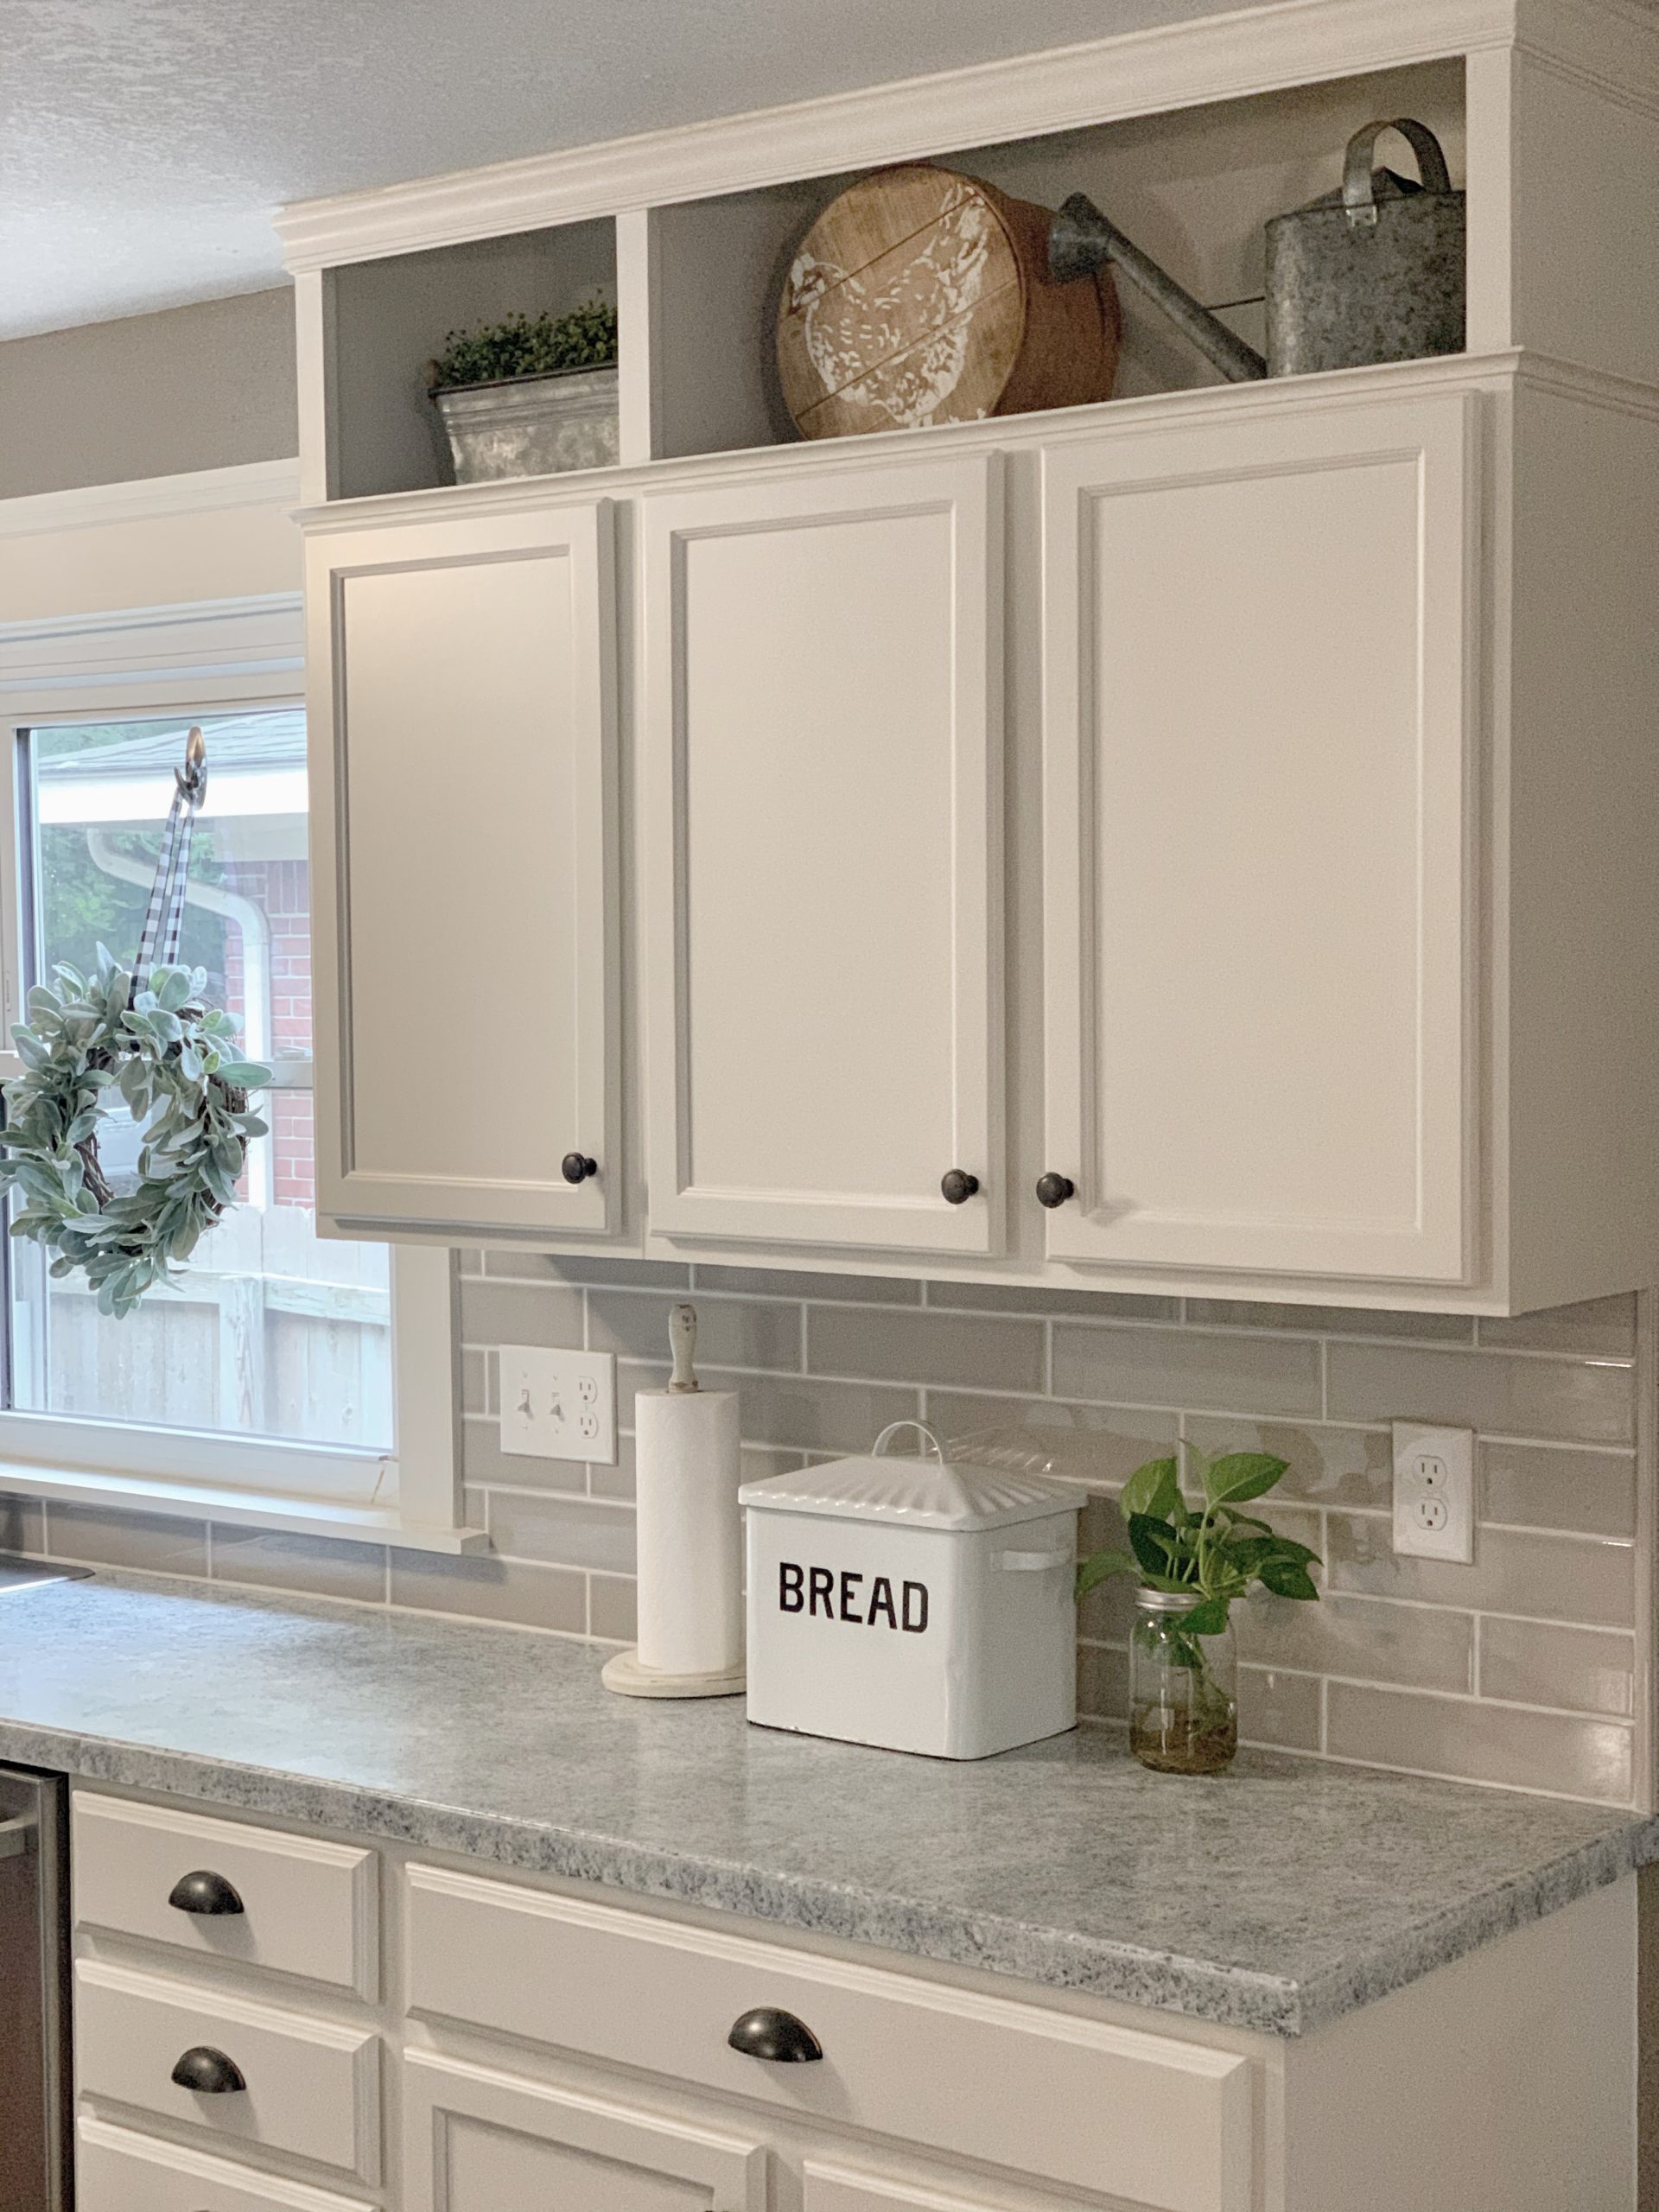
Adding hardware to the doors and drawers is what really gave the finishing touch to this new custom kitchen. We switched out the globes on the pendant lights for the cage ones and the whole kitchen now feels bigger, brighter, and modern.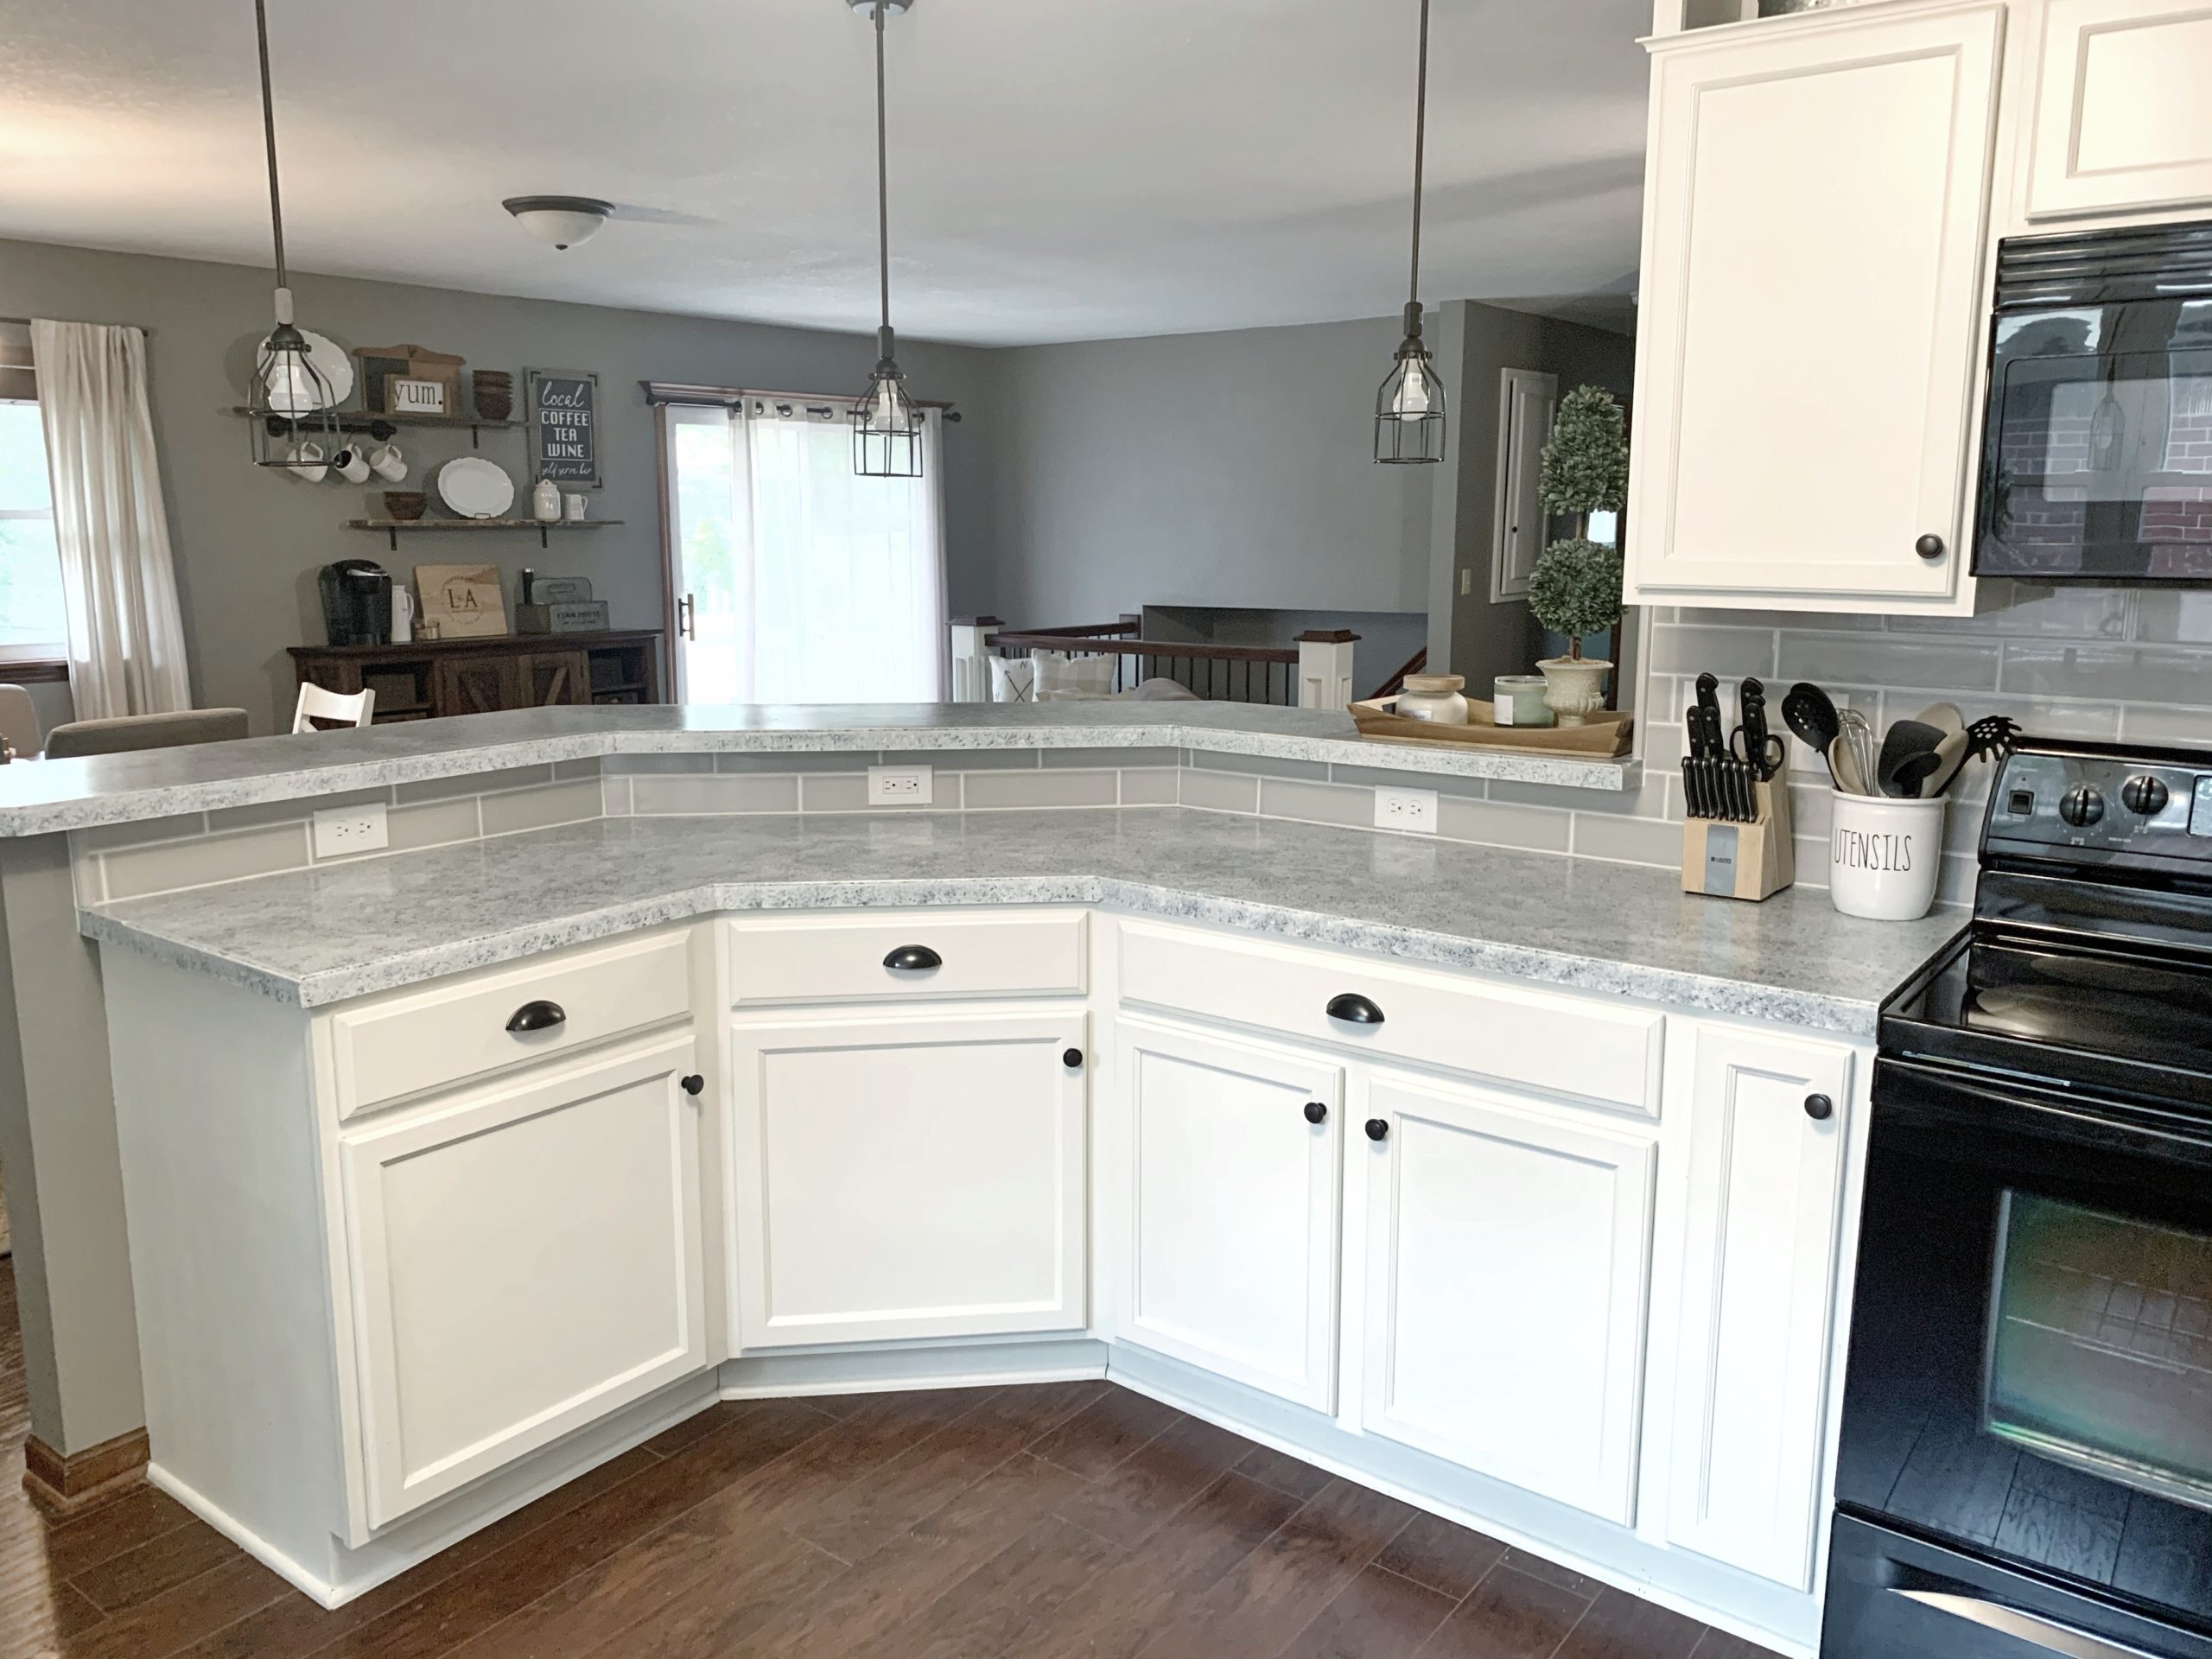
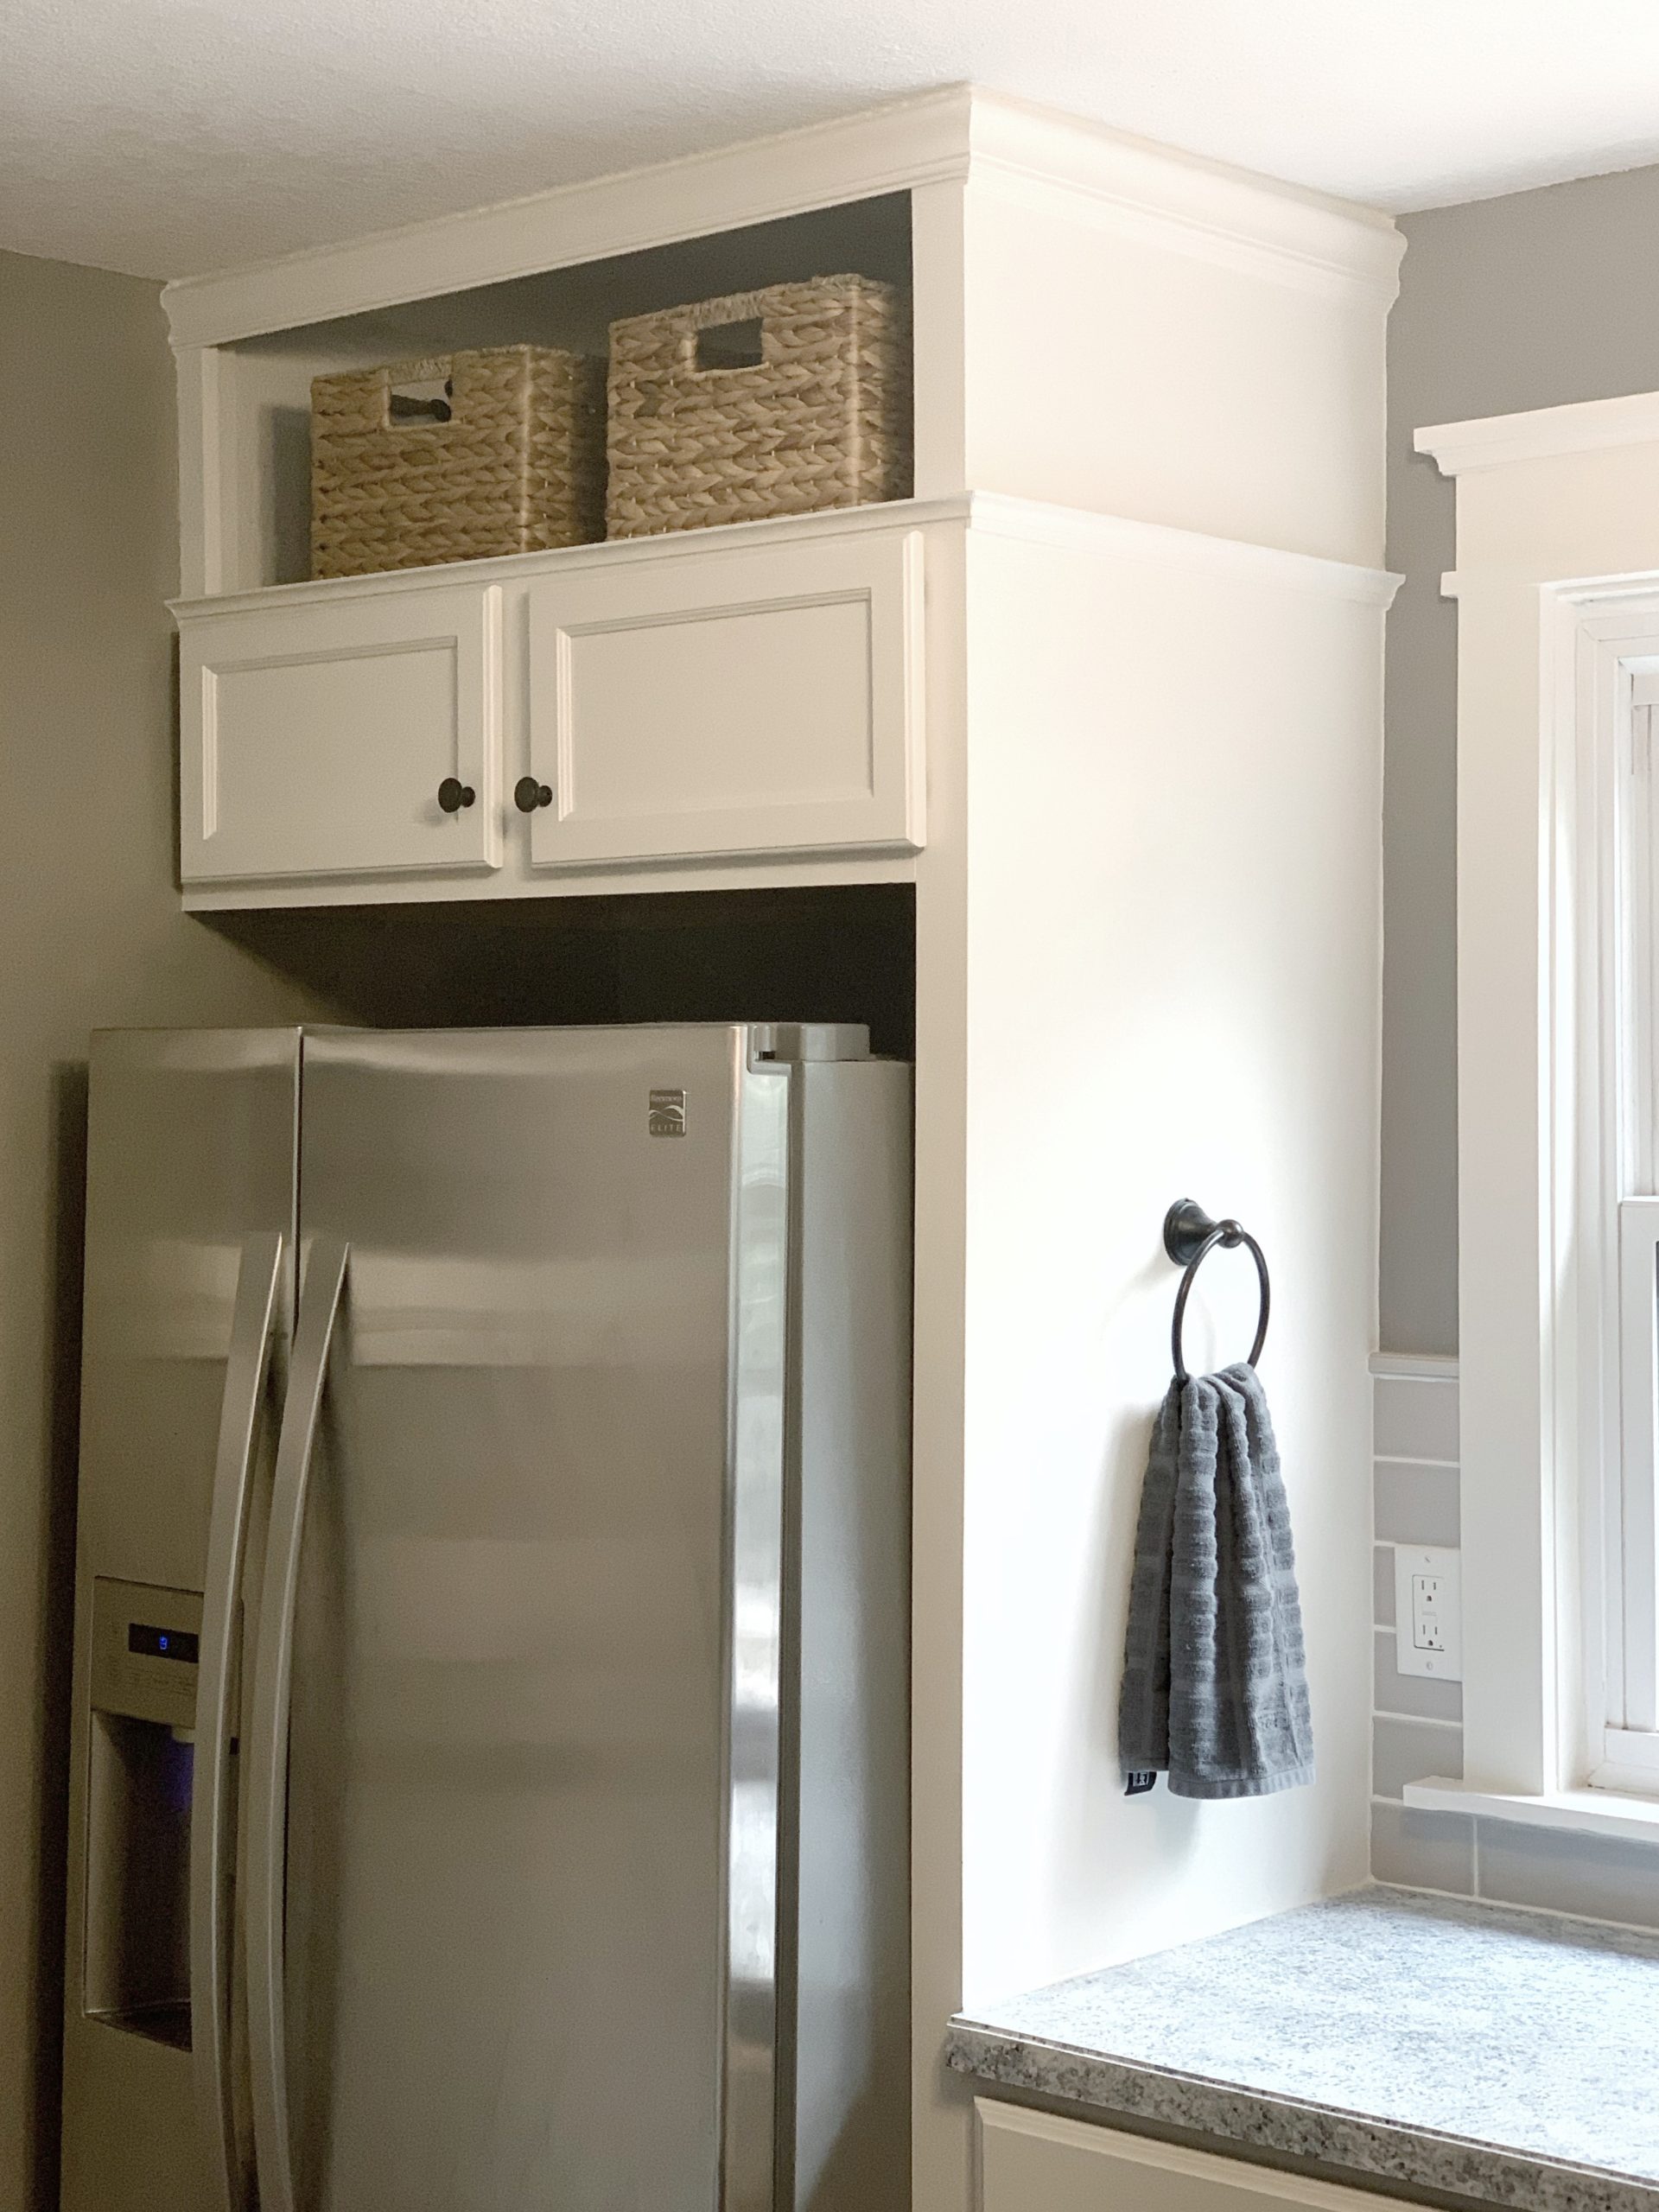 My husband scored the updated fridge for free at a remodel he did!
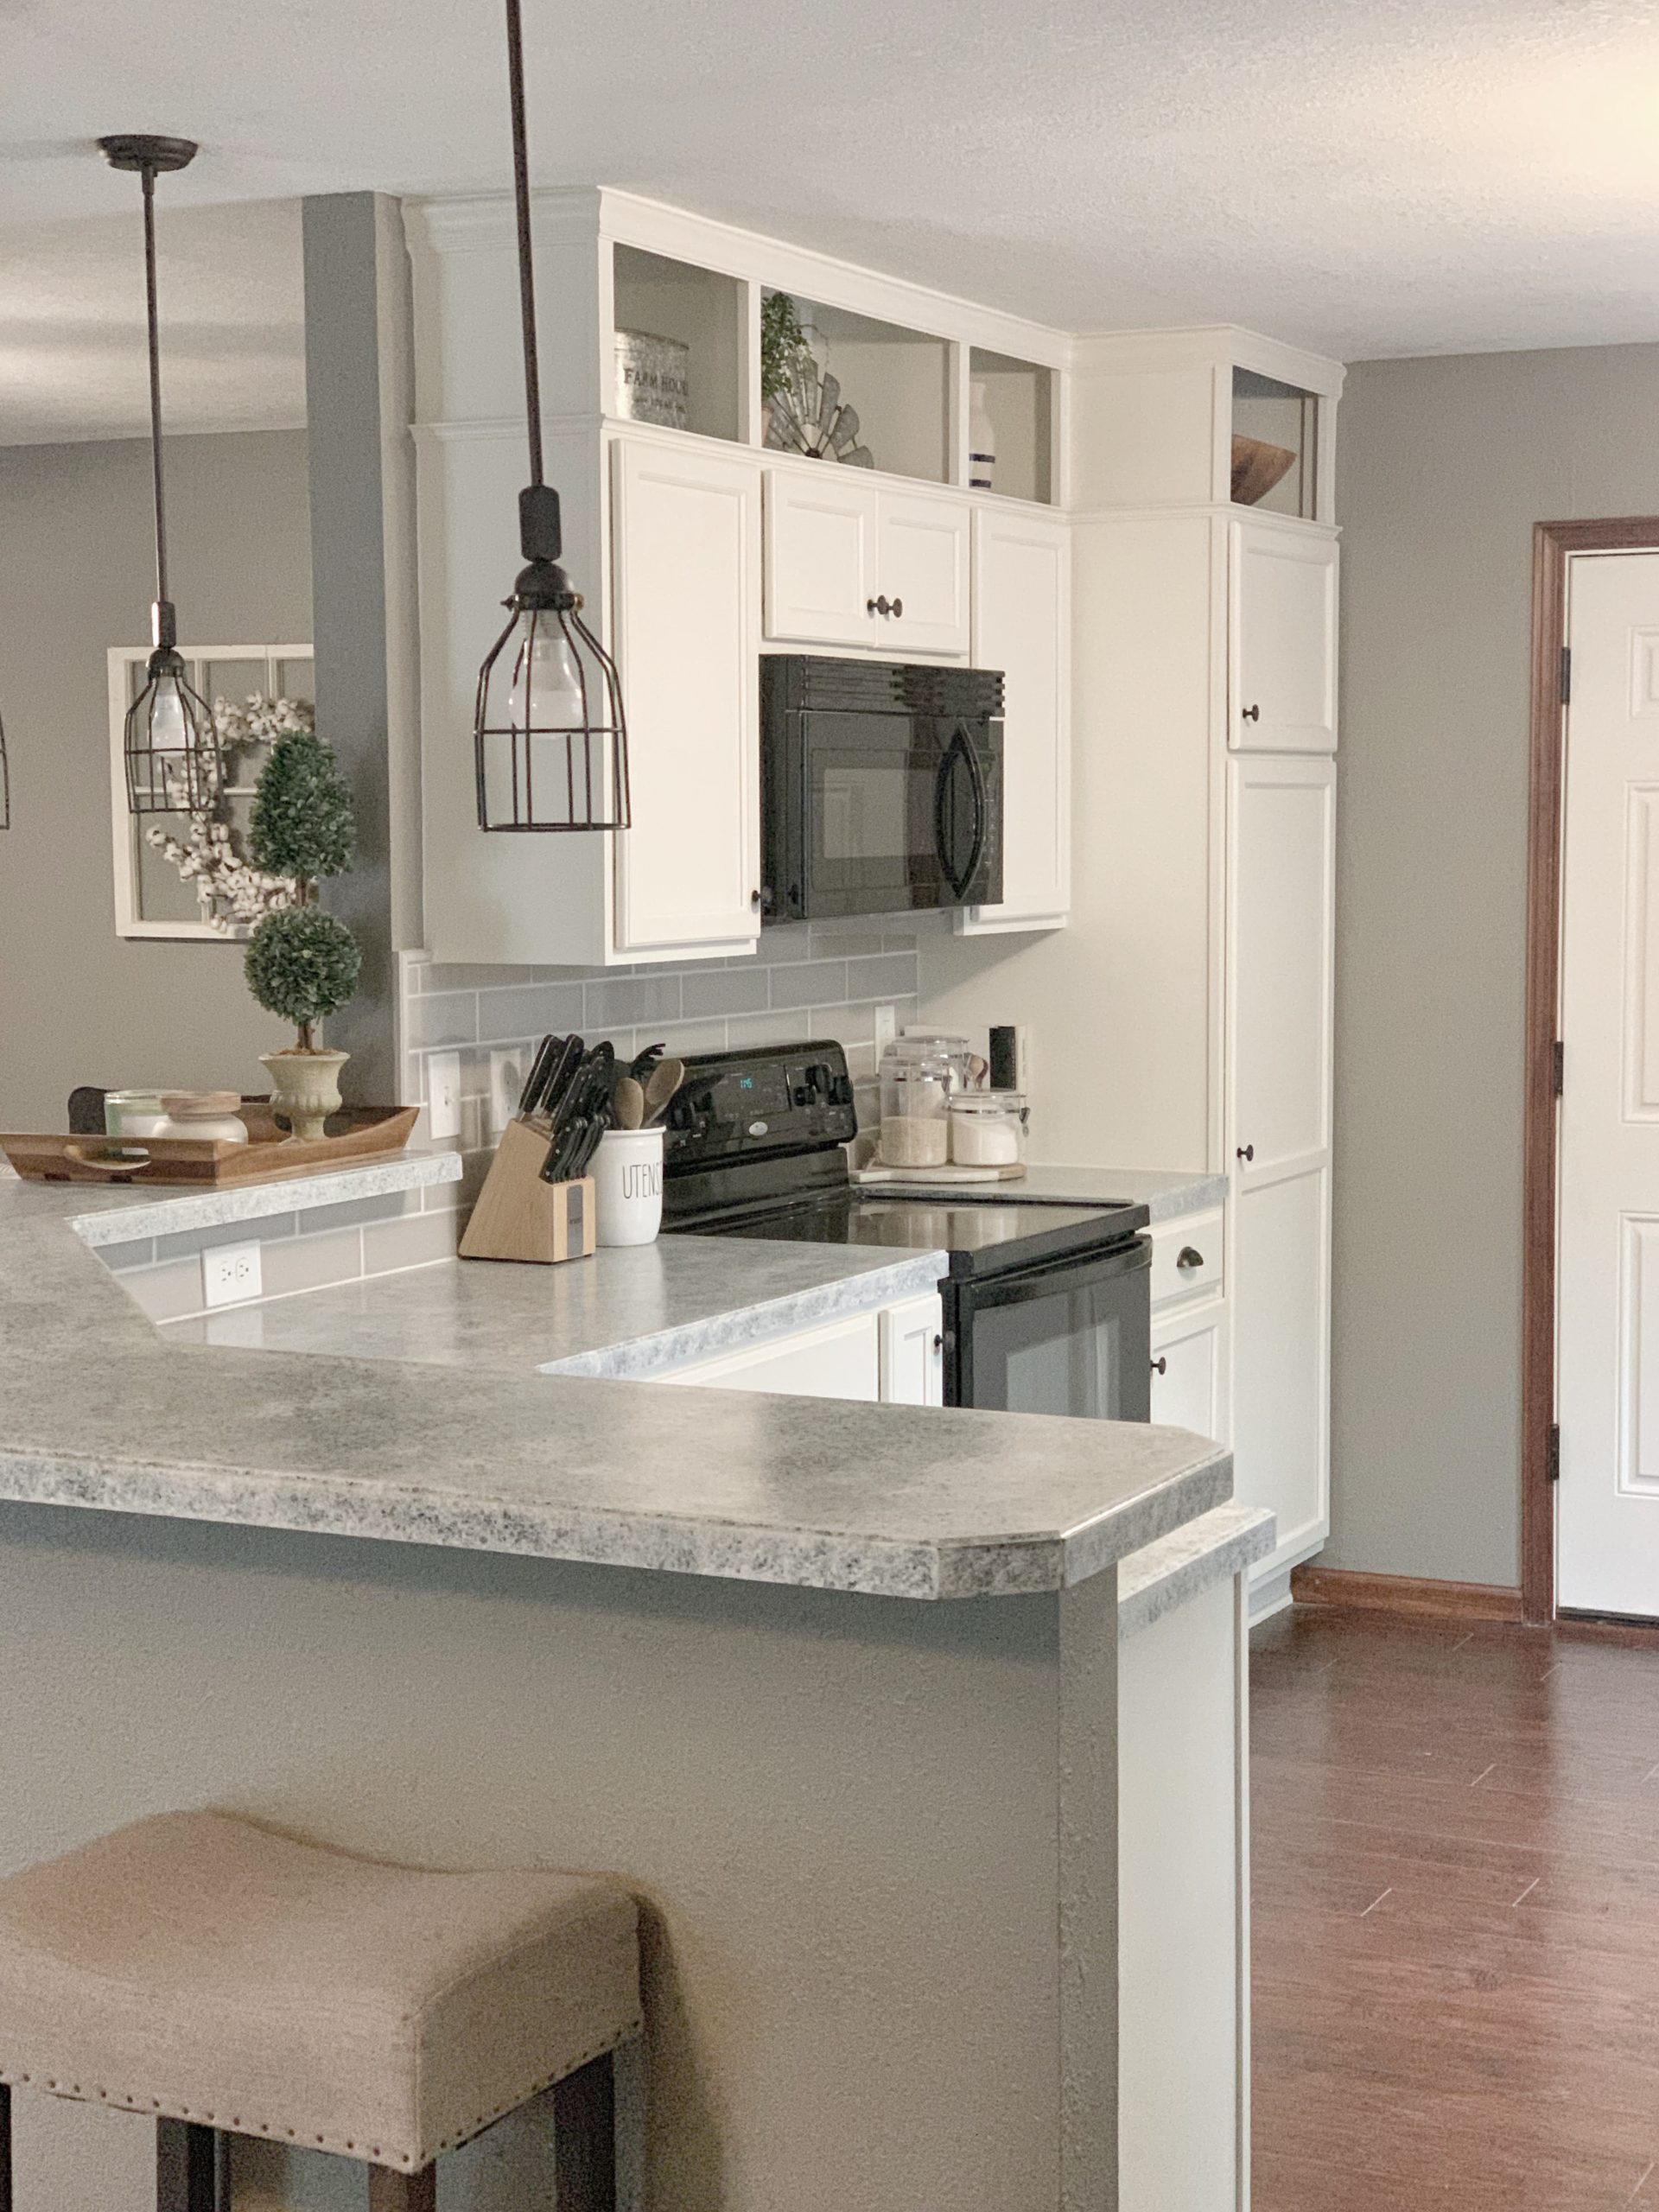 There’s now lovely contrast with the dark wood floors, and I love the tall white cabinets that draw your eye up and make the ceiling feel taller.
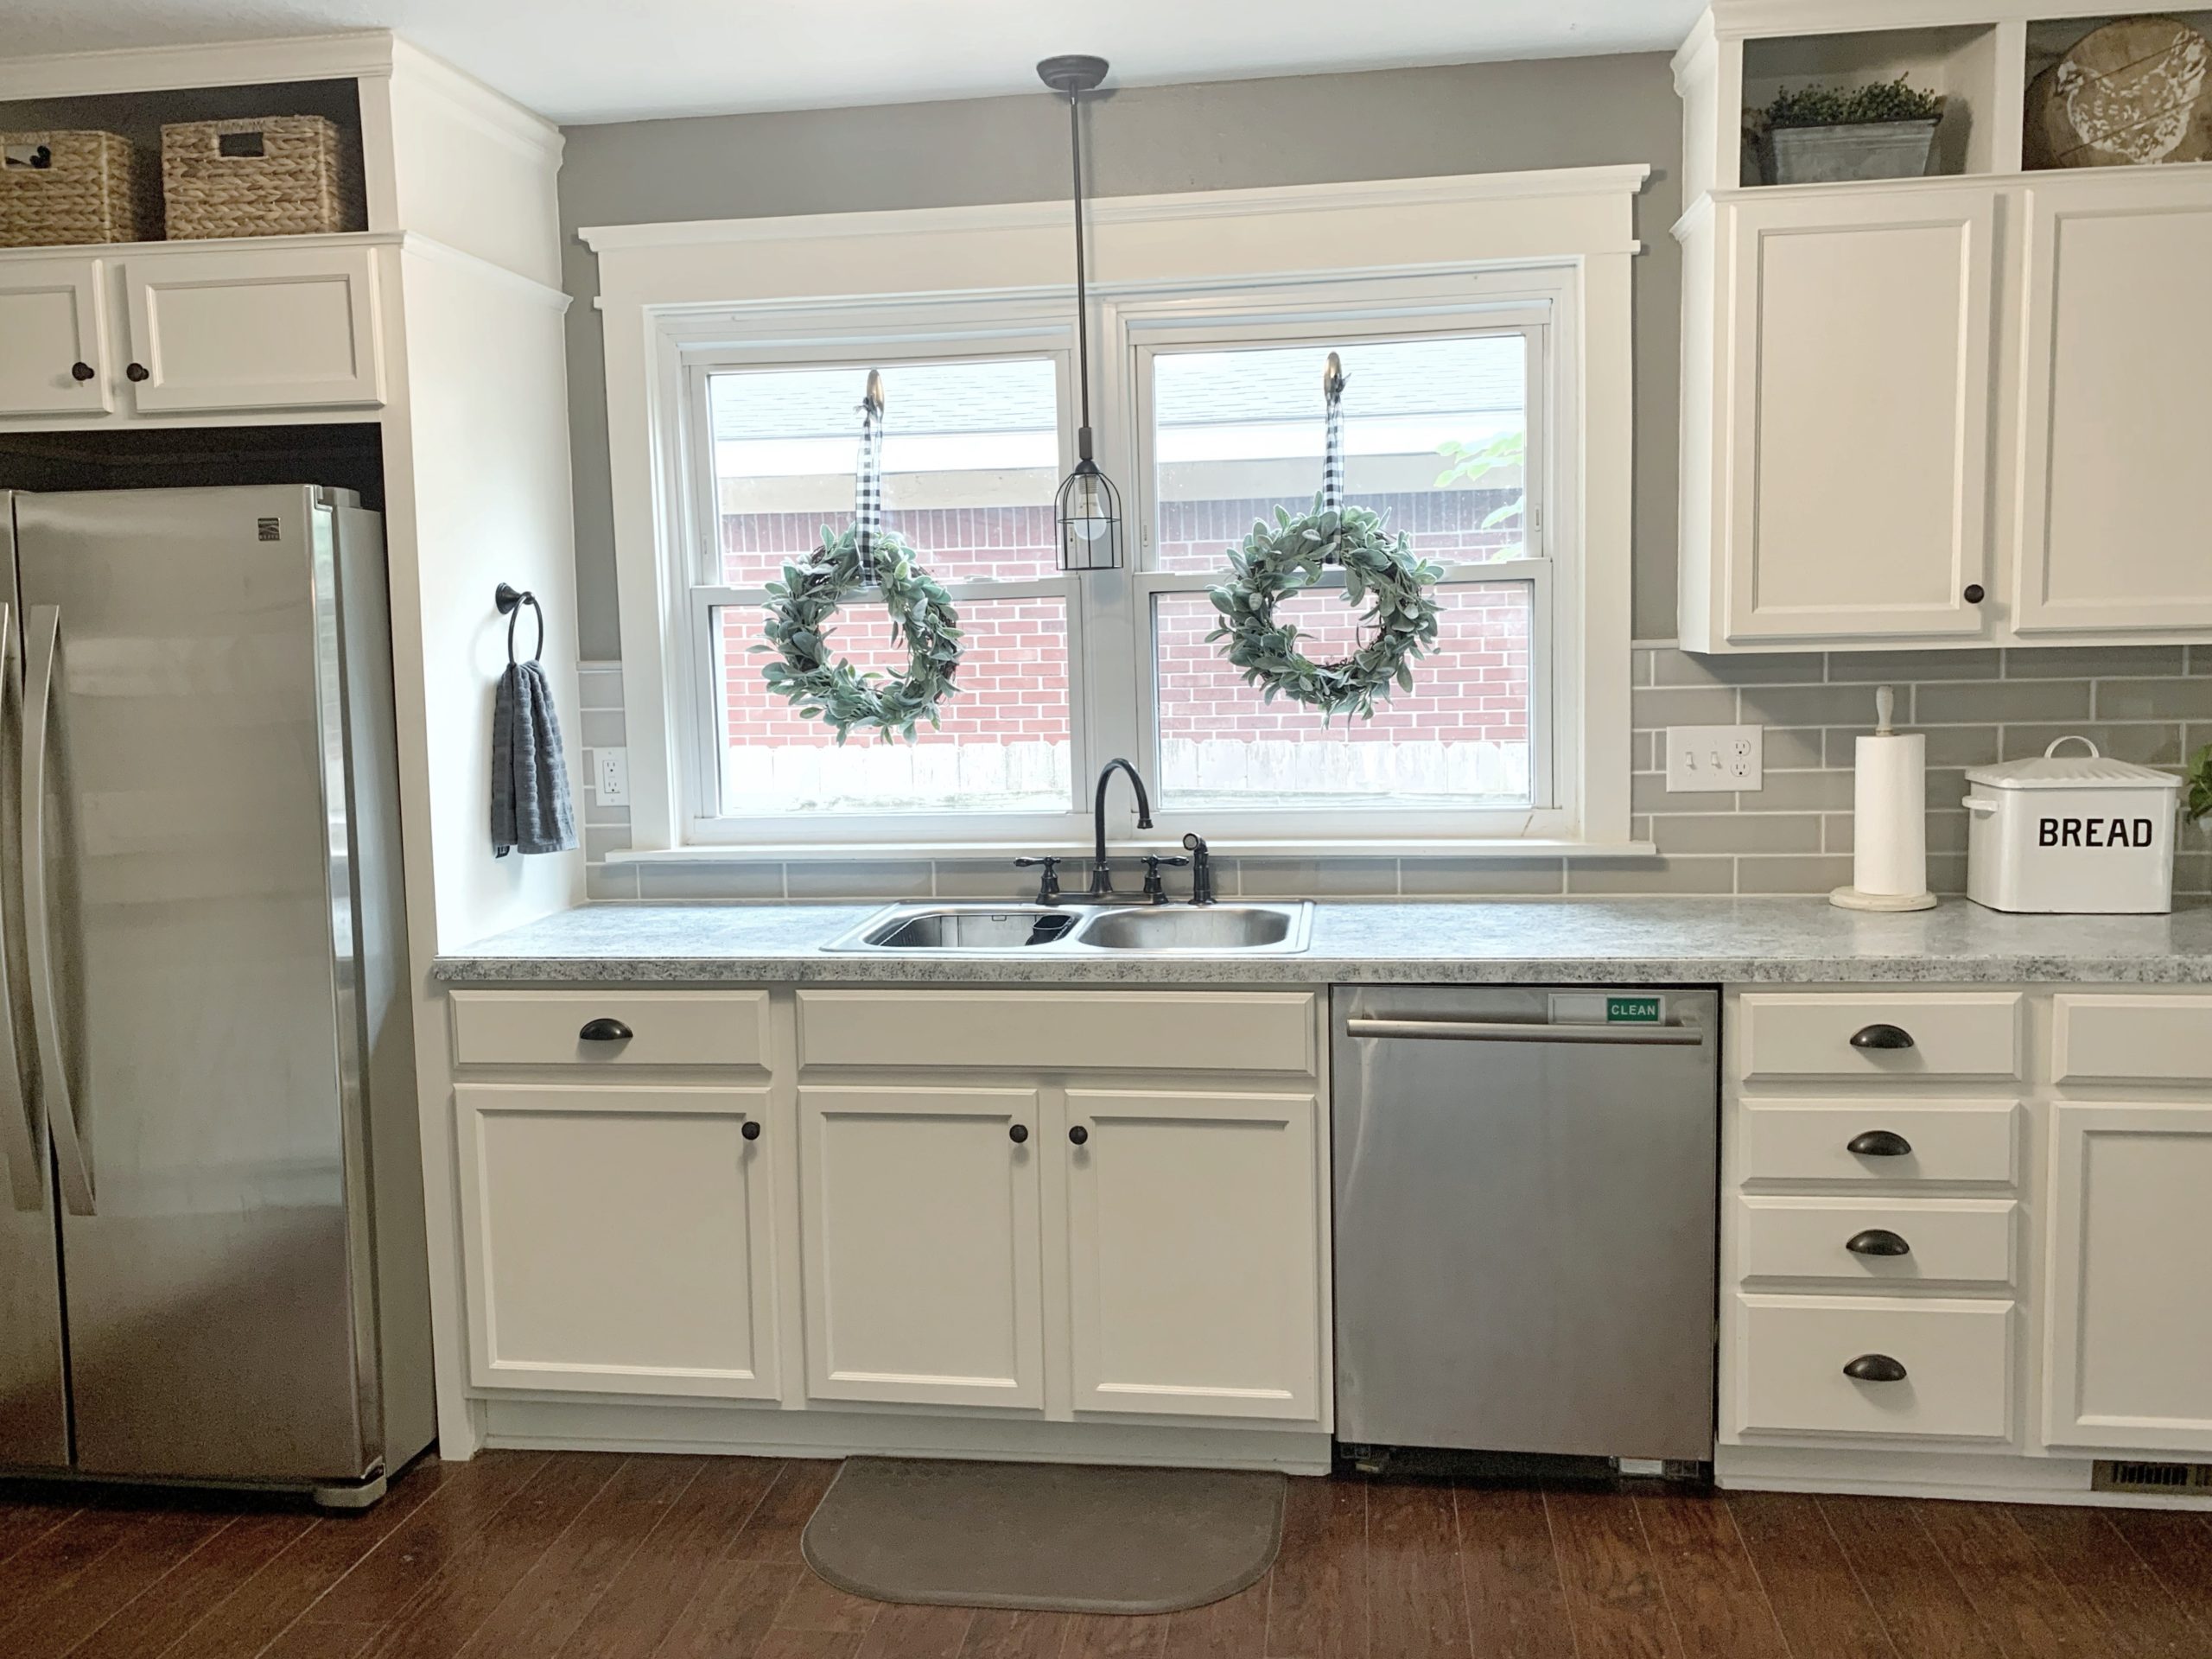
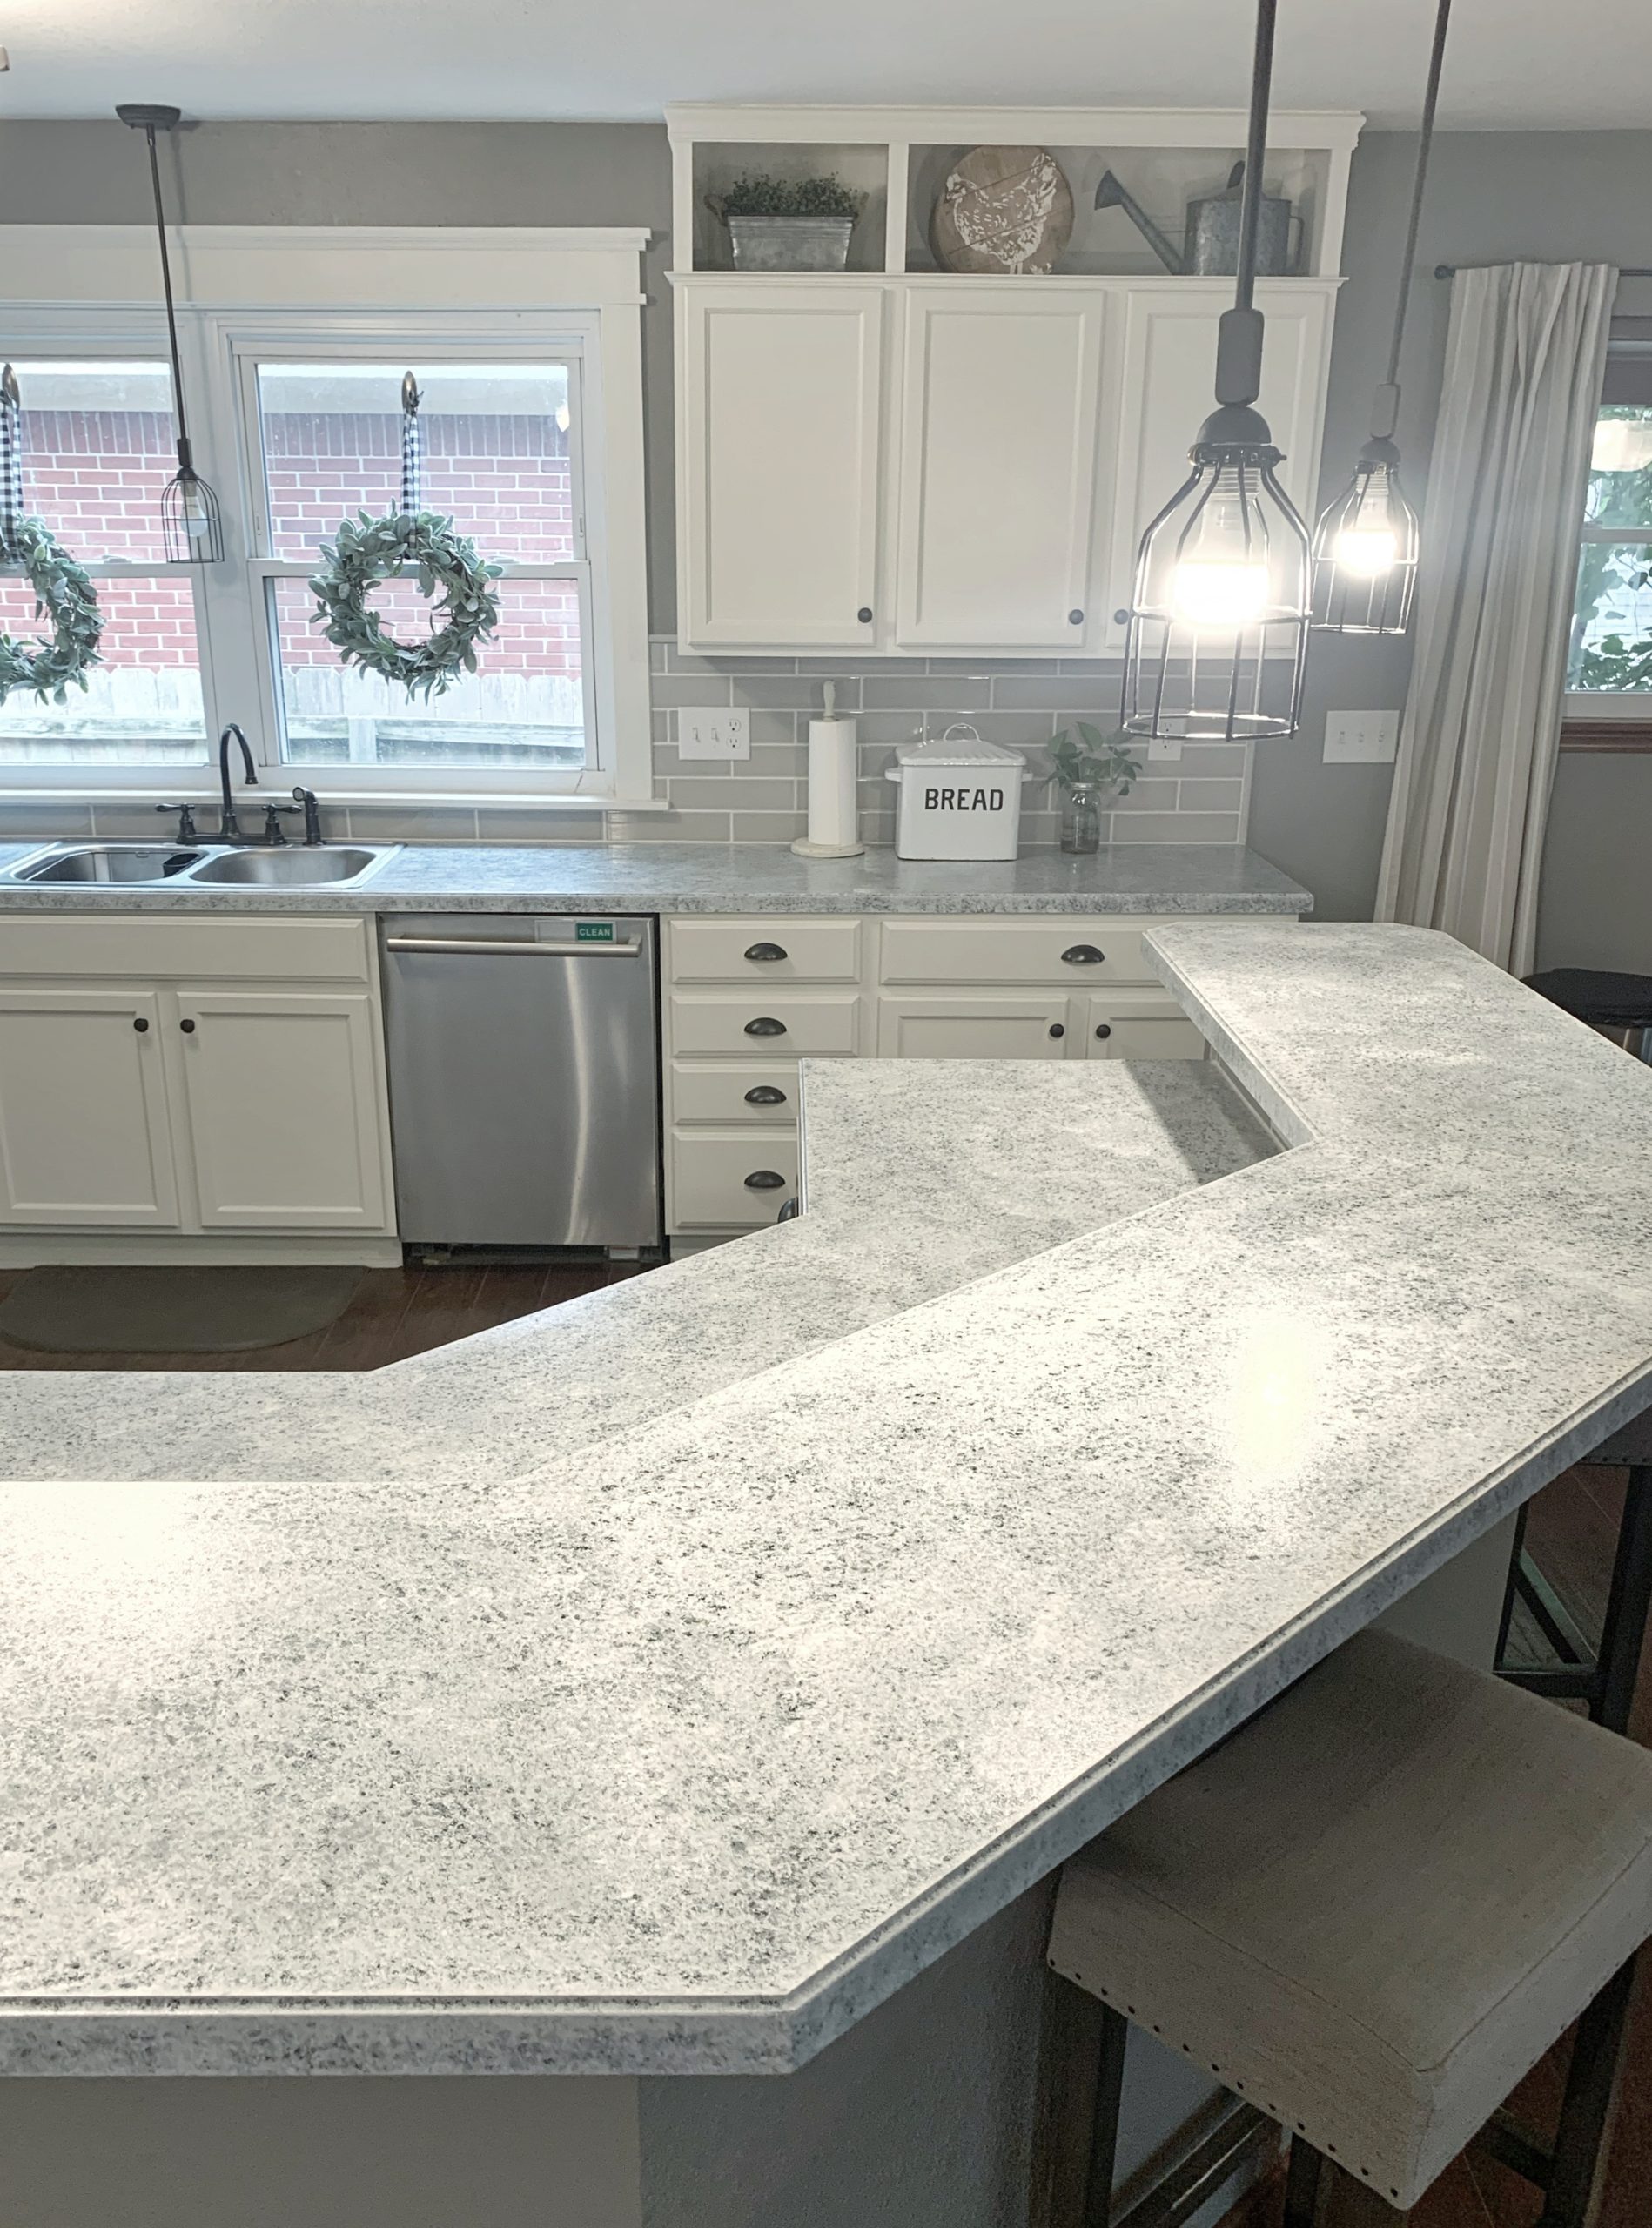
The last update we did was the painted countertops. This is a very cost effective way to change your countertops and get the look of granite or quarts. I have to admit, I was super nervous about trying this DIY, because I wasn’t sure how the paint would hold up, but I’m so glad I did! I think they turned out really well, and this product was easy to work with!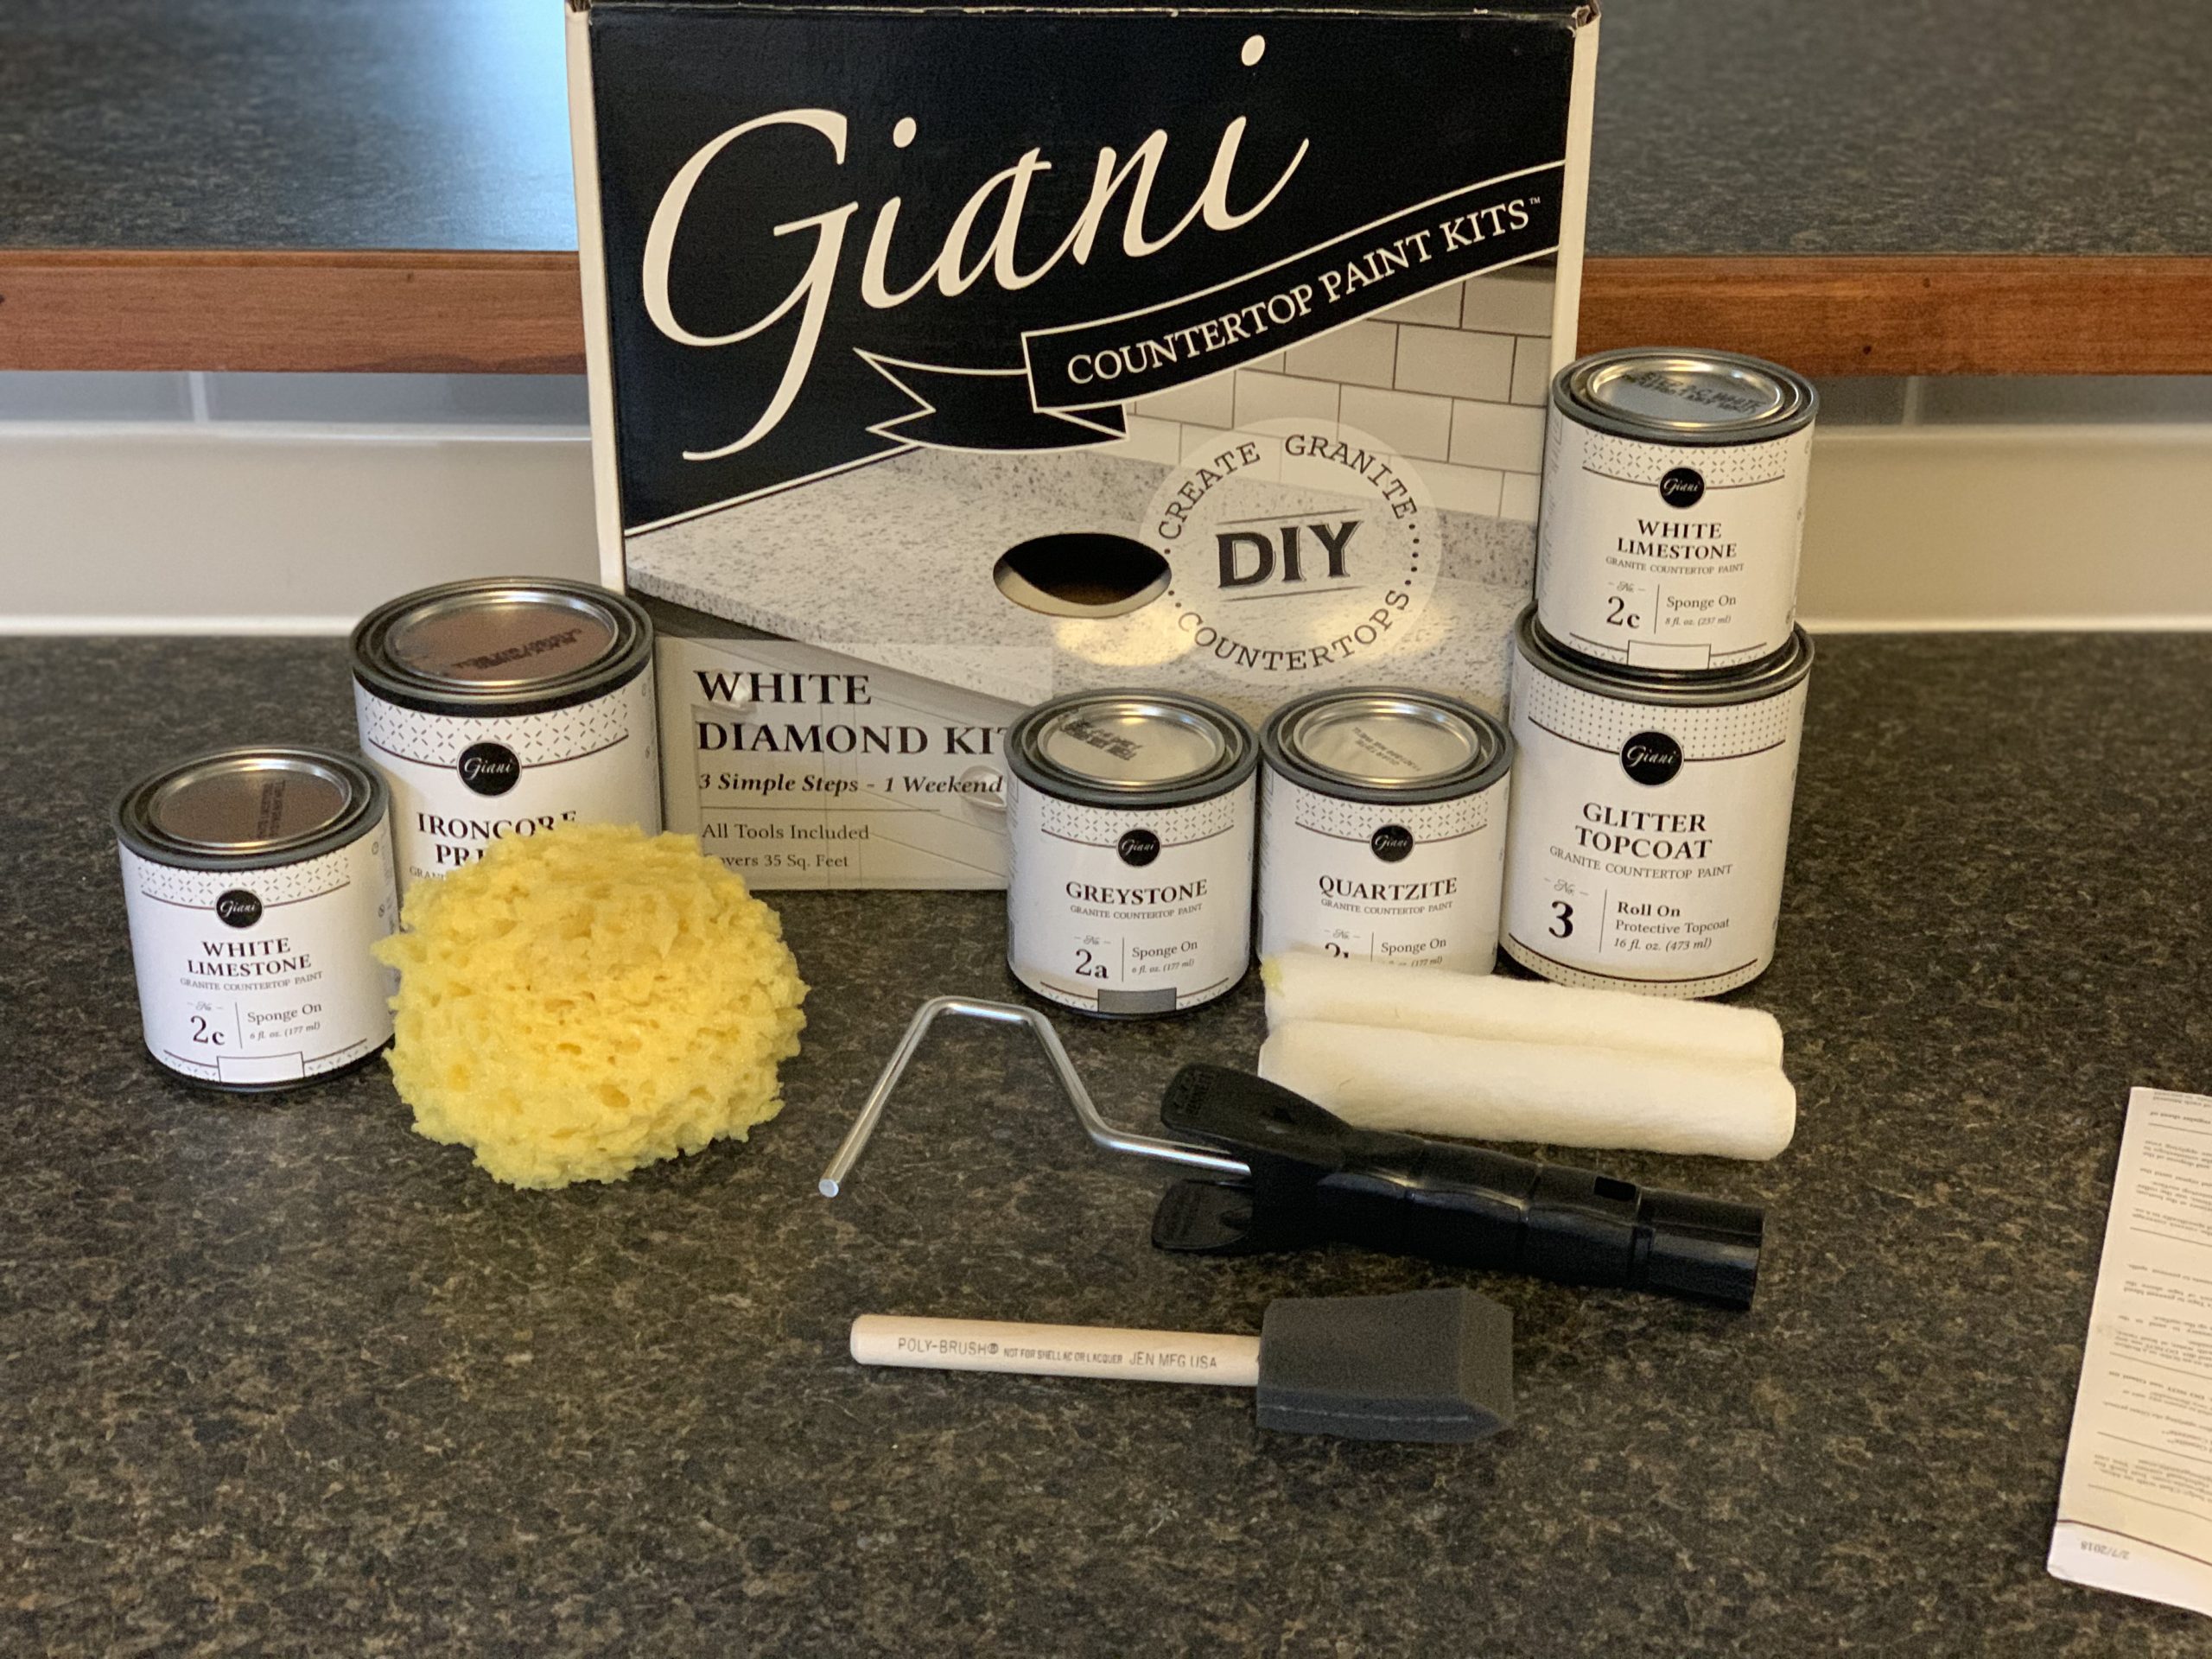
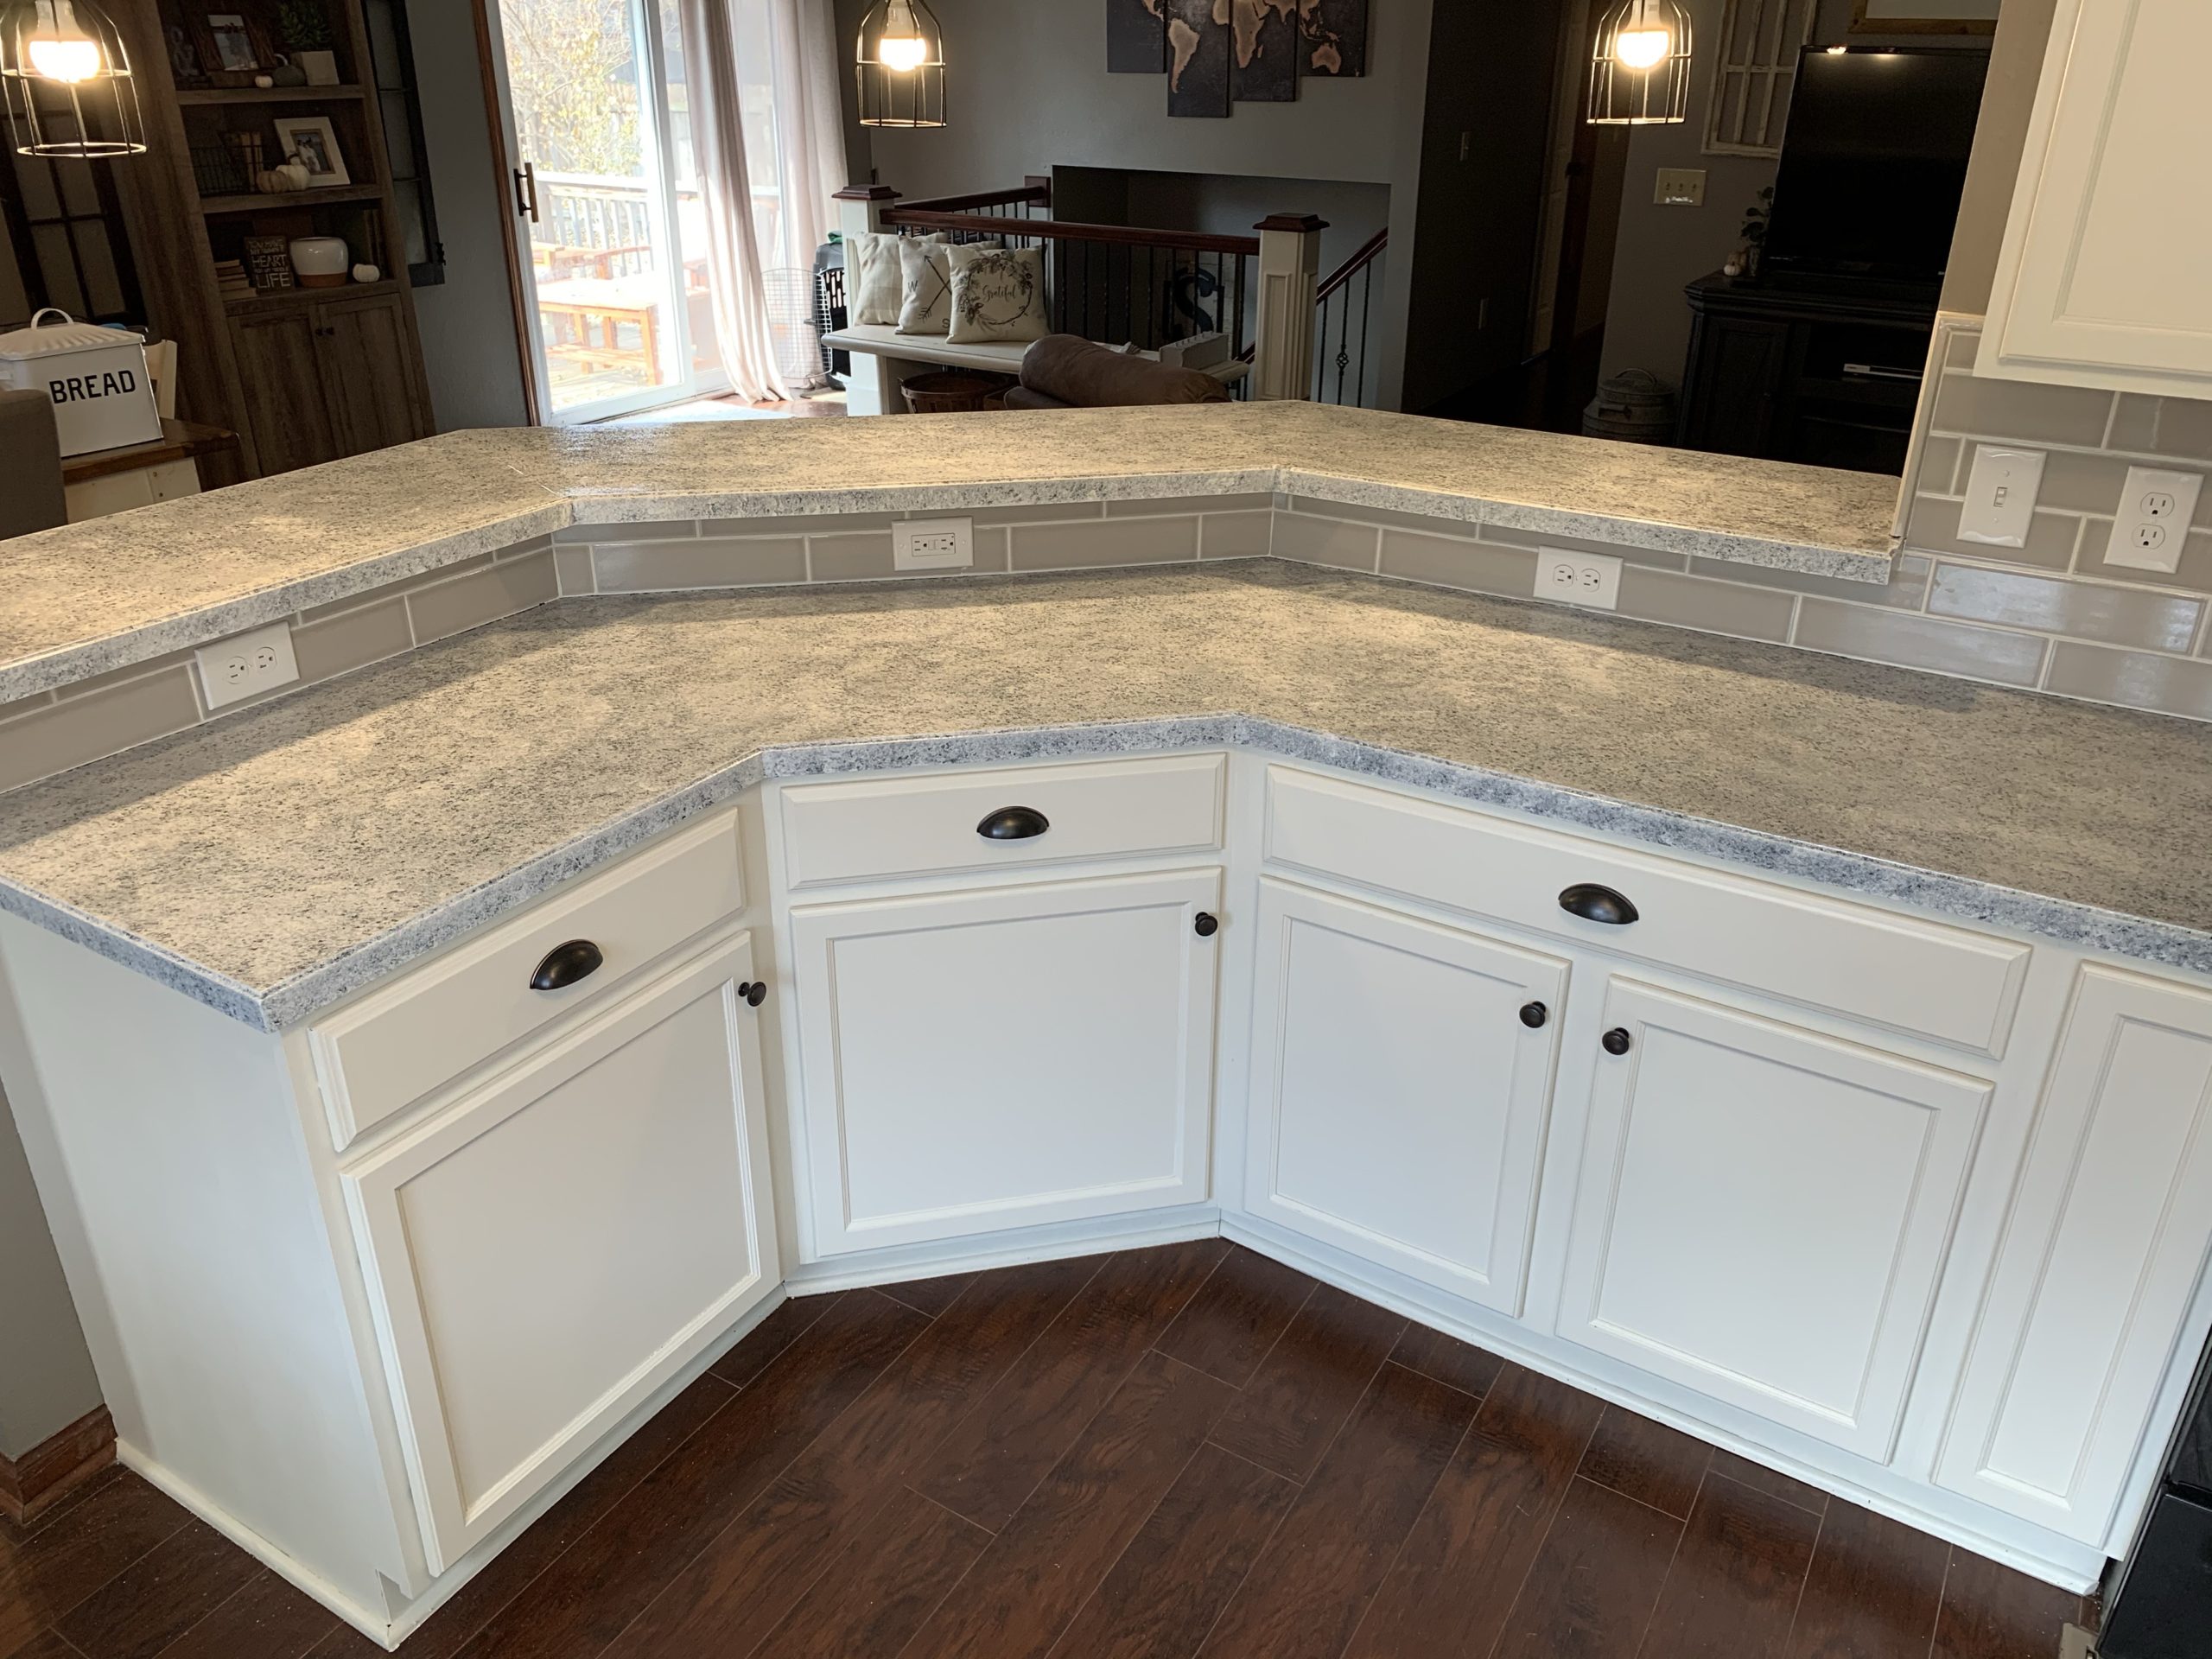
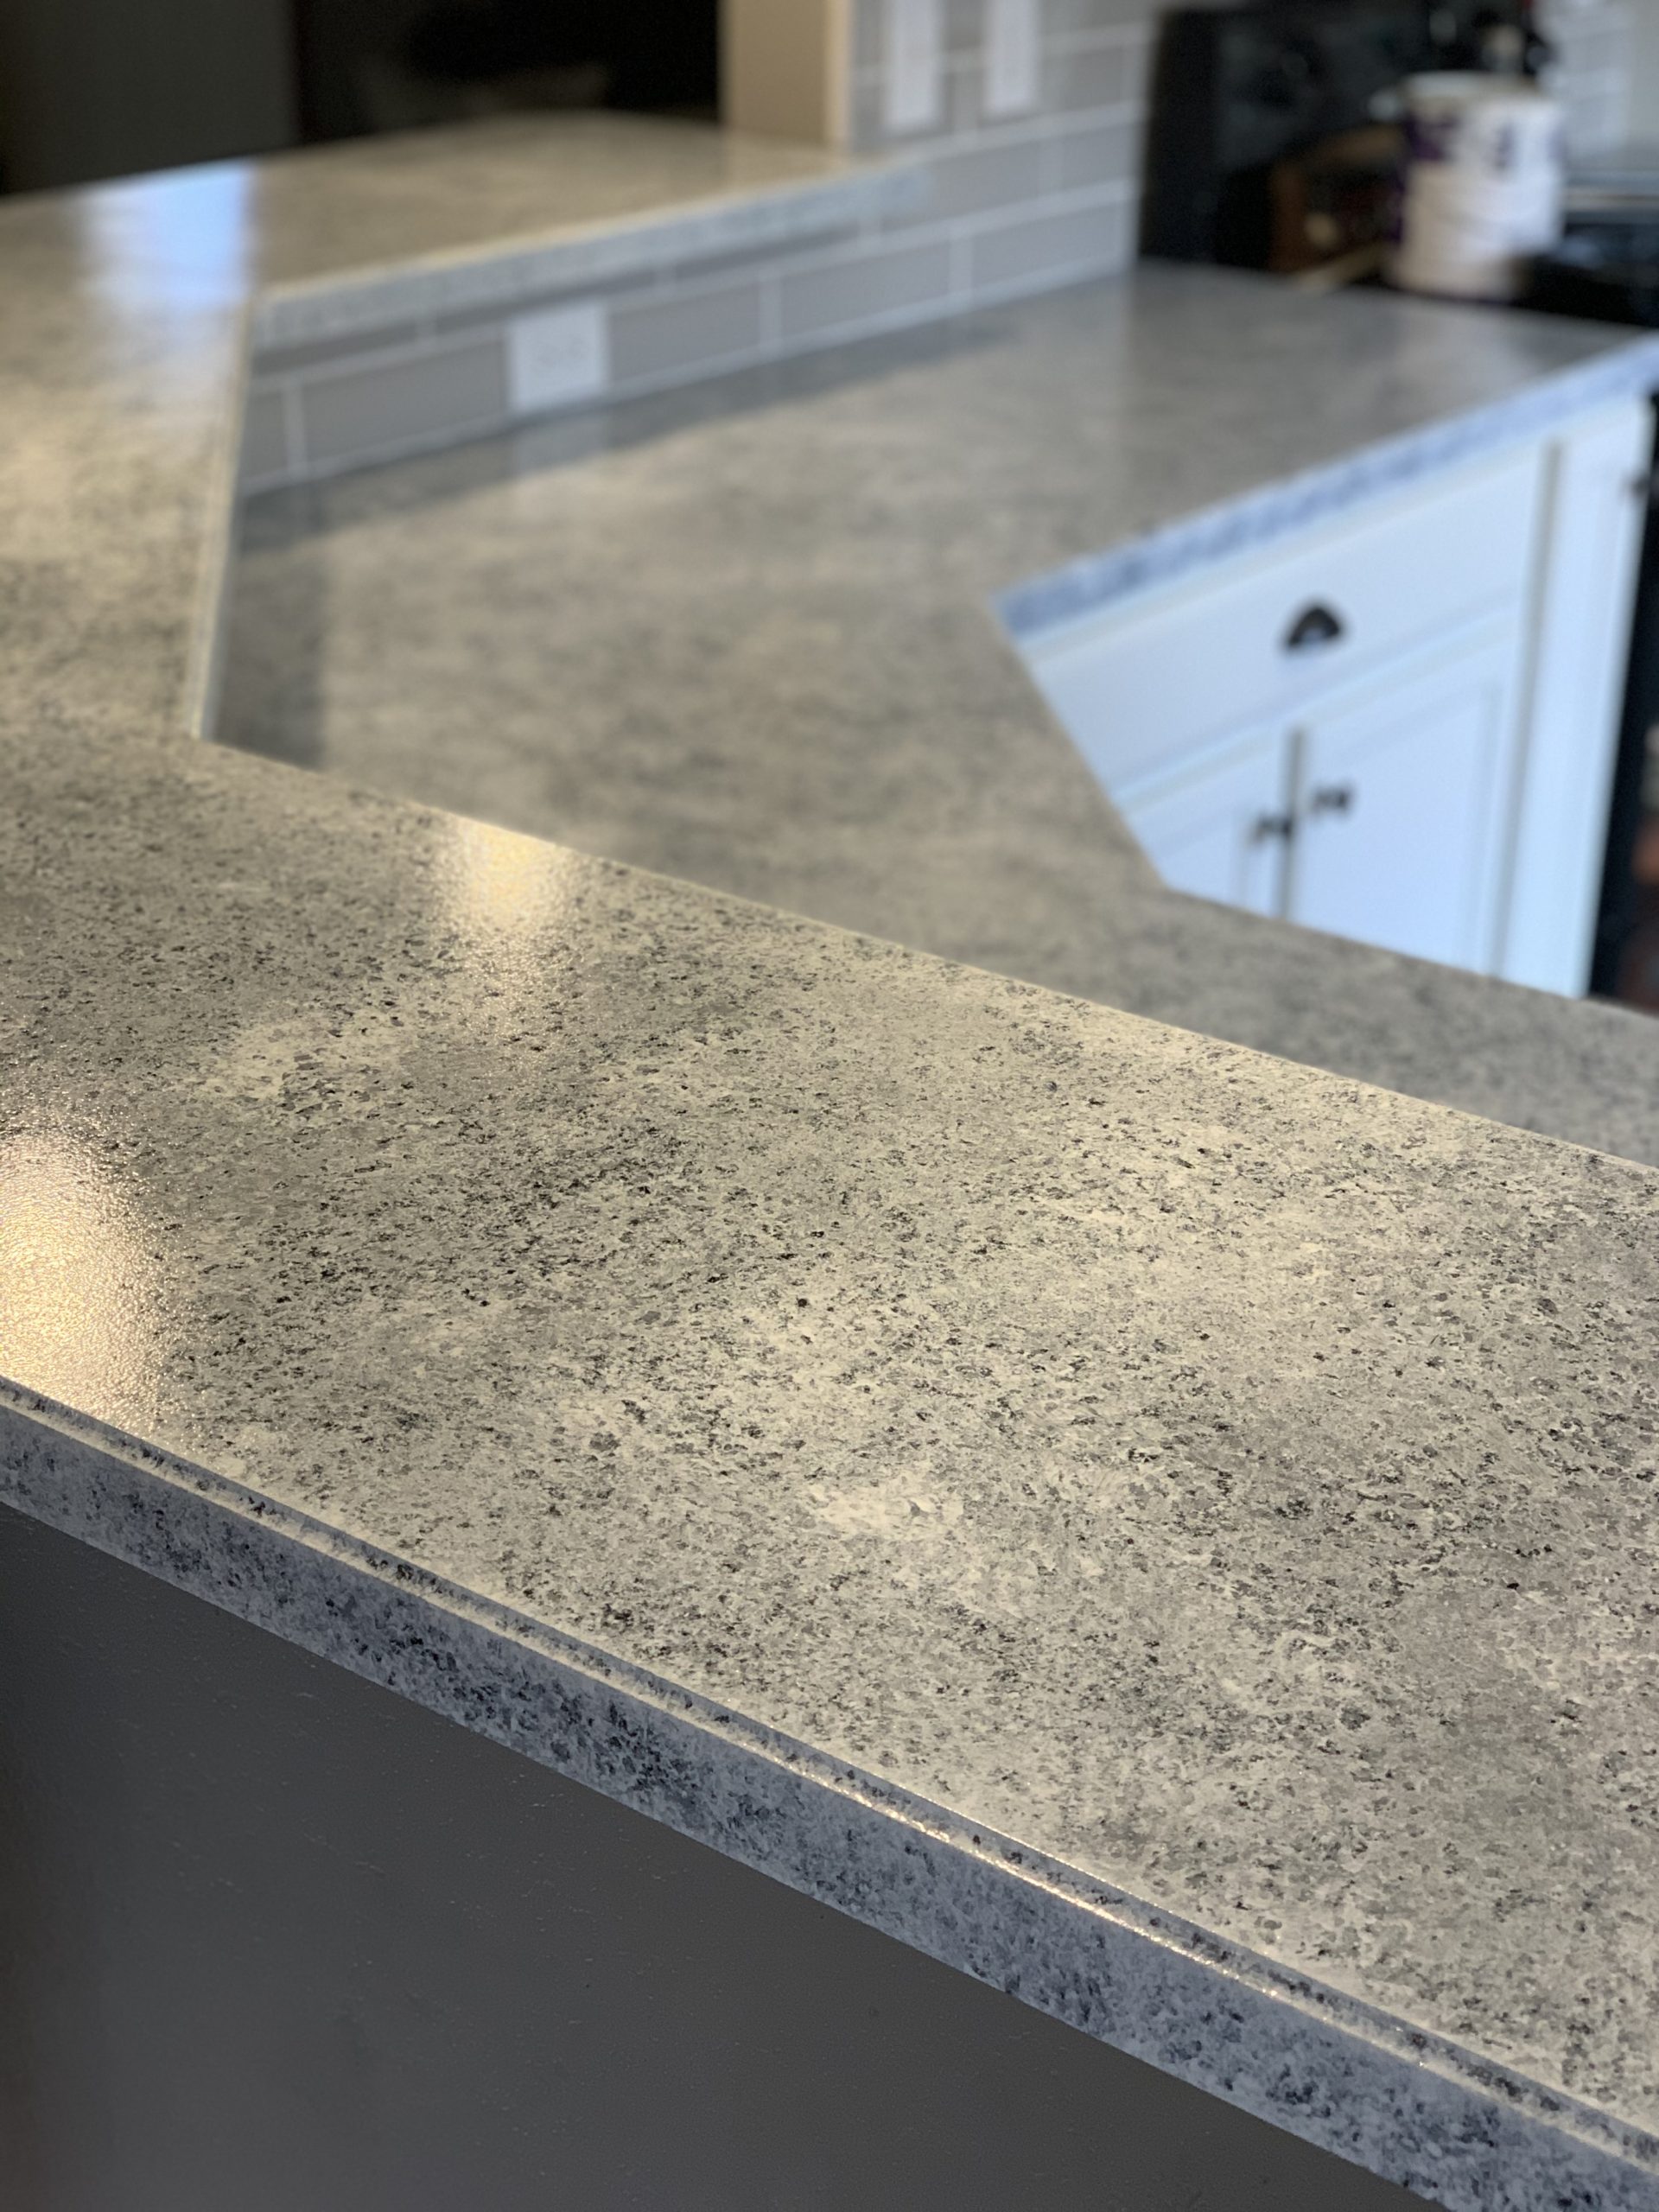
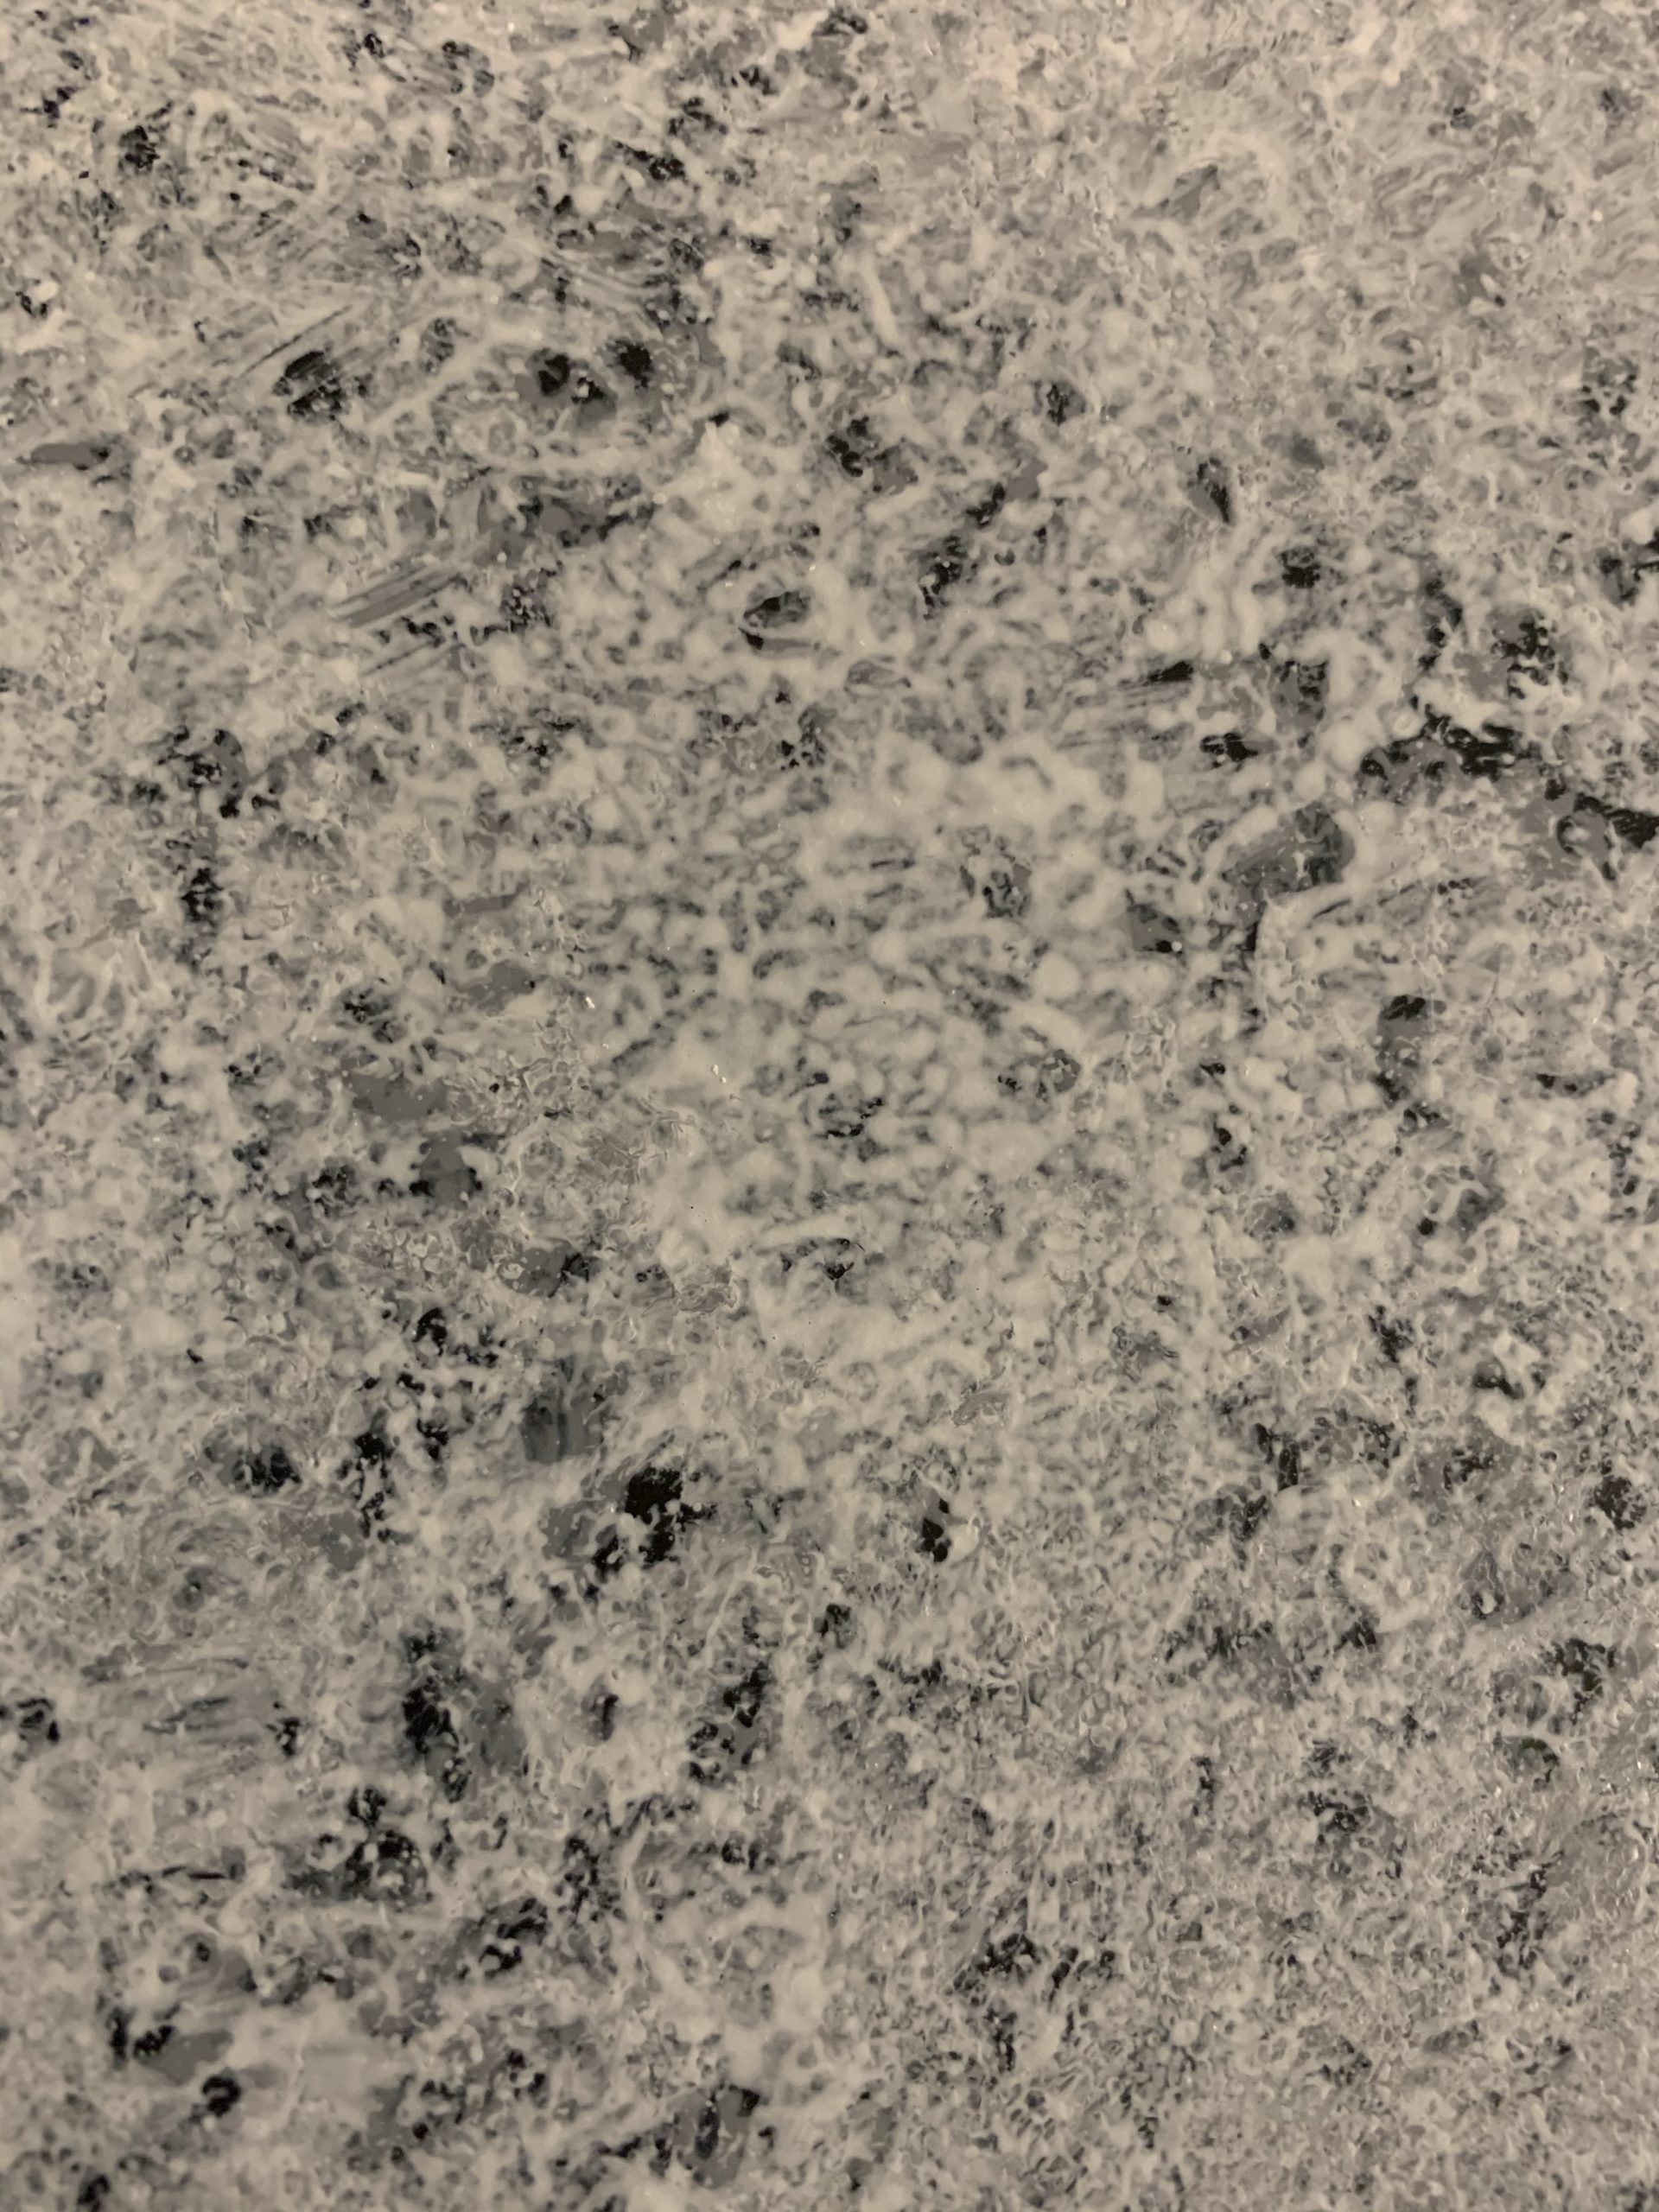
There’s also a lot of information and videos out there that are super detailed about how to get the best outcome with this paint! I used one kit for my entire kitchen.
Edit: A year later and the countertop paint is holding up nicely! There are a couple places on the sharp edges where the paint has started to rub off, but no where on the surface! I’m pretty impressed and would definitely recommend this product for an inexpensive update.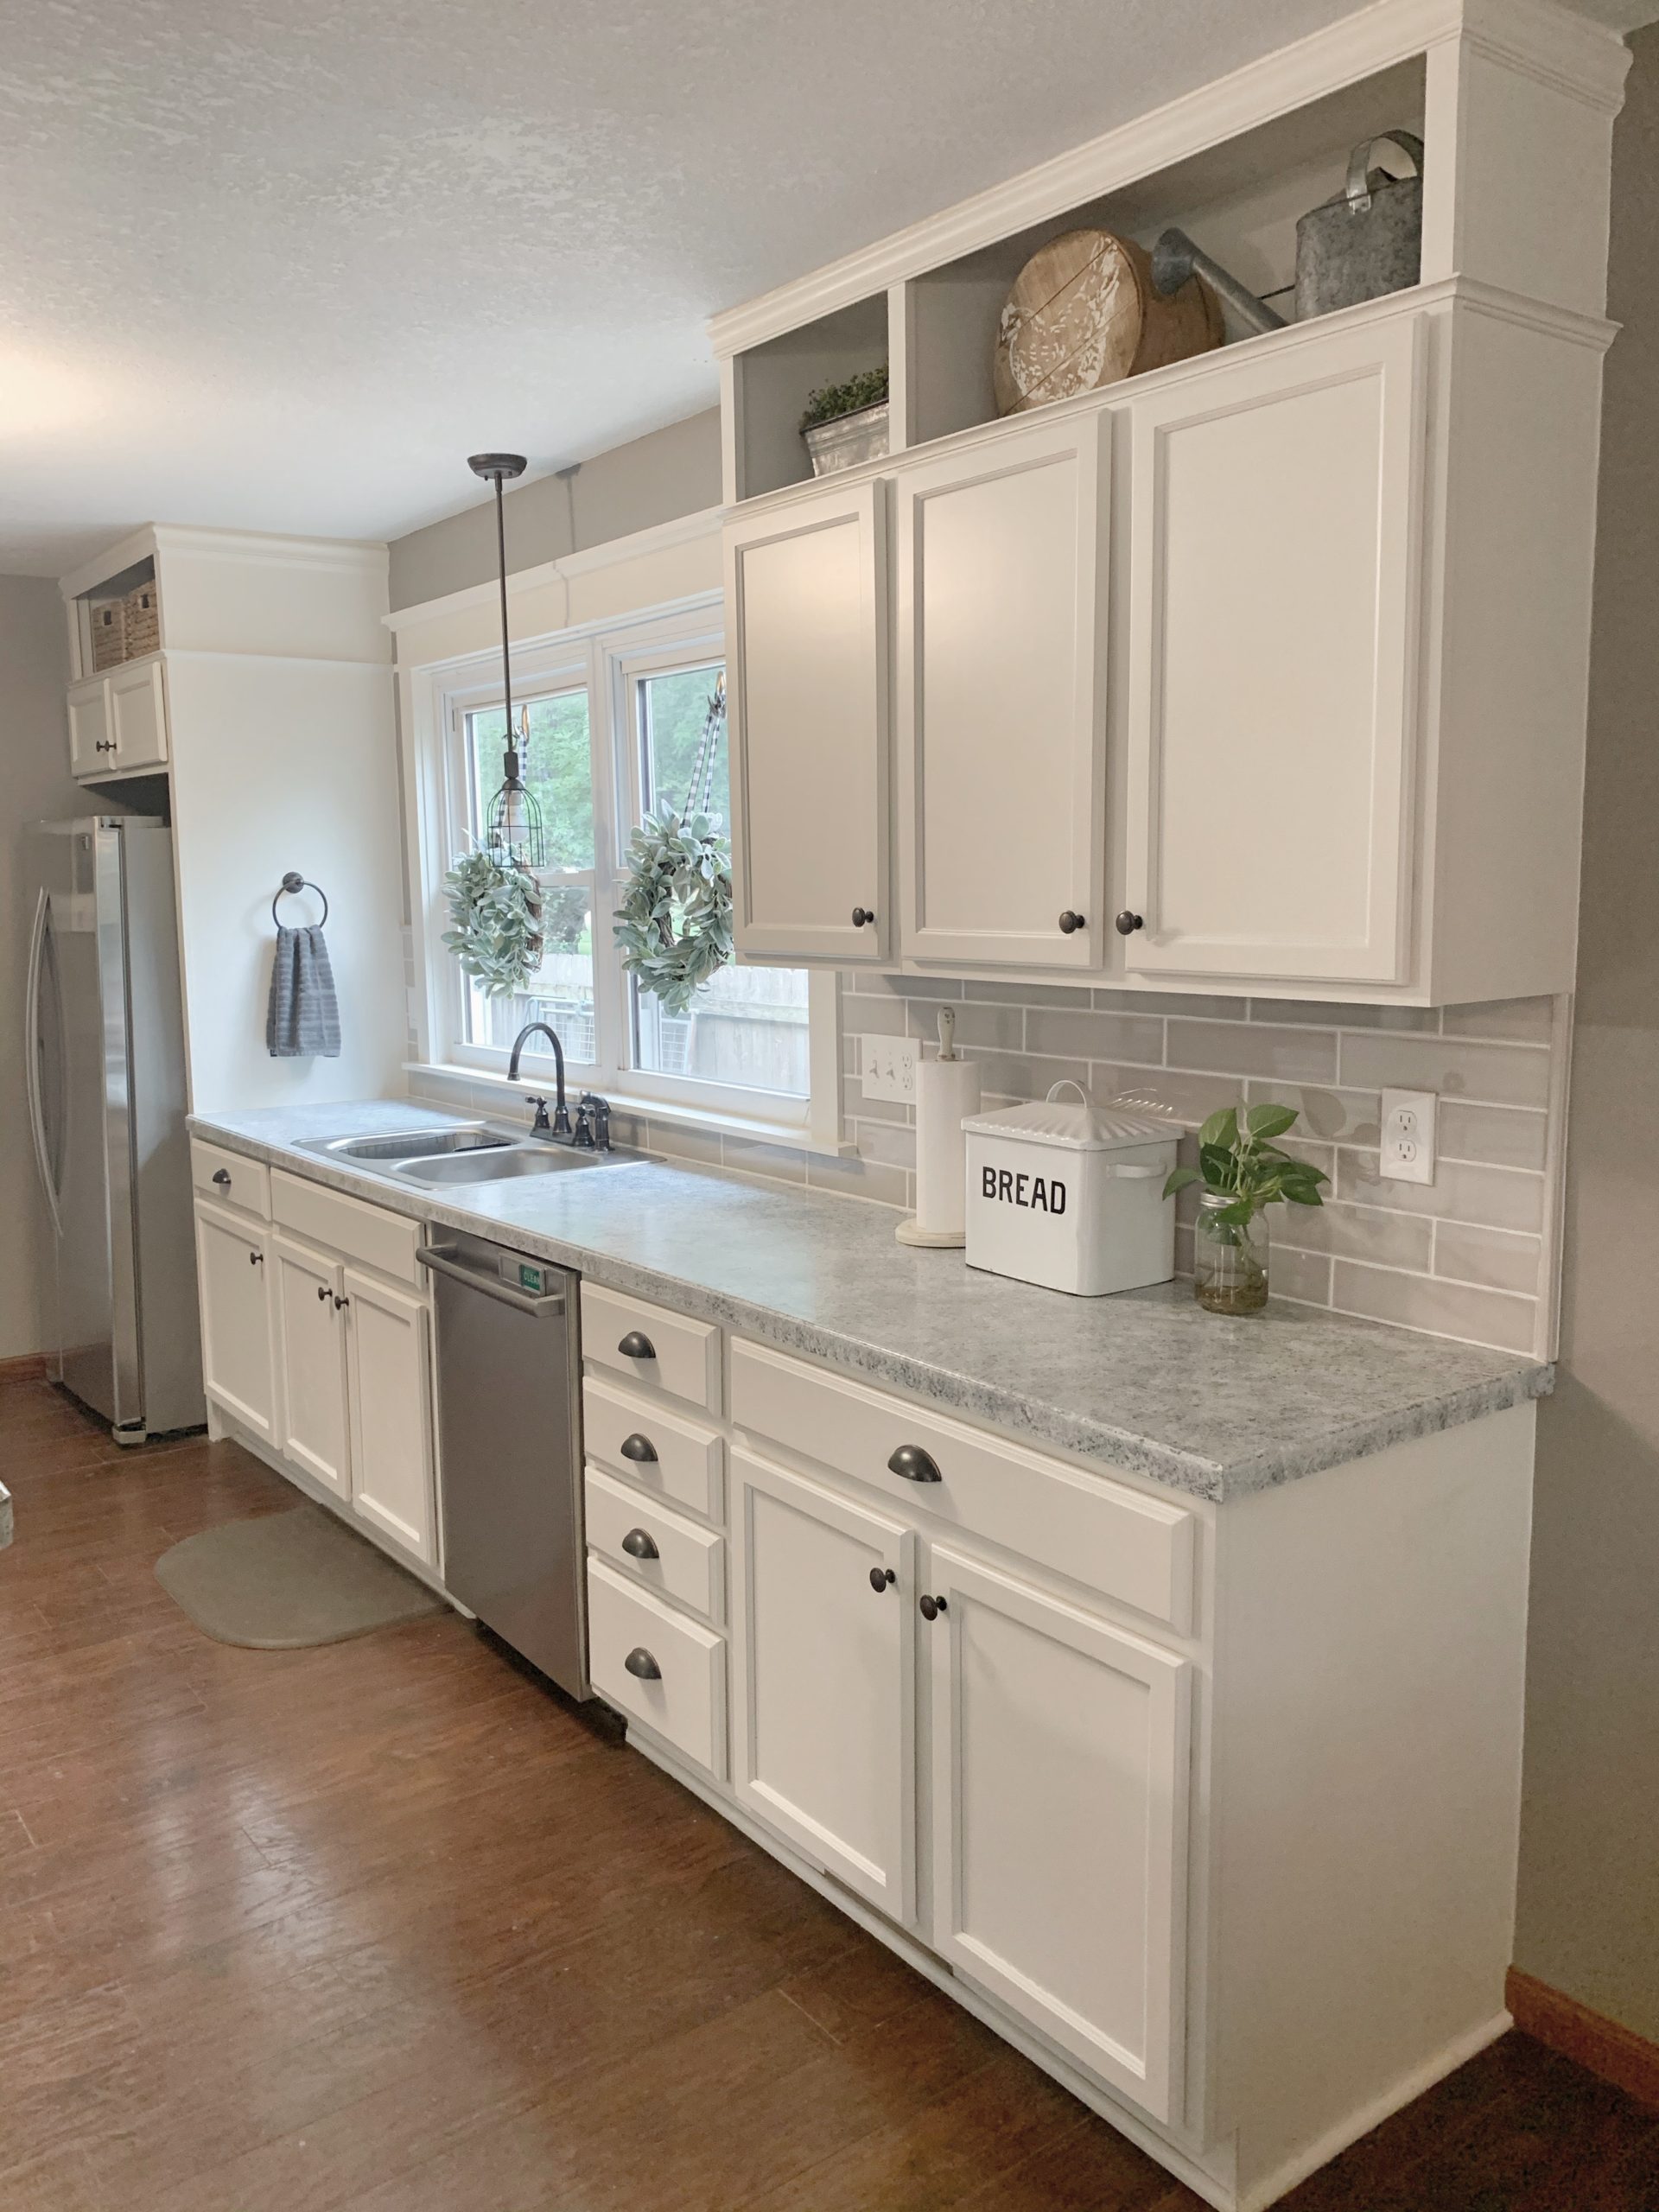
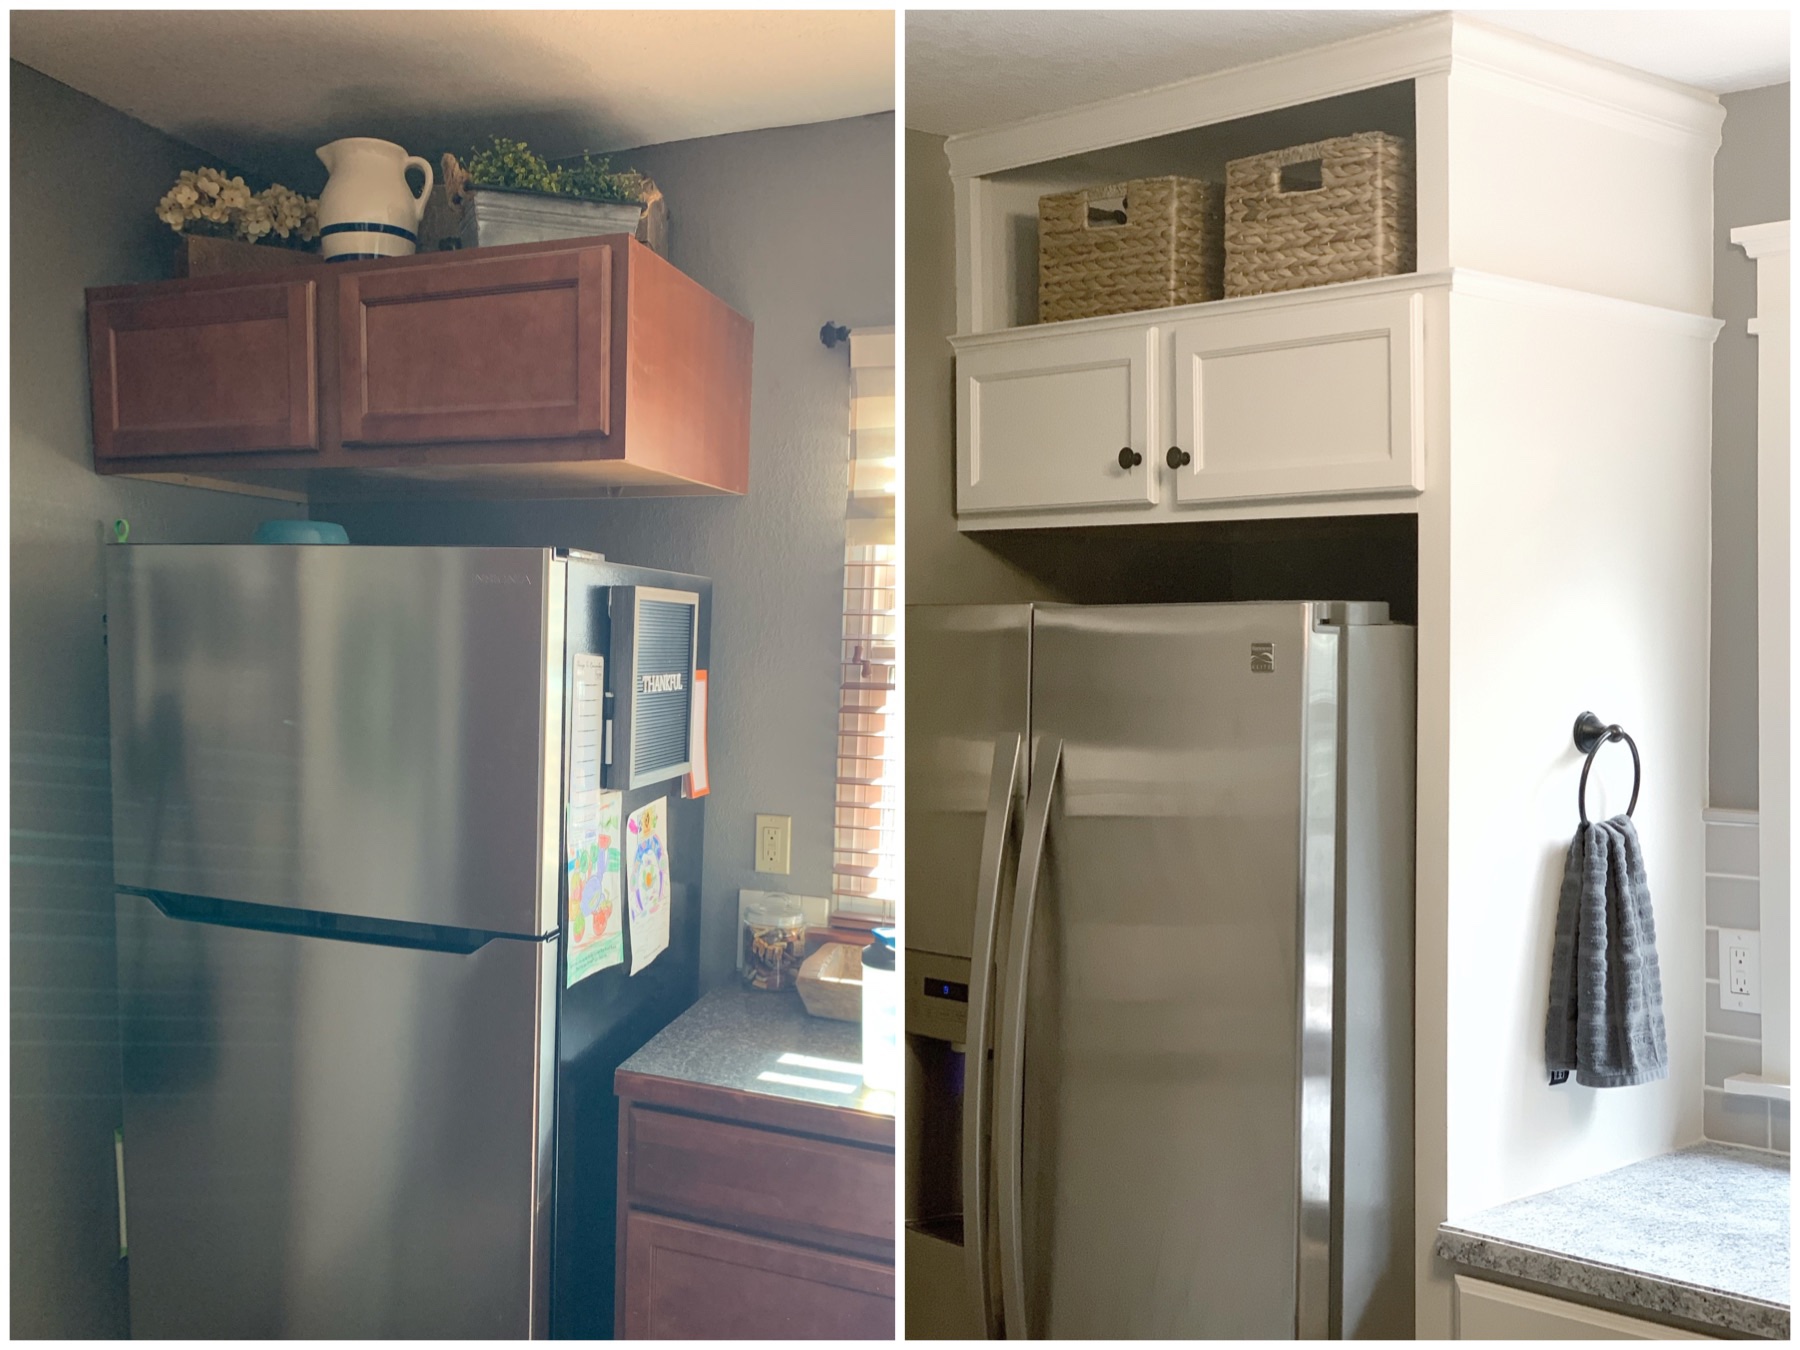
For around $500 TOTAL we accomplished this project and made it feel like a custom kitchen. Since this was our old house, I’m planning to do a similar cabinet update in our new house and possibly do more of a tutorial for this DIY! Let me know in the comments if you would be interested in that.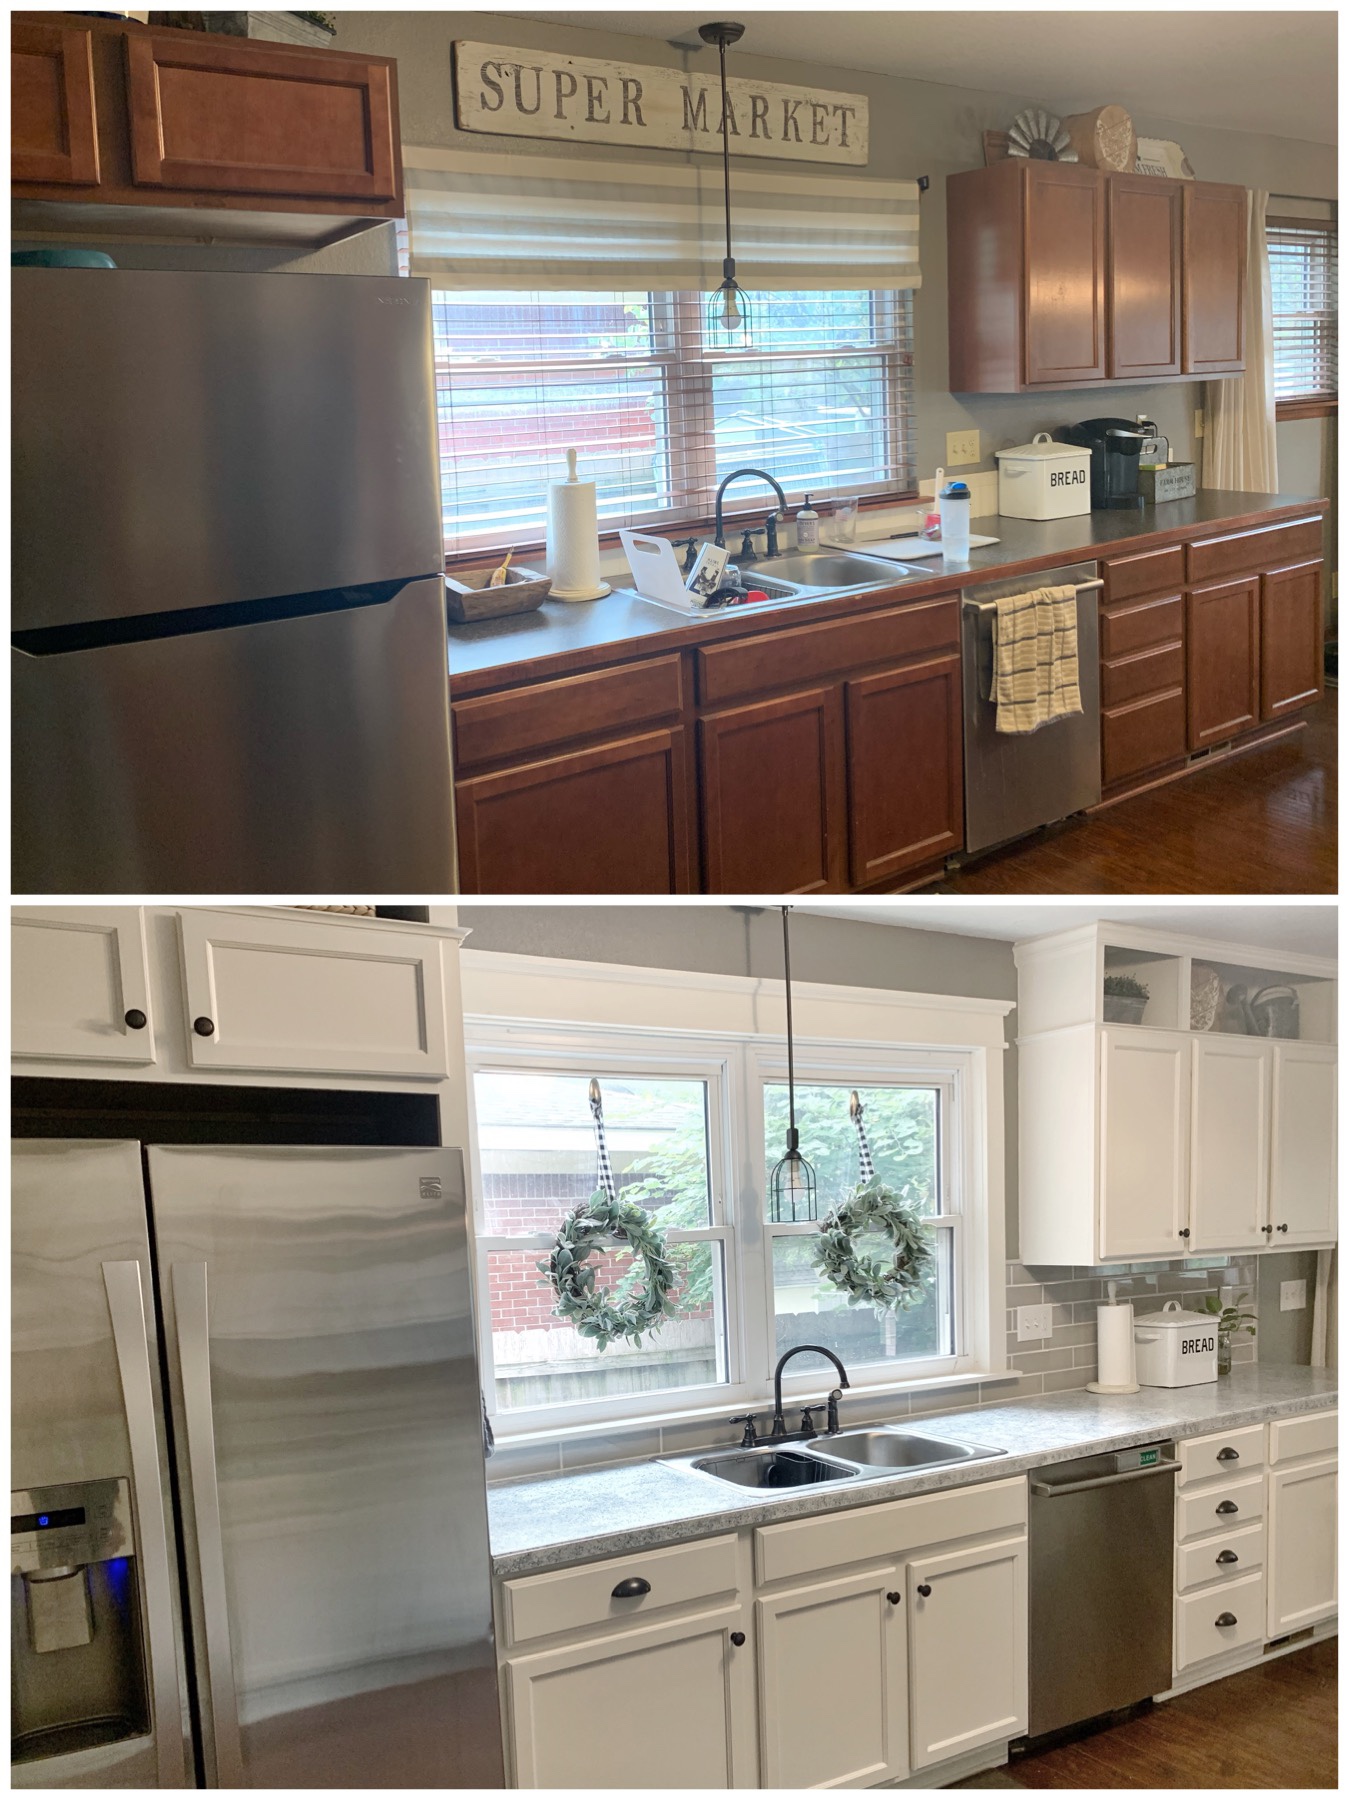
Thanks so much for reading and checking out our kitchen update. See you on the next project! God bless!
XOXO
ASHLEY DIANN

What paint did you use and color on cabinets?