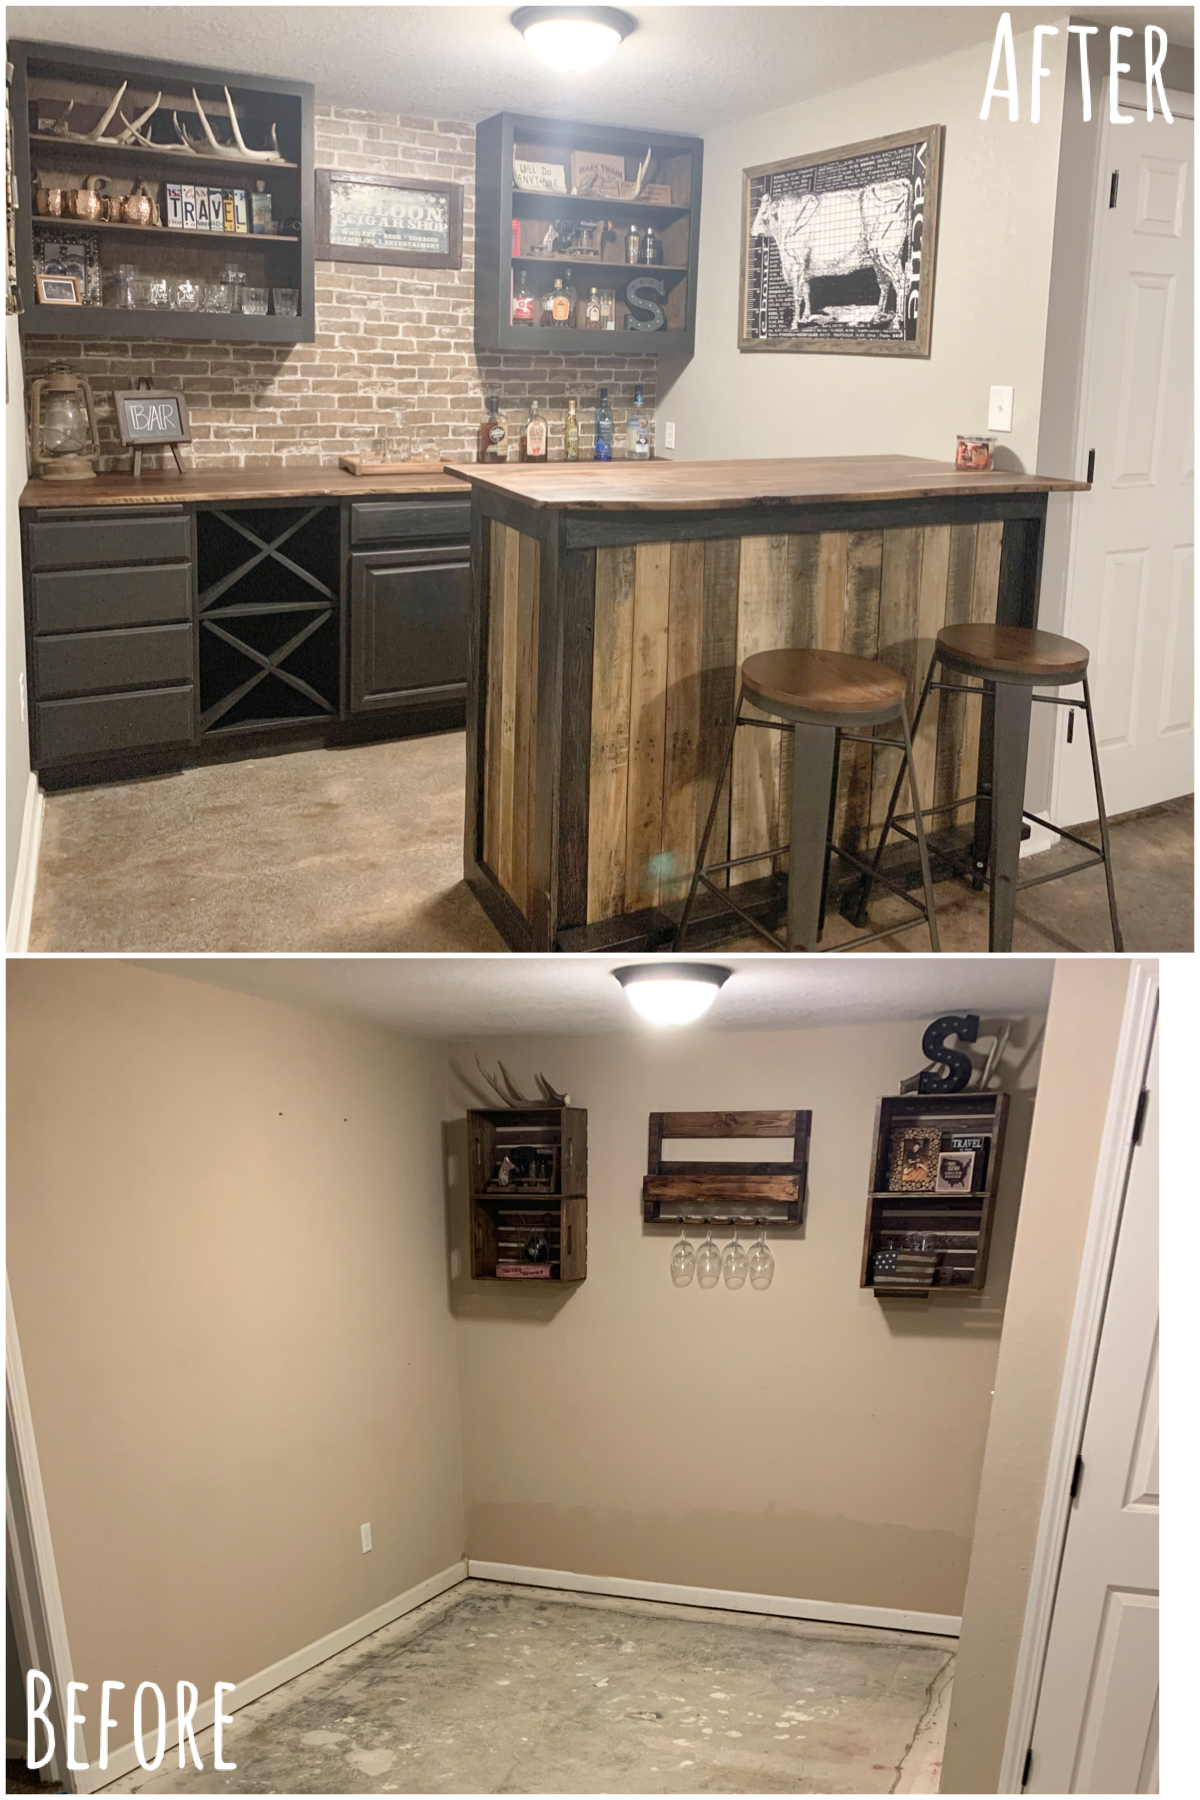
 Ever since we moved into our house, we planned to add a bar area in our basement. We had the perfect little nook for it, and we threw around several ideas before landing on this design!
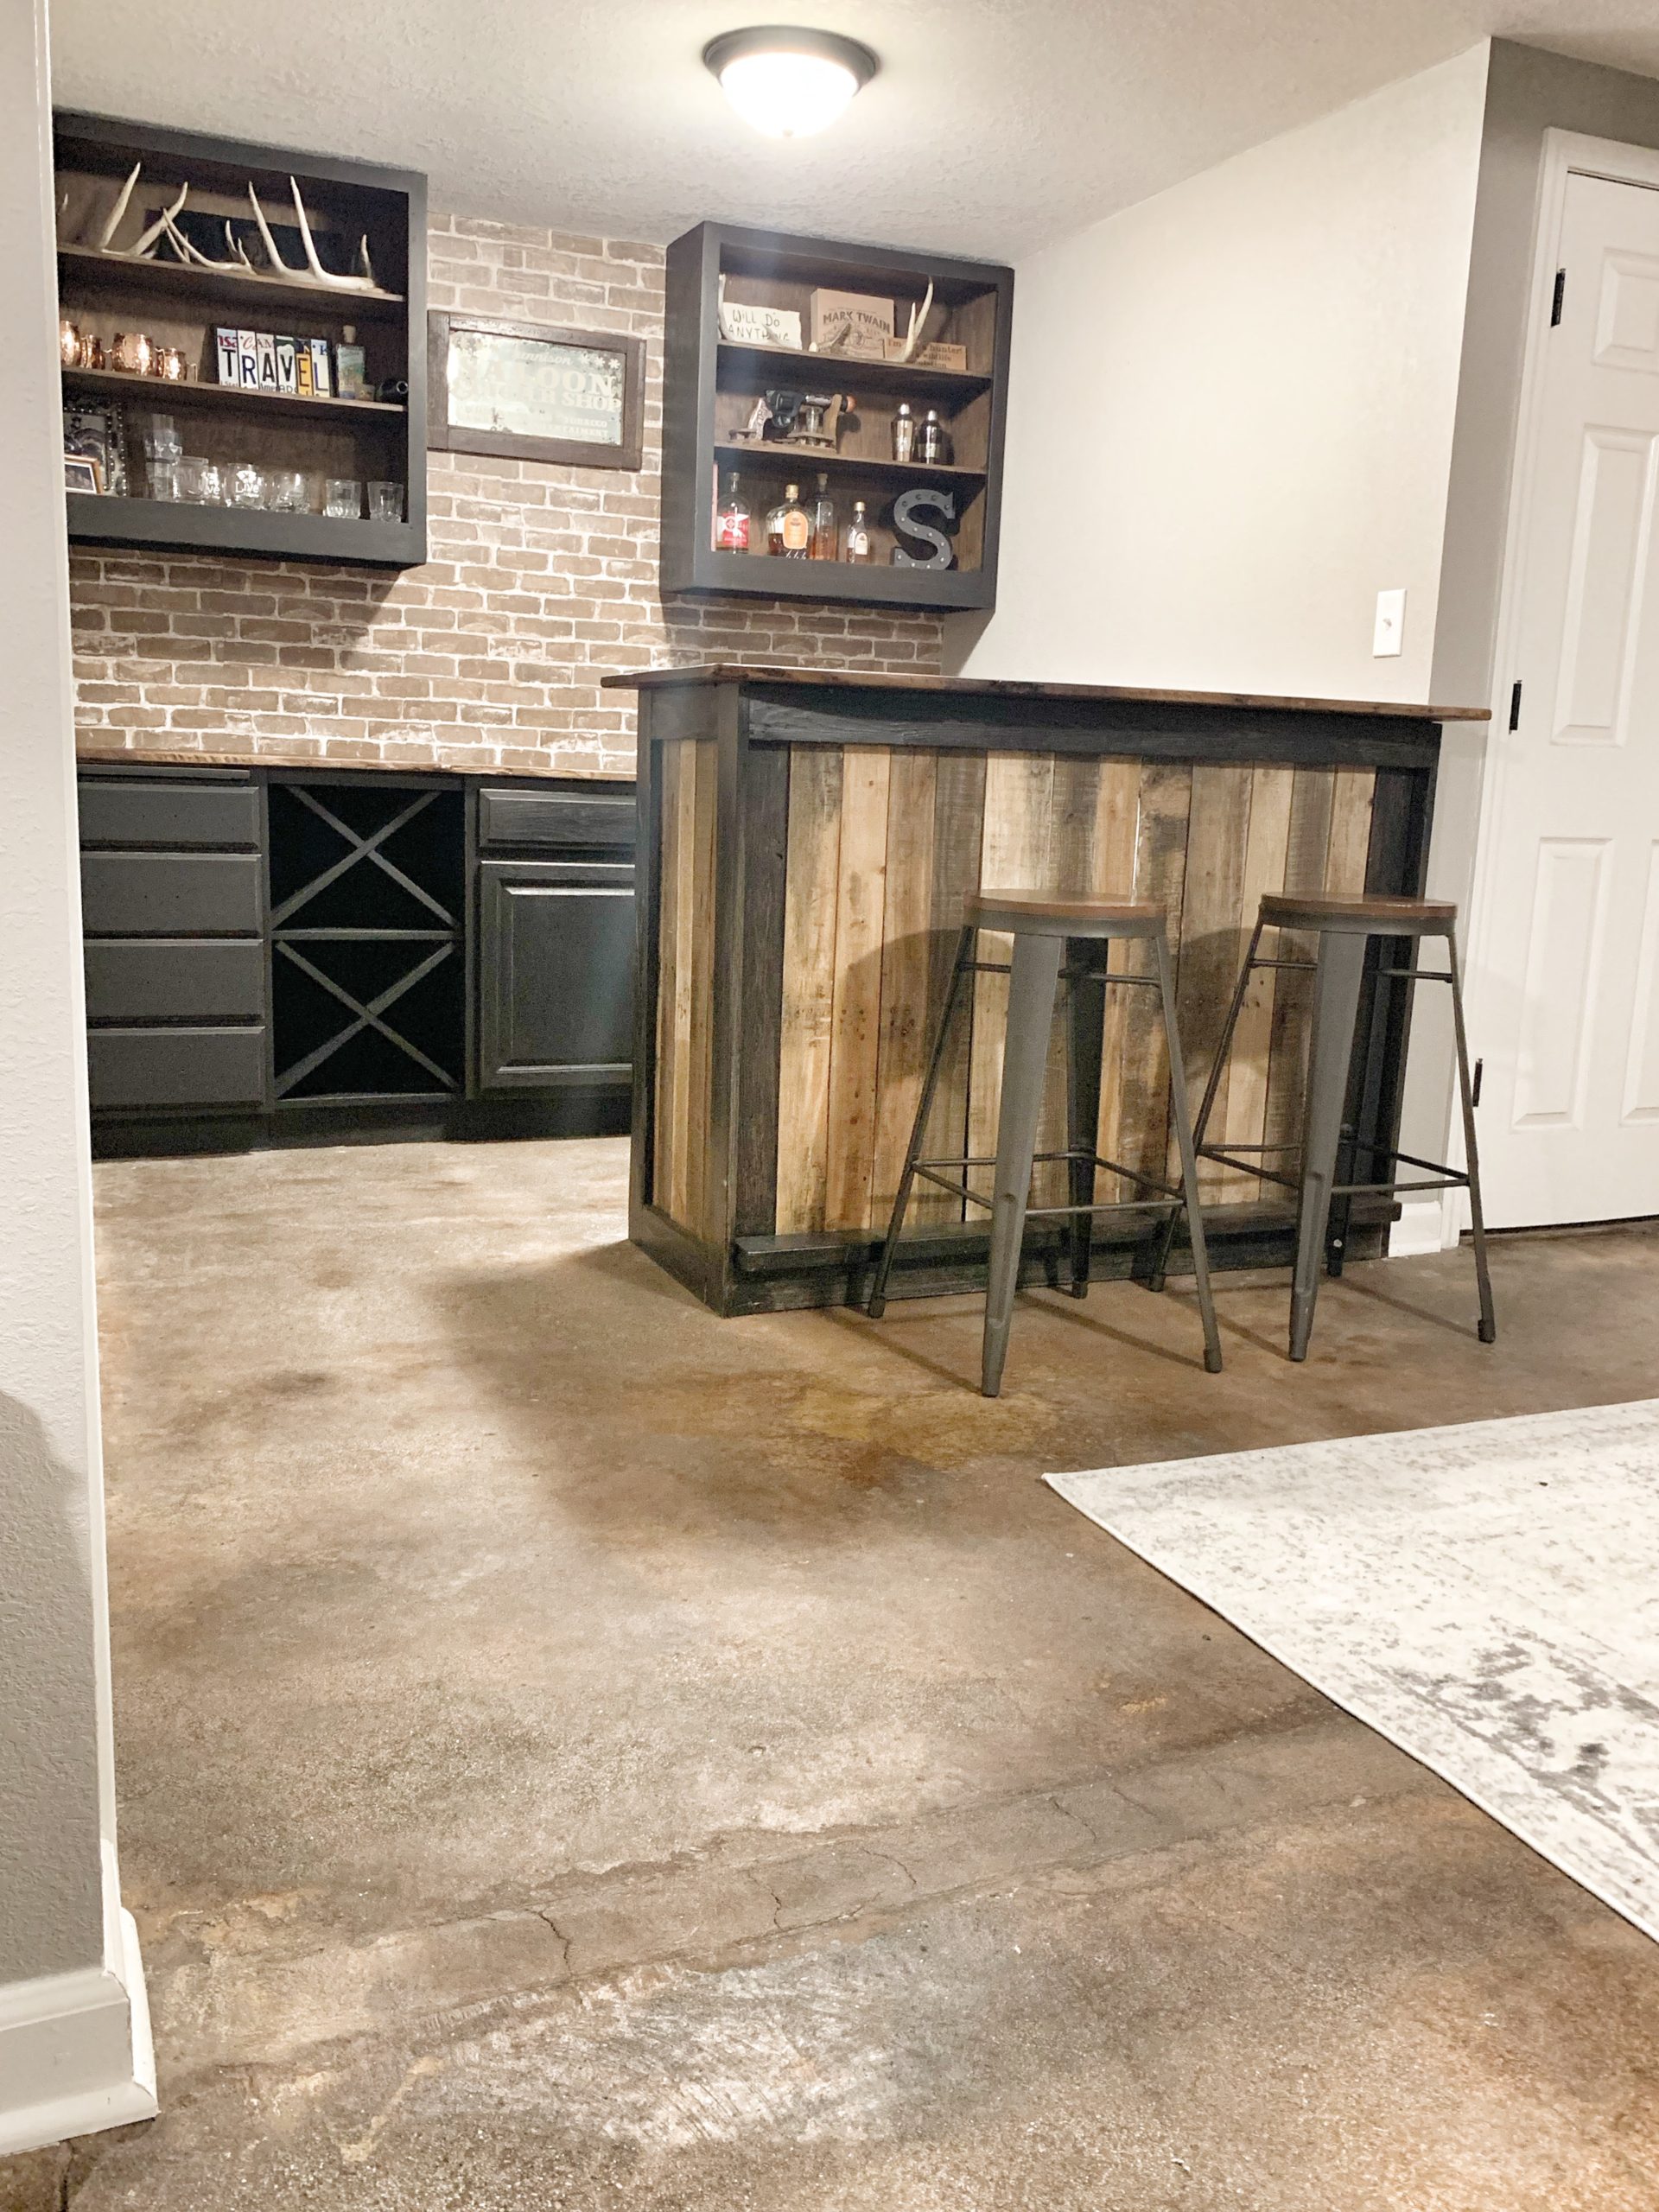 I always like to challenge myself to find the most inexpensive option with out compromising on quality. That usually means repurposing, buying used, or building from scratch. We didn’t set a specific budget, but this entire transformation (including the round table and chairs) was under $400!
Lower Cabinets
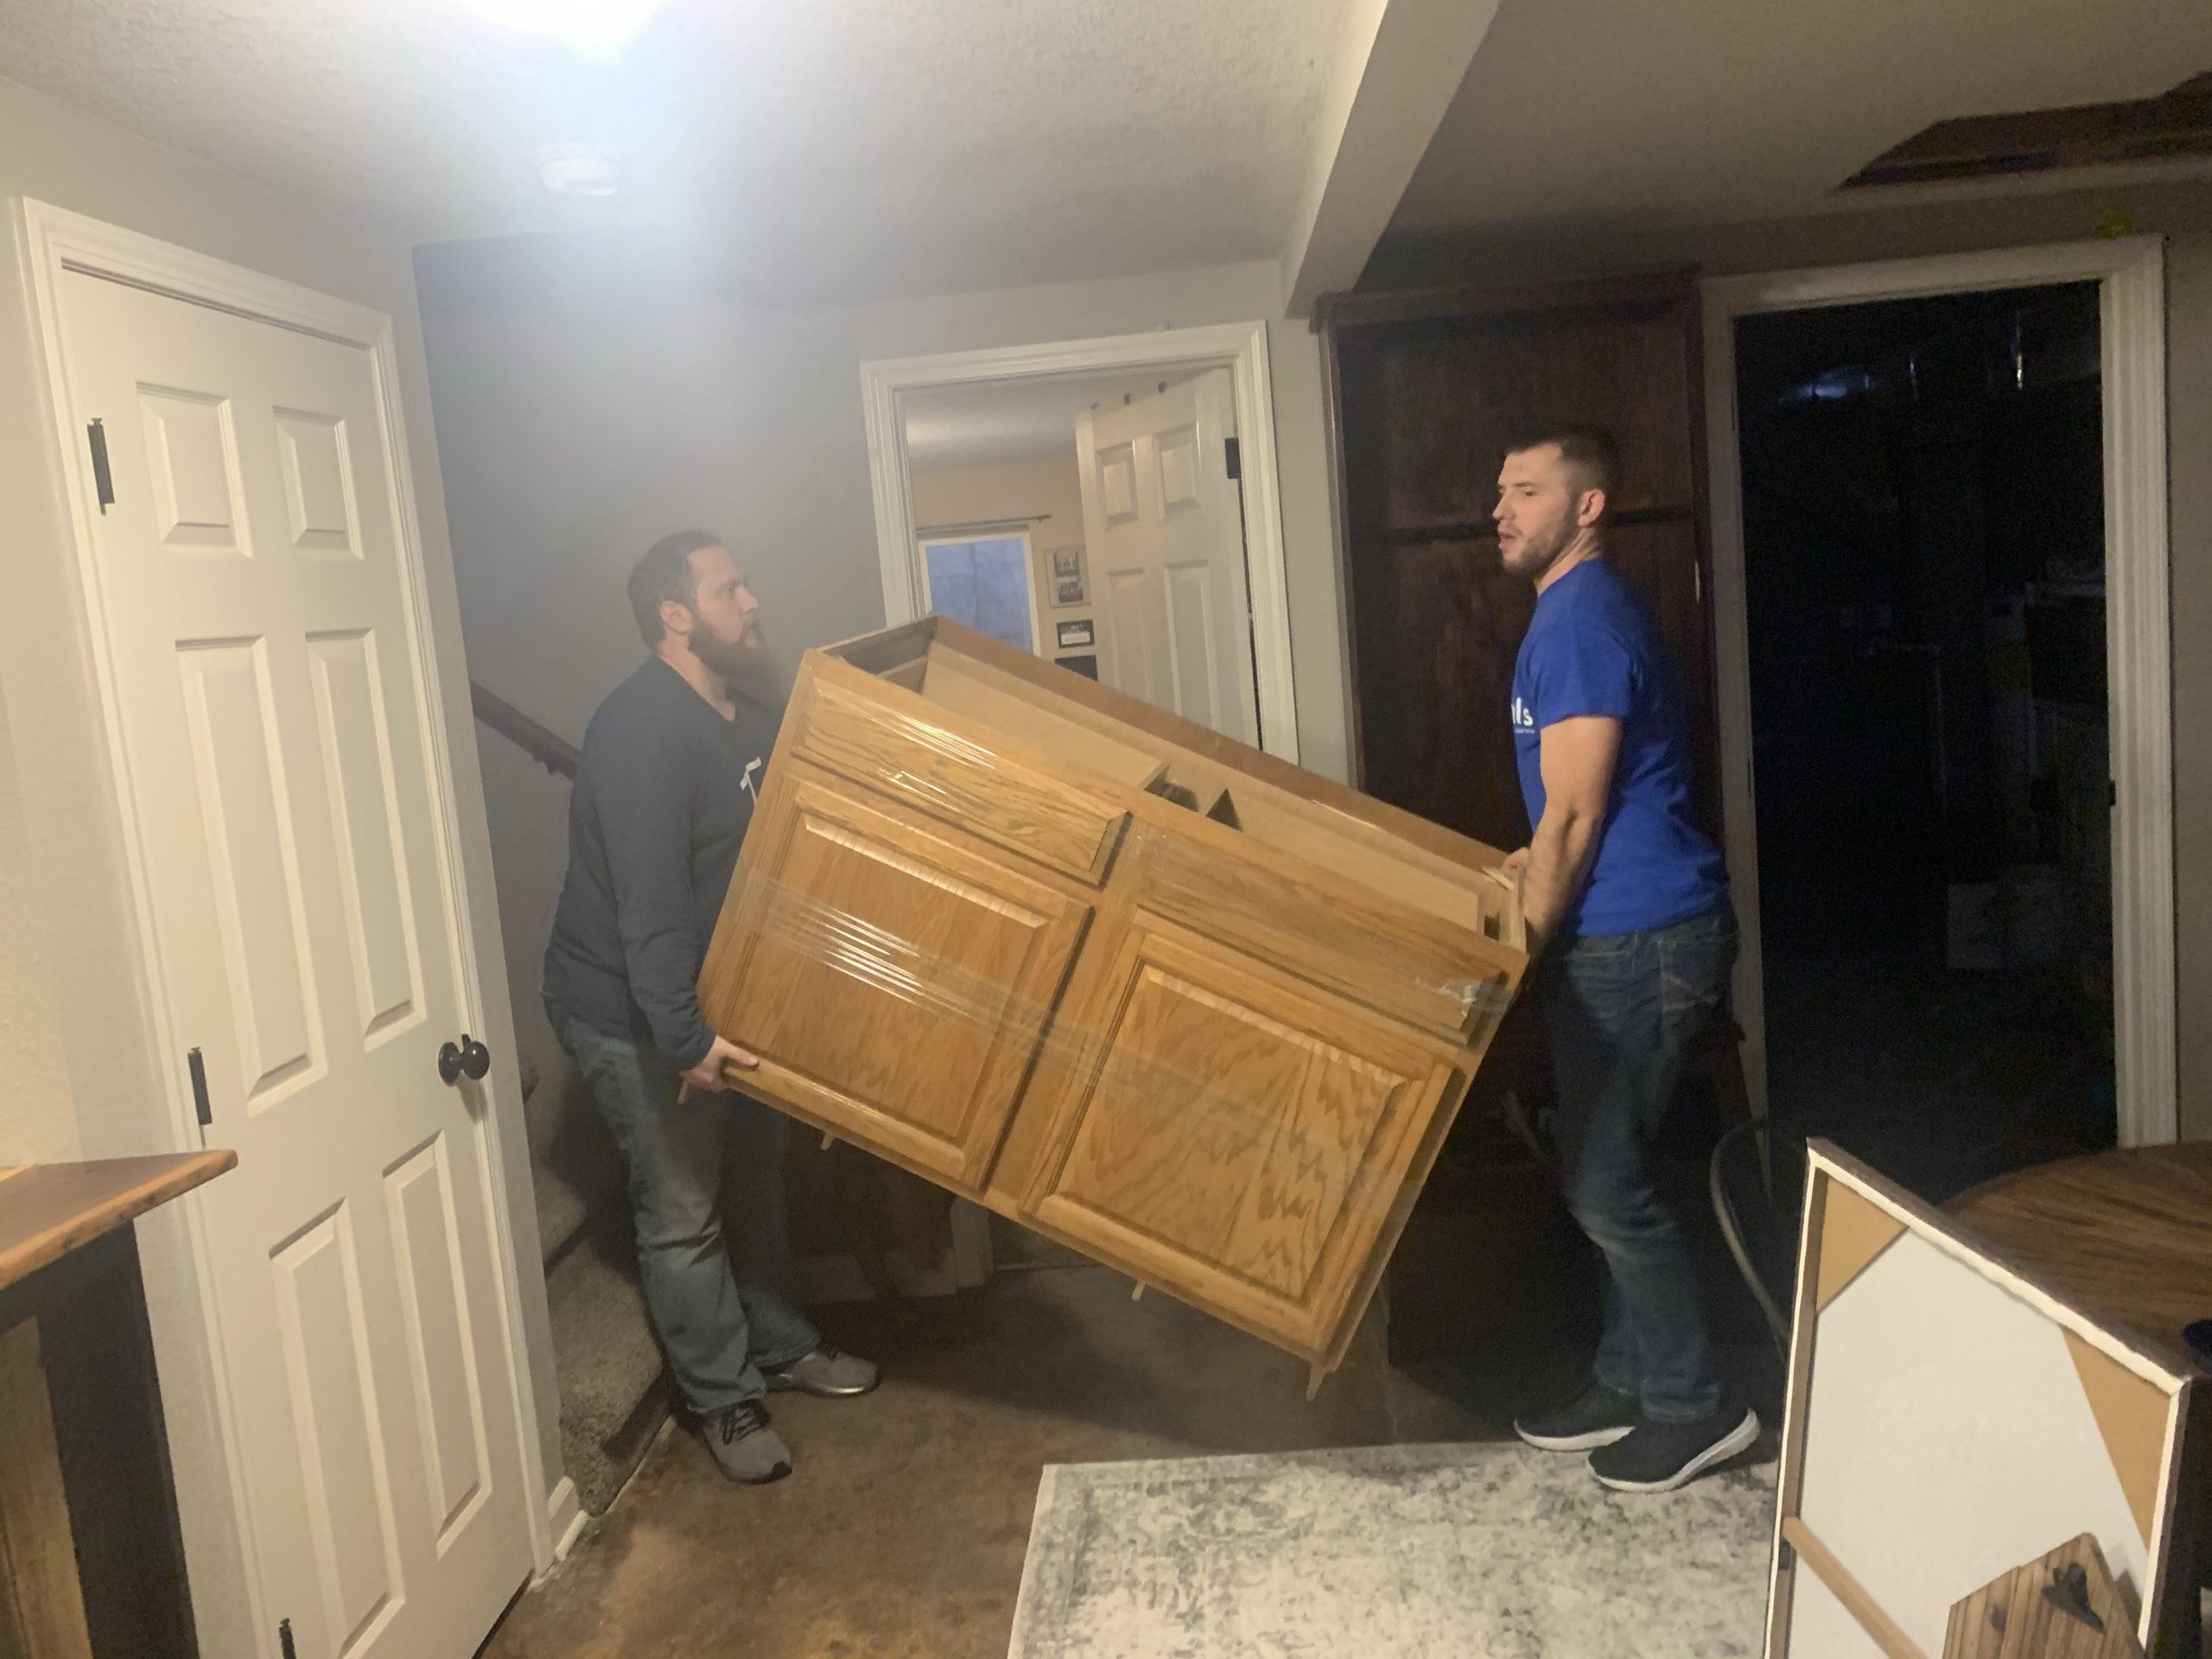
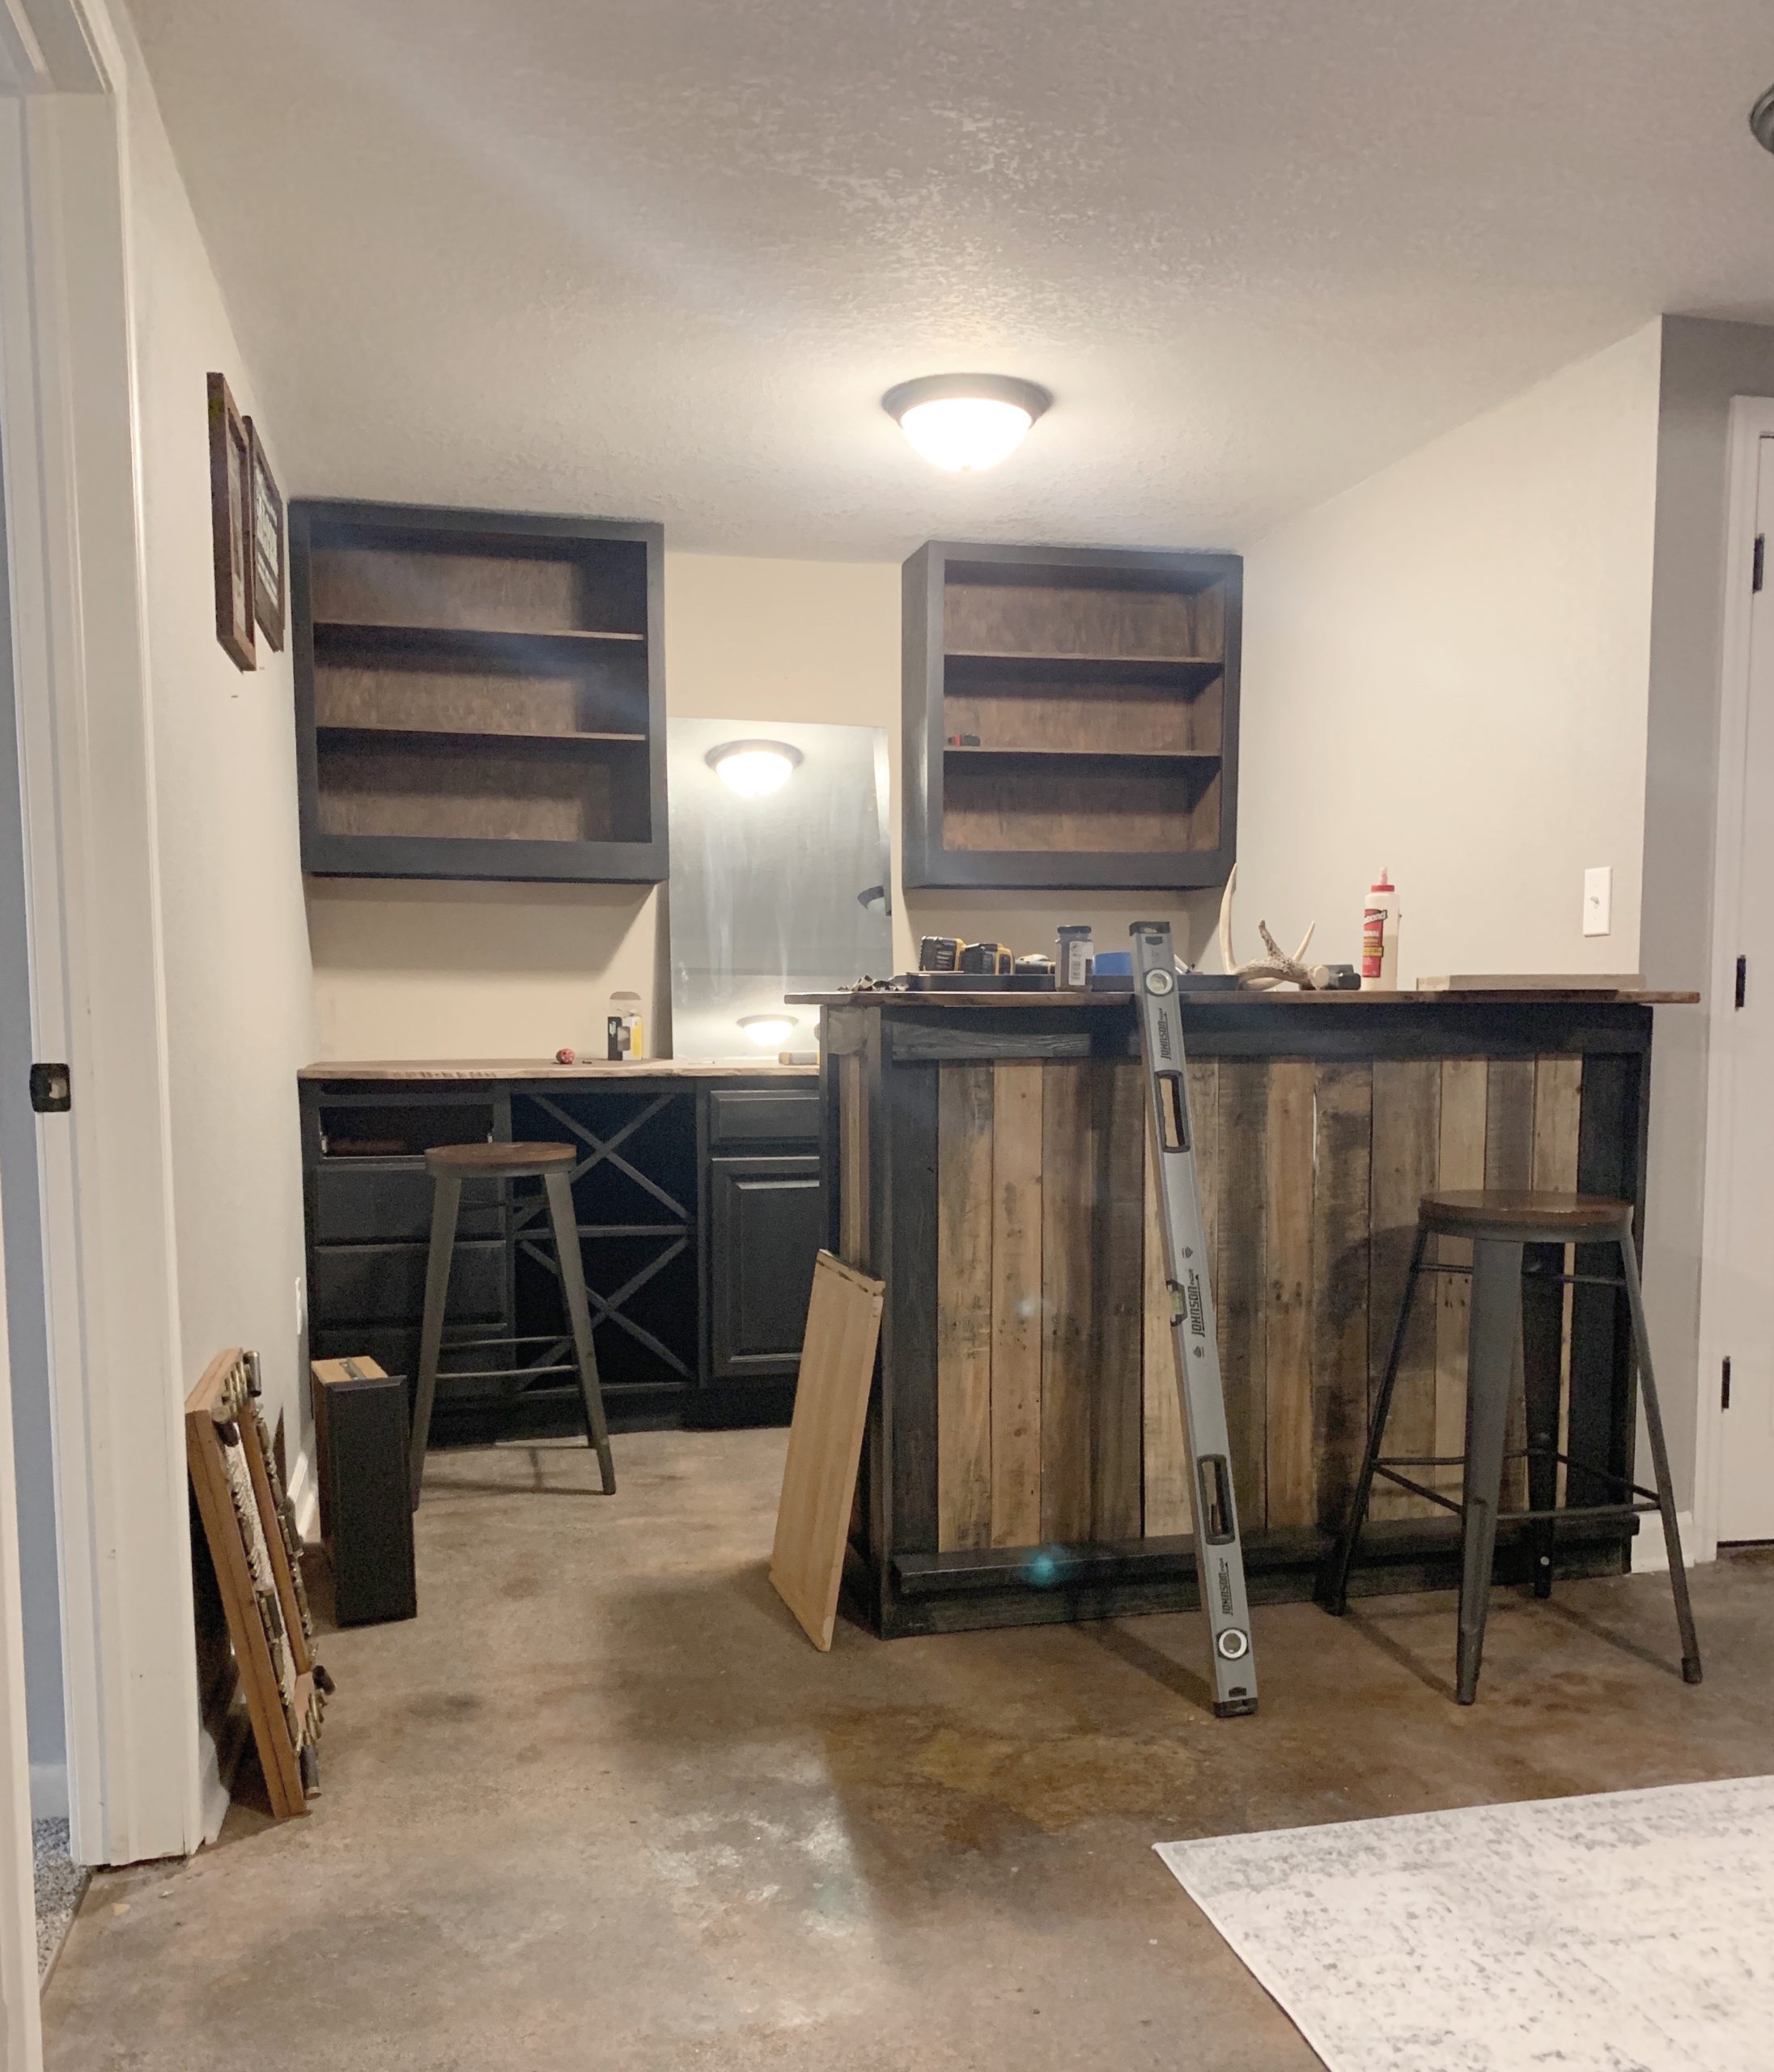
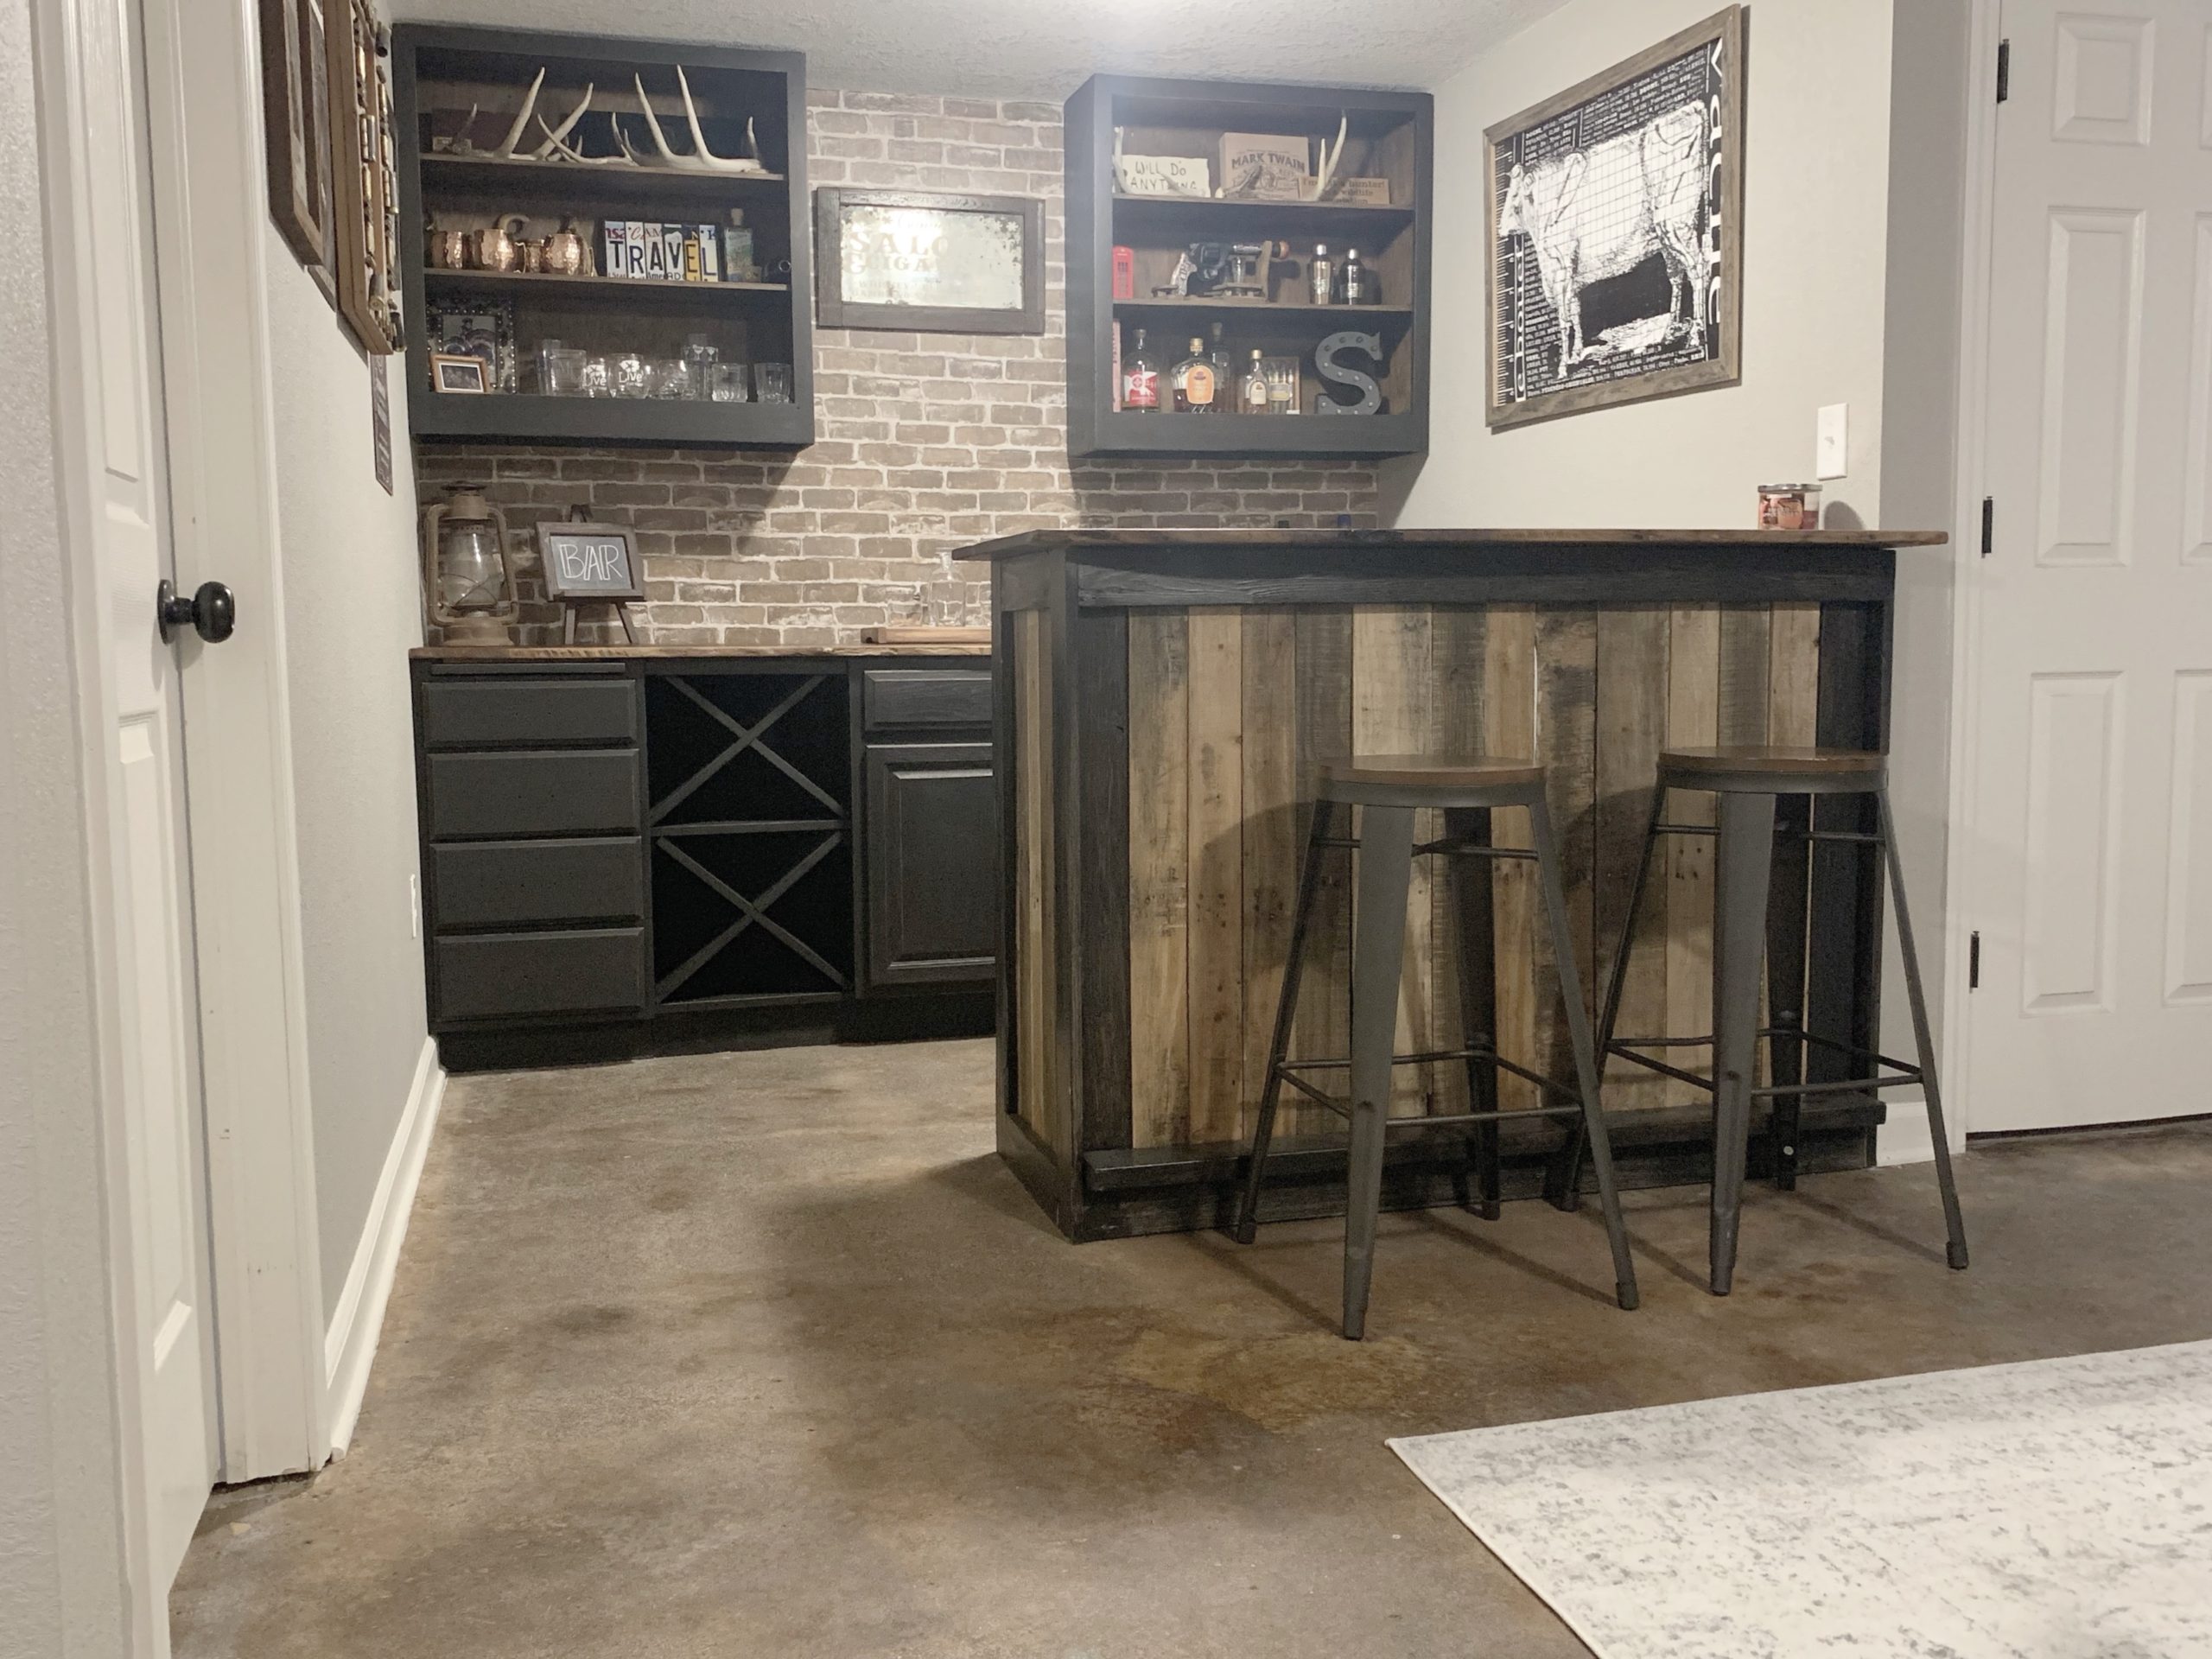
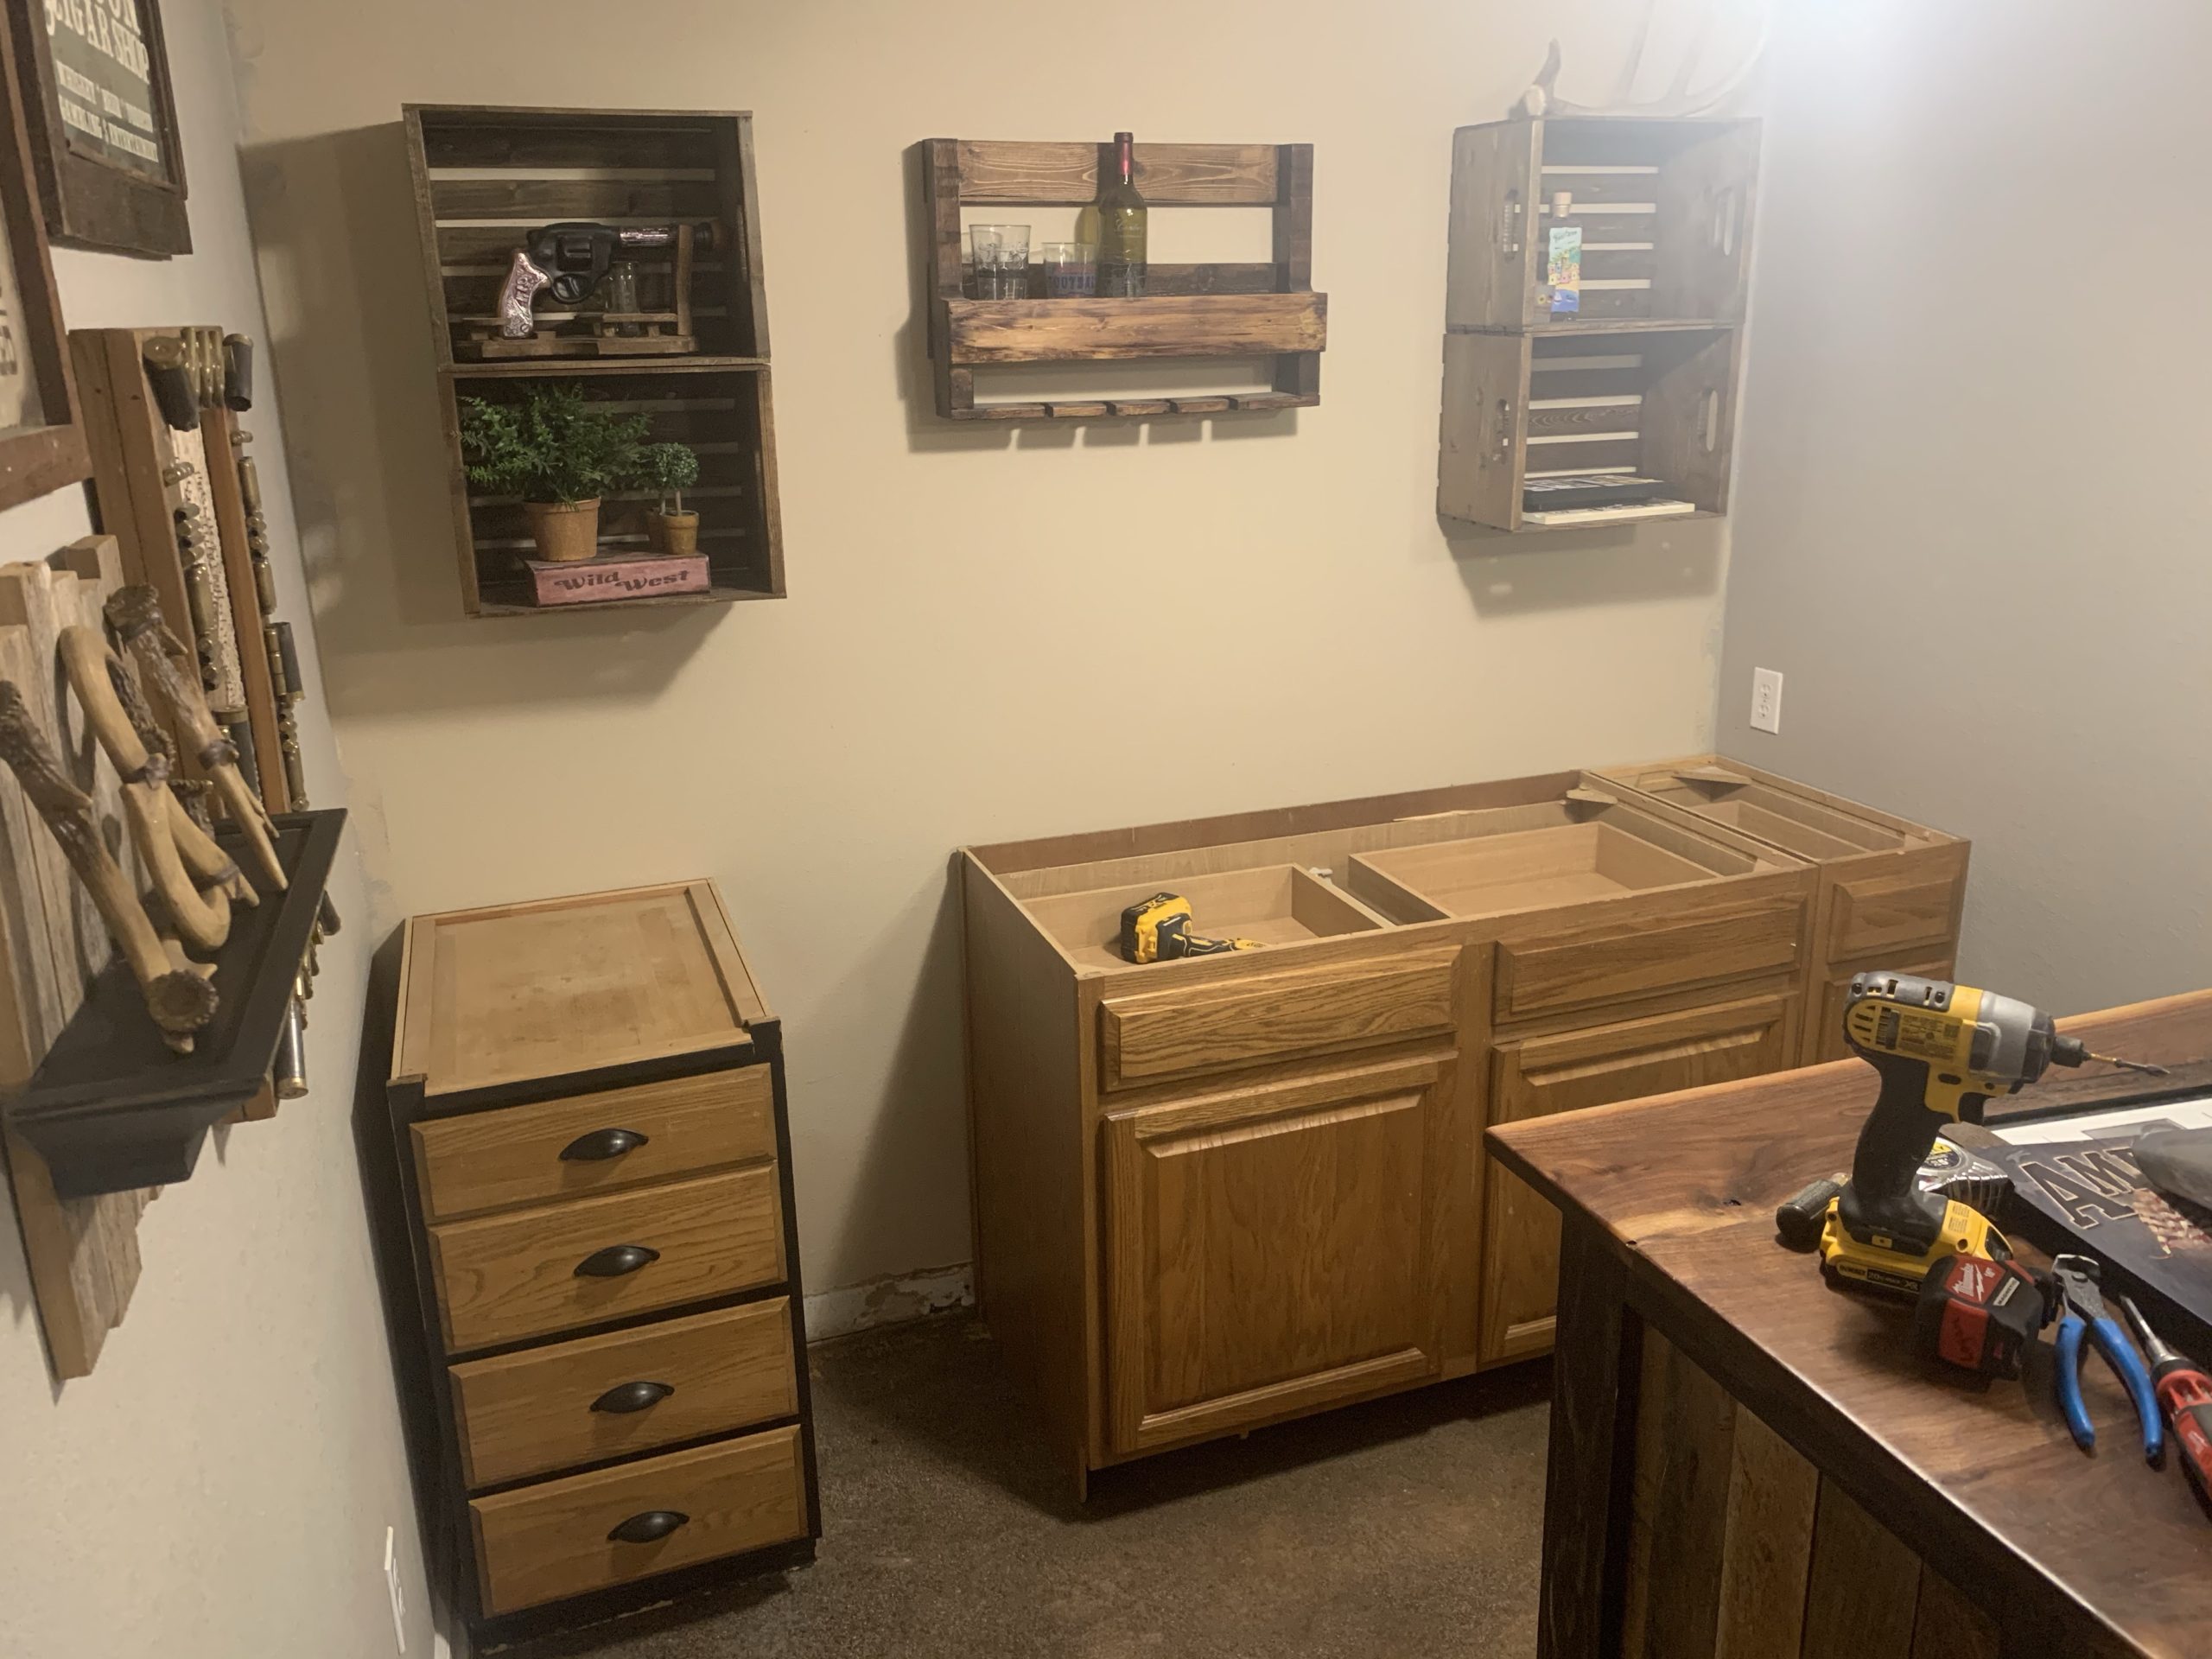 We found these cabinets at Restore, and paid around $130 total. Since they were in good shape, we just painted them to match and filled in the gap with a custom wine rack shelf.
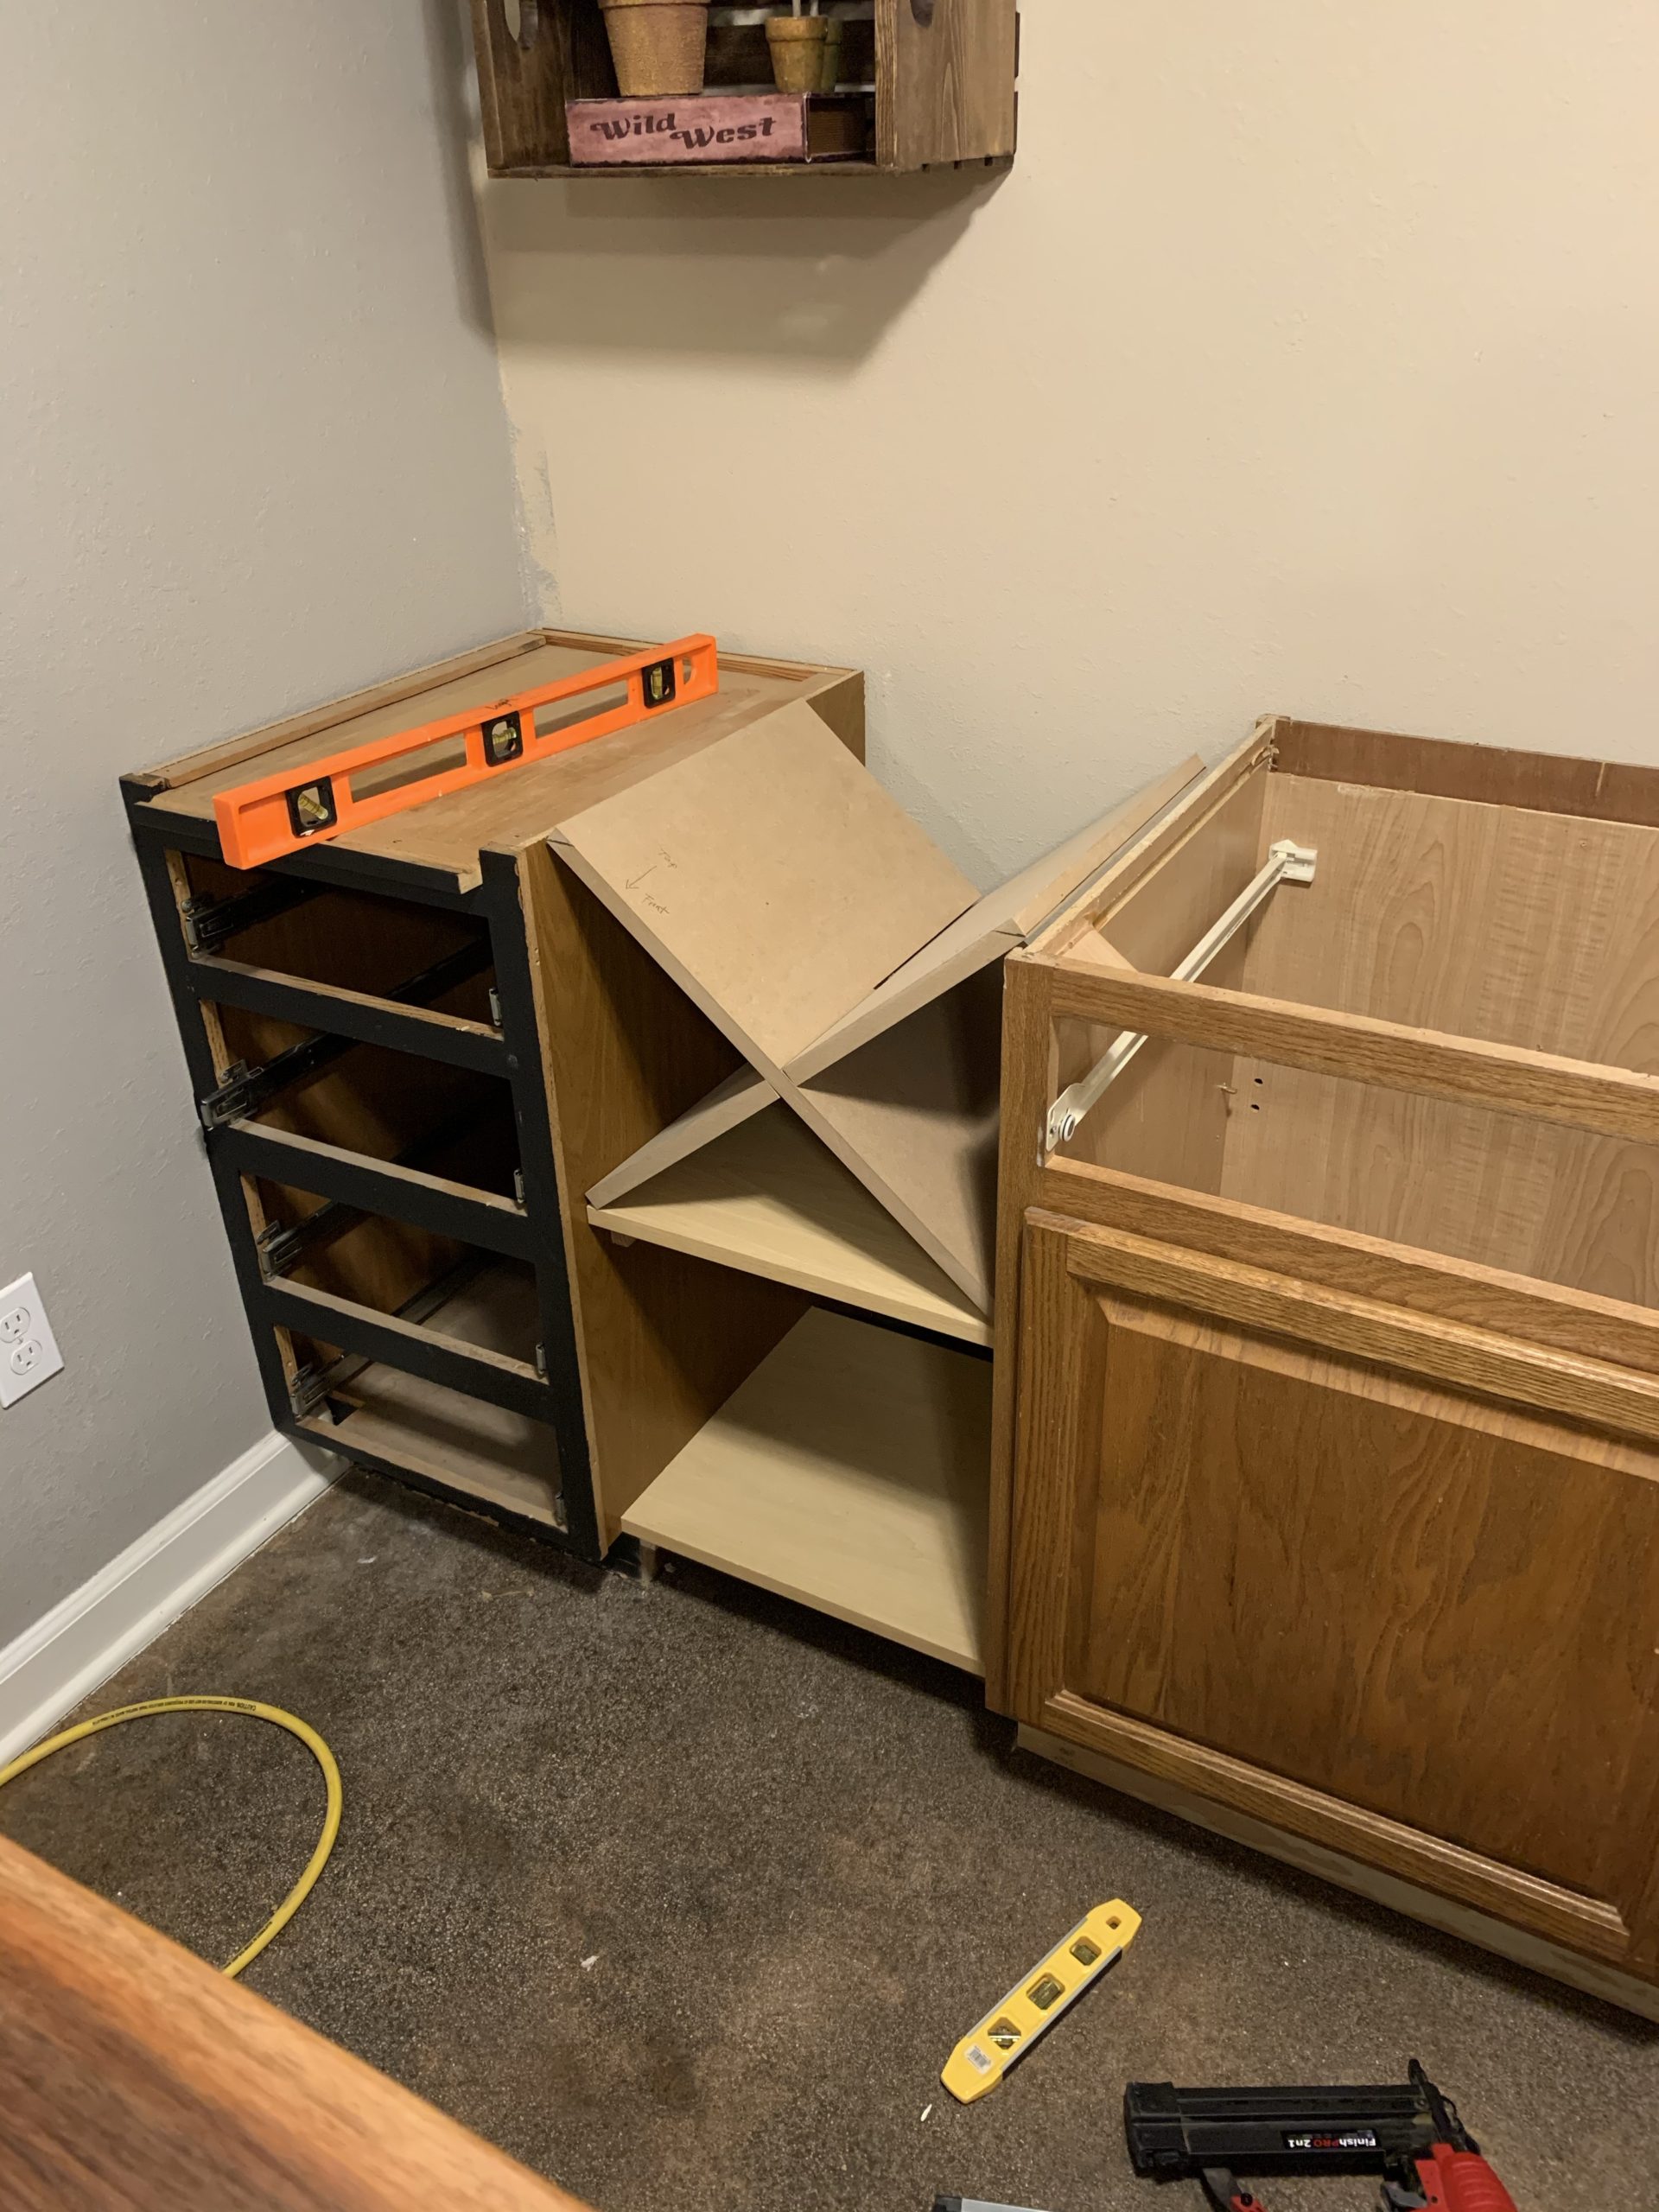
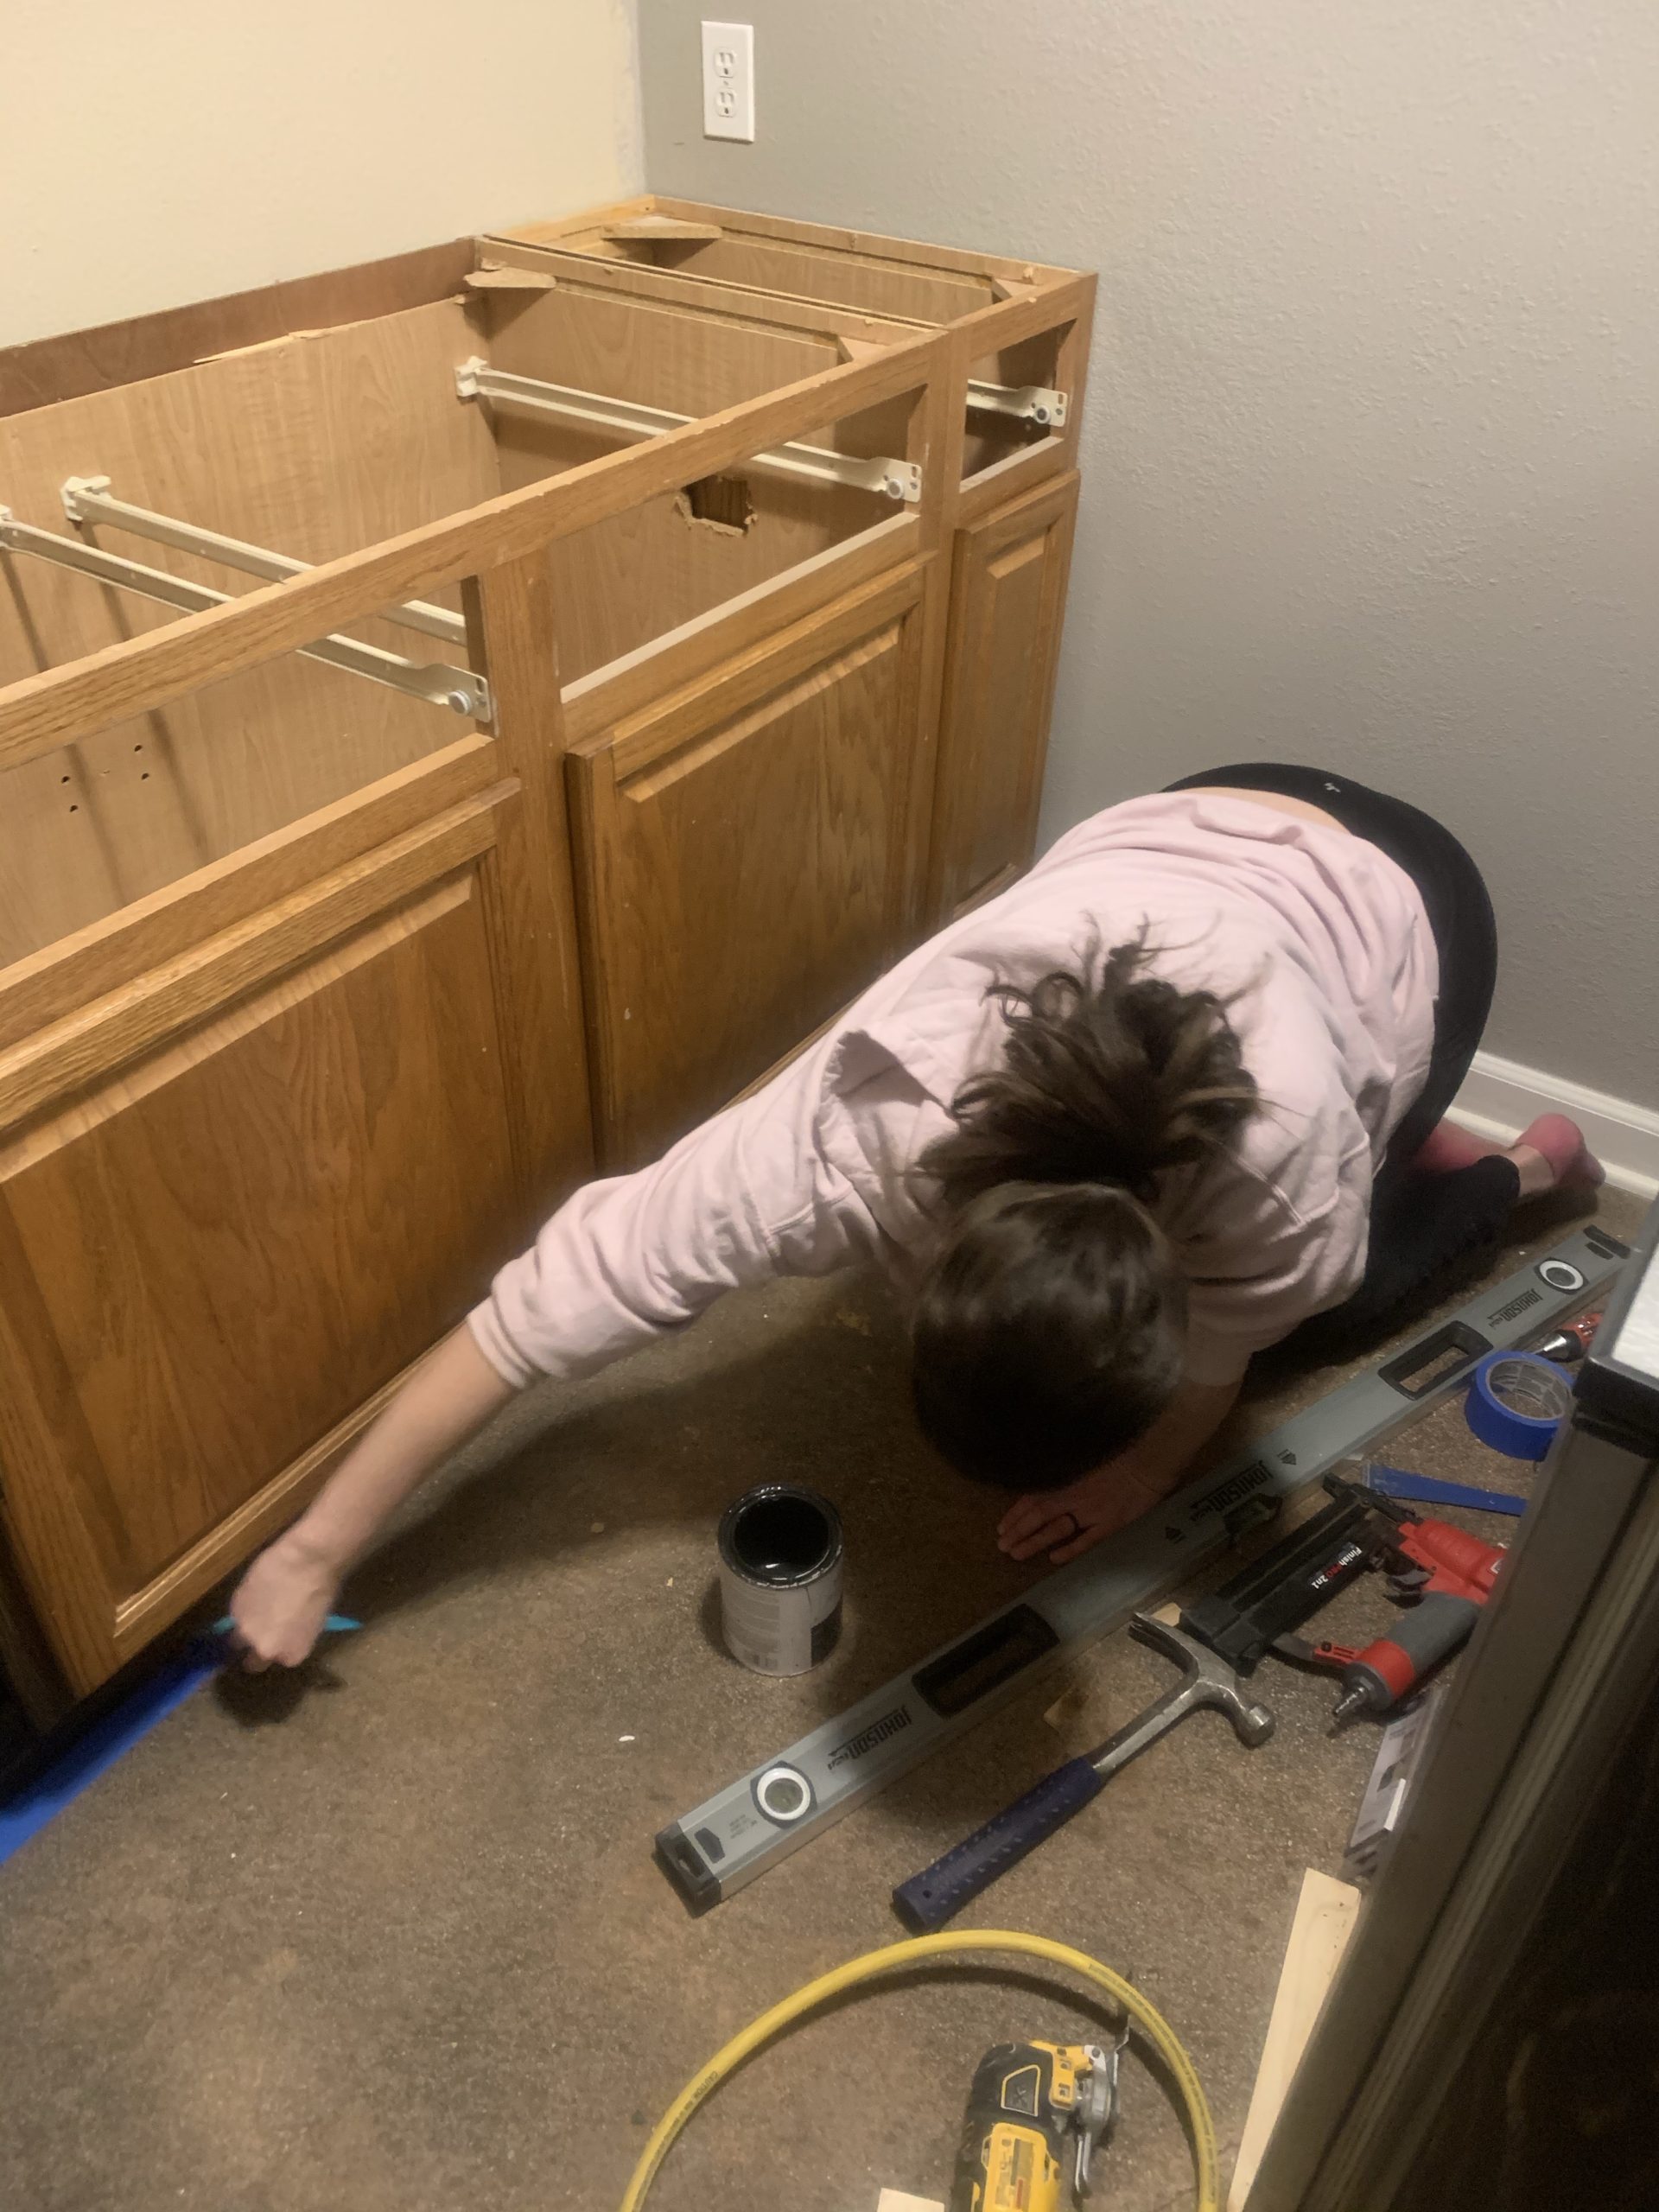
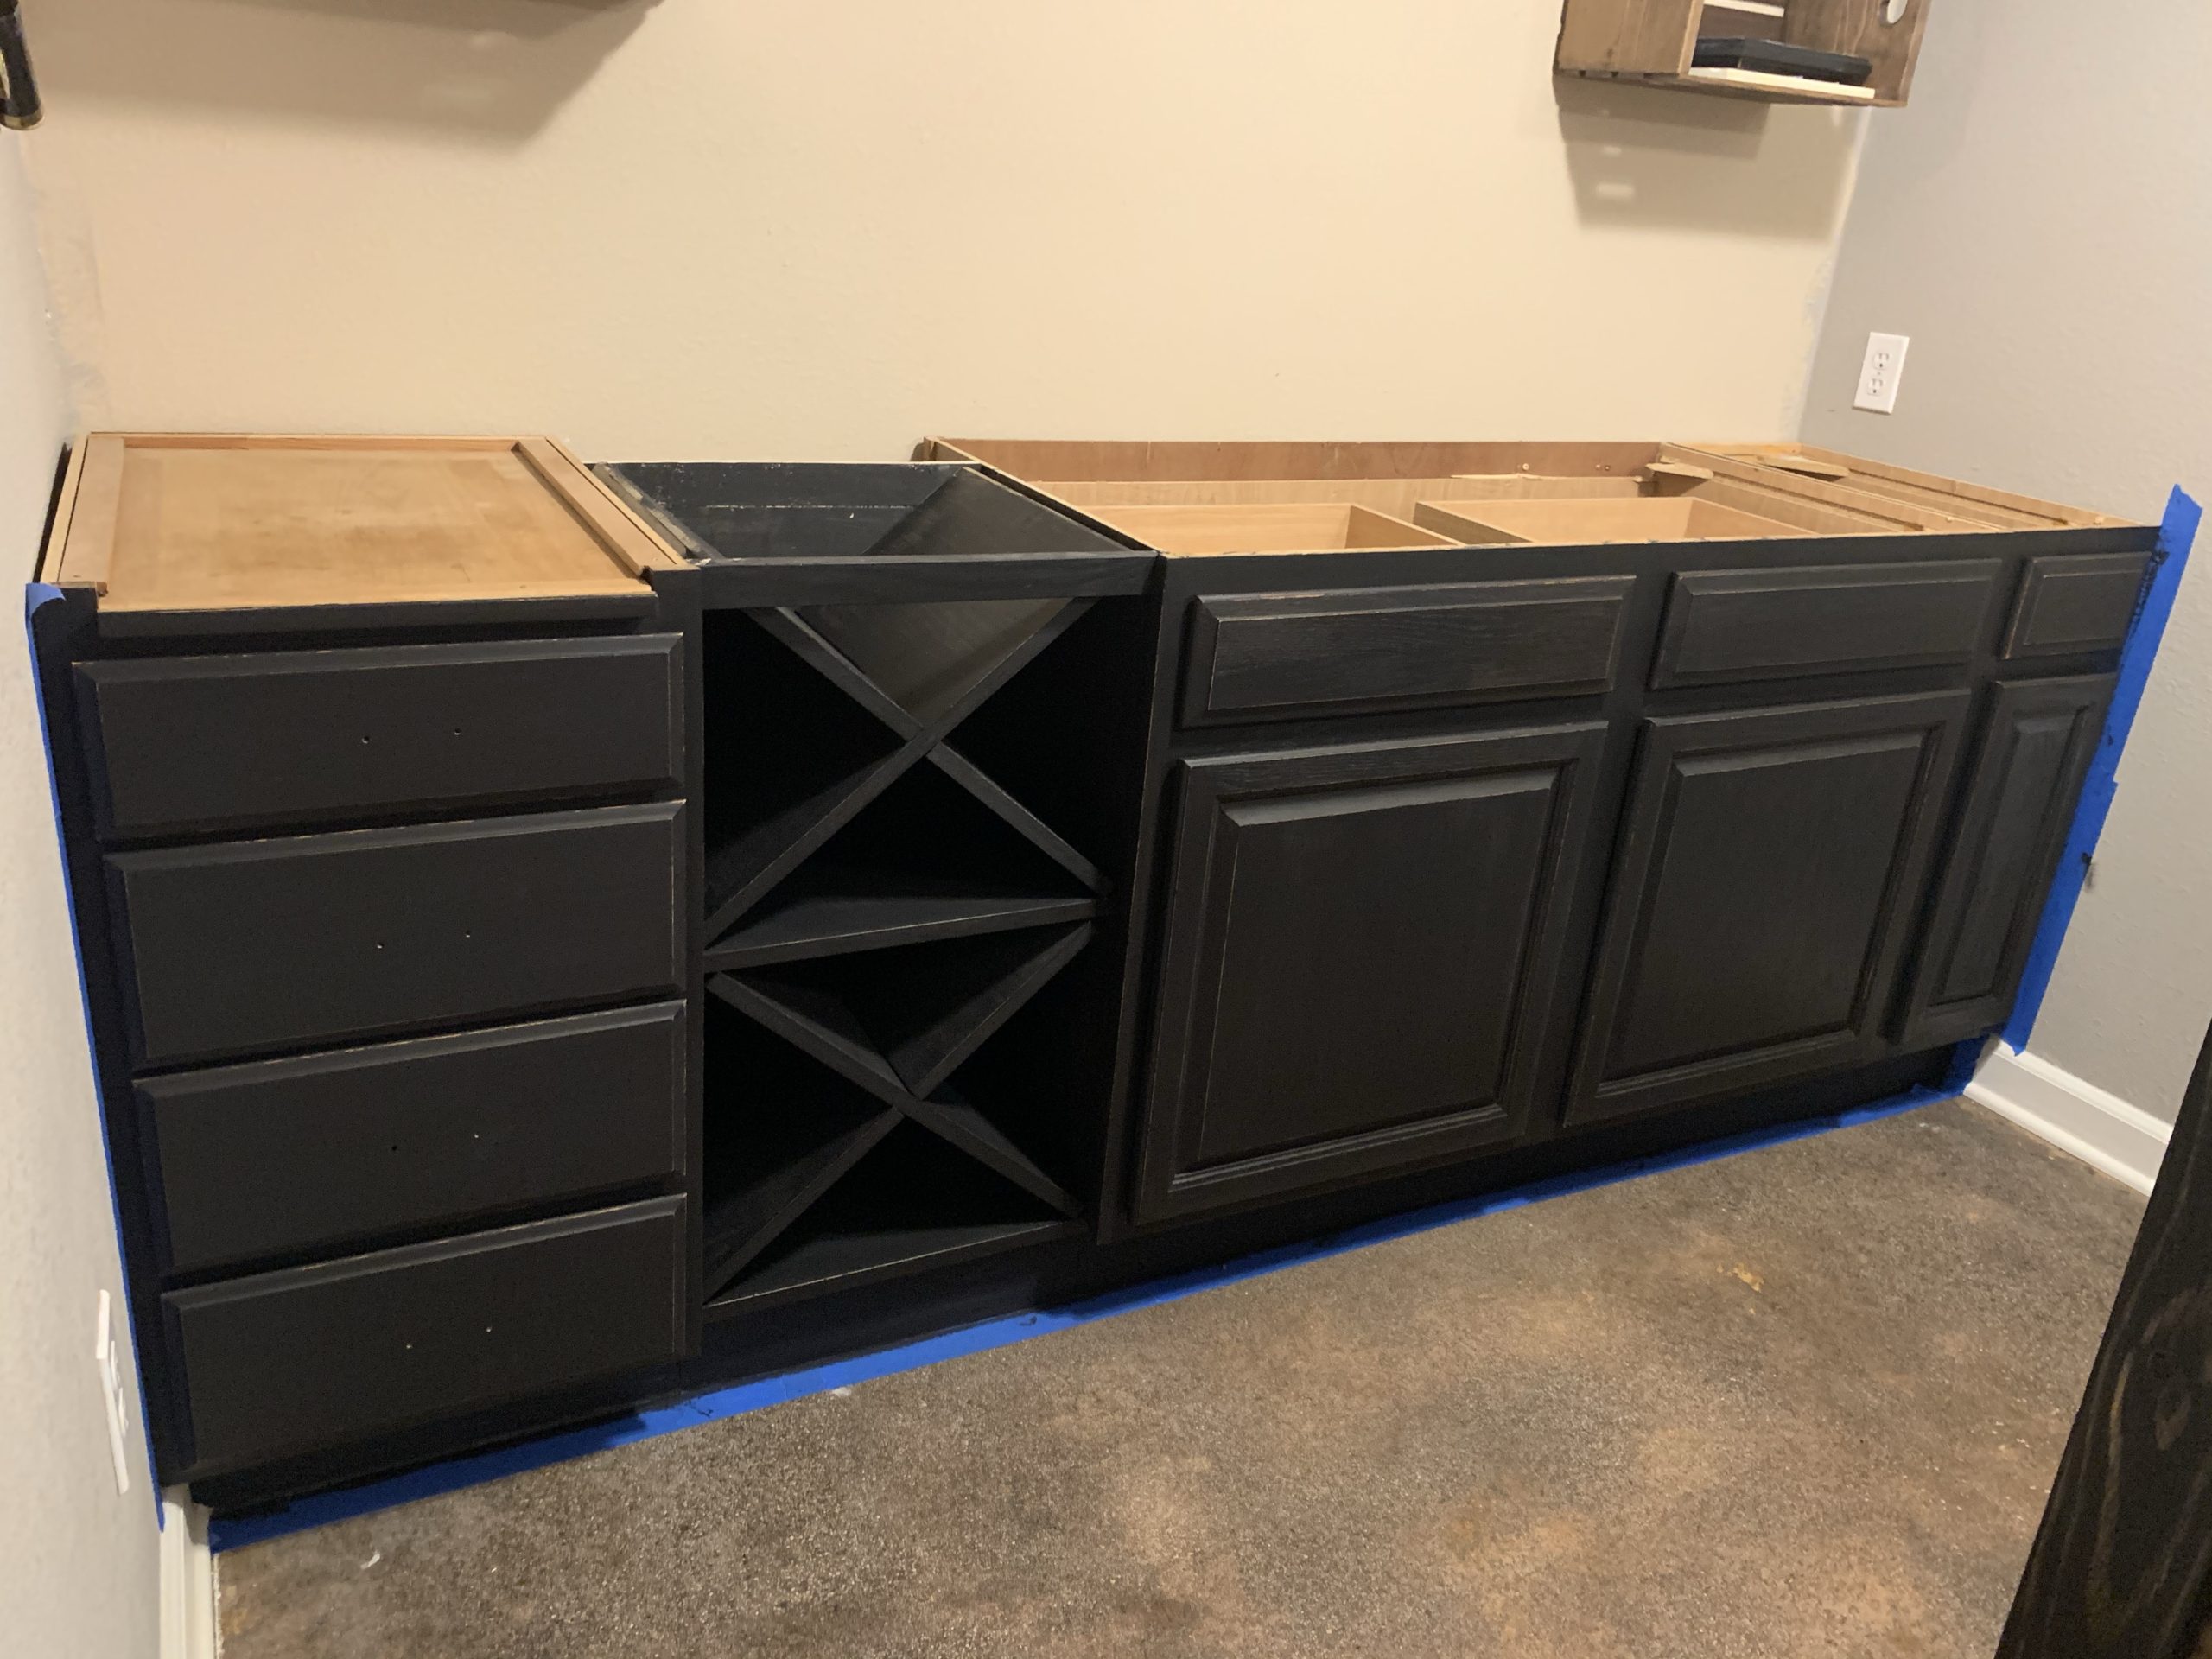 I’m still trying to decide if I want to add hardware to the doors and drawers, but otherwise I’m seriously in love and can’t believe how custom they look for hardly any money! Time to build up my wine collection (:
Rustic Bar Peninsula
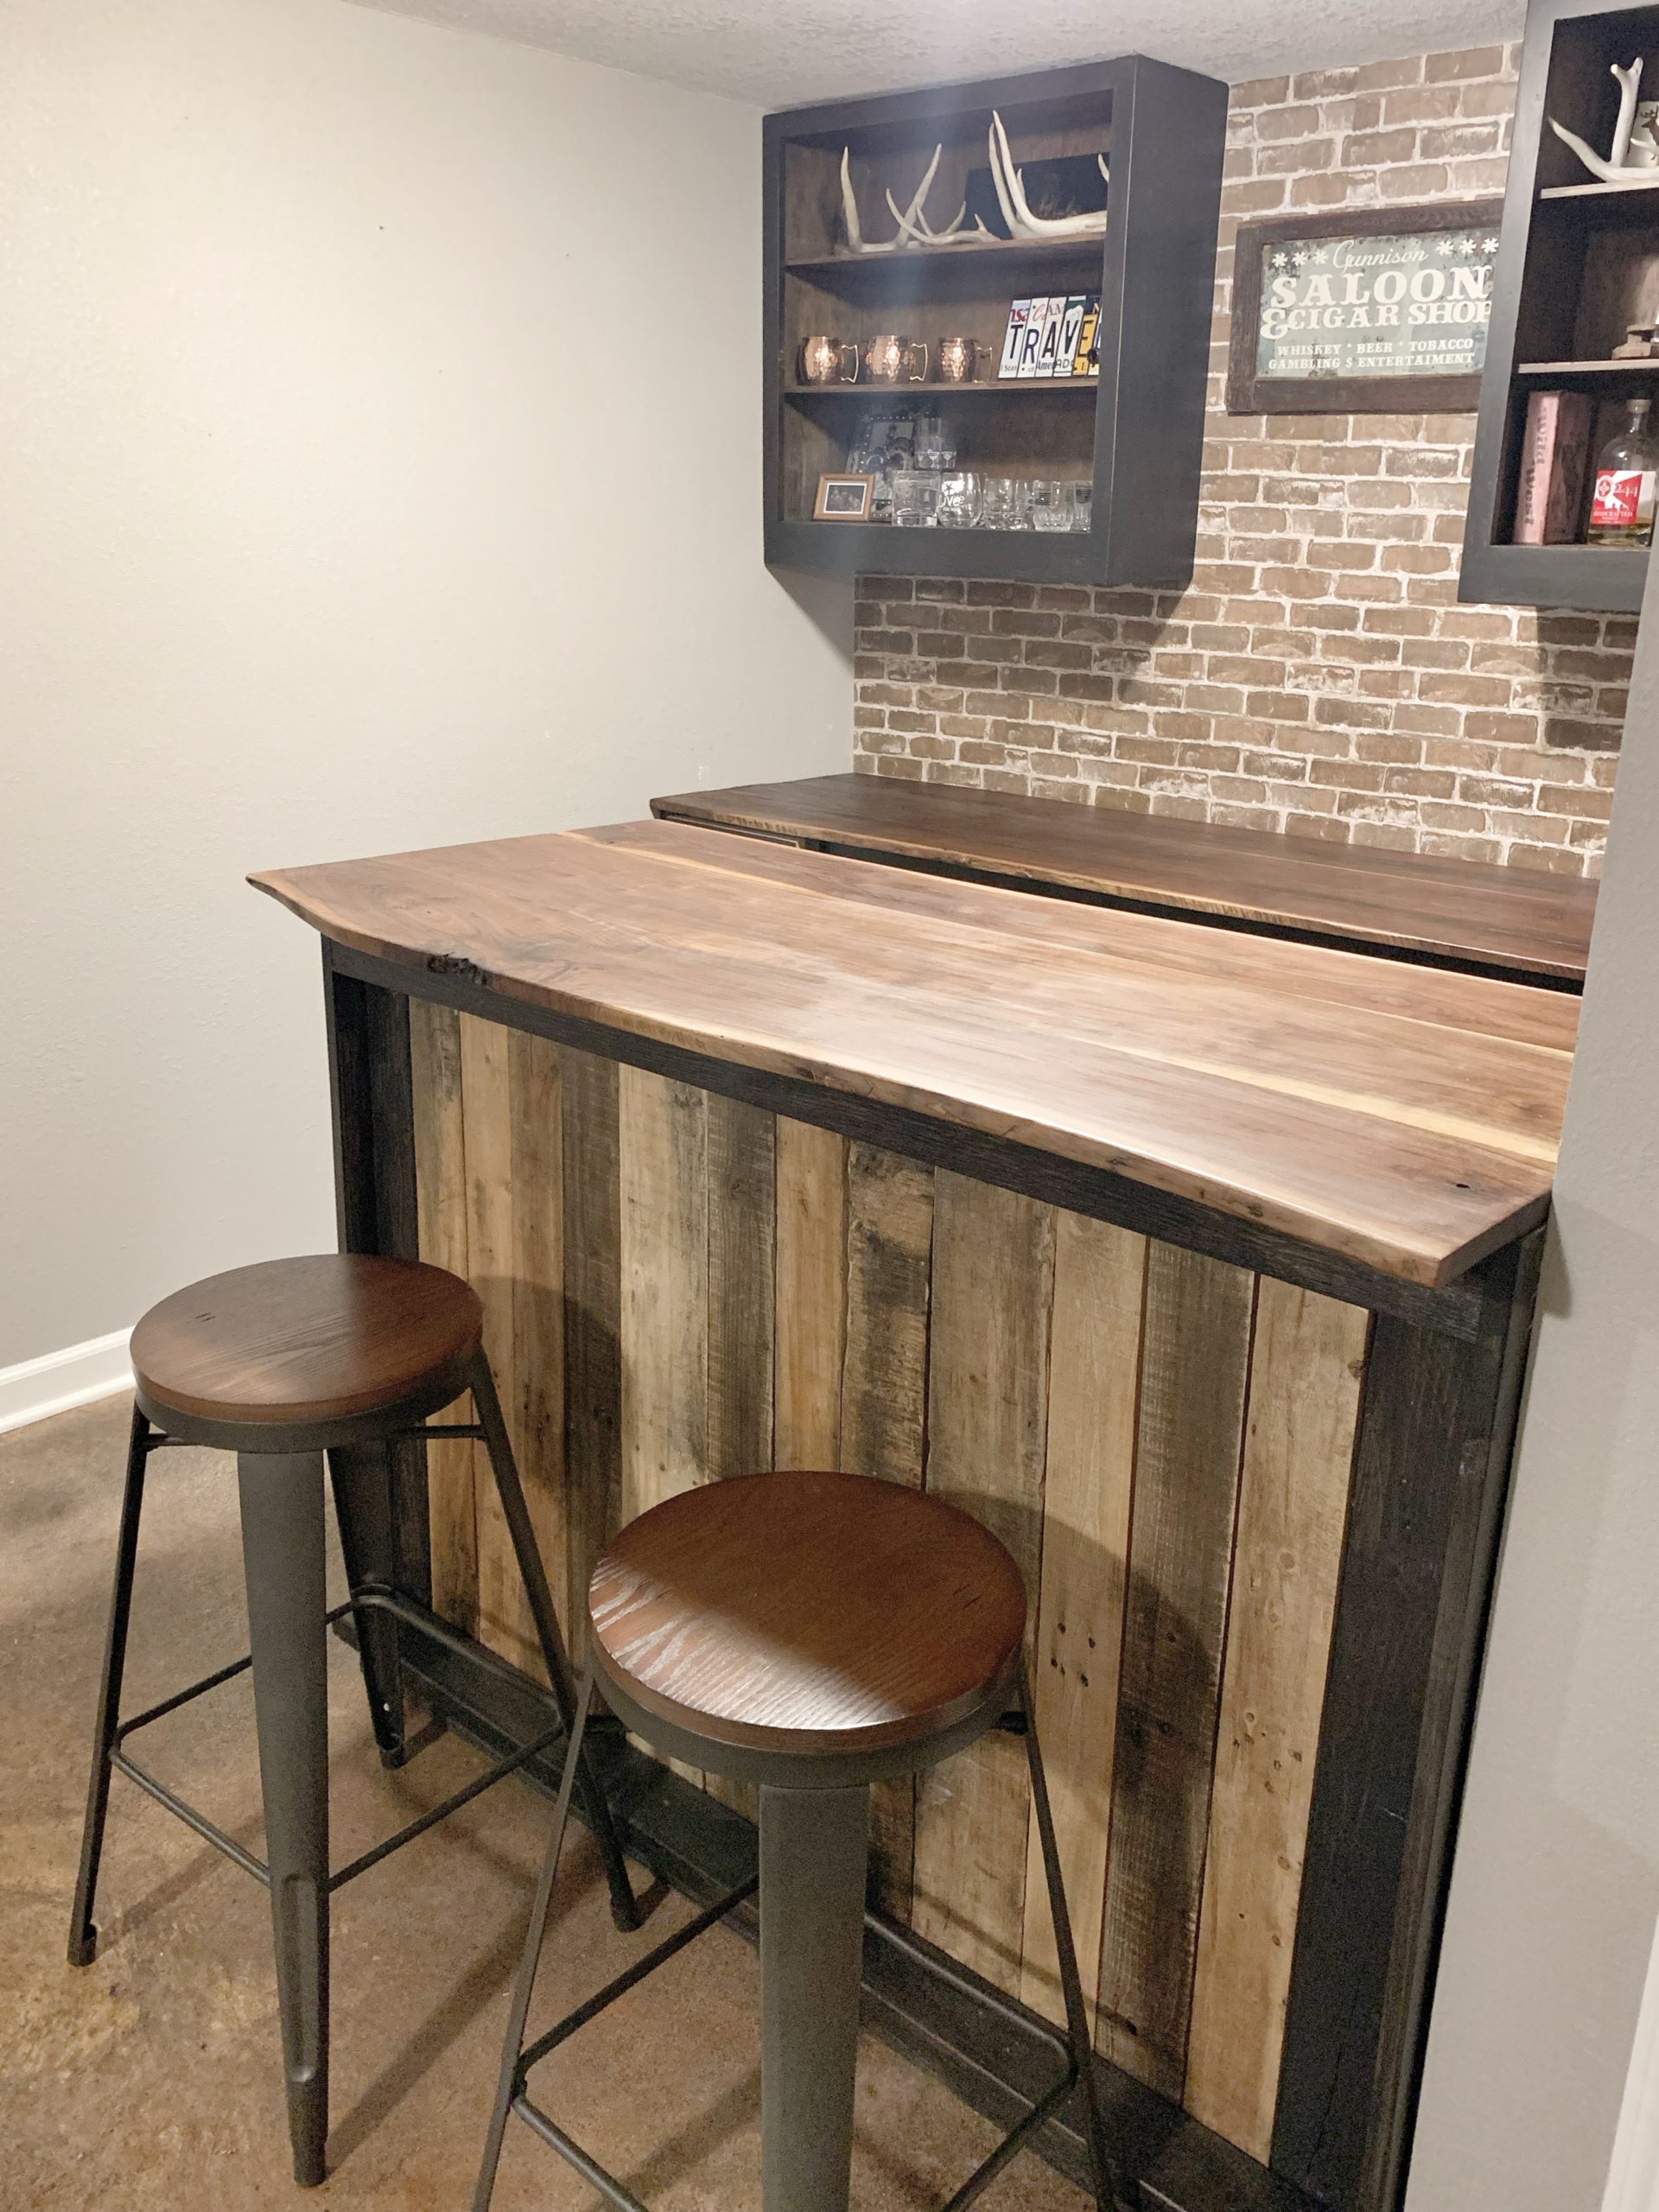
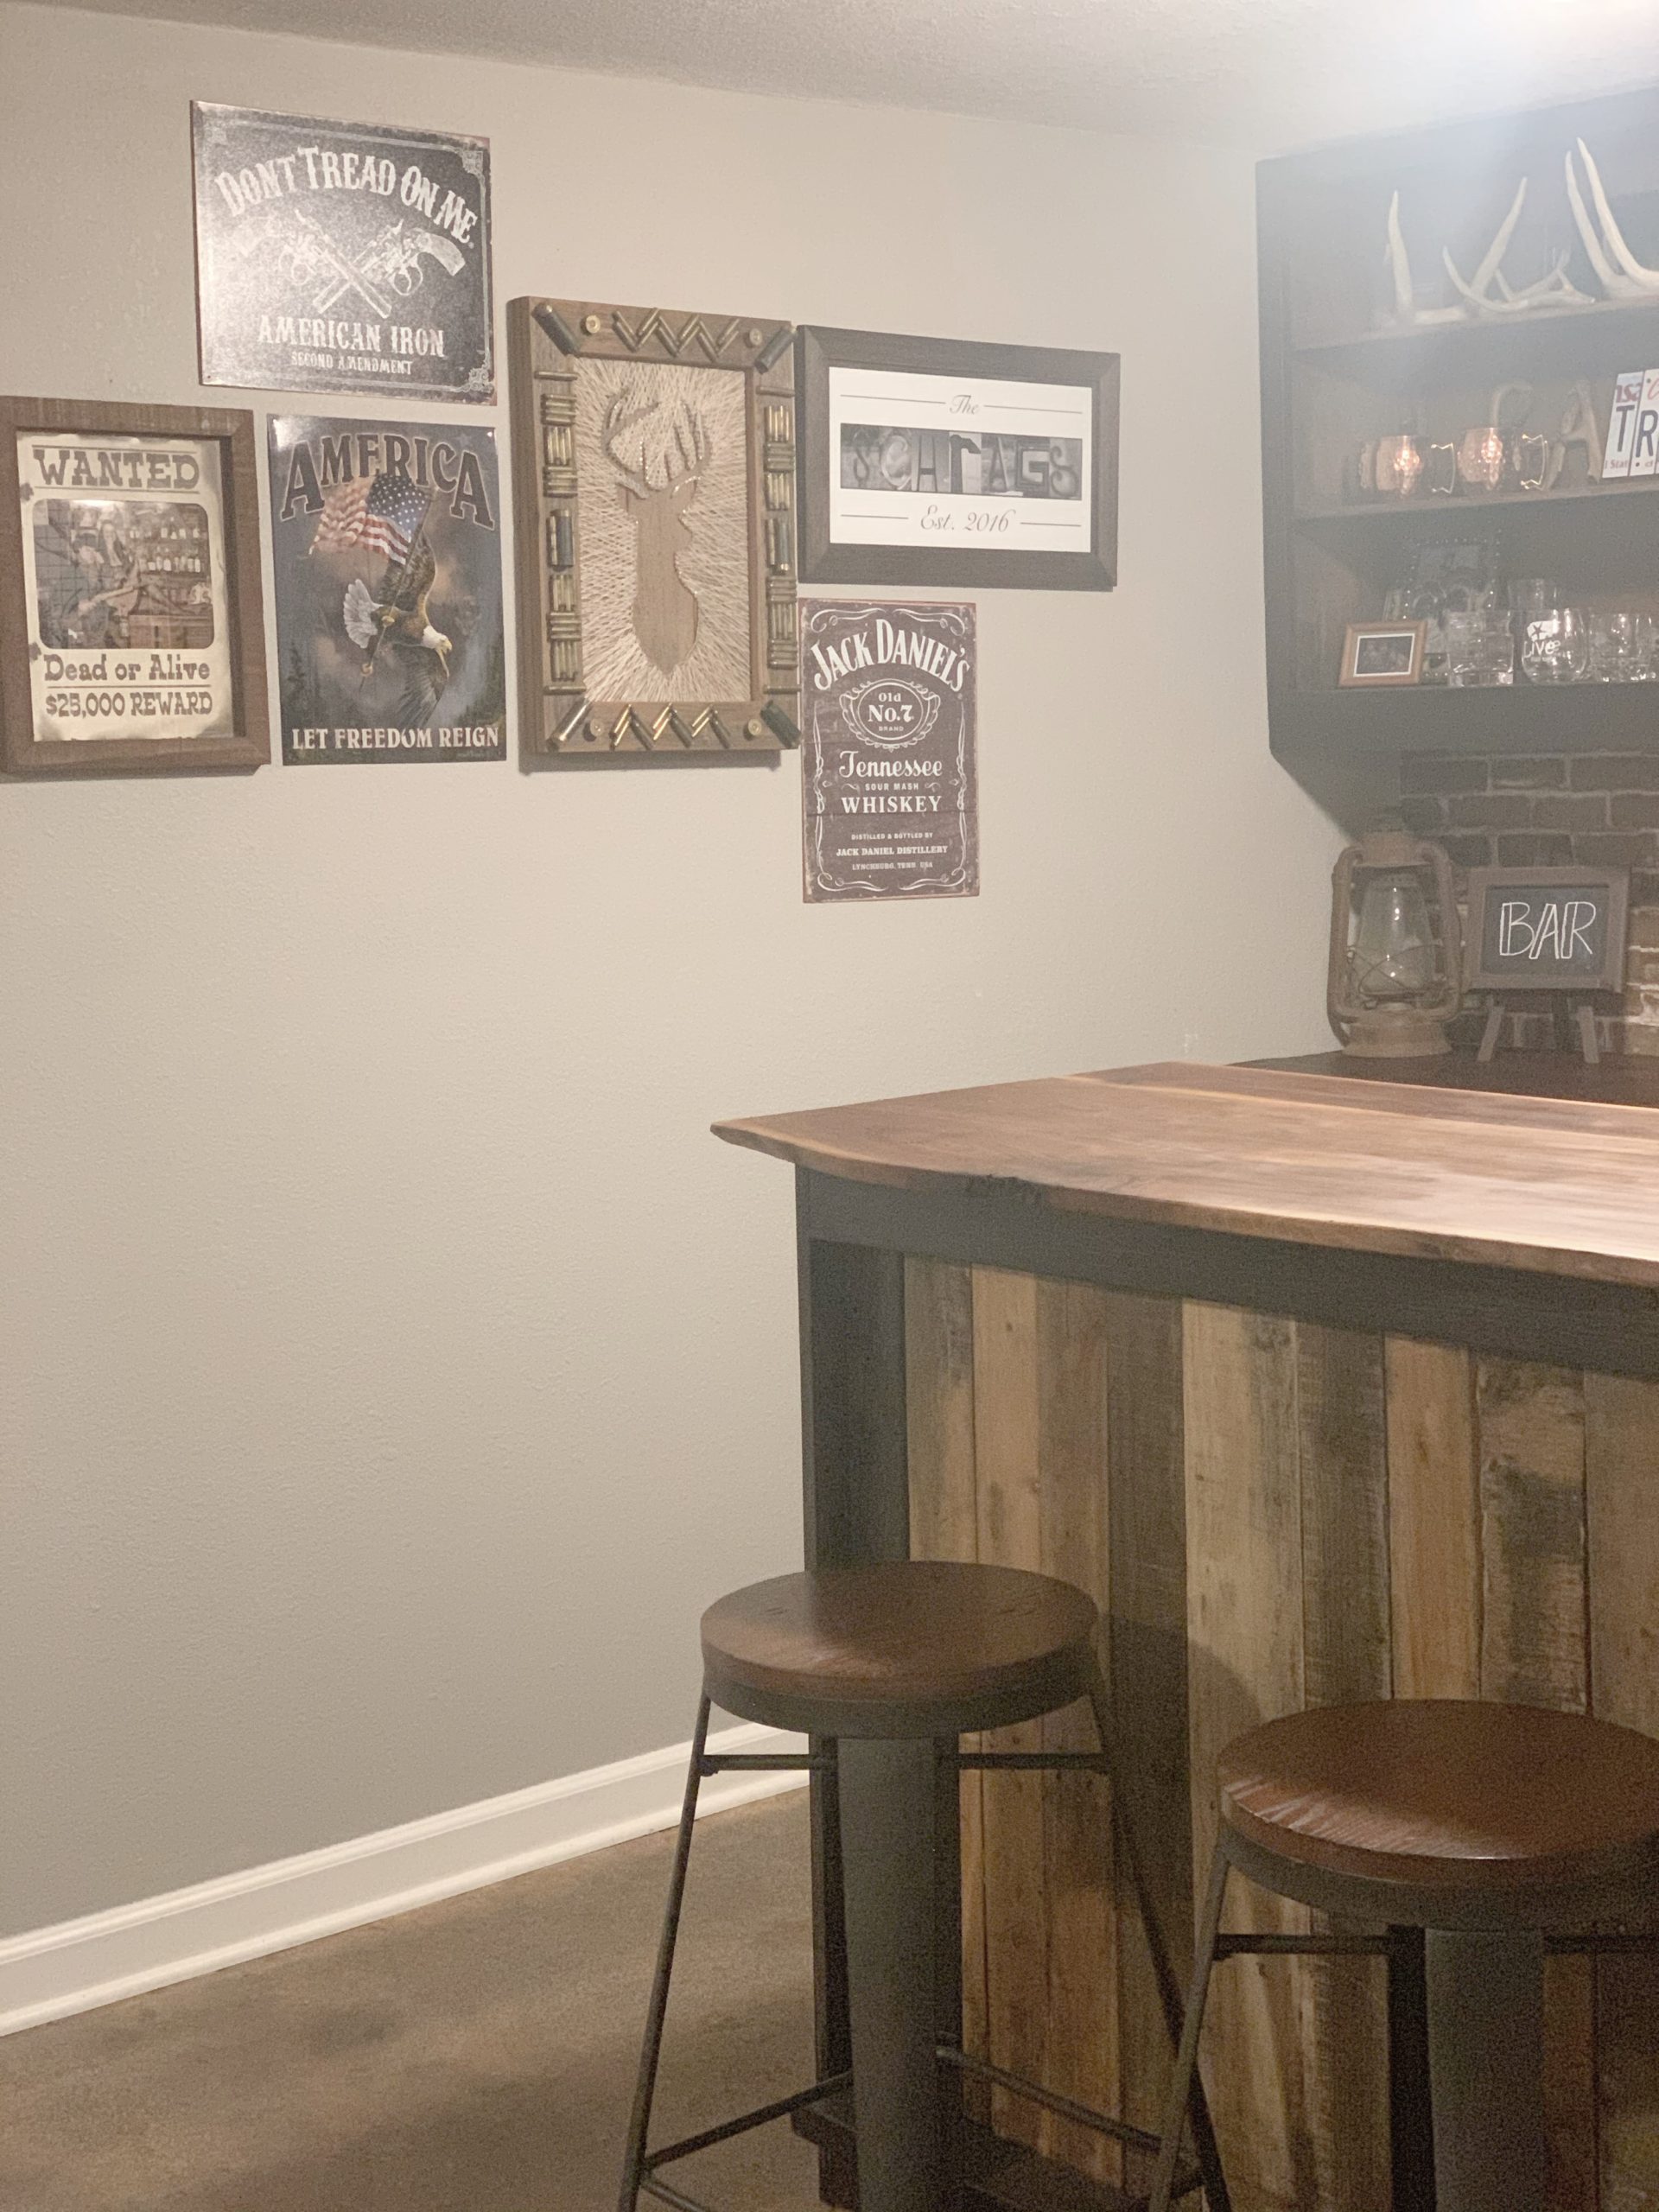
The bar peninsula was built completely out of scrap wood/free pallets (NO COST)! I found an inspiration picture on Pinterest, and Logan had the thing built in a couple days. What a stud!! We didn’t follow a build plan, to be honest we just wing it for most of our projects lol. We measured the space and I drew a layout of the shelves and storage I wanted built in.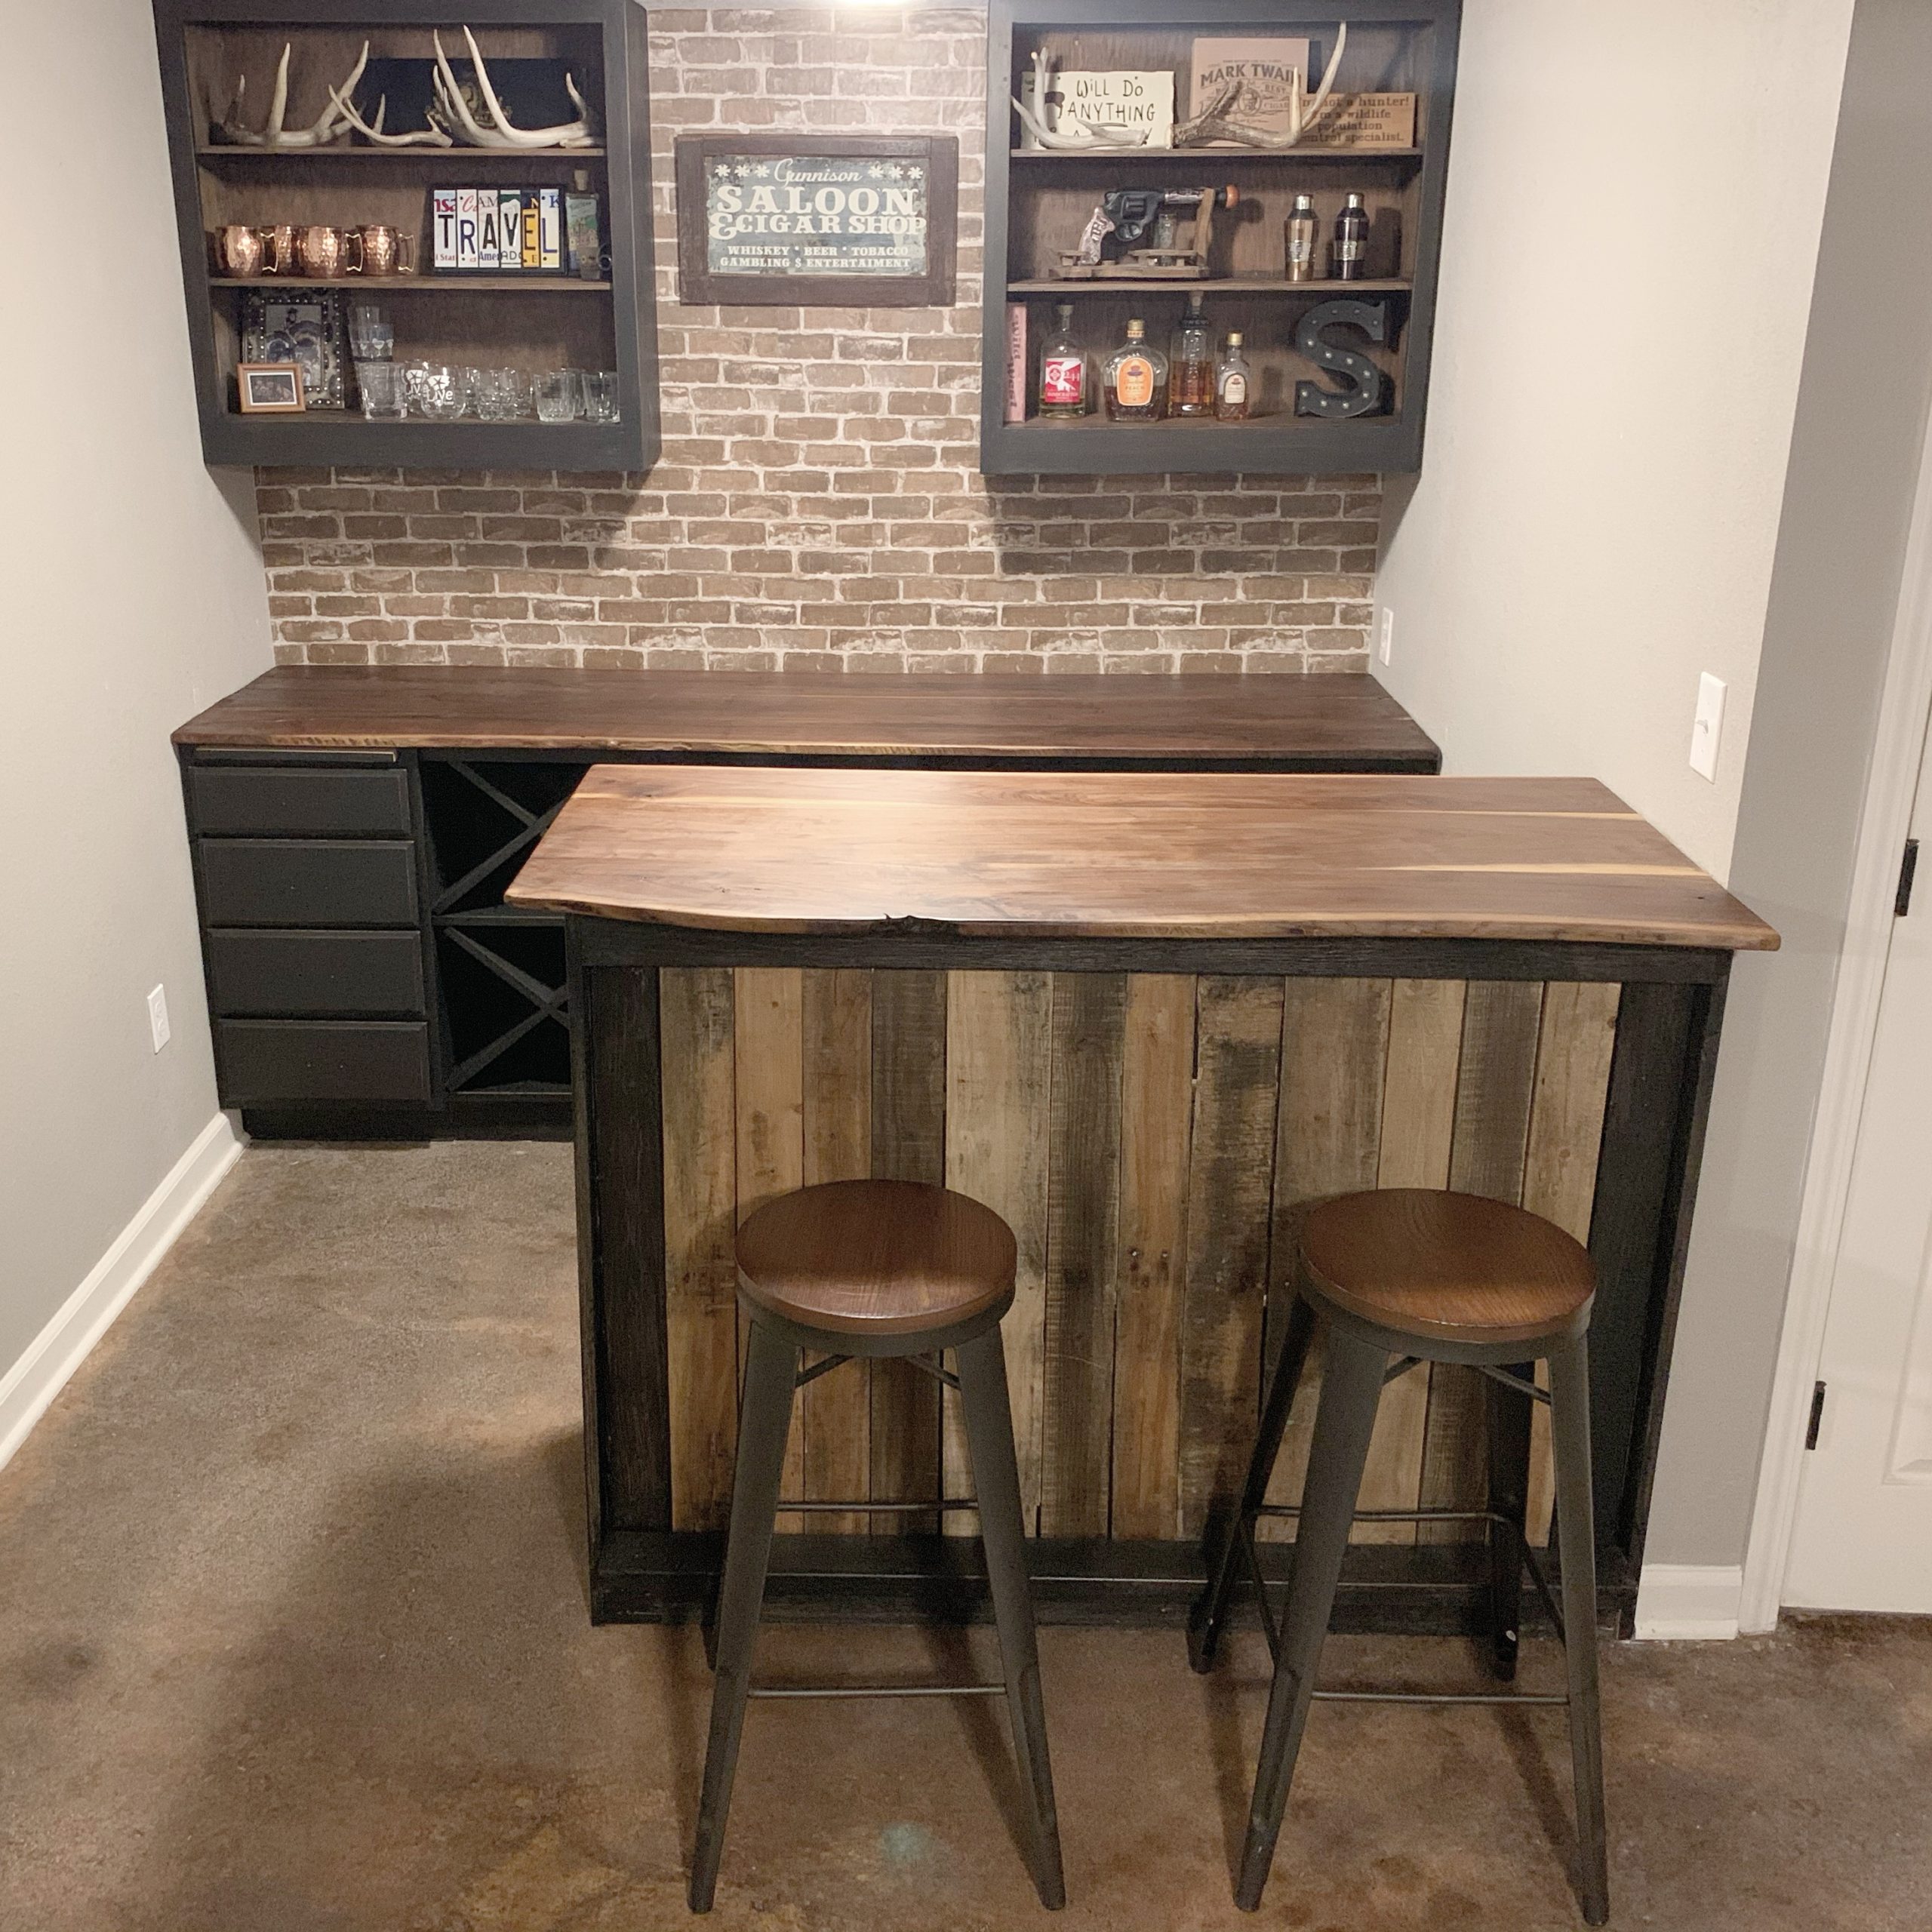 We started out building the frame, then painted it black. We added the pallet wood from the back side, and didn’t worry about making it perfect, since we were going for a rustic look.
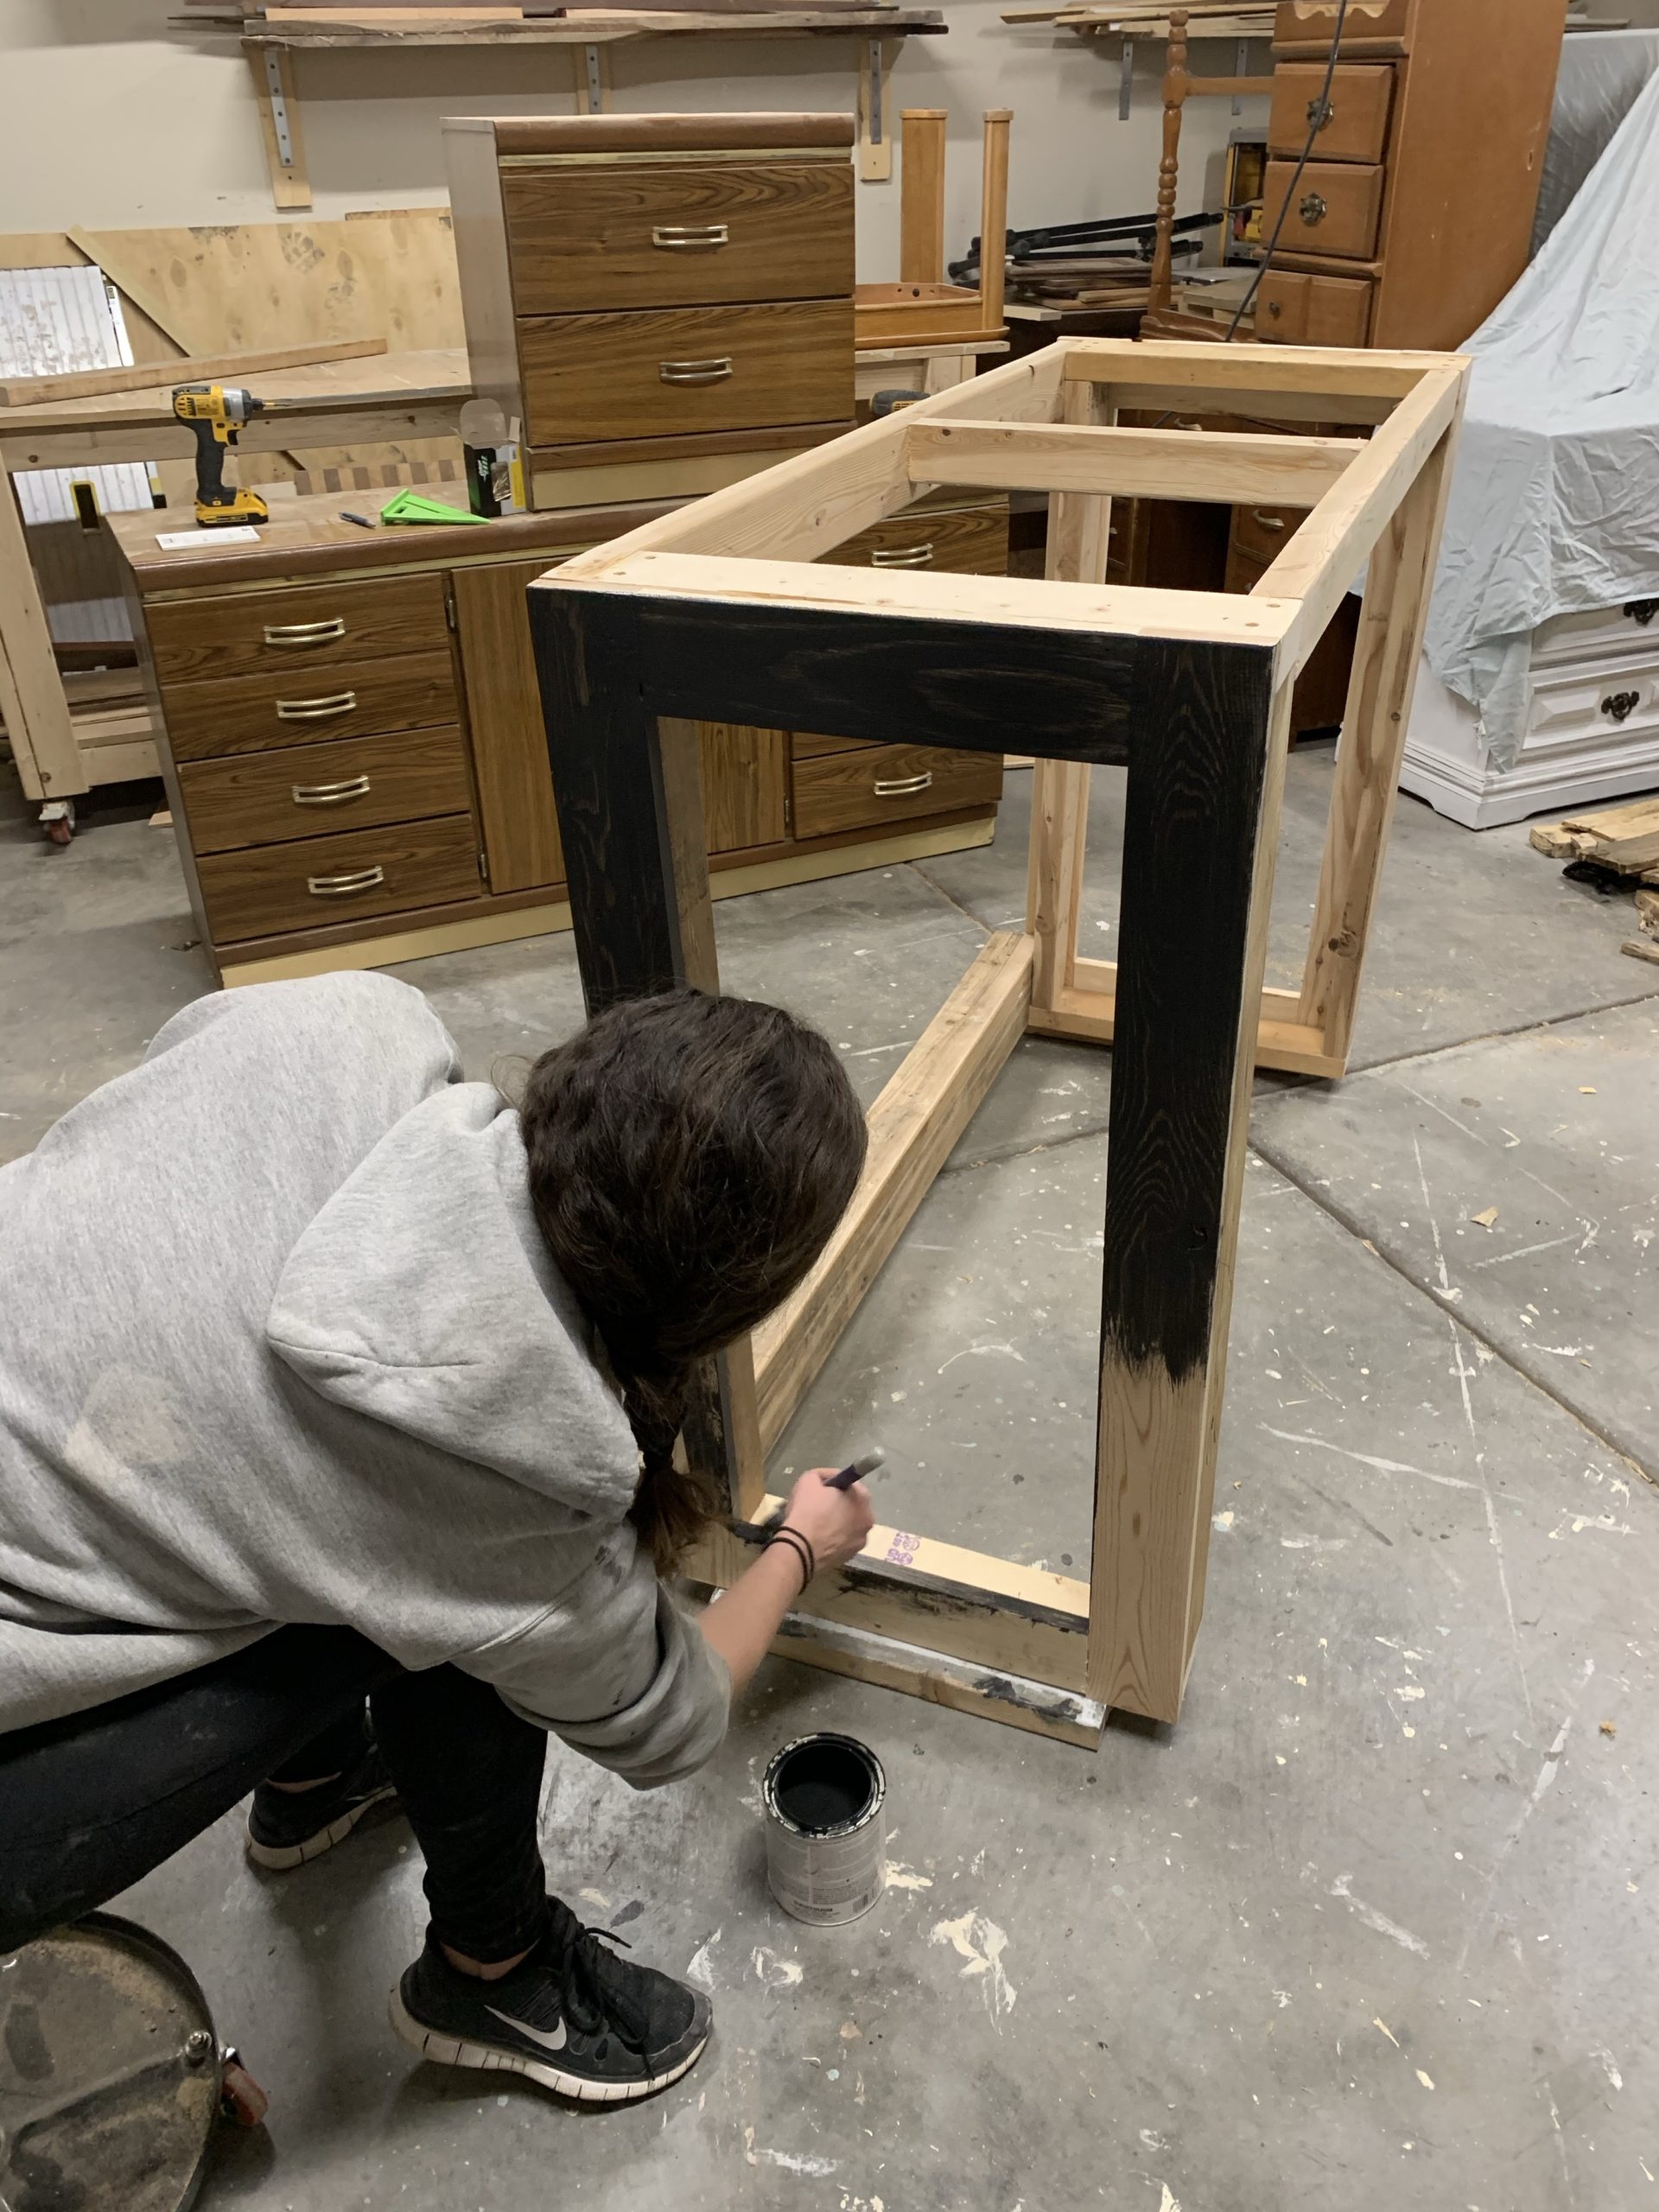
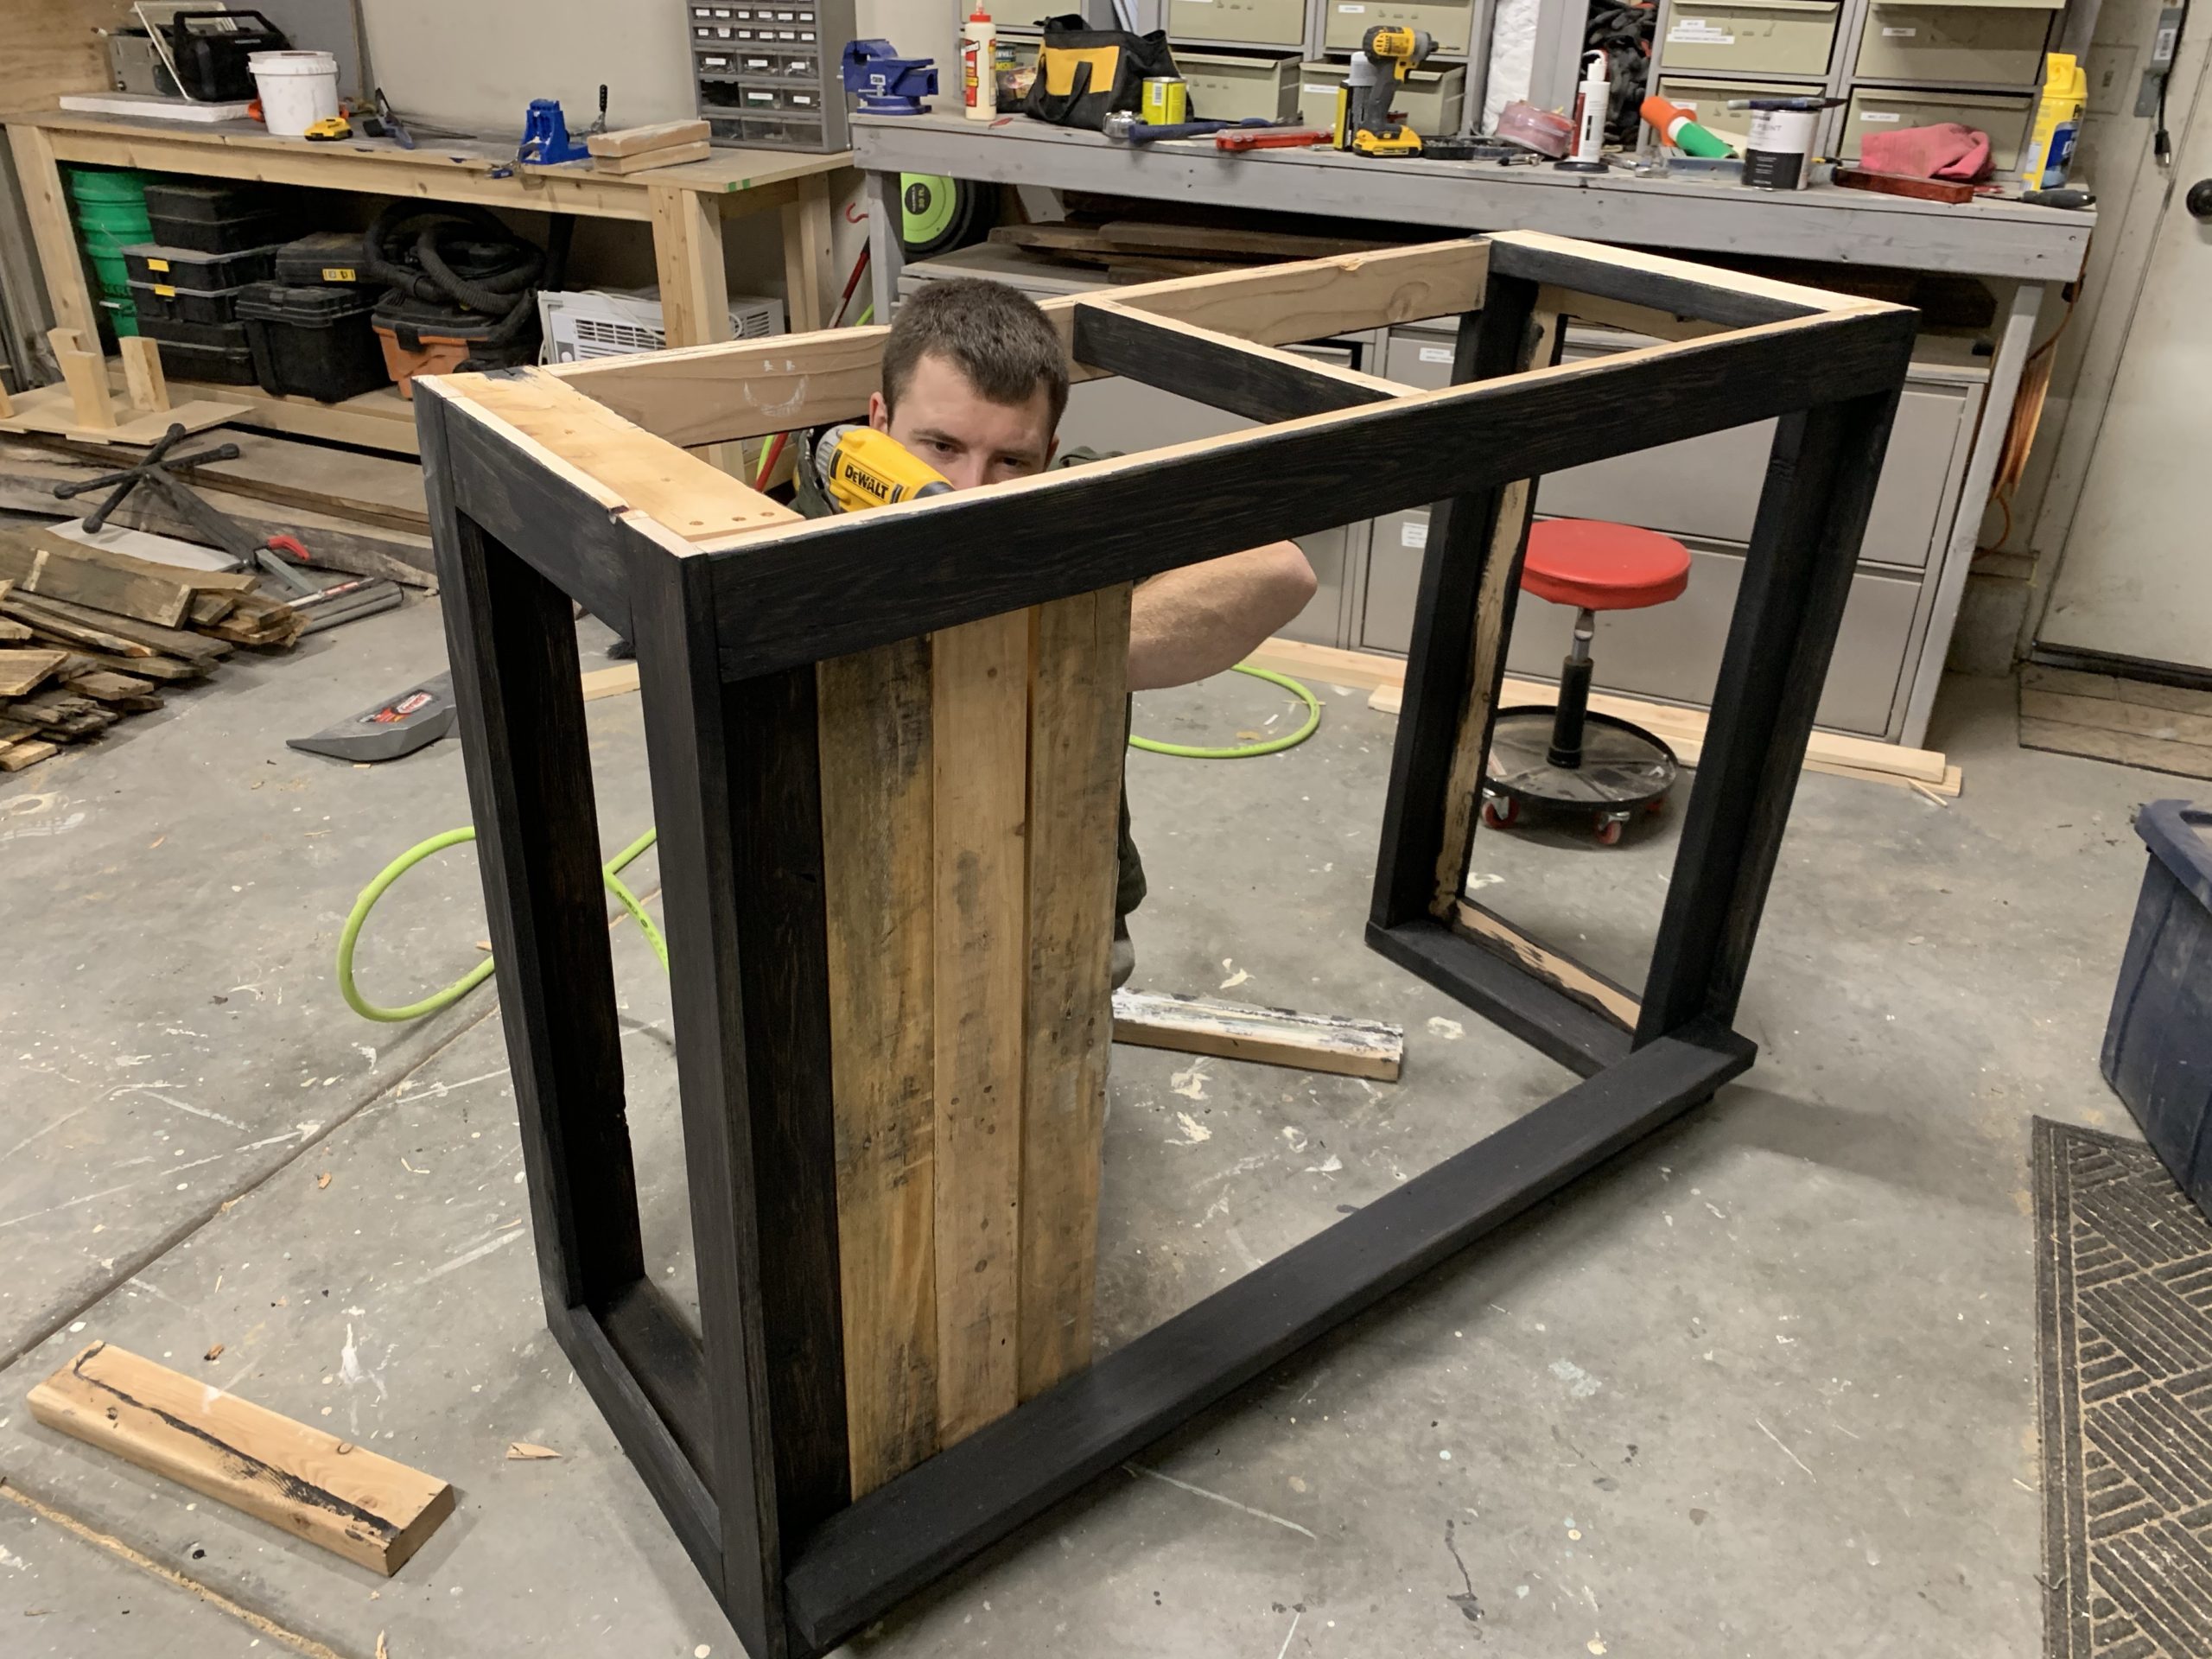
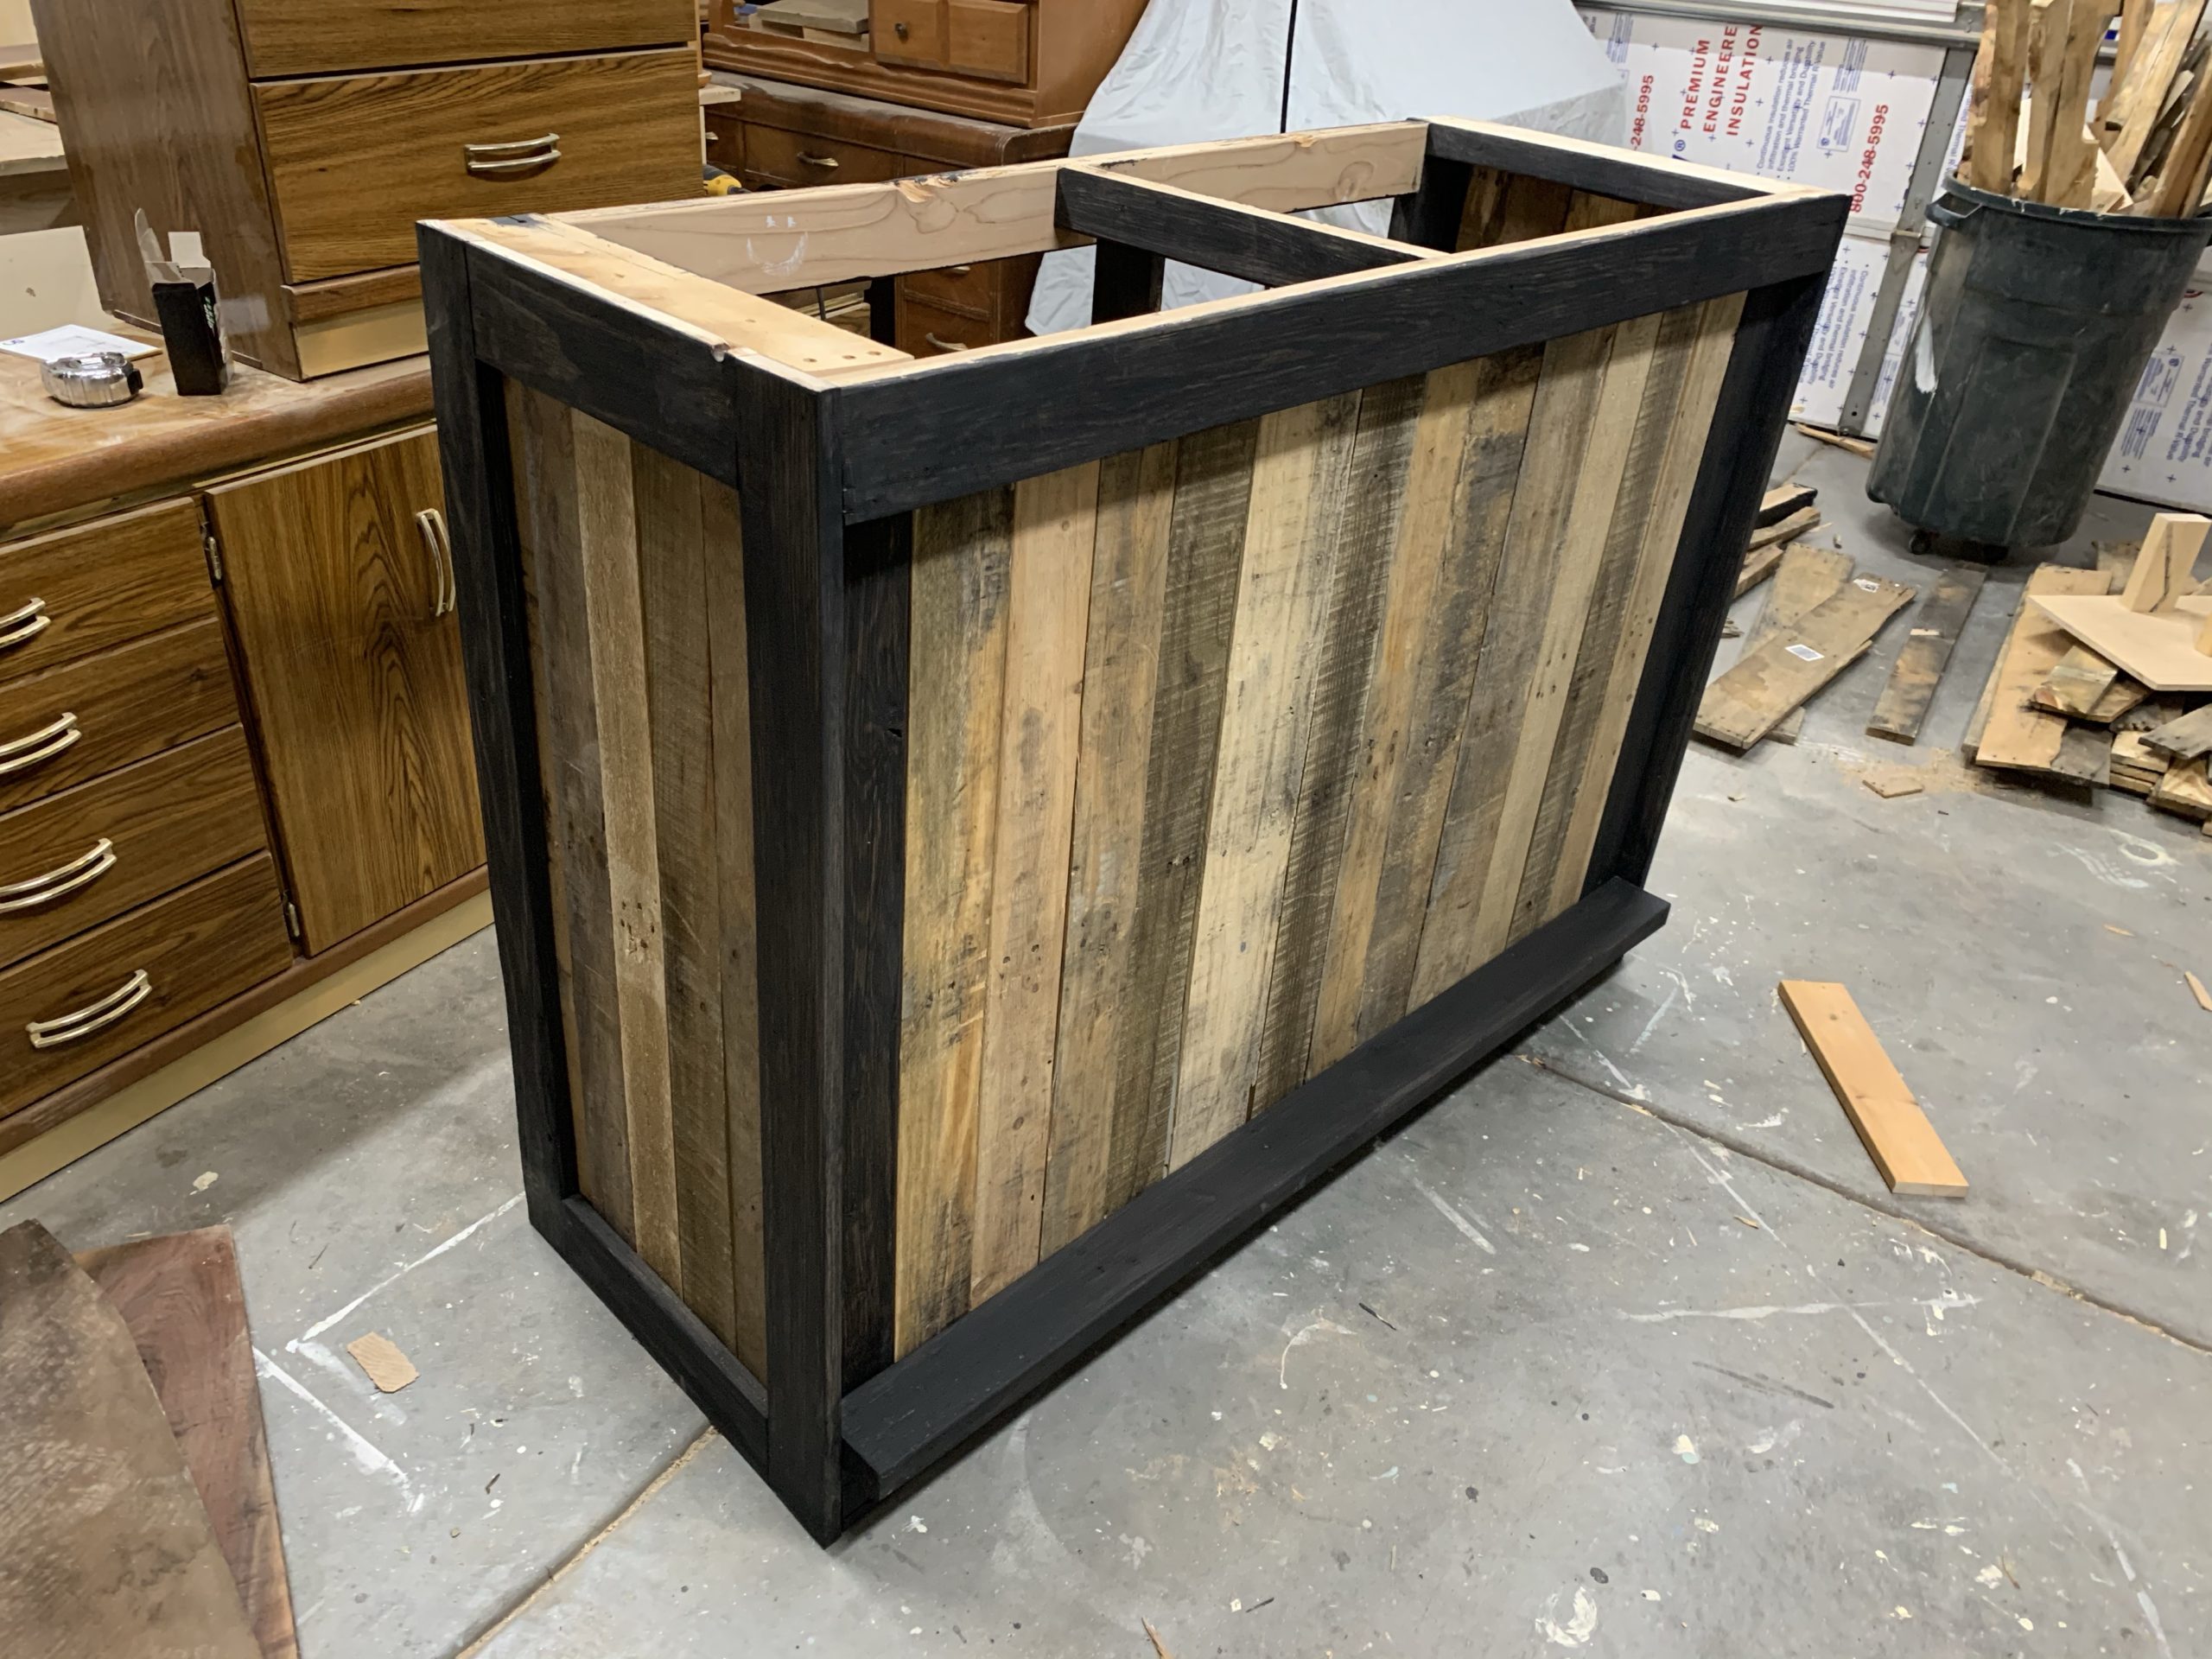 We built in a space for the mini fridge and a shelf for a micro wave, then we sealed it with a clear top coat.
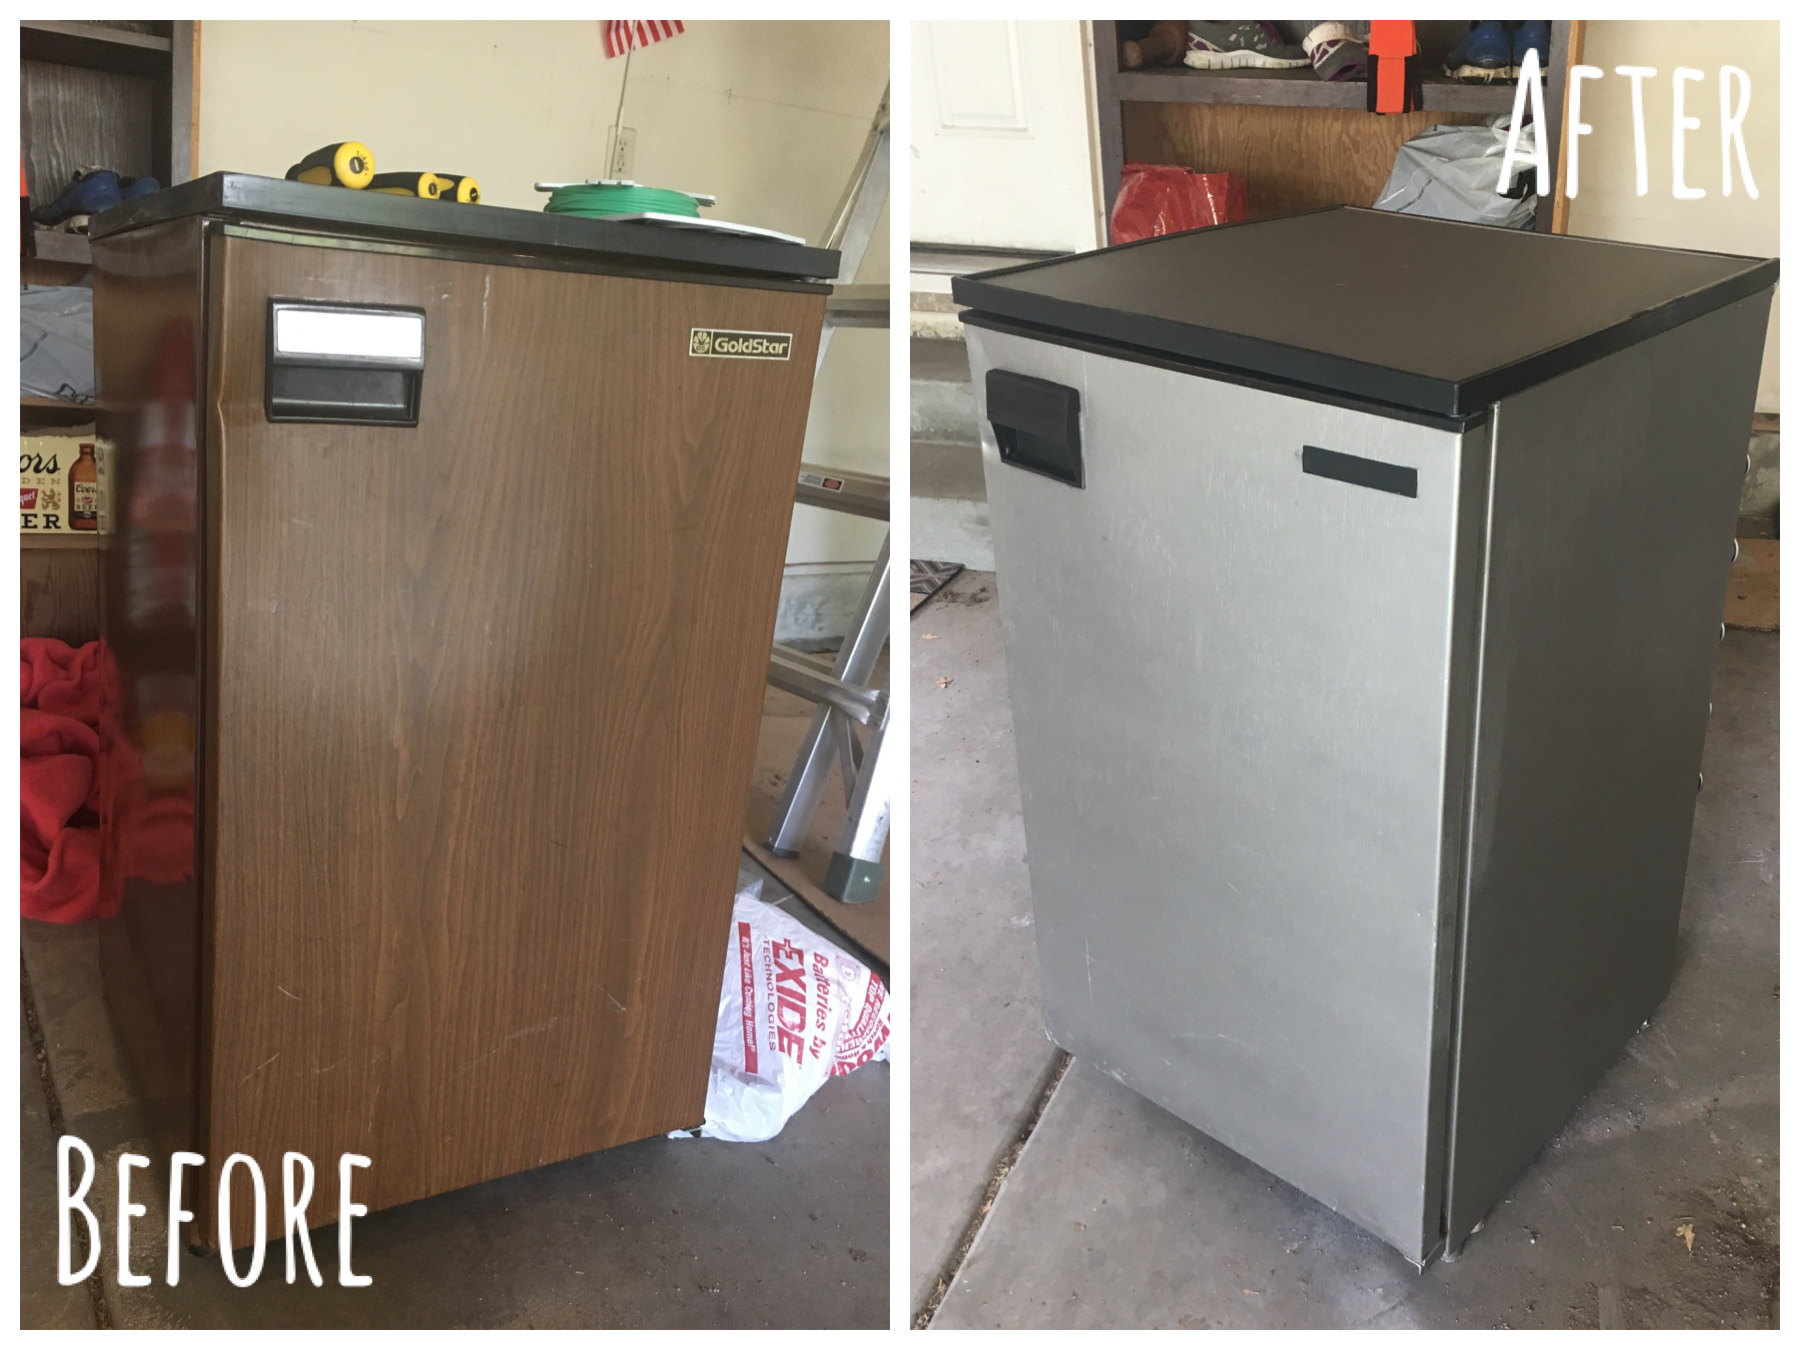
 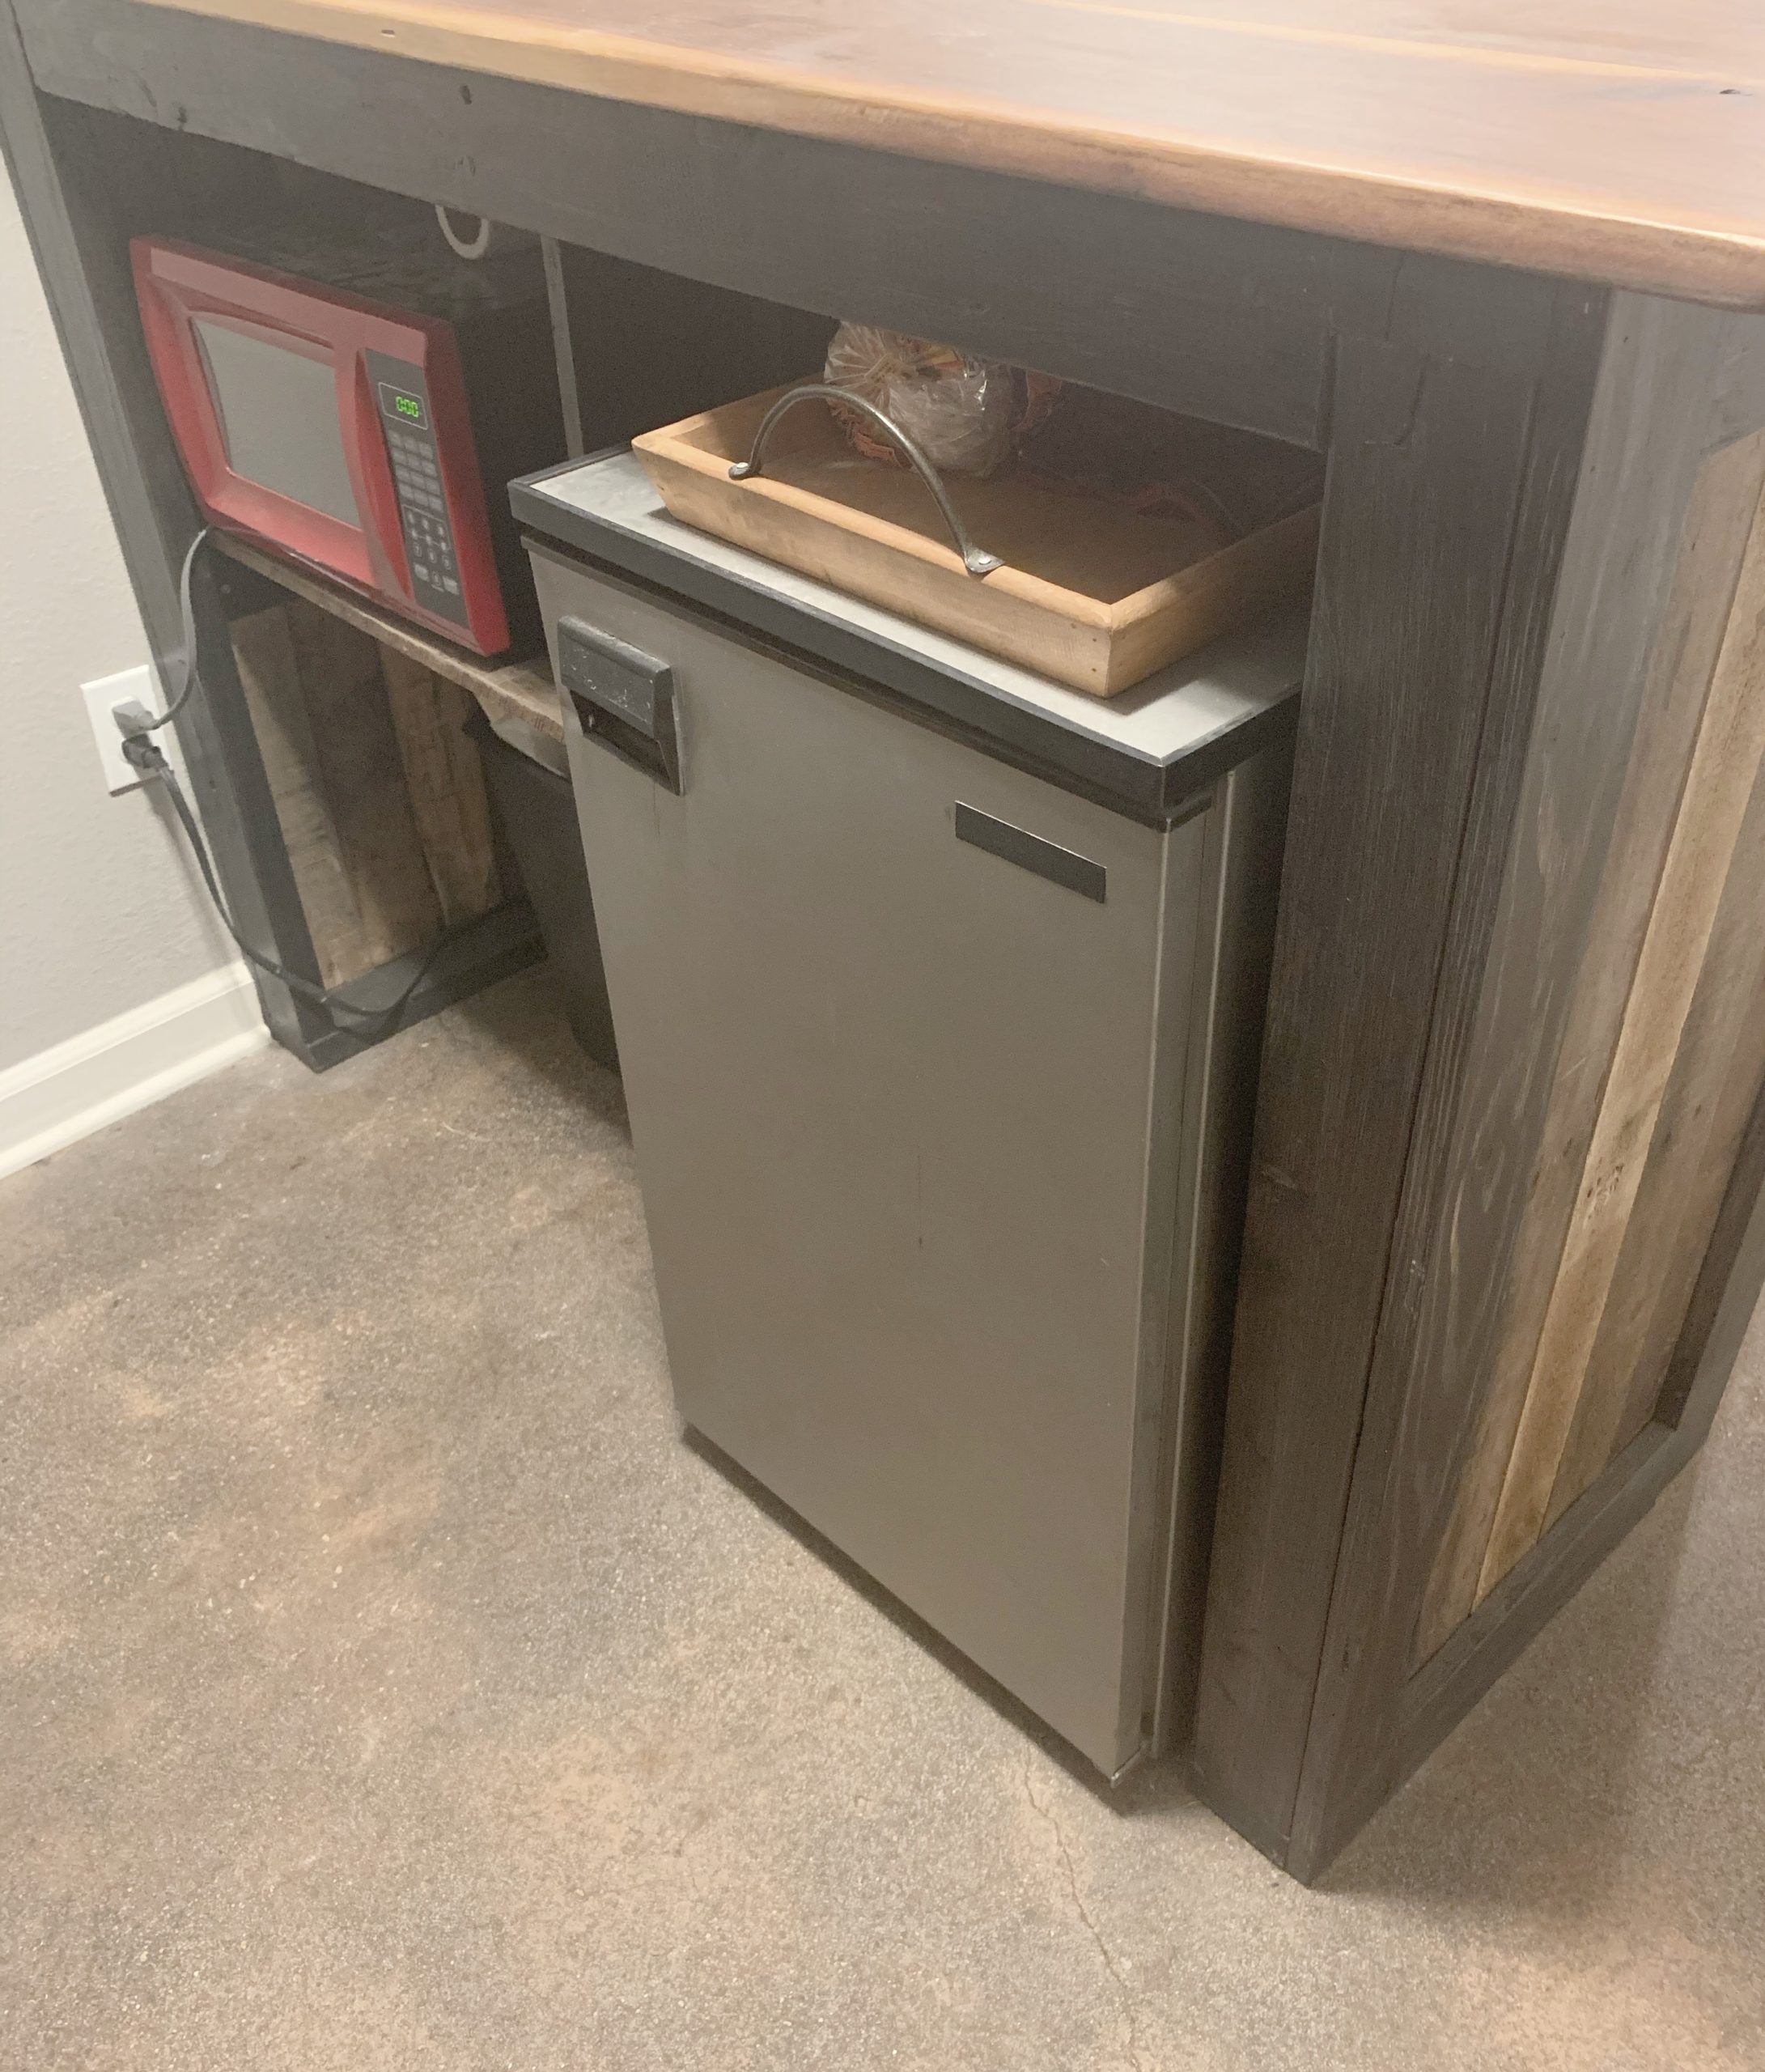 *Did I mention even the mini fridge was an up-cycle project?? Logan’s dad used this in his college dorm room and it still worked great. I wanted to update the look of it, so I used some stainless steel appliance spray paint to cover up all that 1980. Not bad for a cheap, easy fix!!
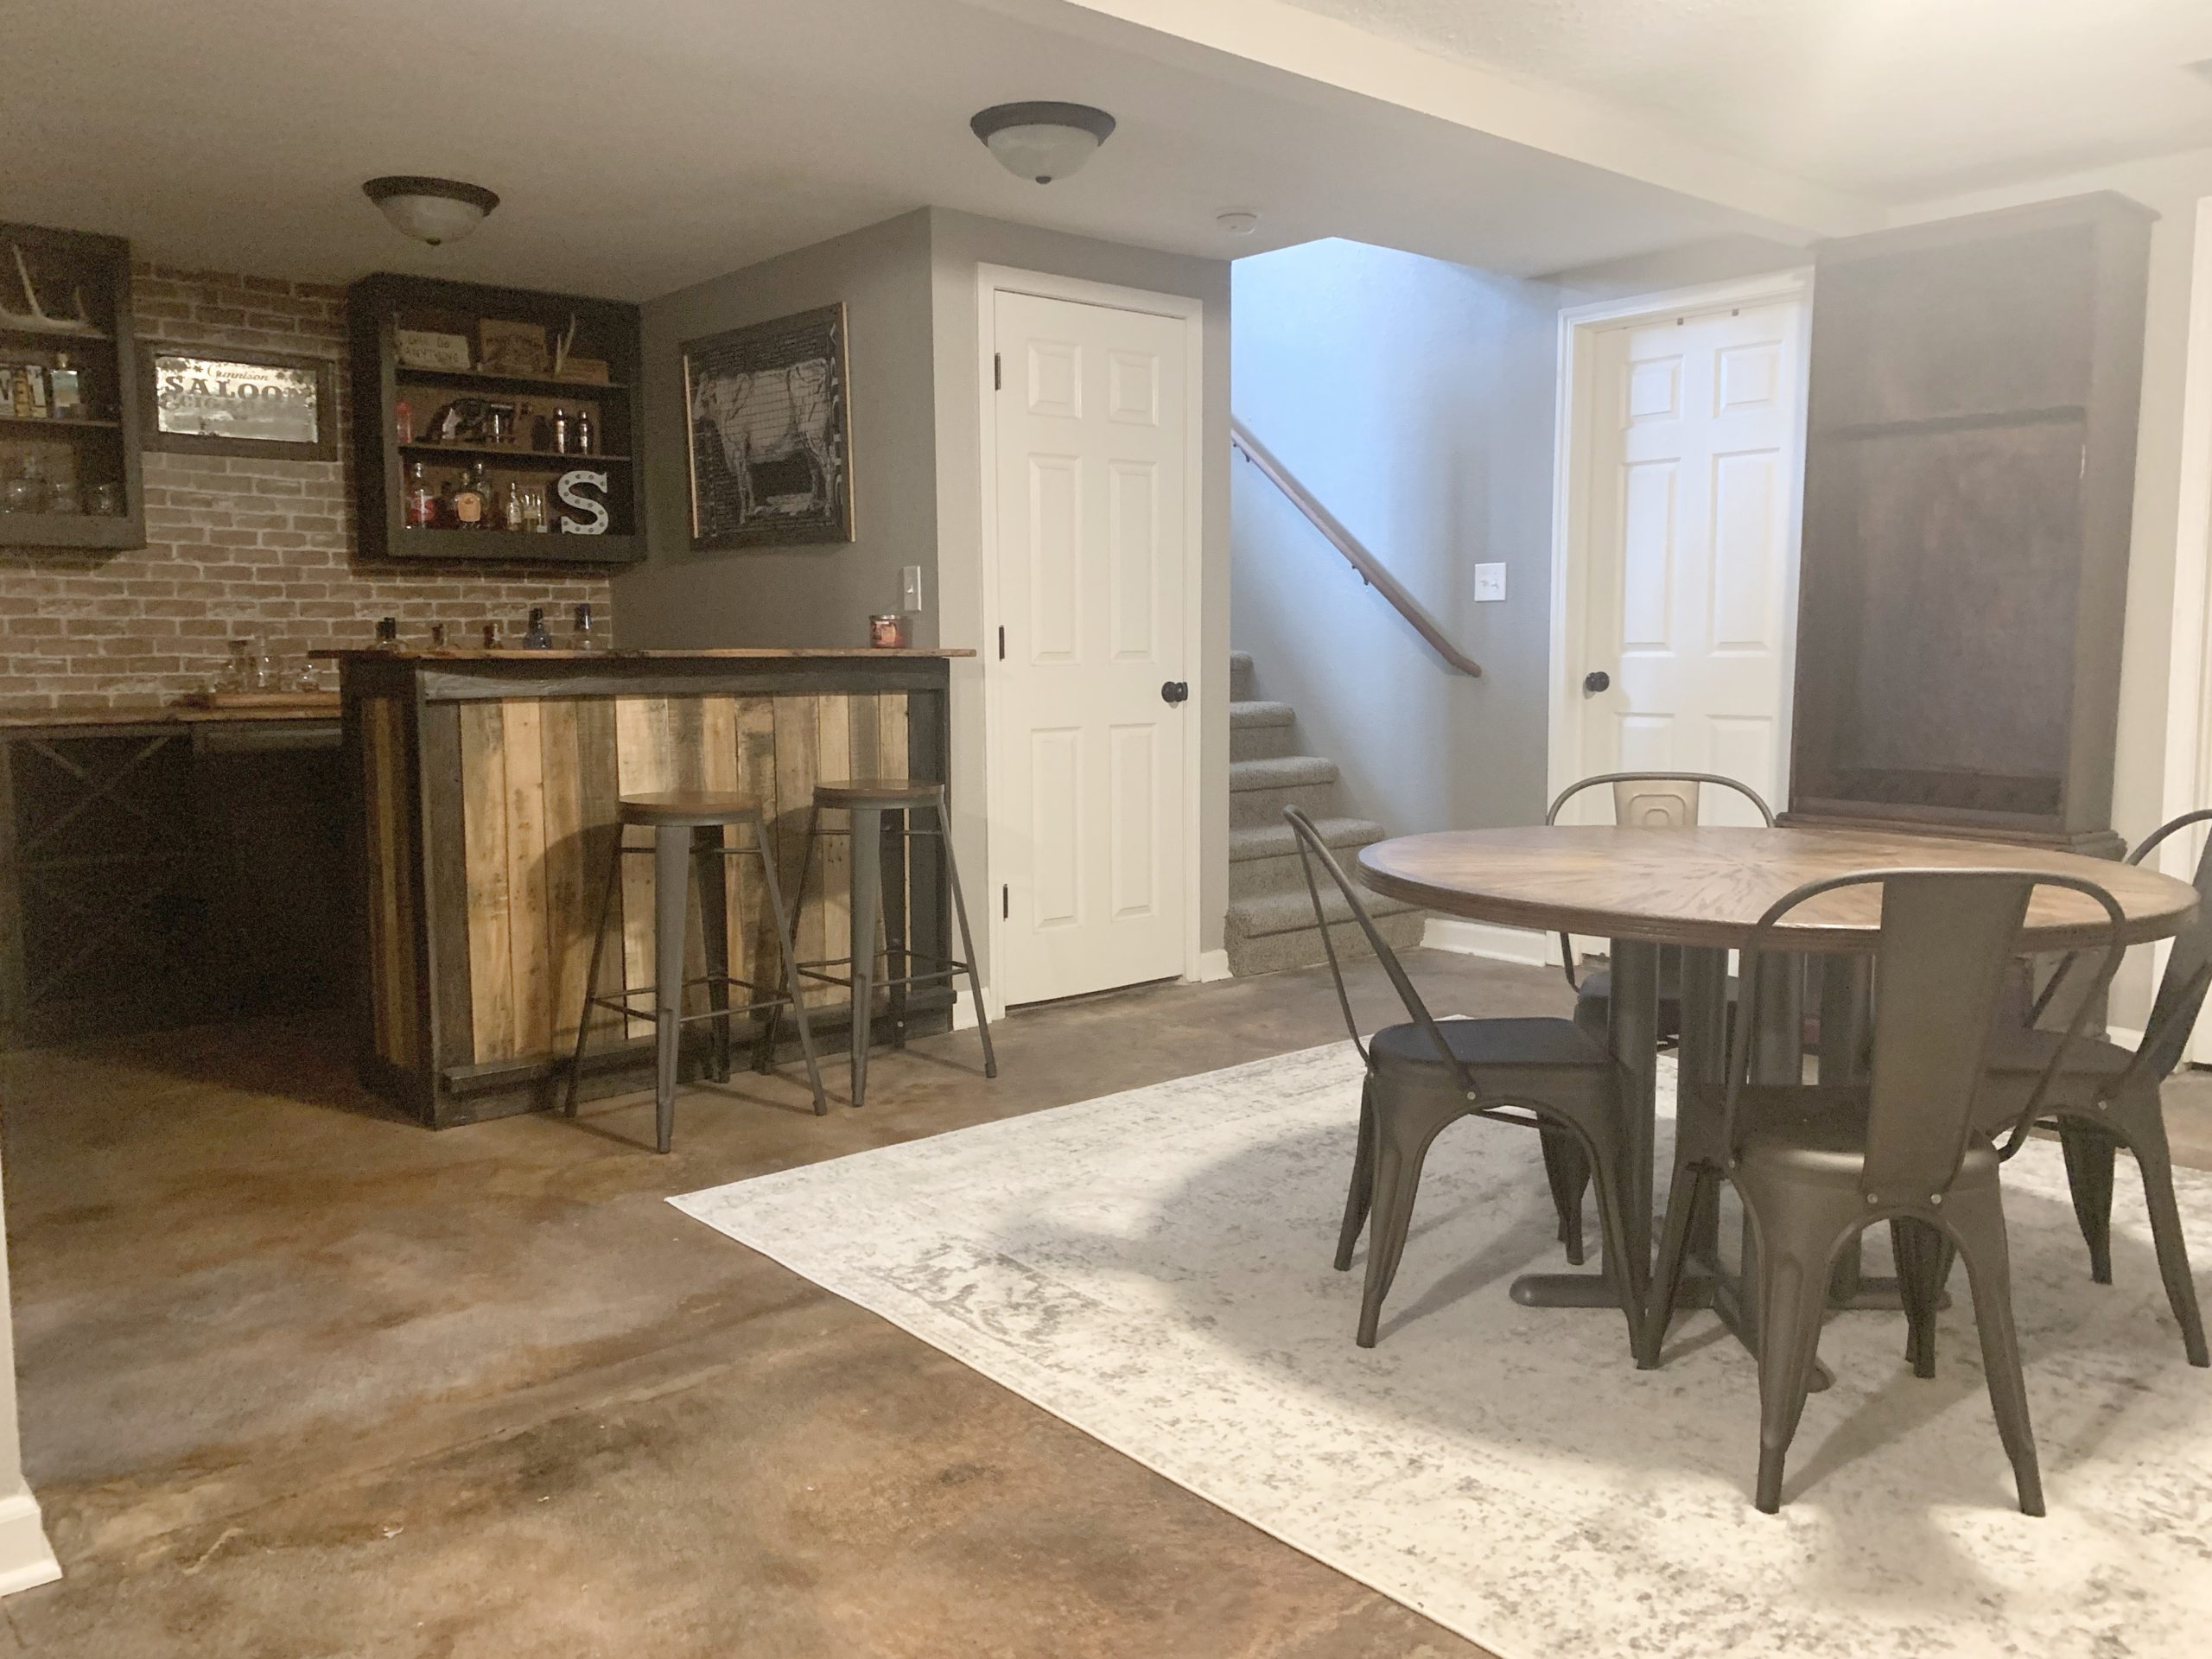
 Once we got it the bar installed, I couldn’t even believe how good it looked! I found the metal bar stools on Facebook marketplace for $40 and they just fit right in.
Countertops
Would you believe me if I told you we also spent no money on these GORGEOUS live-edge countertops?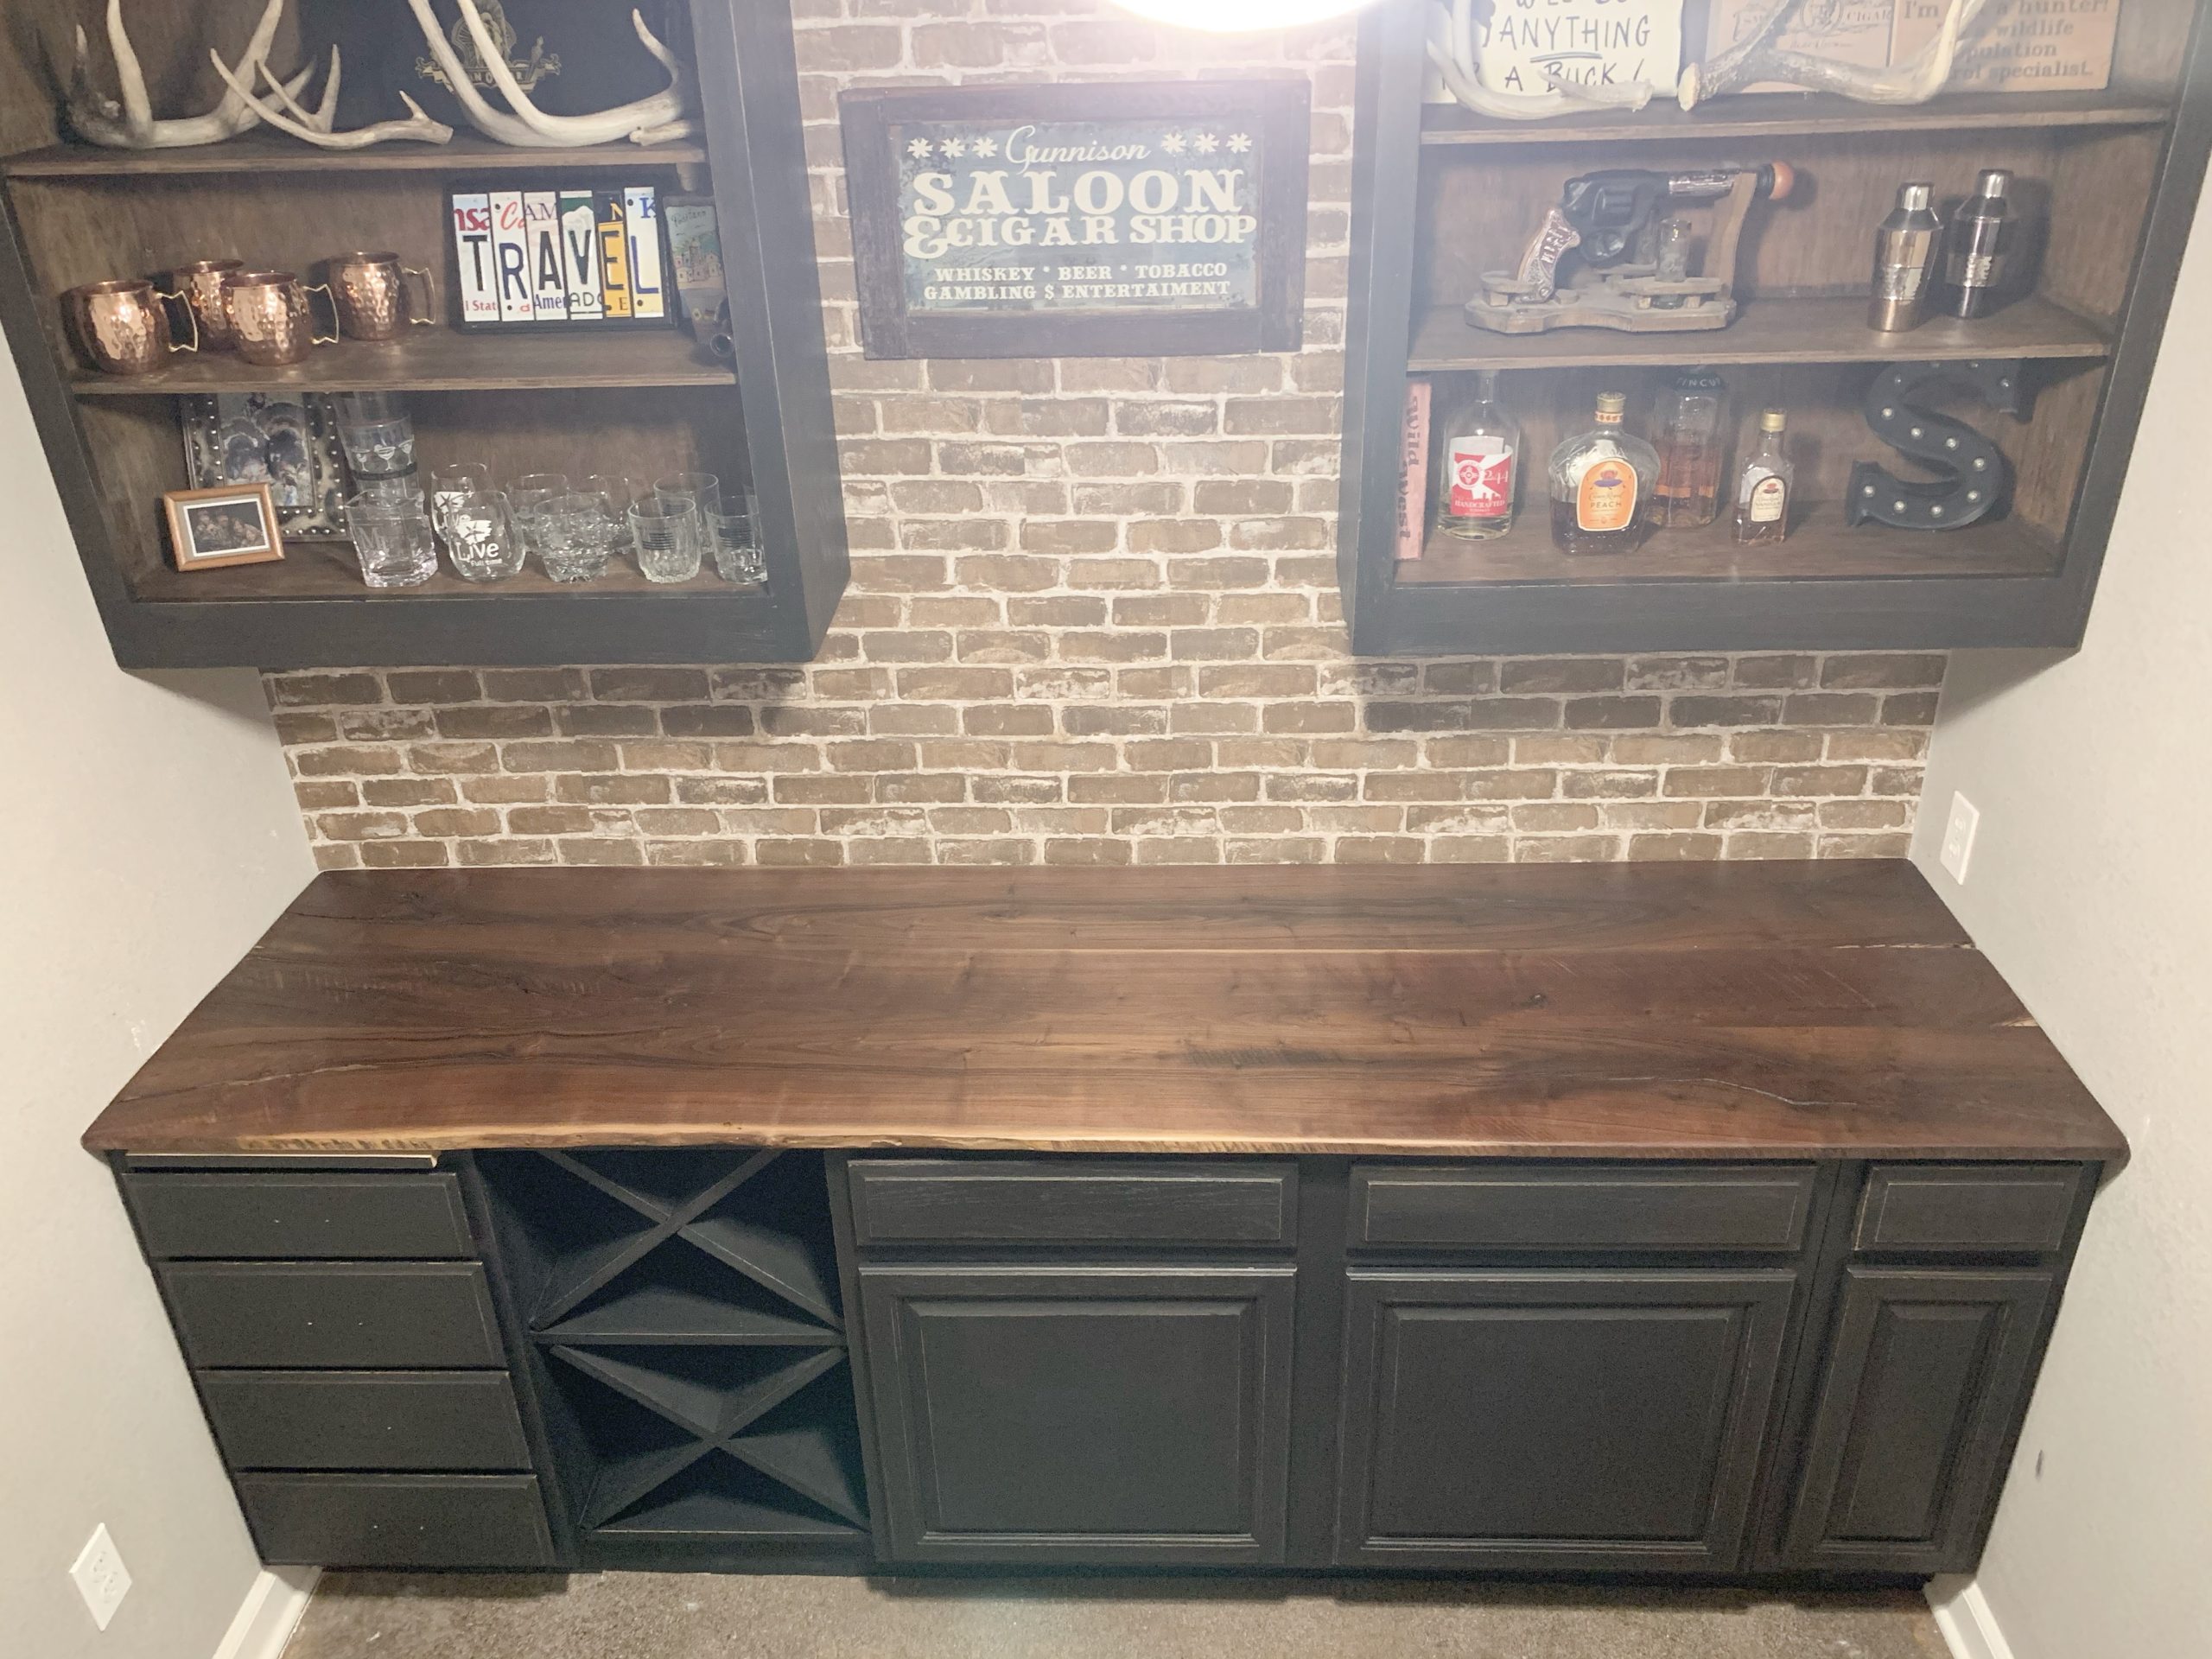
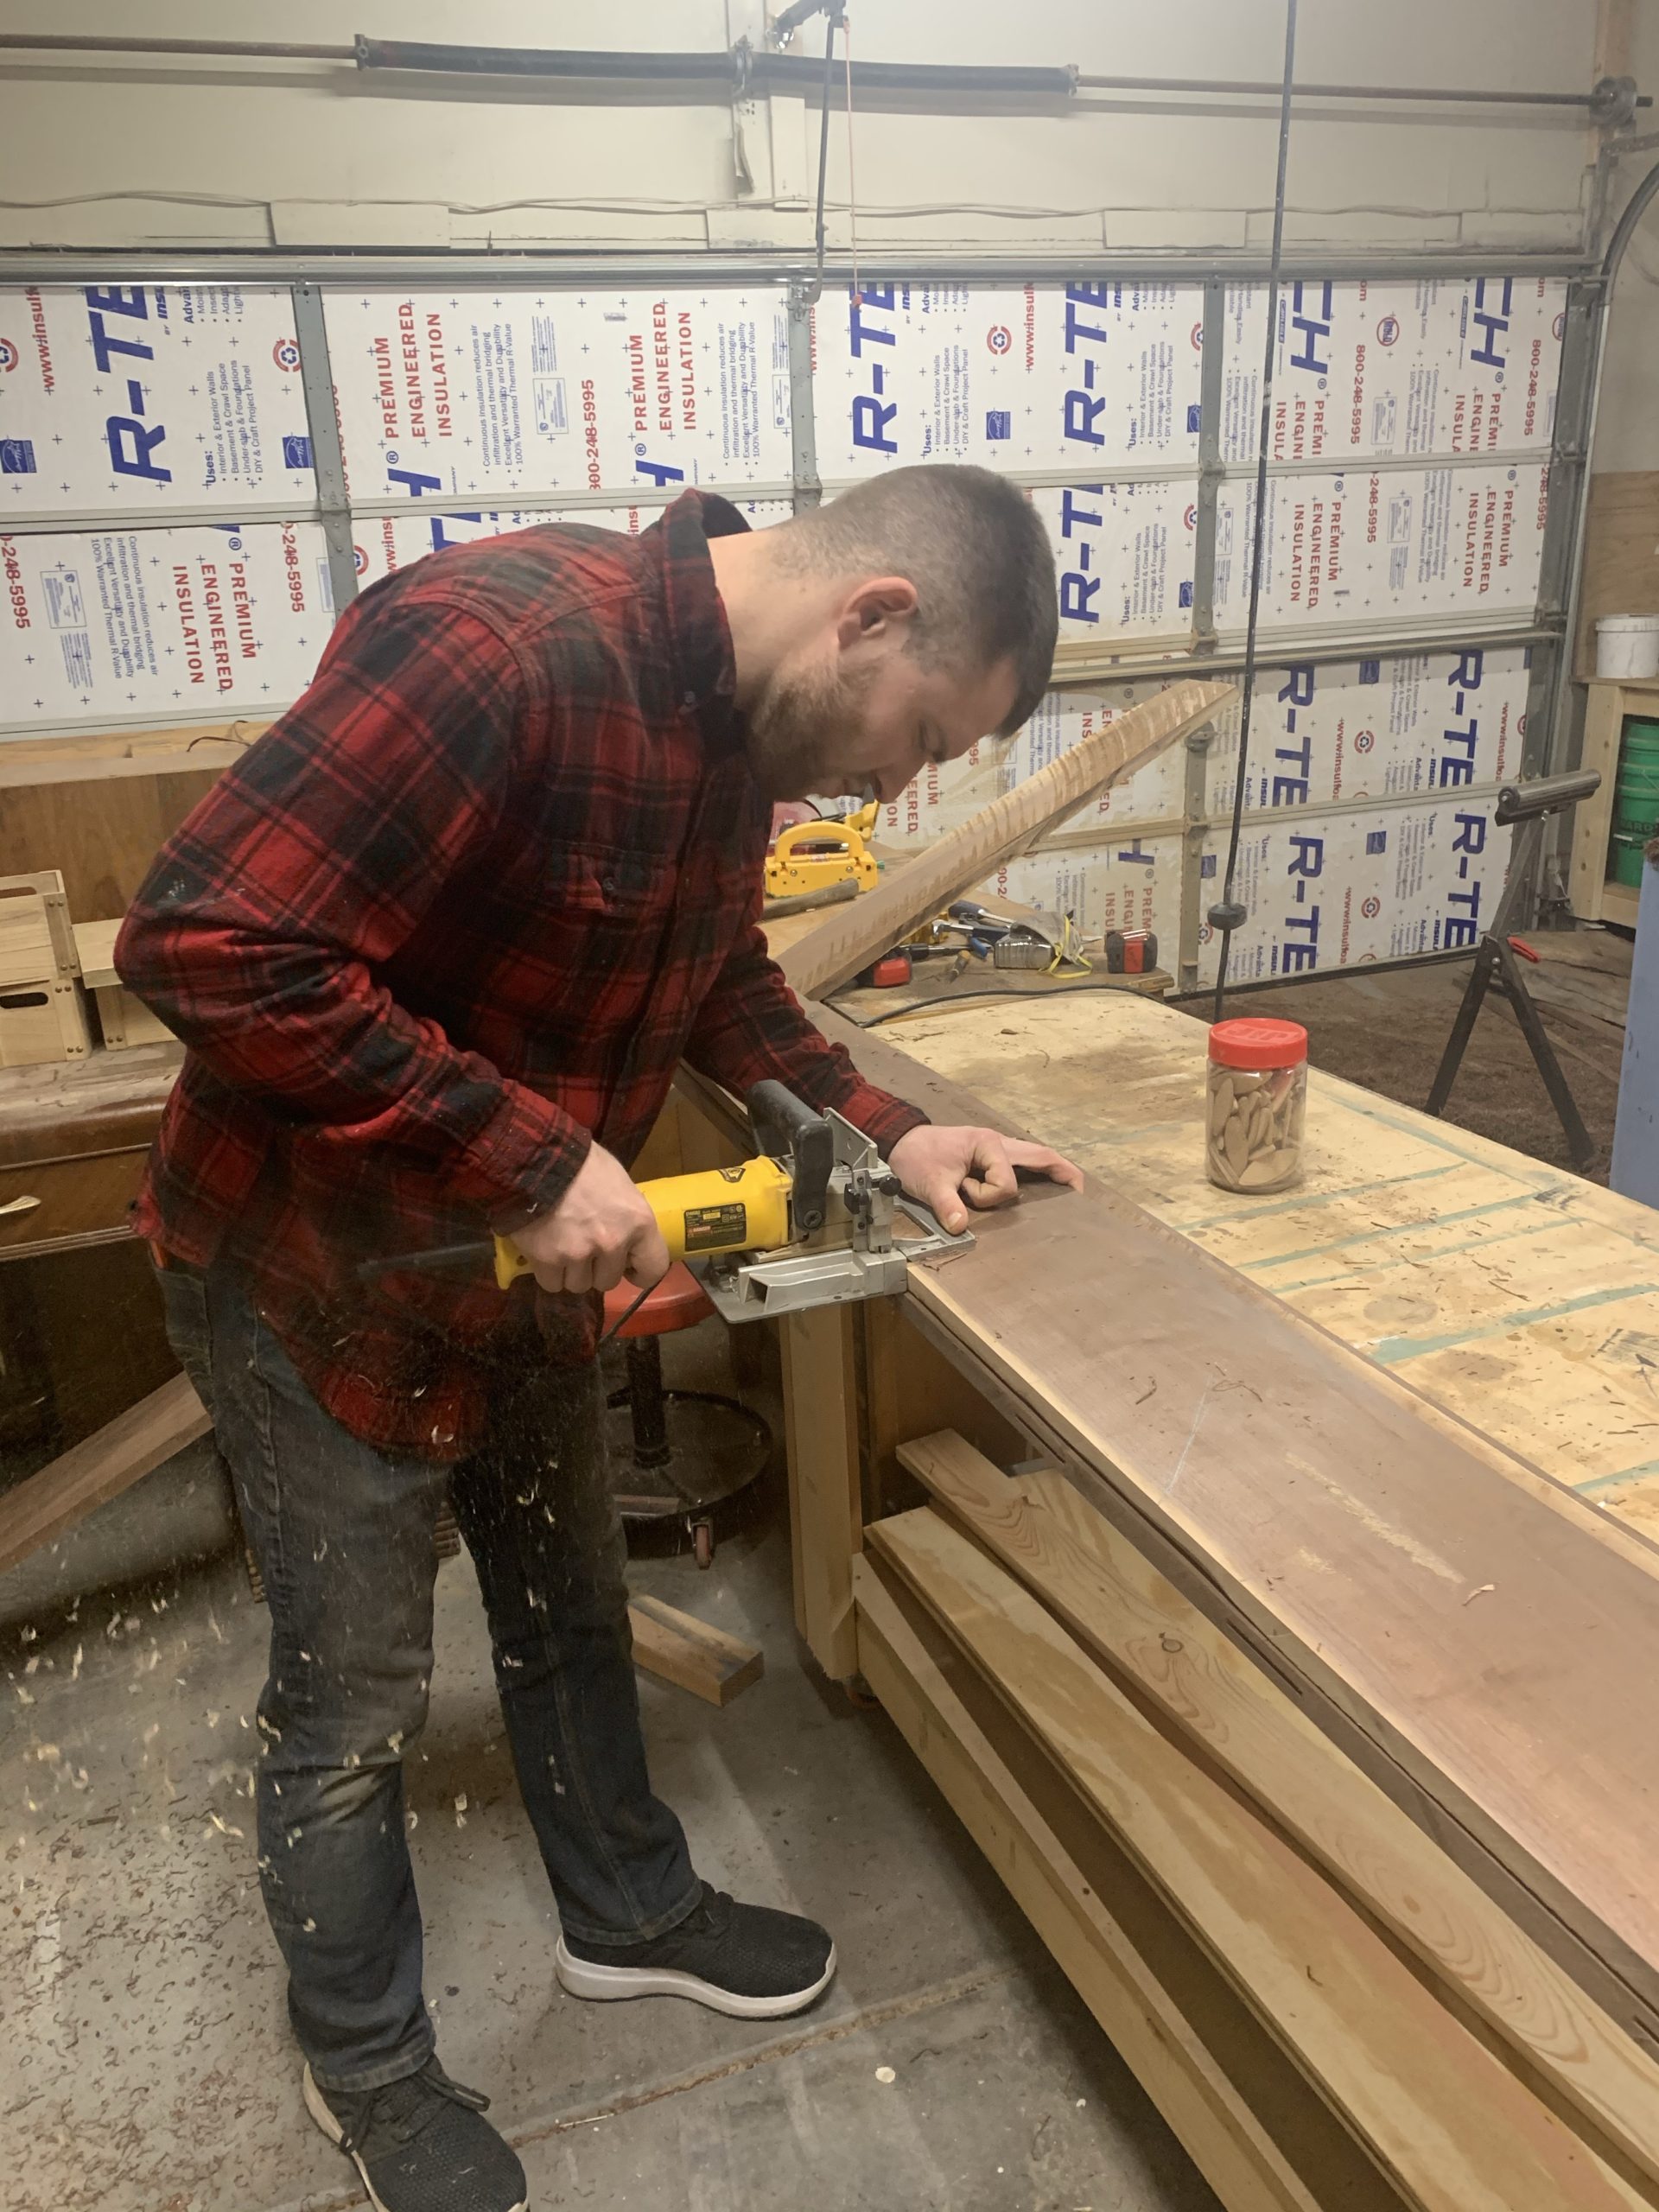 Logan had the opportunity to help deconstruct an old barn that was full of walnut slabs. In exchange for labor, he got to keep a ton of the wood! (Several tons actually lol).
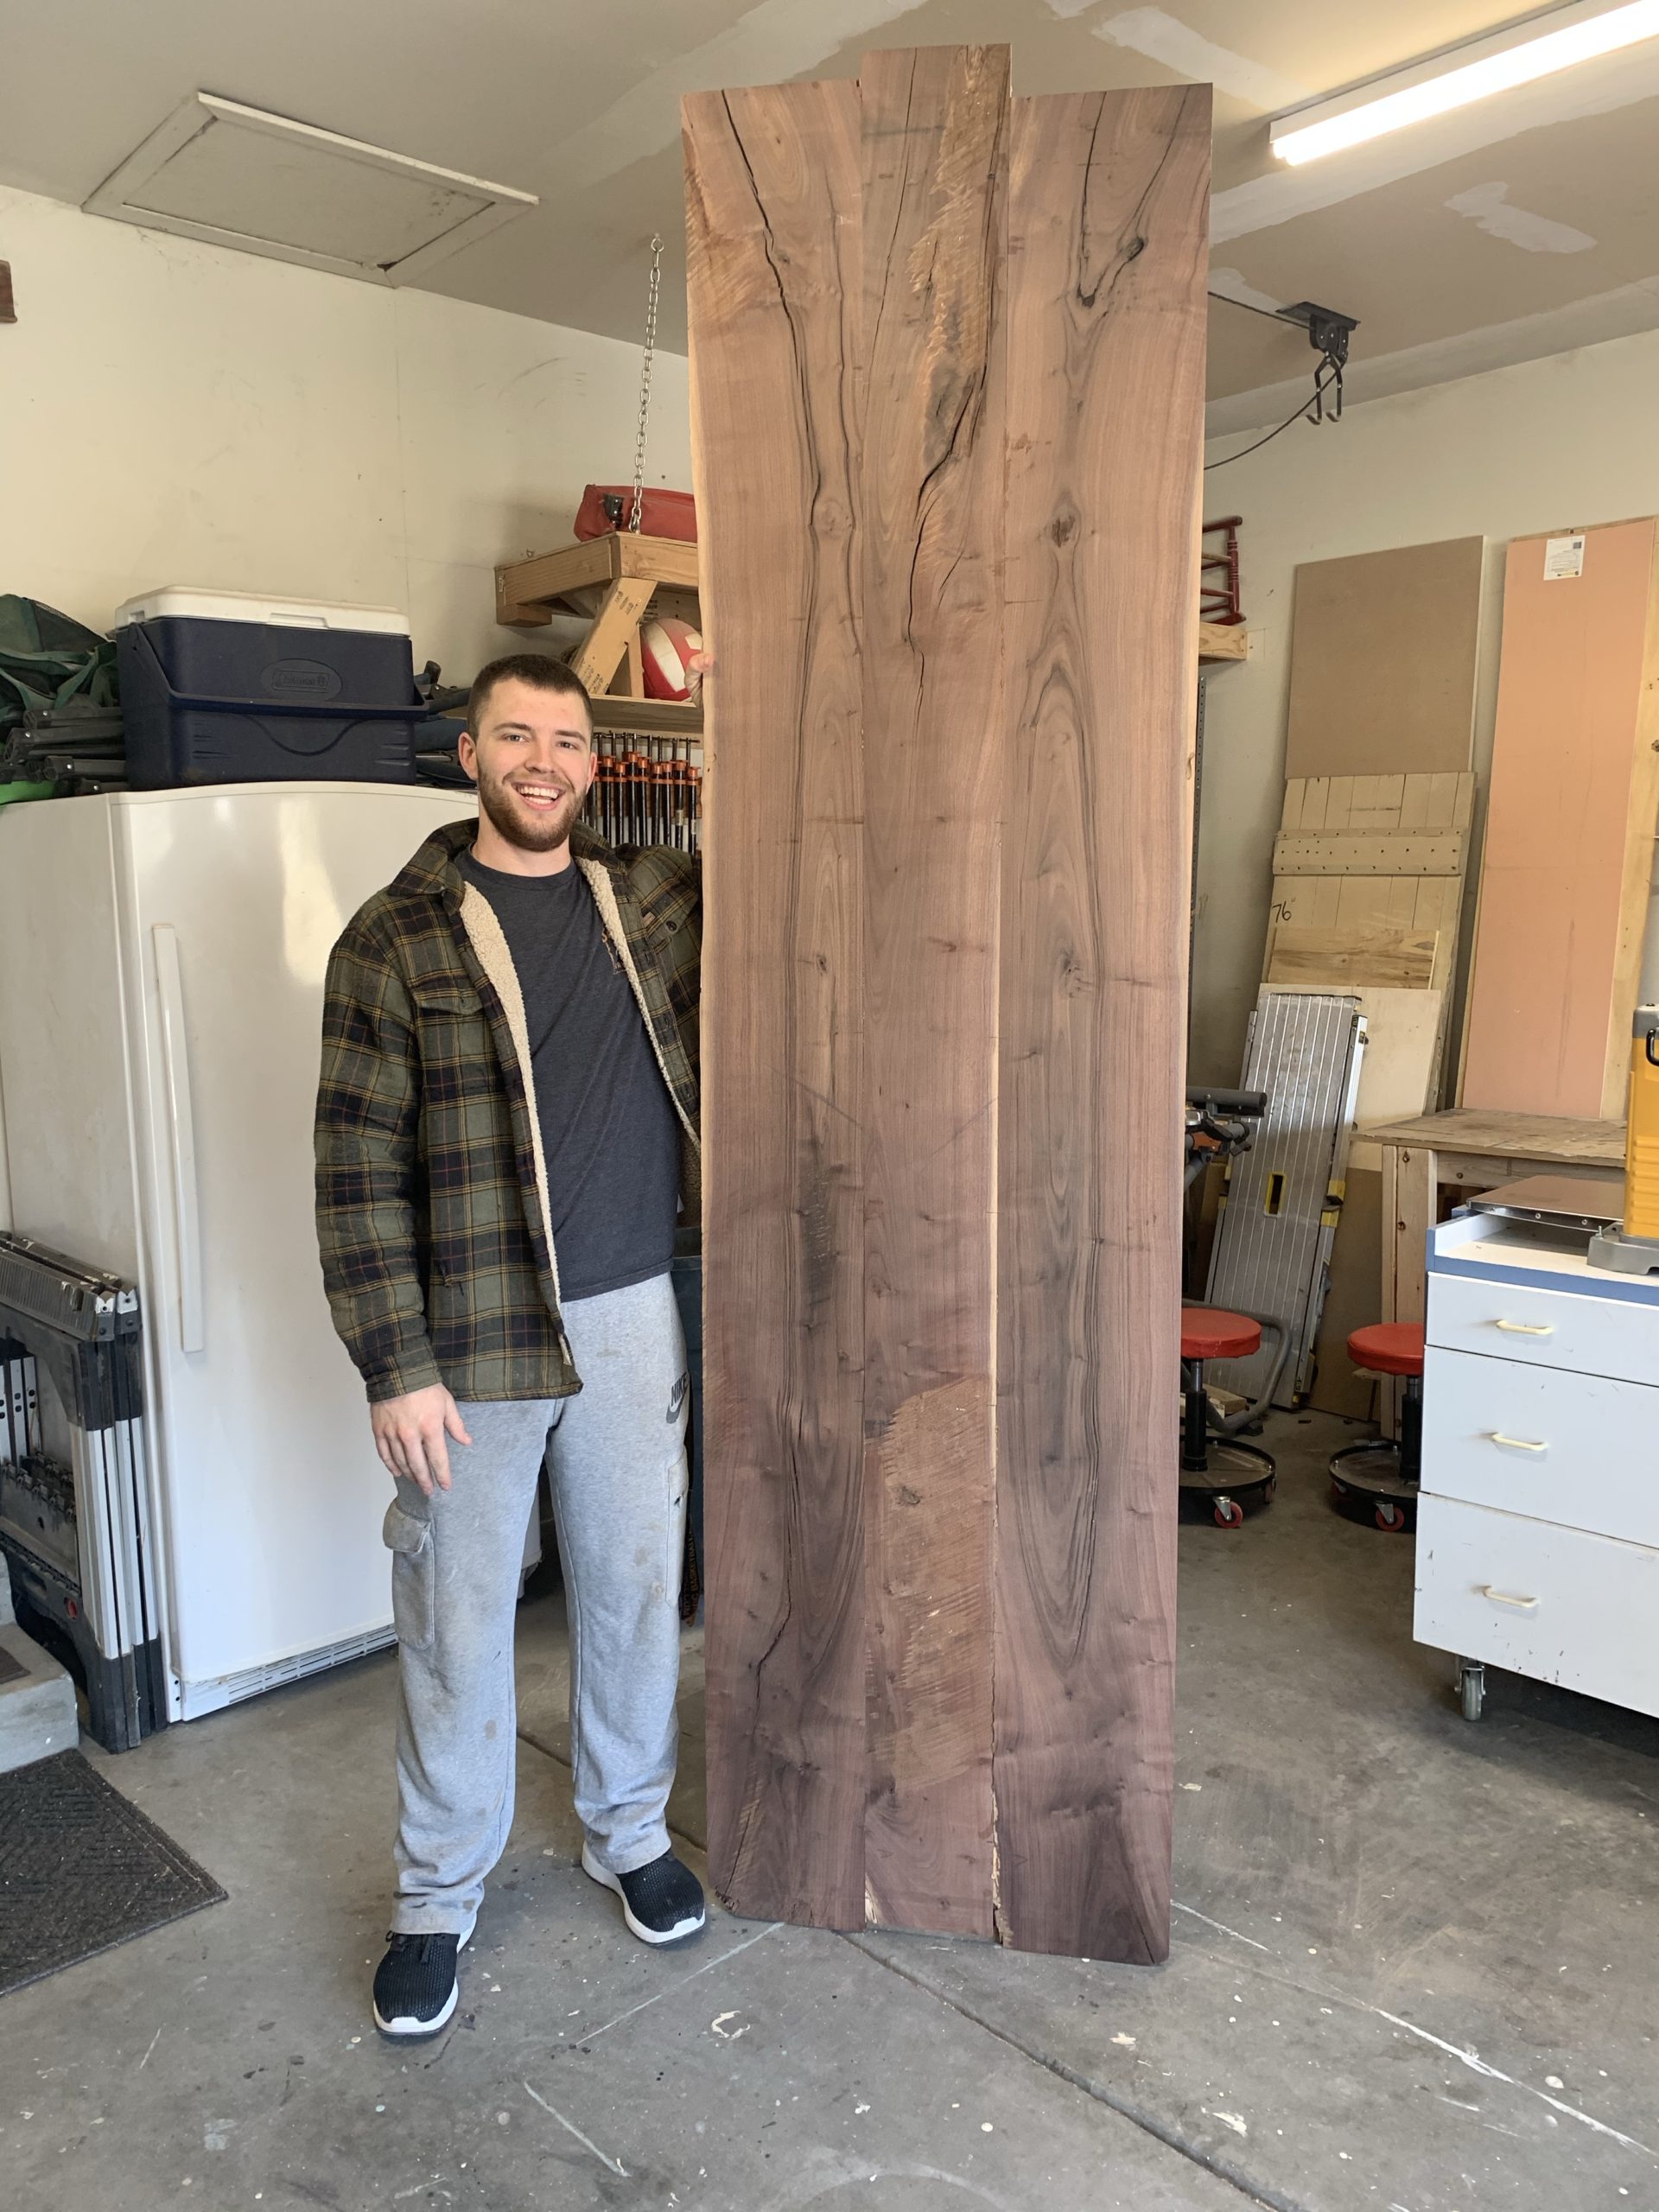 We ended up selling a lot of it, but before we did, we built several things for ourselves, including these countertops! Logan did an amazing job constructing and custom fitting these in our bar area and HOLY COW I married one talented man! (:
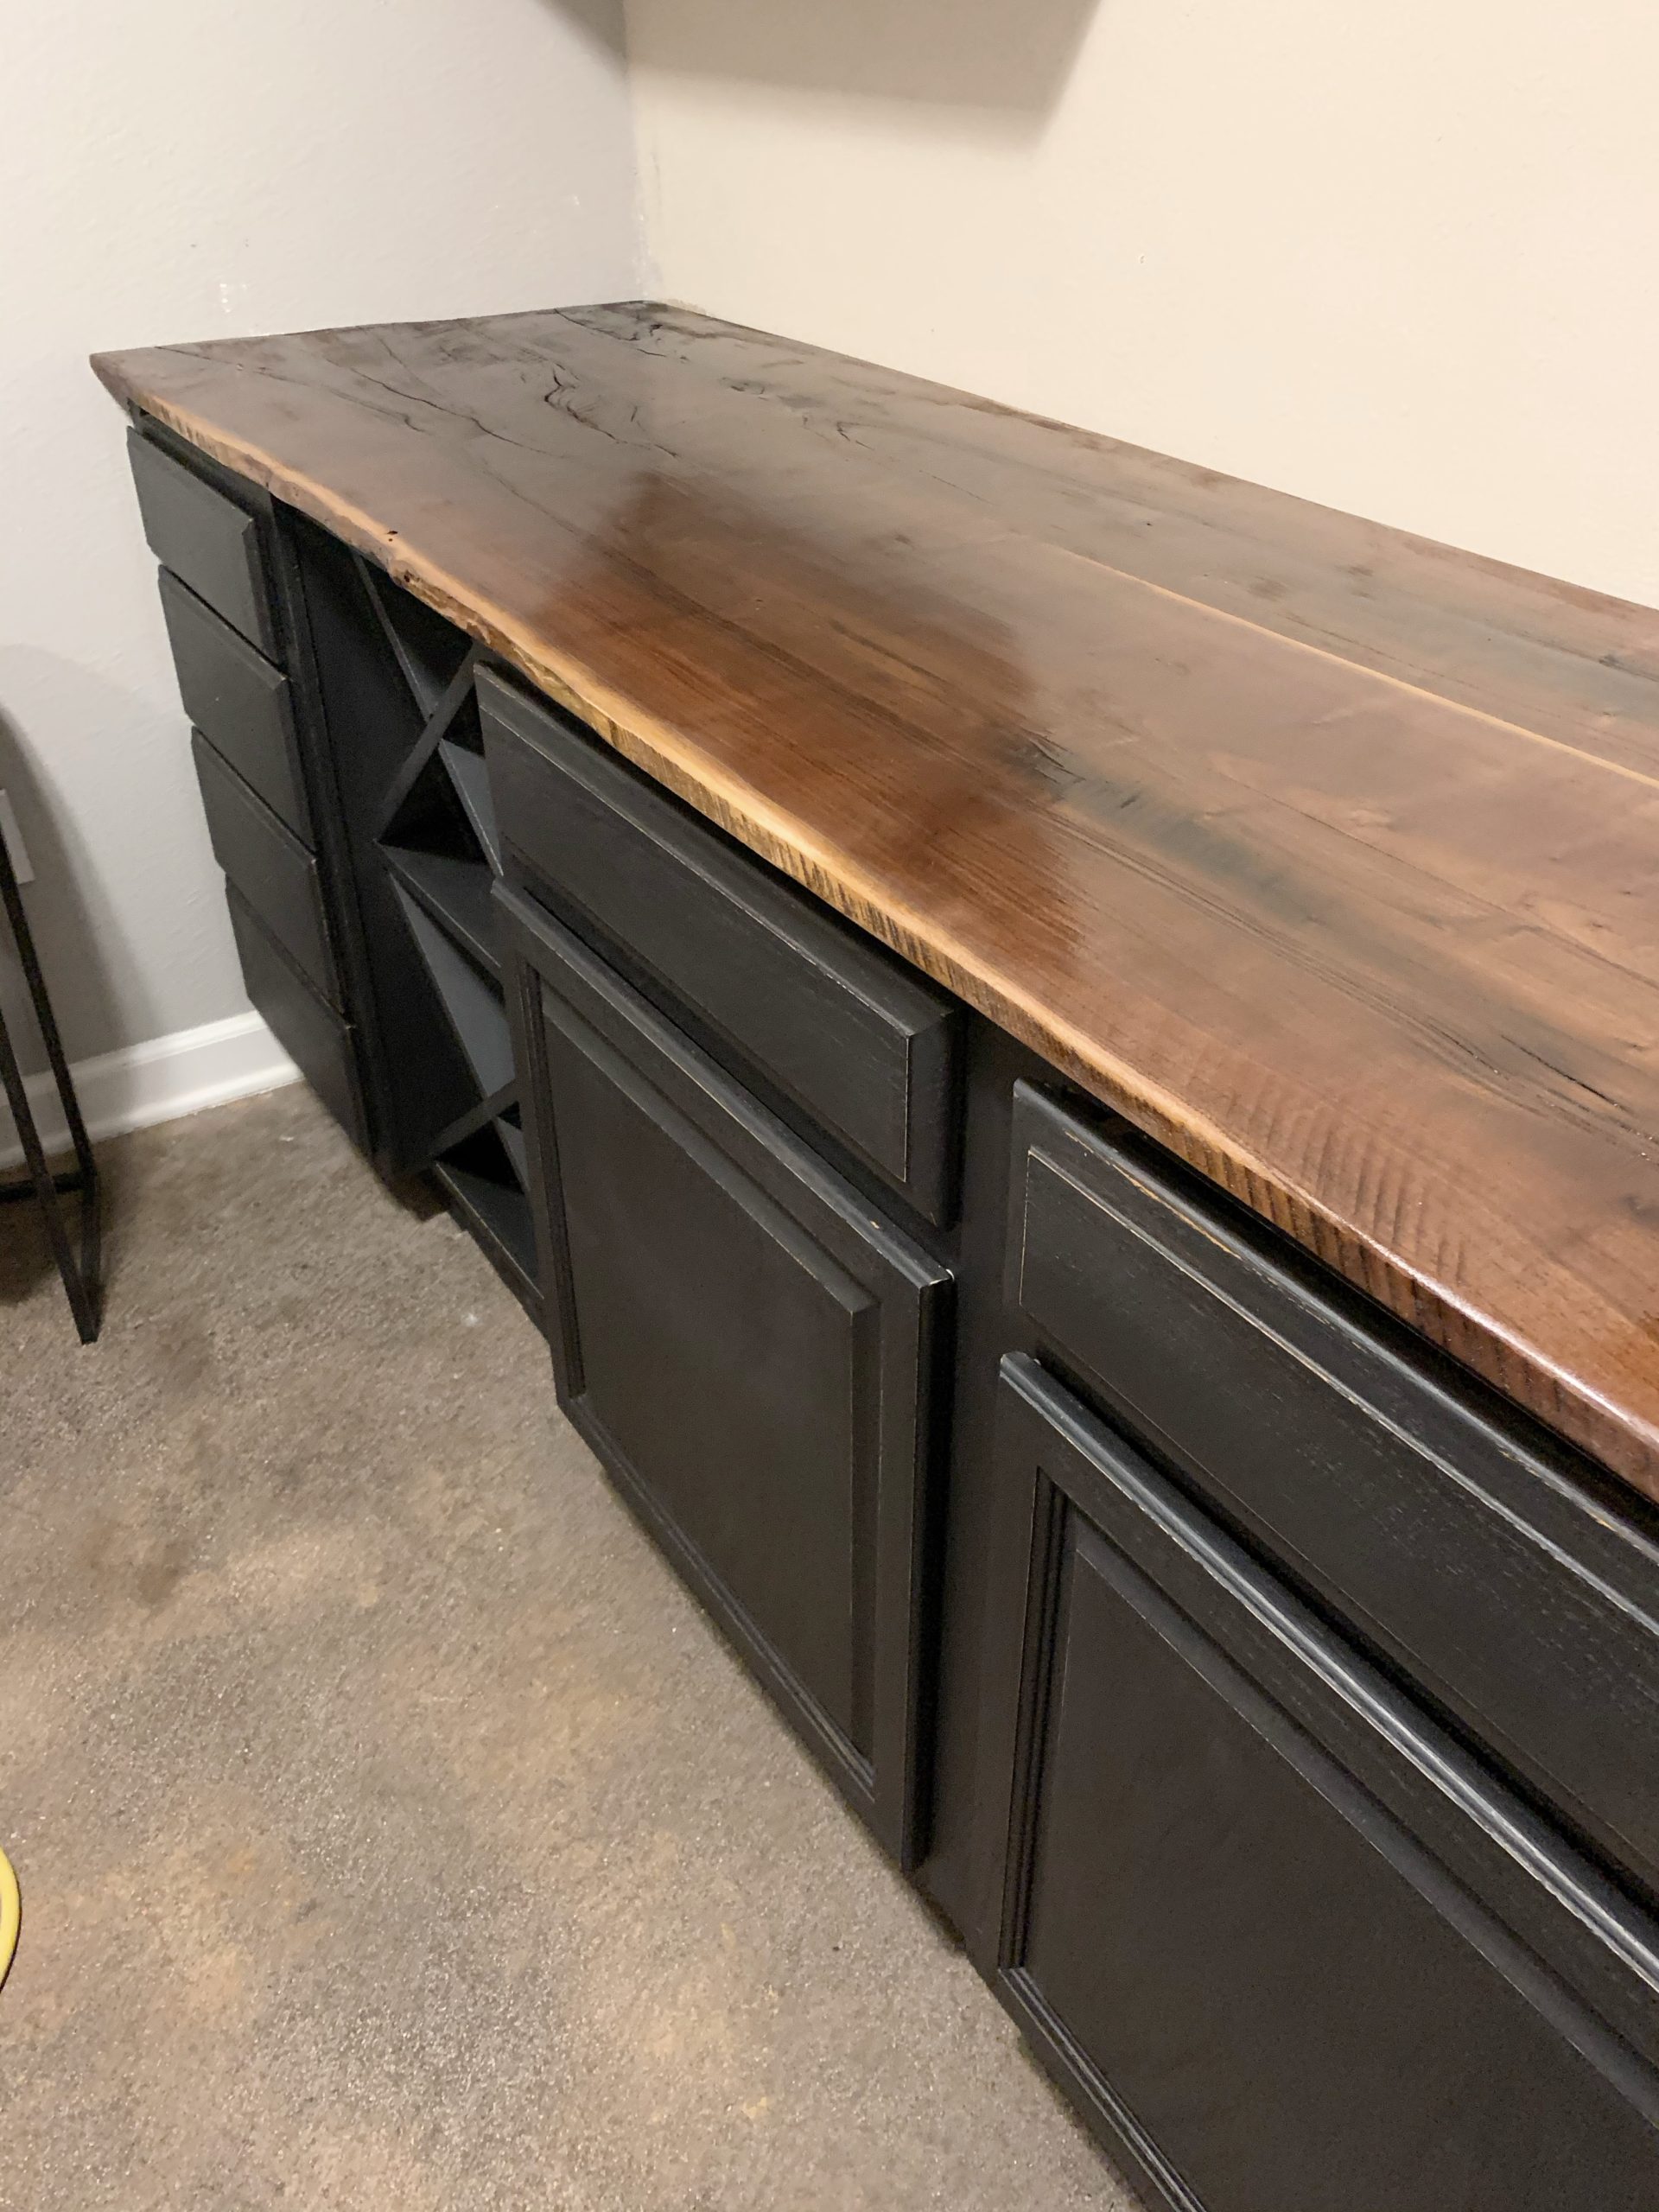
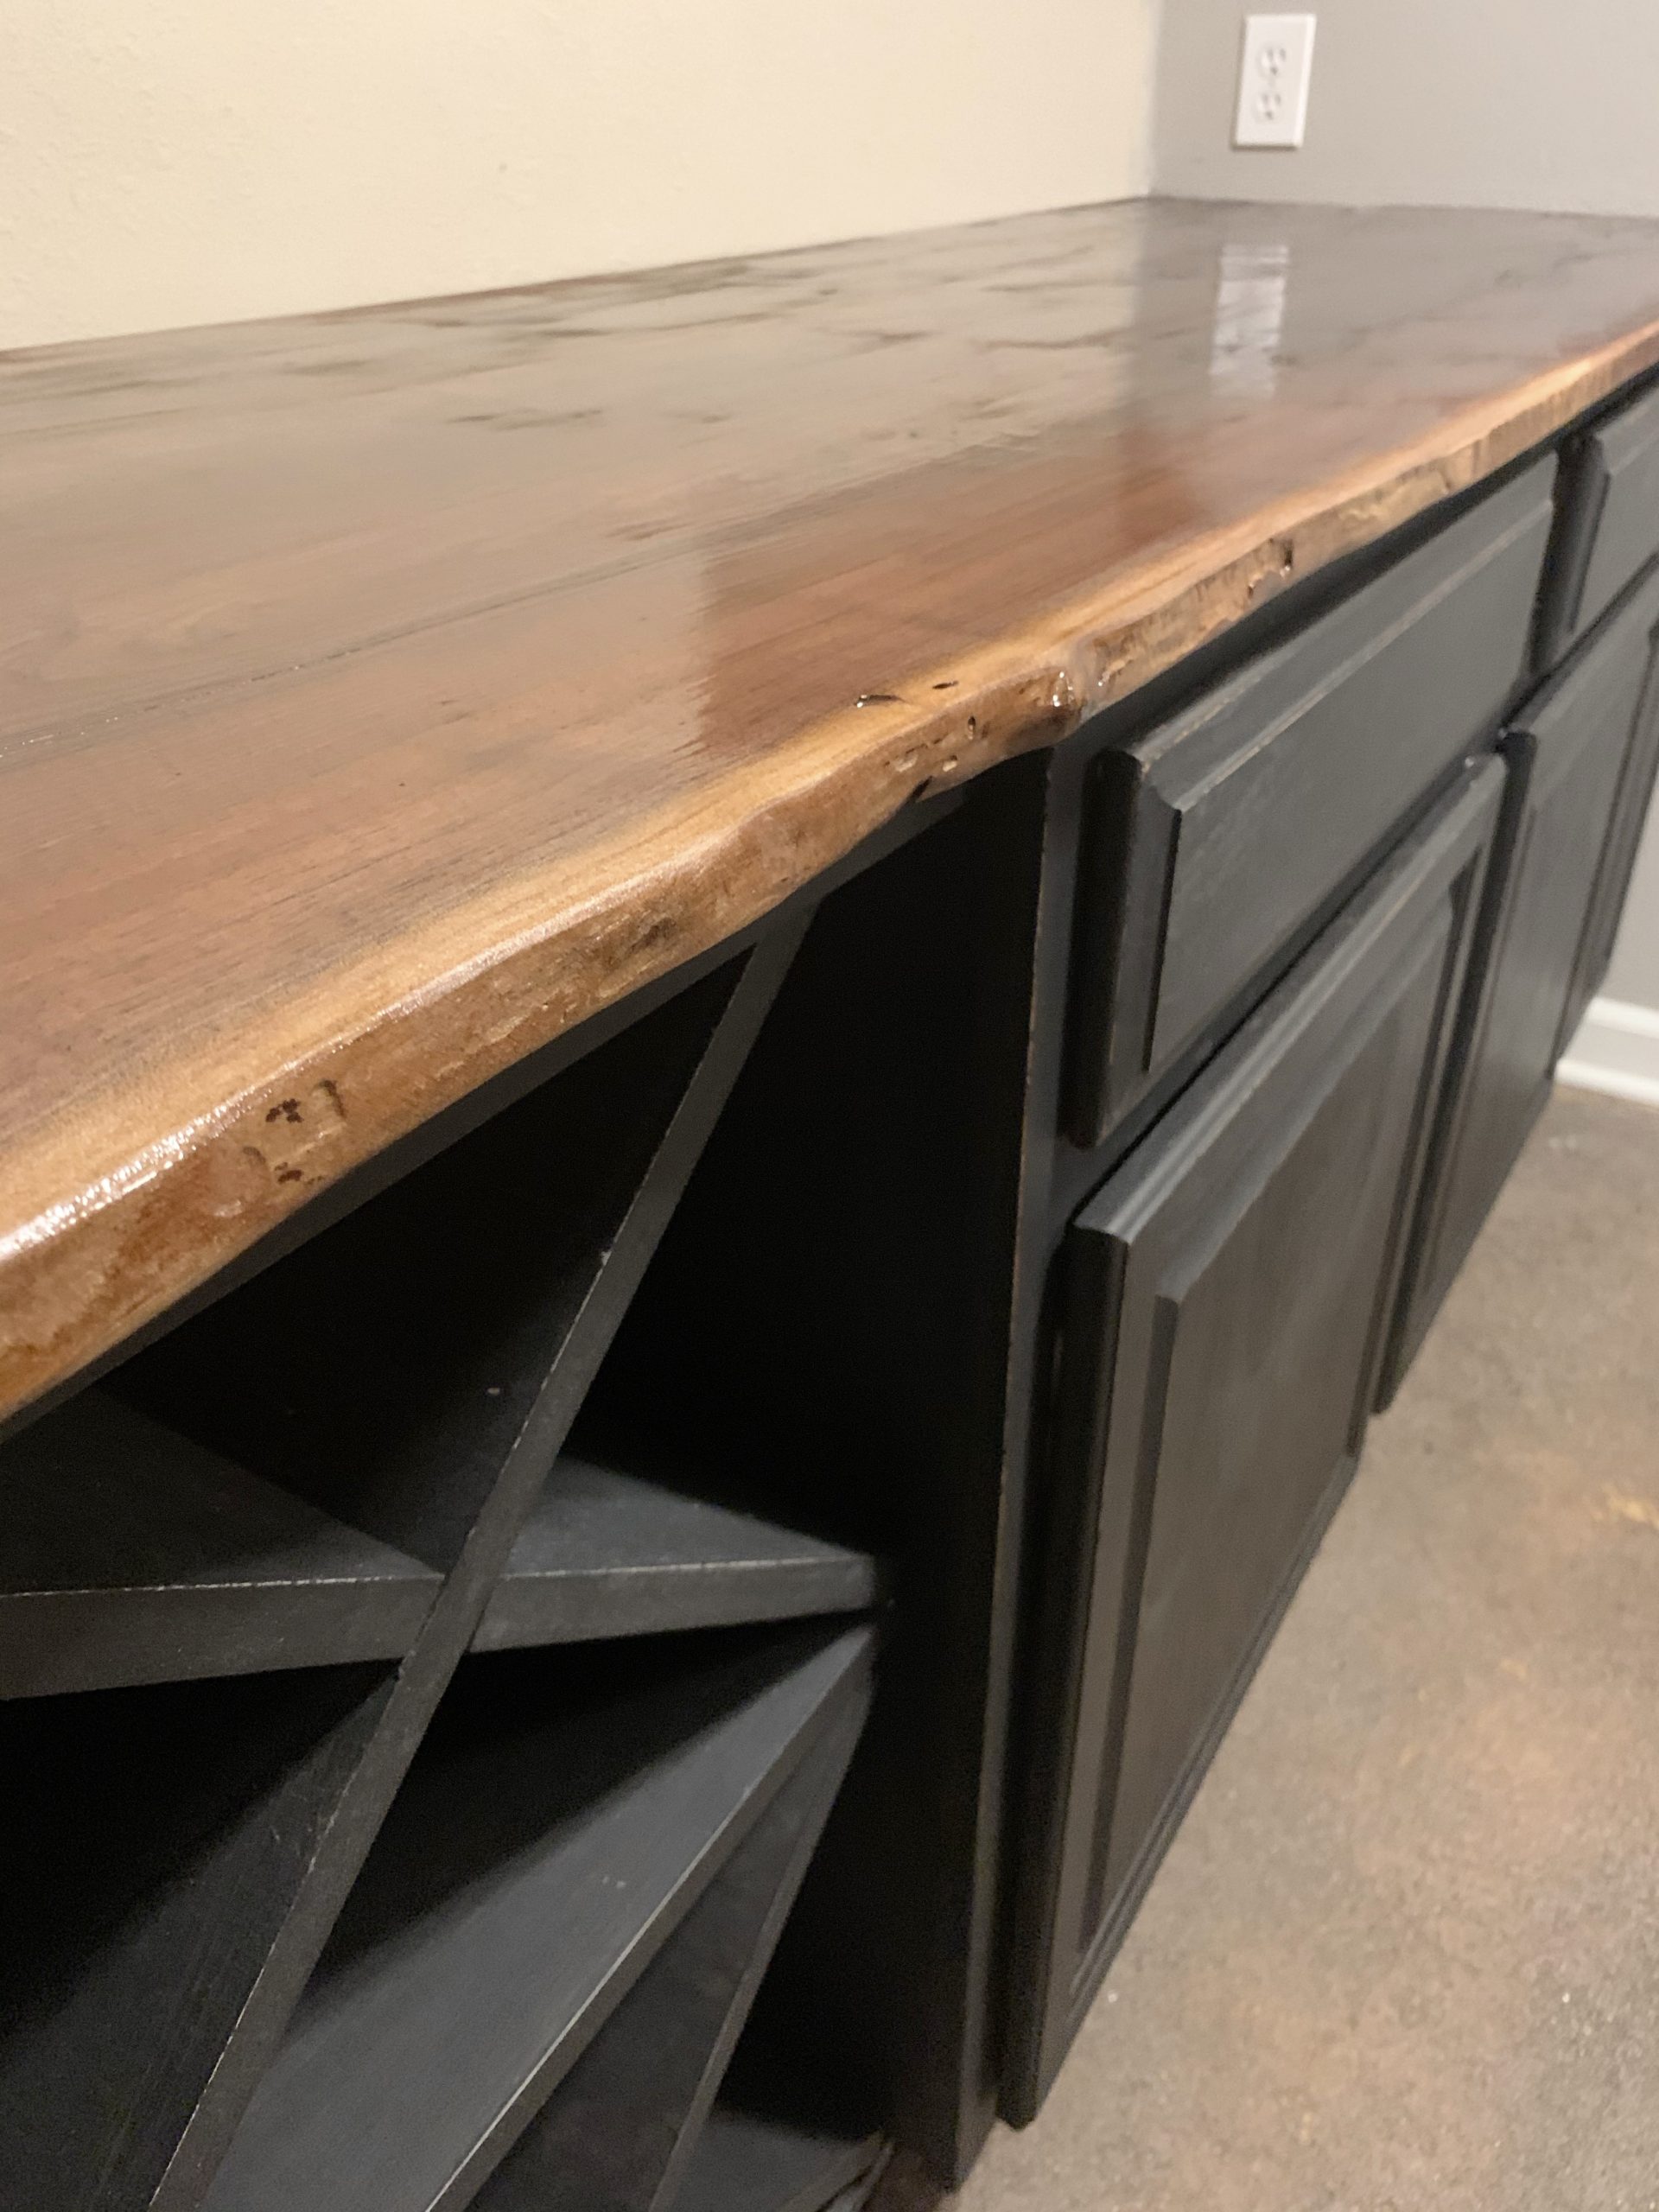 We applied an oil based top coat which really brought the wood to life and gave the cabinets a high-end look.
*I realize live-edge walnut is normally an expensive option, but since we had the wood already it made sense to use it. You could easily mimic the look for less money if you don’t have this available!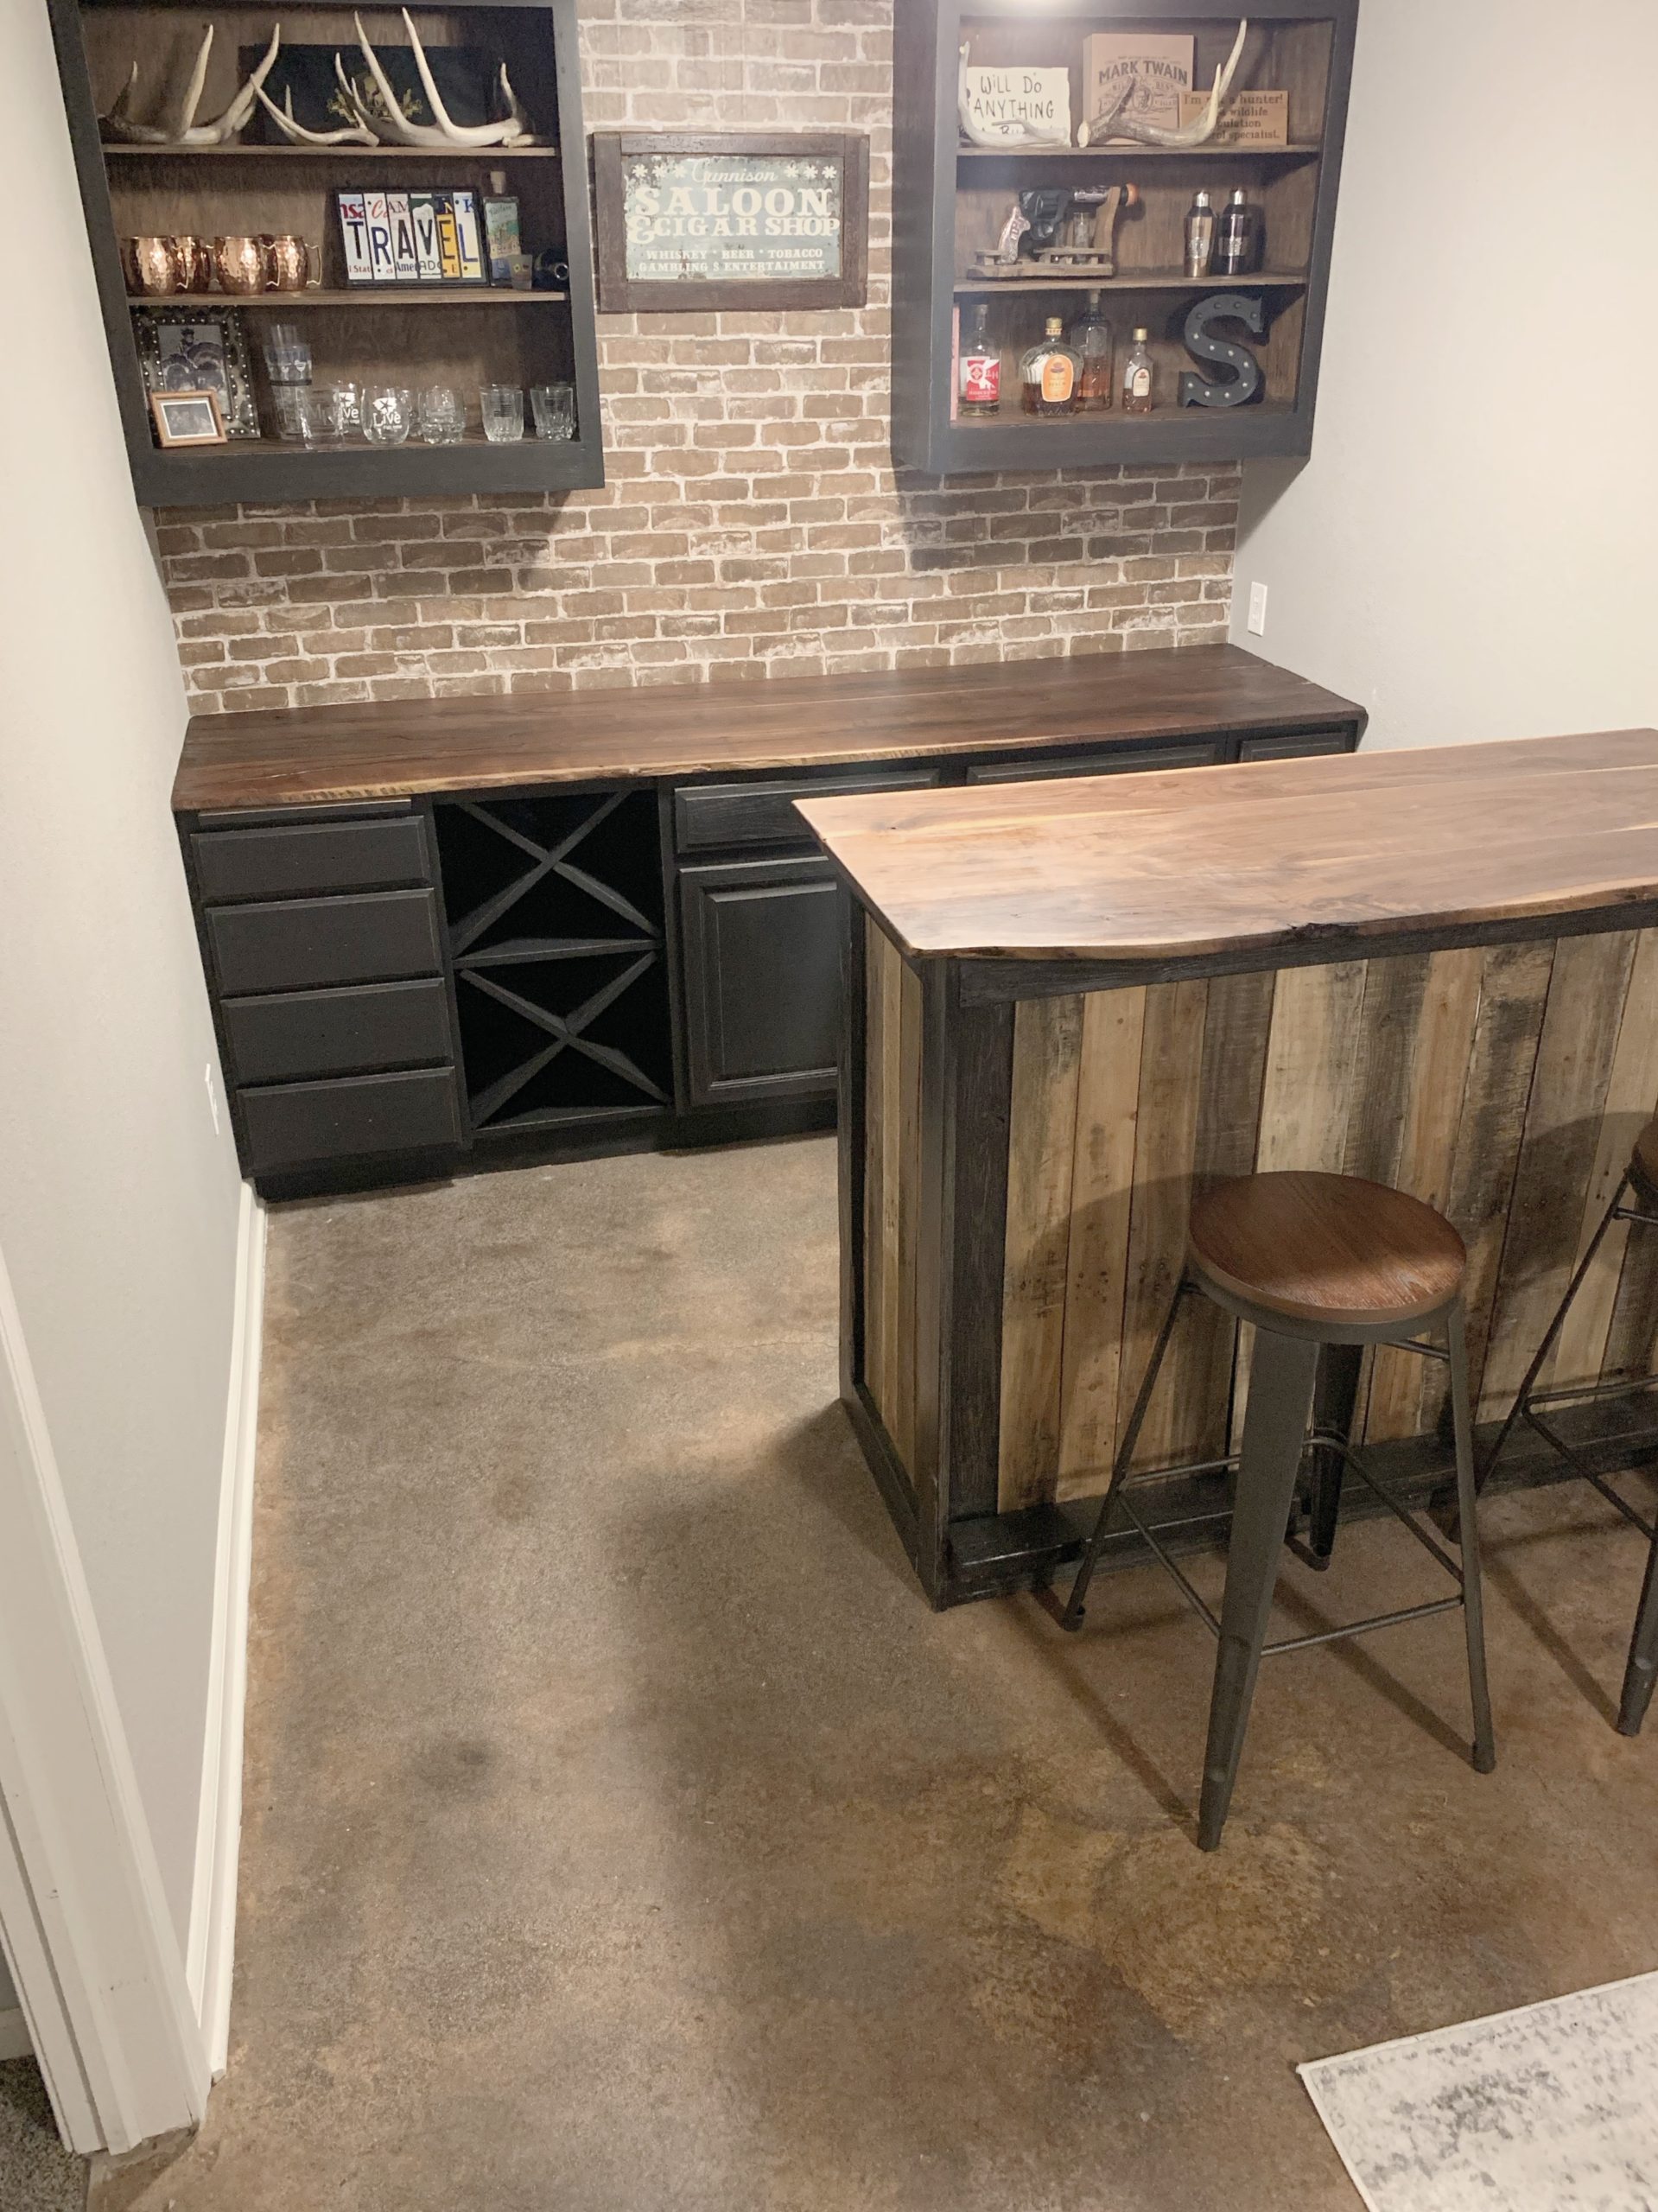
Upper Cabinets
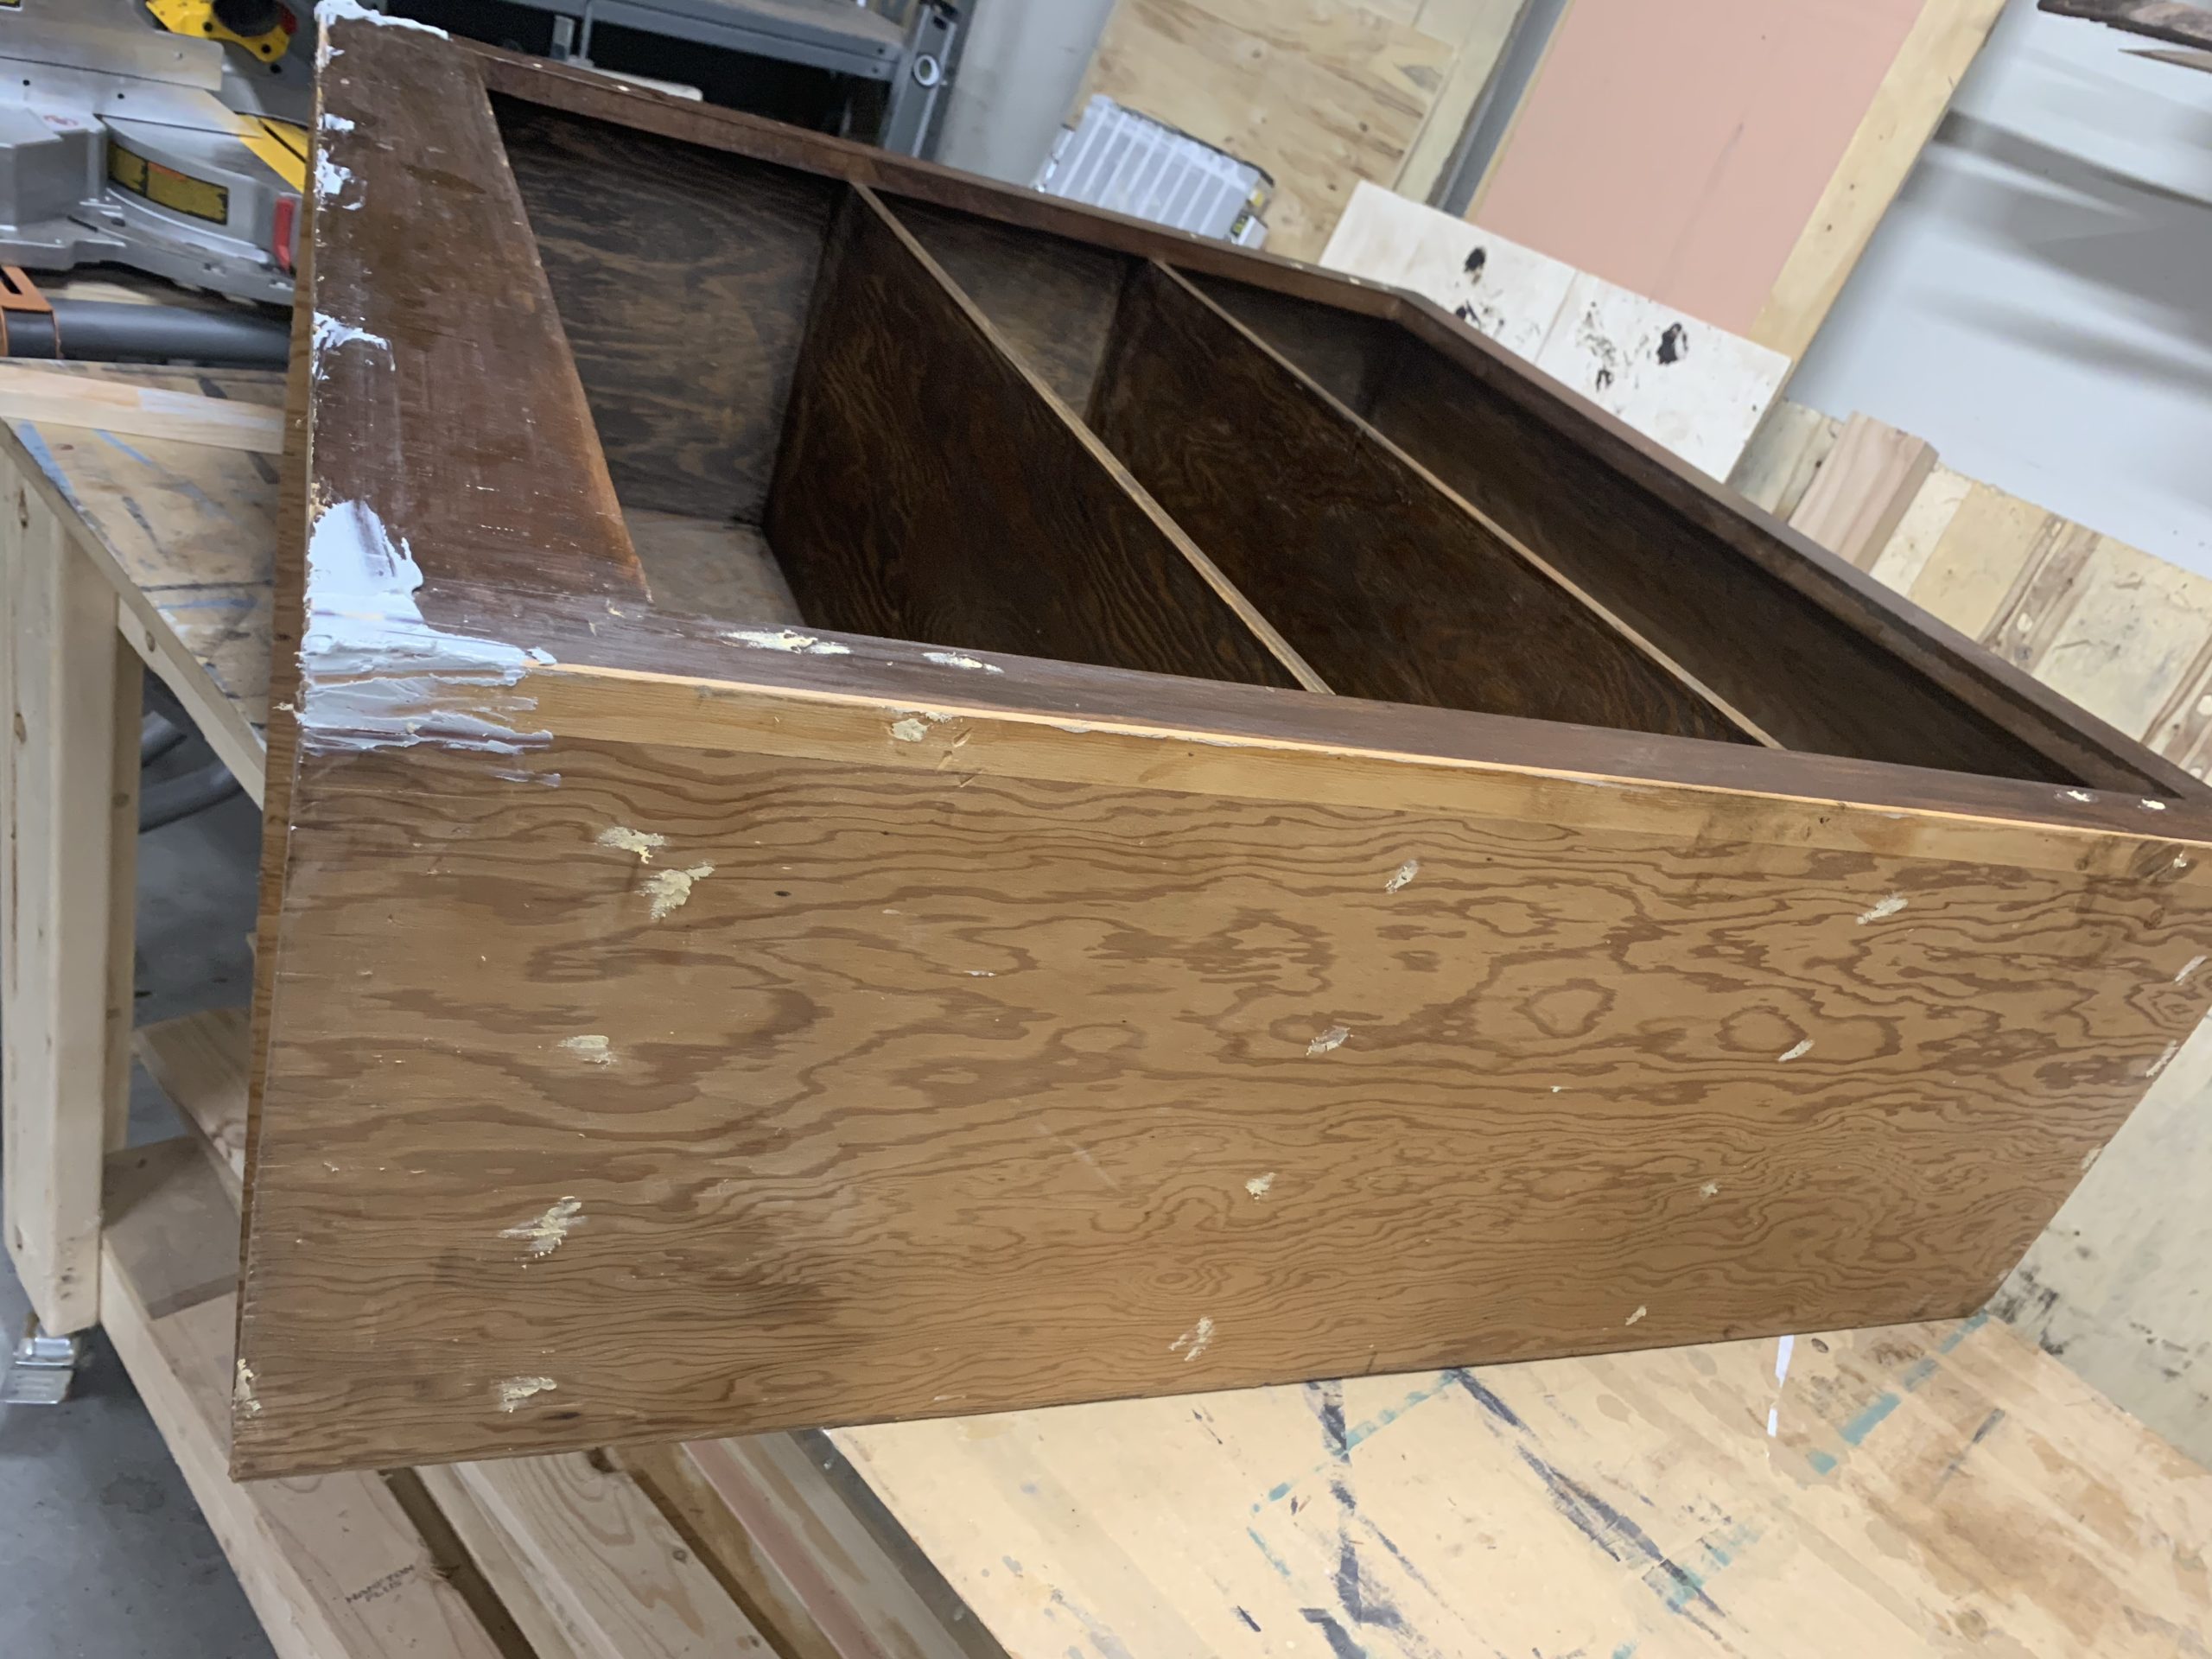
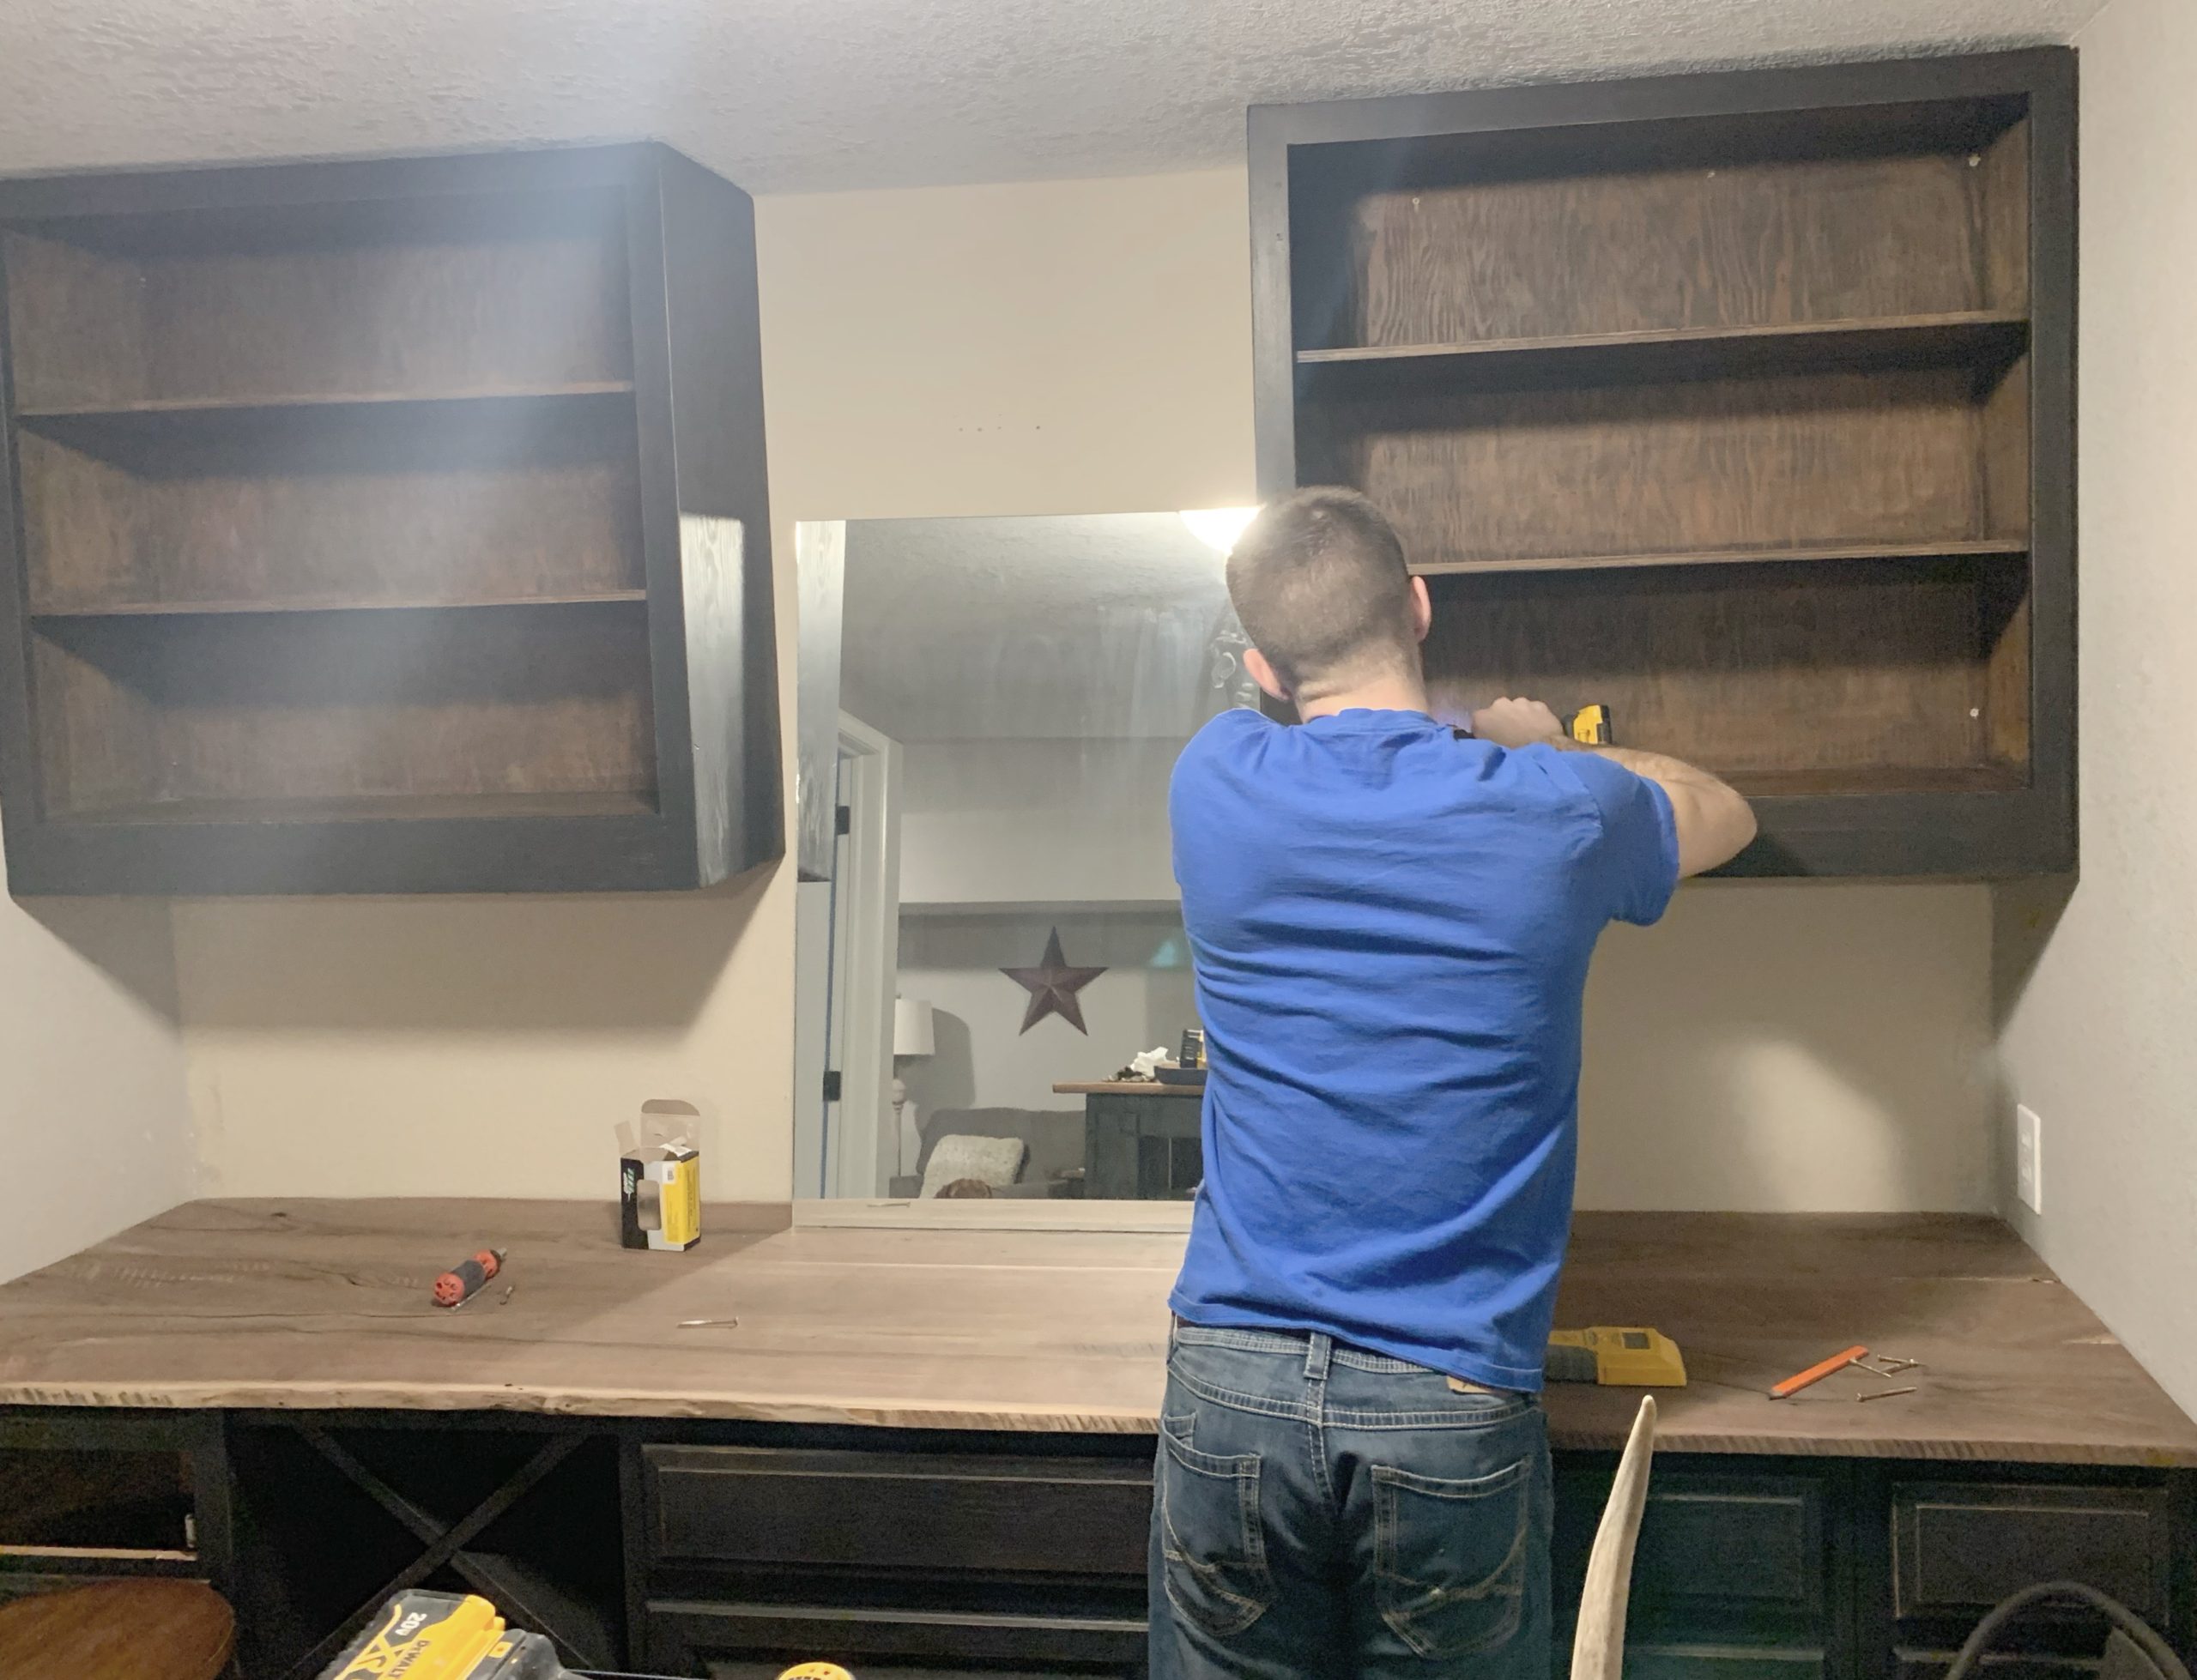
Keeping with the trend of spending no money lol, we repurposed these shelves that we’d been holding onto for over a year. These used to be tall bookcases that we cut in half. We used the top portion for workbench storage in our garage, and came so close to just pitching the leftover pieces.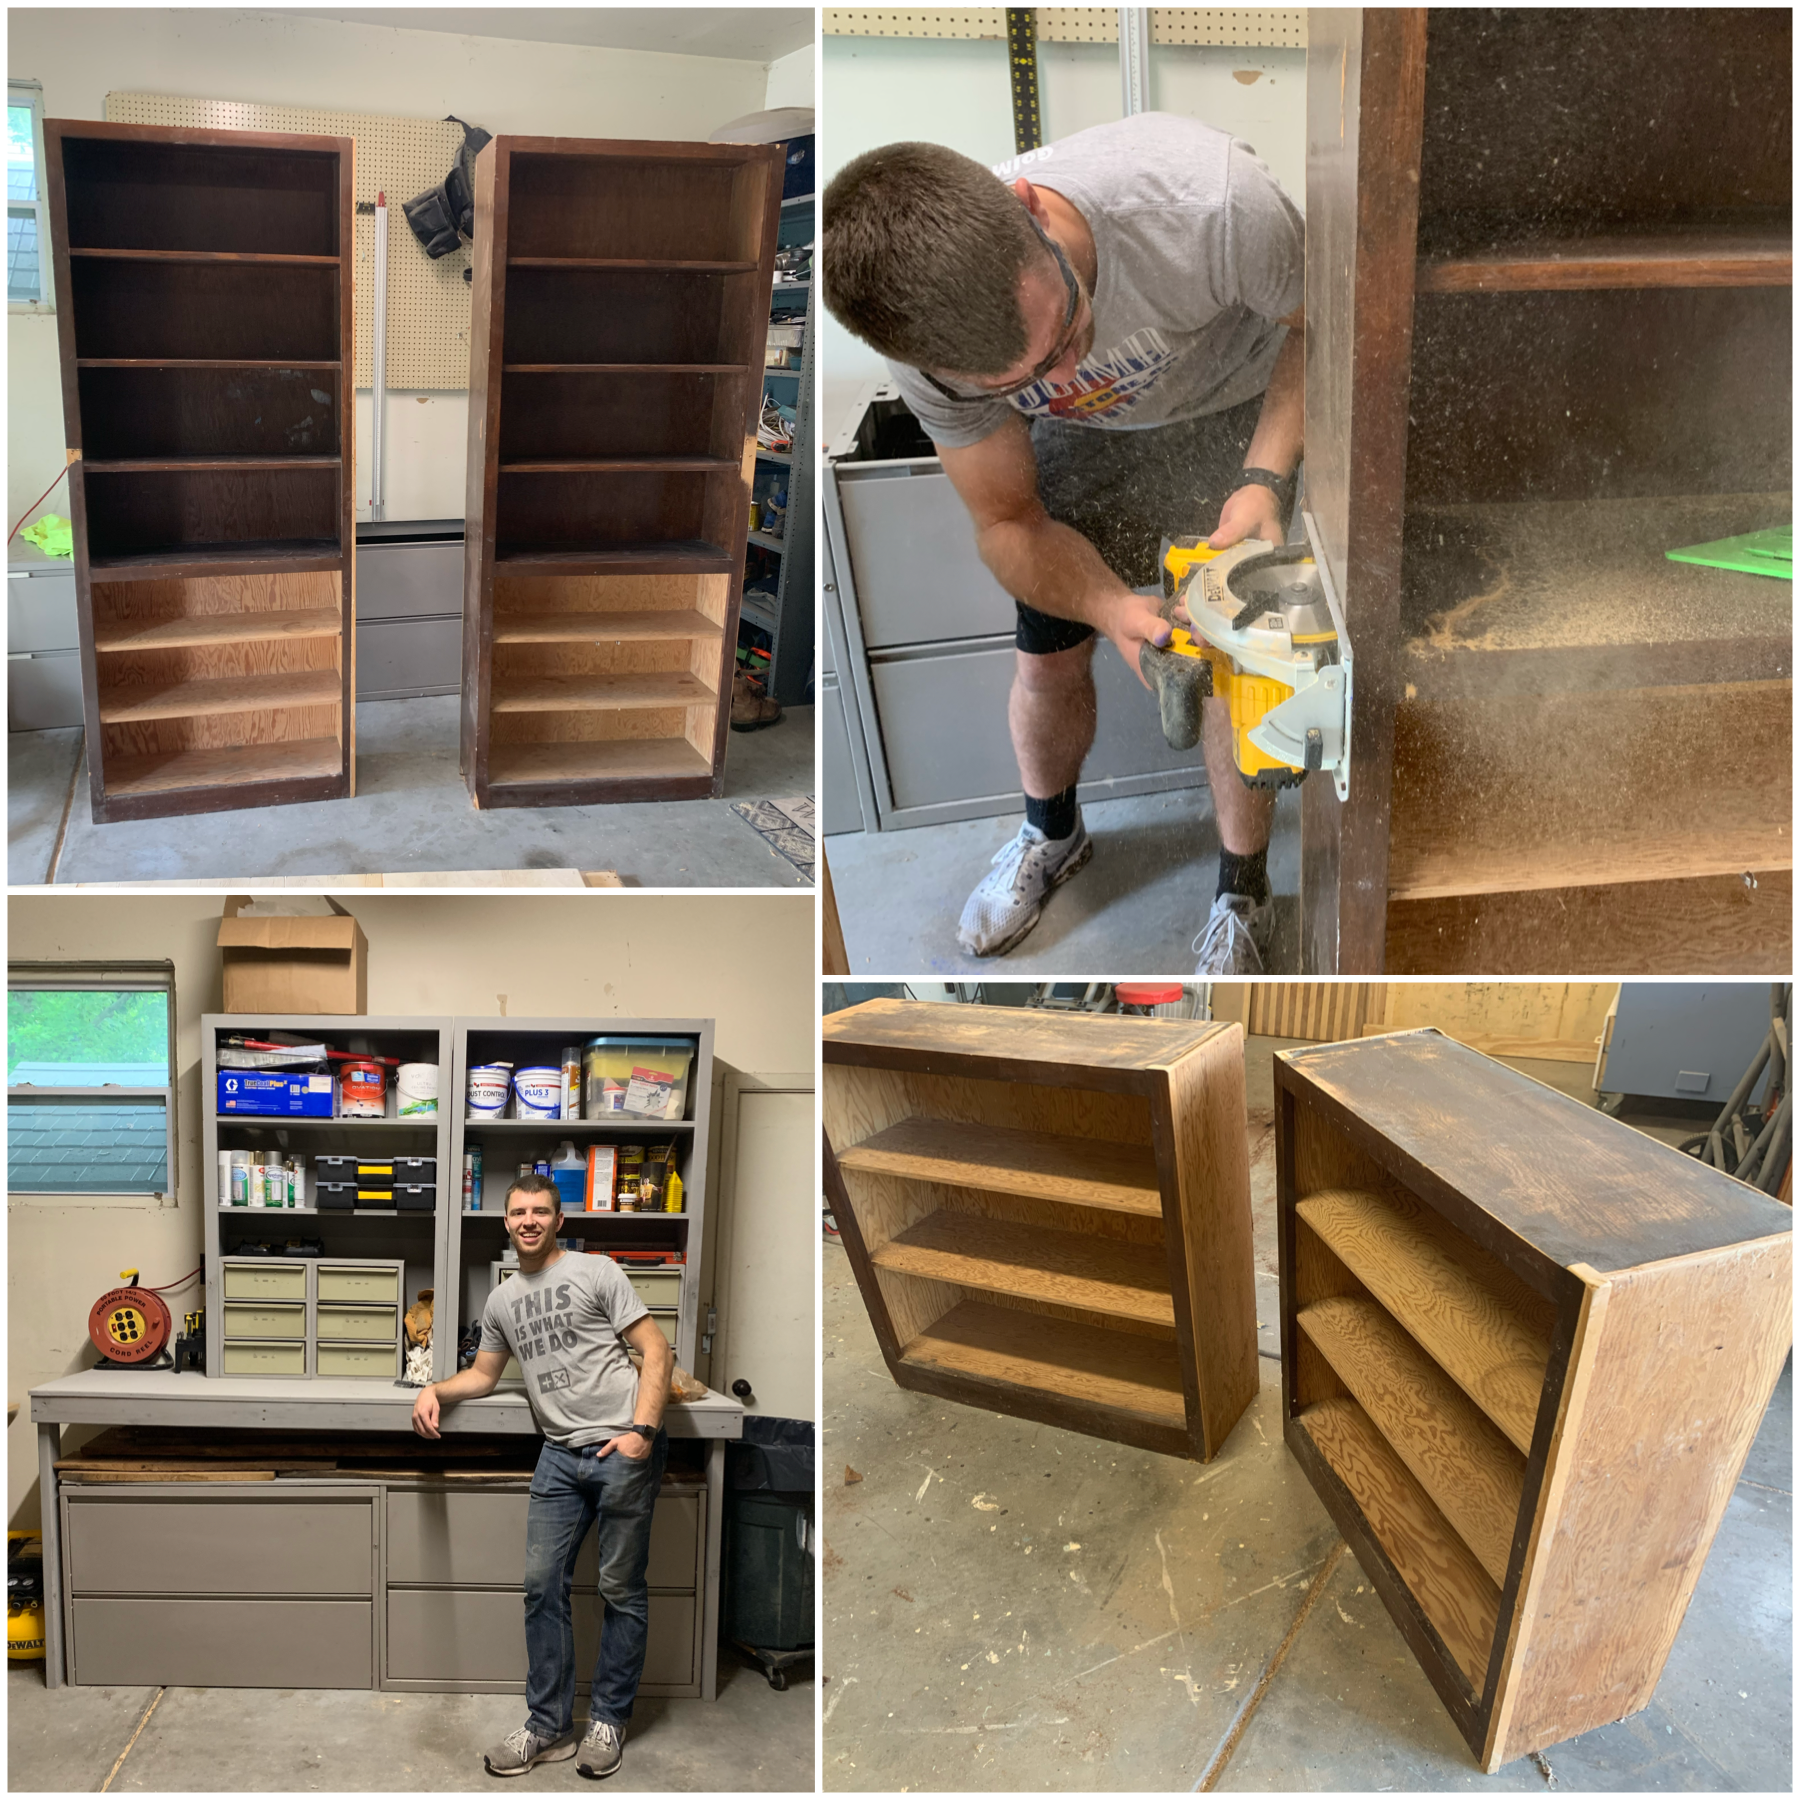 Originally I wanted to do floating shelves, but after seeing these in the garage, it sparked an idea. When we measured and realized they would fit perfectly, I knew we had to use them! I cleaned them up, filled in the holes, and painted them to match the lower cabinets.
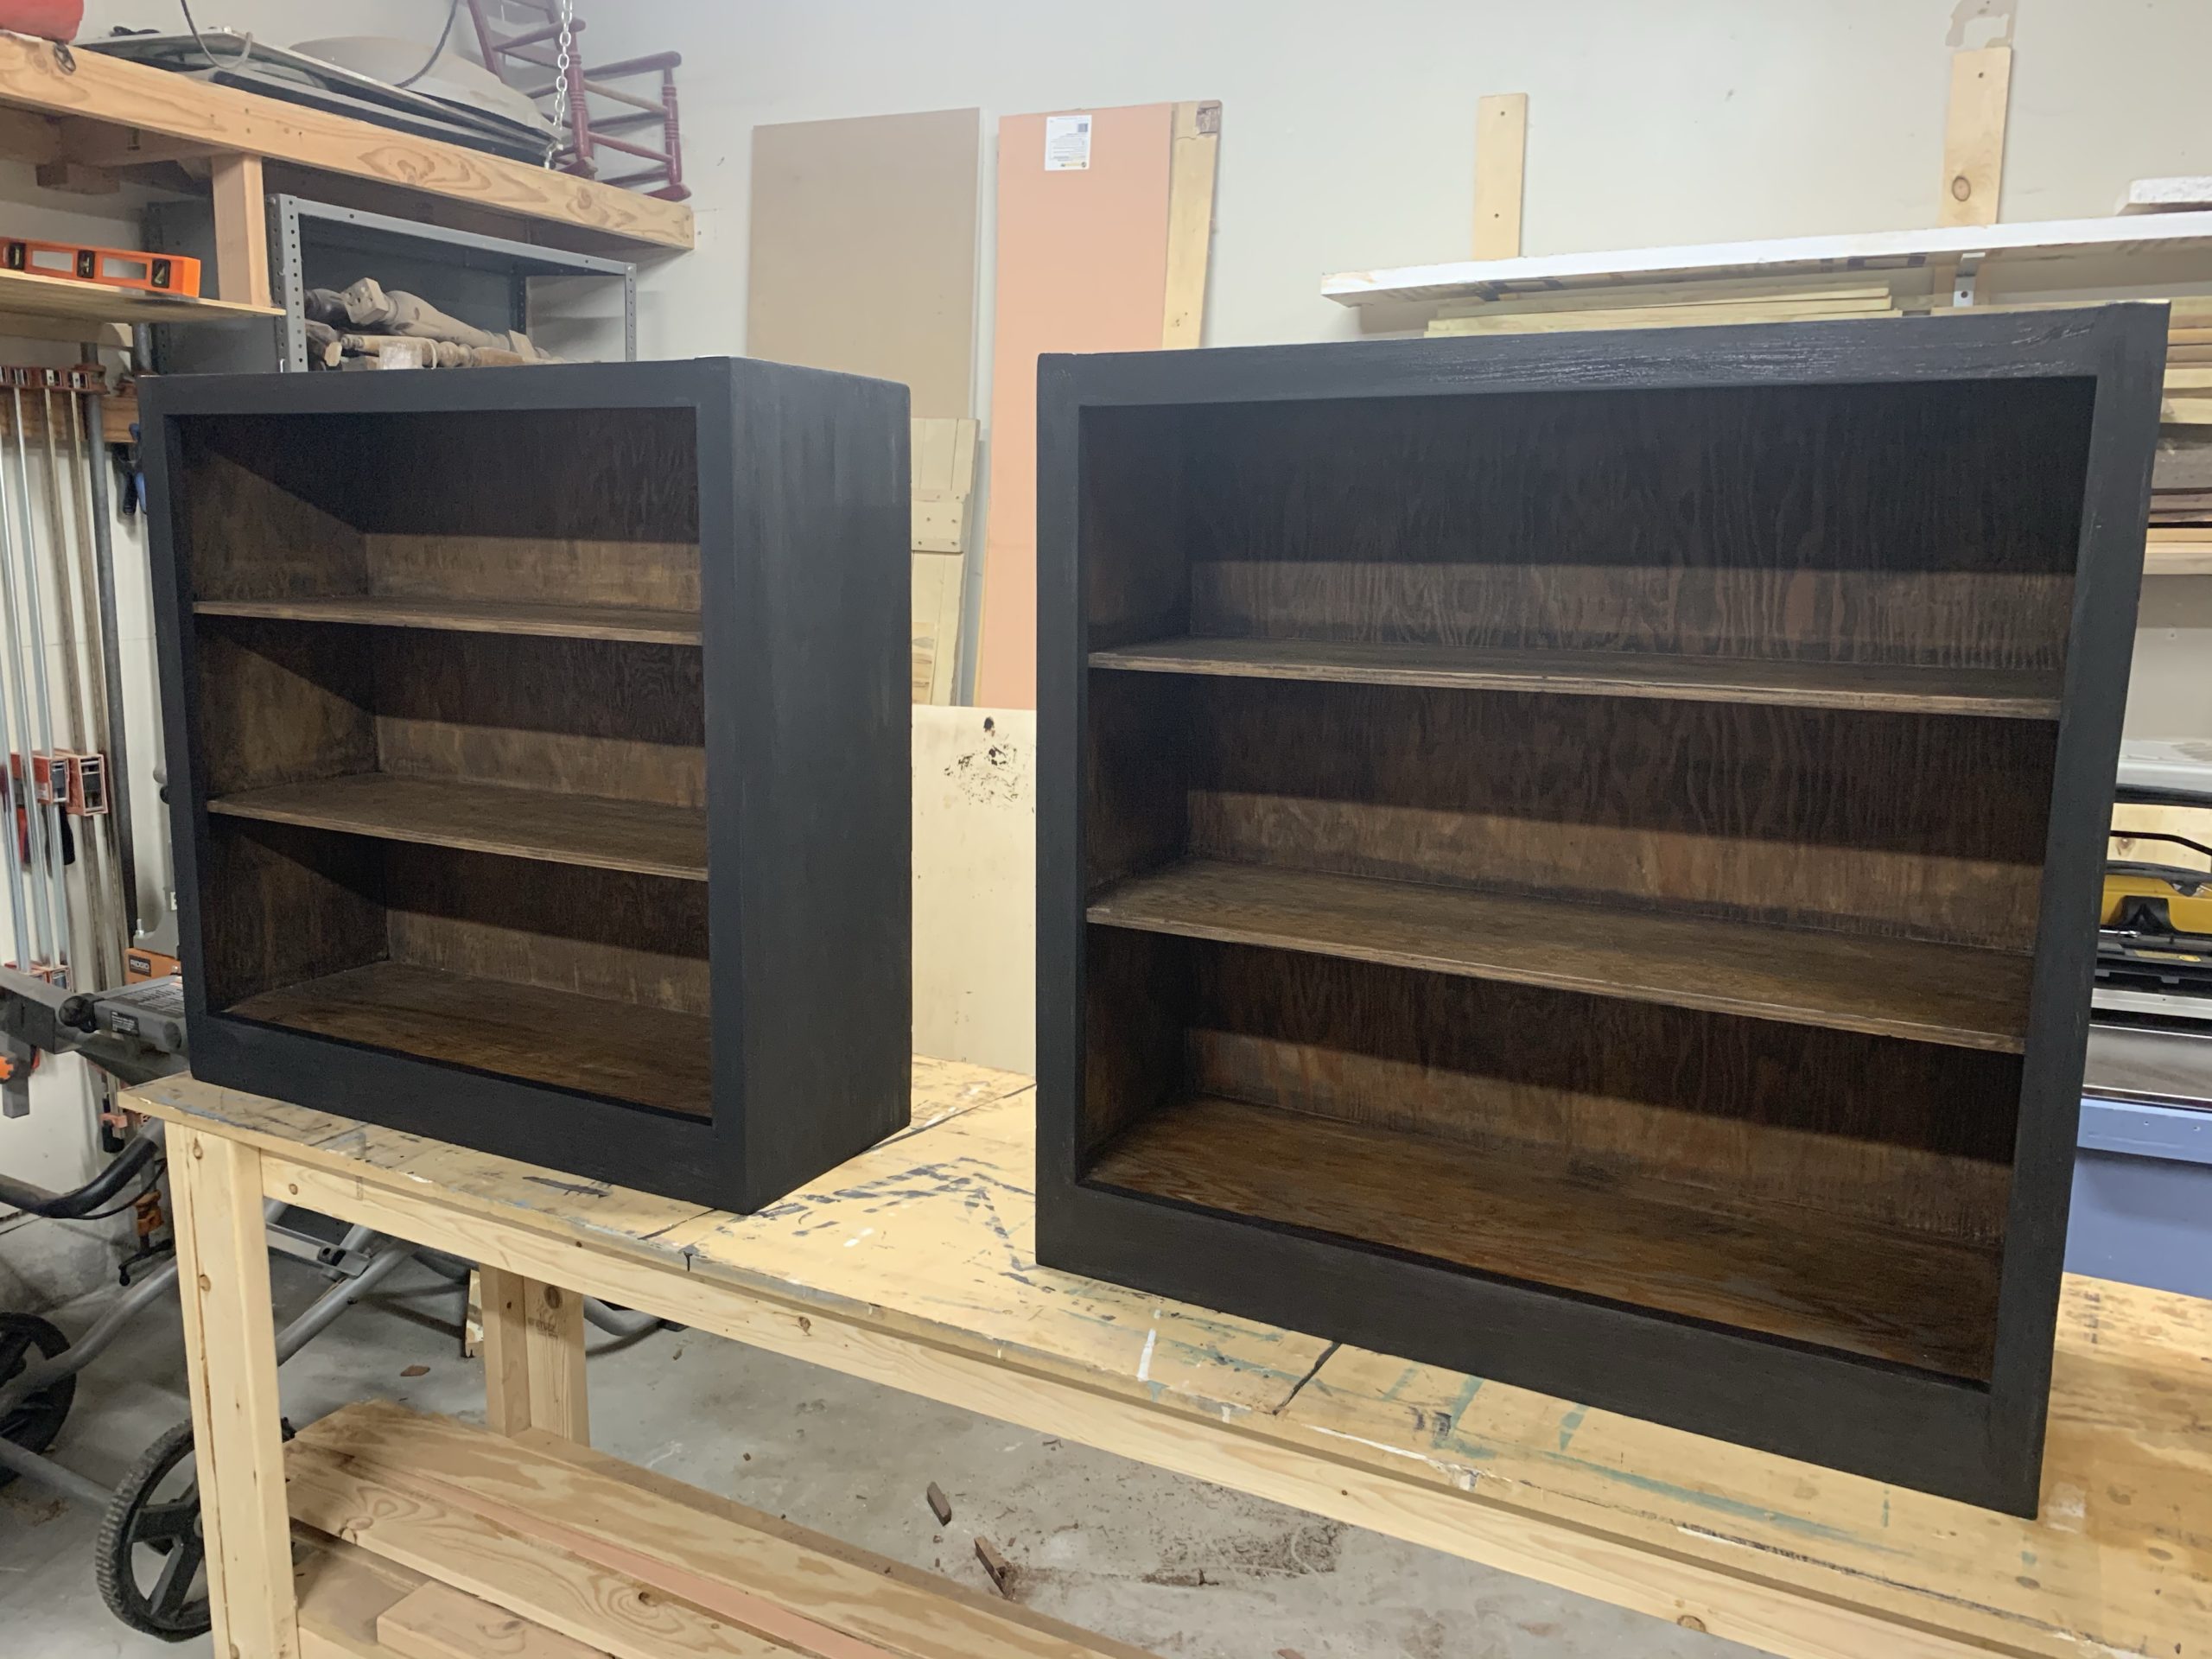 Since this is open shelving, I stained the inside, and I just love how these look with the other cabinets!
Faux Brick Wall
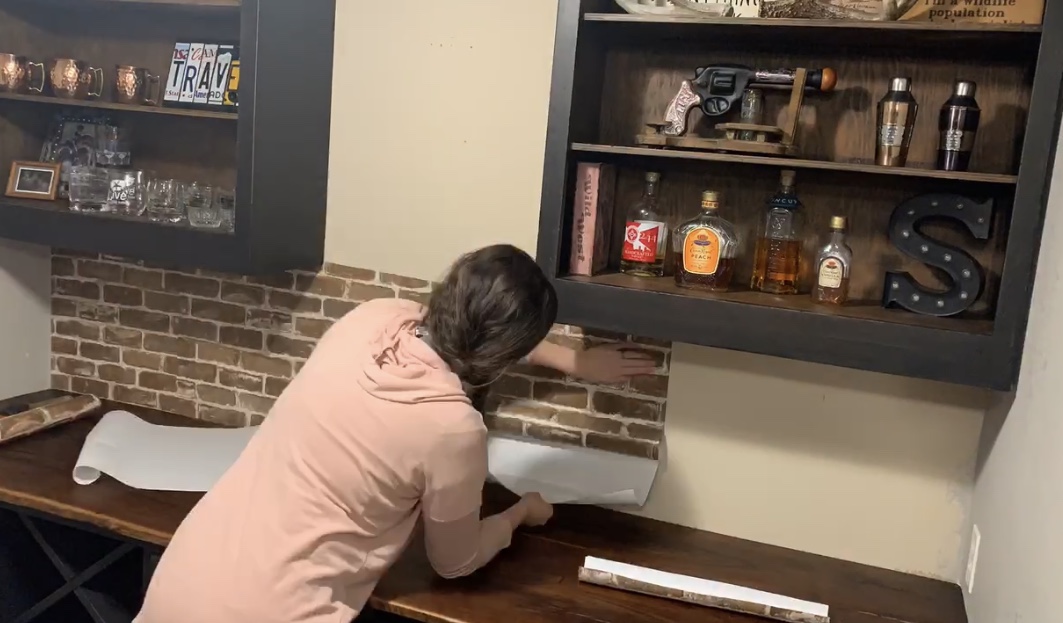
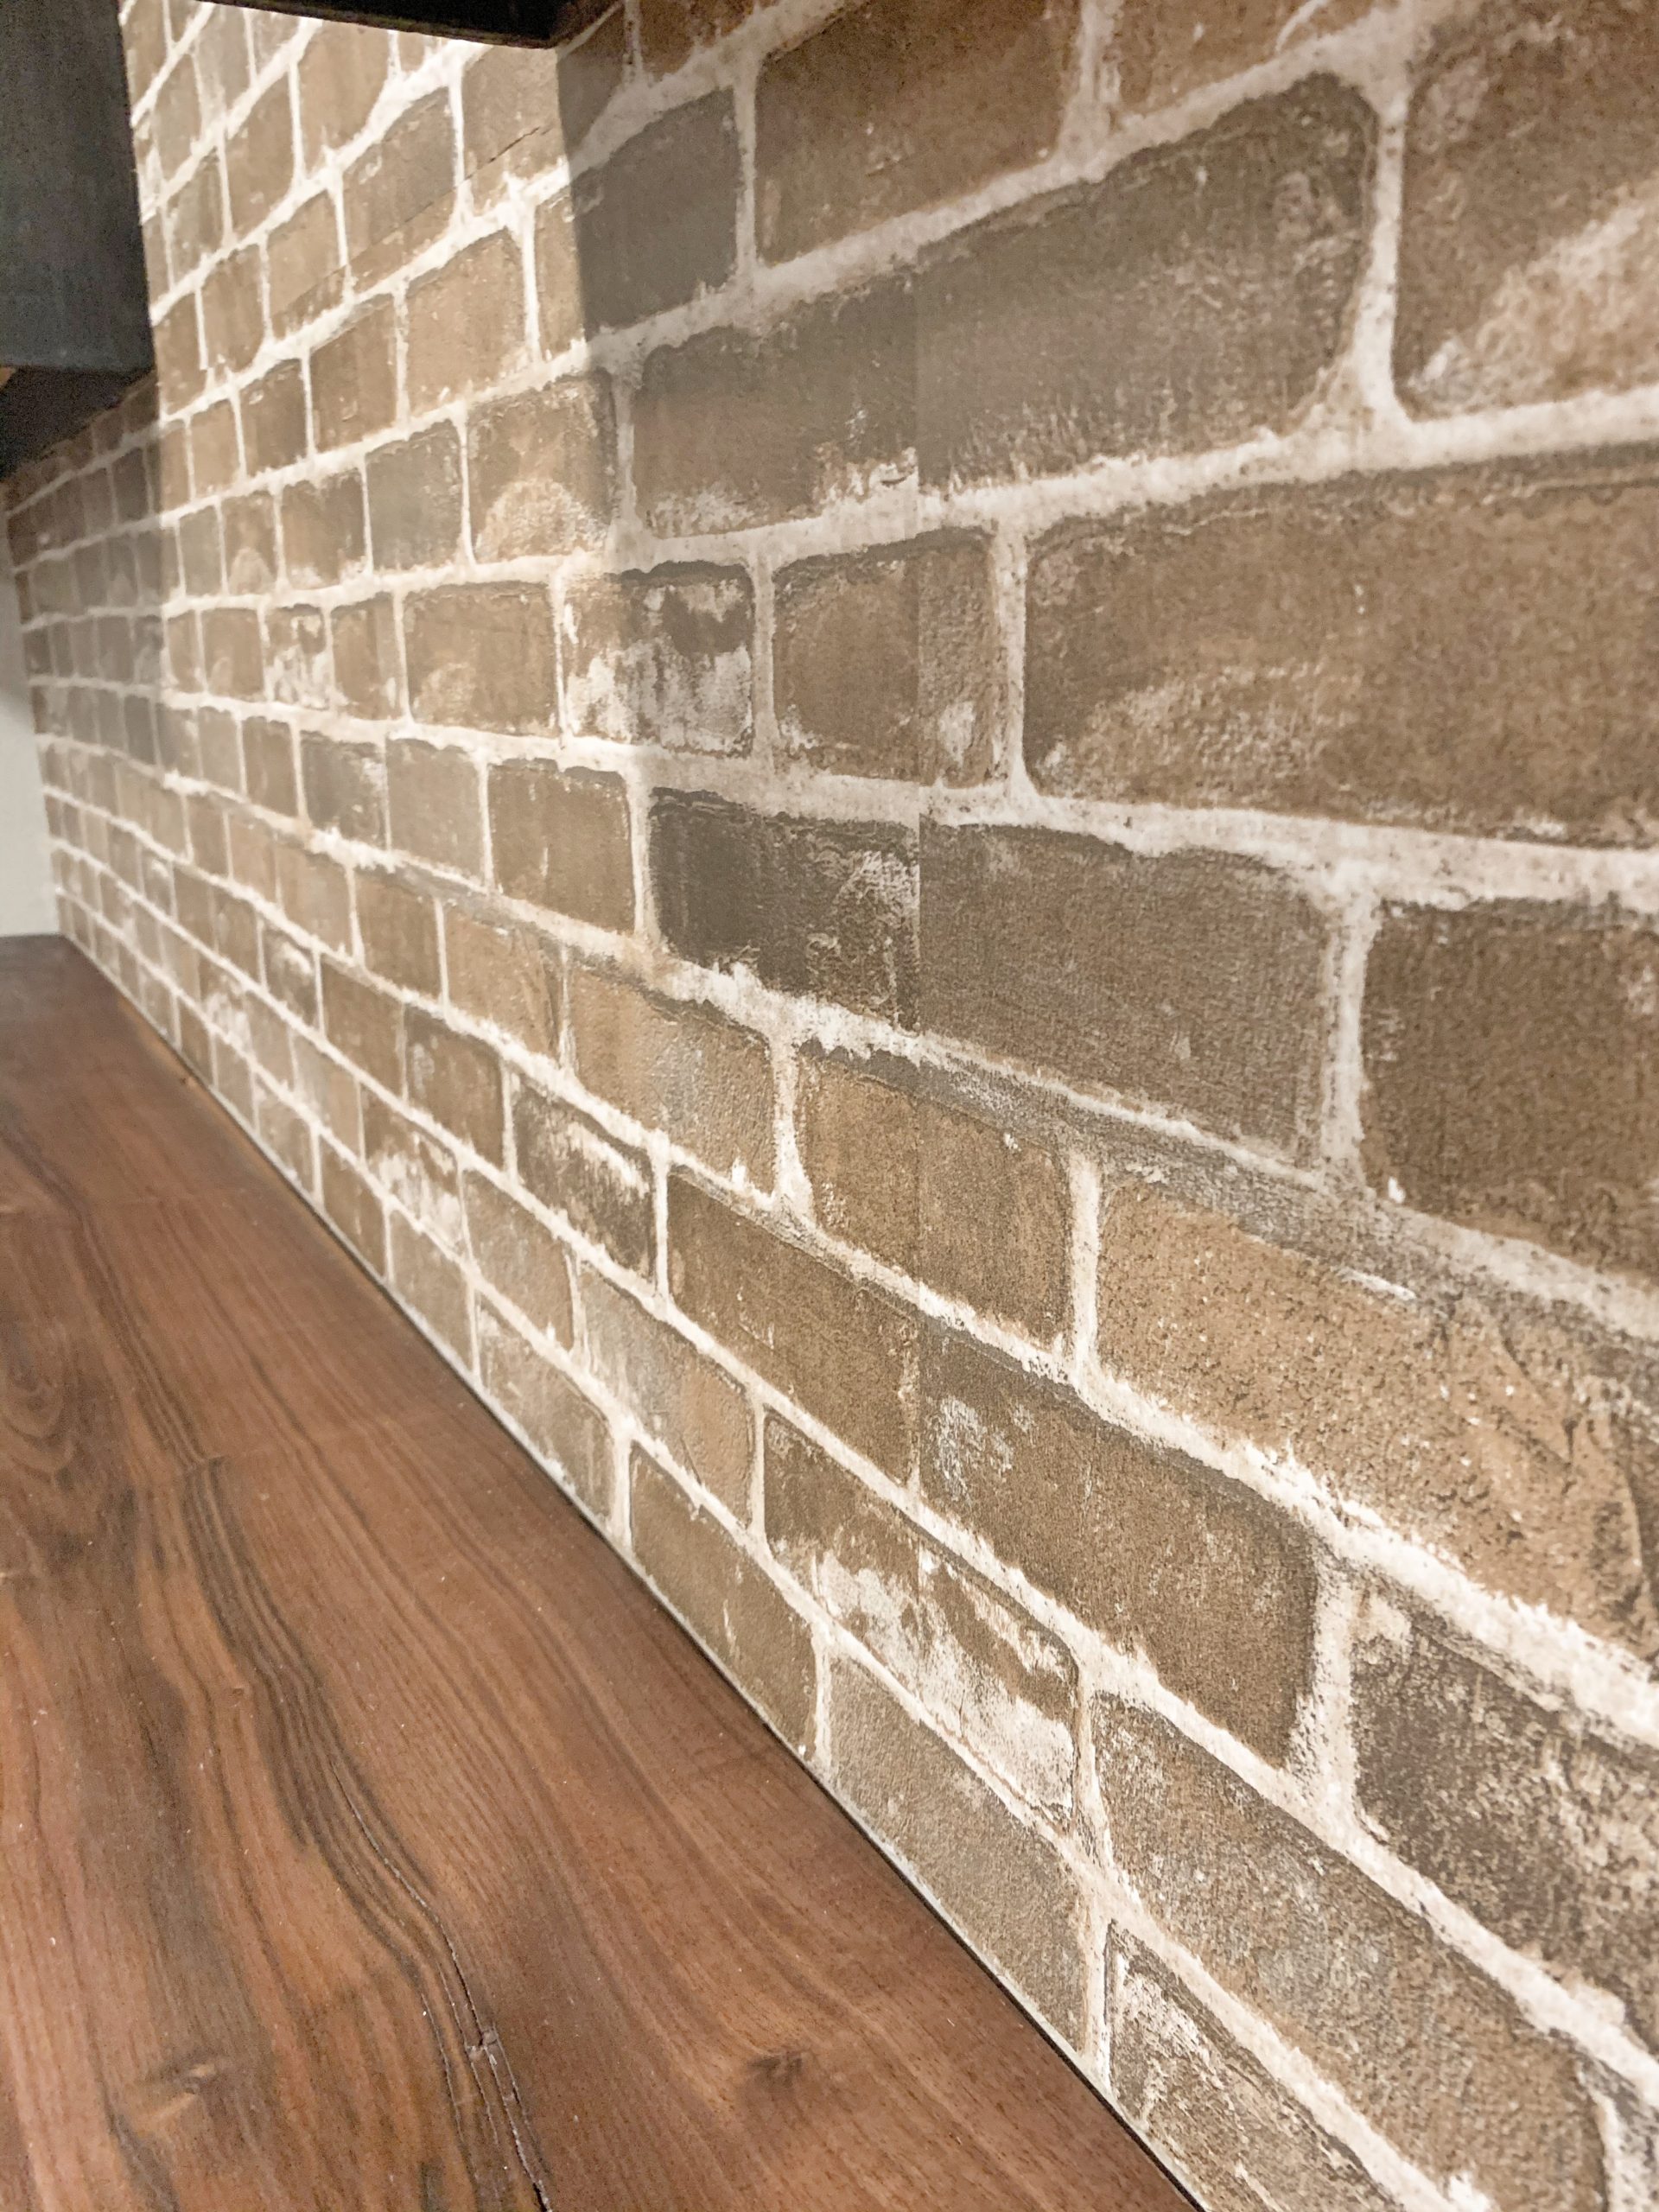
I wanted a rustic accent wall in this area, but I also wanted to avoid having too many wood elements. We considered some different ideas, but finally decided on a “brick” look.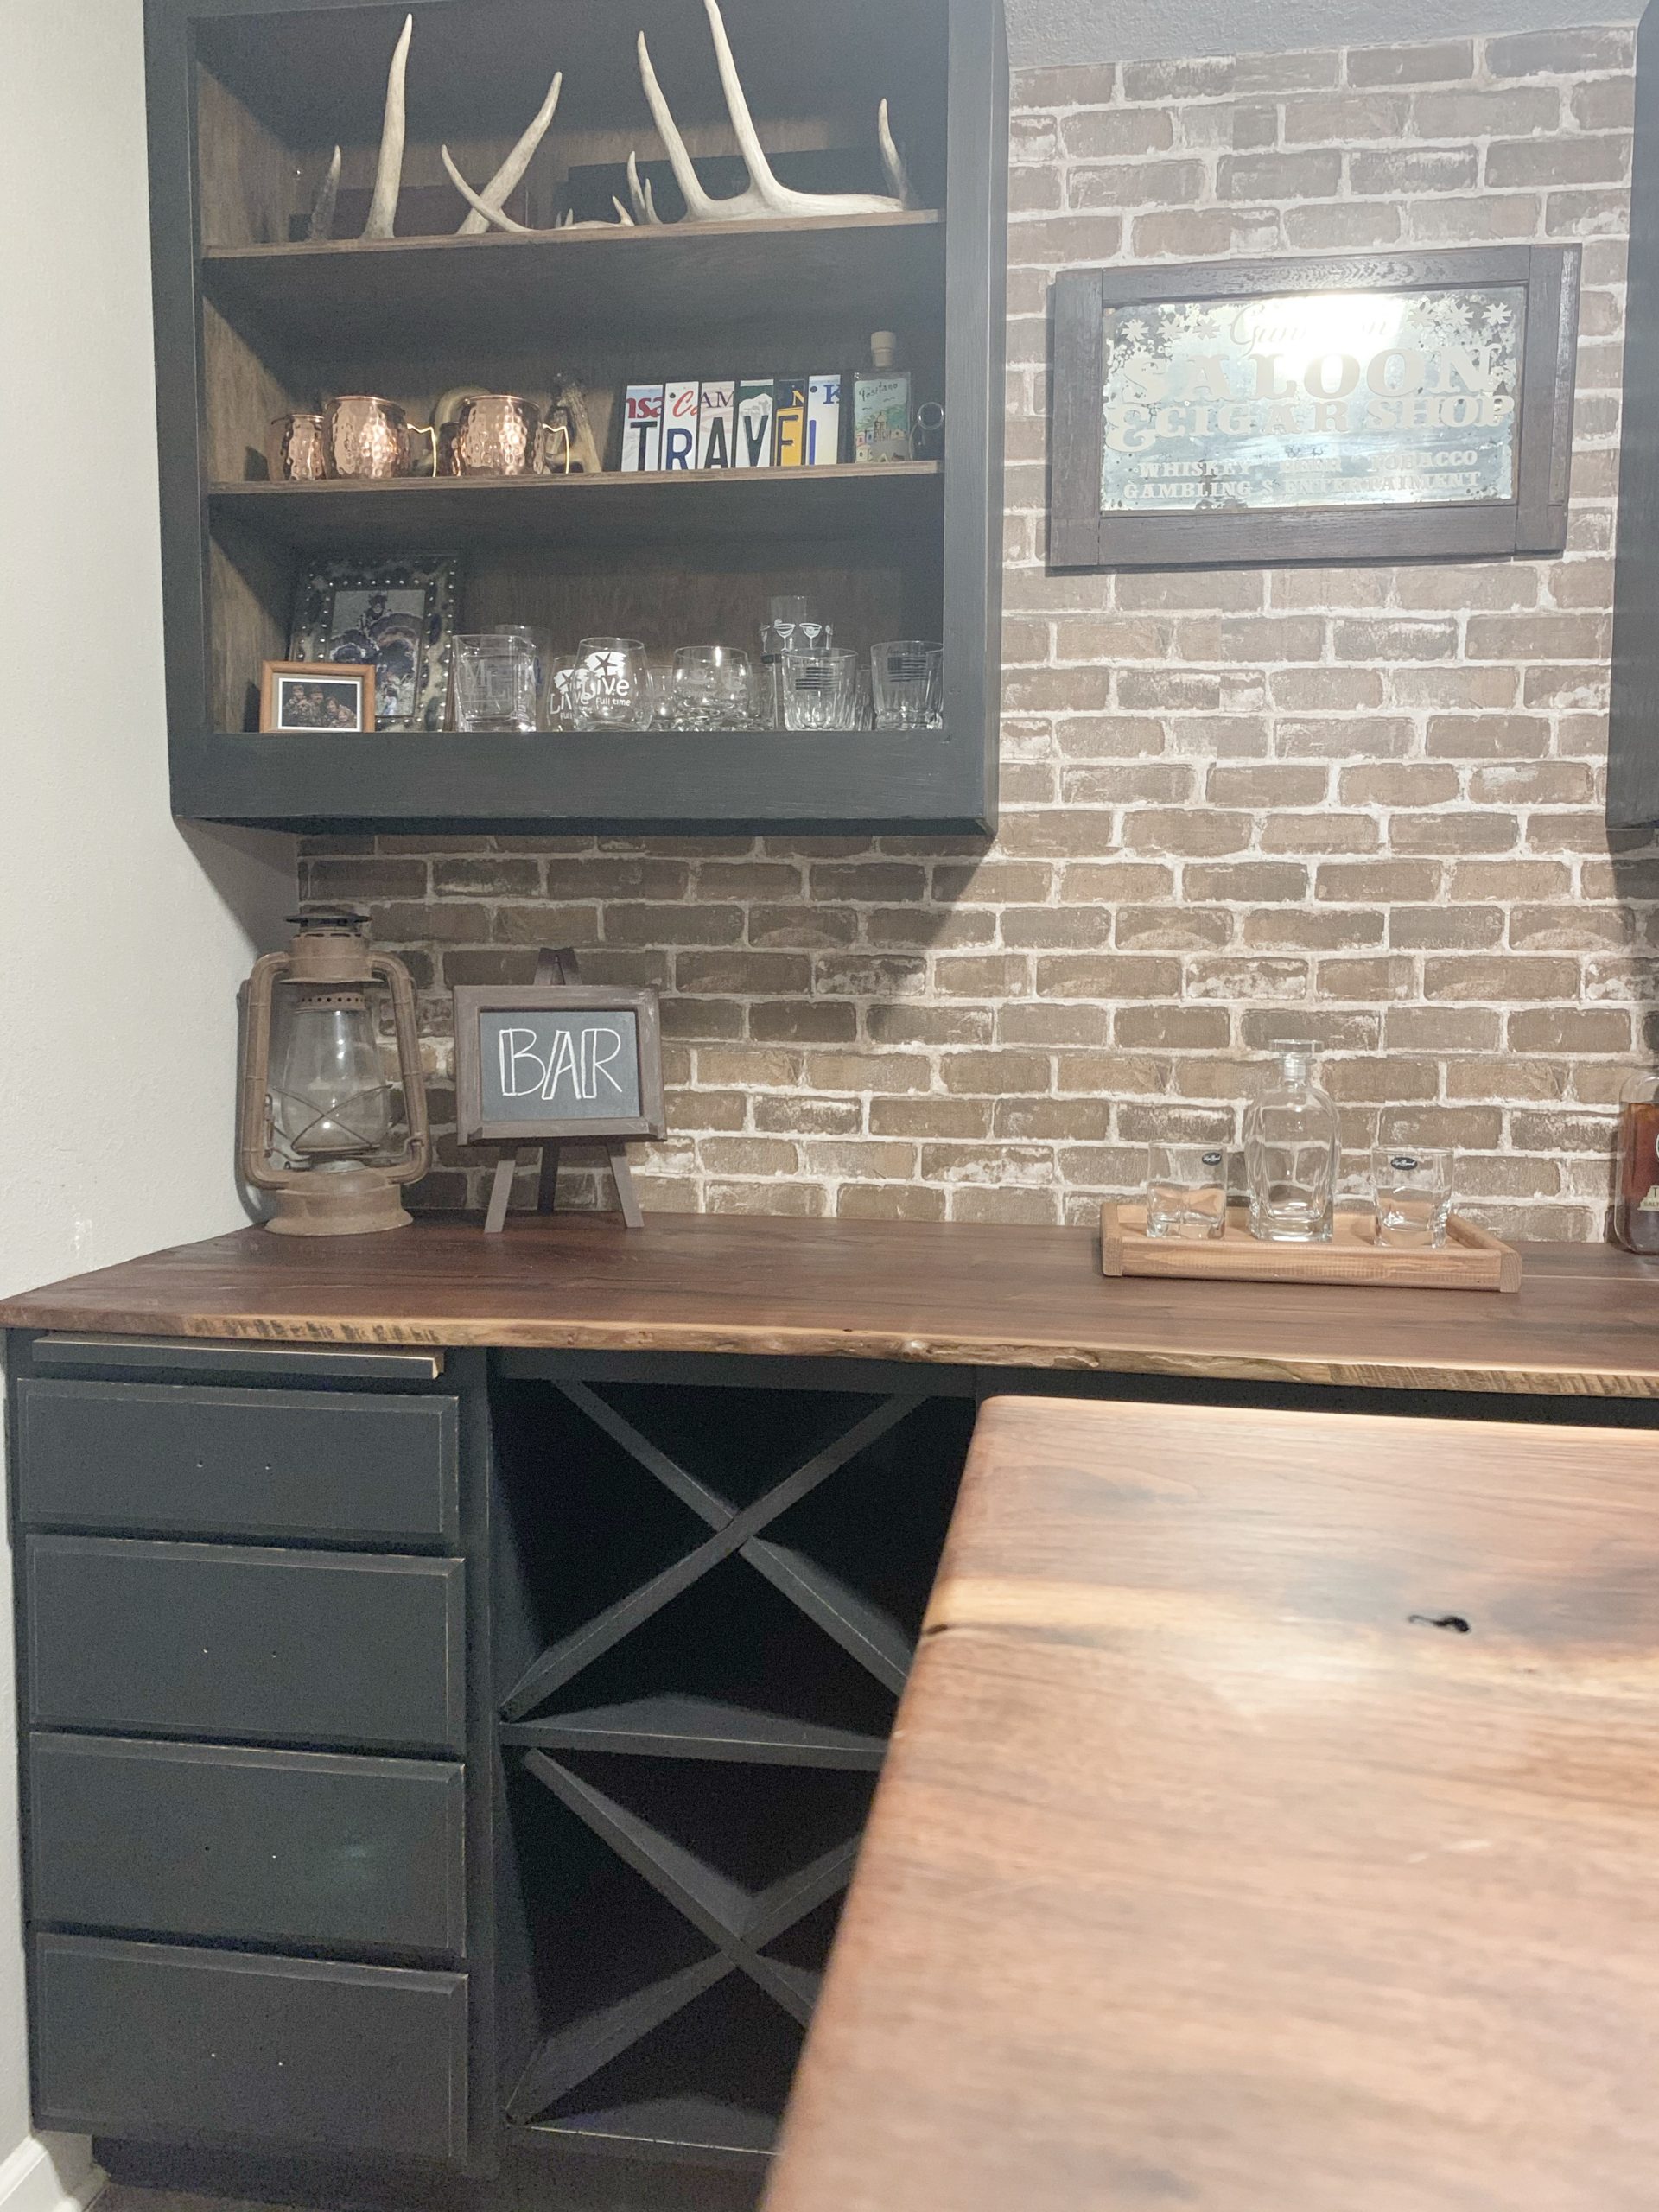 I found this peel and stick wallpaper on Amazon, and it was so easy to put up! I just love the aesthetic that this very affordable option adds! (I think this was less than $20, and I used one roll). This is also very easy to change later on down the road if we decide we want something different.
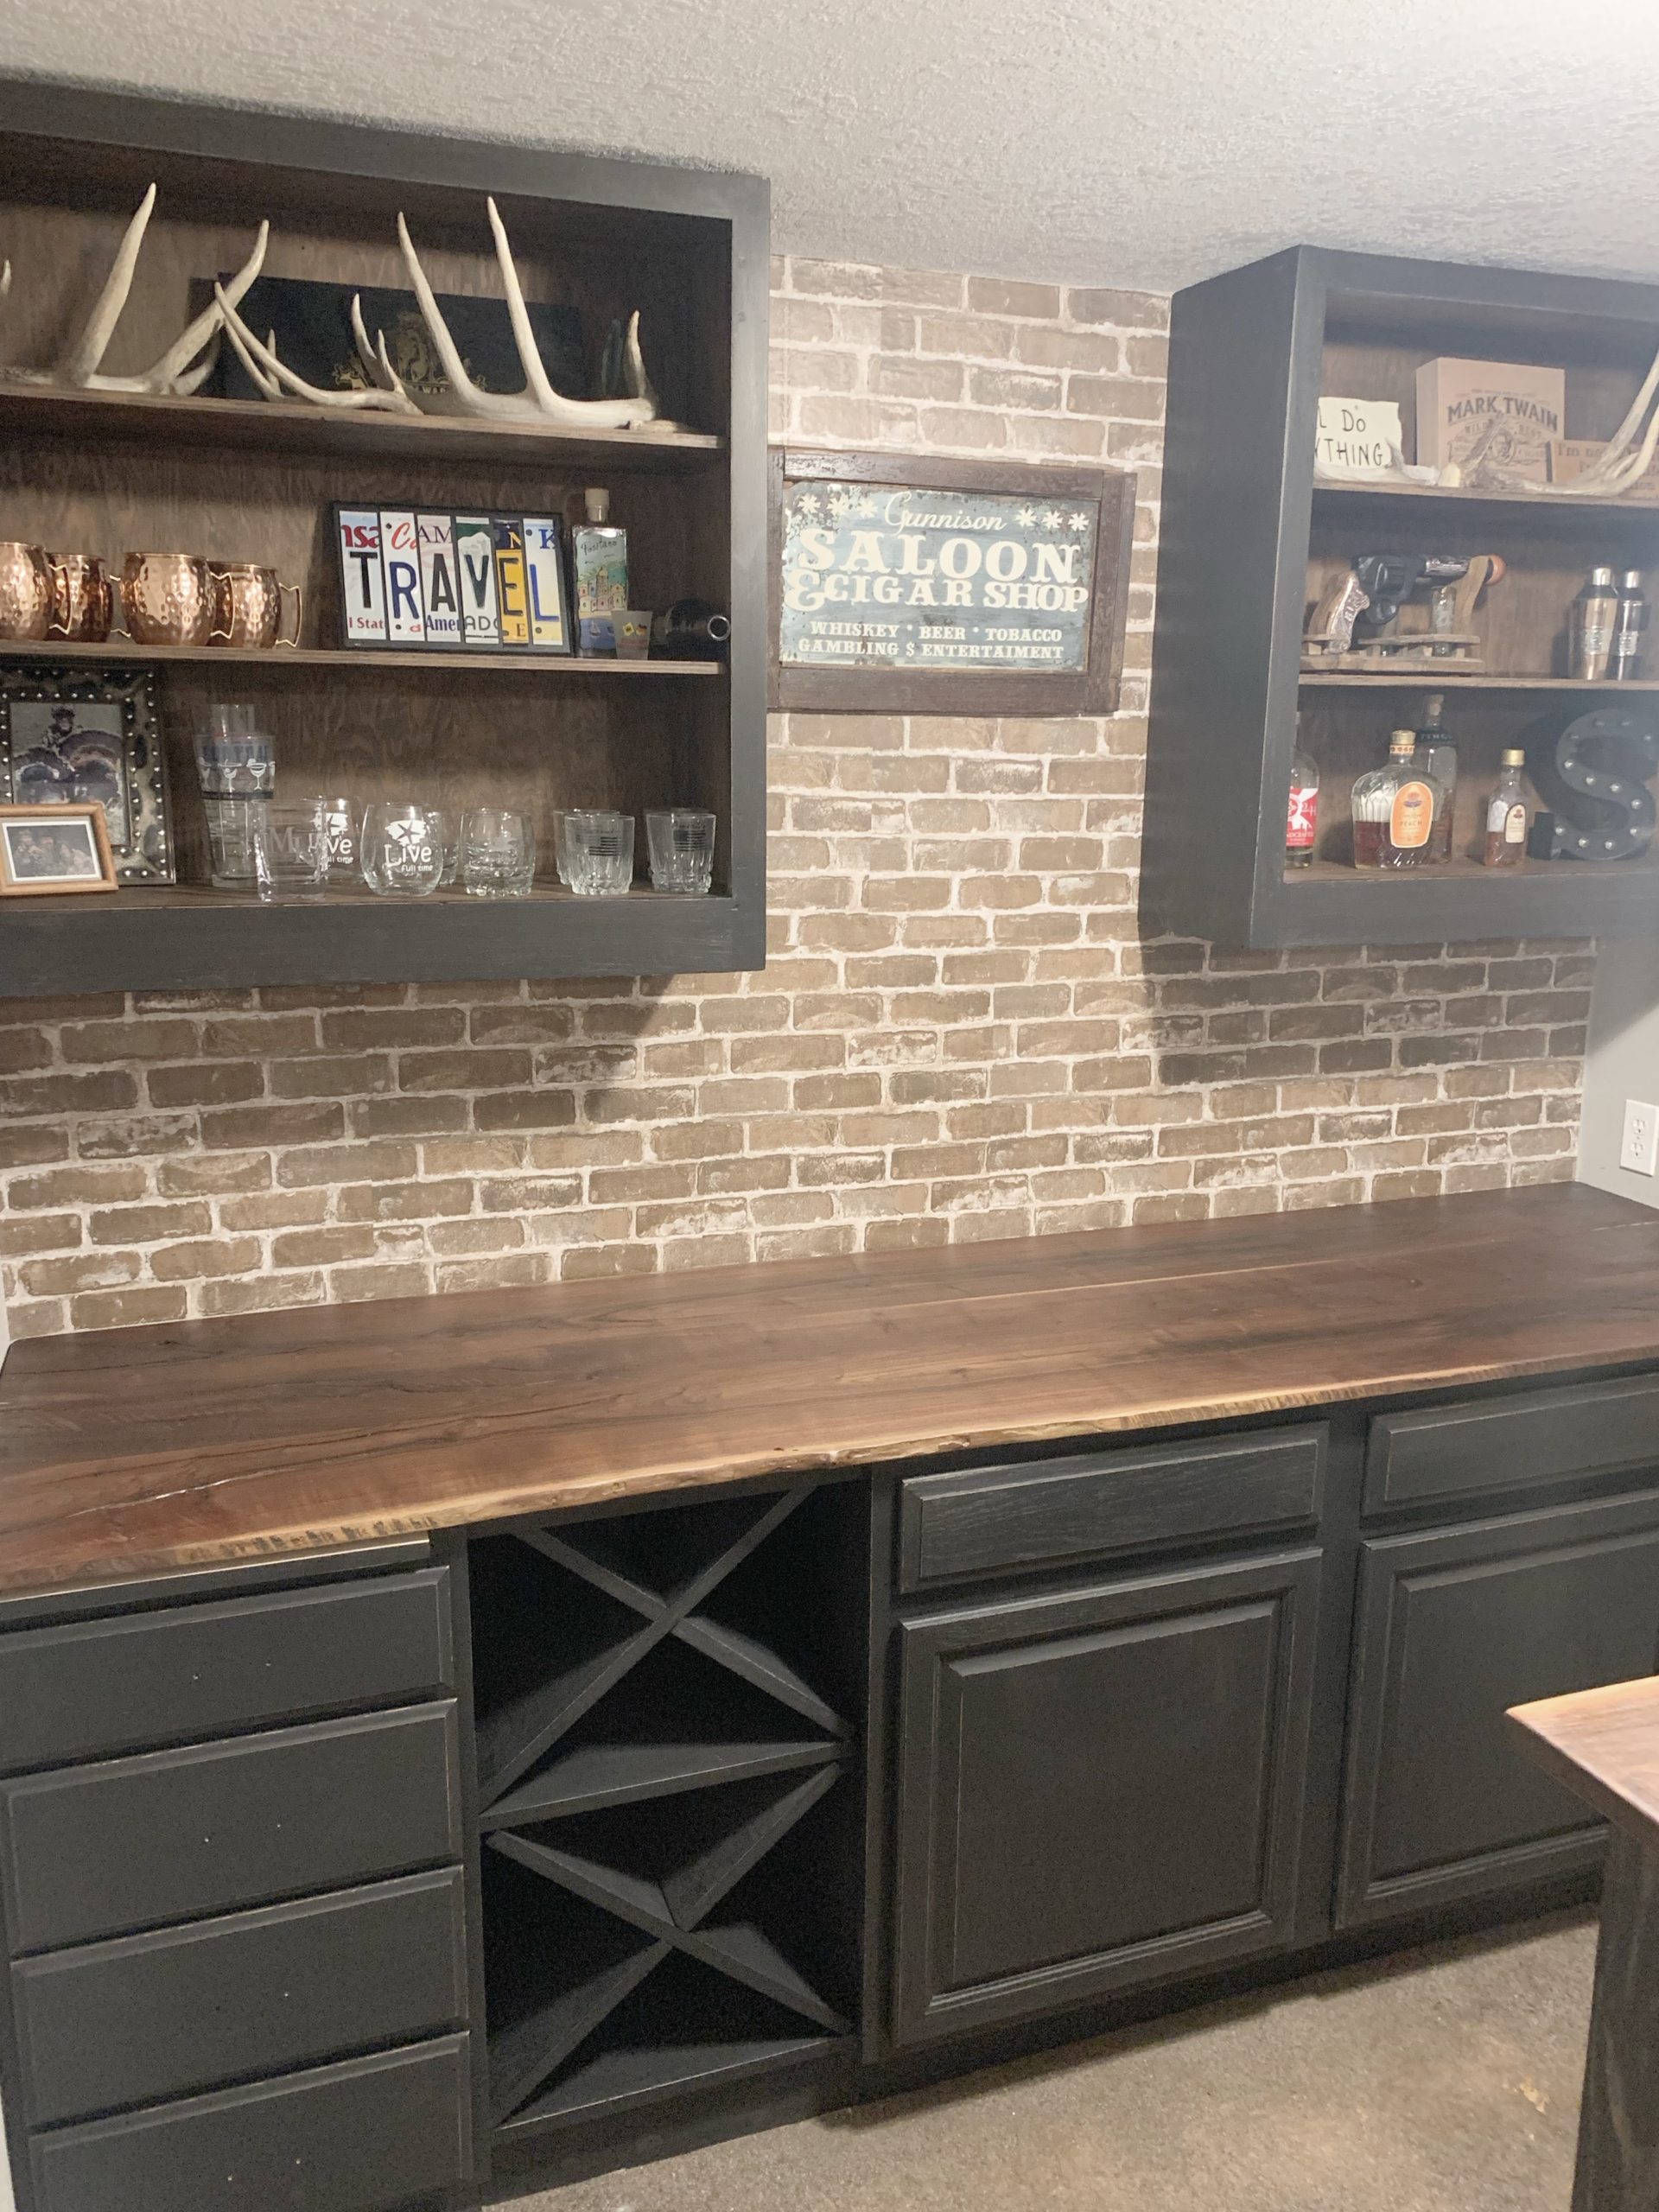
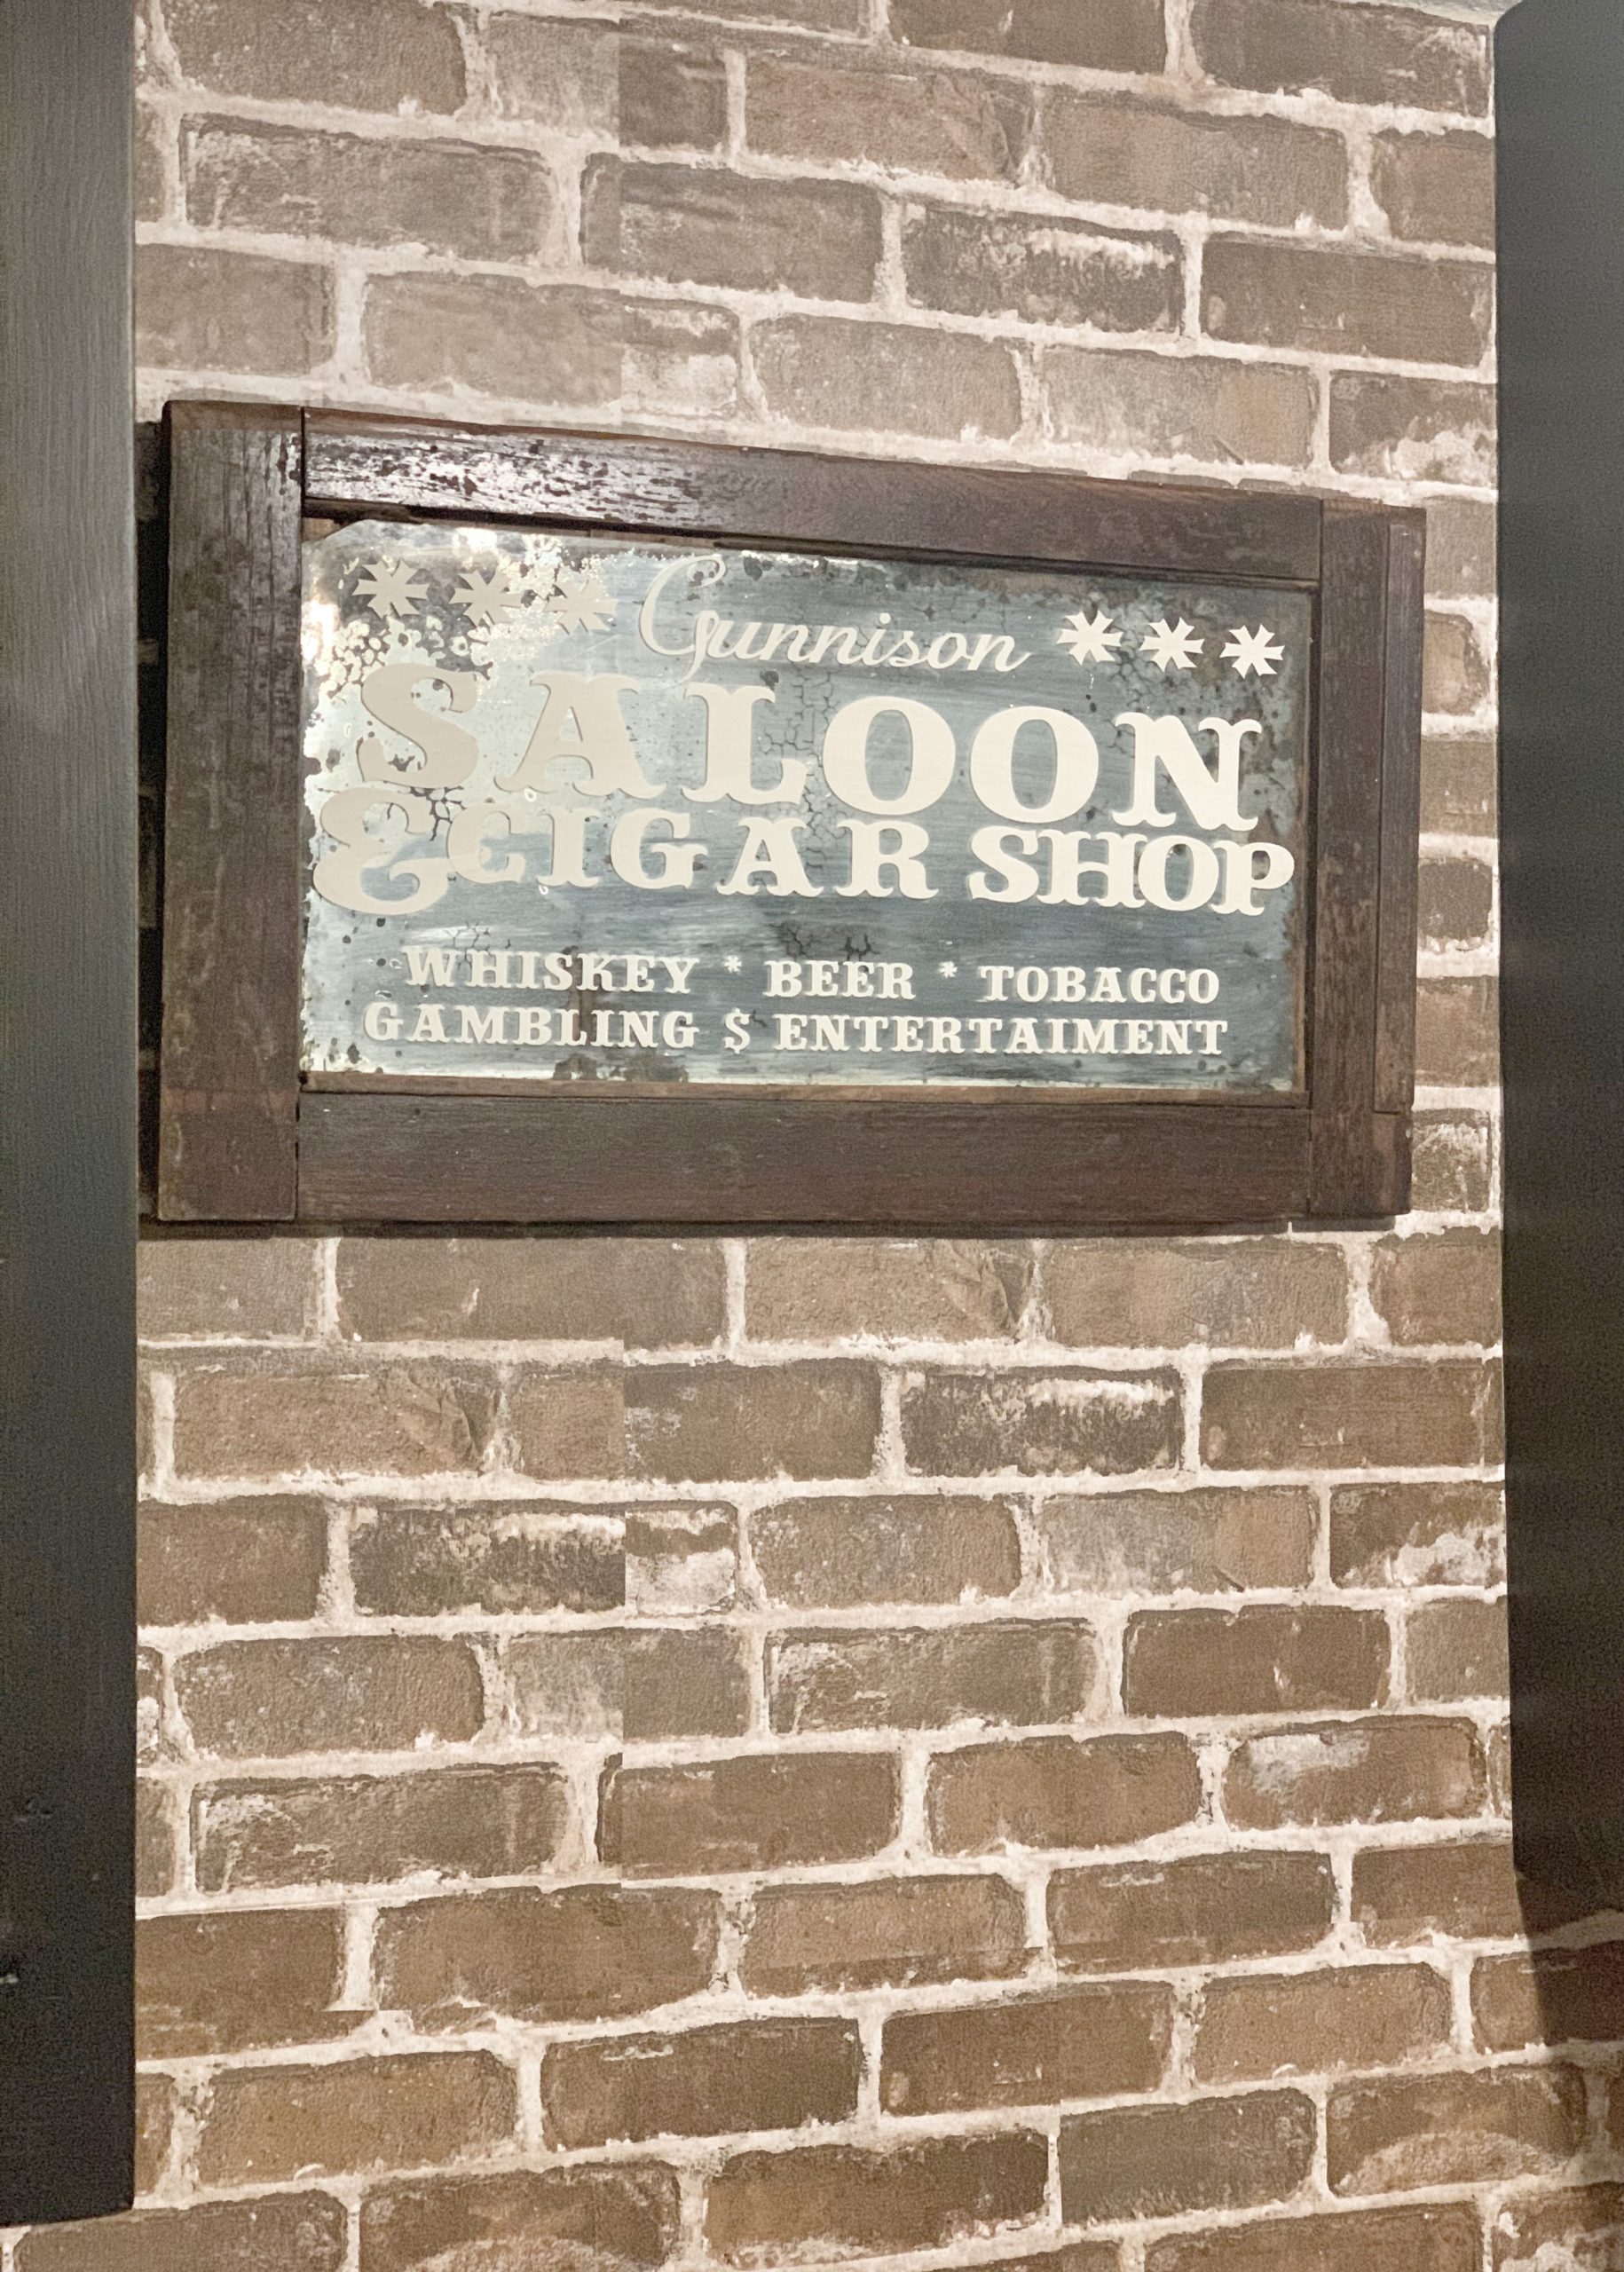
 I made a custom saloon sign out of an antique mirror I found thrifting, and we hung some more rustic wall decor to really personalize it (definitely more of a man cave/bar vibe, but Logan is happy)! I’d also love to add some cool lighting later on!
Round Game Table
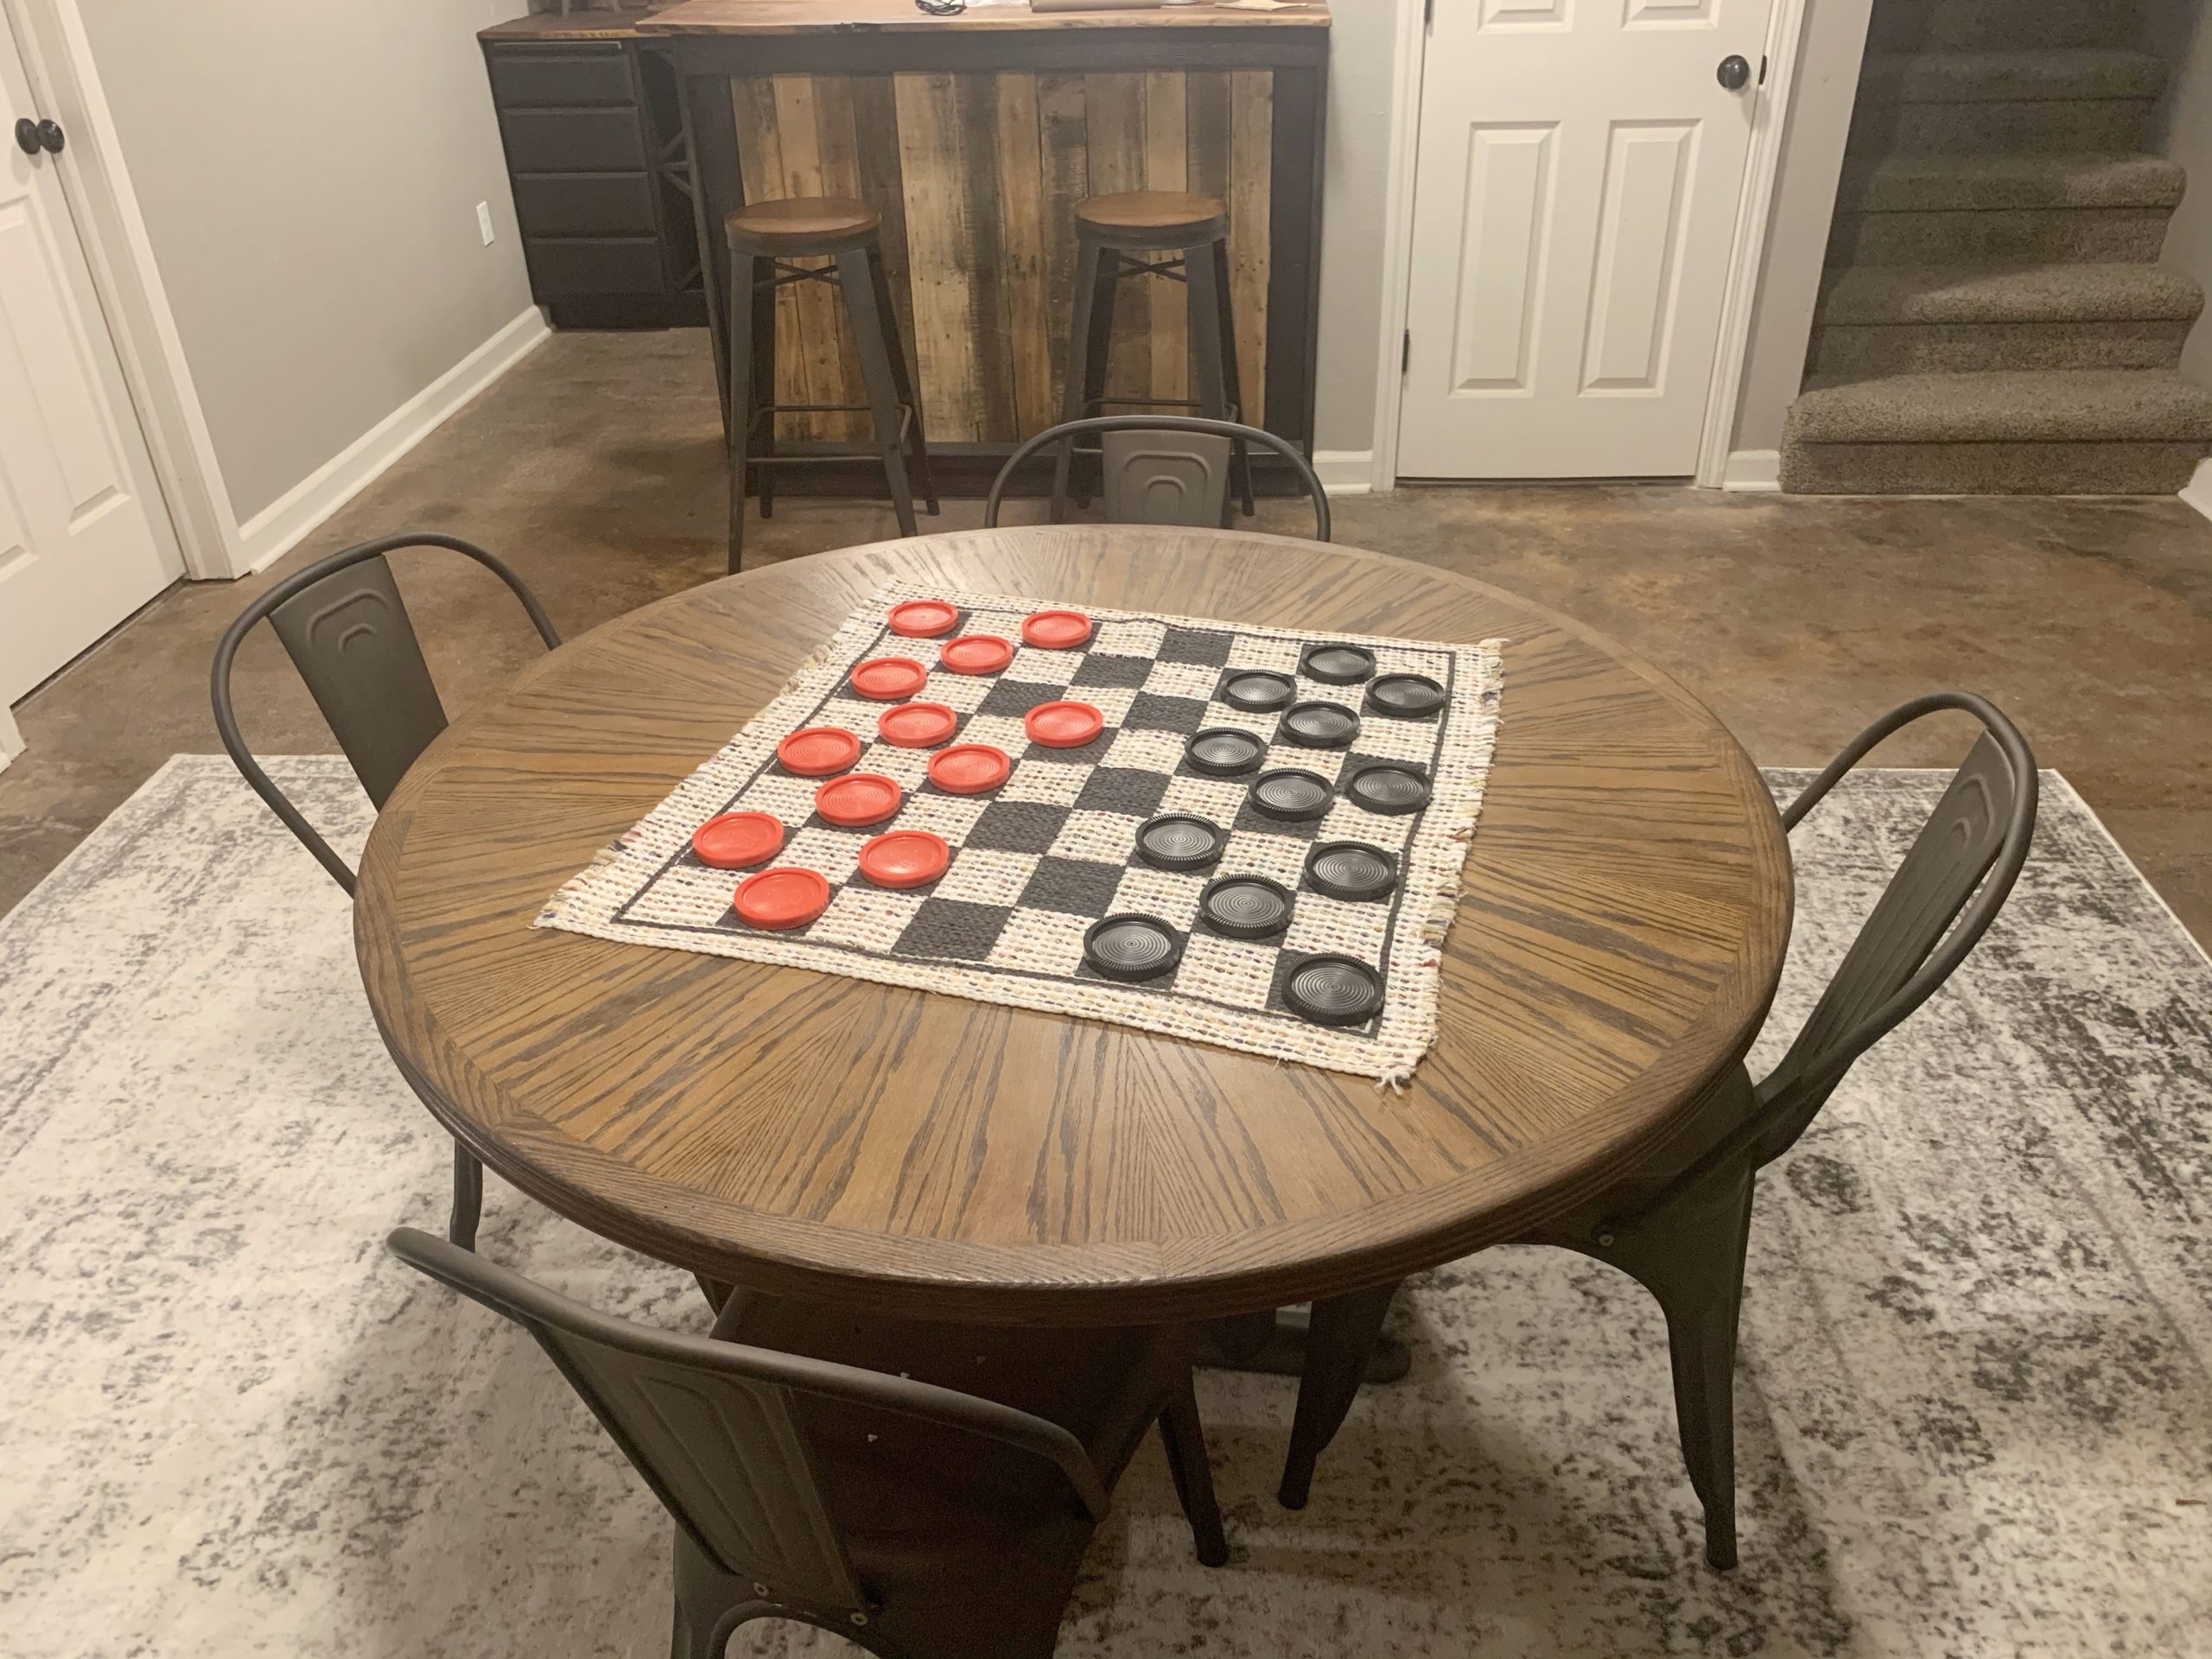
This round table is right off of the bar area, and creates a cozy spot to sit down and enjoy drinks and games! It also carries the rustic theme throughout the basement. 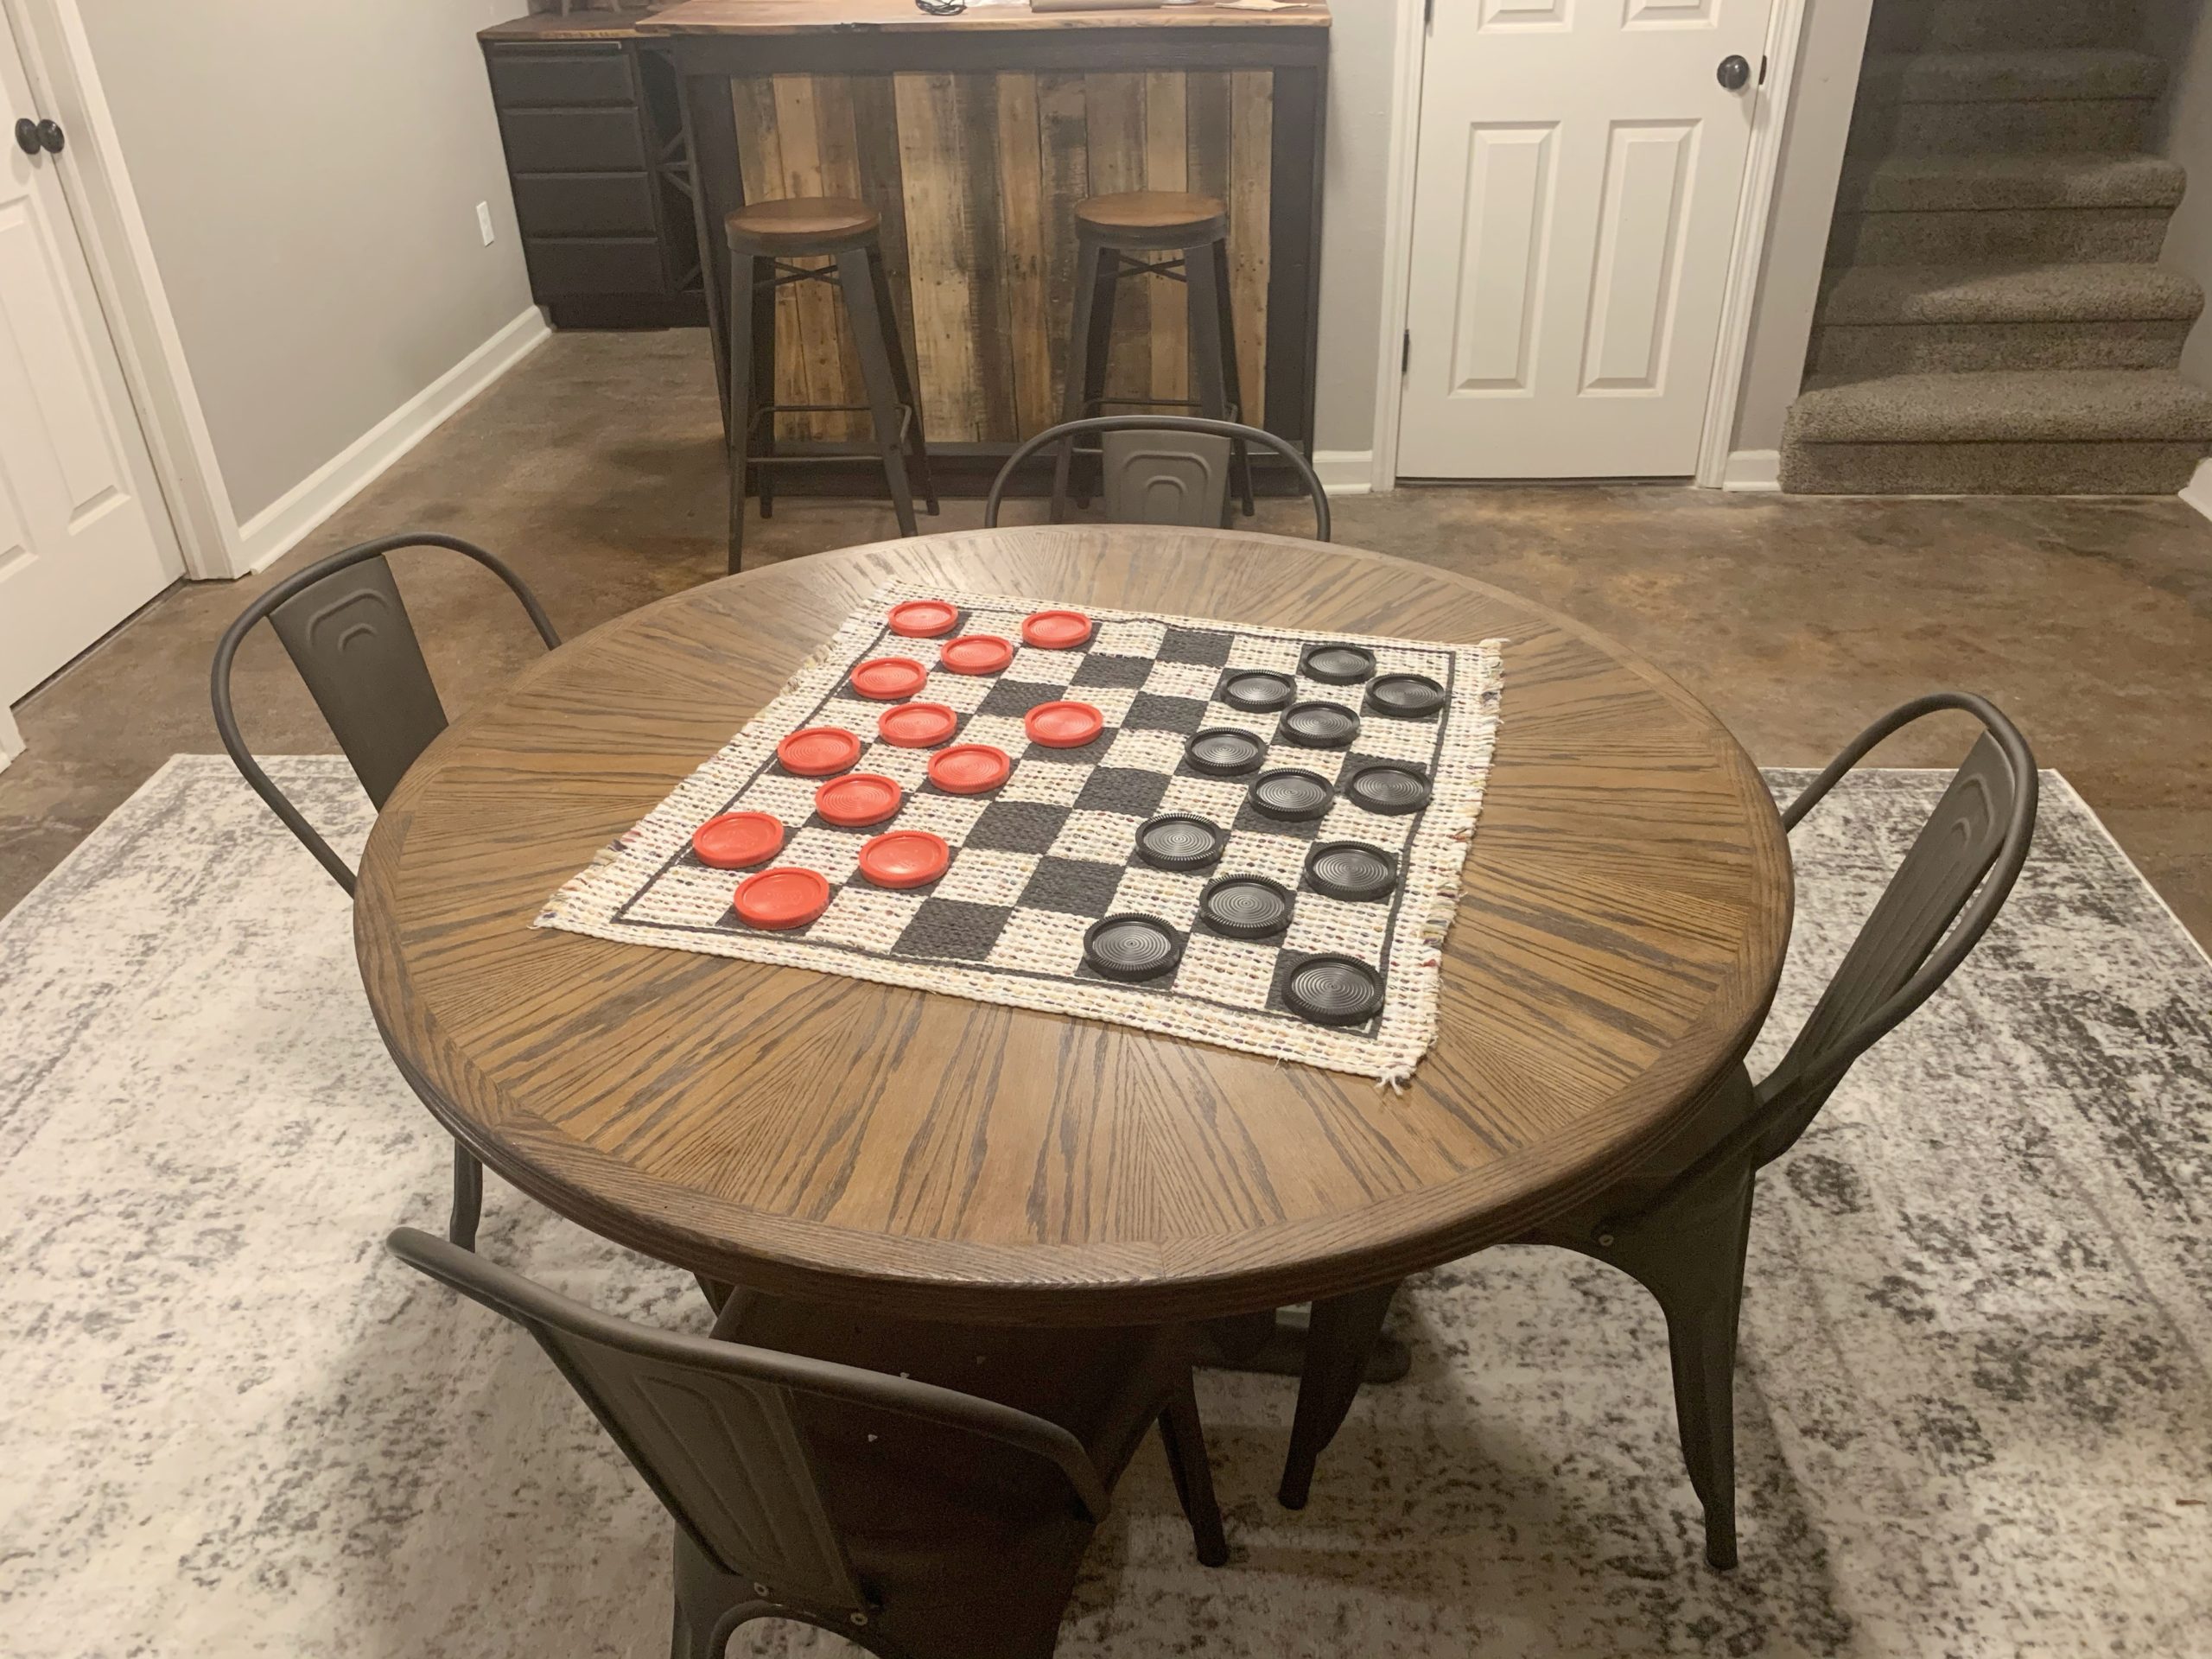
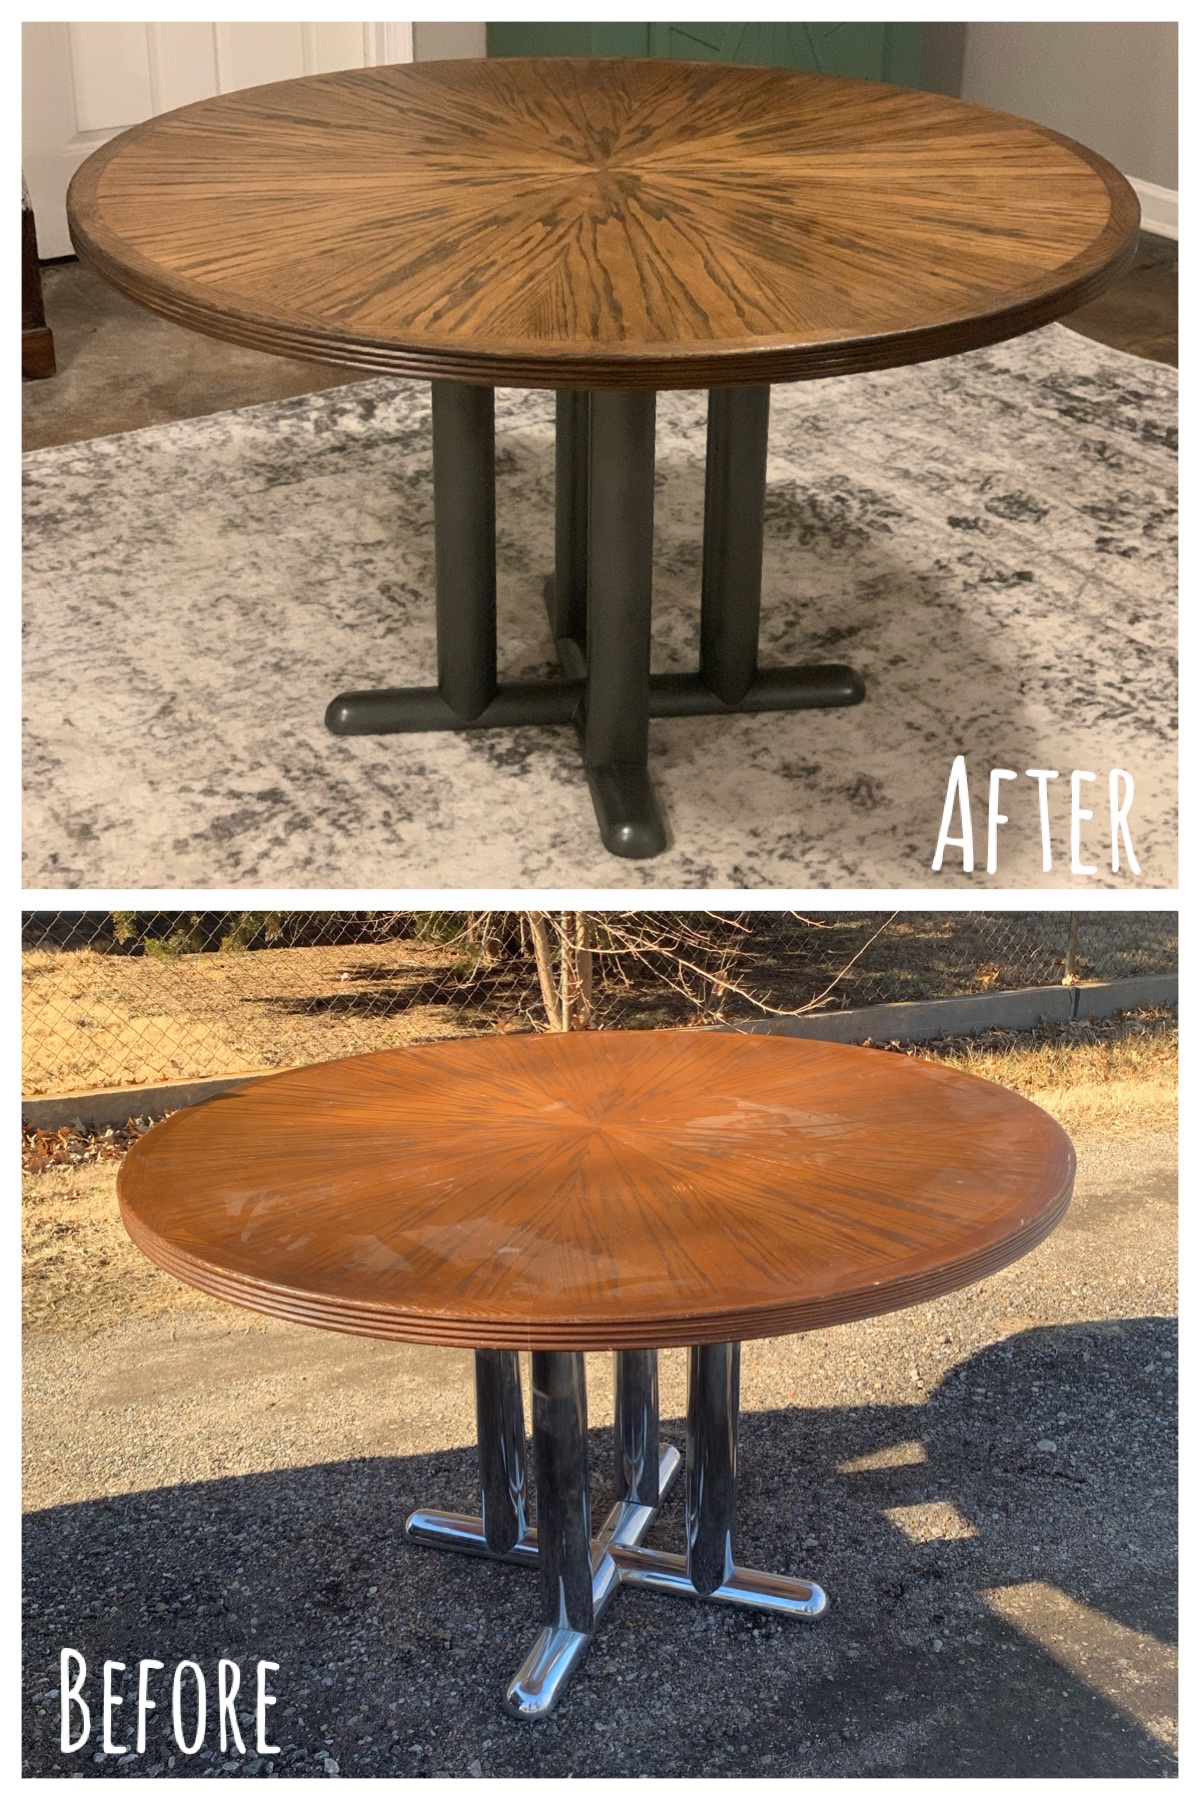
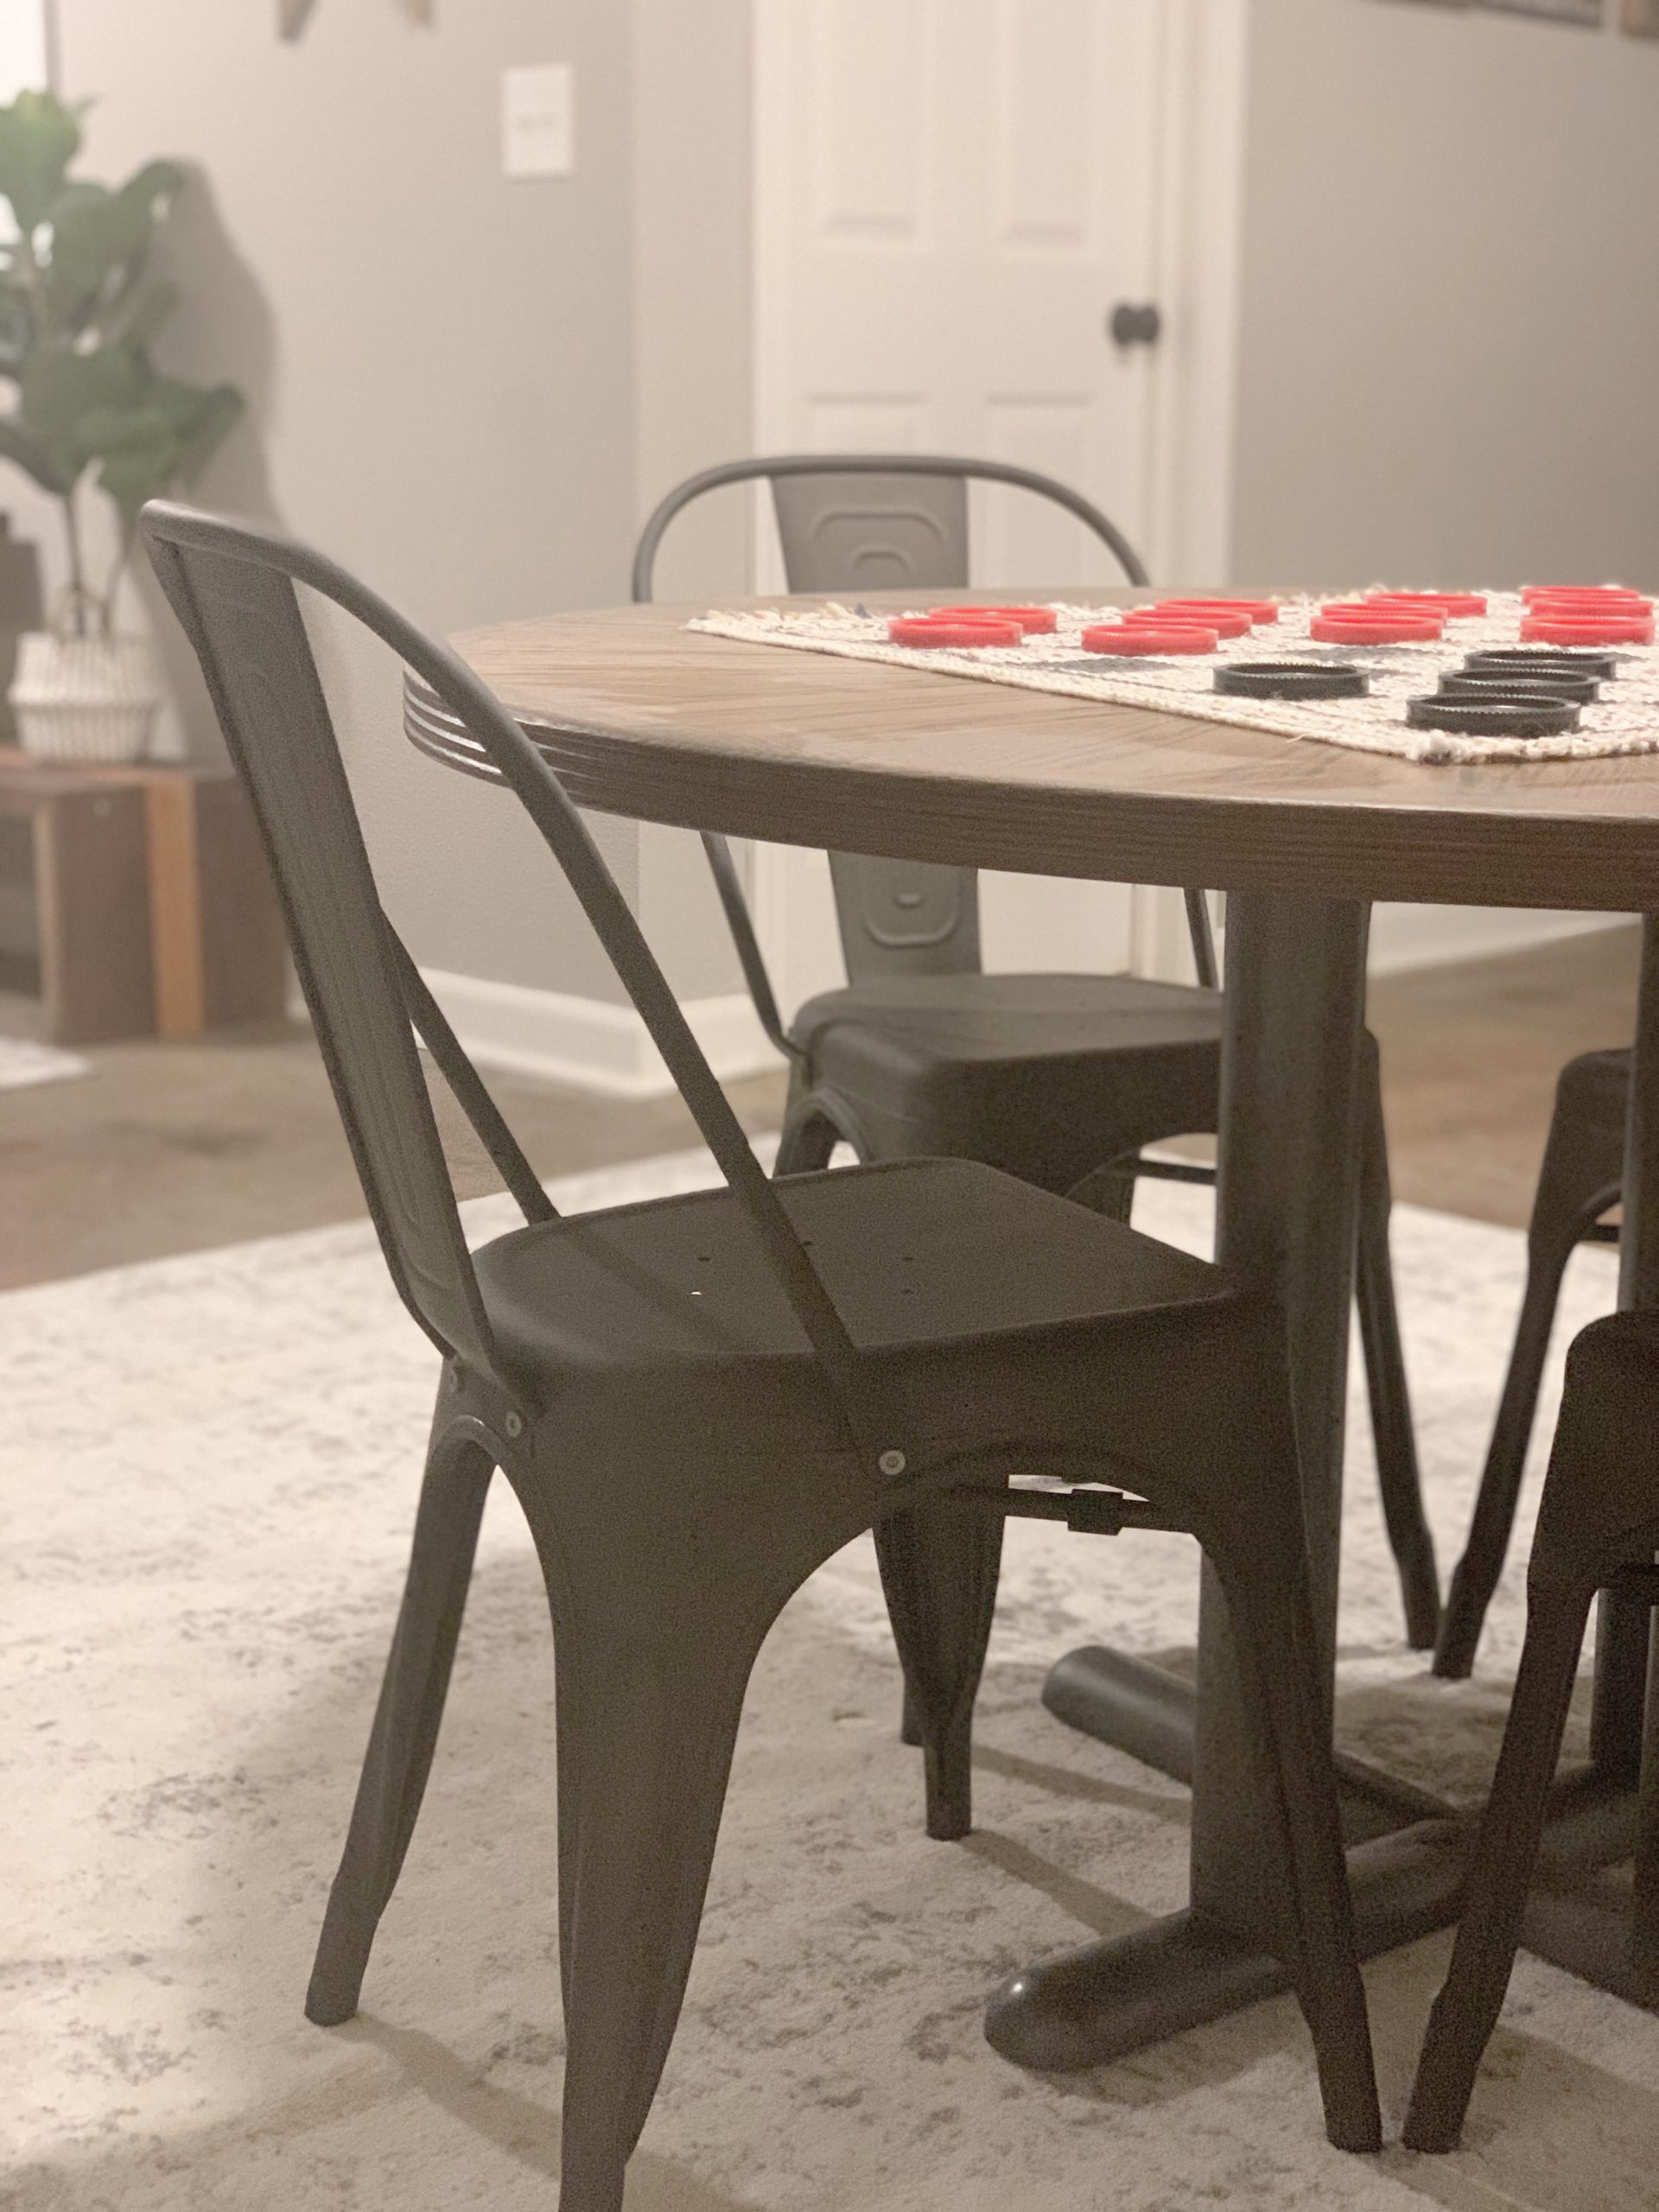 We paid $35 for this table on Facebook marketplace. I painted the metal base with a gunmetal metallic spray paint, and refinished the top with a dark walnut stain.
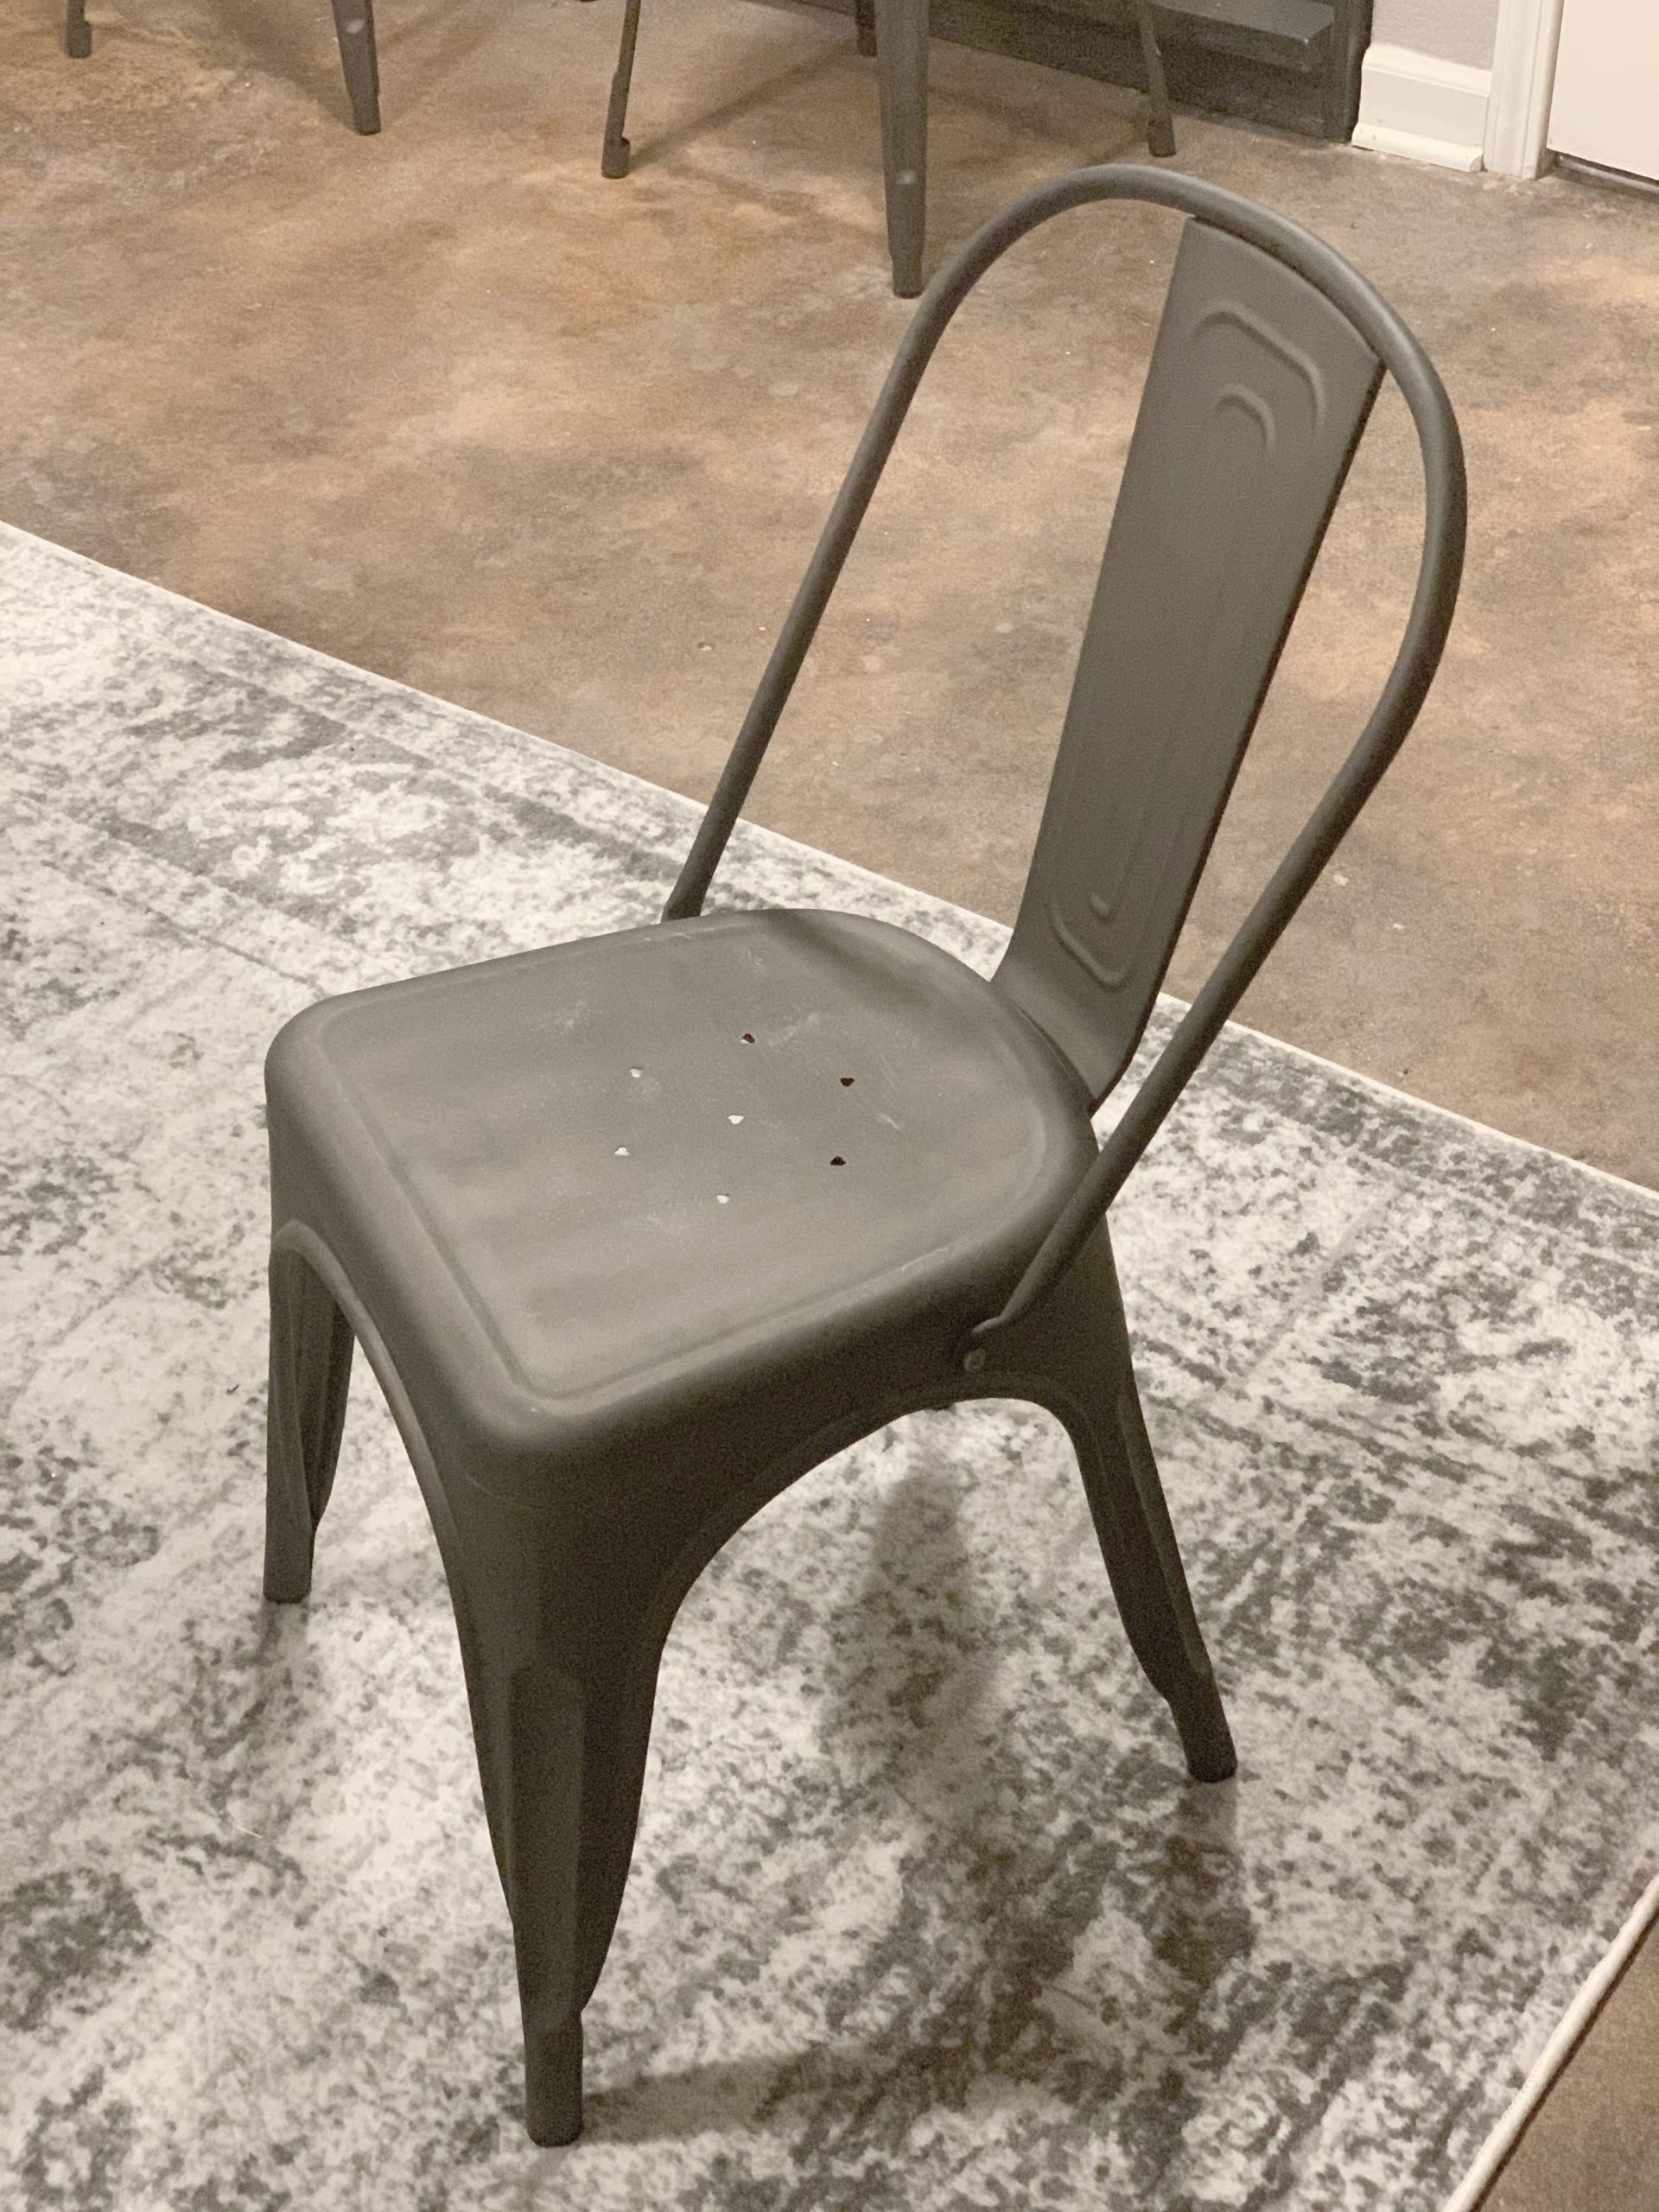
 The four metal chairs were less than $100 on Amazon, and they match the table base and bar stools perfectly!
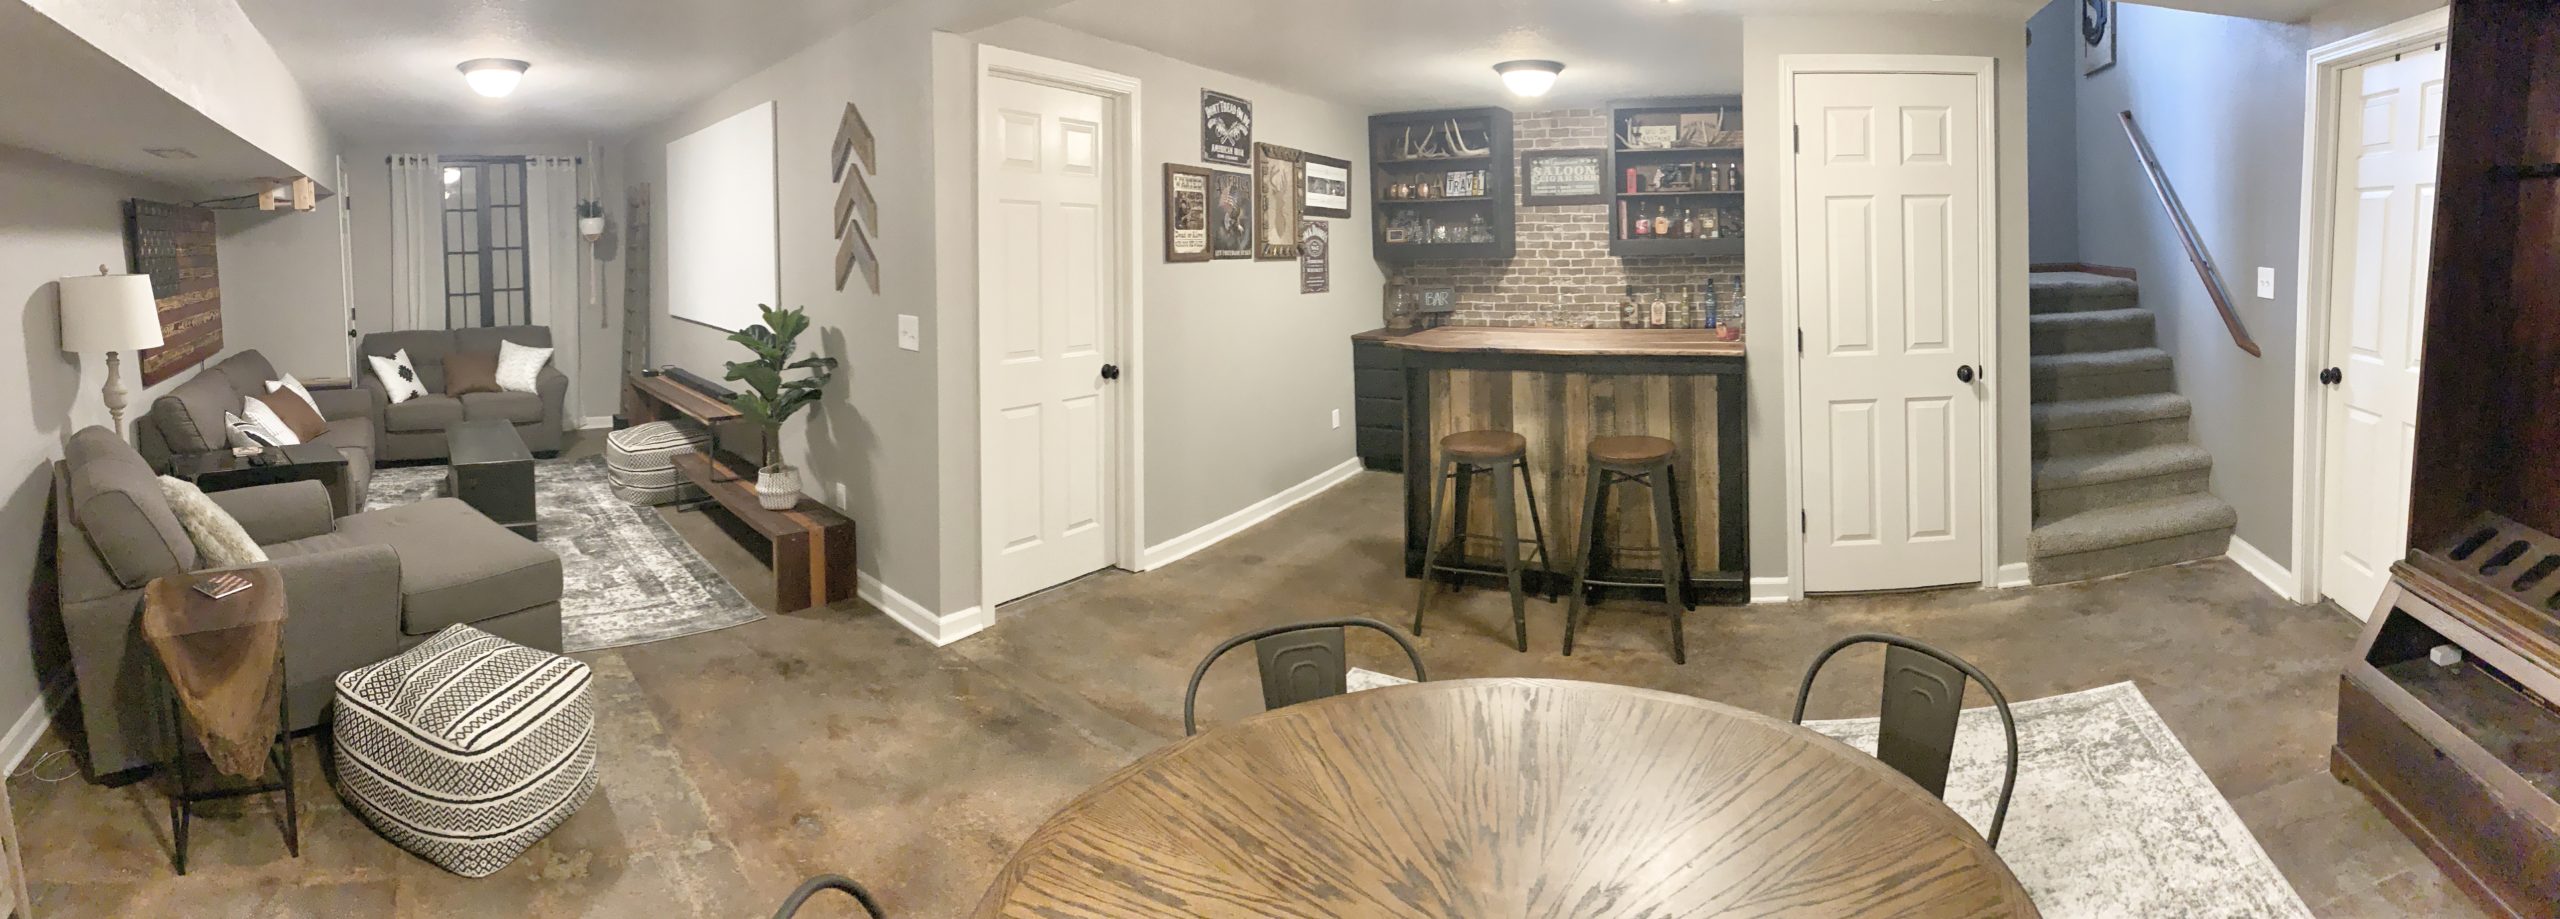
Well that wraps up the basement reveal! If you missed it, check out the living area update we did! We just love our basement now, and we are definitely enjoying using these spaces to entertain! The best part of the whole thing is that we spent very little money to make this plain basement into our favorite hang out spot in the house!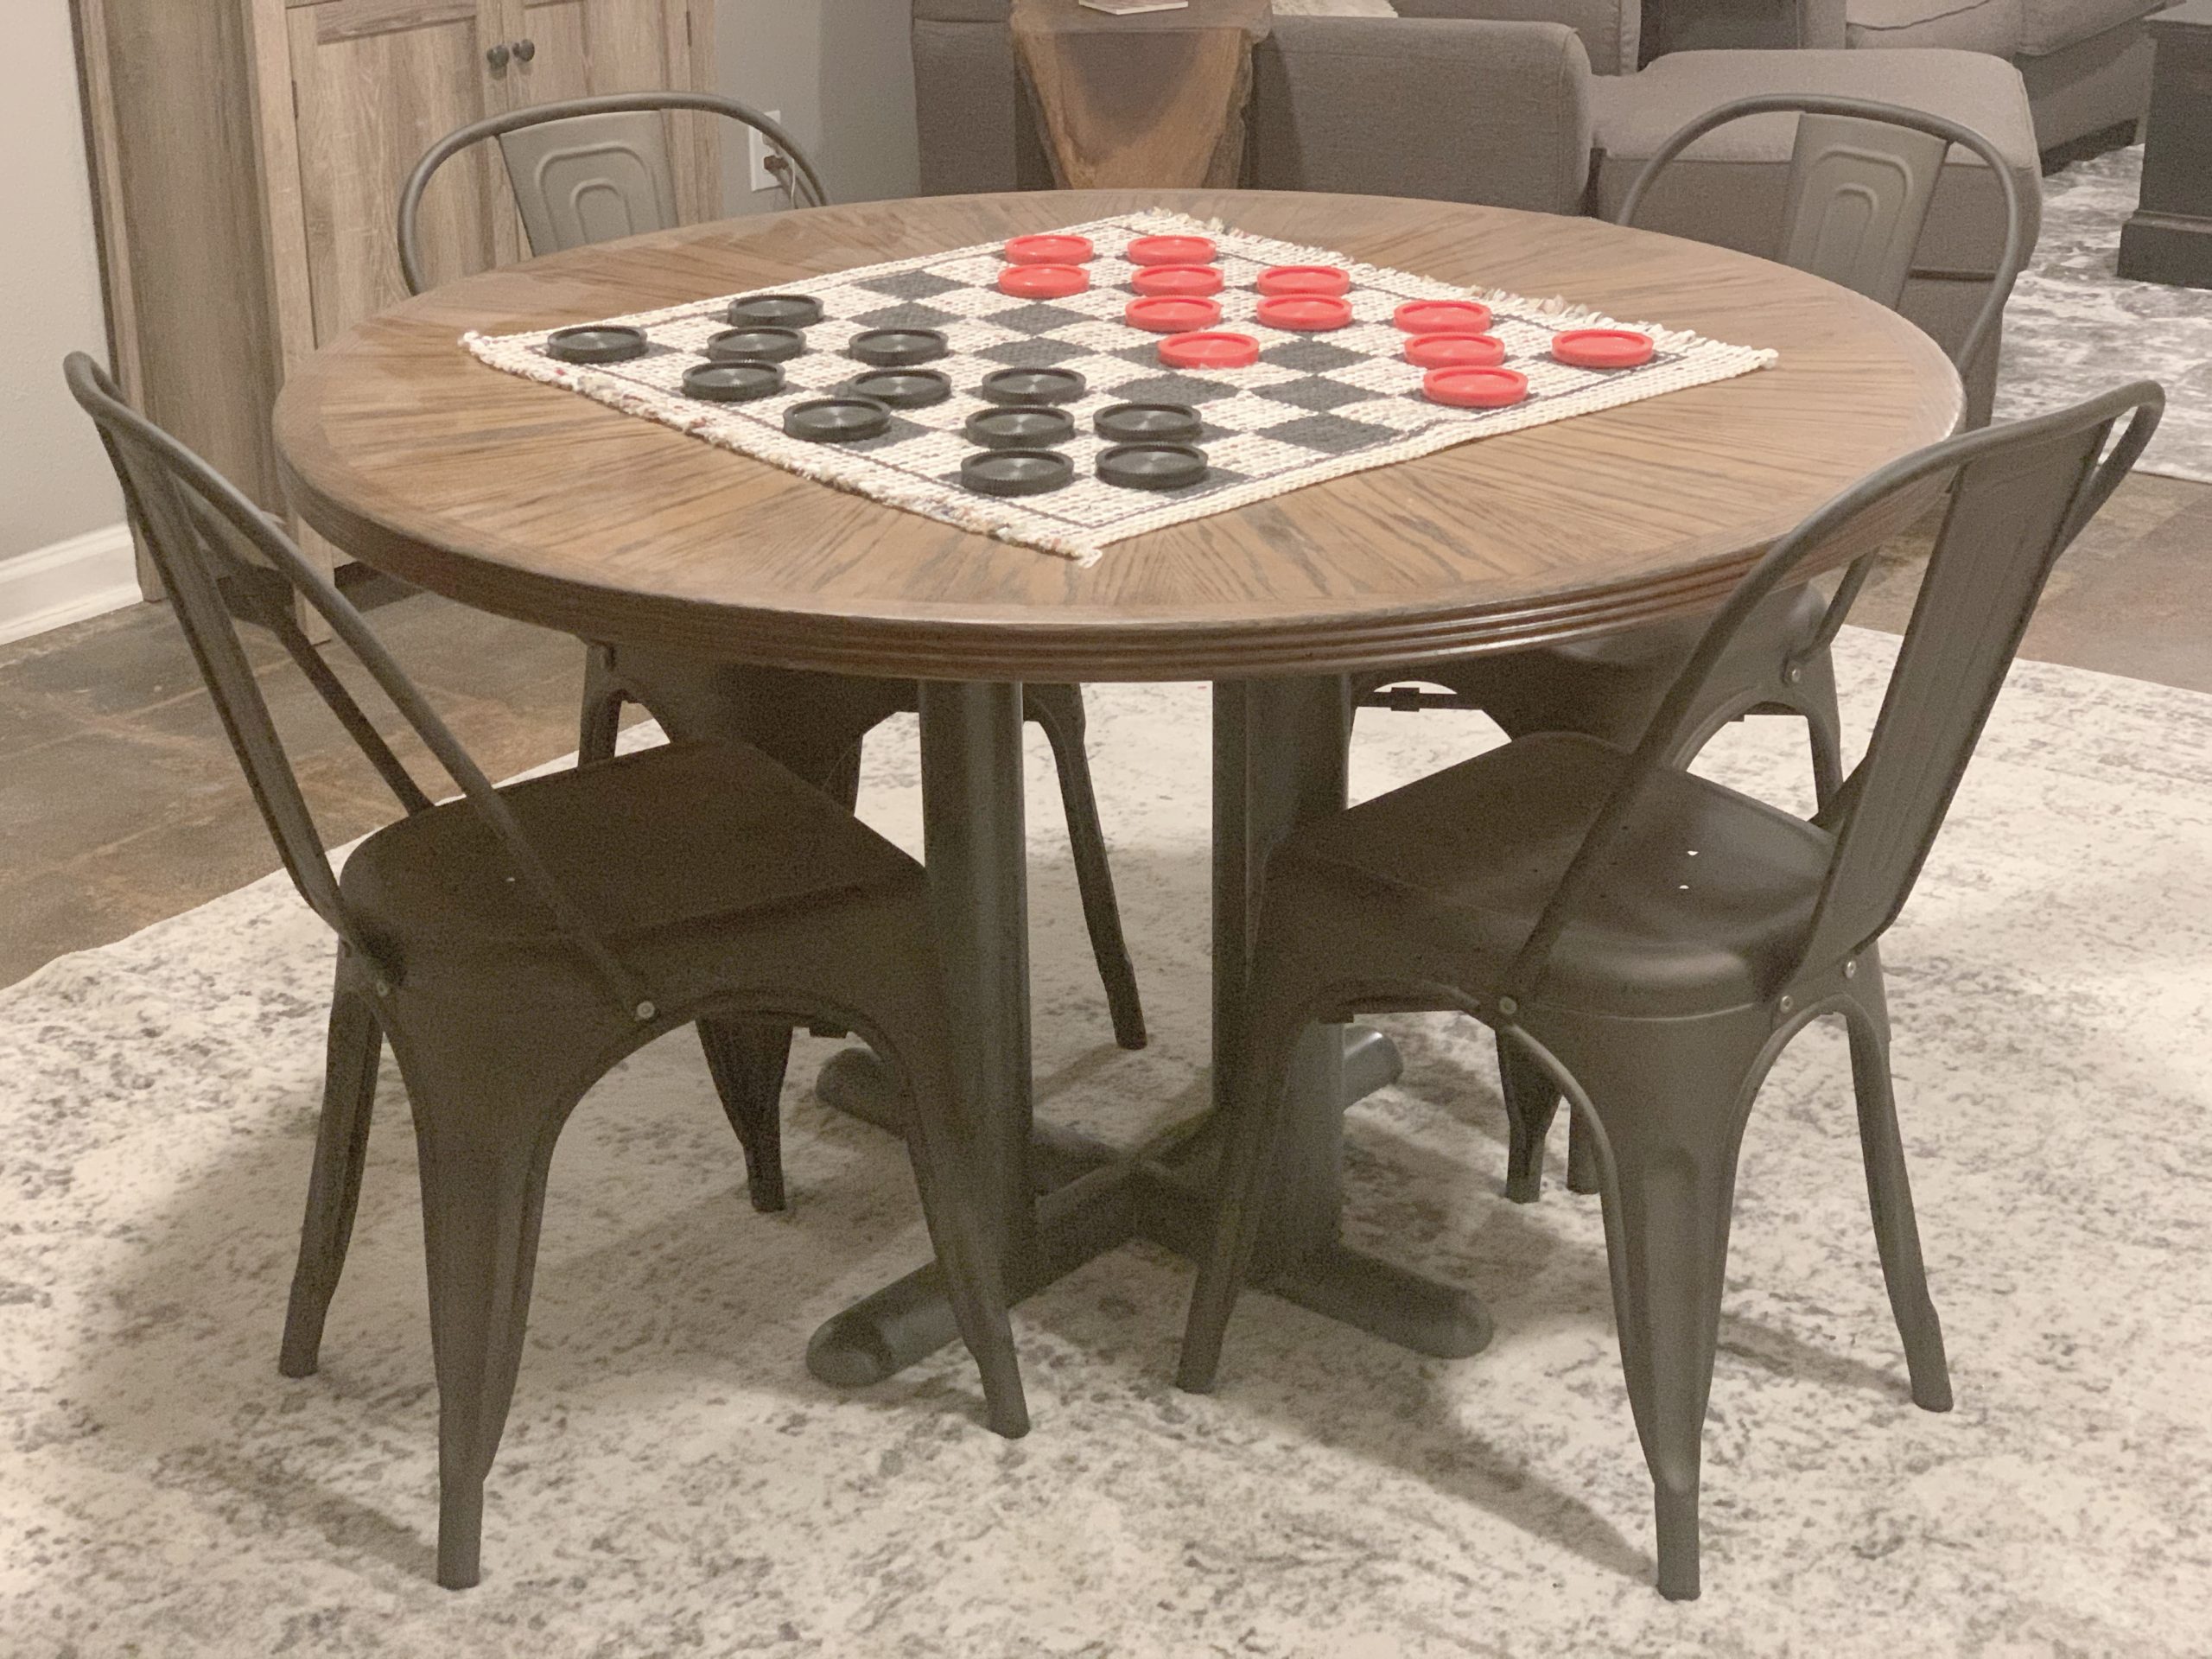
 I hope this gives you some inspiration to update and rethink your space on a budget! Thanks so much for reading, we’ll see you on the next DIY, God bless!
XOXO
ASHLEY DIANN
Just AWESOME!!!!!!
thank you so much!!!
What a spectacular space you made! I have a similar nook in my basement and have been thinking of building it out the same way. Wonderful inspiration!!
thank you so much! I’m so glad you got some inspiration from it!