Studio Office Update (Part Two)
If you’re anything like me, you always have a project going. I’m actually the kind of person who has more than one going at a time… In fact our entire basement was full of my projects, and there just never seemed to be enough space to work on them. I admit part of the problem was too much stuff lol, but the majority of the problem was inadequate work surface and storage space. (See part one of this update: Pallet wood accent wall).
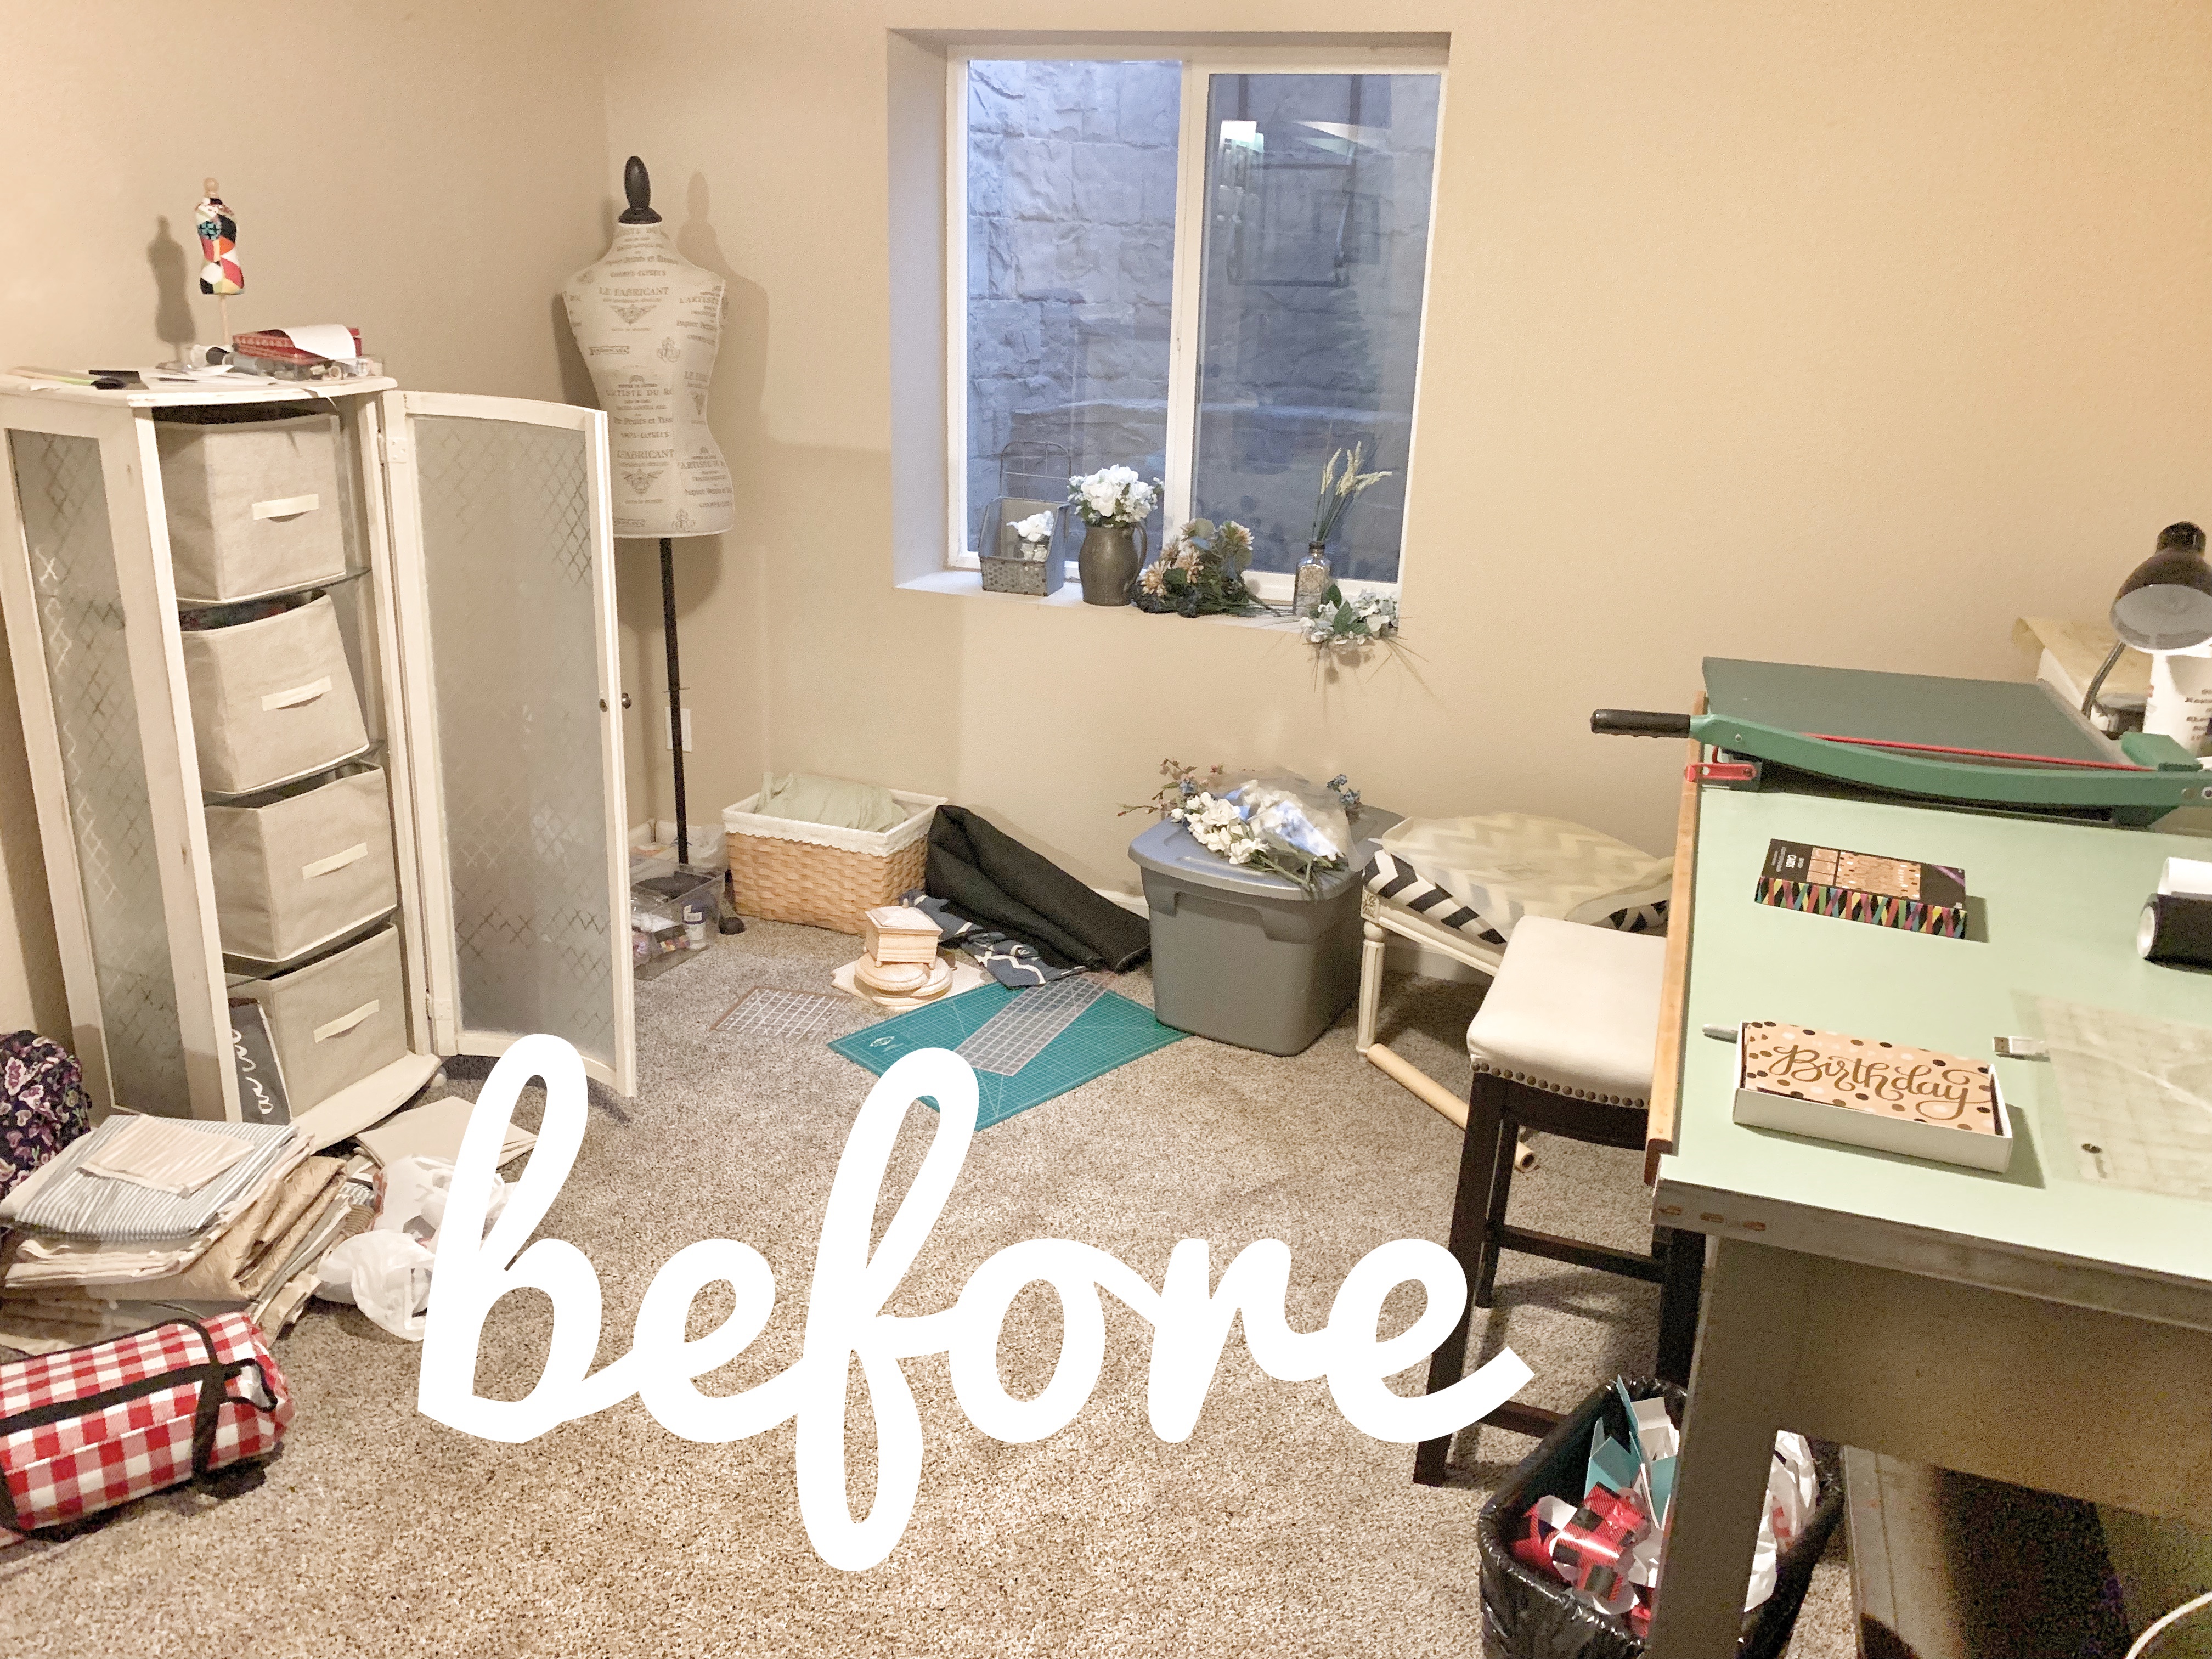
I began to think about a solution to this issue and decided to DIY a craft table with storage underneath; somewhere that I could do my sewing, painting, and various other craft projects, and still be able to hide stuff when I’m not using it. A craft table would provide a way to organize my stuff in ONE PLACE, and a work area that doesn’t resemble our ping pong table or pub table downstairs lol. I couldn’t take another day of the craft room overtaking the entire basement, so it was time to do something about it!
The Base
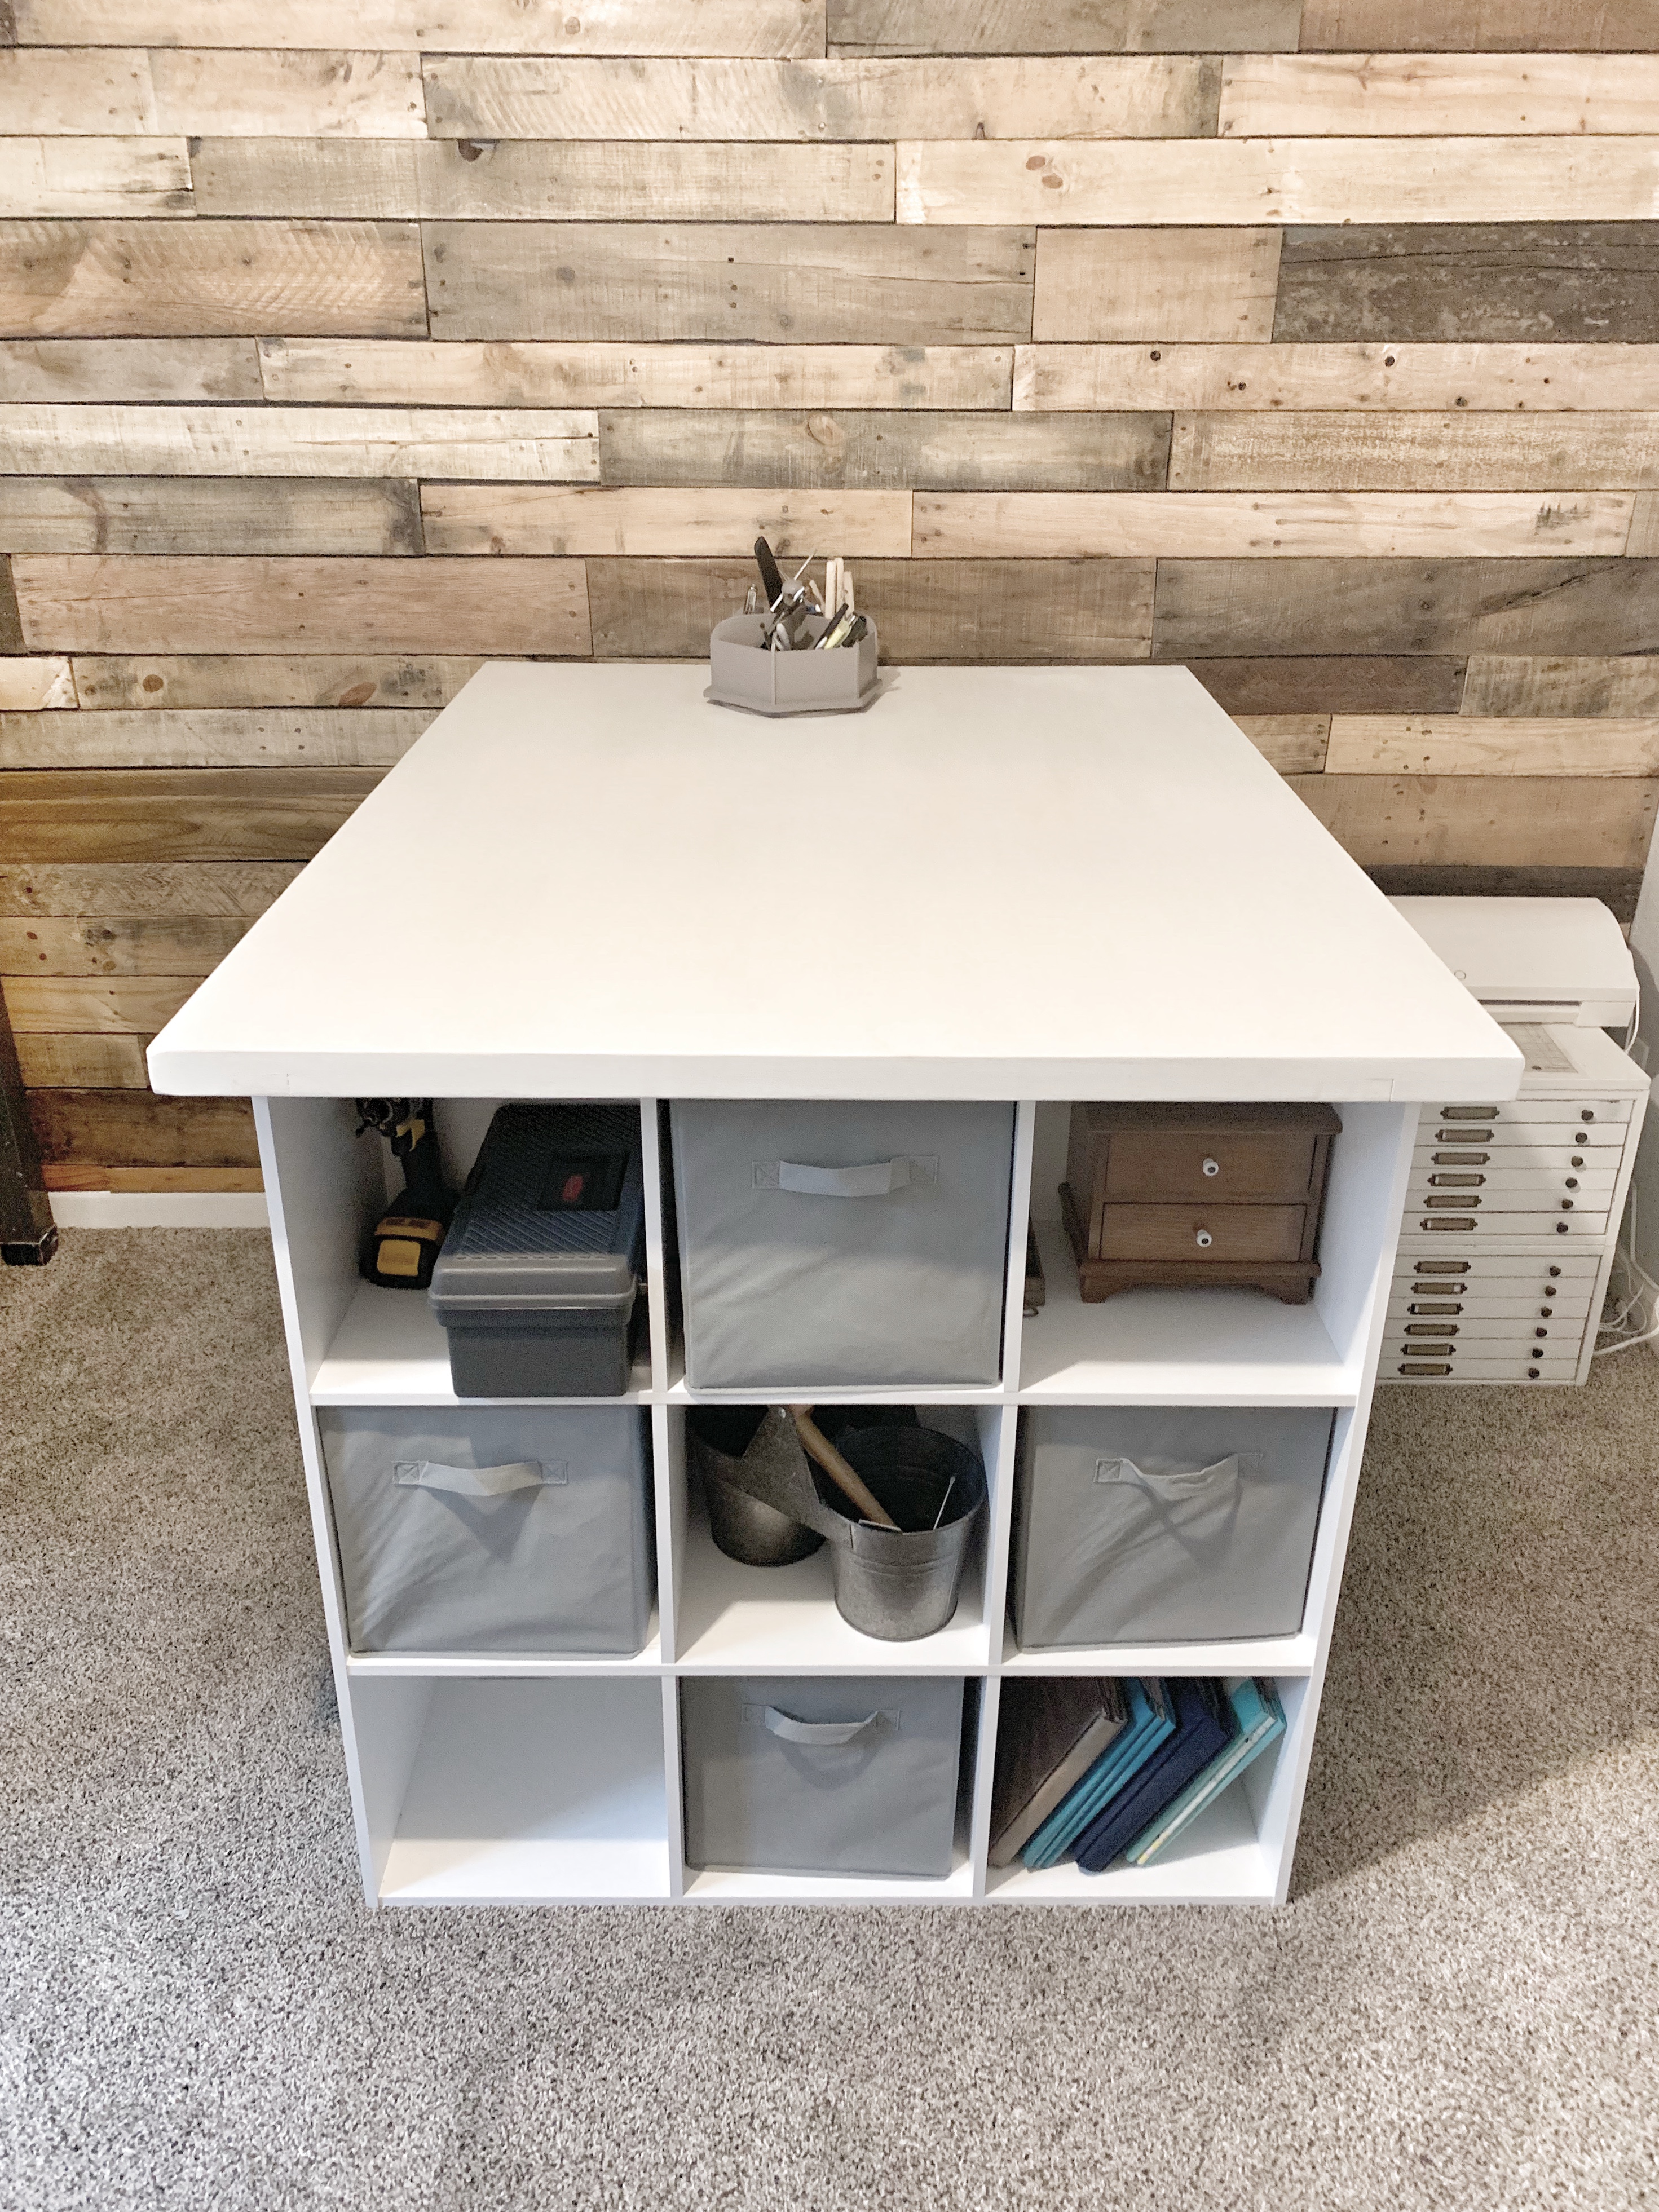
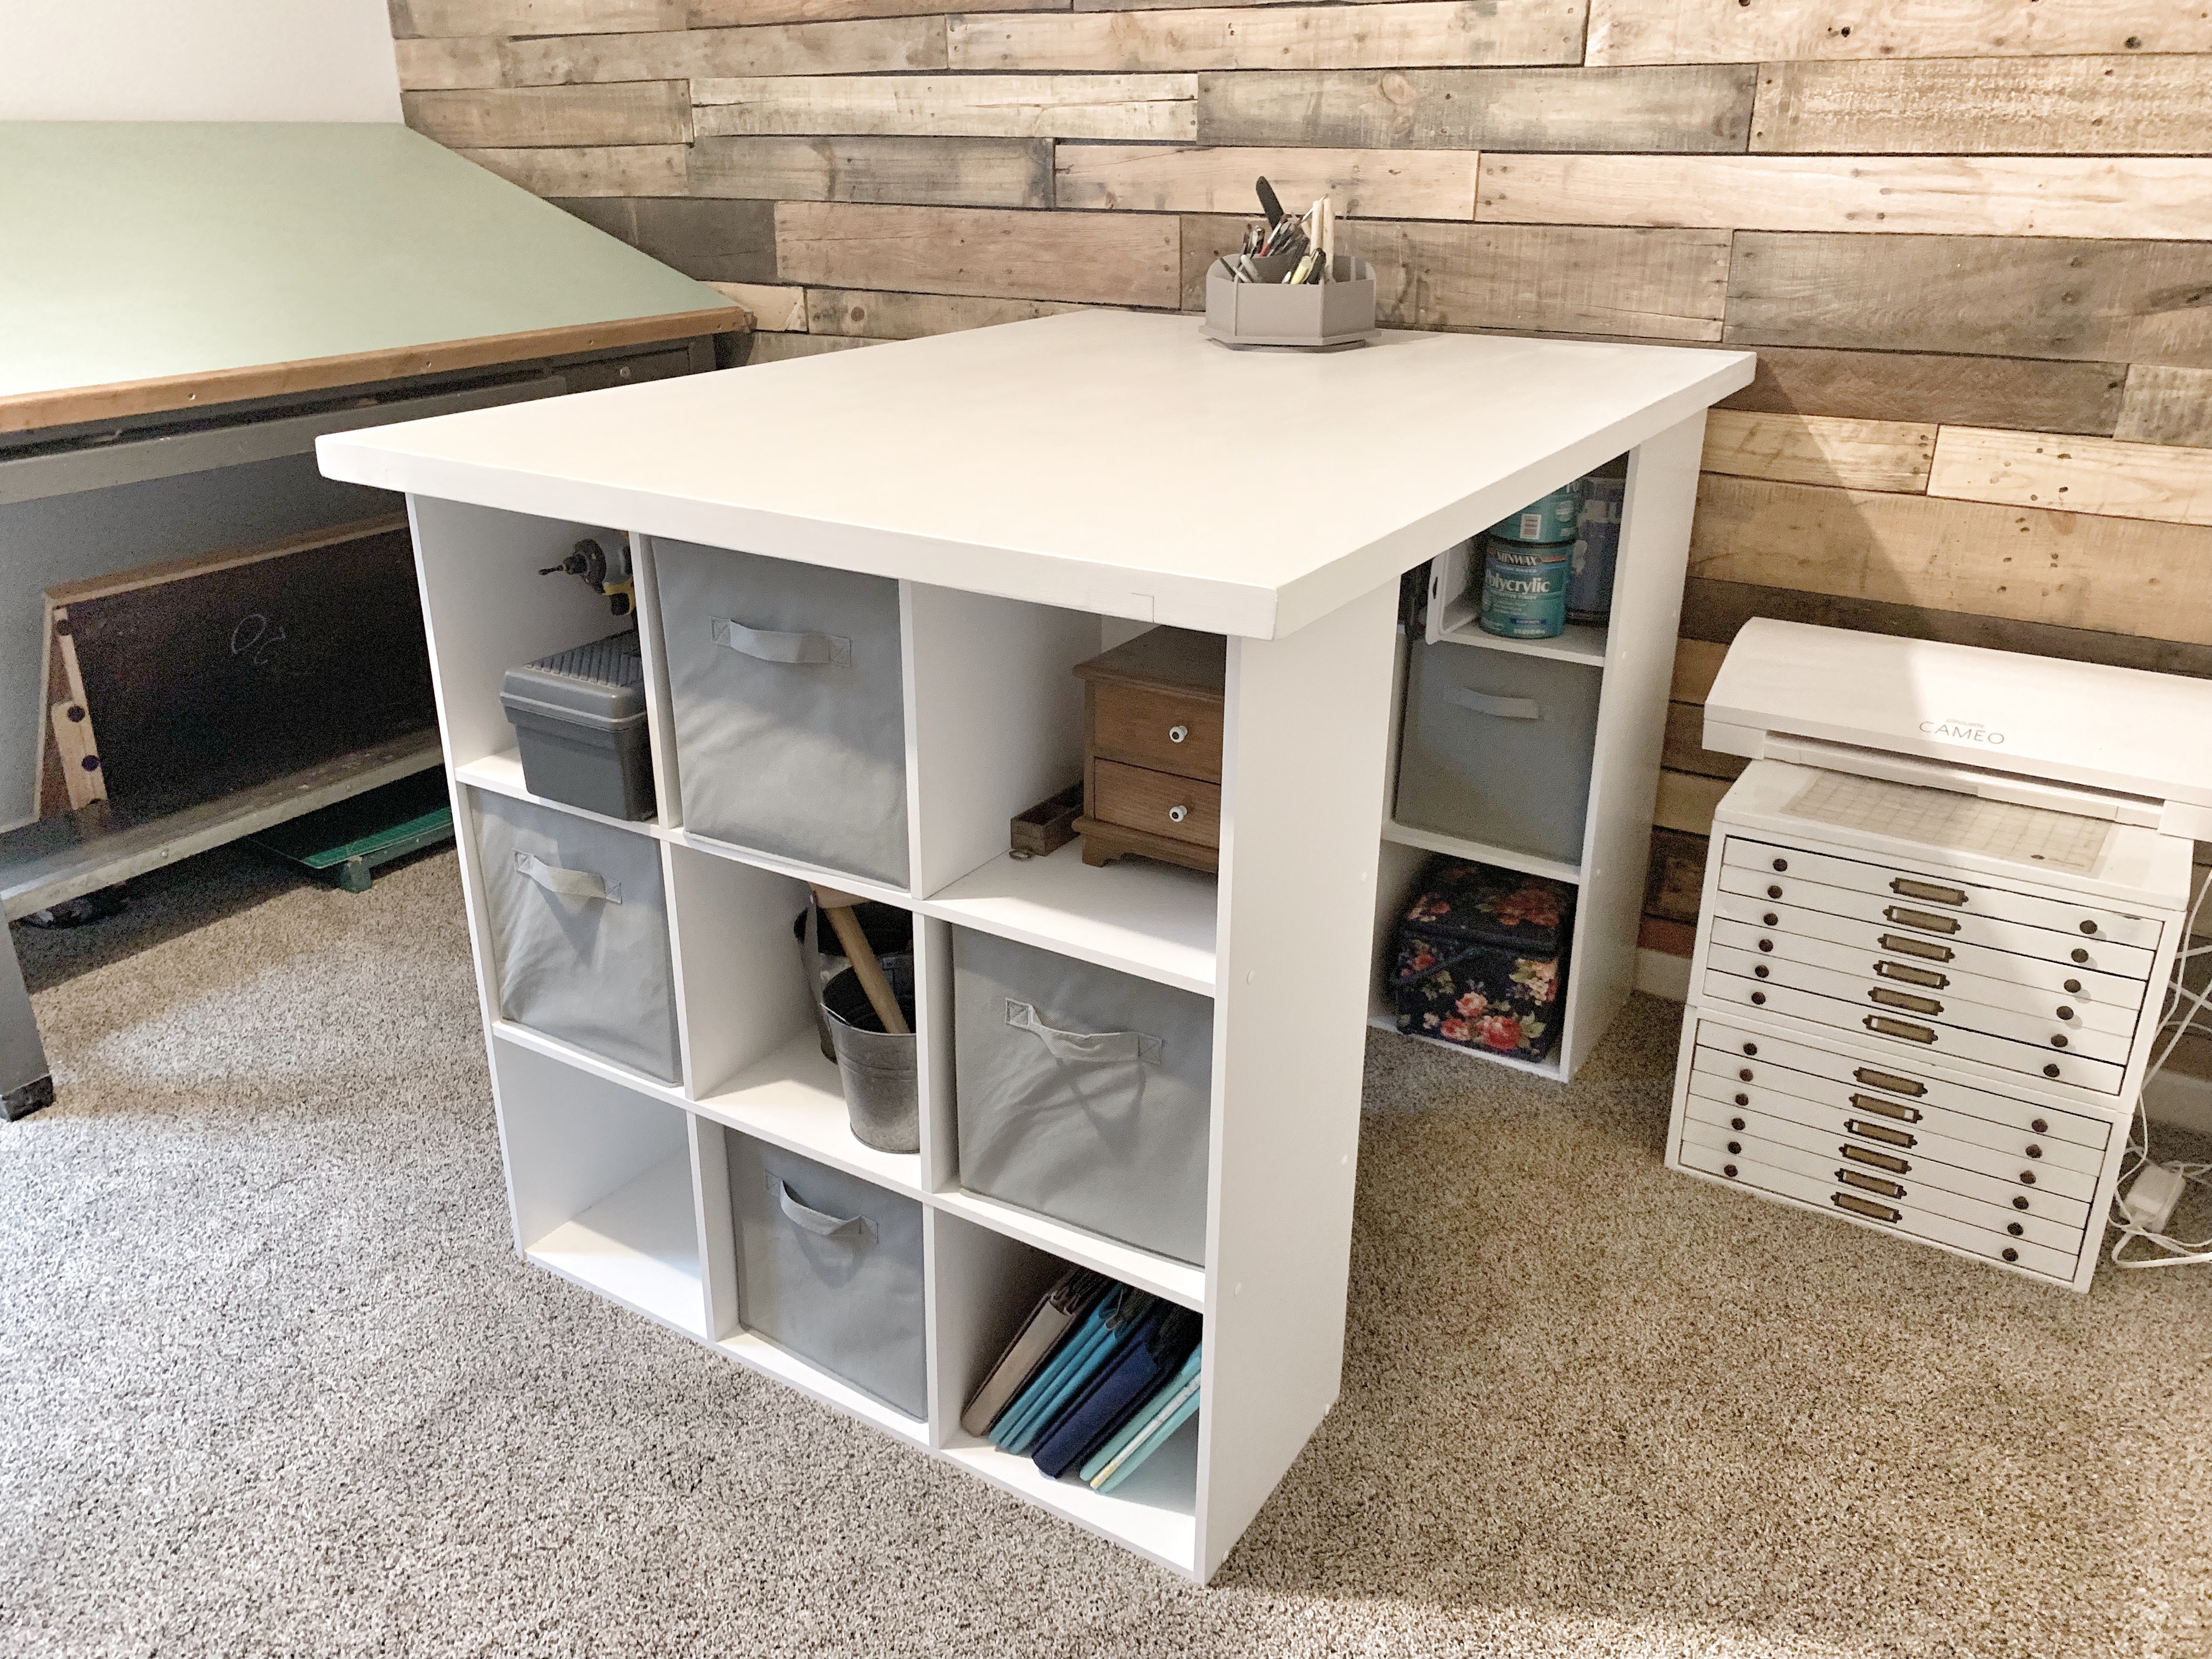
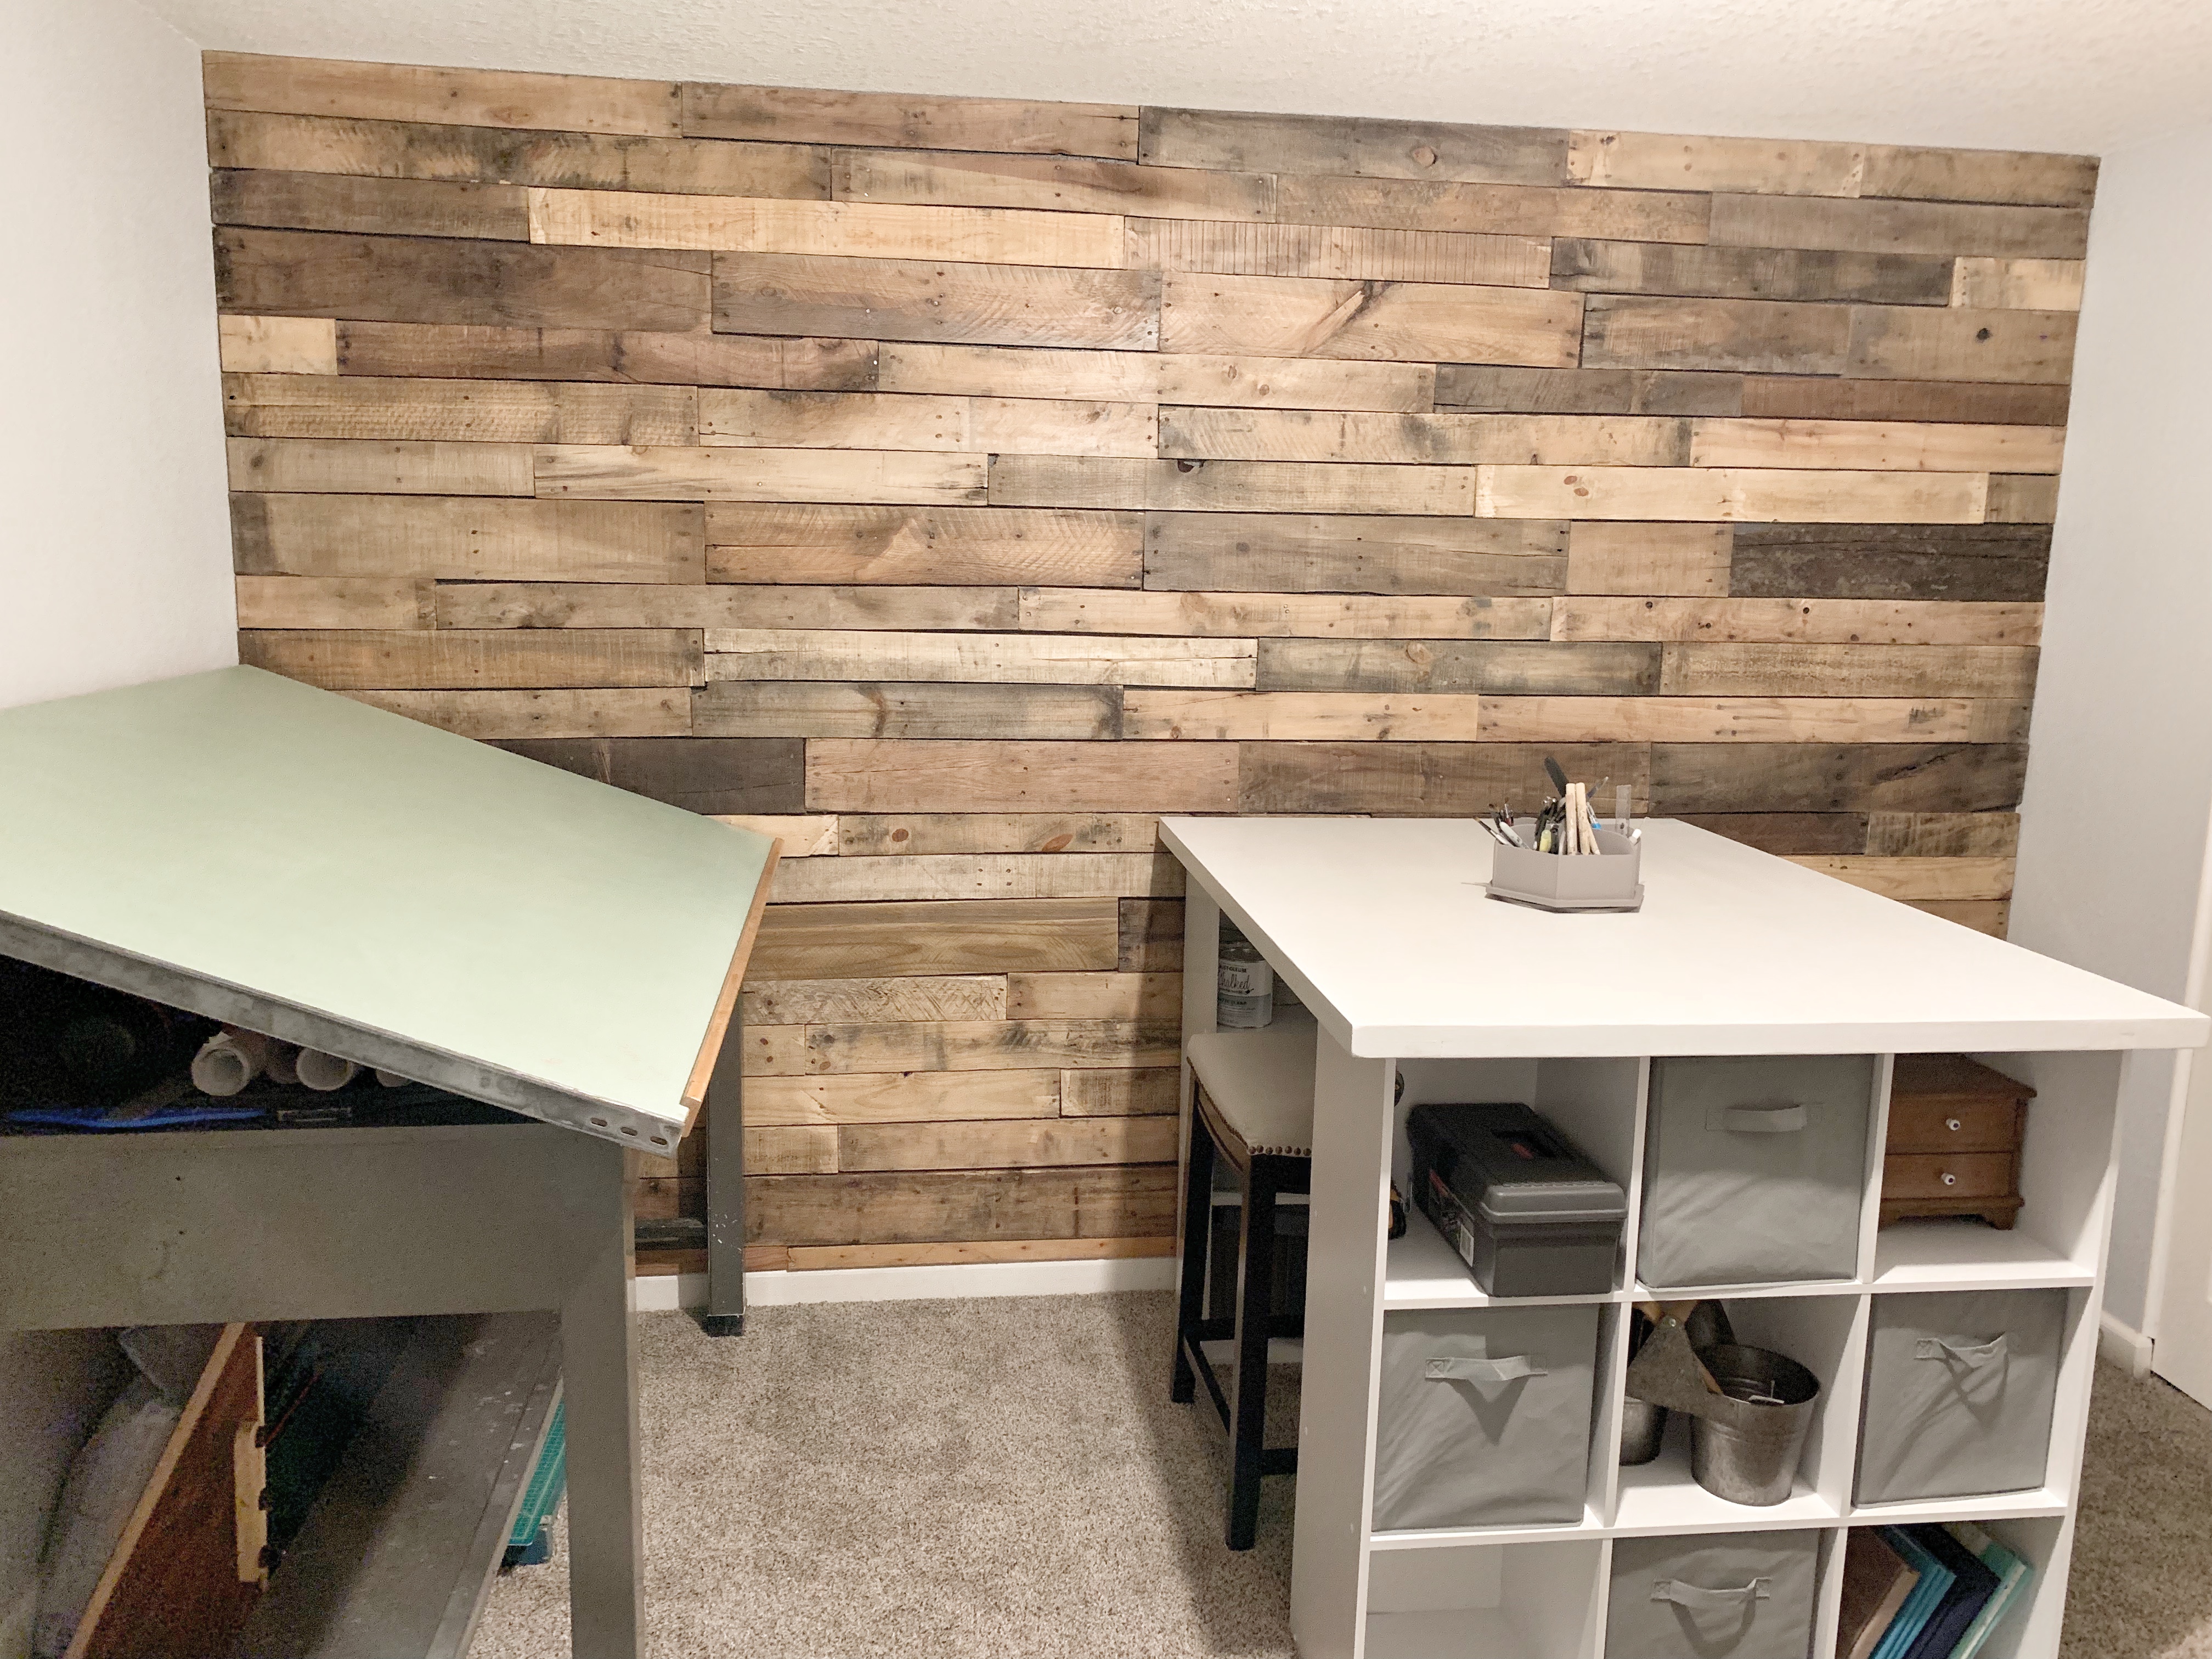
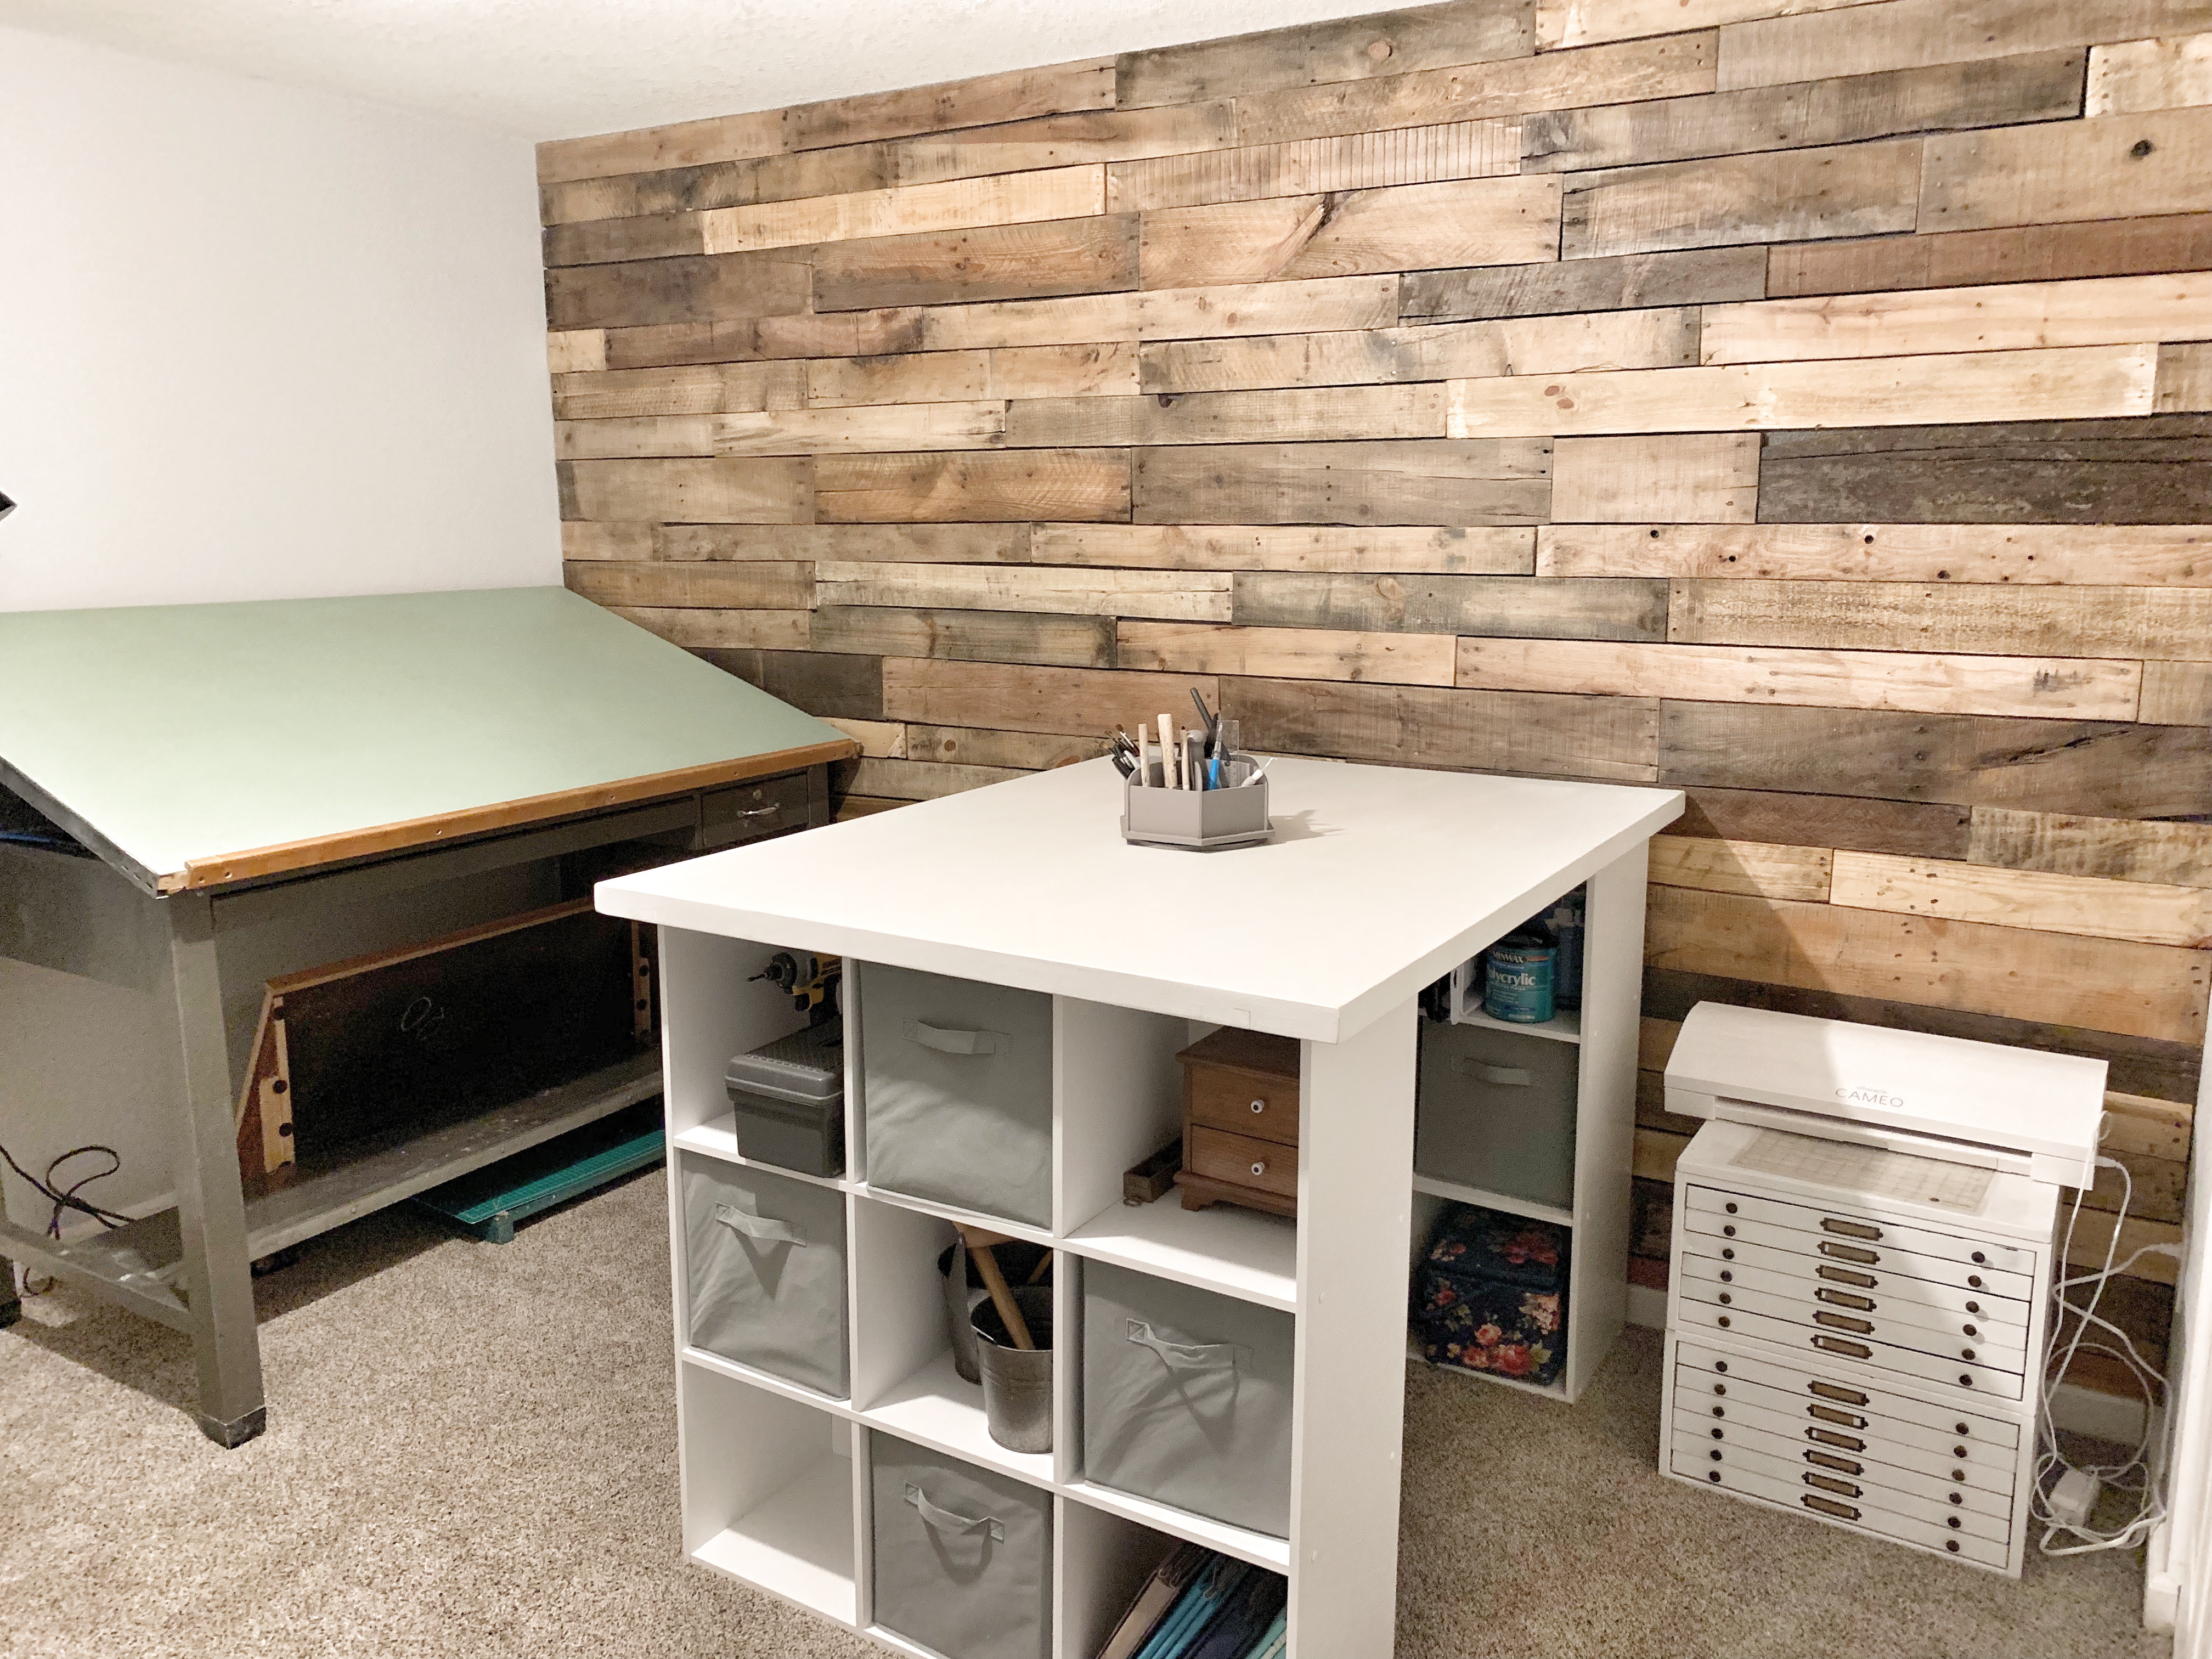
I wanted to go with something simple and inexpensive, so I bought two 9-cube organizers and assembled them for the base of the table. A lot of times I find that I like to stand up while I work on things, and these are just the right height for standing or sitting with a stool!
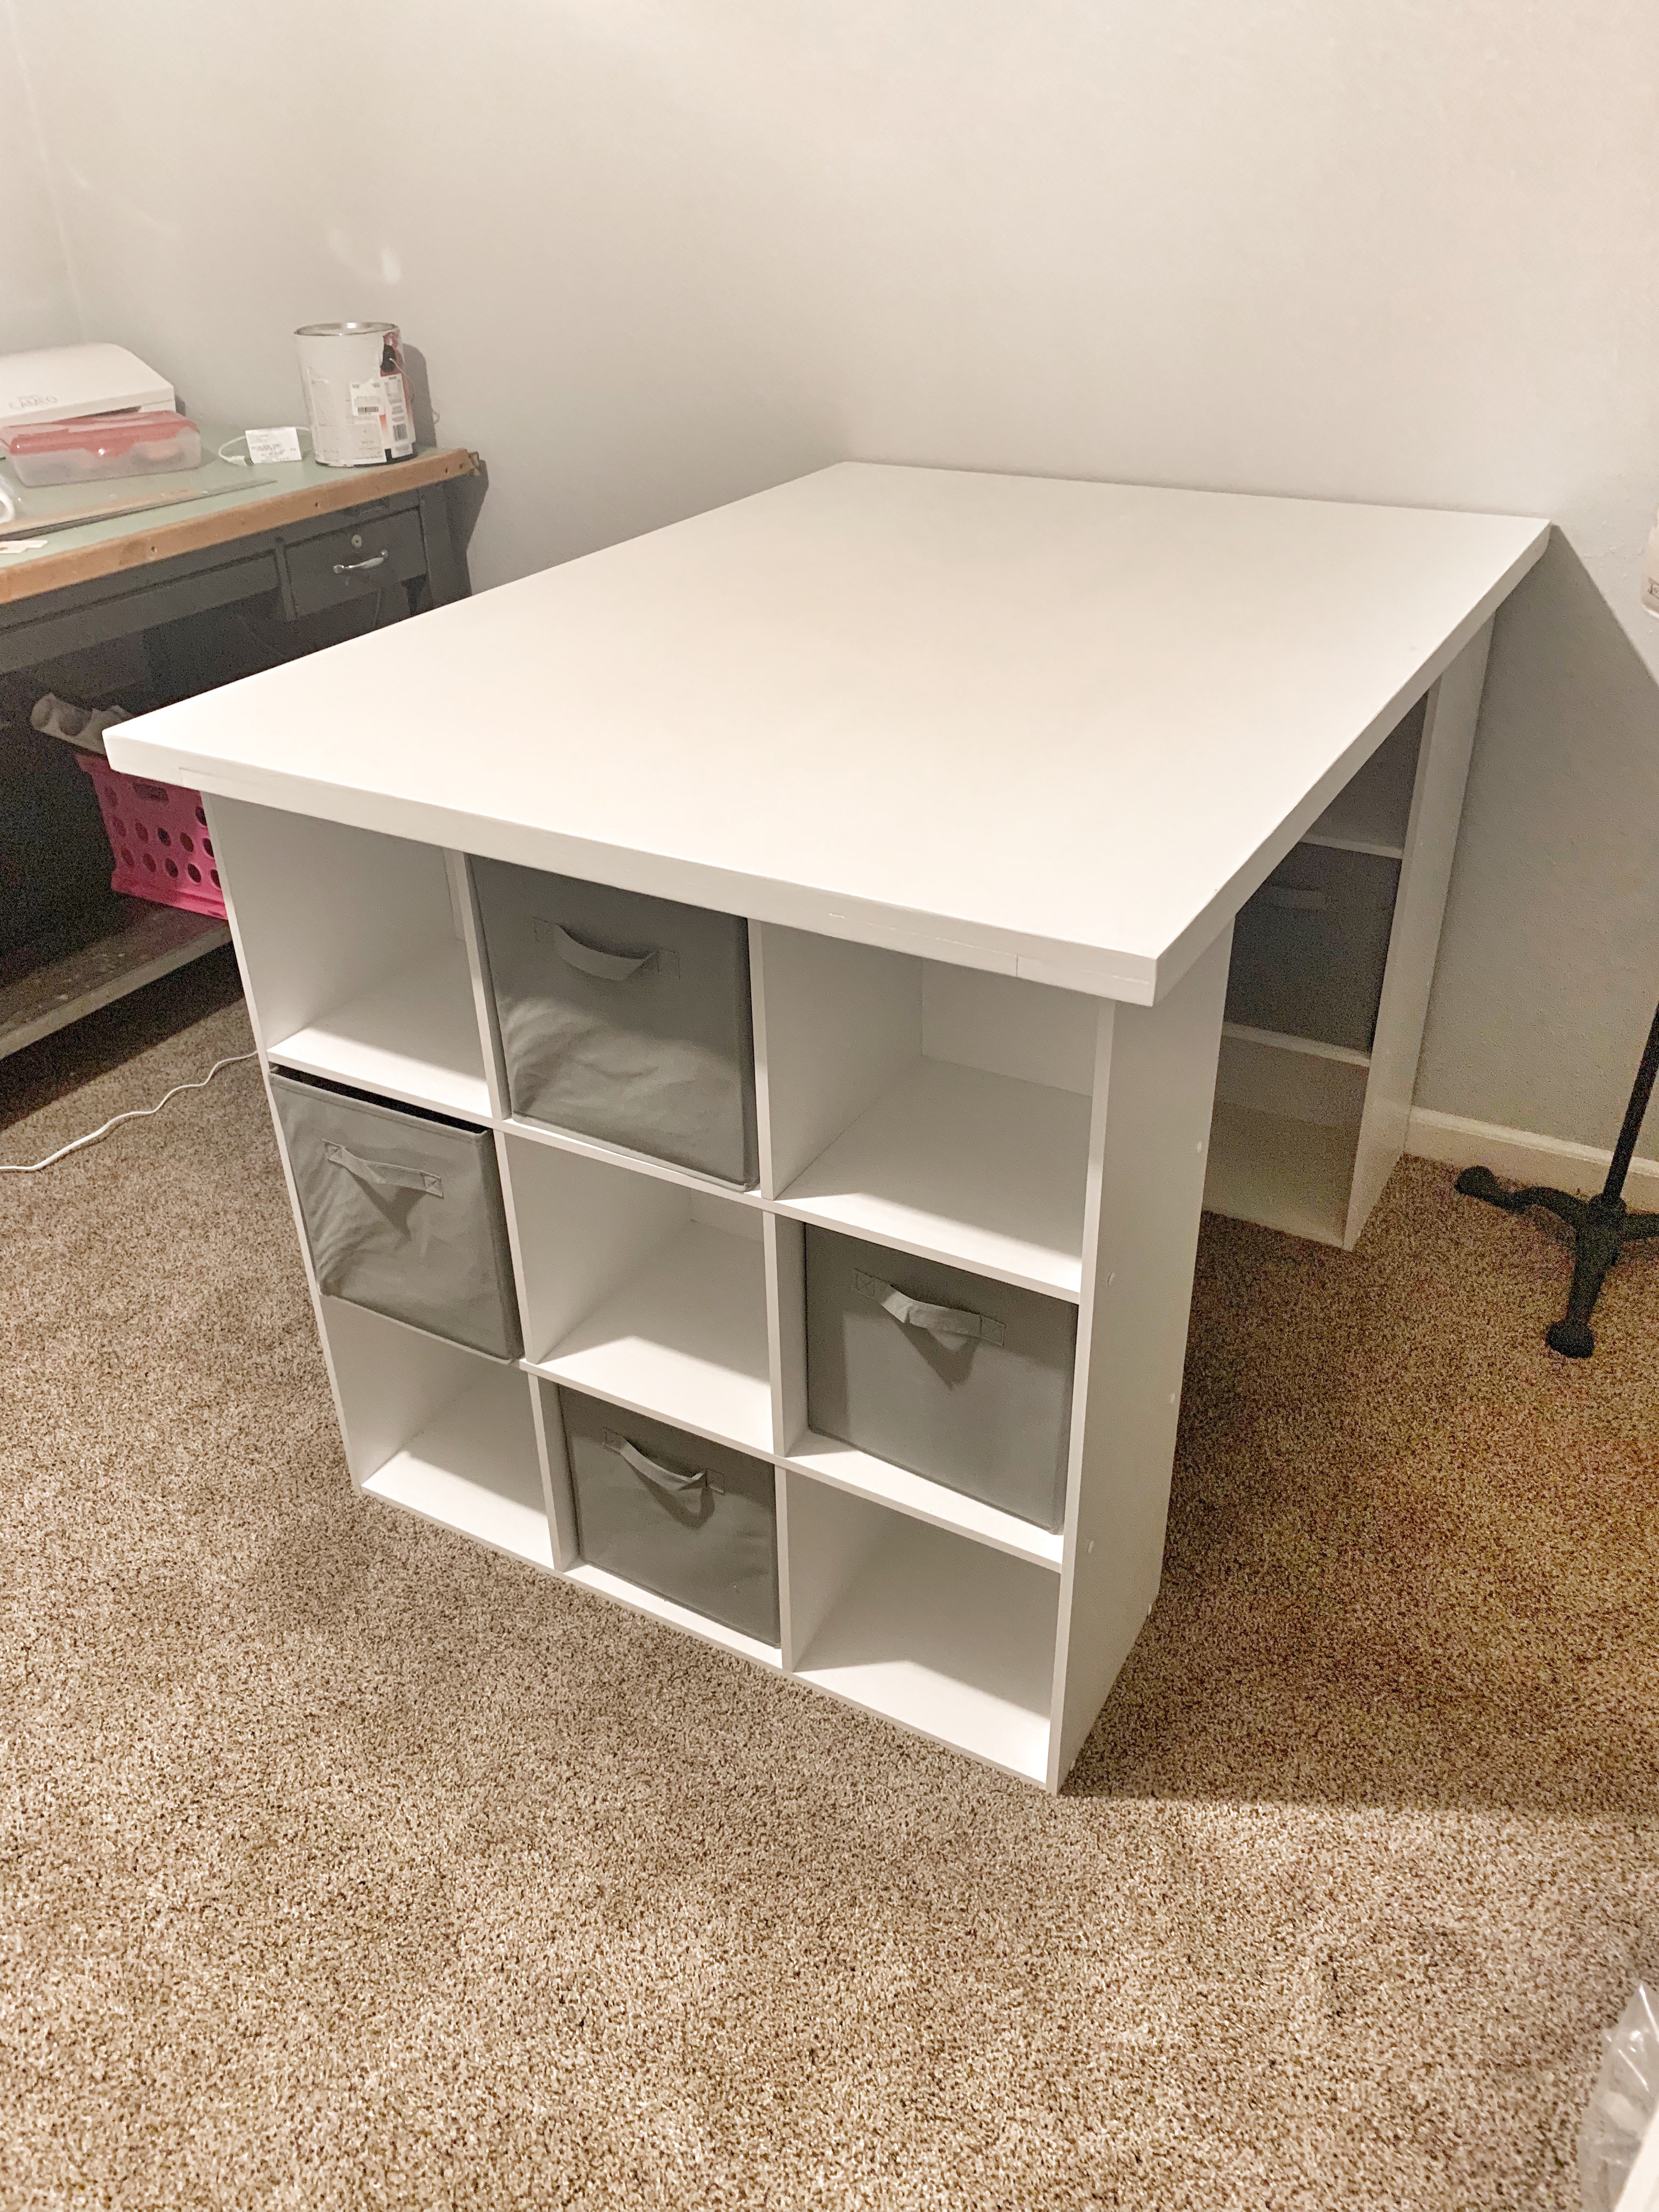
With the way the room is arranged, one side of the table is against the wall, so I made sure that cubby against the wall was facing in towards the underneath side of the table for easy access. If this were going to be an “island” I would have had the cubbies facing out.
The Top
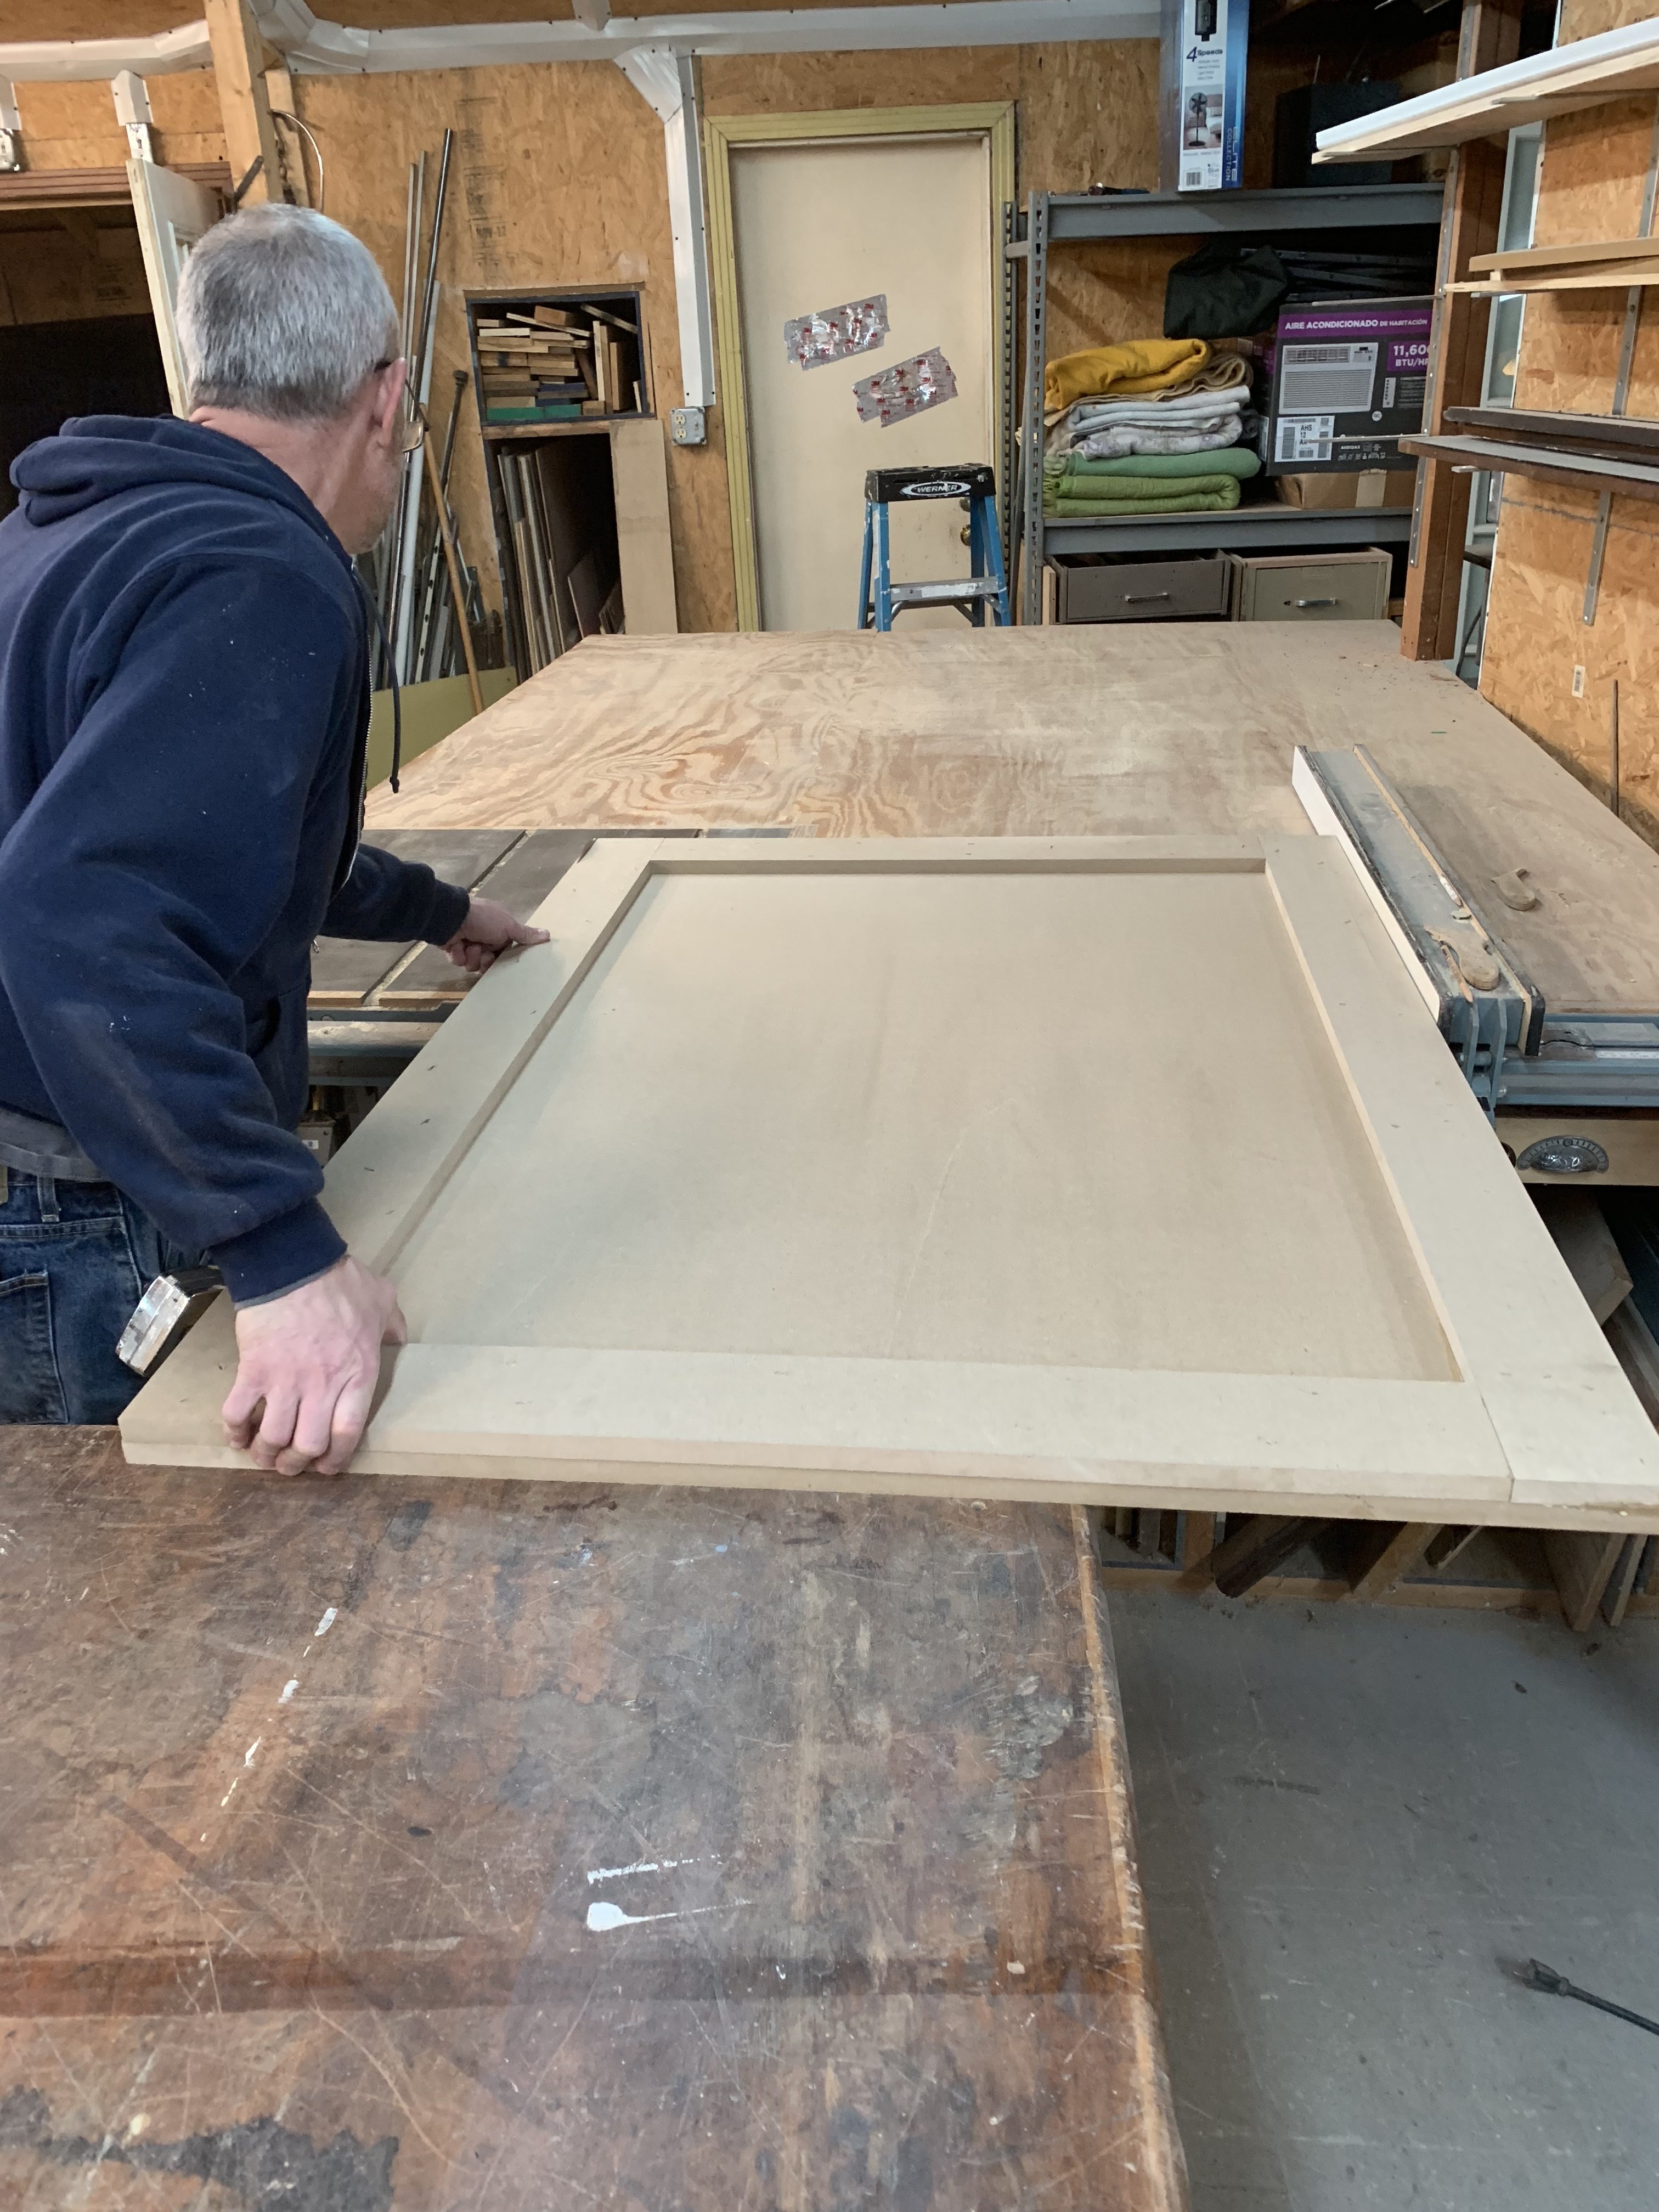
I wanted something substantial for the top, so we purchased a 4×8 sheet of 3/4″ MDF from the hardware store, and cut it to size on the table saw. I determined the width by first measuring the base which was 36″ wide, and then added a 2″ overhang on either side which made the overall width 40″. The length could be anything, and I determined it by how big the space was, which I measured and came up with 54″.
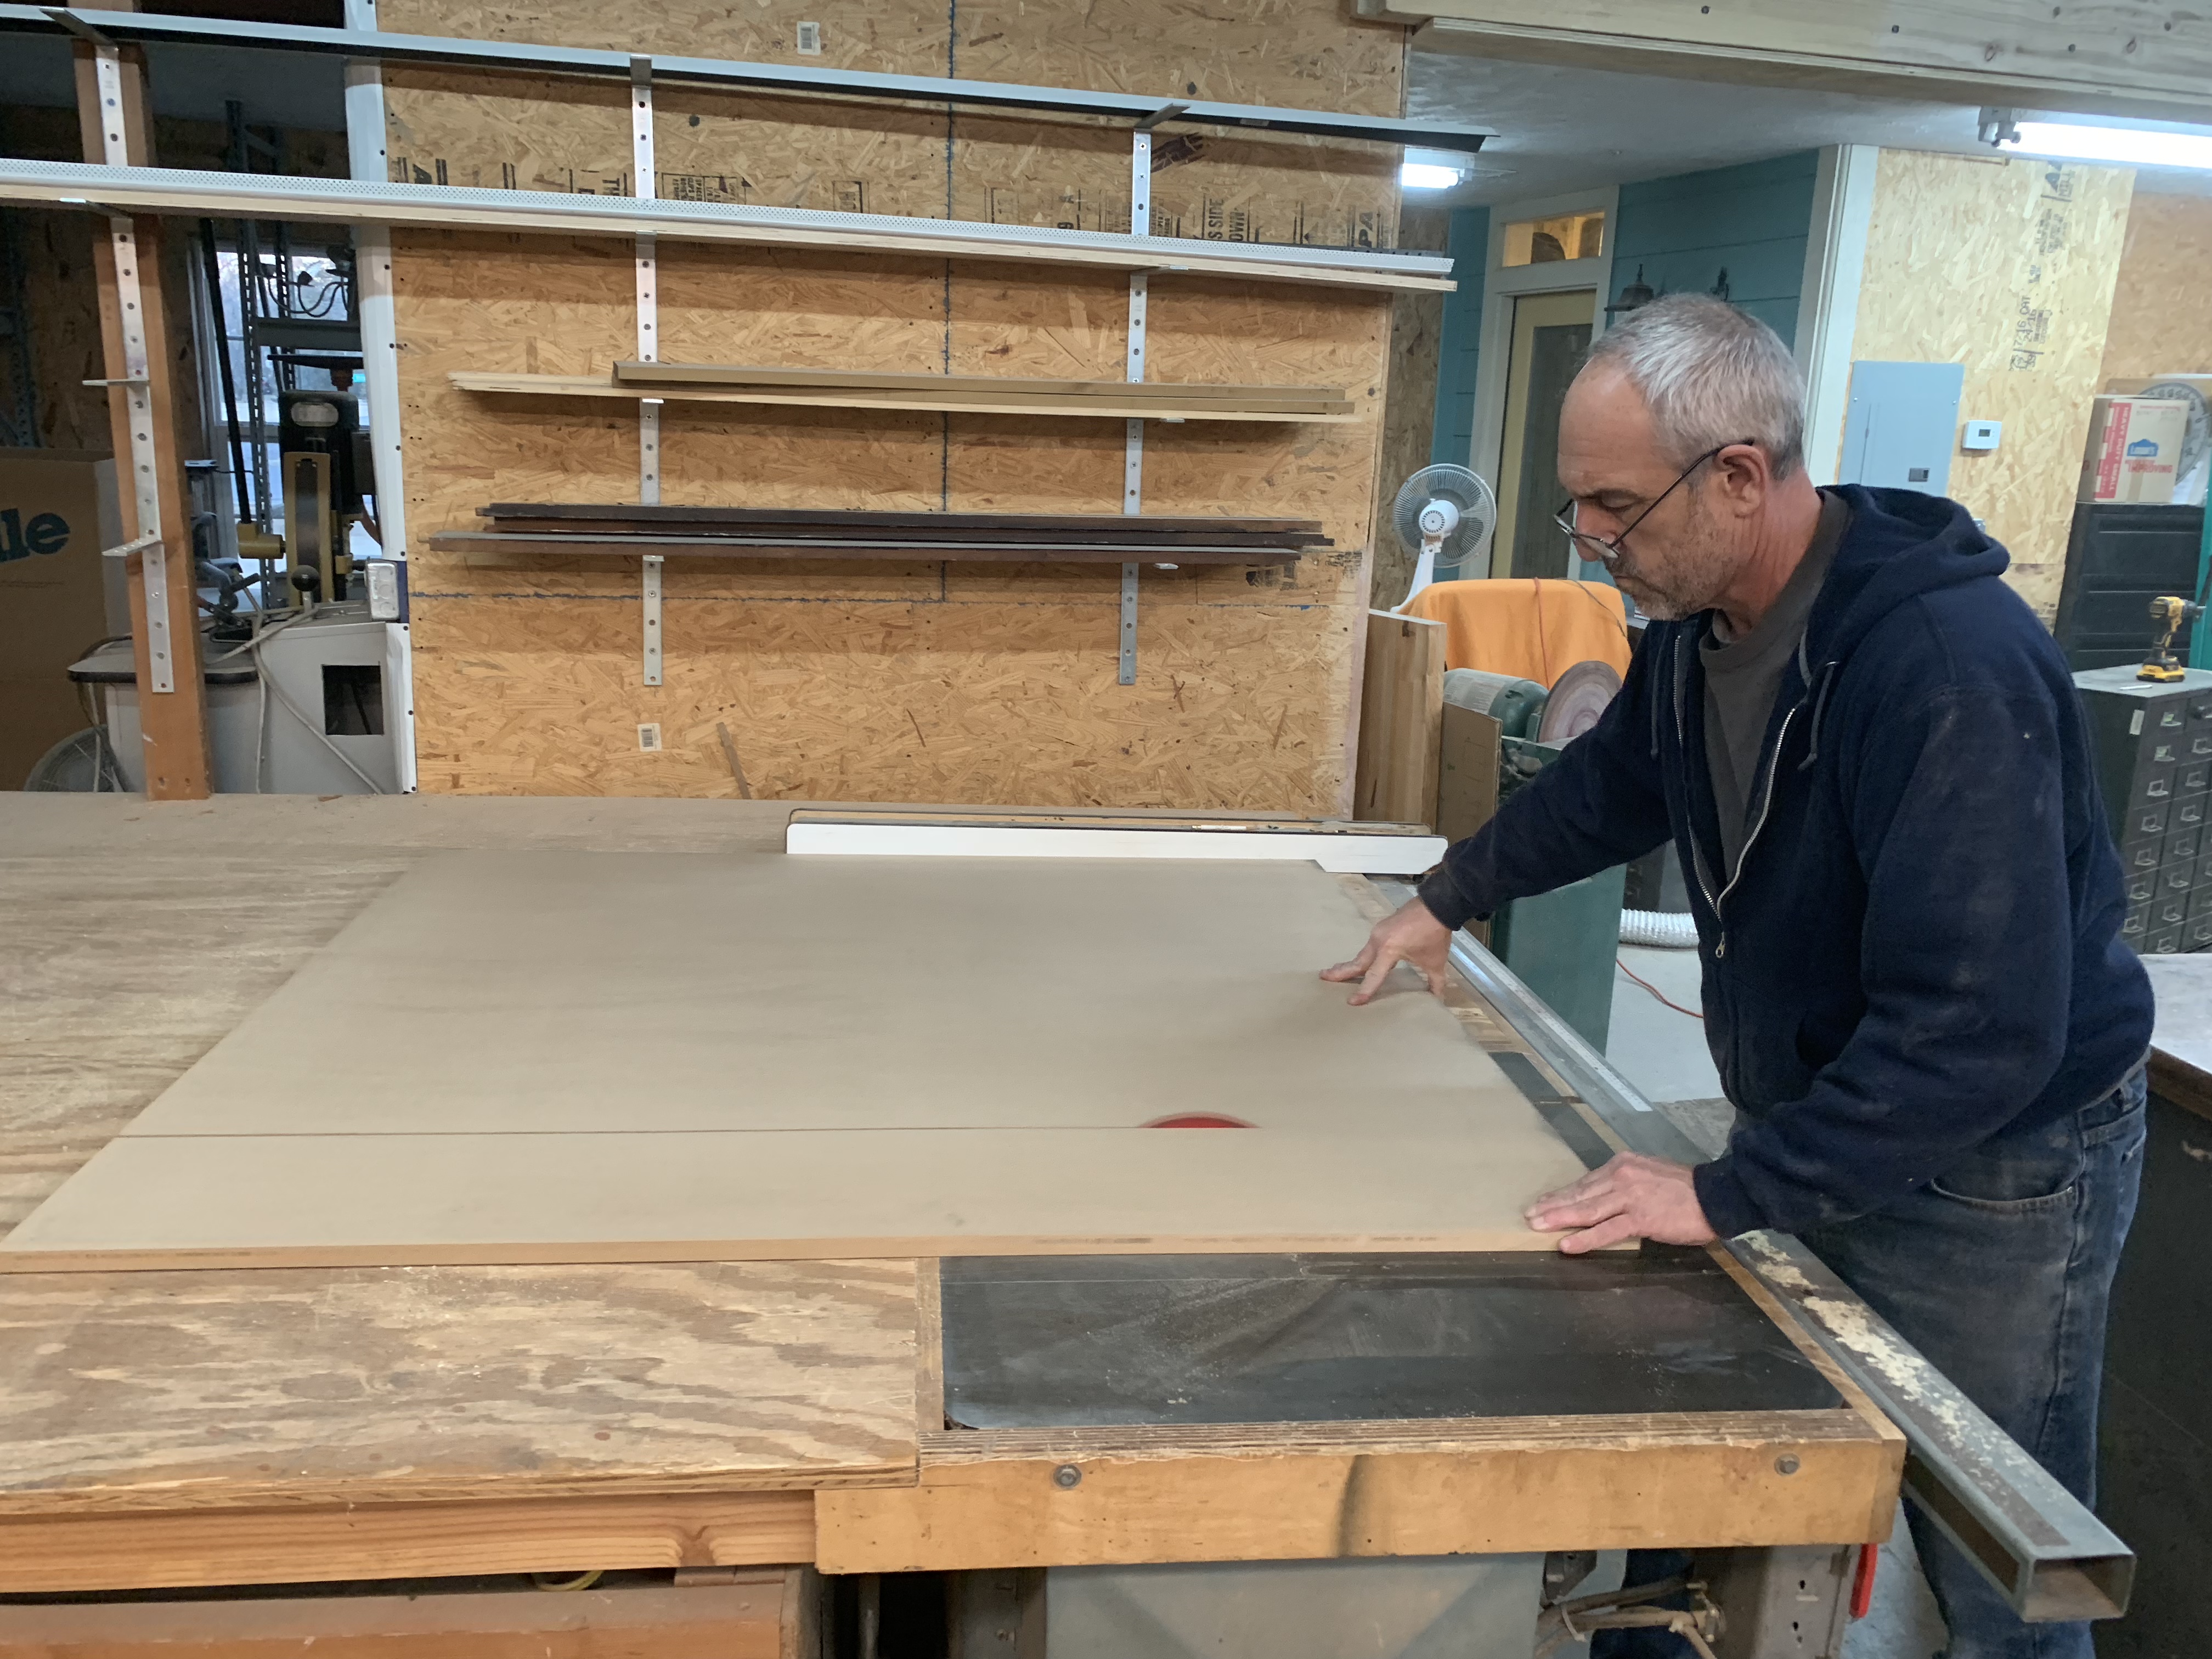
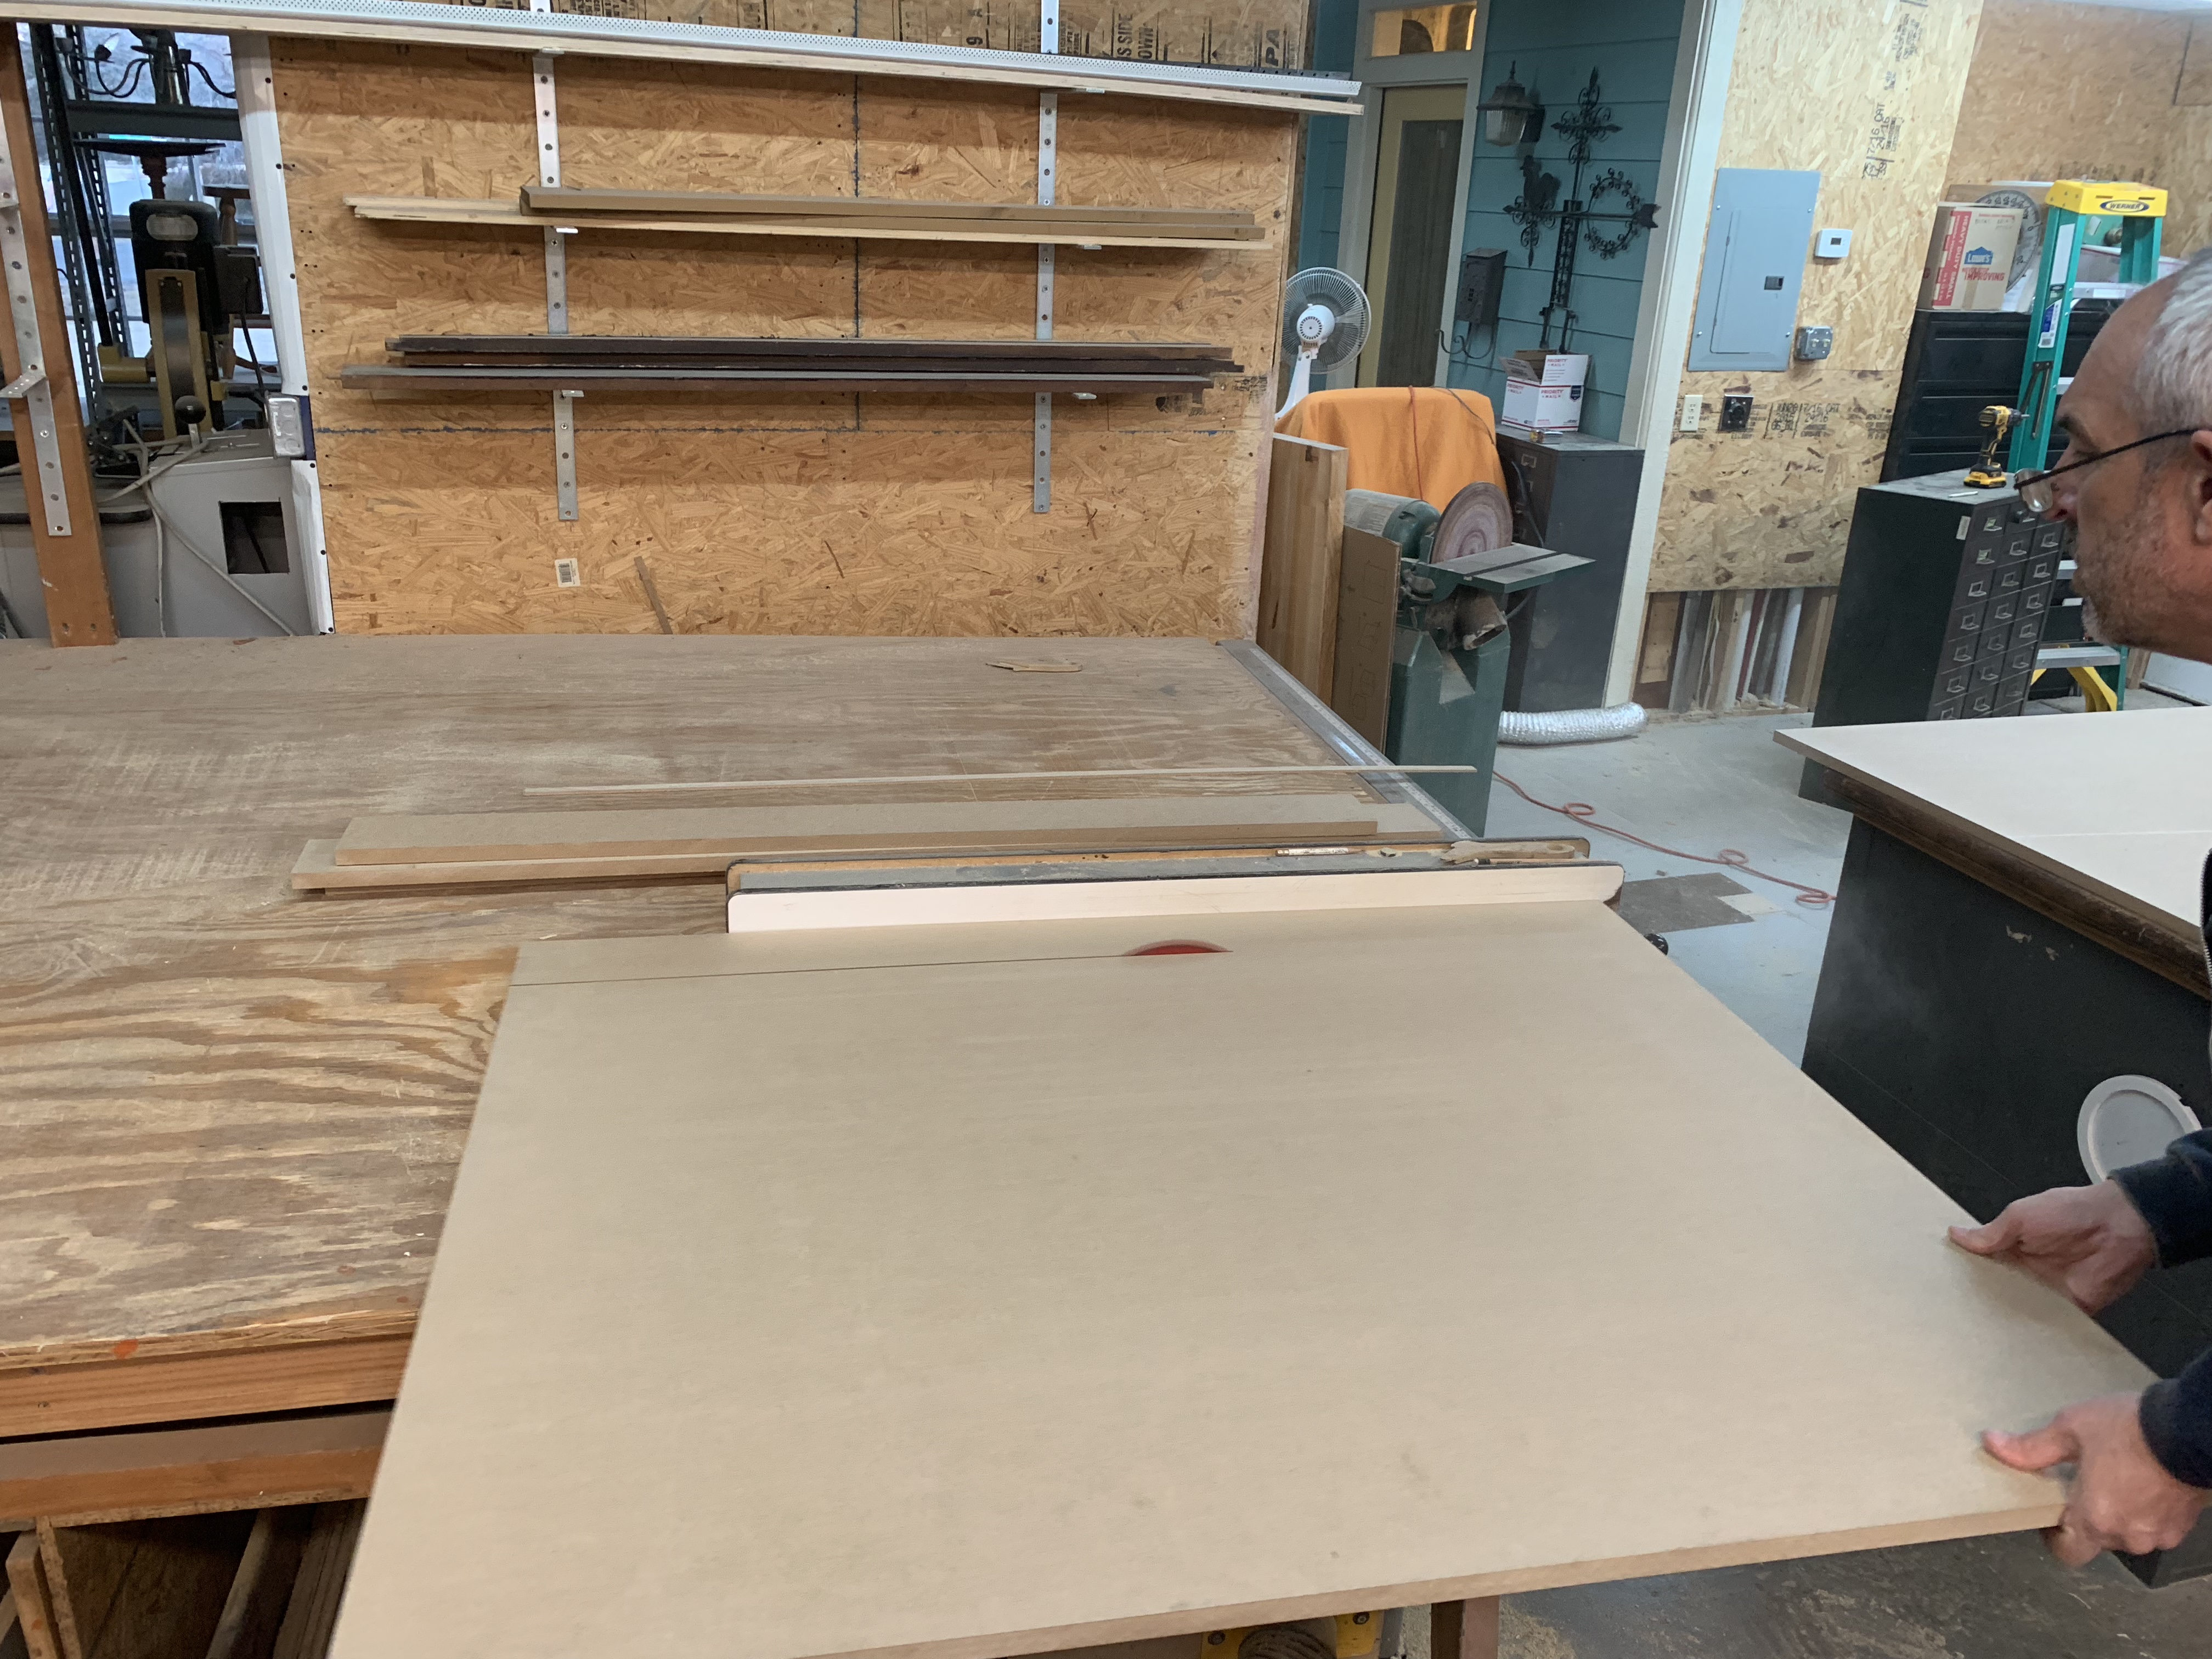
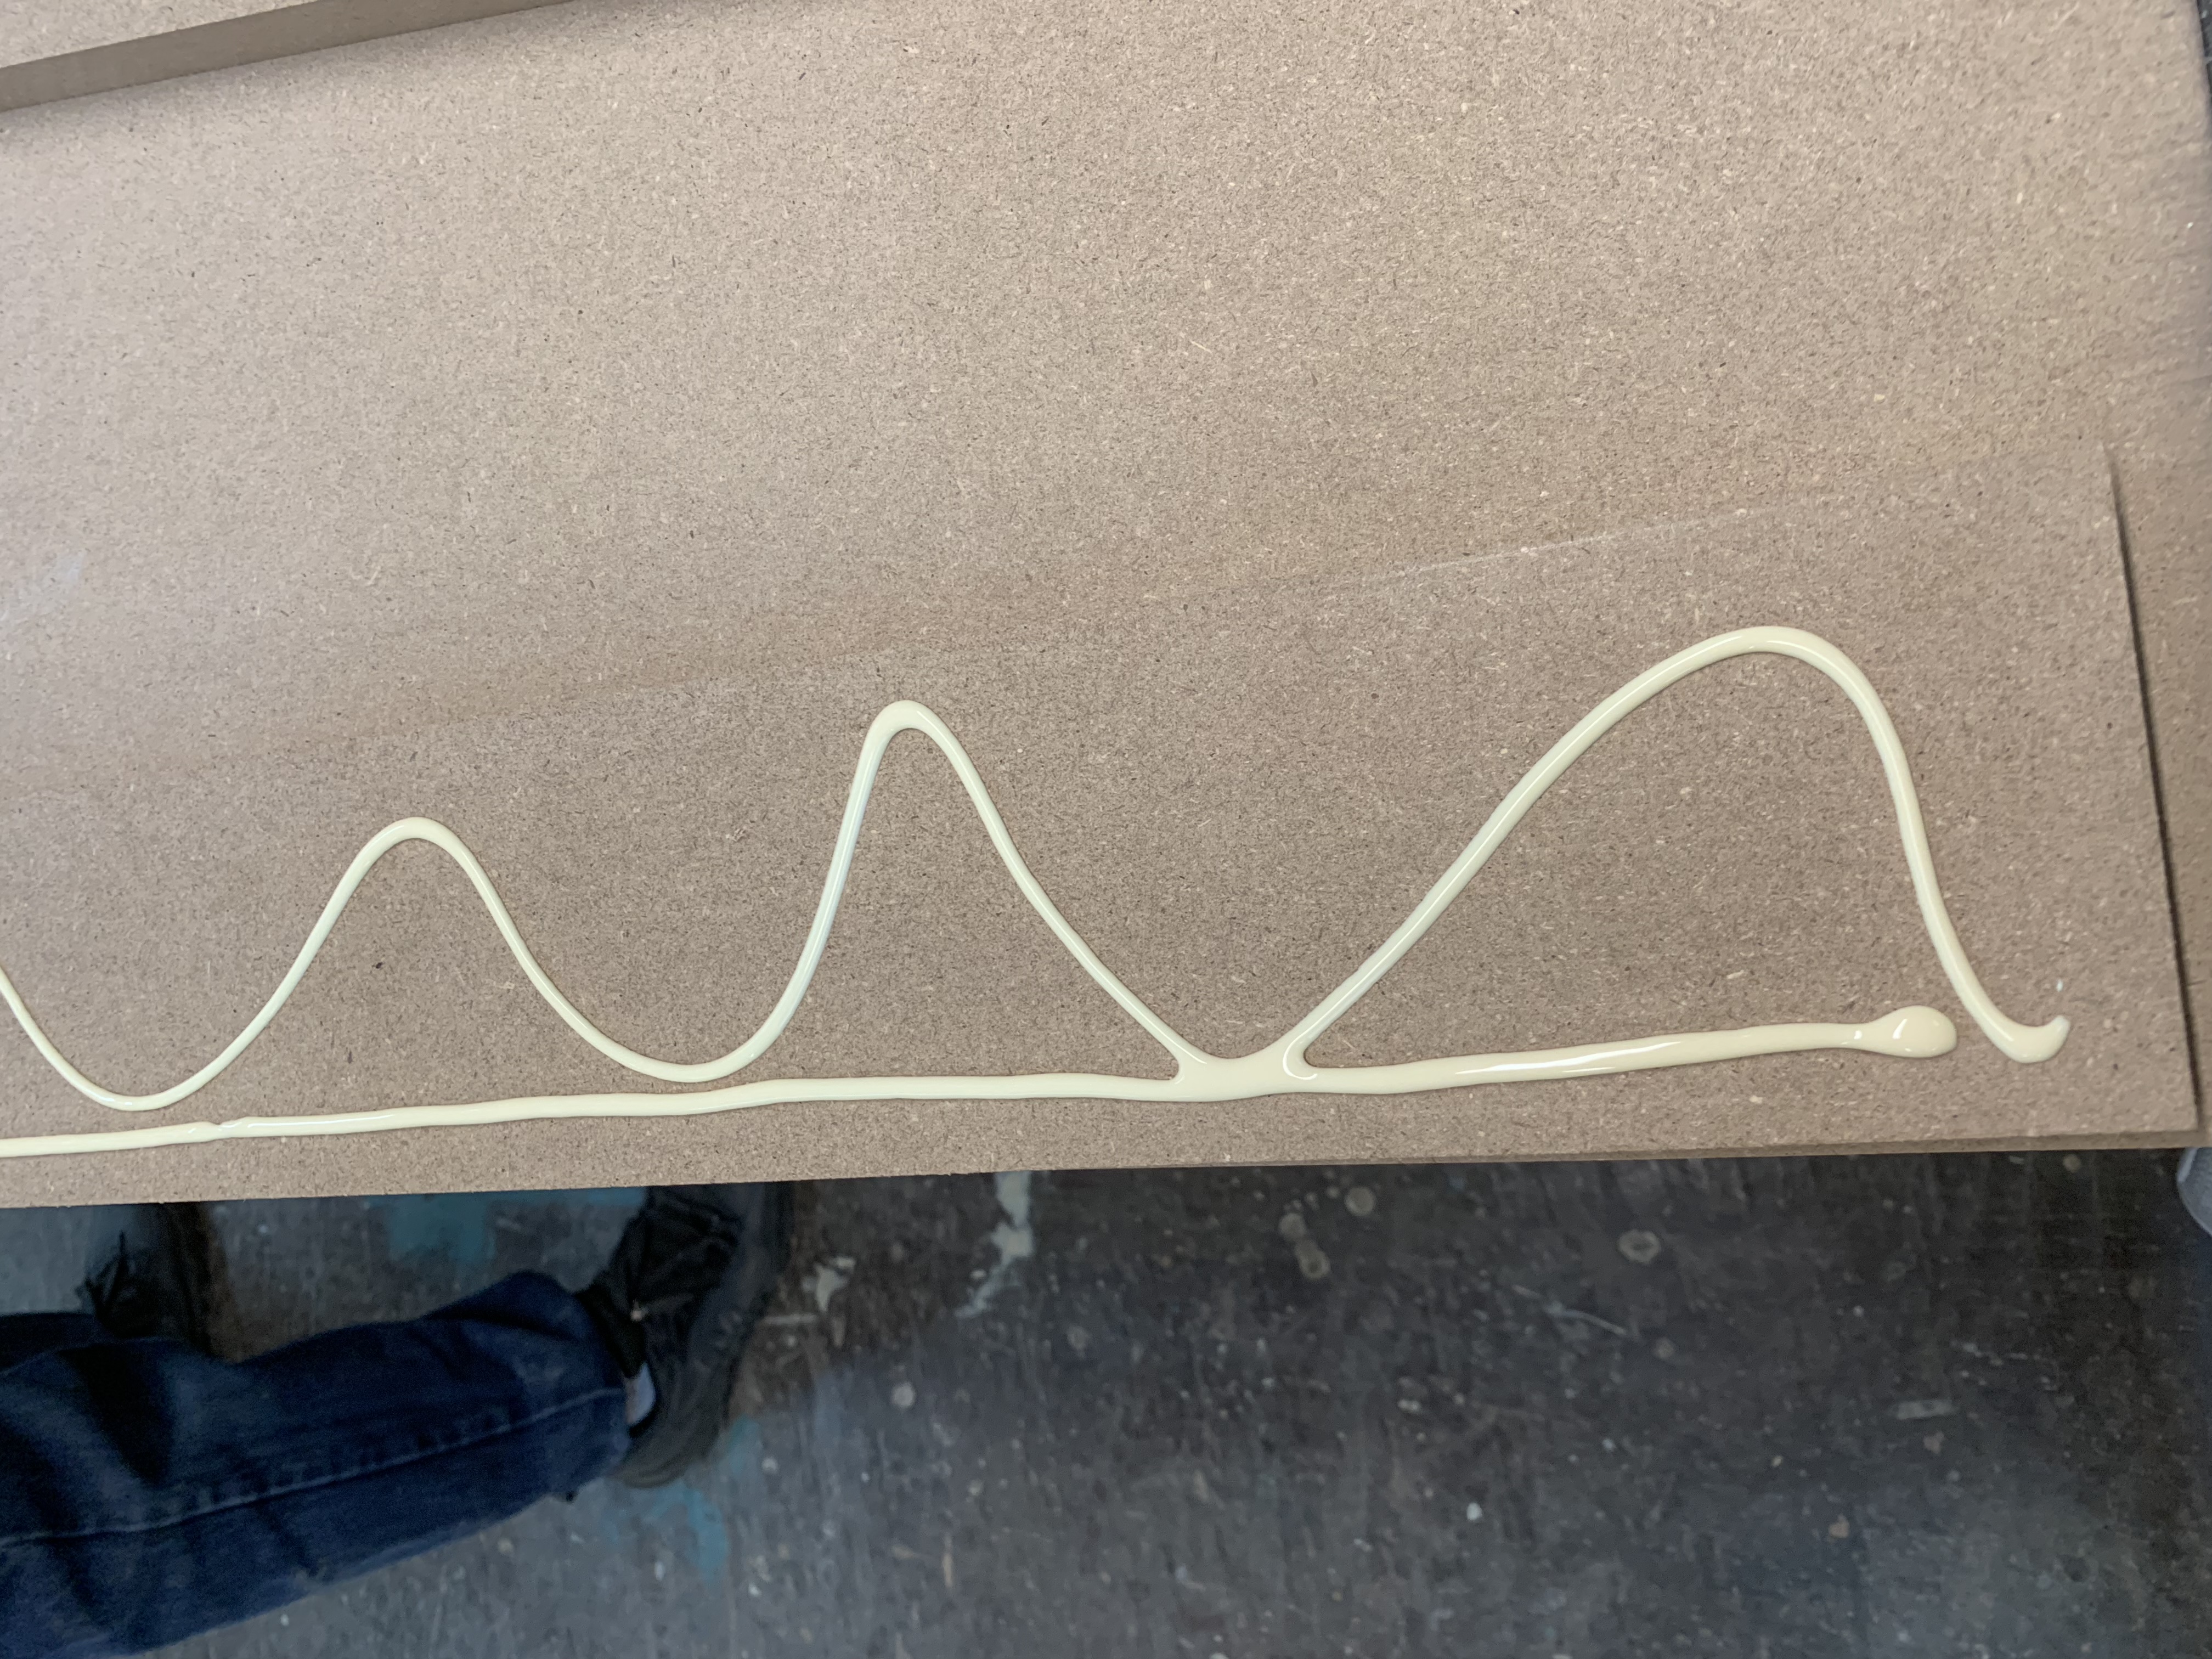
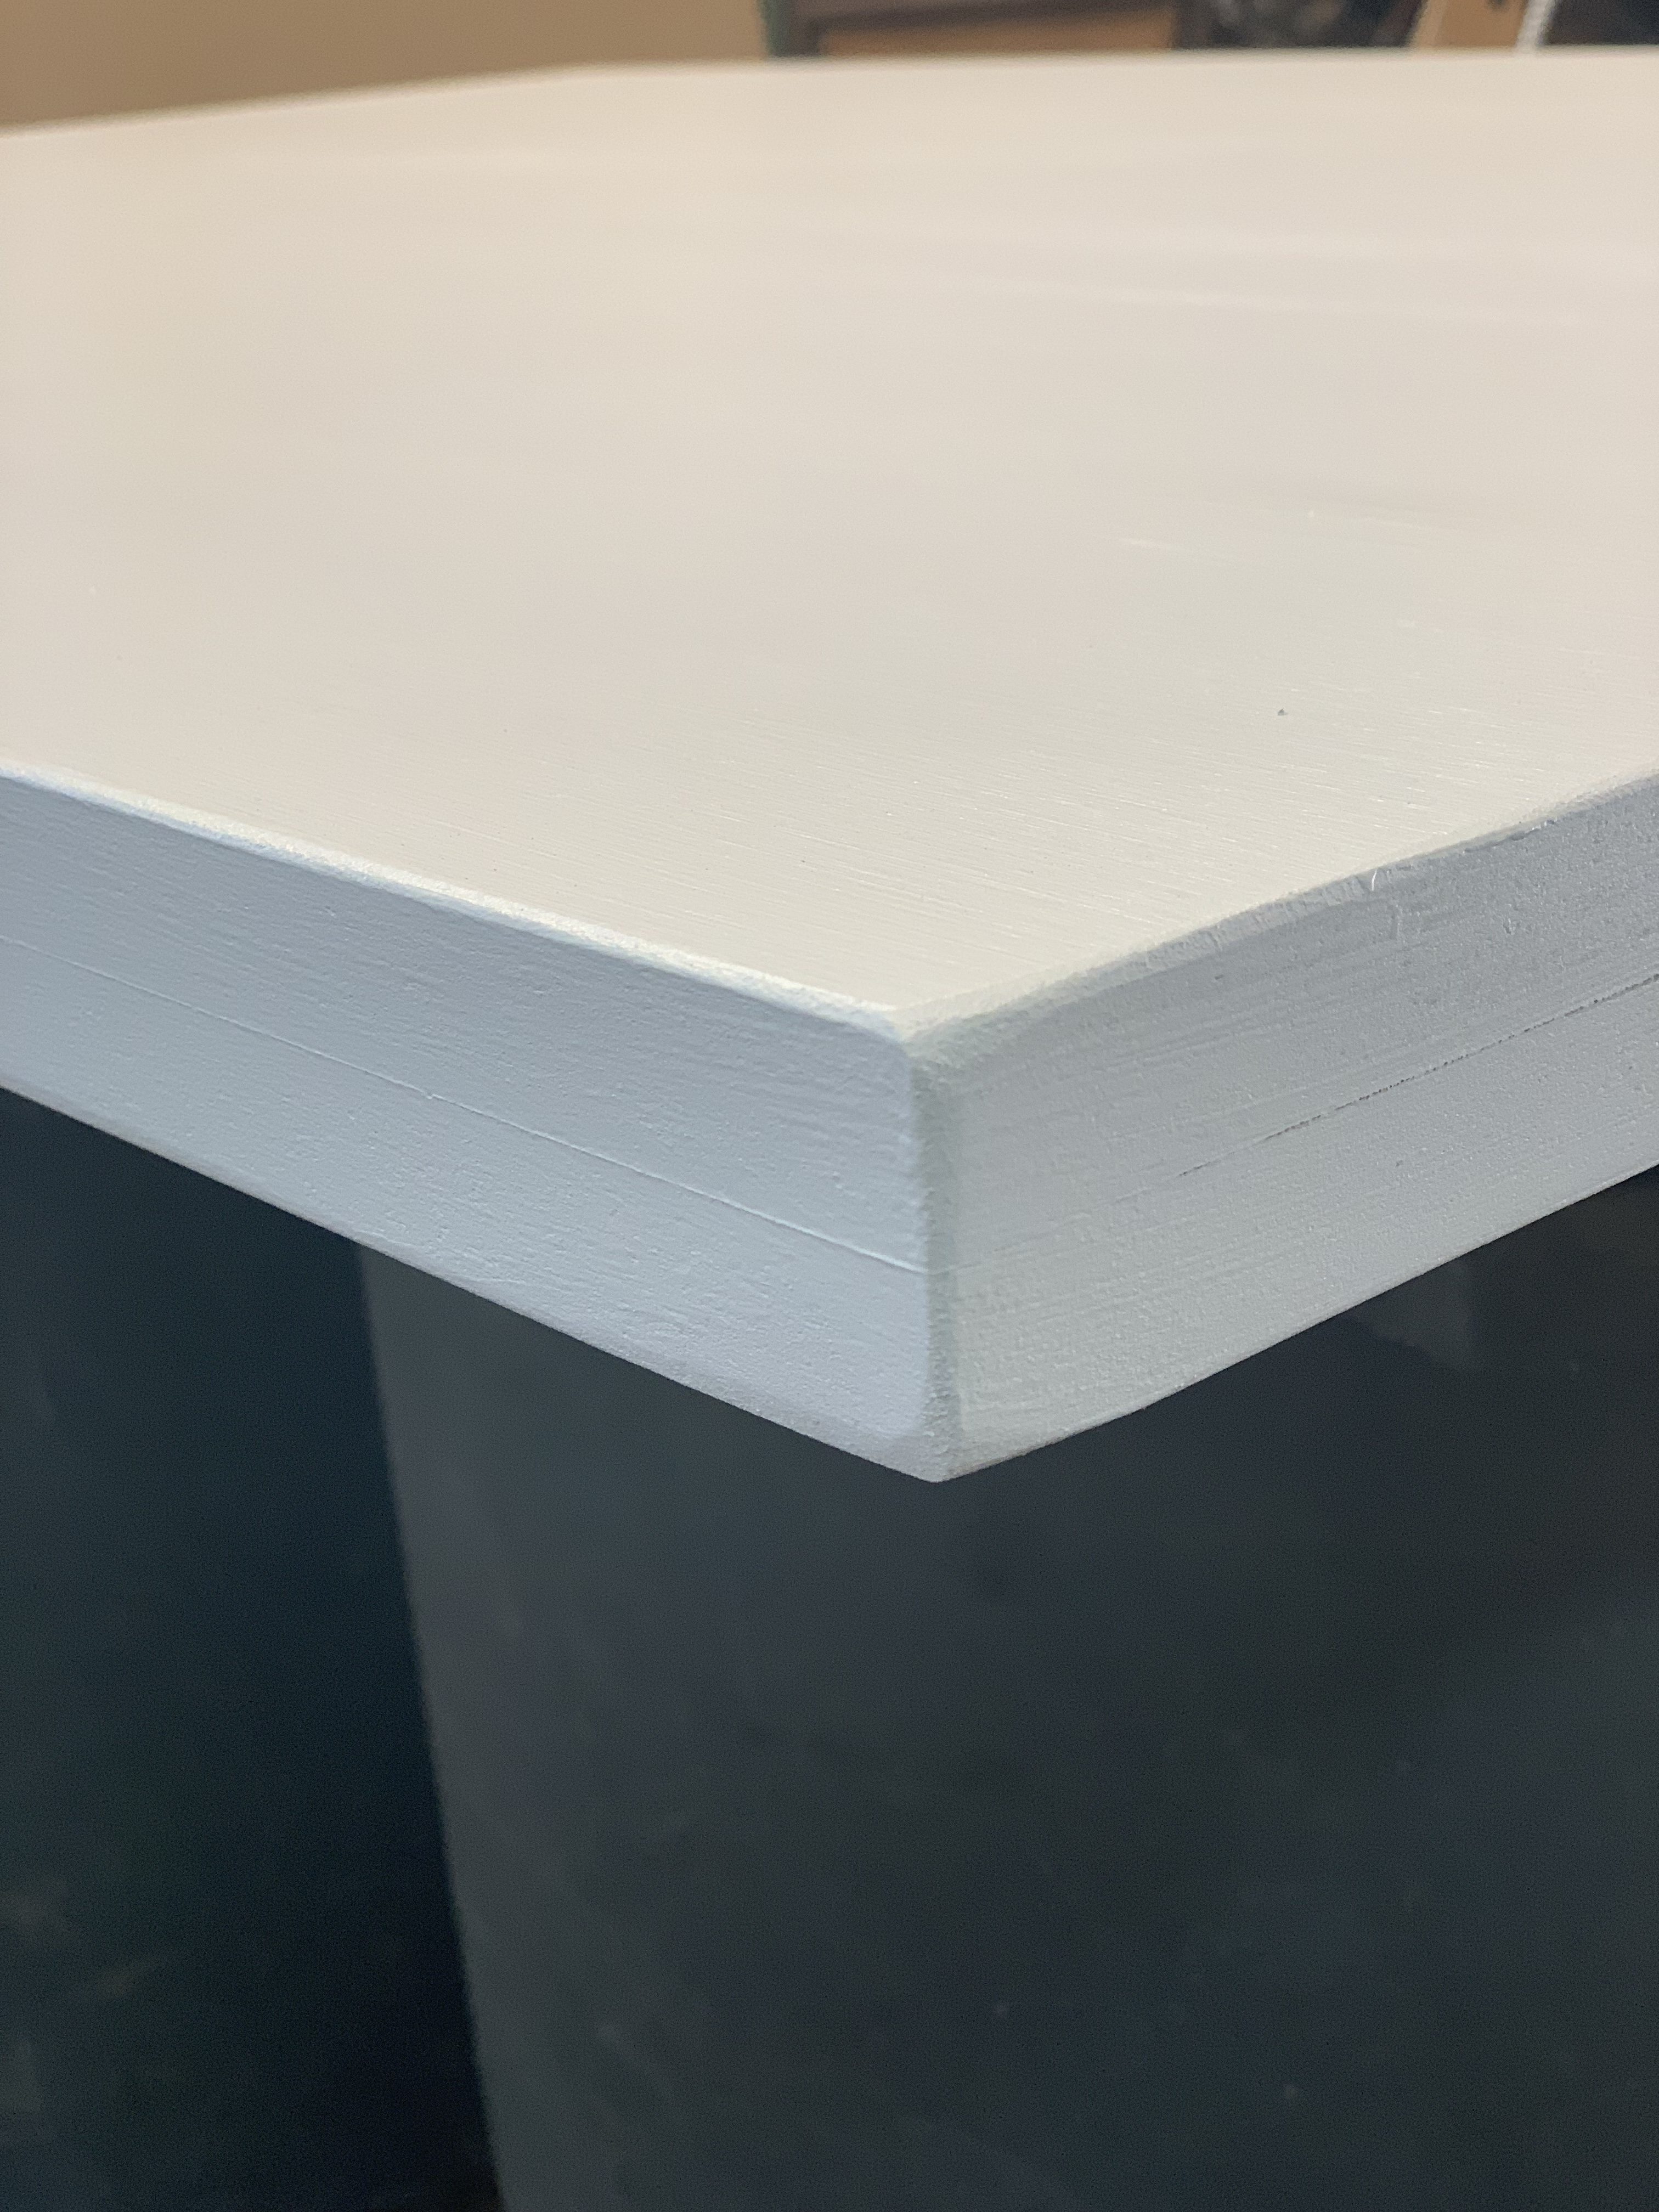
Once we had the top cut to length and width, we cut 4″ strips to go along the bottom edge out of the leftover MDF to add strength and thickness. We attached these using wood glue and 1 1/4″ staples through the bottom. We then ran it through the table saw again to make sure the edges were flush.
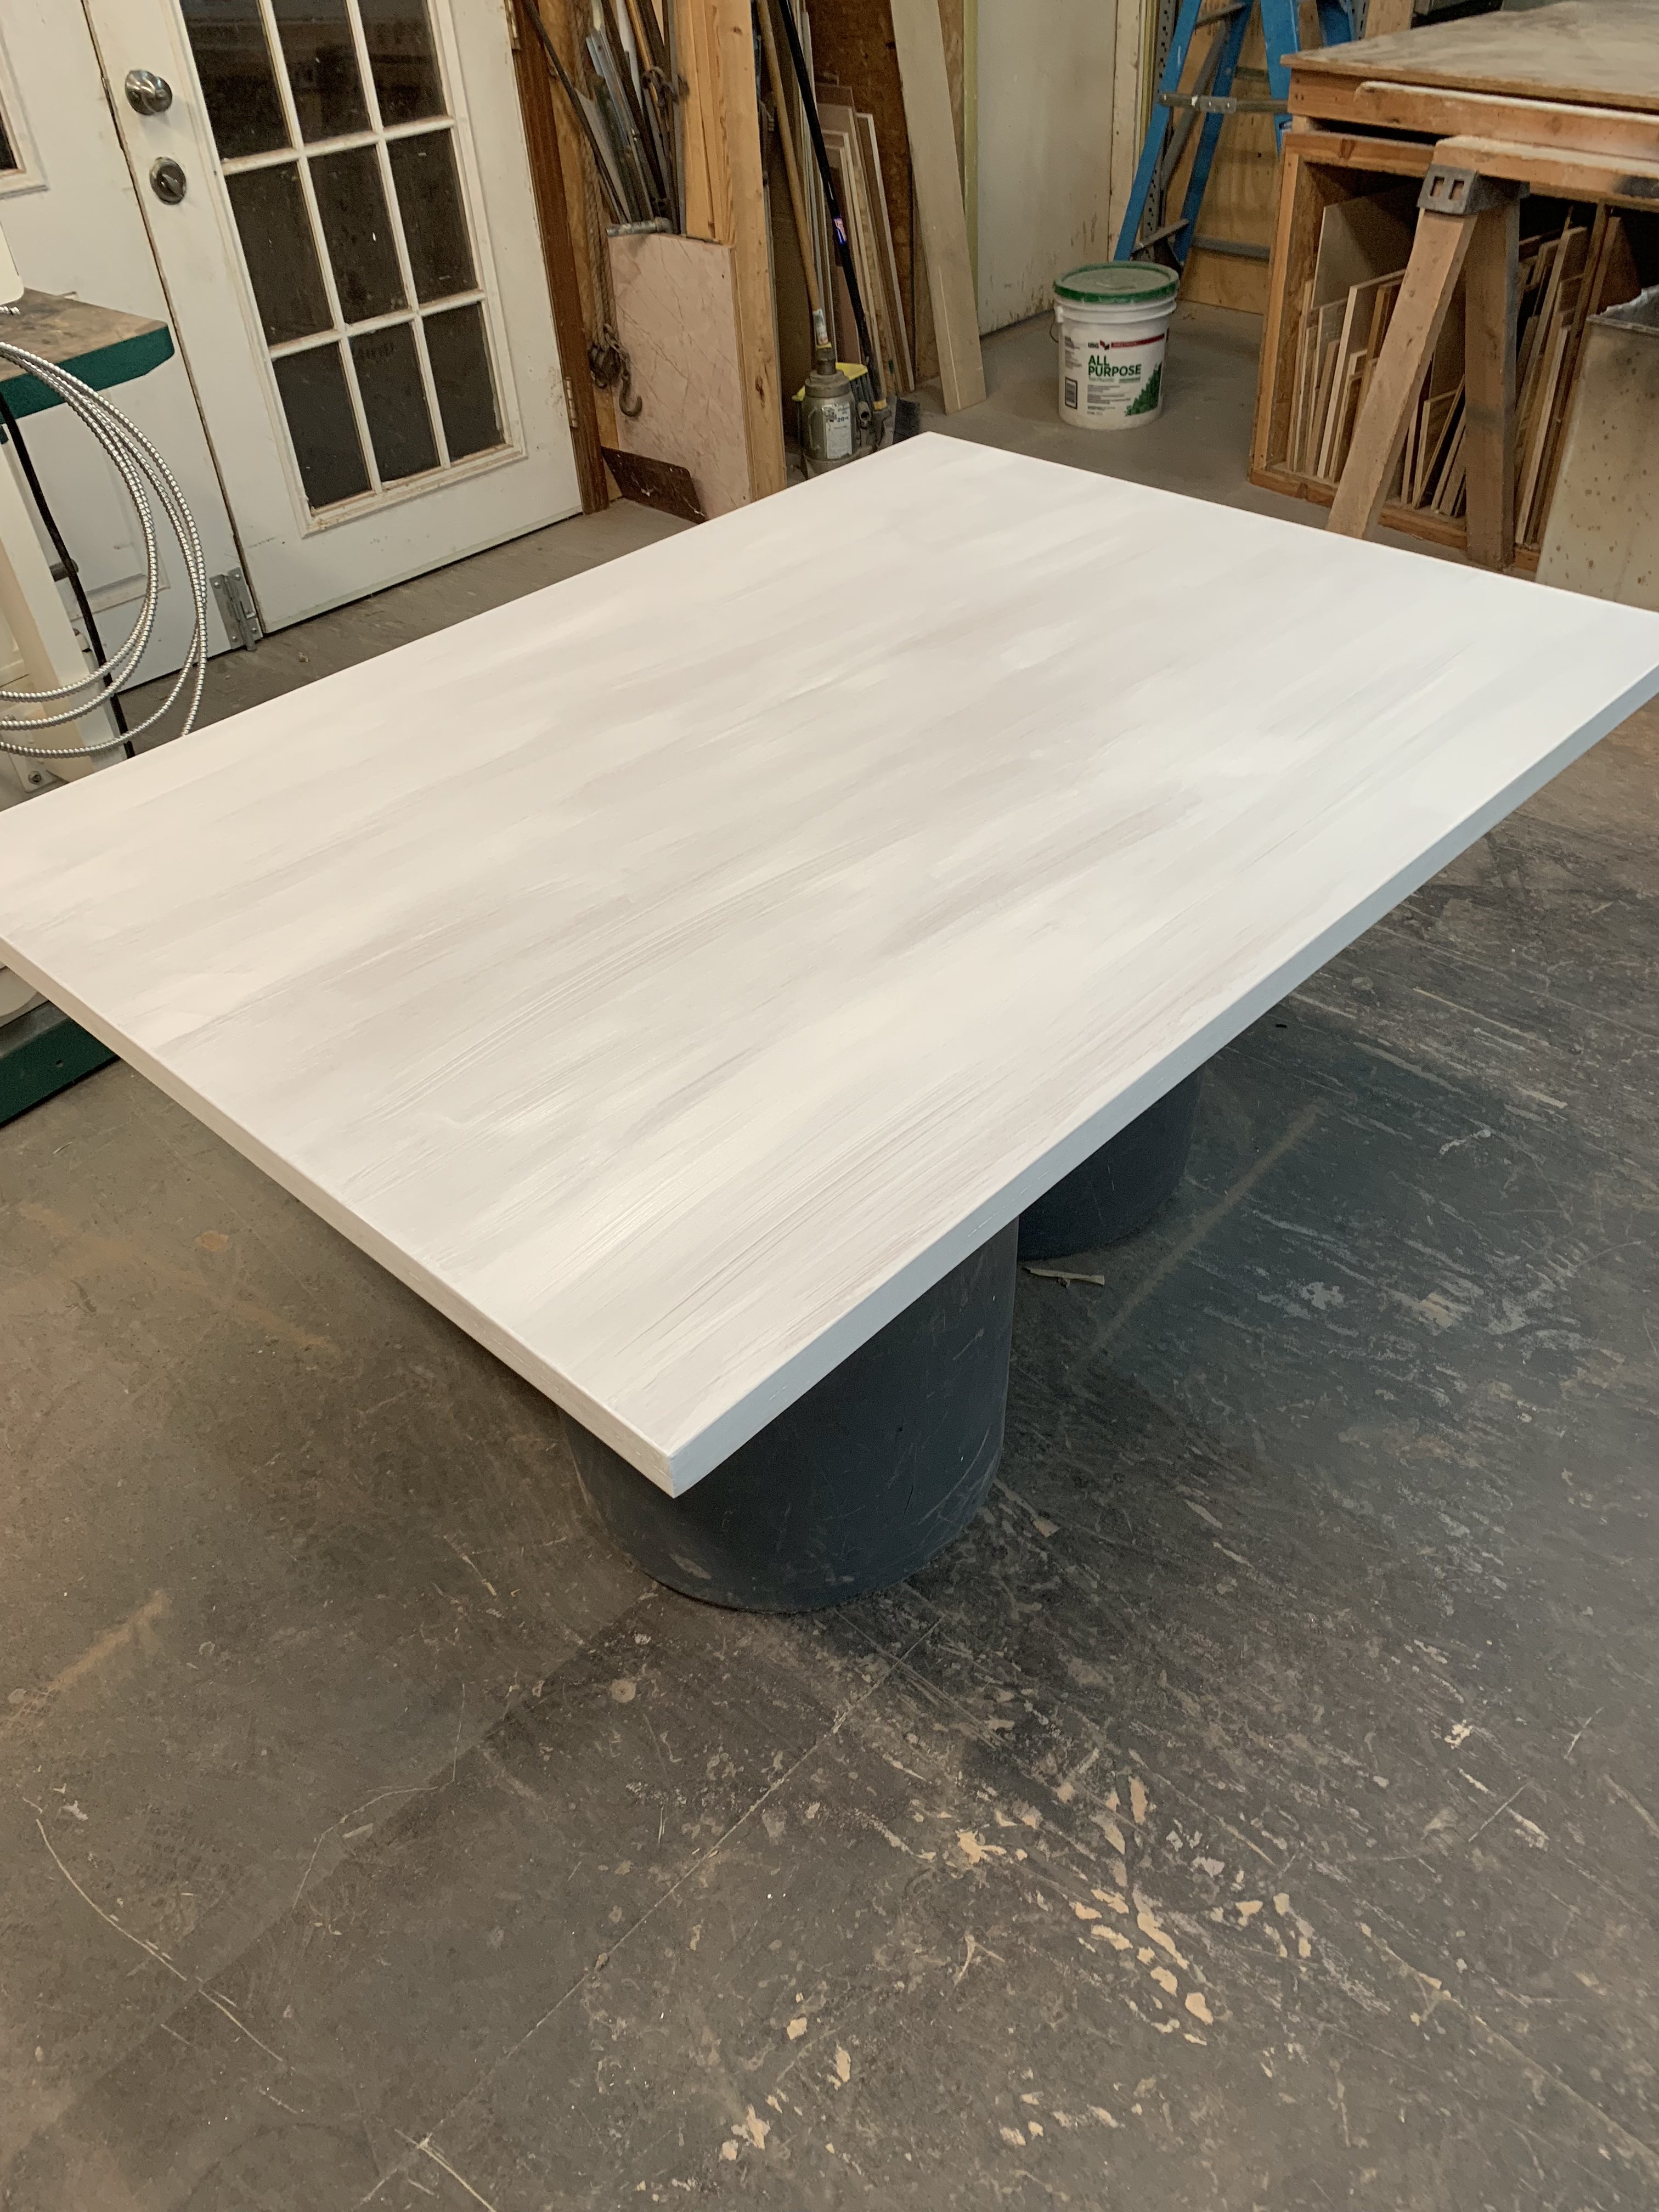
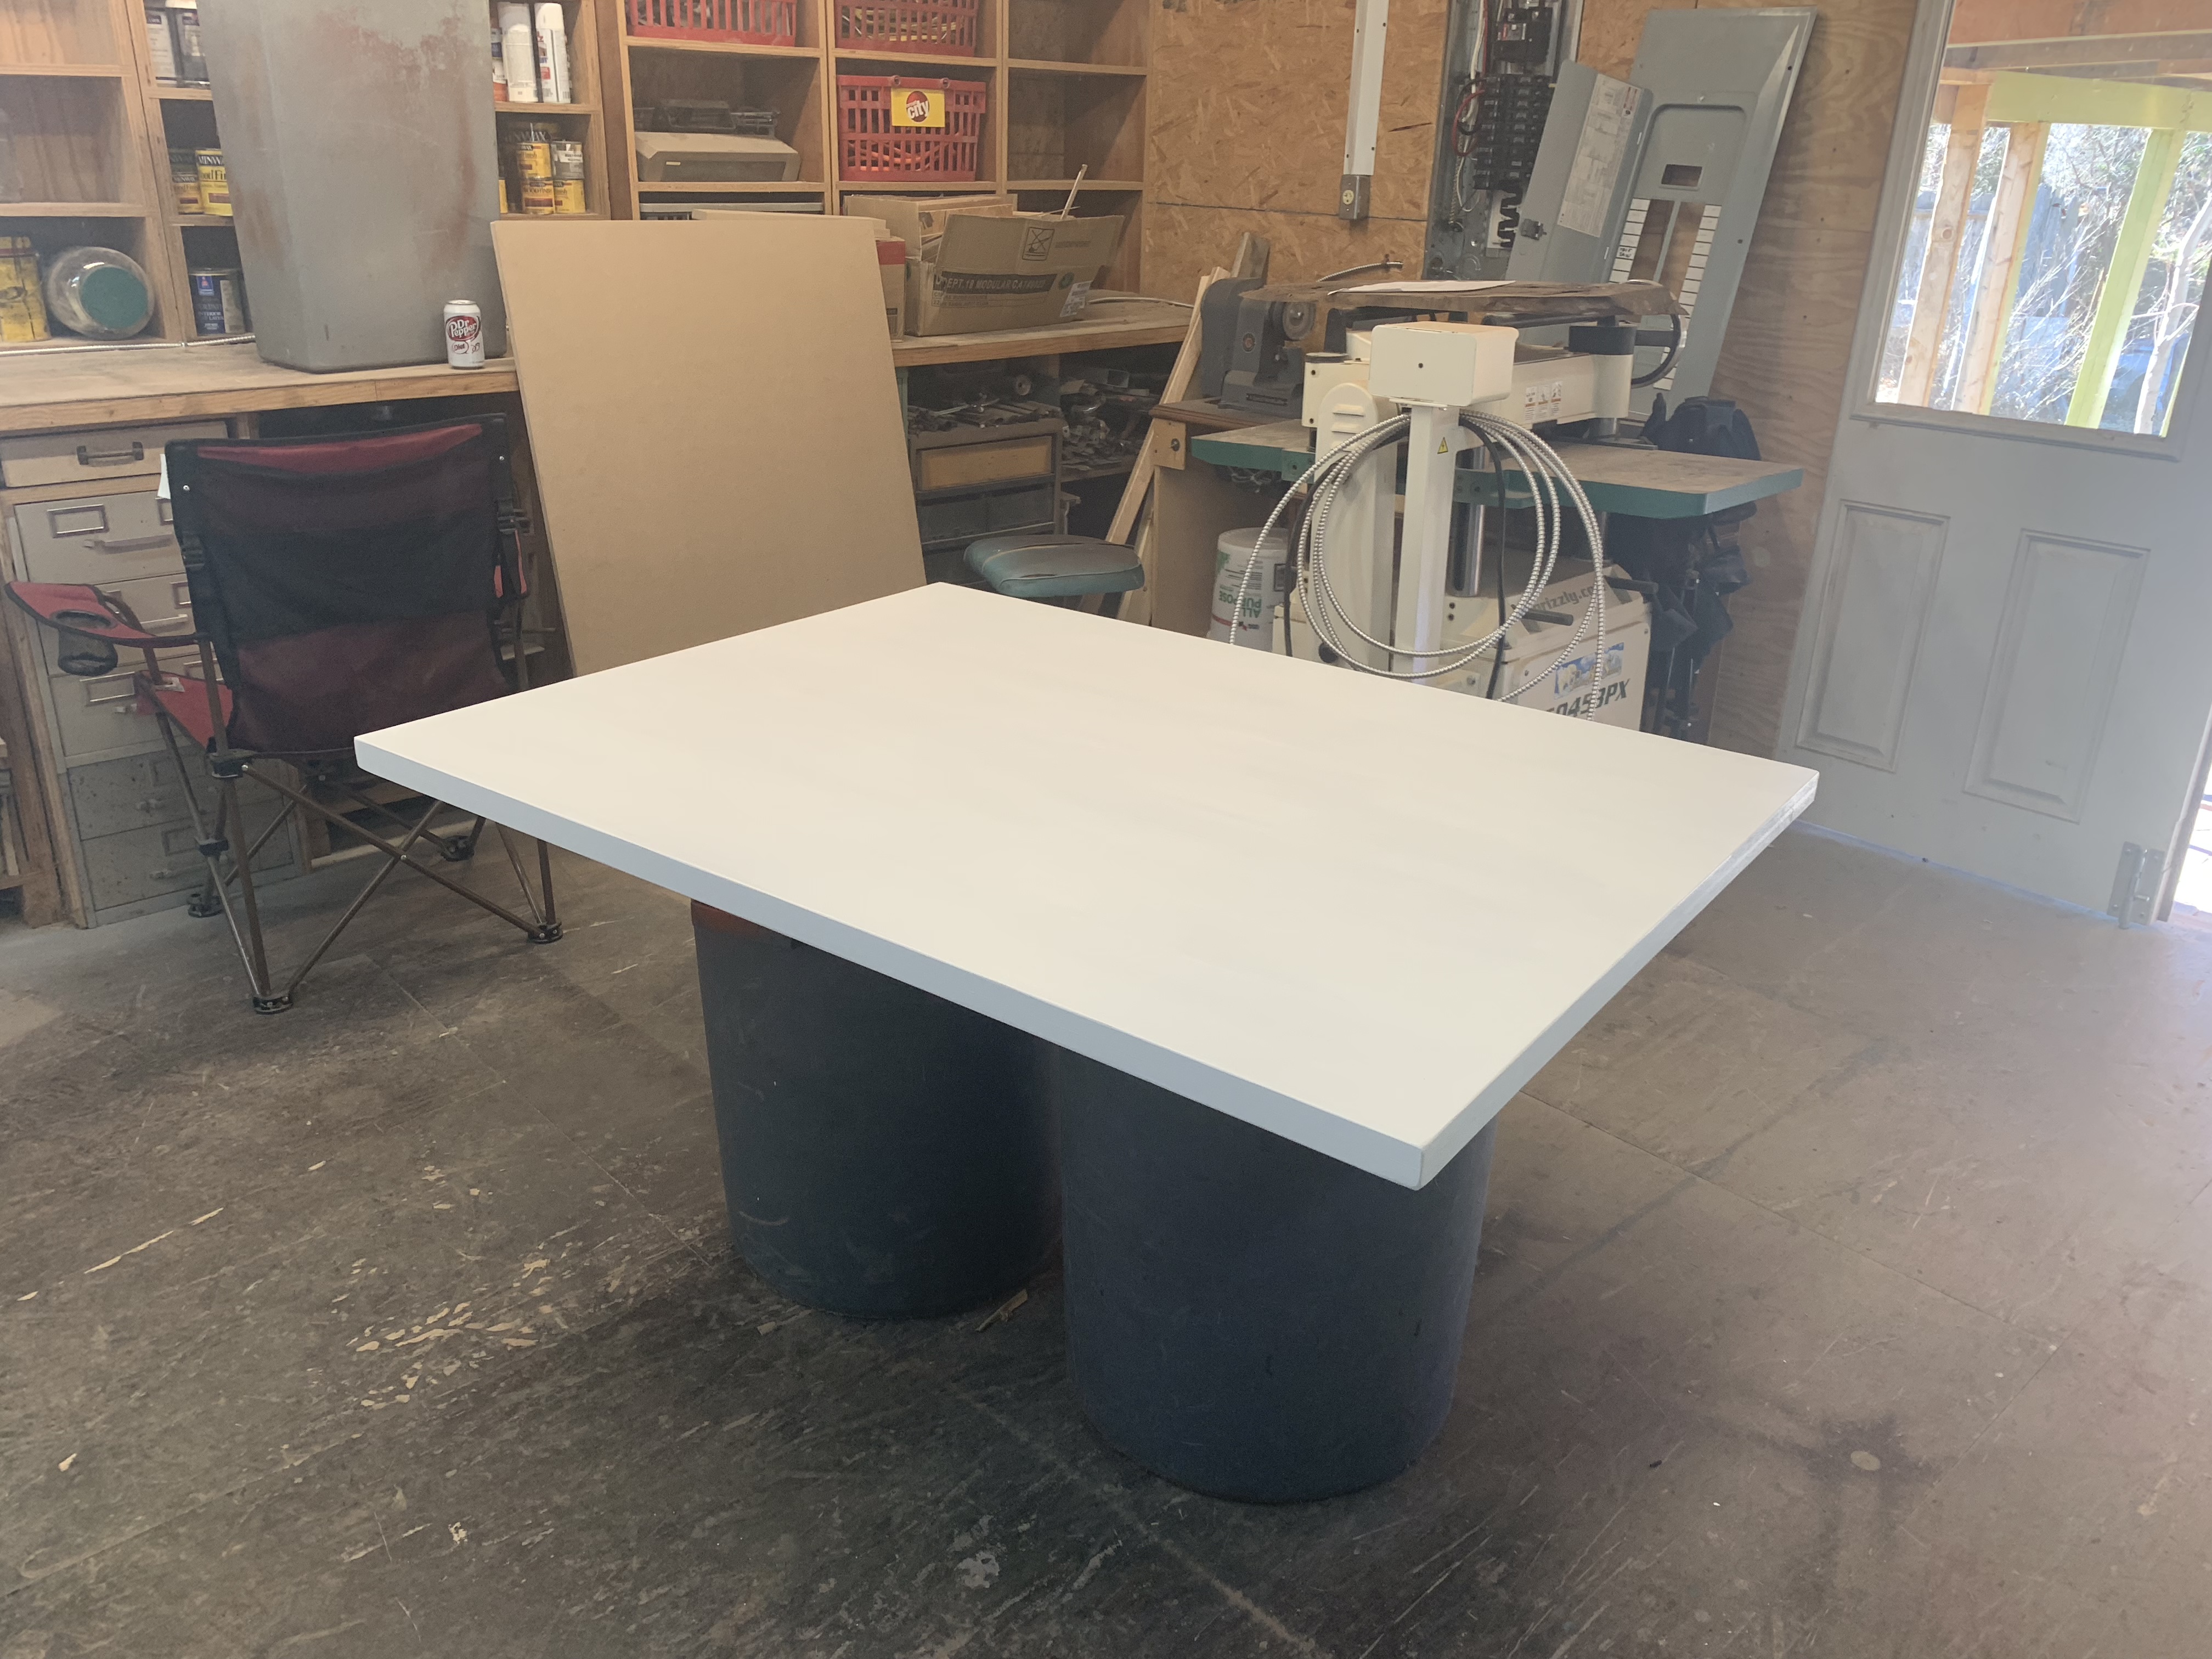
After sanding the edges to make them smooth, I painted the whole thing with a white paint and primer in one, which took a total of three coats. I painted only the bottom edges, and left the rest of the bottom unpainted. After the paint was all dry, I applied a matte clear coat to seal everything. I did two coats of this to even out the finish.
Assembly
When we placed the top on the base, we measured on both sides of each cubby to make sure they had a 2″ overhang, and positioned the one facing out to have a 2″ overhang on the end as well.
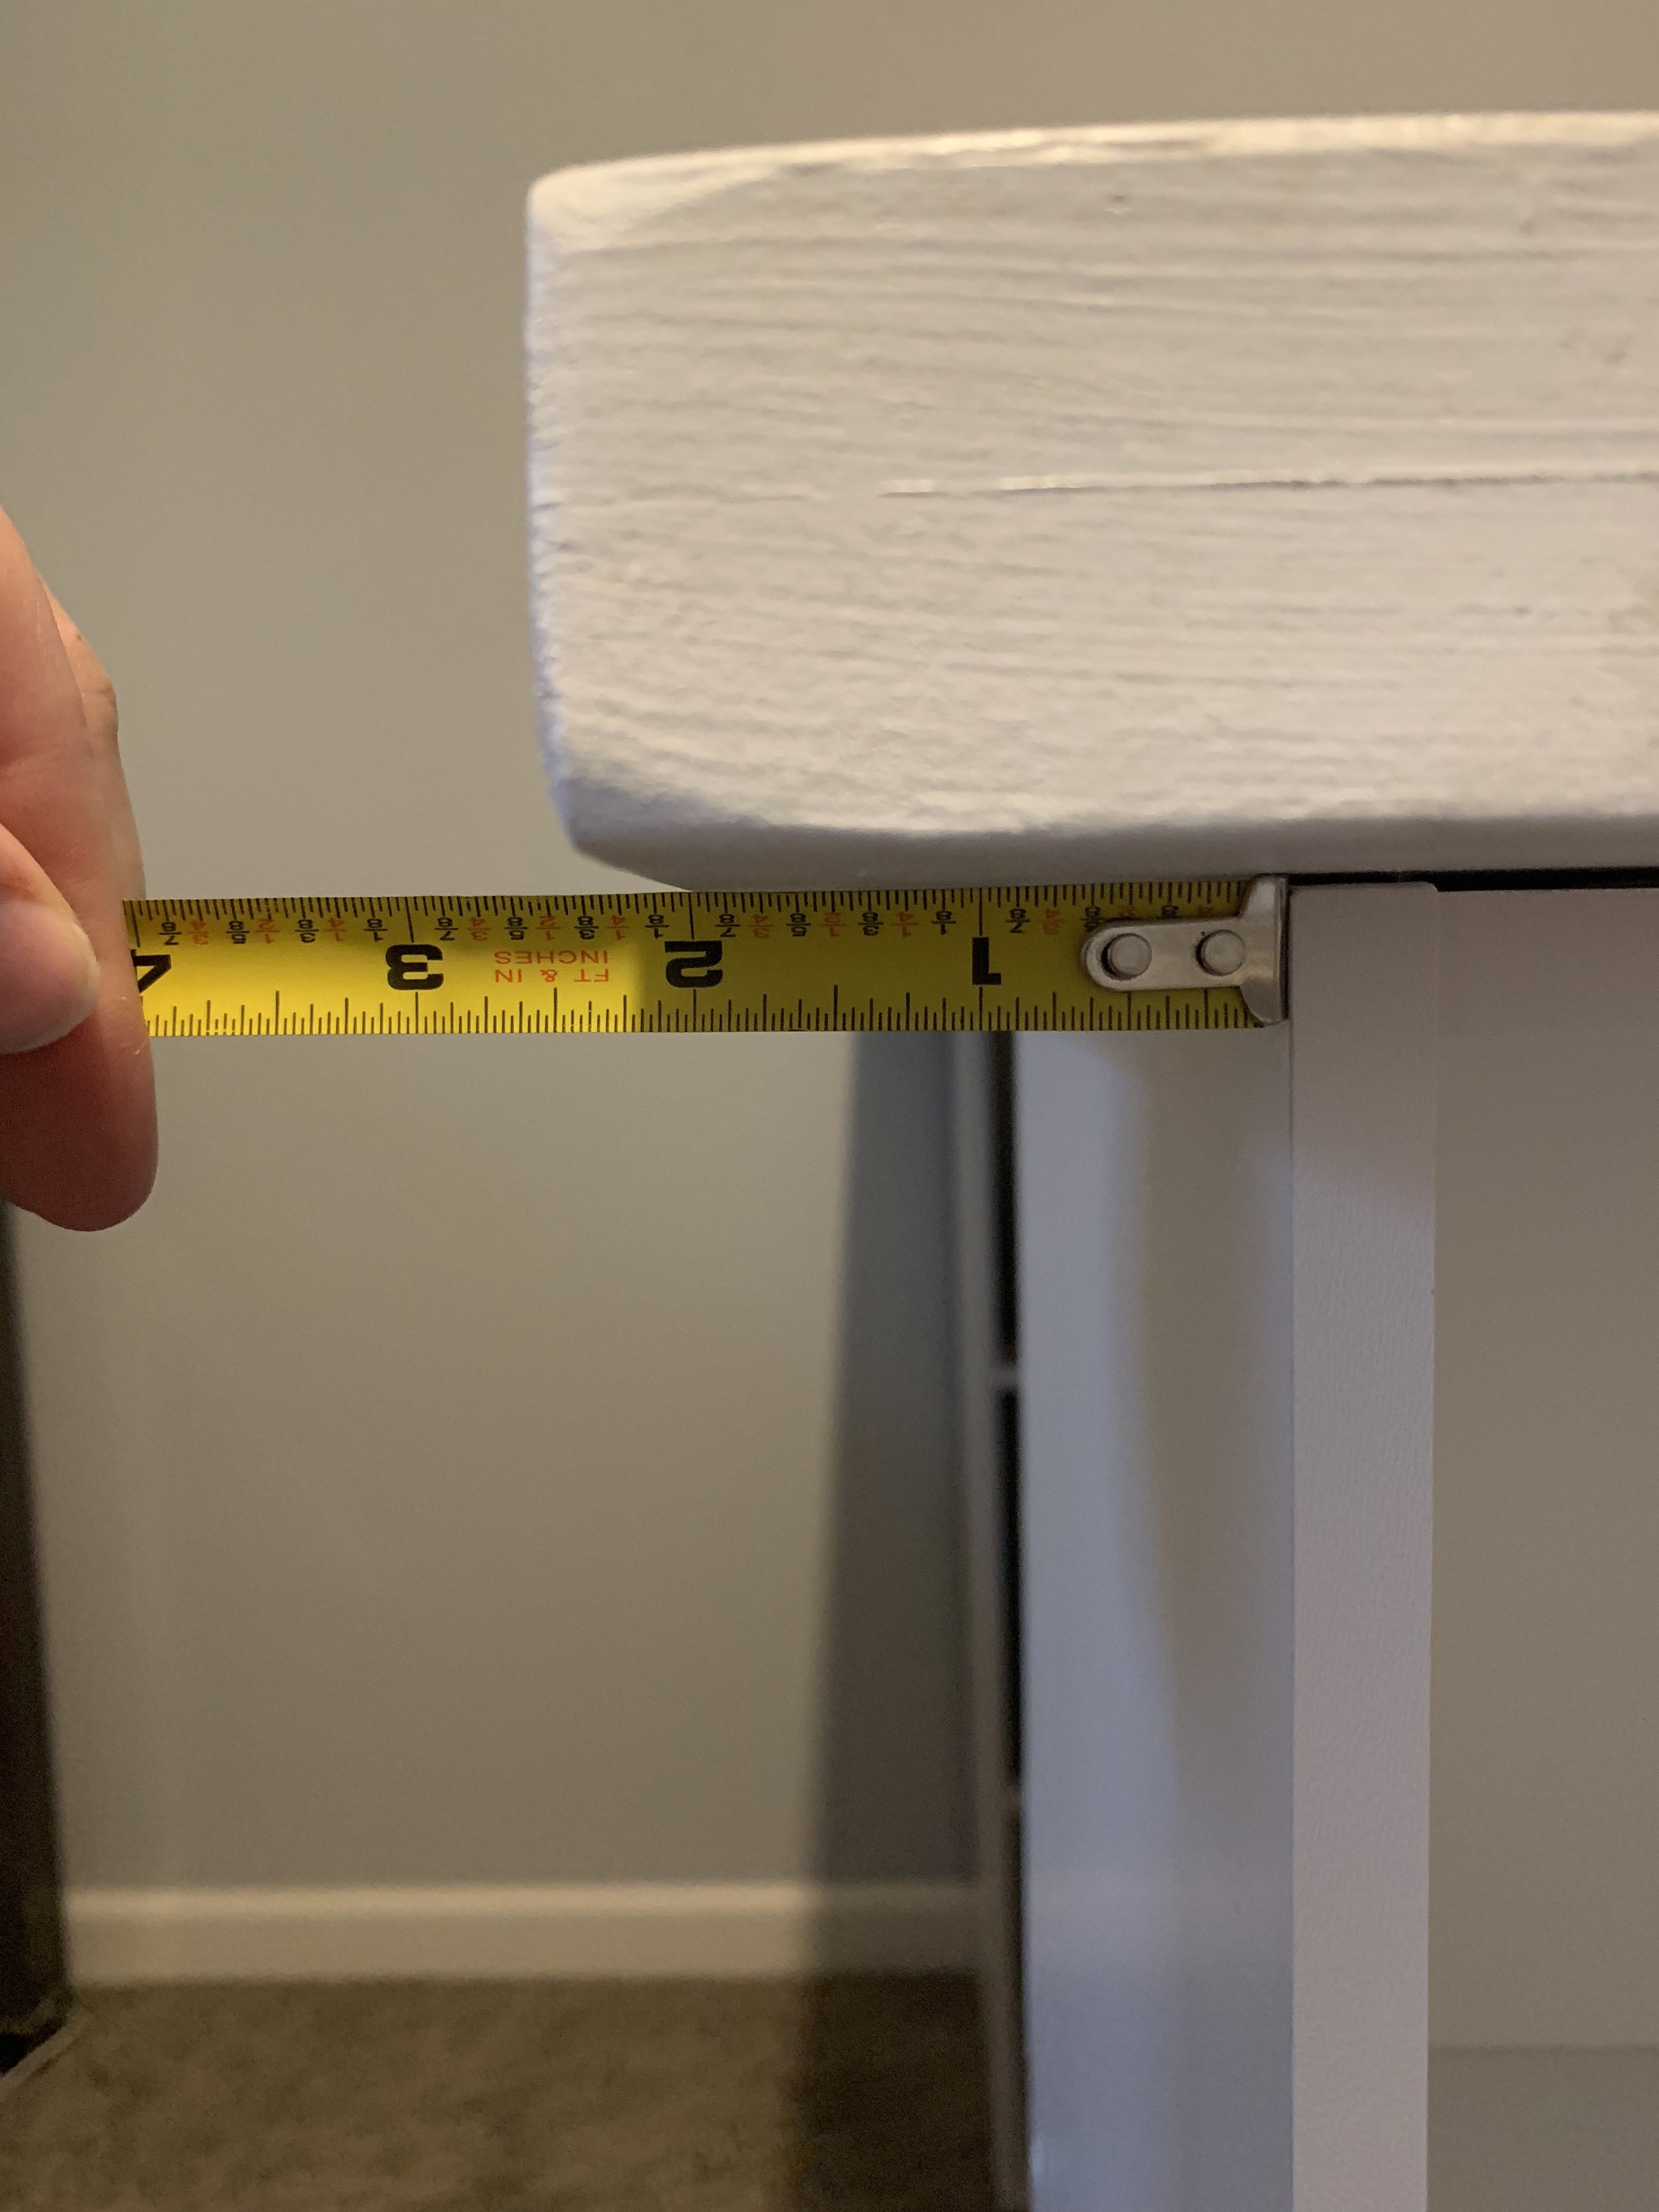
The one facing in doesn’t have an overhang so that it will be flush against the wall. Once everything was in place, we drilled holes inside the cubbies, making sure to drill into the 4″ strips around the edges of the top.
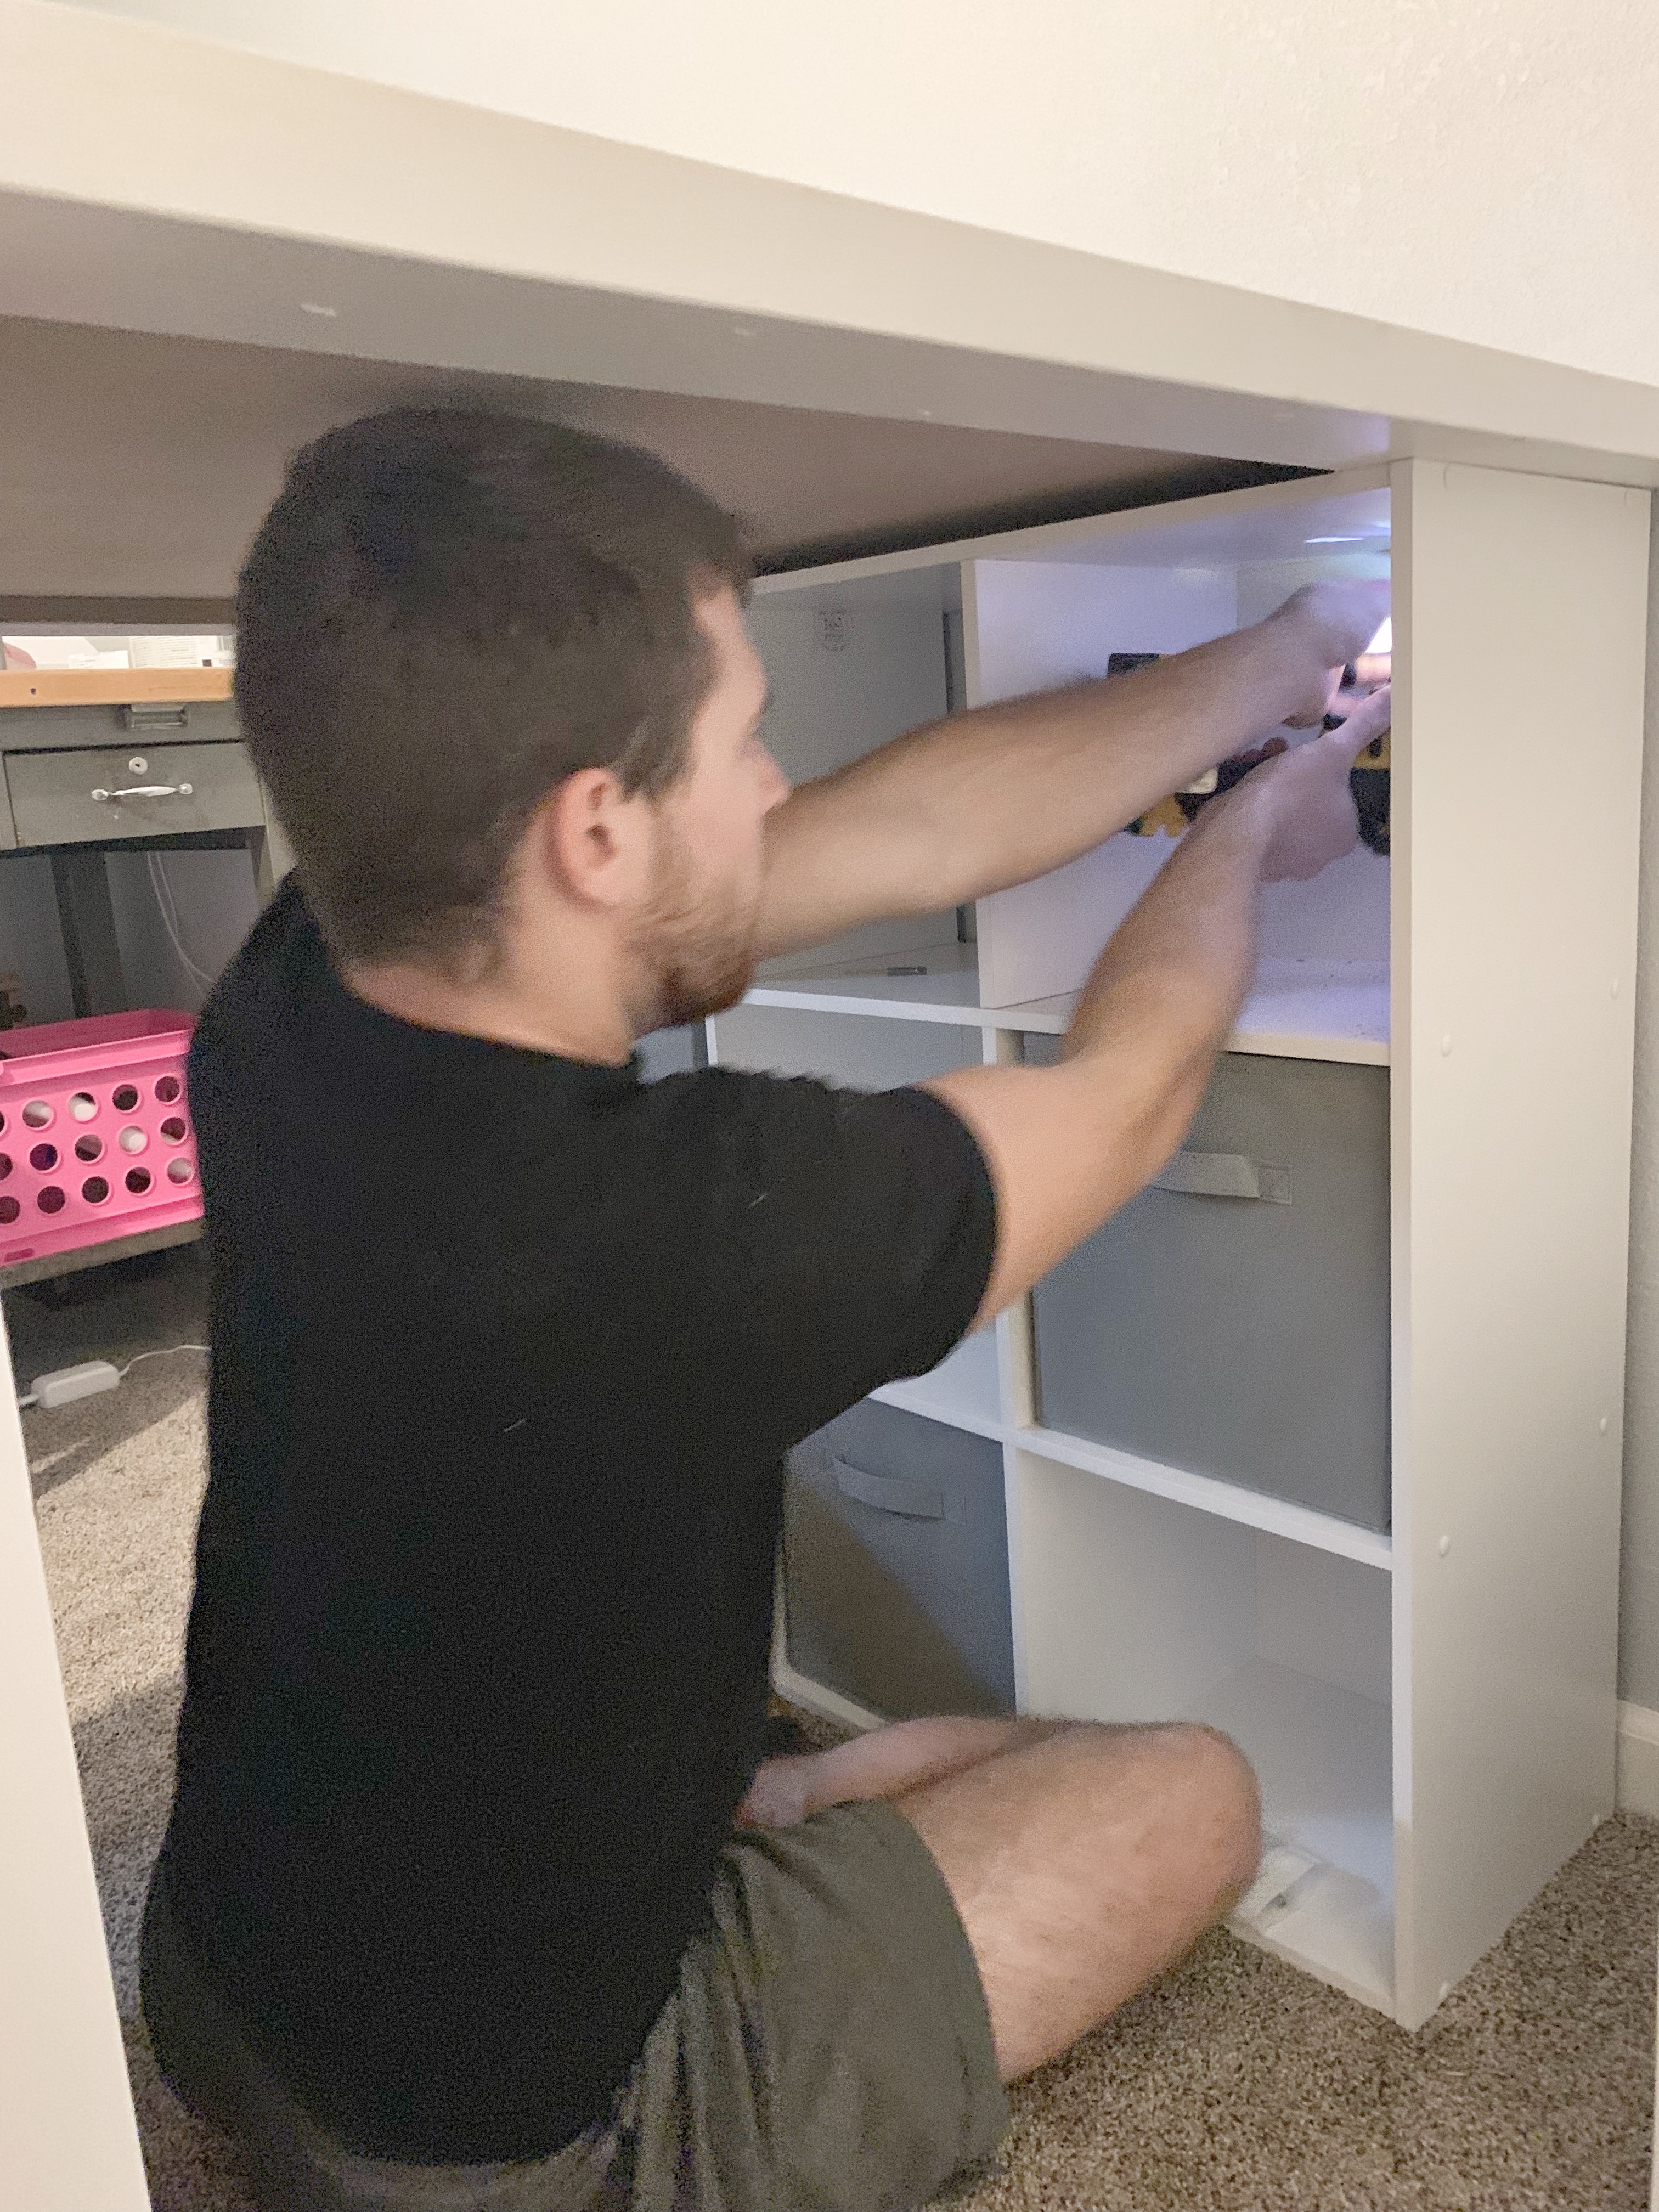
We used 1 1/2″ screws to attach the cubbies to the top and hold them in place.
Organizing
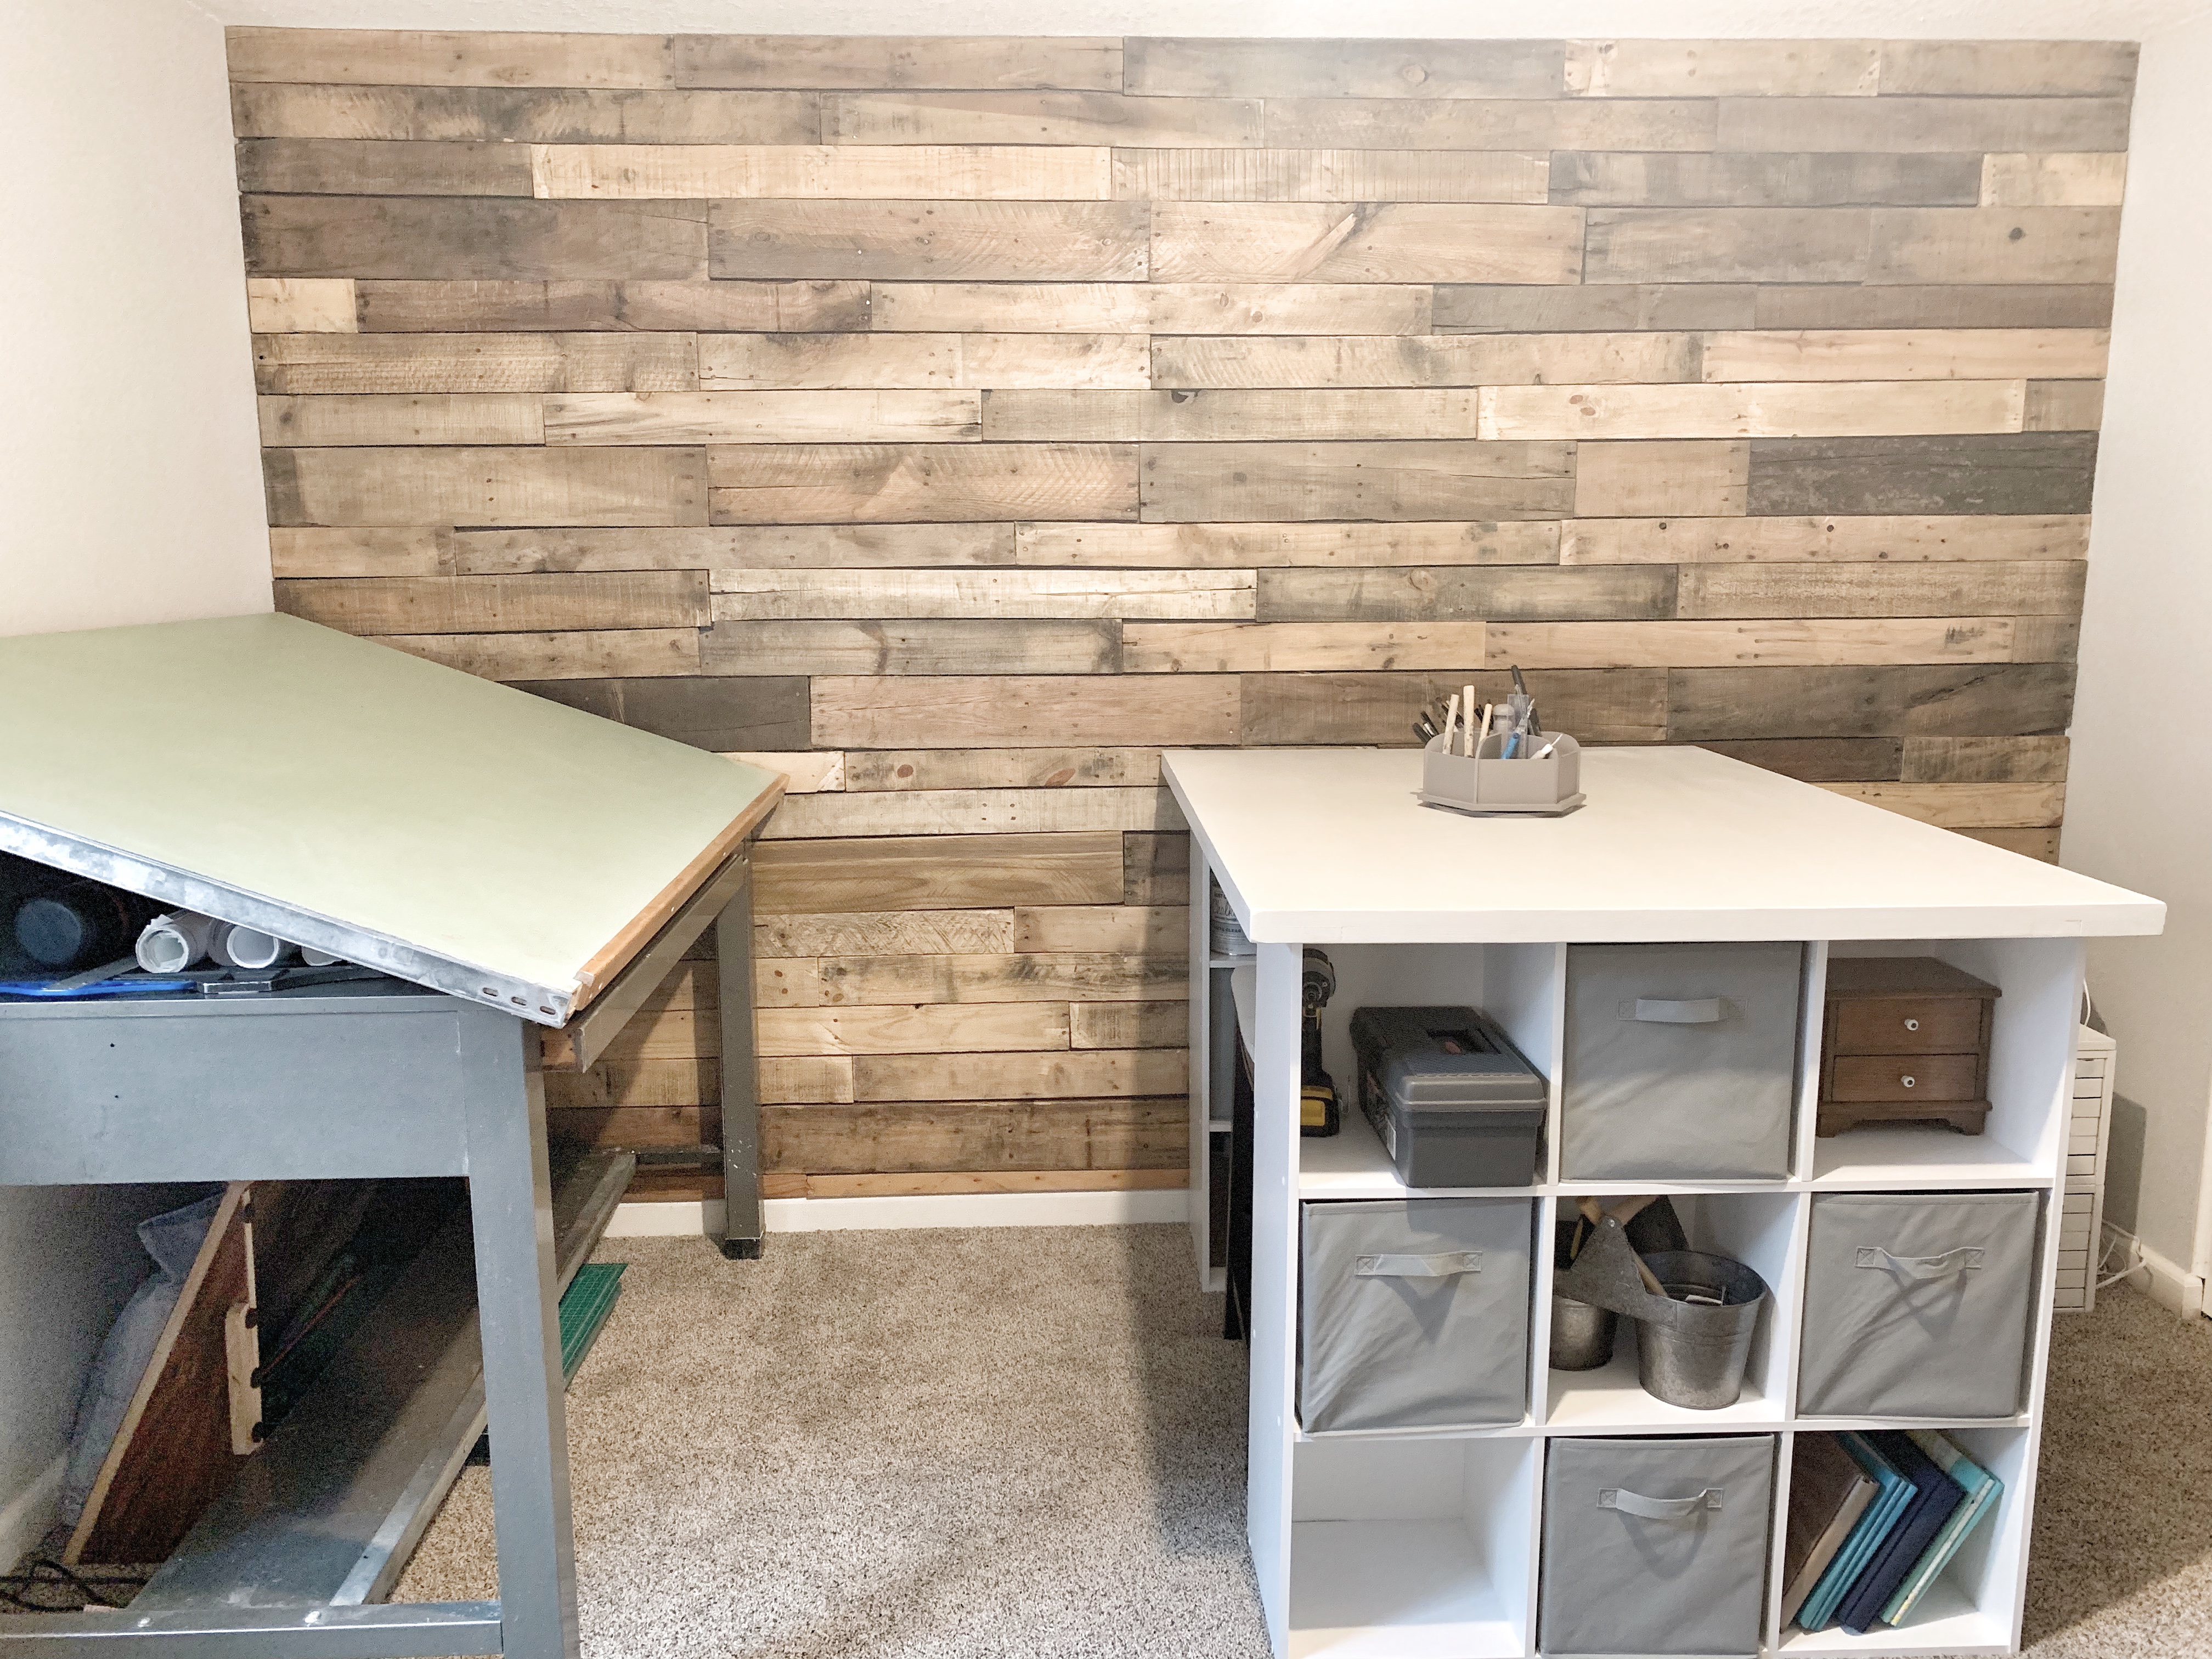
I purchased a 6-pack of gray bins, and a rotating caddy for storing small supplies. The cubbies without bins are perfect for storing cans of paint and my tool box! This would work for organizing fabric and sewing supplies as well! The possibilities are endless, and I love how versatile this can be.
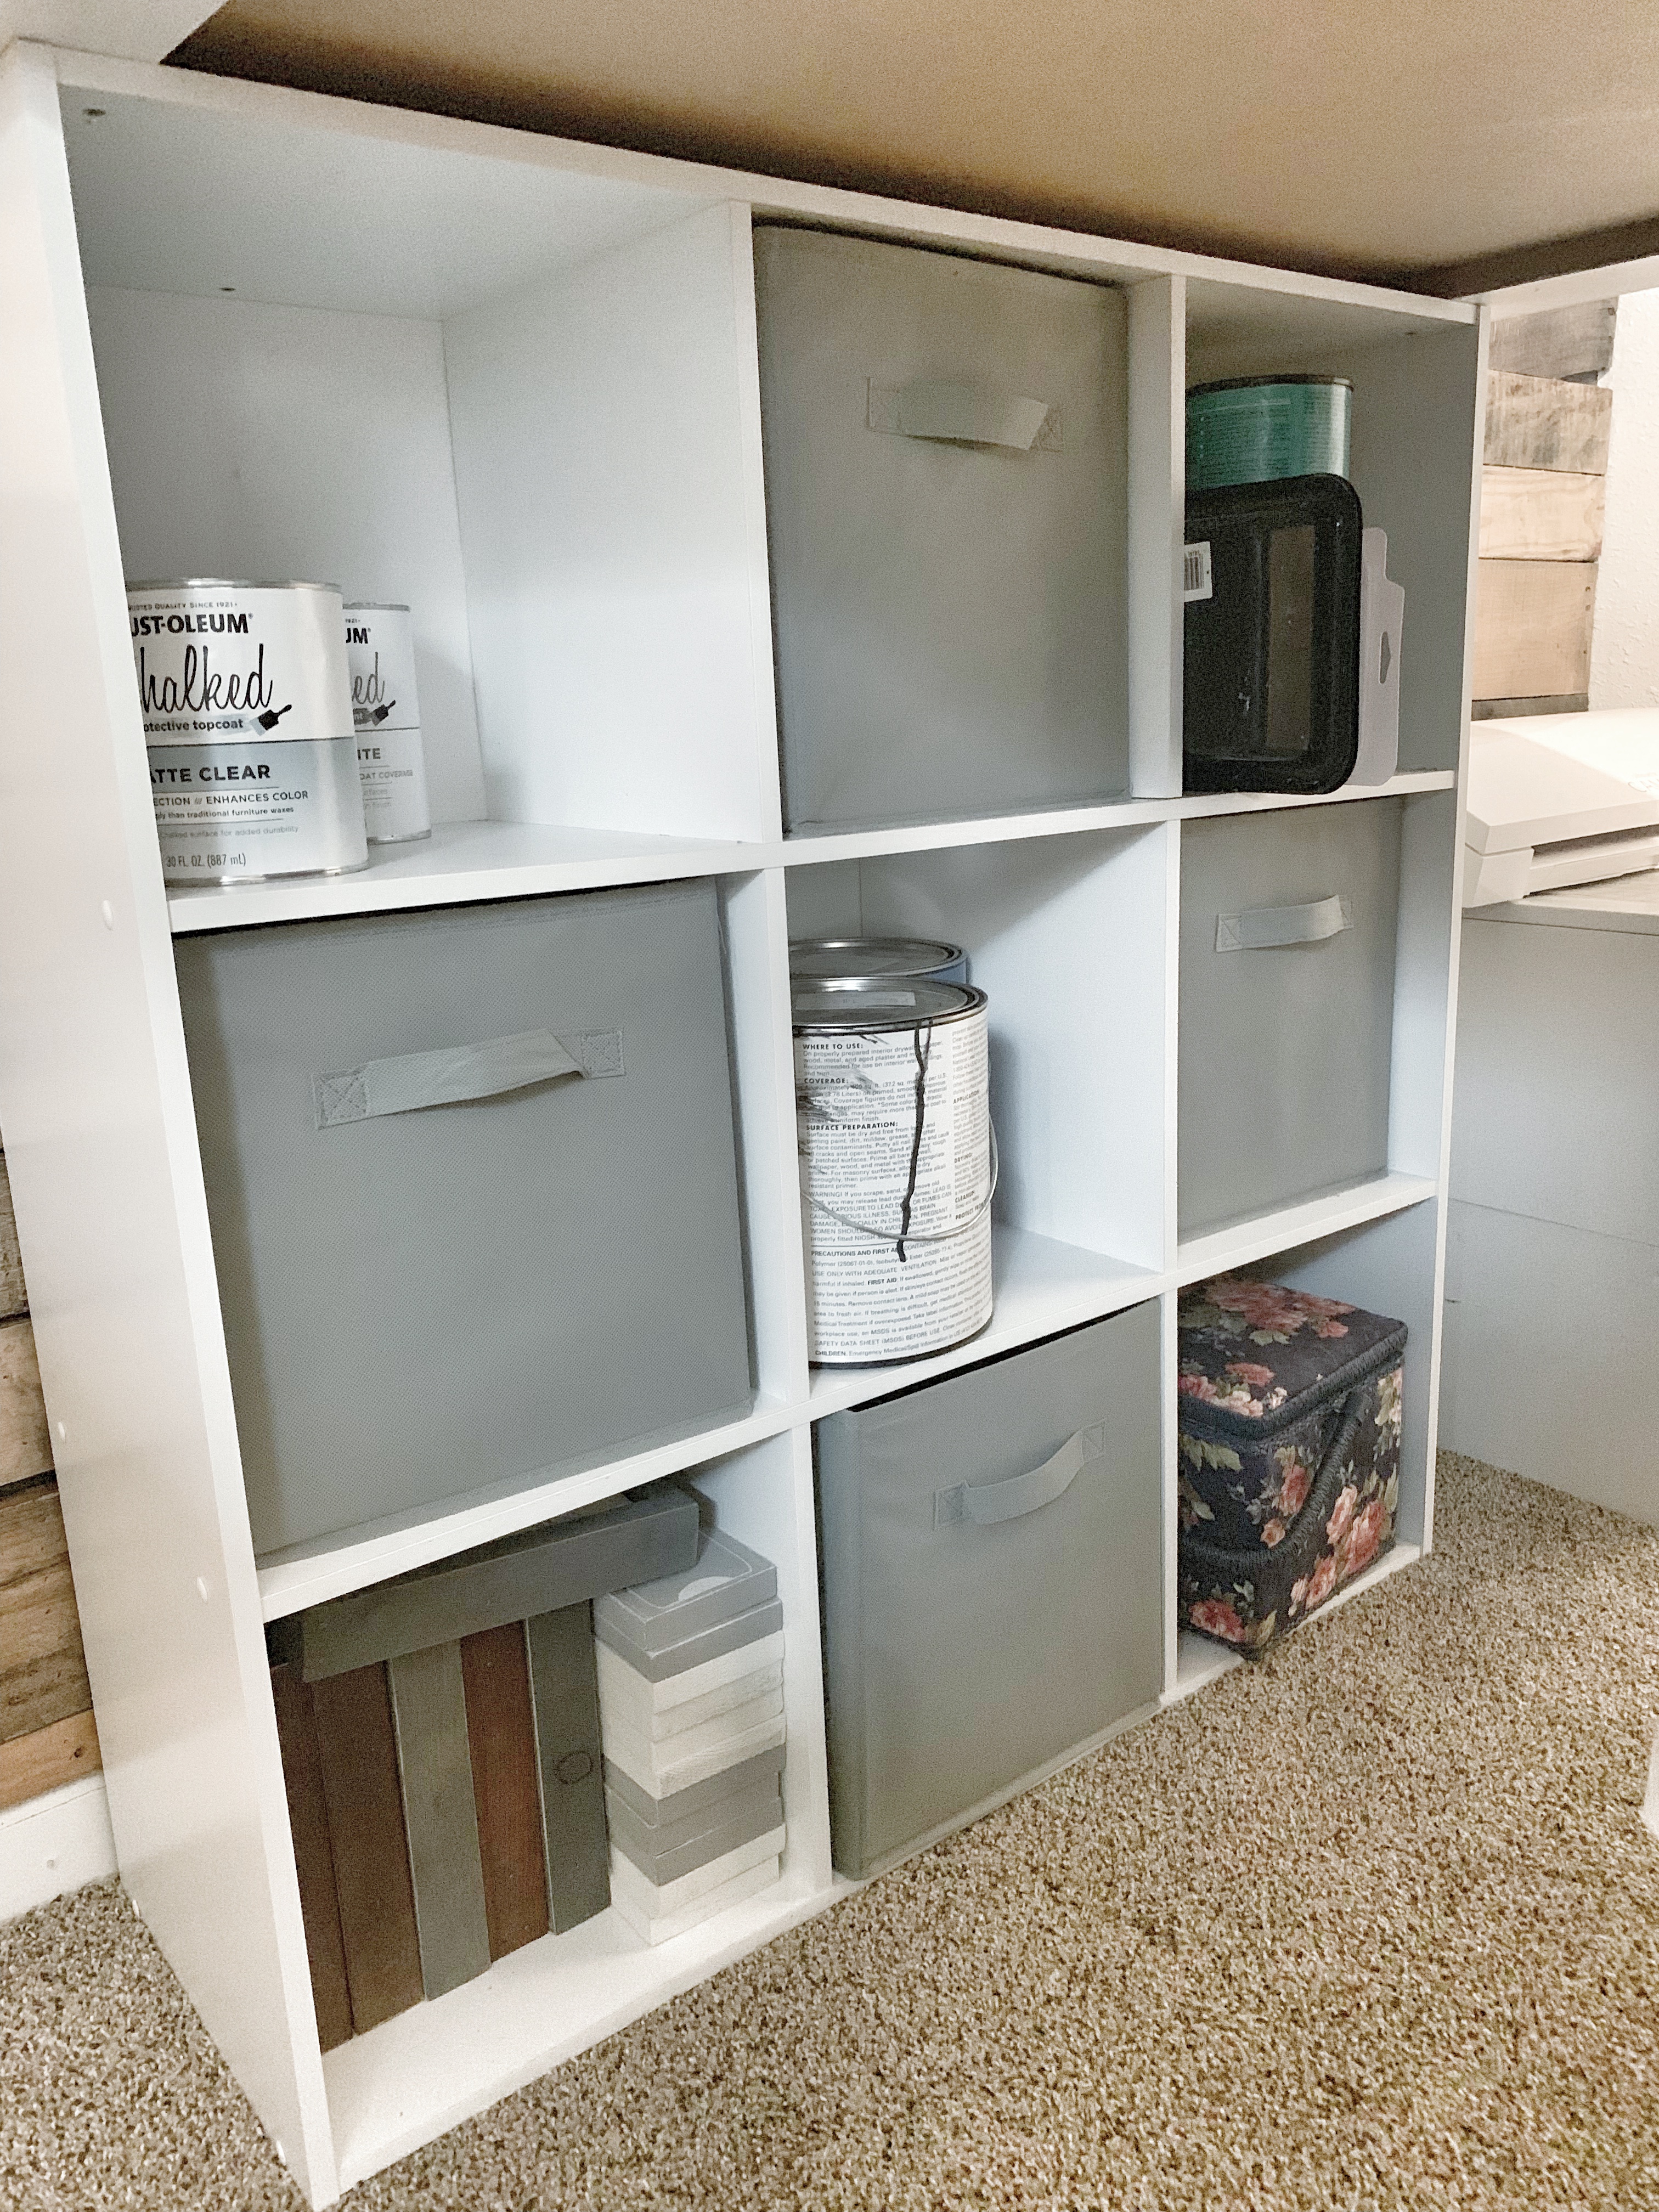
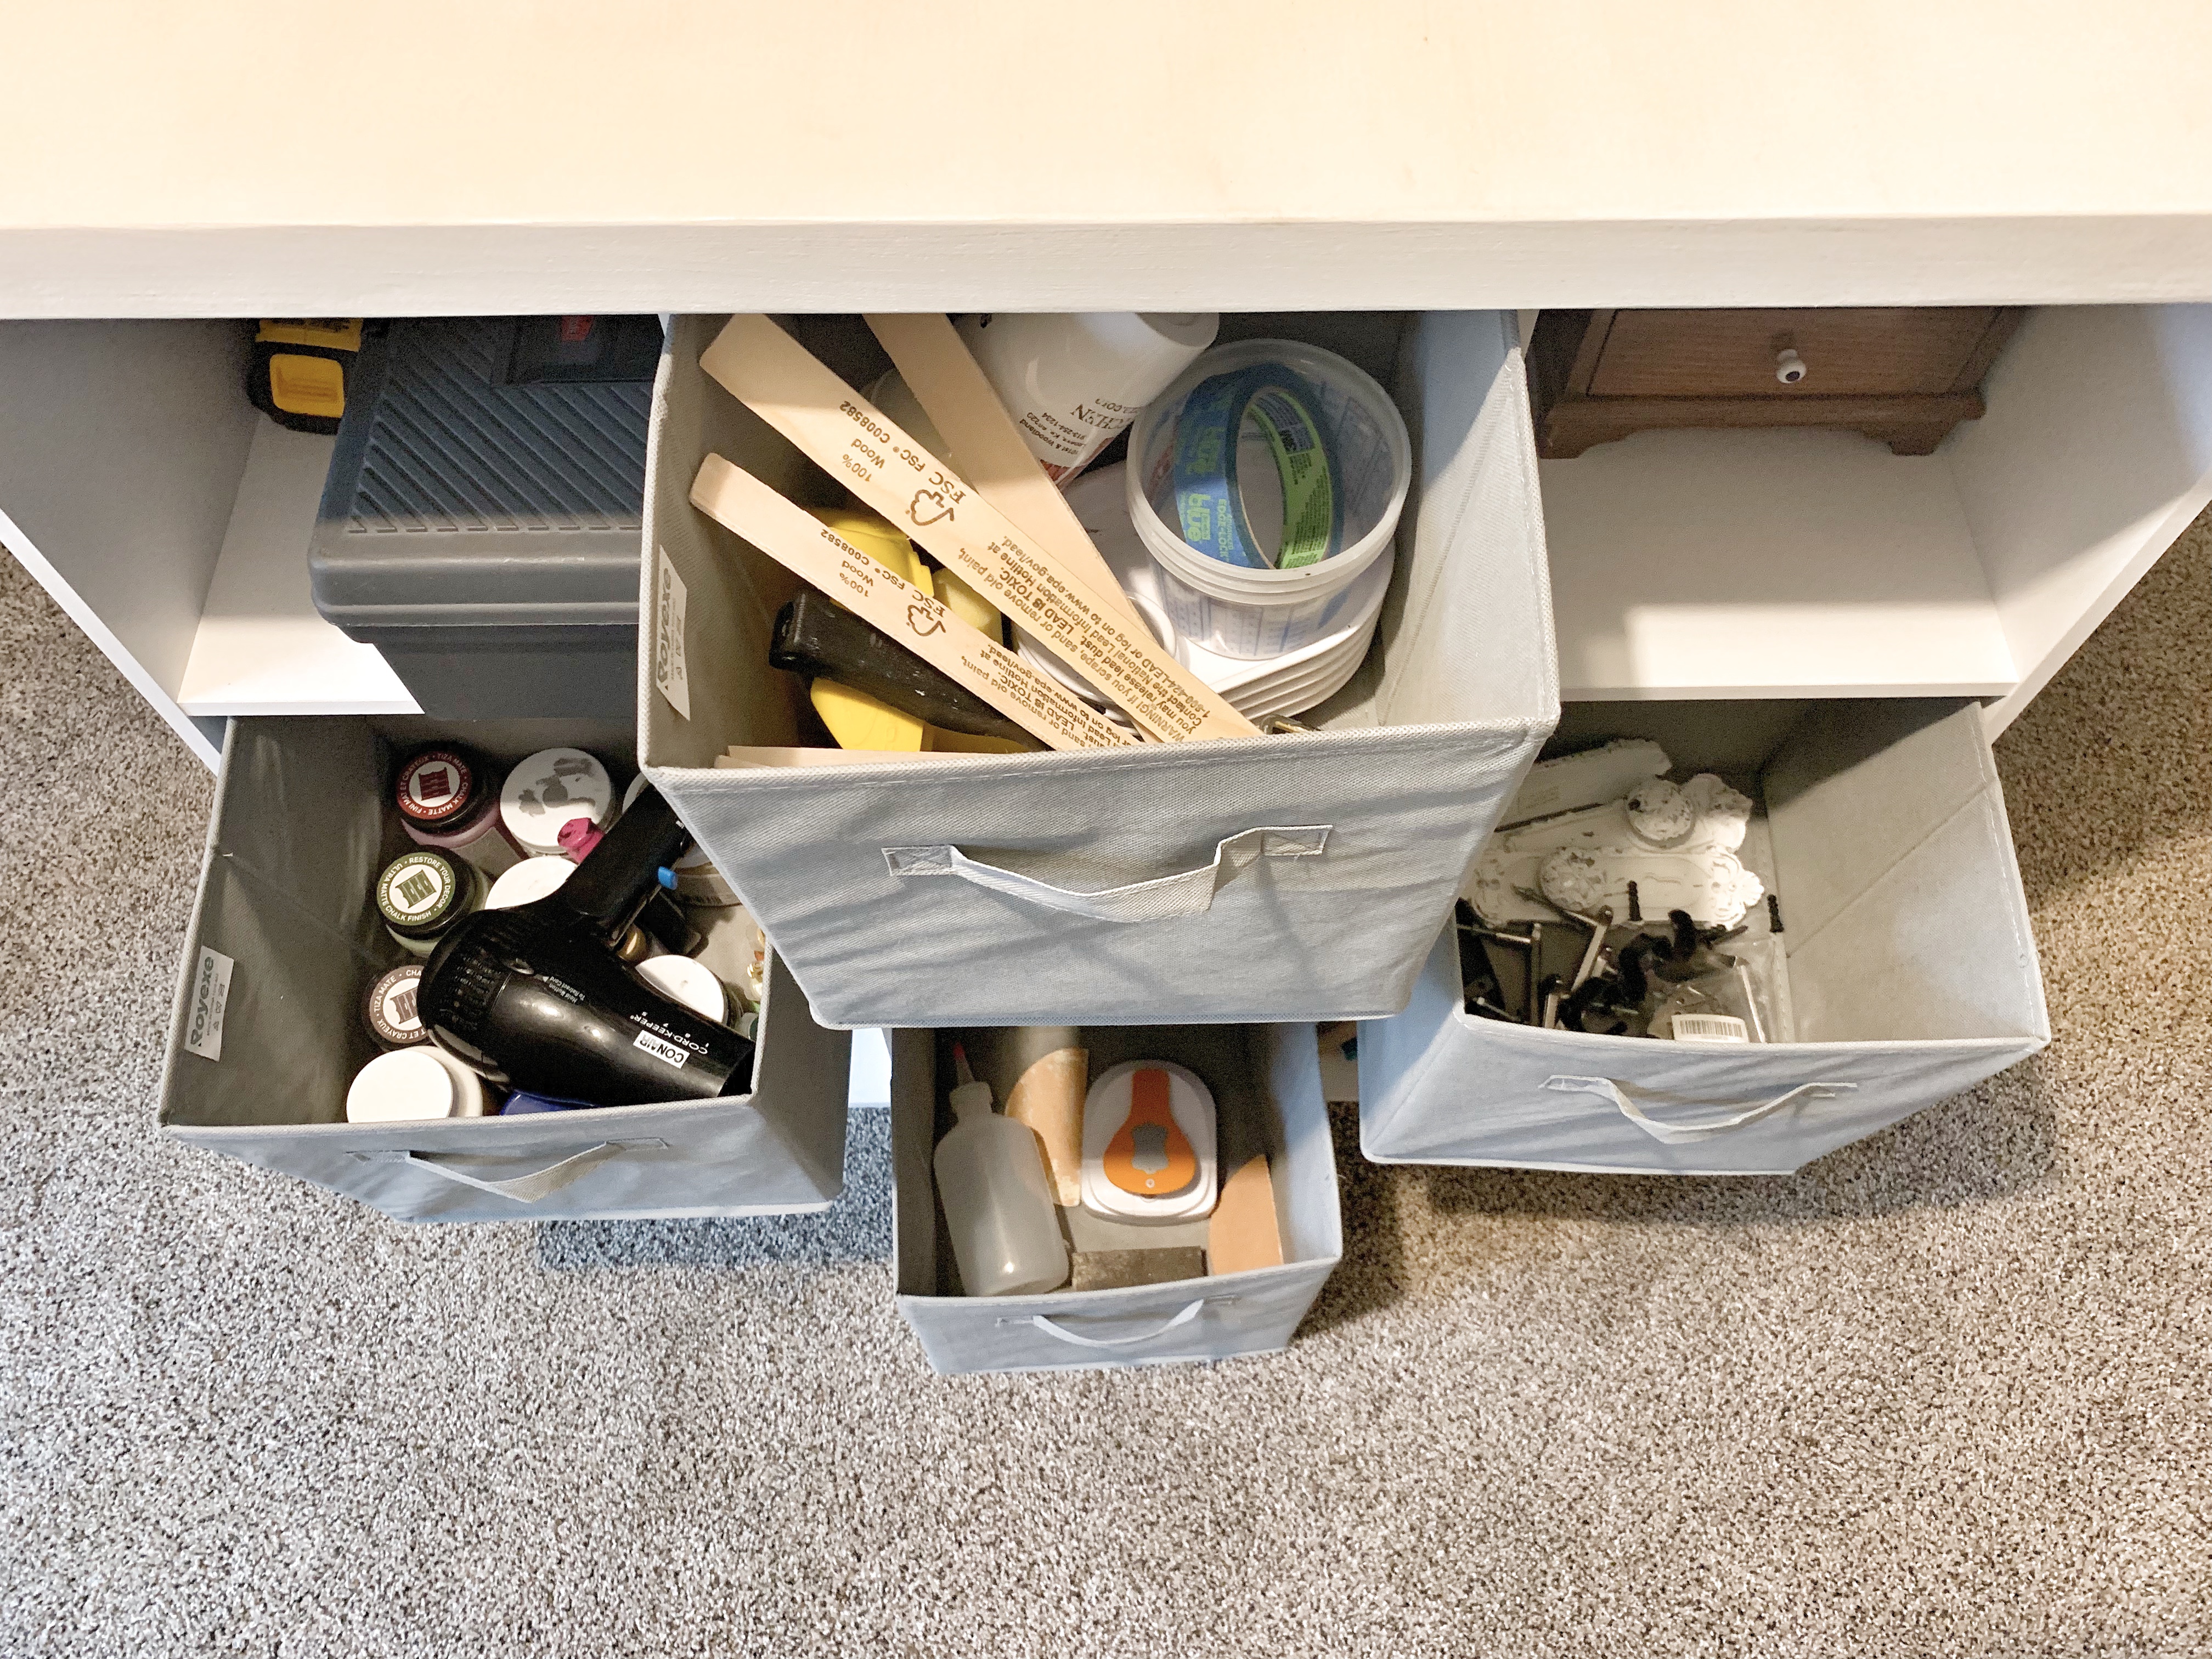
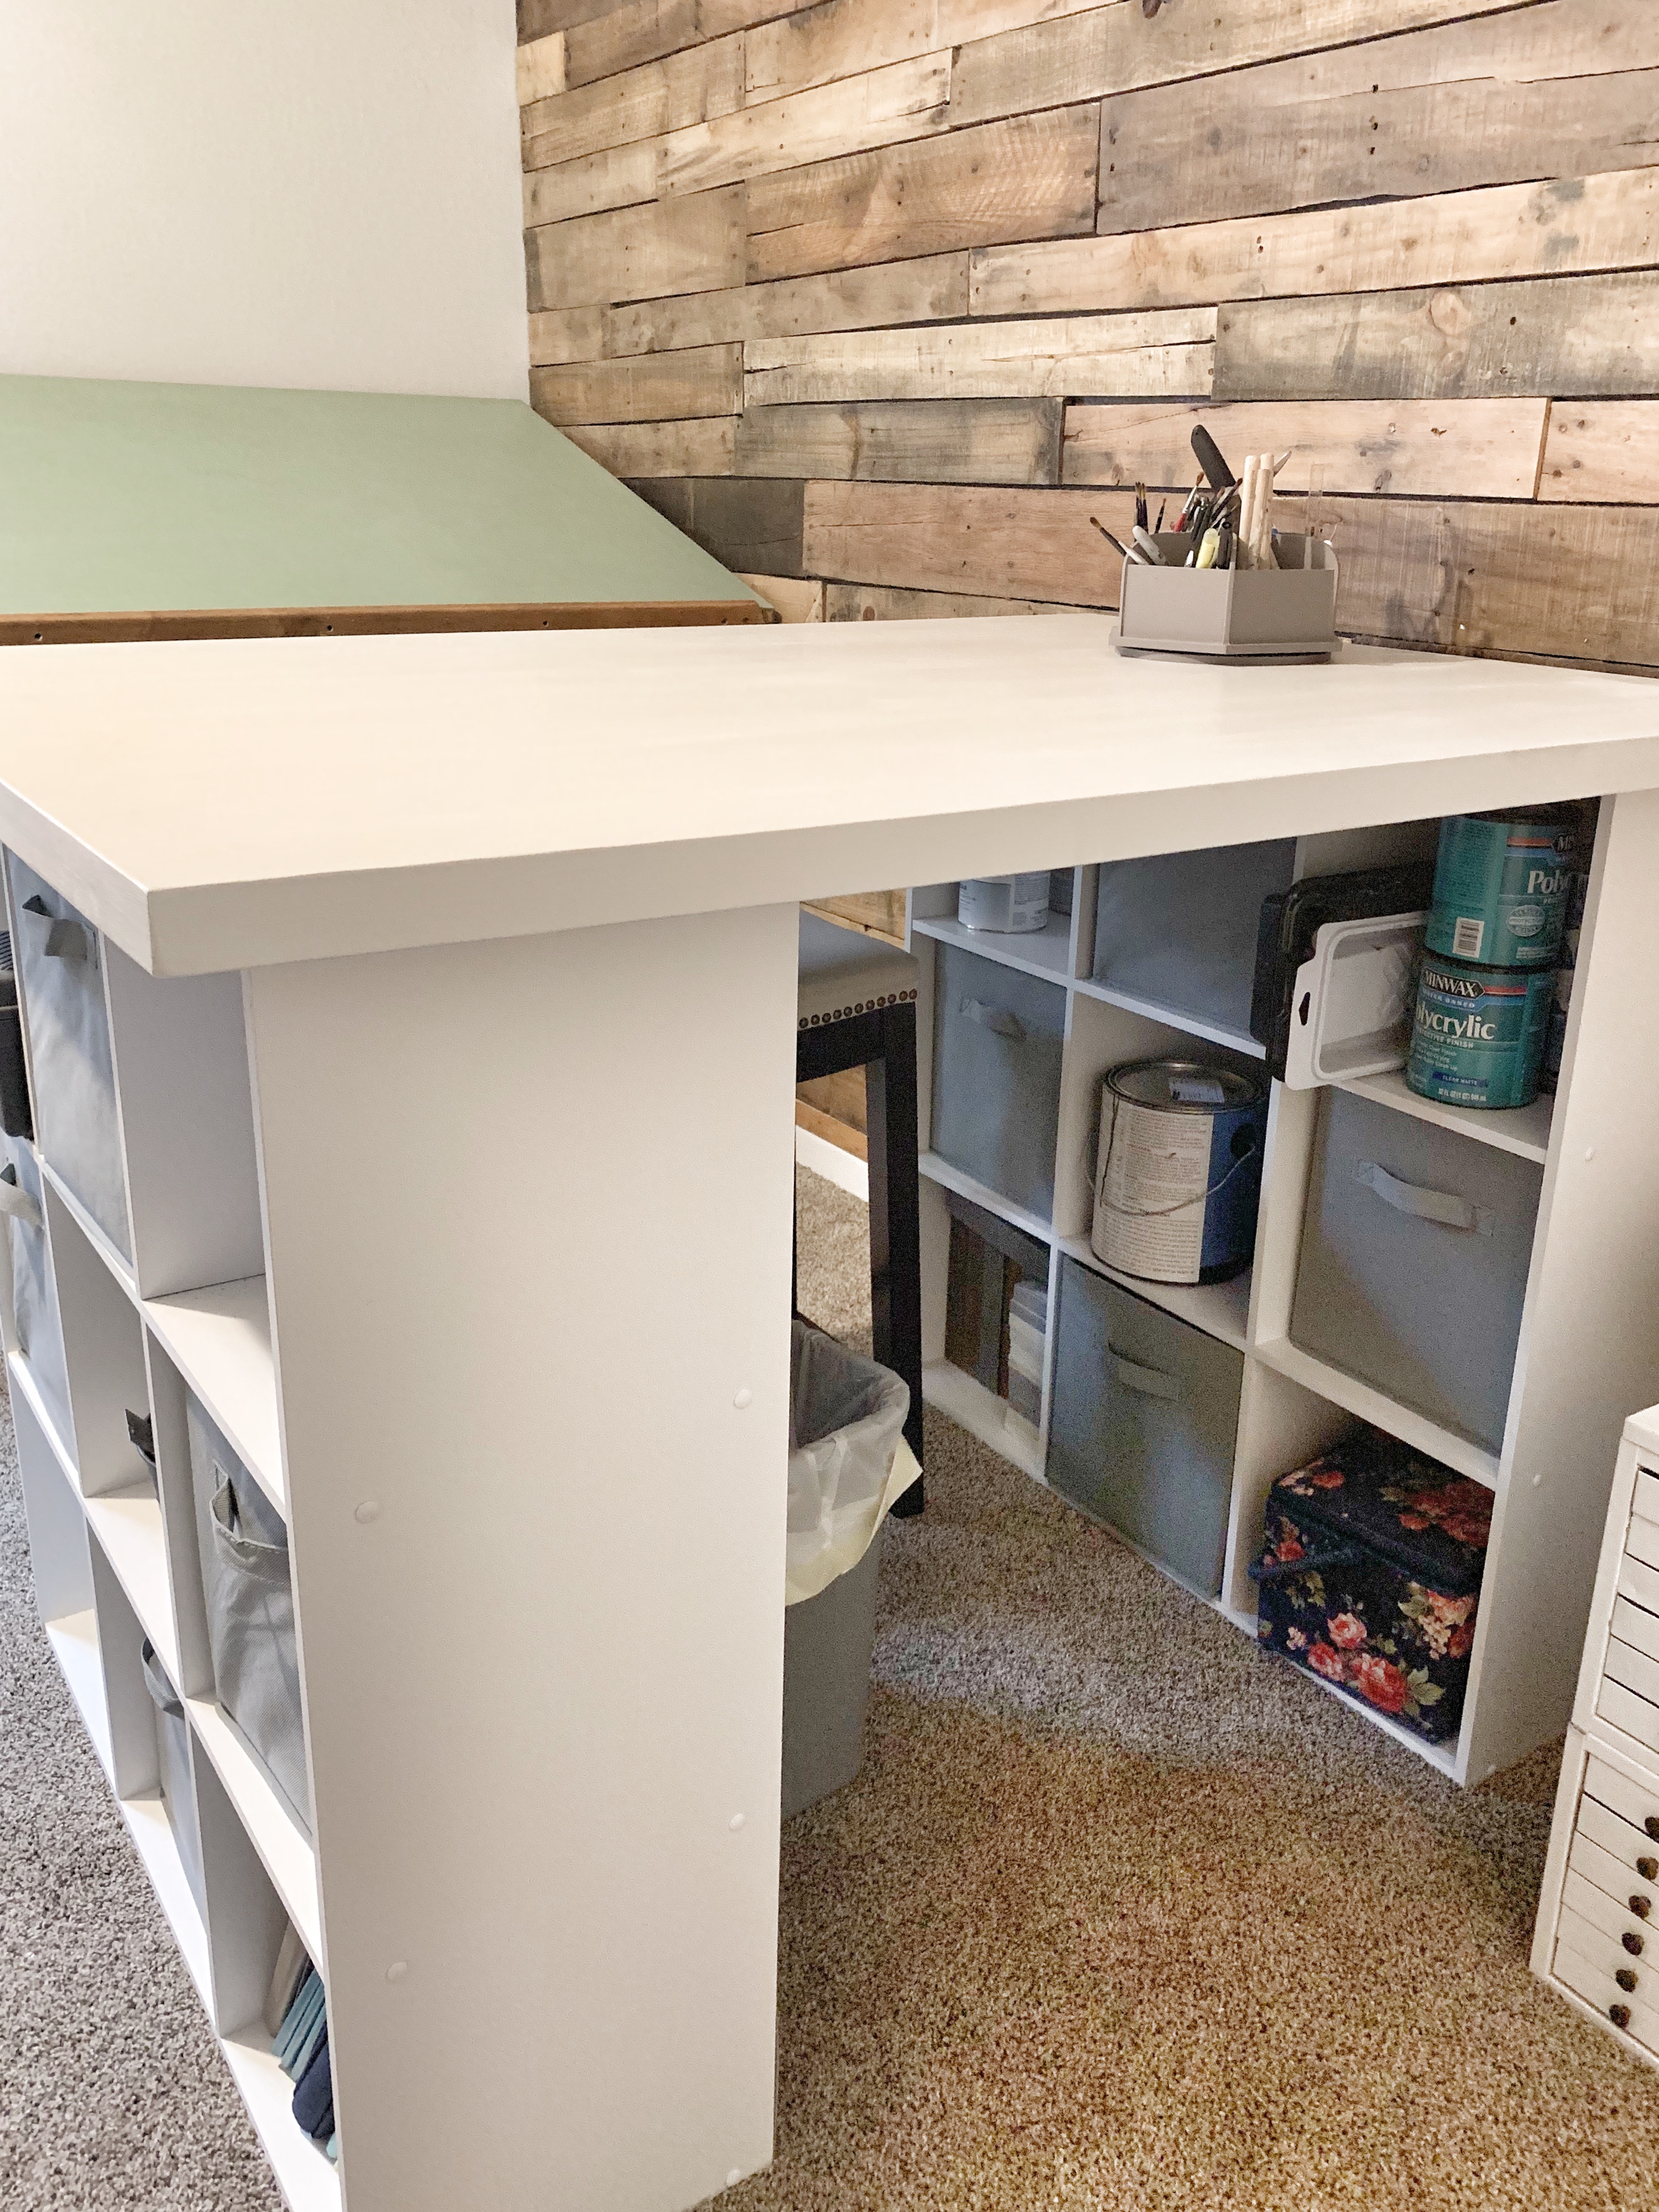
This much-needed craft table turned out amazing, and it stores more than I thought! The work surface is great, and as I mentioned before, it is just the right height for standing or sitting on a stool. I now feel like I have an adequate area to work on projects, run my Etsy shop, and create content for my blog, while still being organized!
If you are a serial DIYer like me, you NEED this, and I hope this inspires you to build a craft table for all of your creative needs!
Although this project was a lifesaver, it still doesn’t hold all of my things… So stay tuned for part three of our studio office update: closet organization, to see more ideas and tips on organizing an office/craft room! Thanks for reading, God bless!
XOXO
ASHLEY DIANN
