Studio Office Update (Part Three)
As I was thinking of ways to improve the function of our office, I knew we needed to address the closet. The closet in our office is a pretty good size, but it was far from organized or functional for our needs. Since it was set up for a bedroom closet with tons of hanging storage, we needed shelves, cubbies, and drawers to store office and craft supplies, not hanging clothes. (See part one and two of this update: Pallet wood accent wall, and DIY craft table).
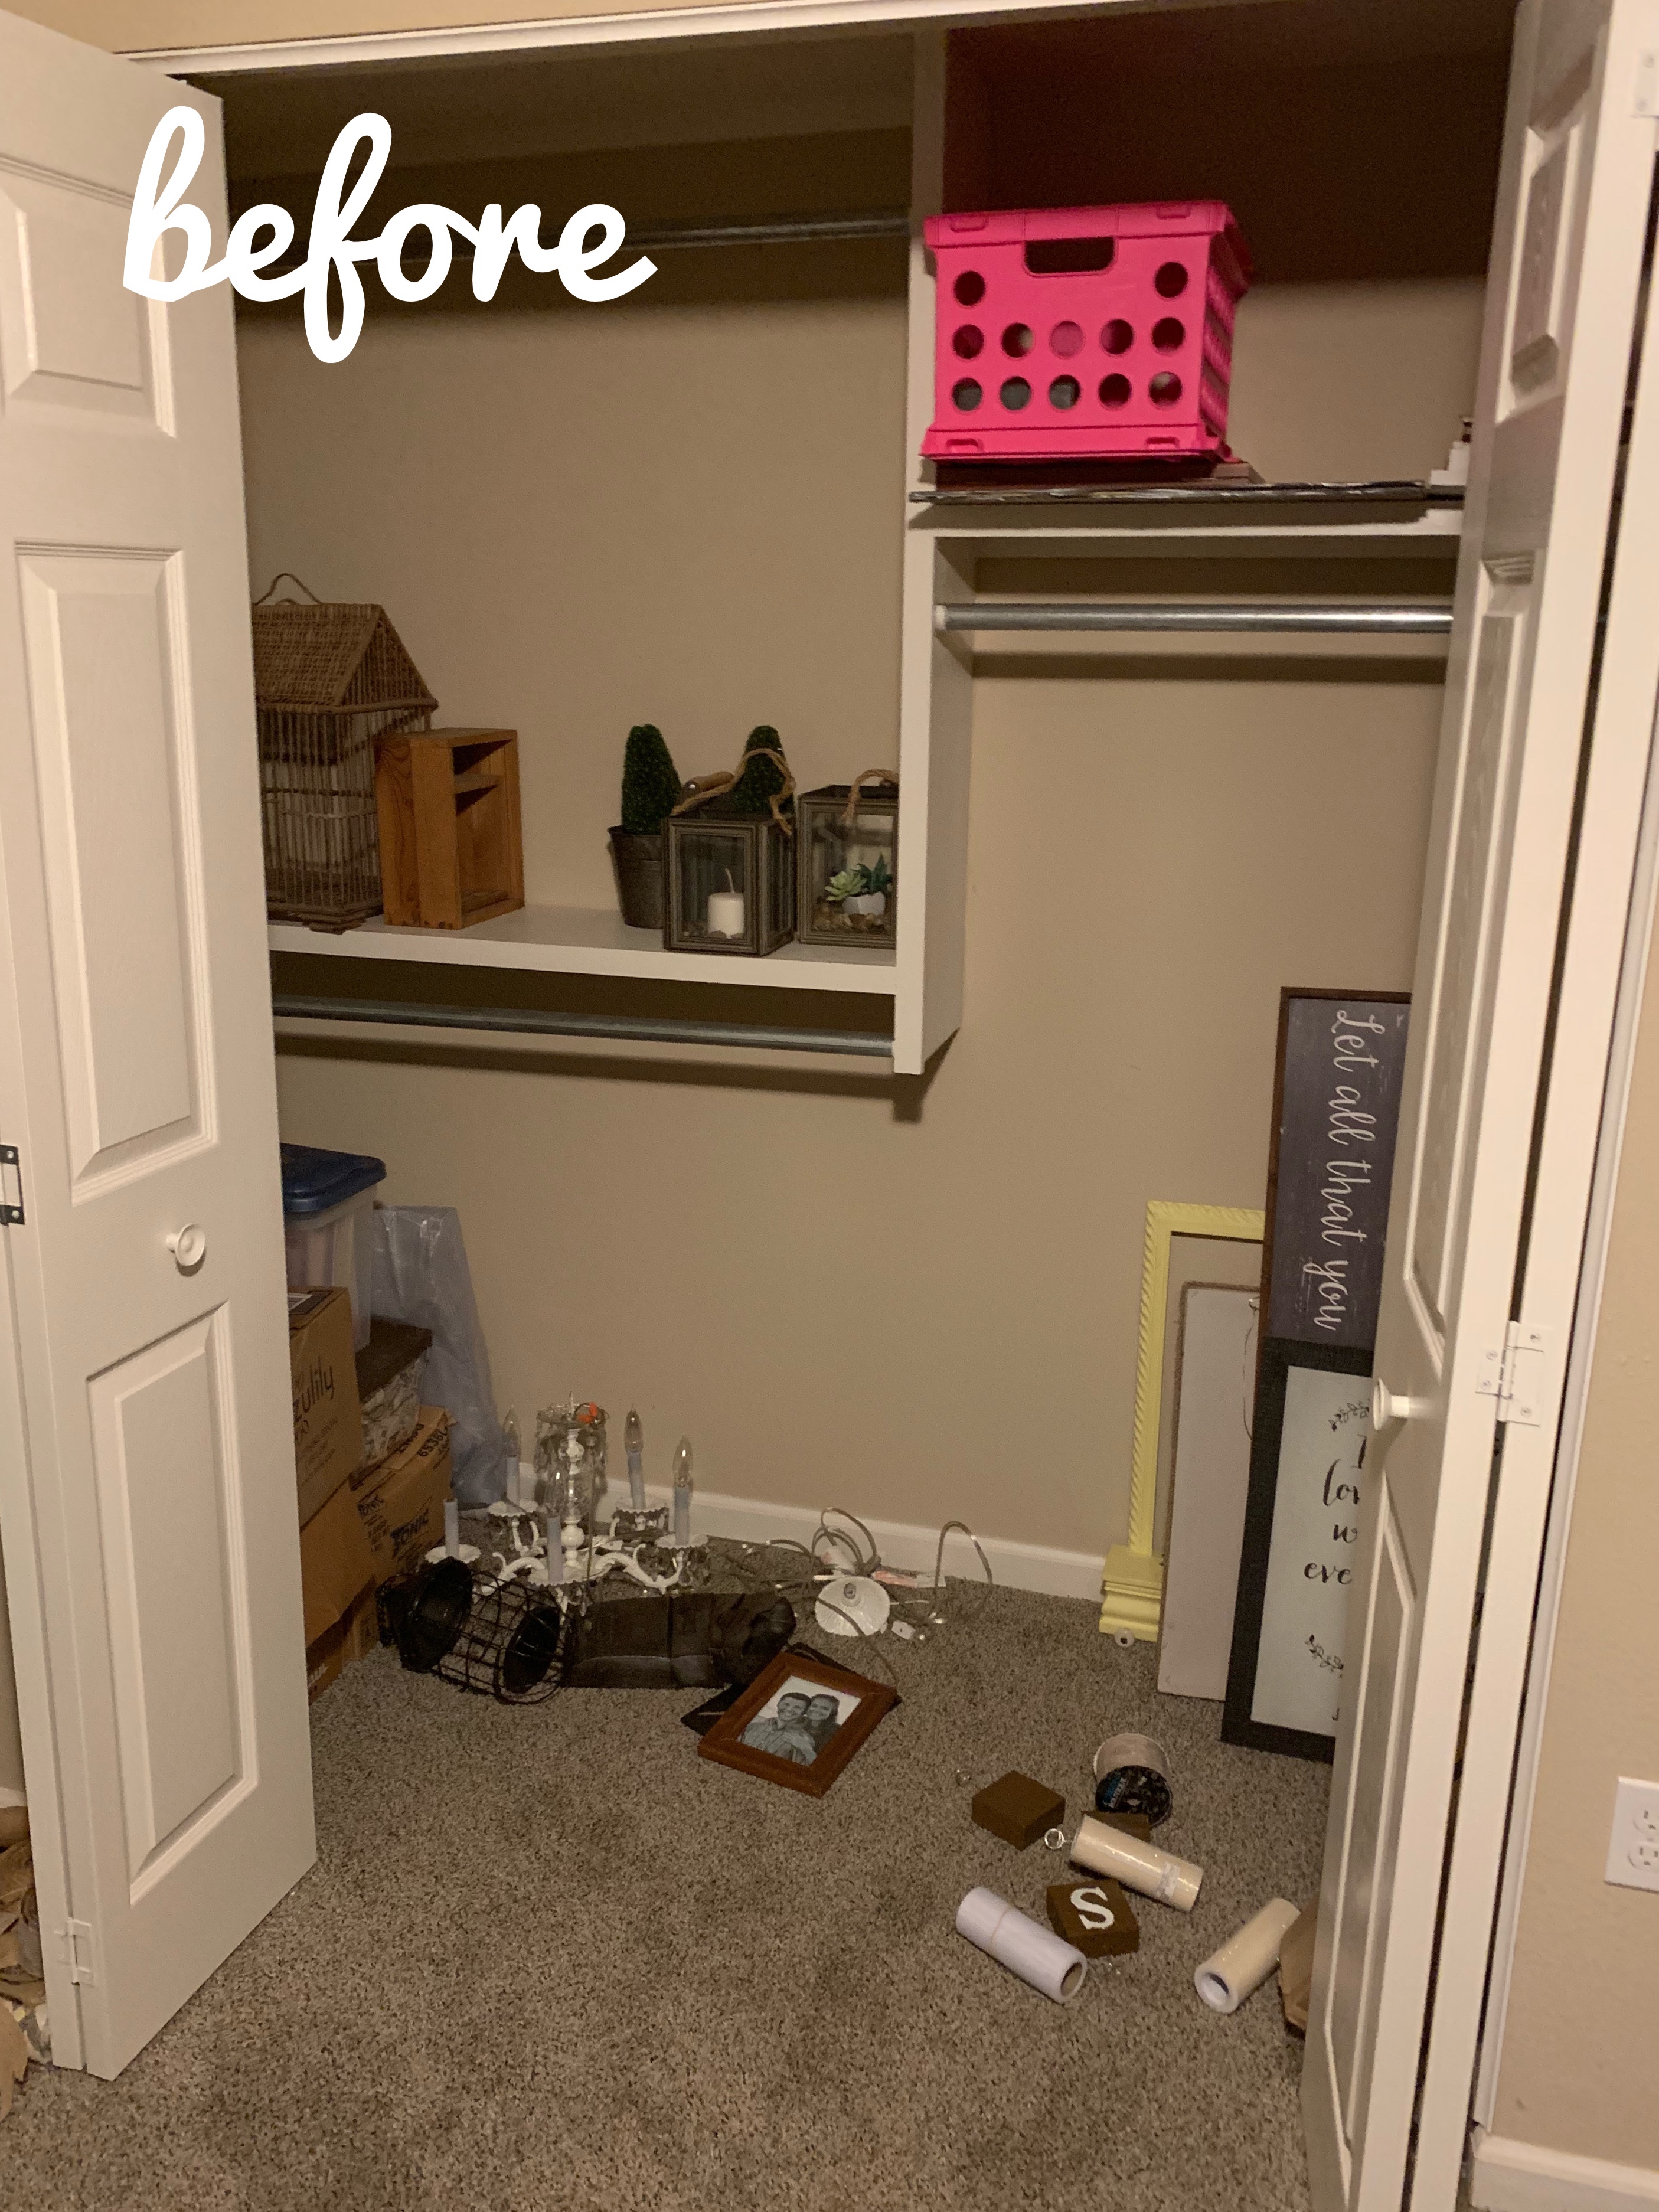
My original plan was to completely gut the whole closet and build custom shelves ourselves. But when I got to thinking about the furniture we had in our old office (ugly, outdated, and mismatched), I figured it would be perfect to fit in the closet for storage, and it wouldn’t be permanent if we ever needed to turn this back into a bedroom someday! All it needed was a fresh perspective and a little paint!
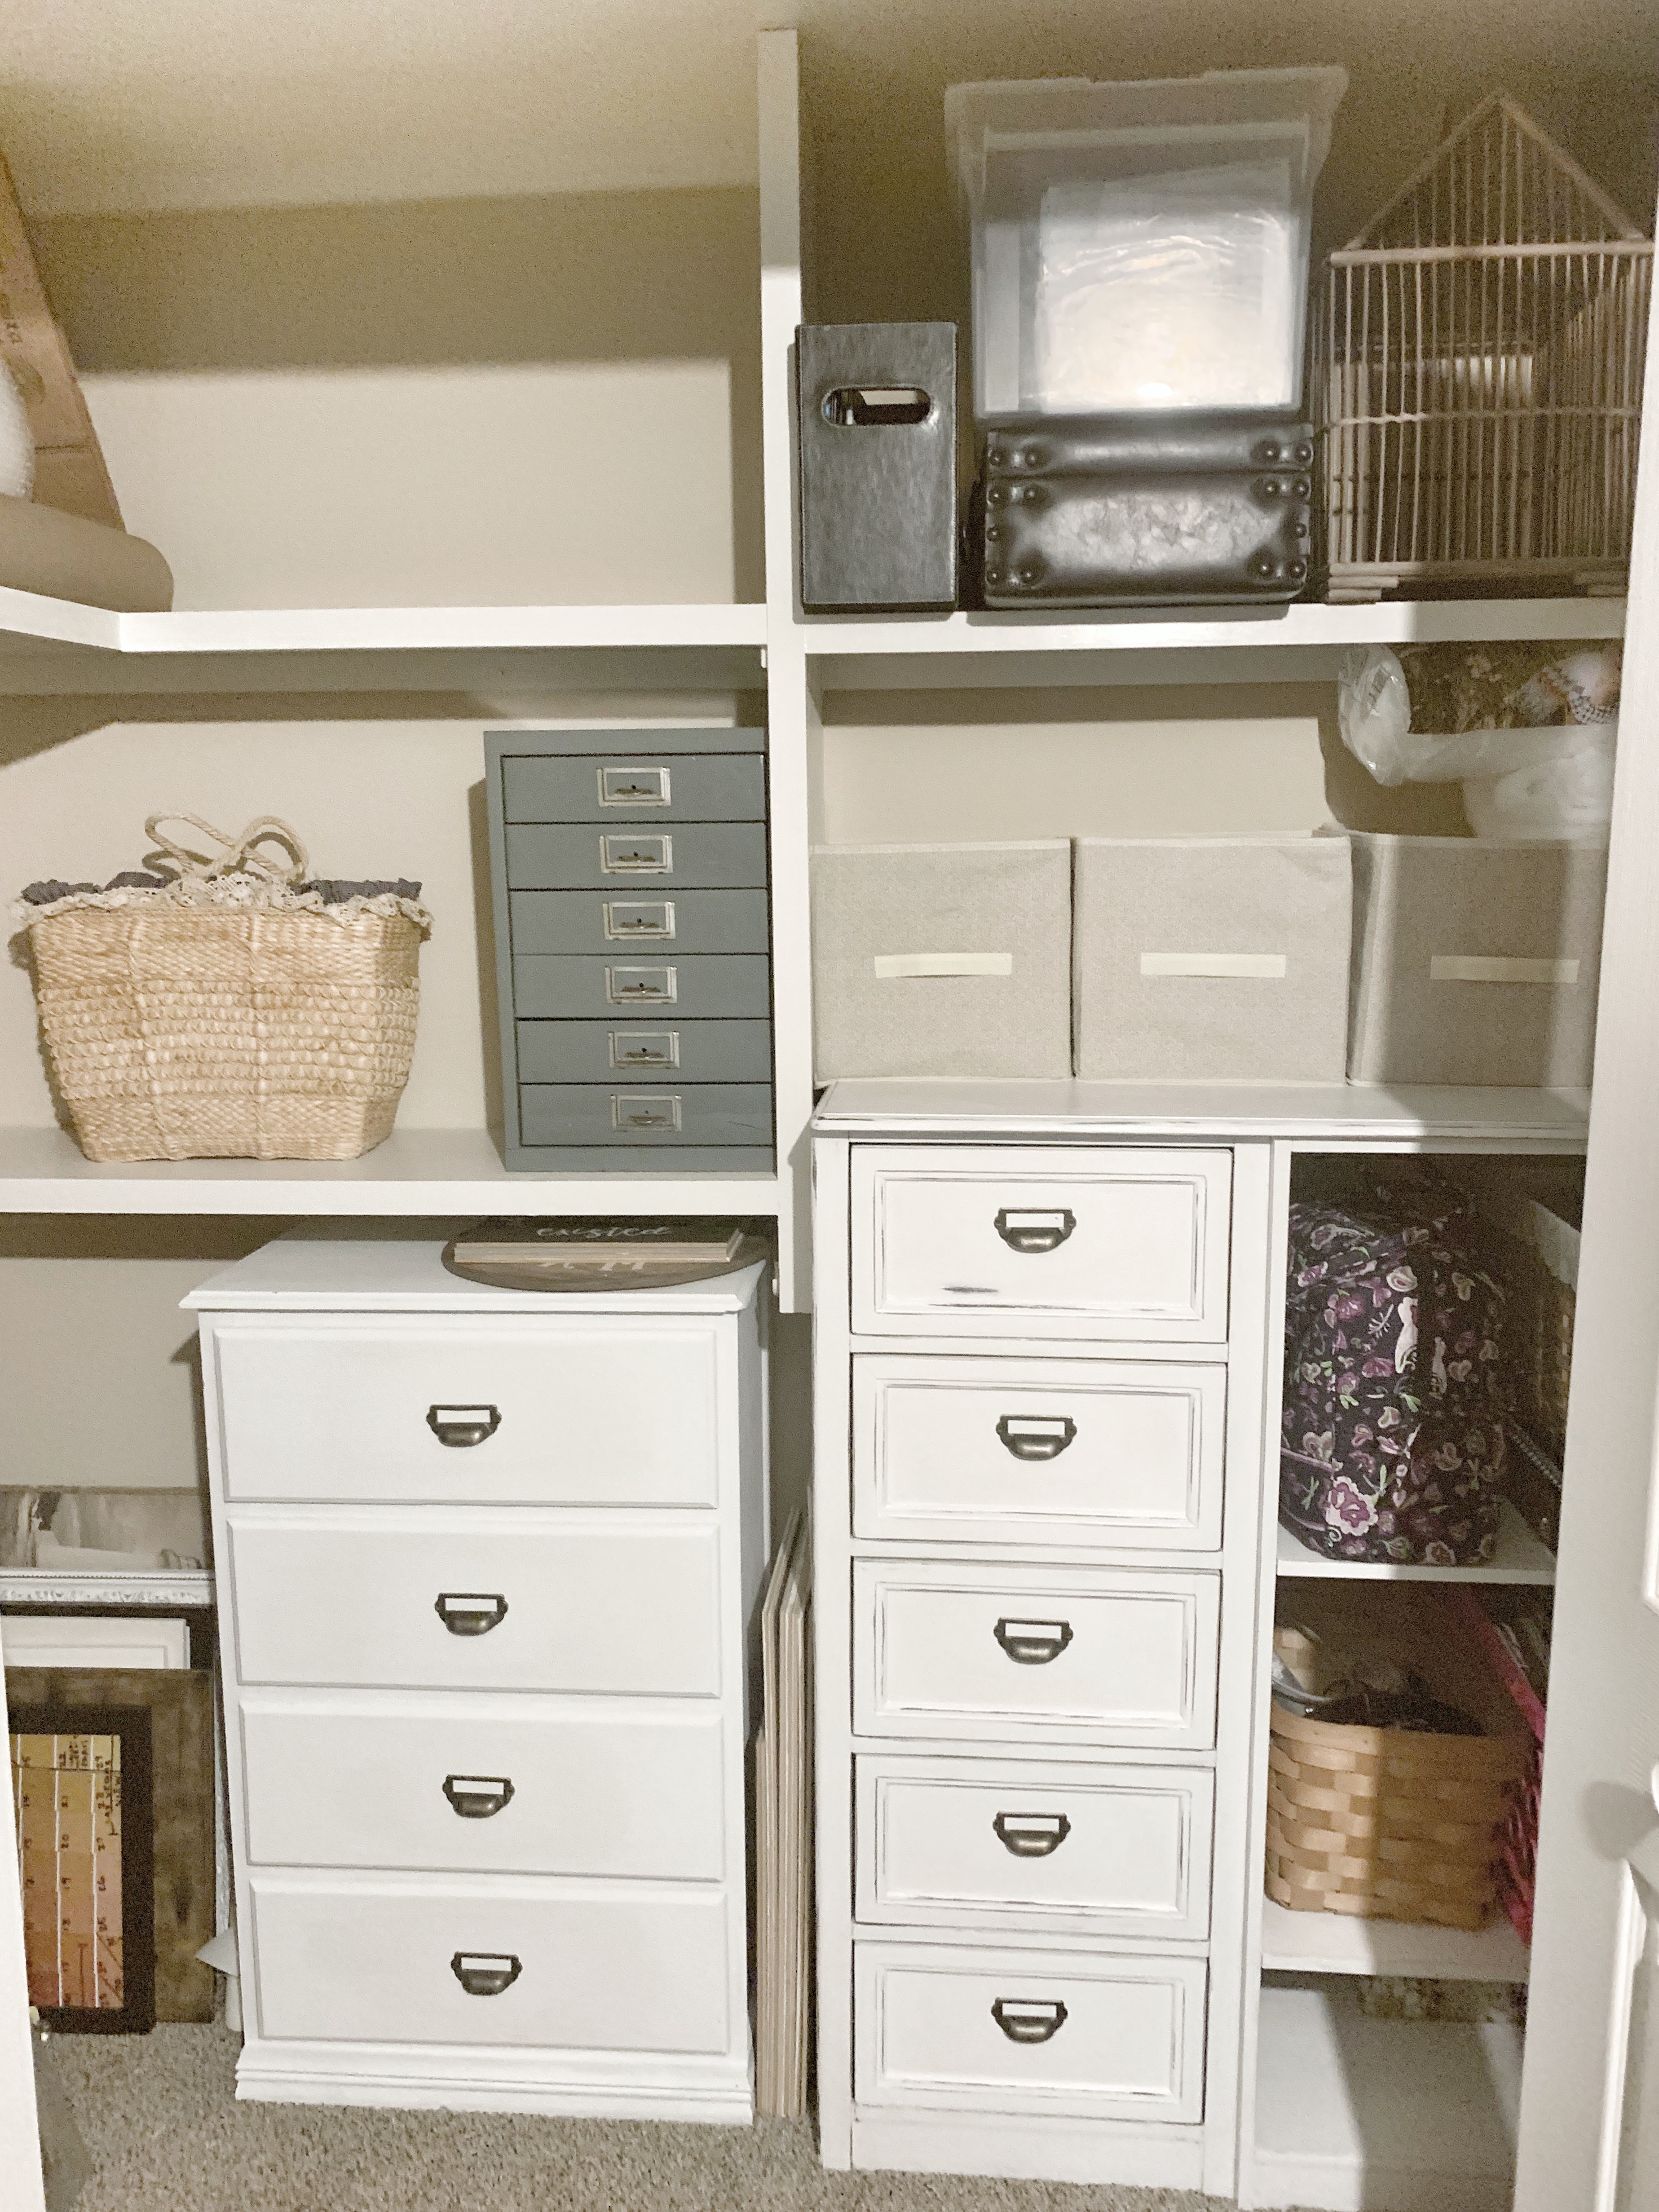
This closet update was a series of three different projects. I’ll show you the short process it took to achieve each one, and give you tips and ideas to update your office closet!
Project One
The first project was this bookshelf/drawer unit which was actually part of Logan’s bunkbed set growing up lol. When we got married I wasn’t crazy for it, but we kept it anyway for storage in our old office, and I had plans to refurbish it when we eventually updated the office.
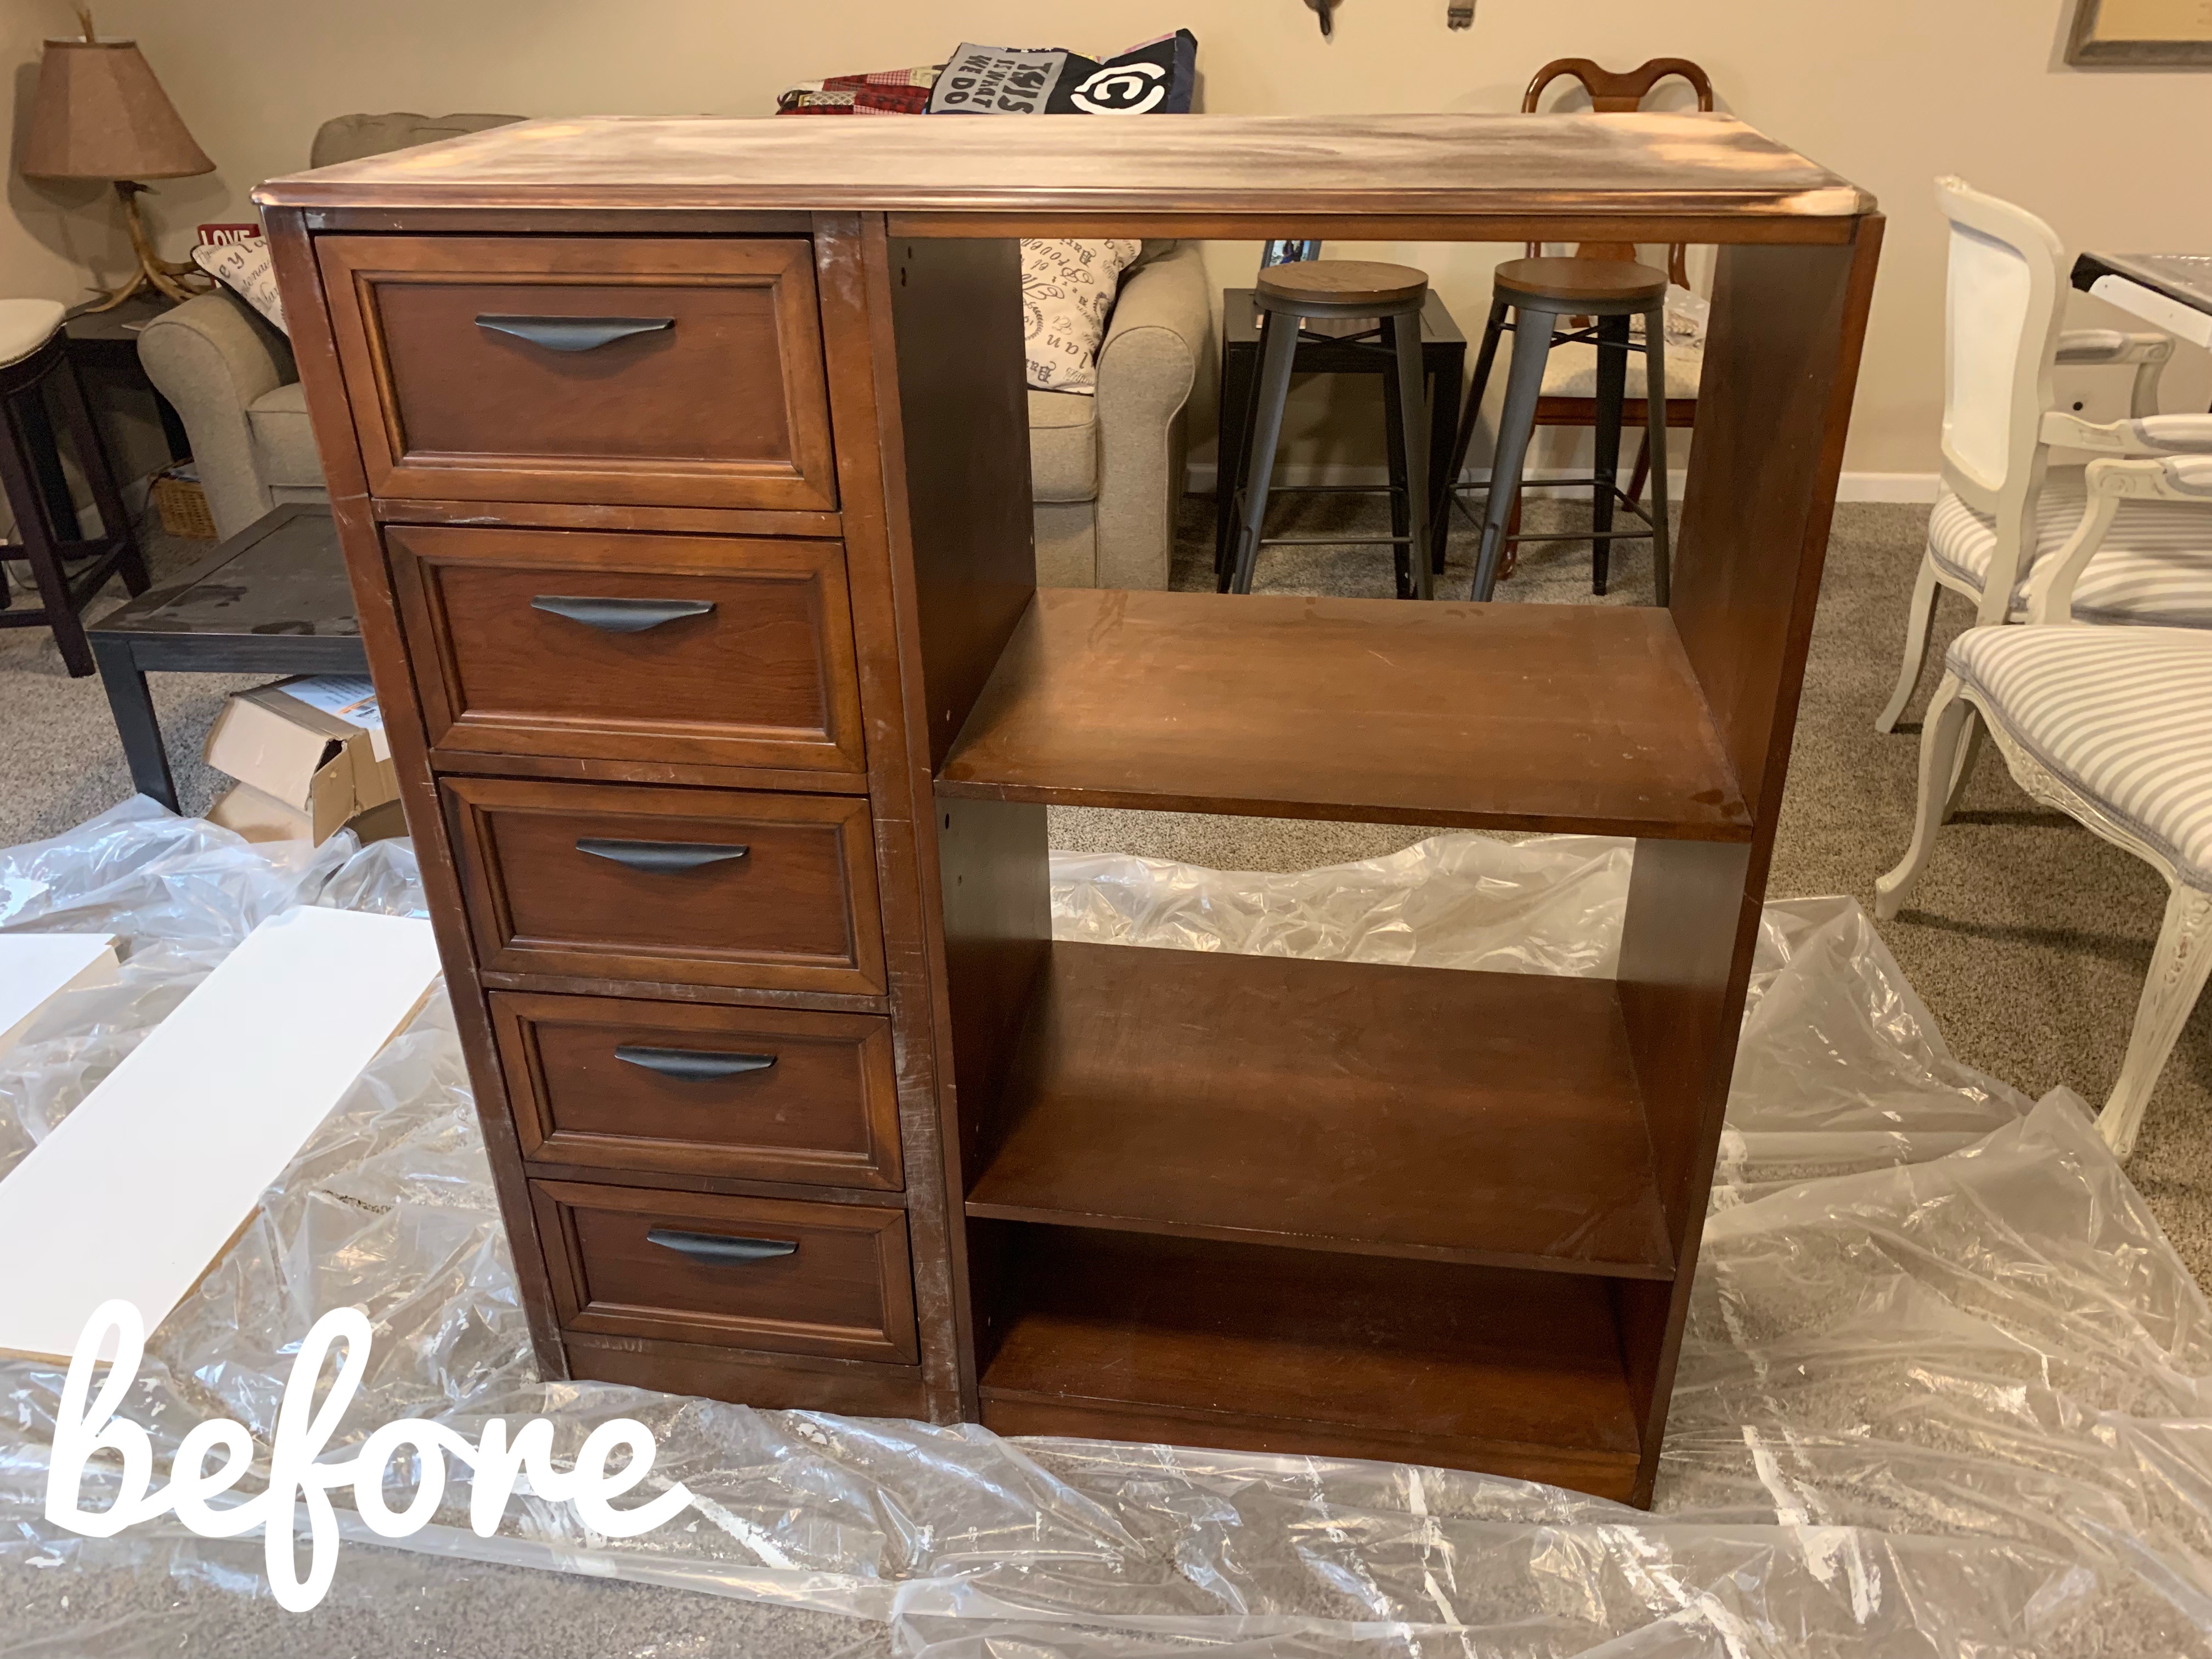
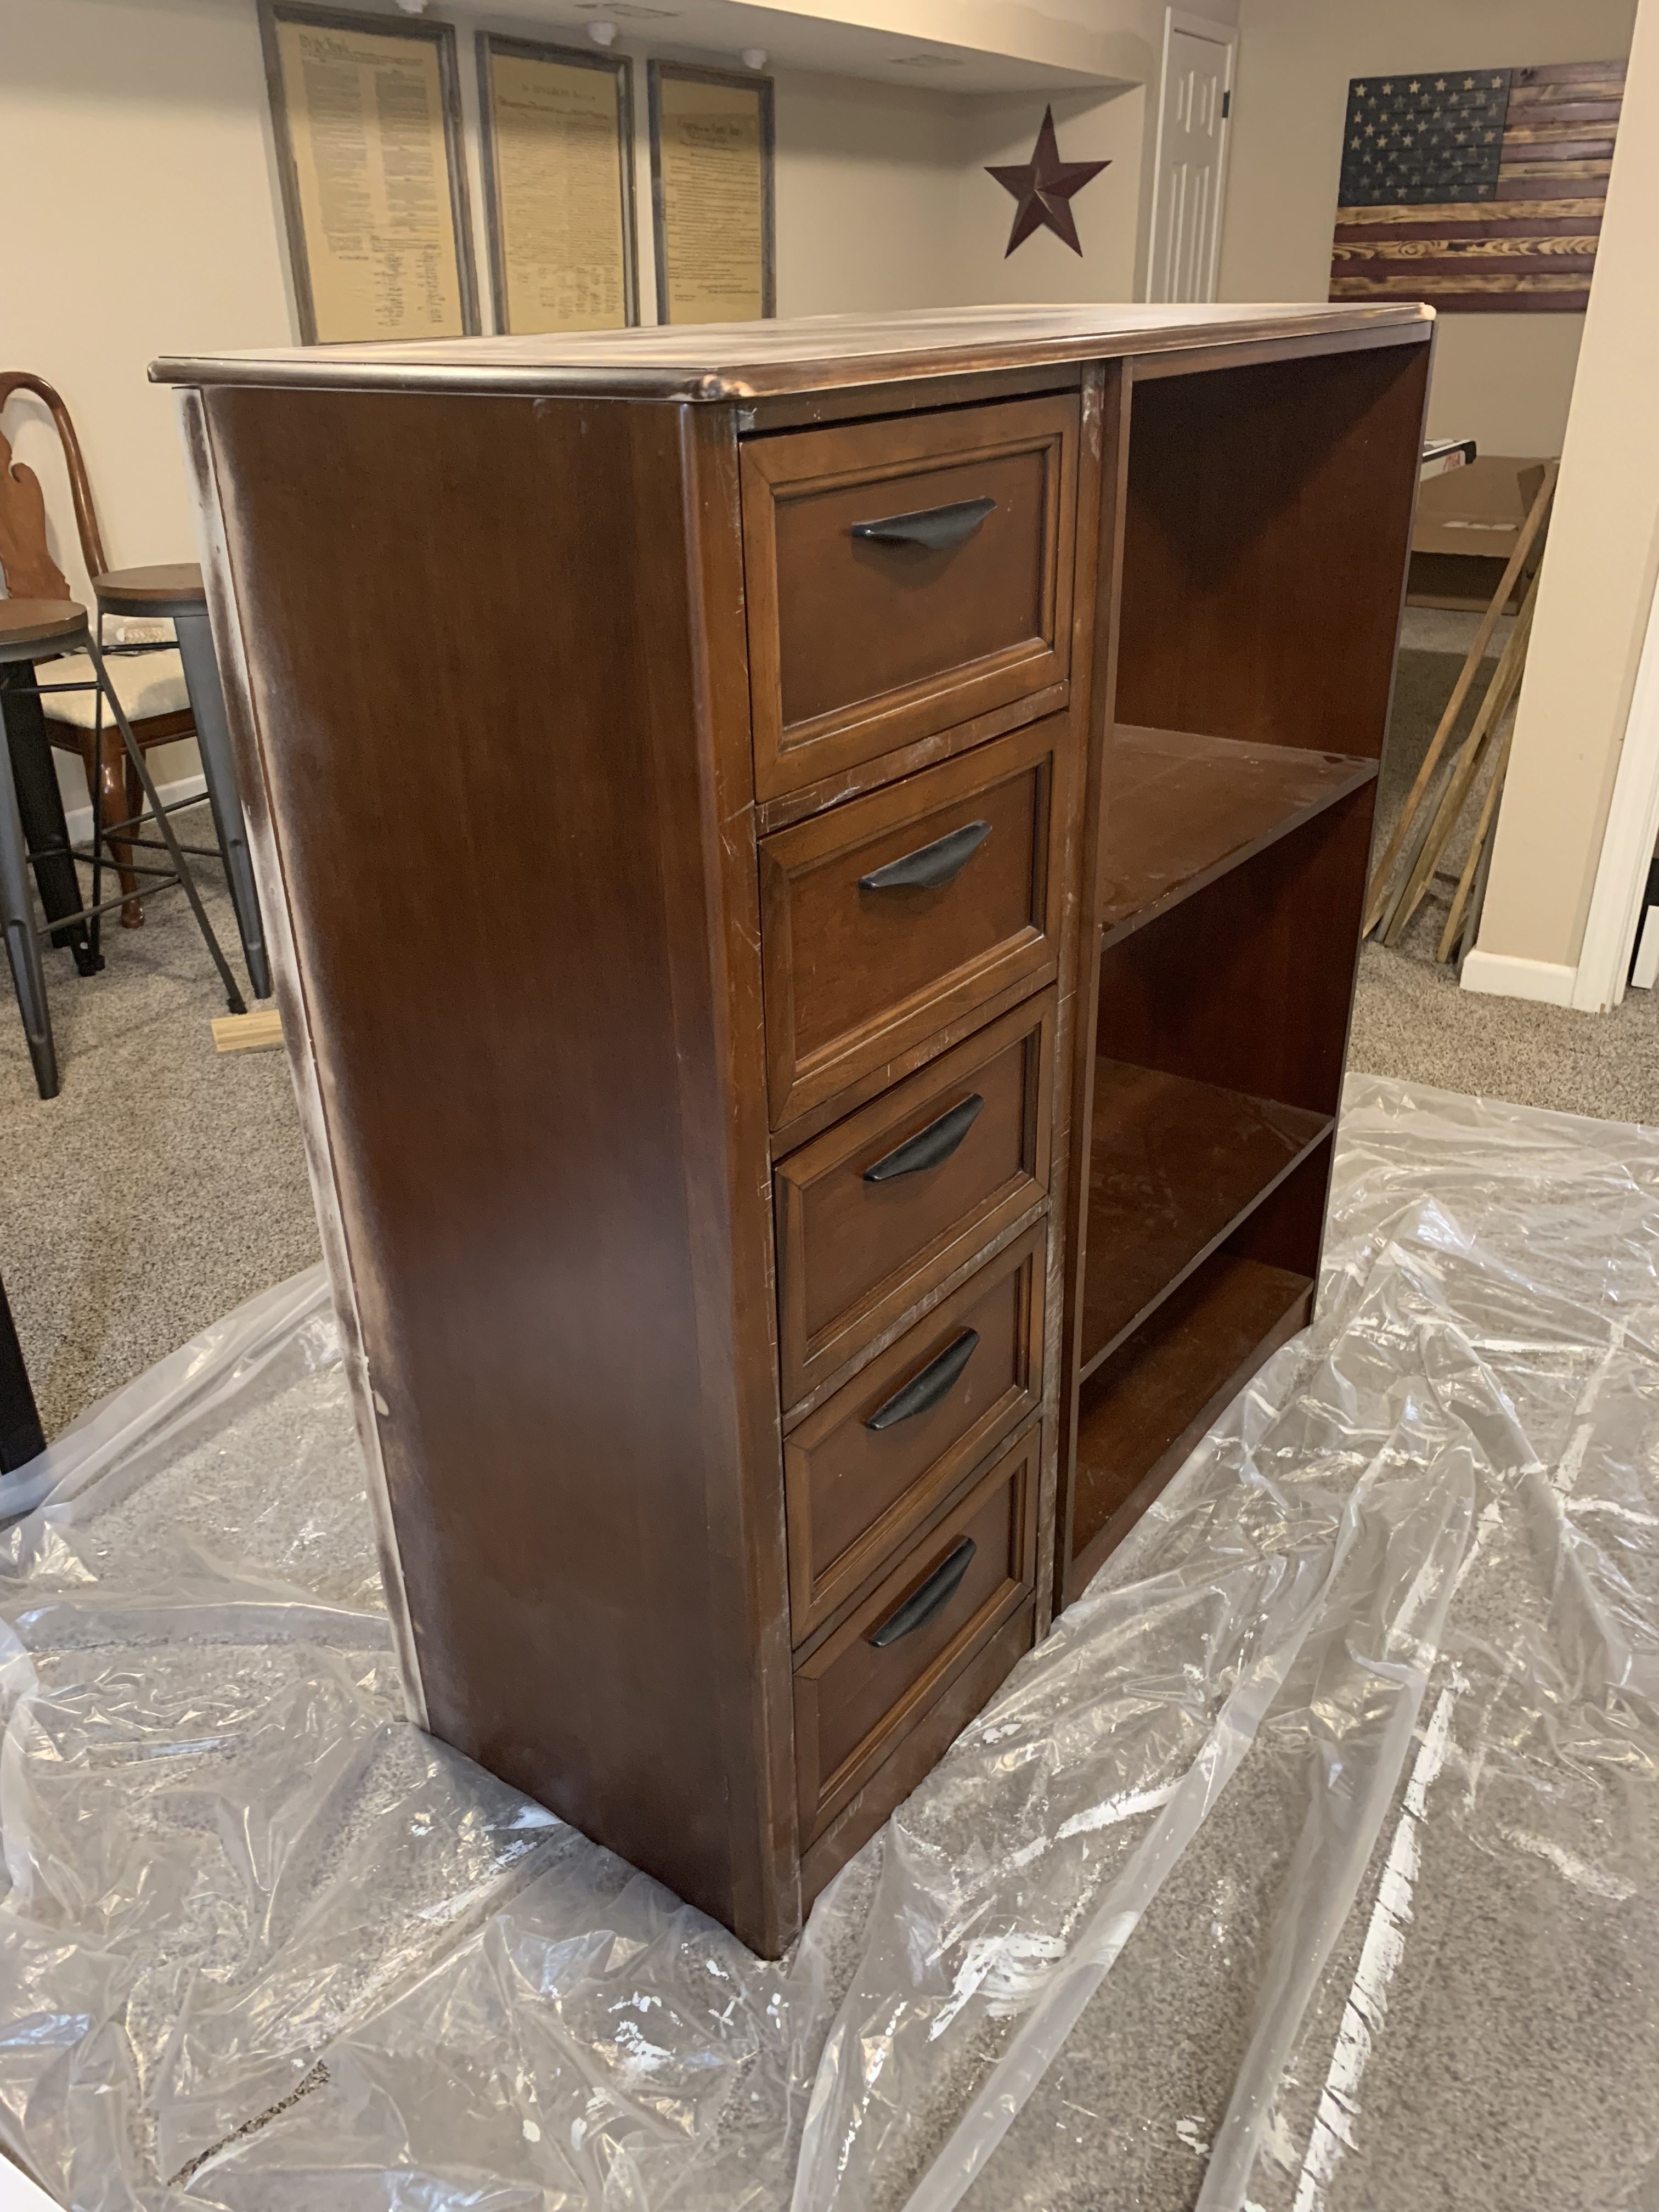
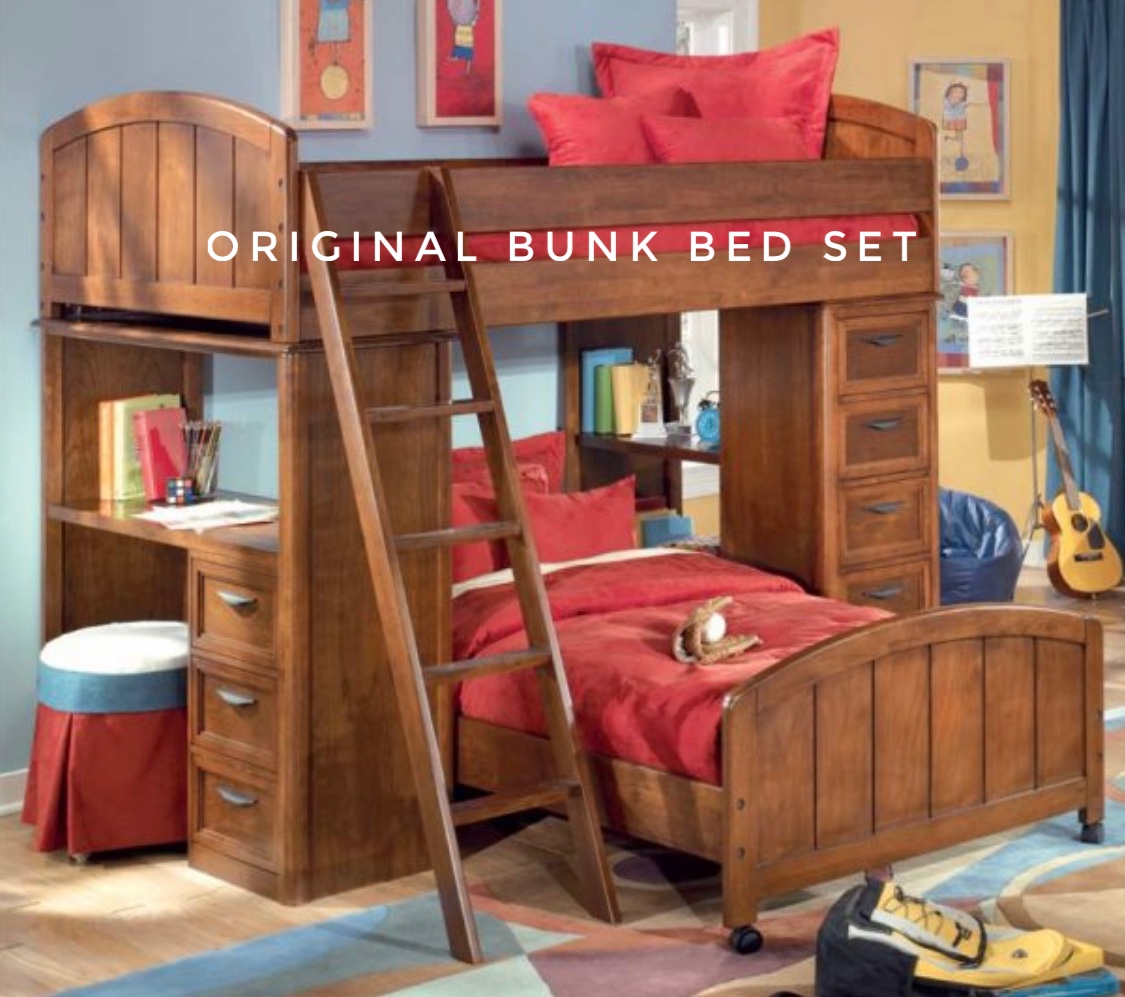
TIP: If you want grown-up furniture with out paying a grown-up price, just repurpose your childhood furniture lol. (See our dresser refurbish).
- Modifications
The drawers were once on the side, so we unattached them and rotated them to face the front. This changed the dimensions a little bit and we had to improvise…
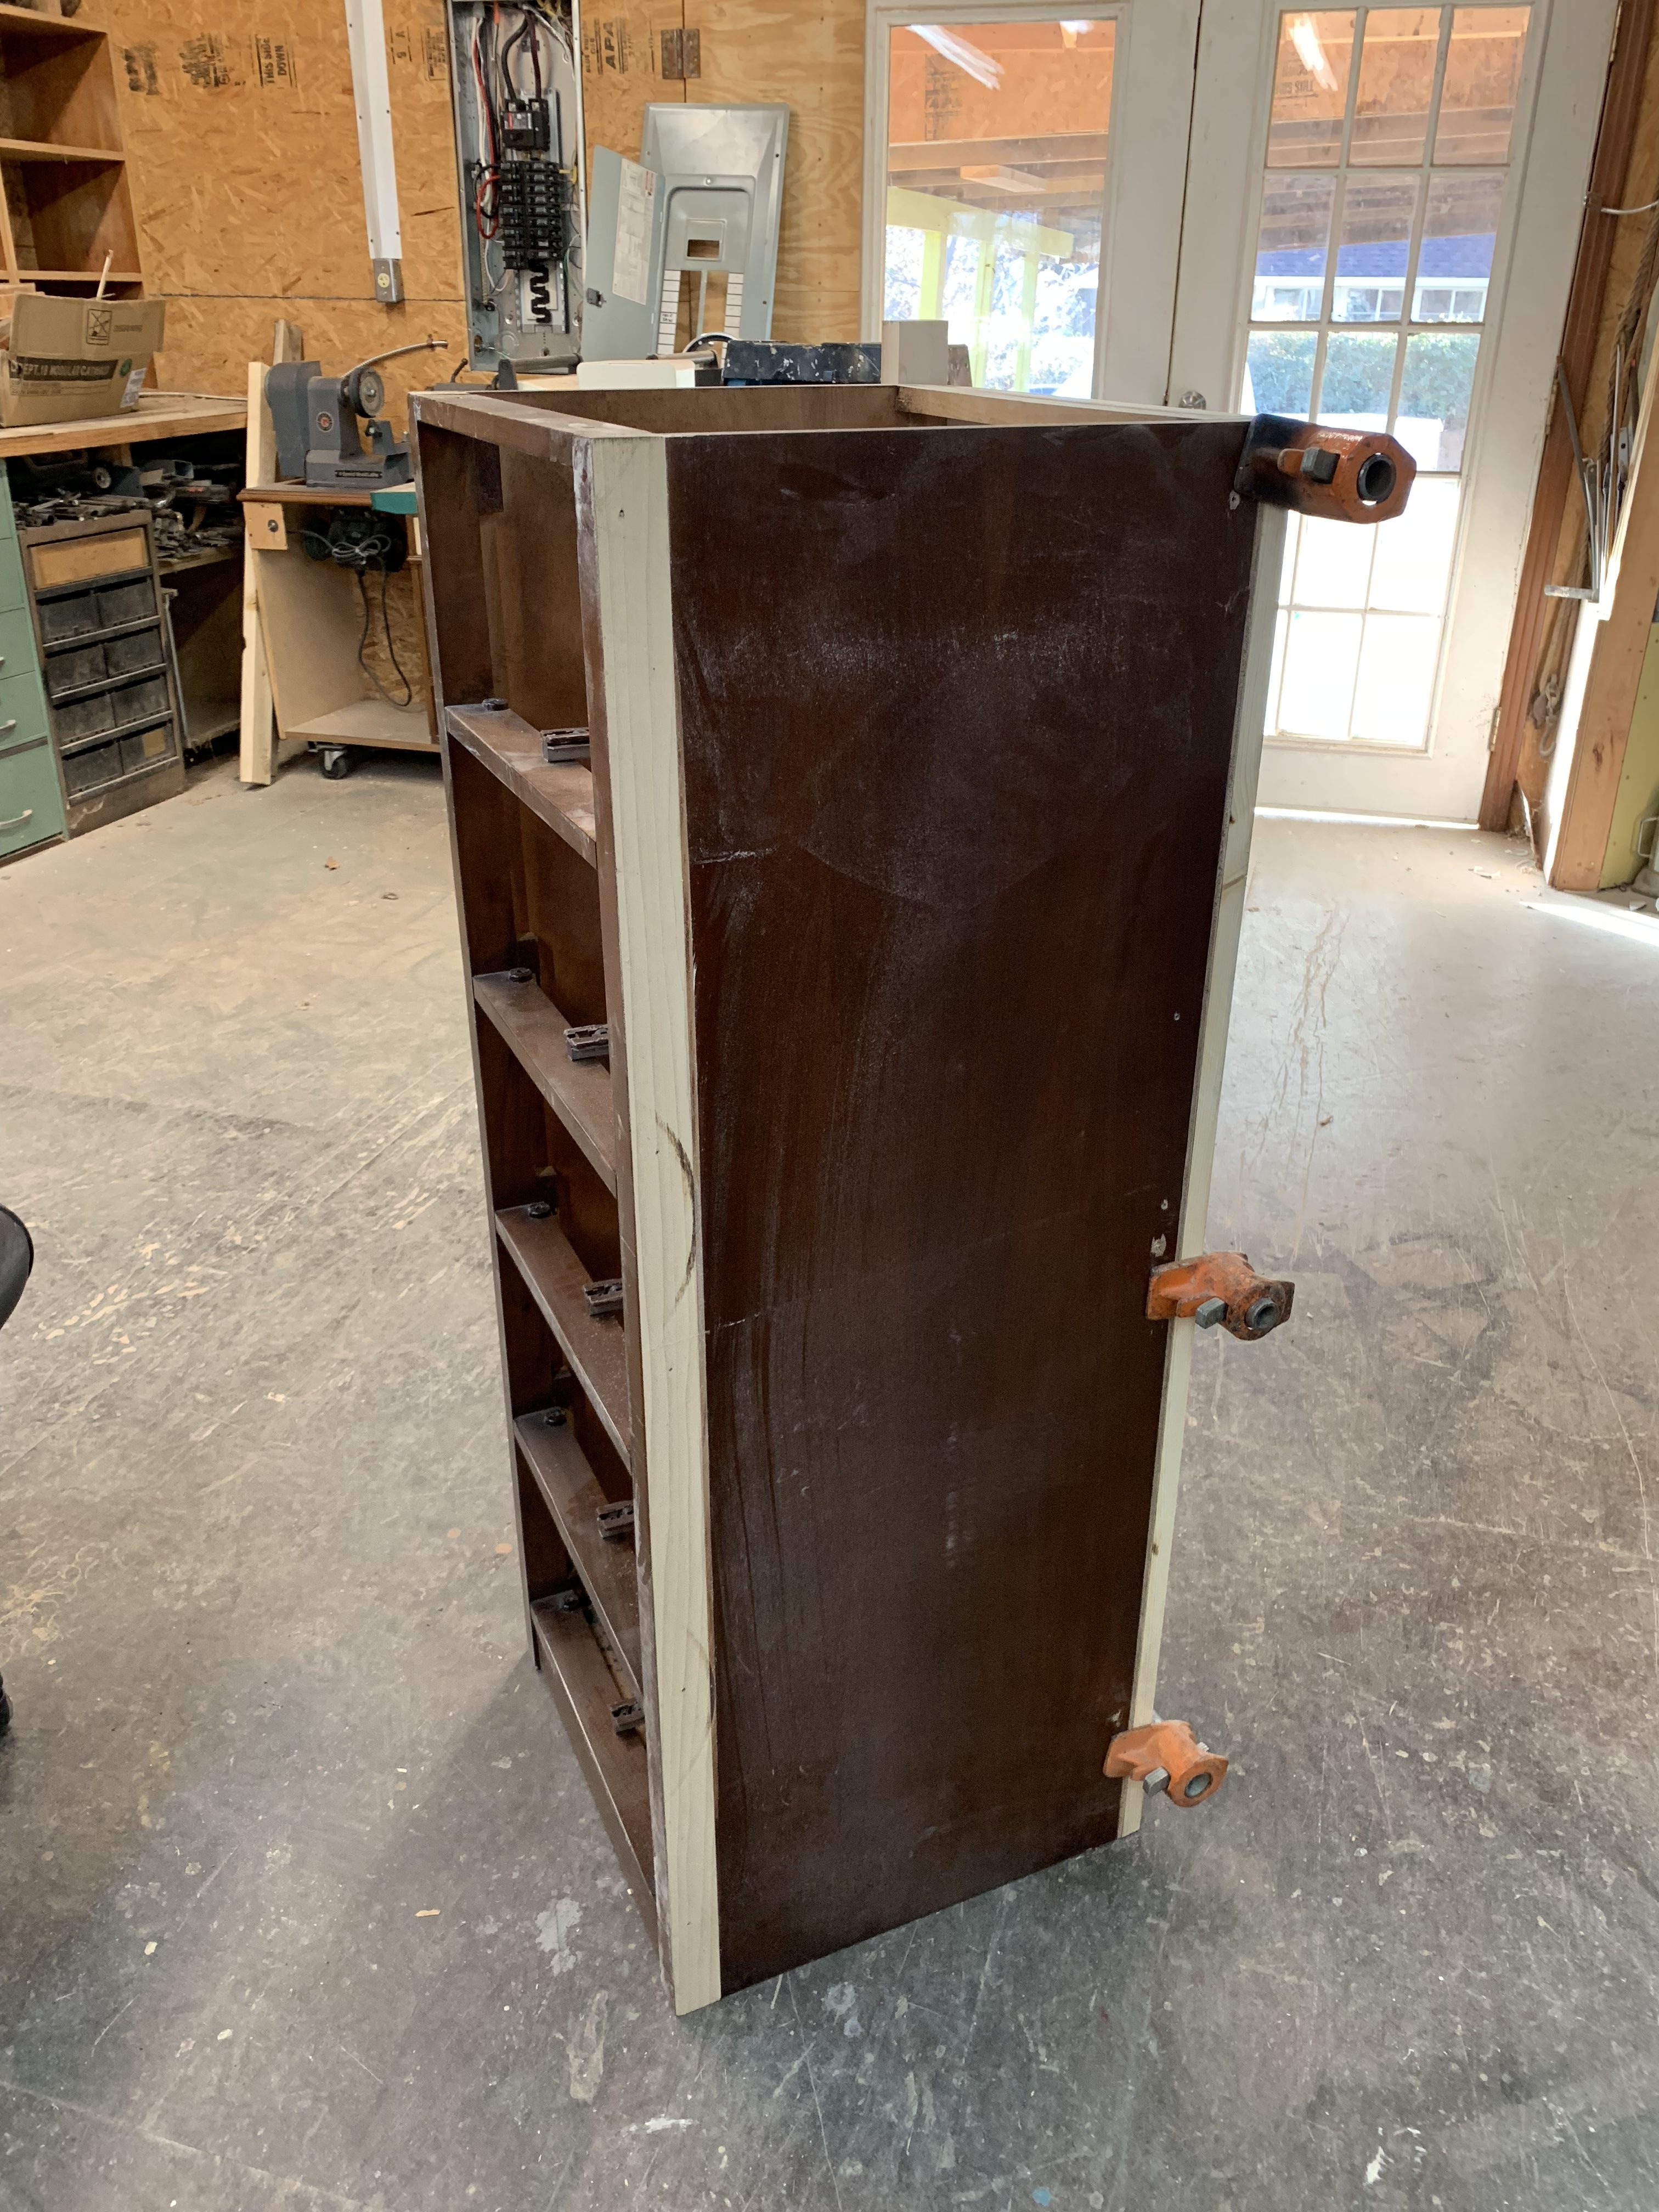
Since the part we rotated was wider than it was deep, we added some pieces of wood on the back the give it more depth, and put a piece of trim to cover it. This way it would be closer to the depth of the bookshelf part it attaches to.
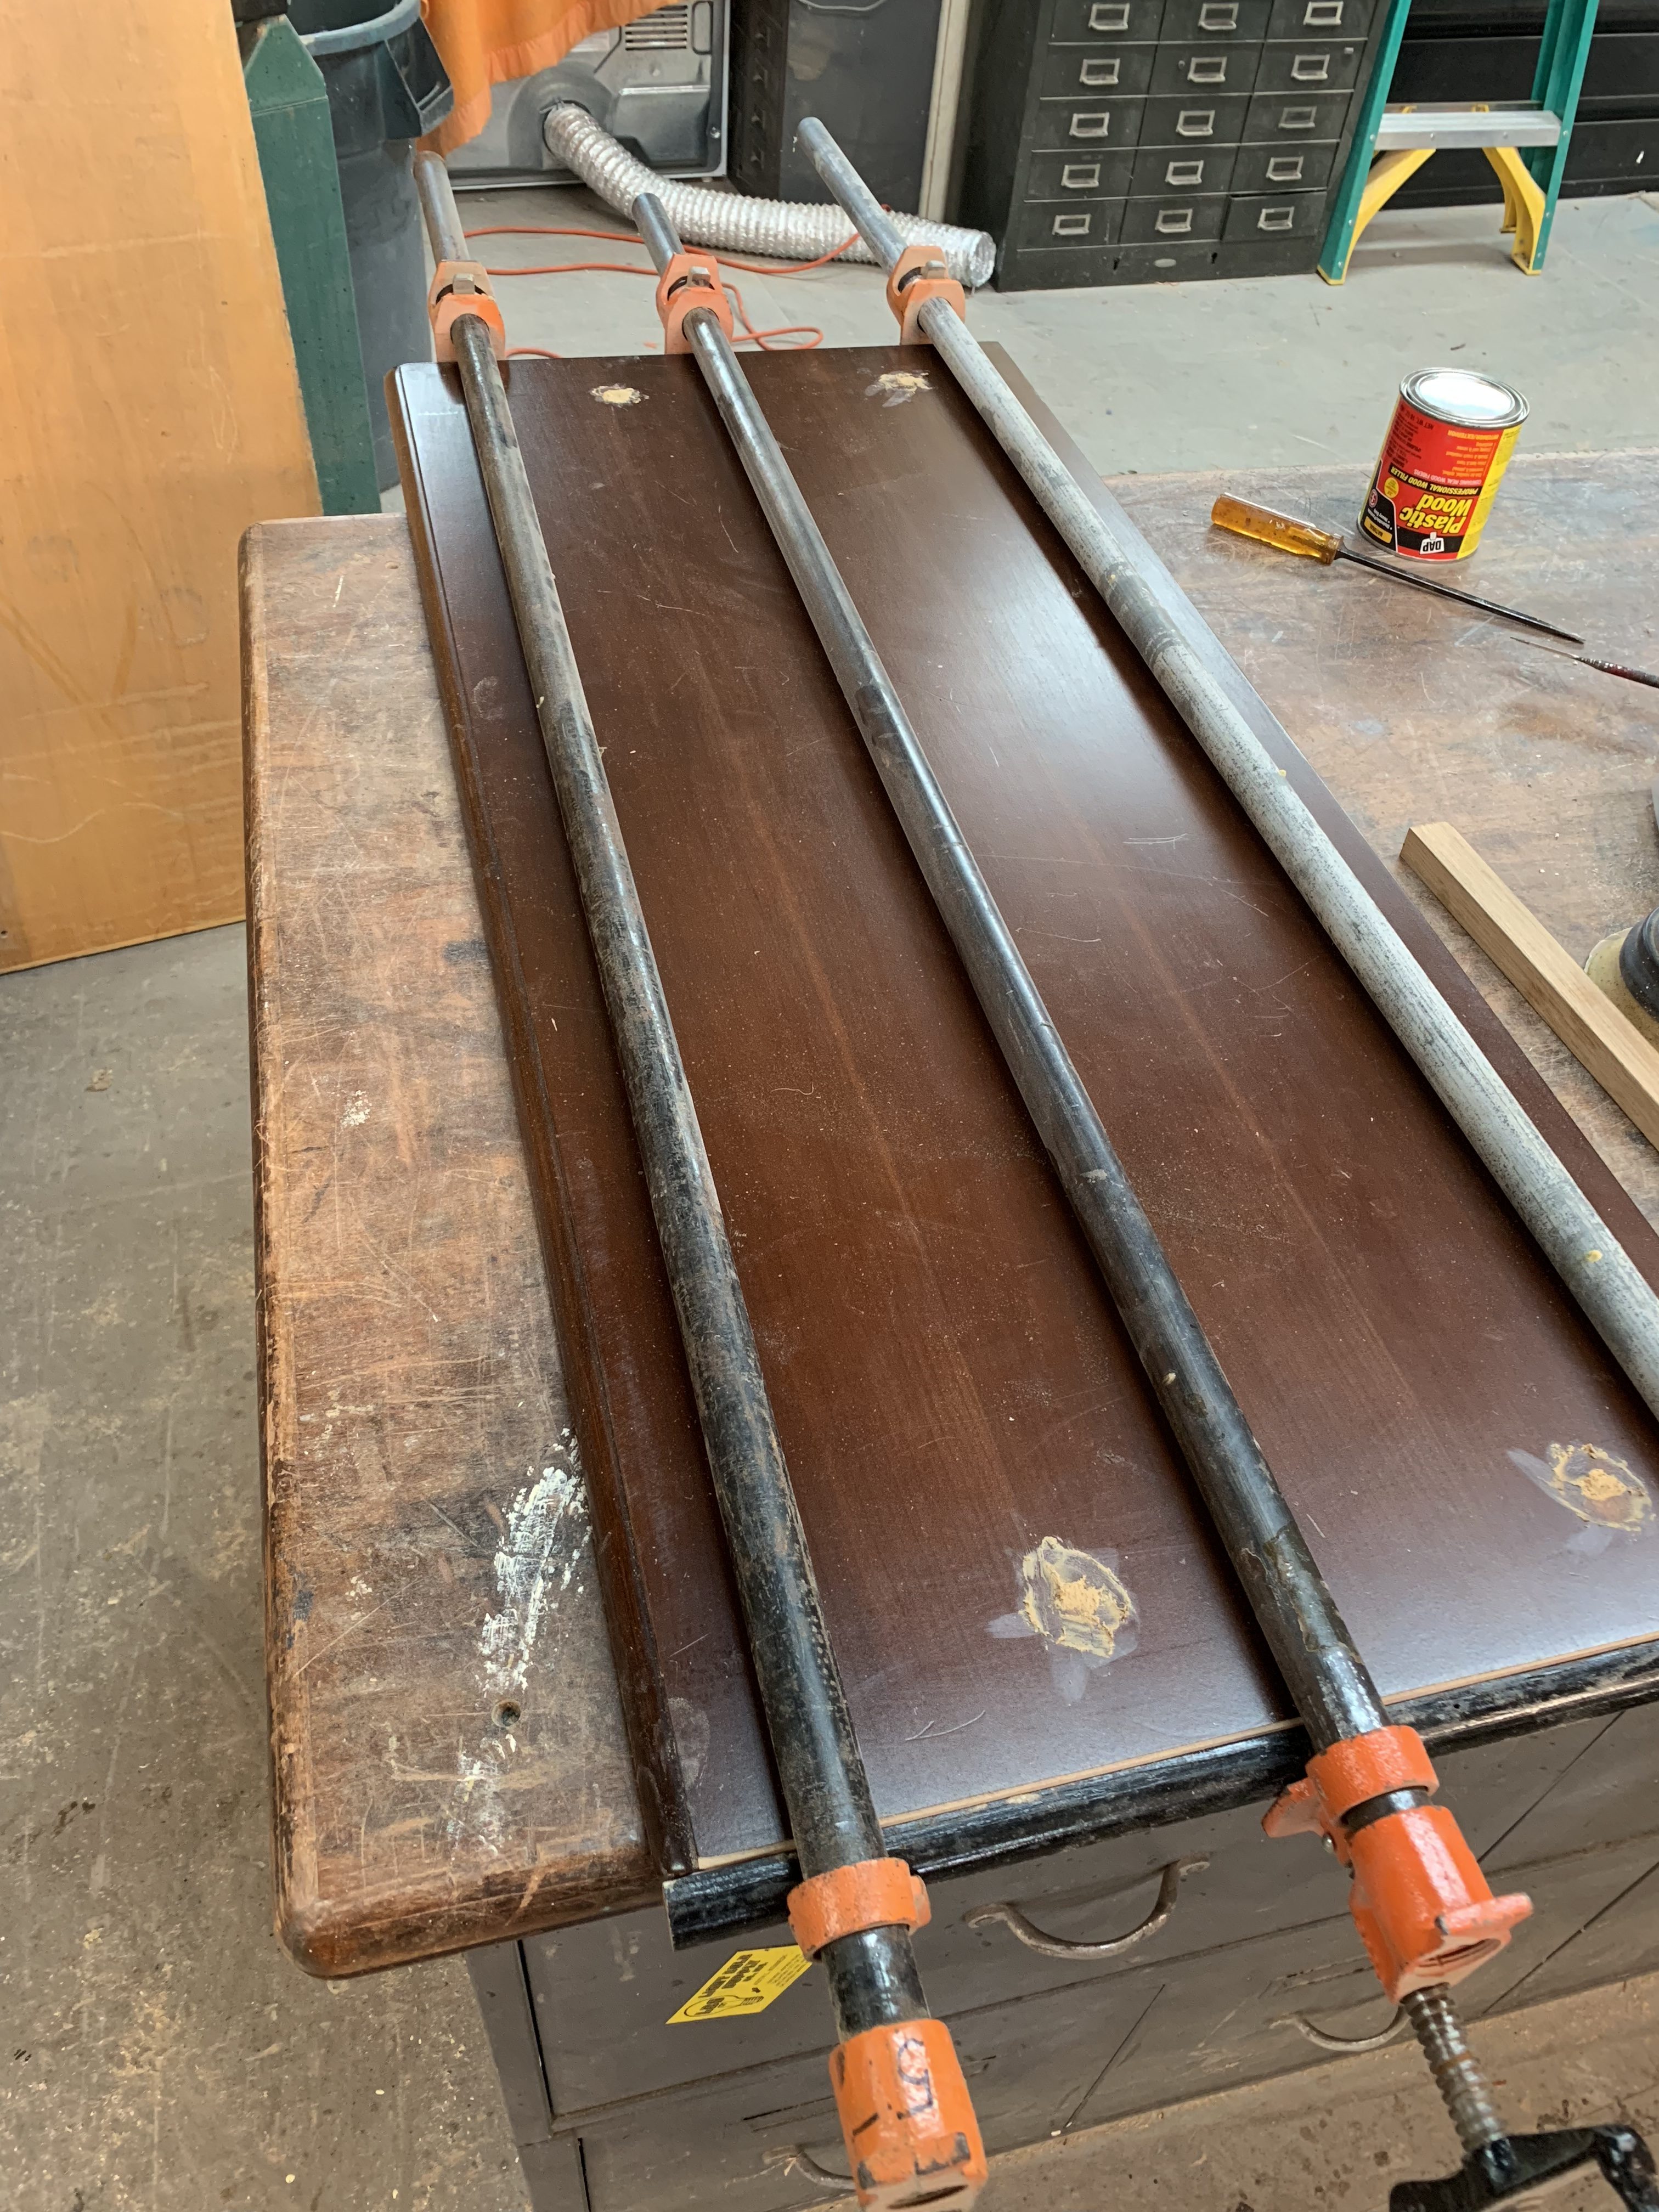
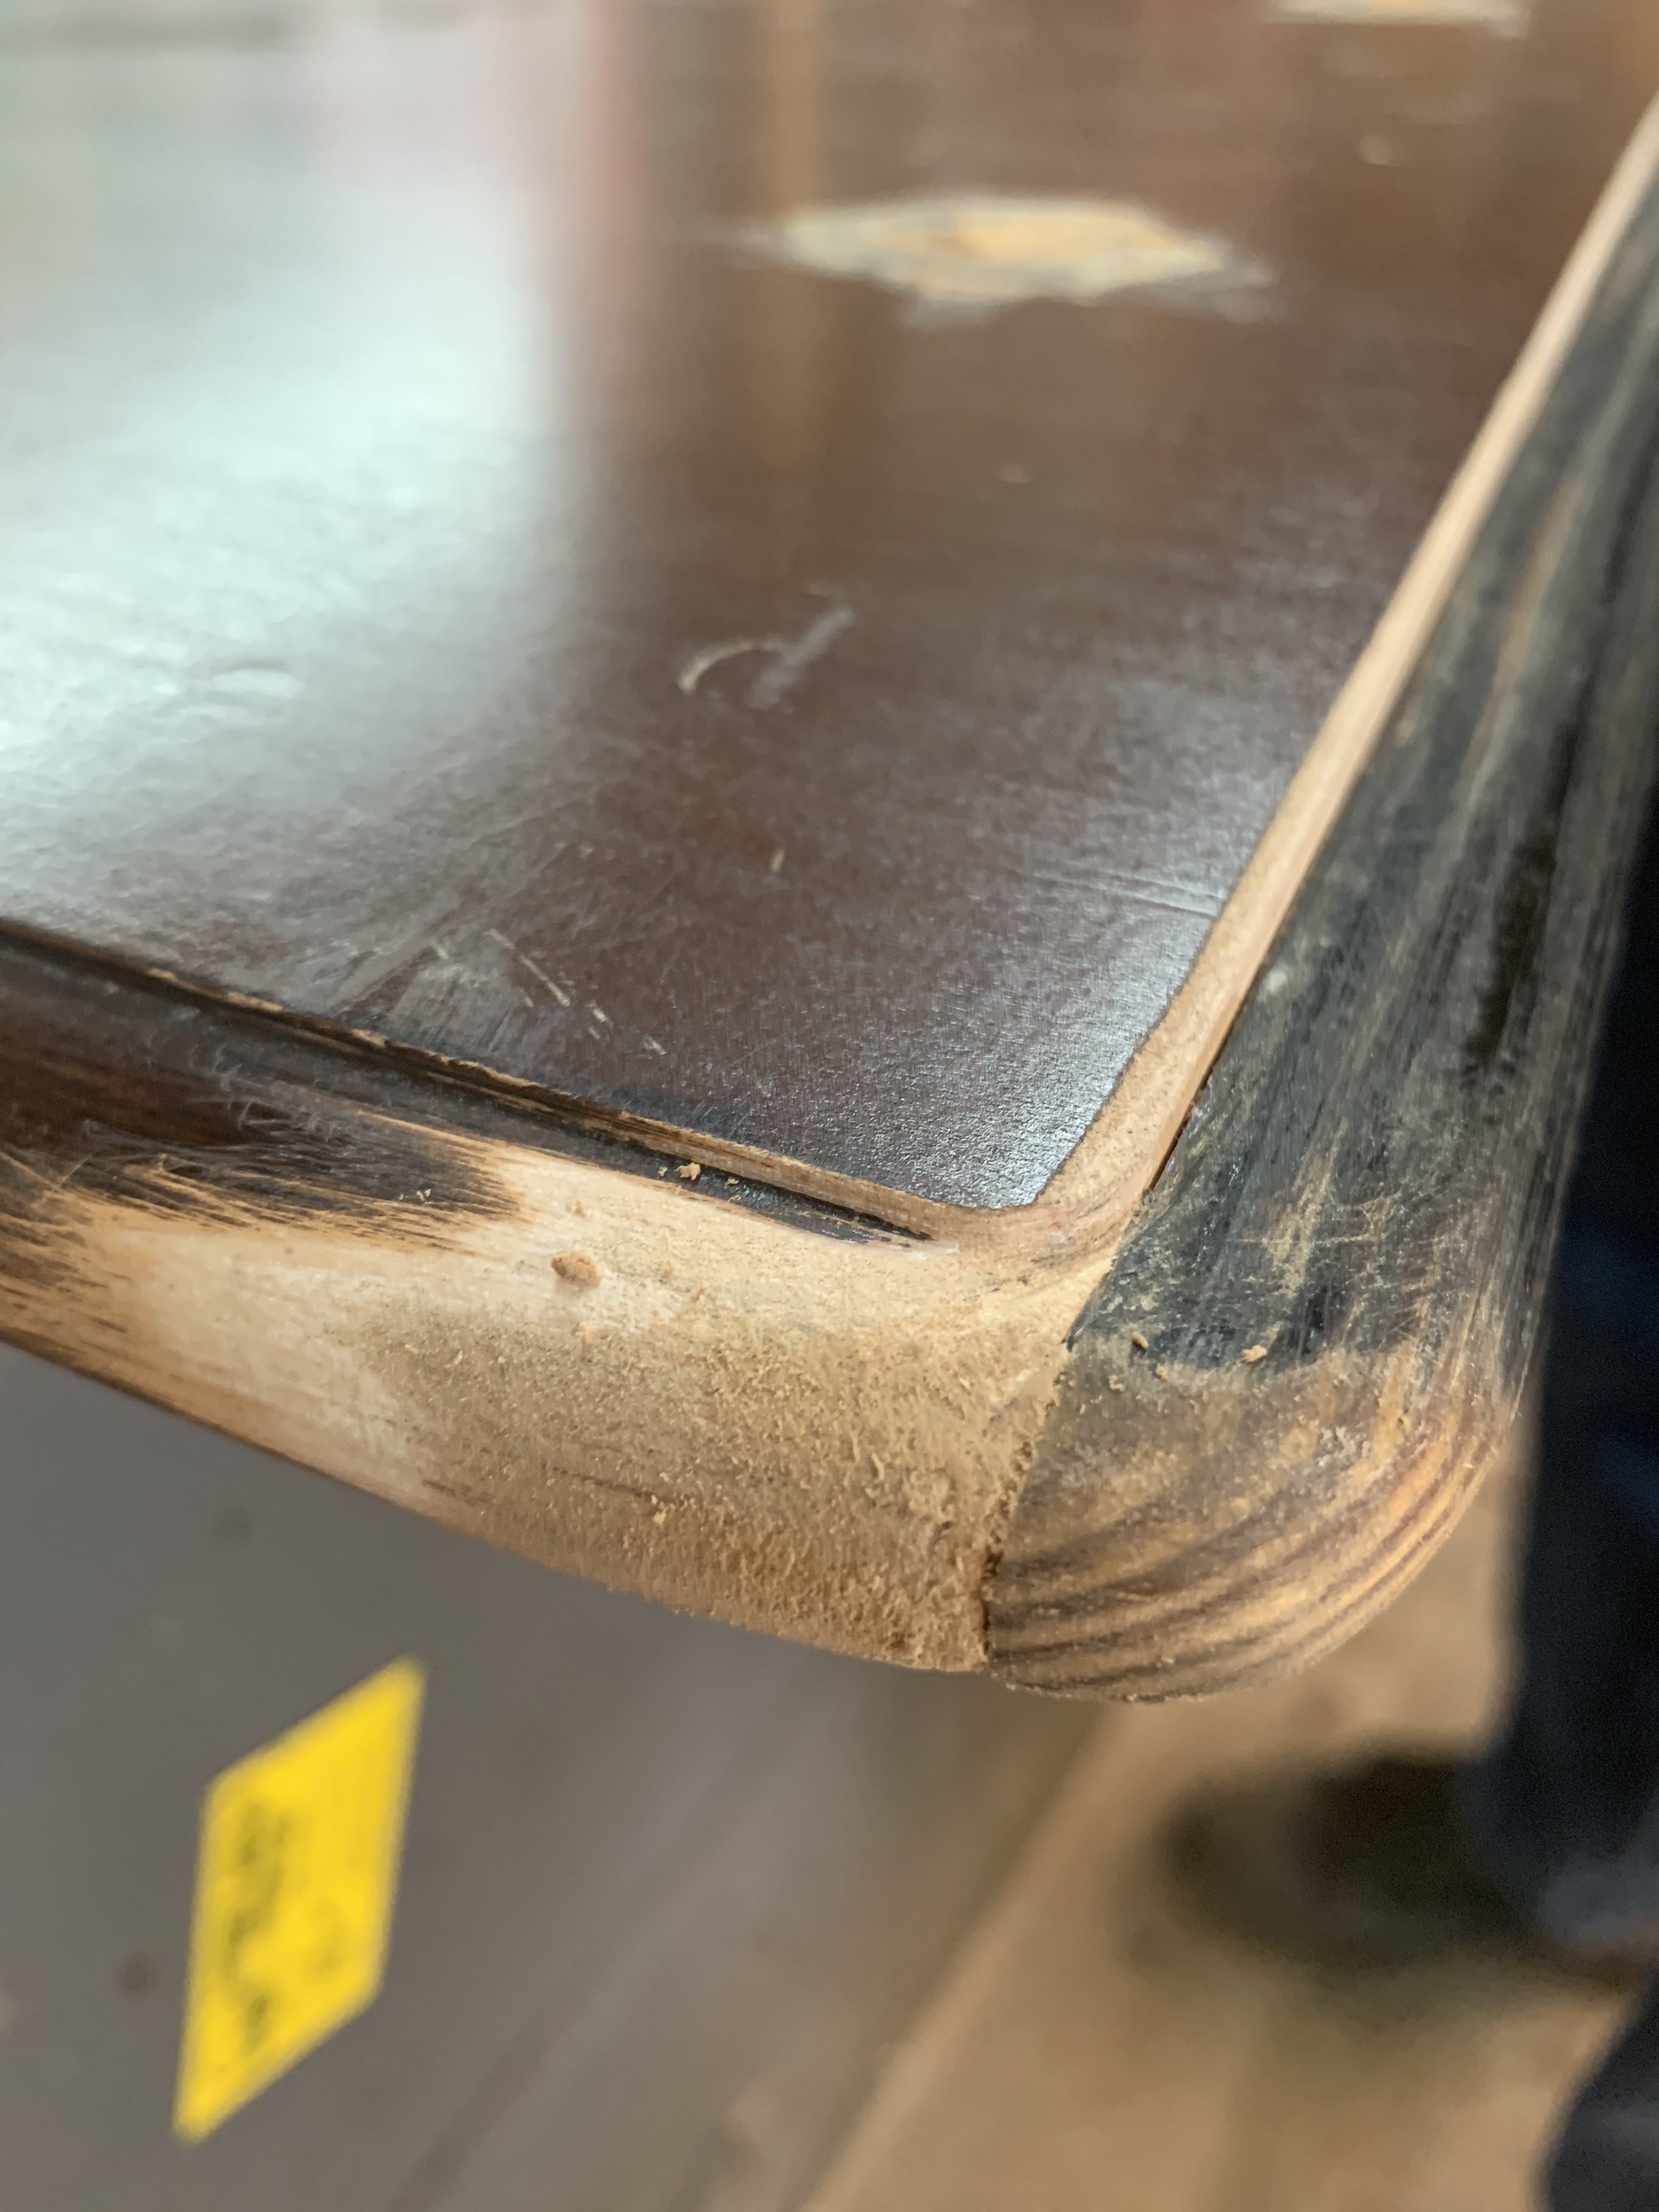
We also had to add 3/4″ trim on one side of the top to match the new width of the base, and we carved it to match the existing trim. Not a perfect solution… but definitely suitable for a closet. After making these adjustments, it was time to sand and paint!
- Paint and Hardware
I used Rustoleum Chalked paint in Linen White, and it took about two coats.
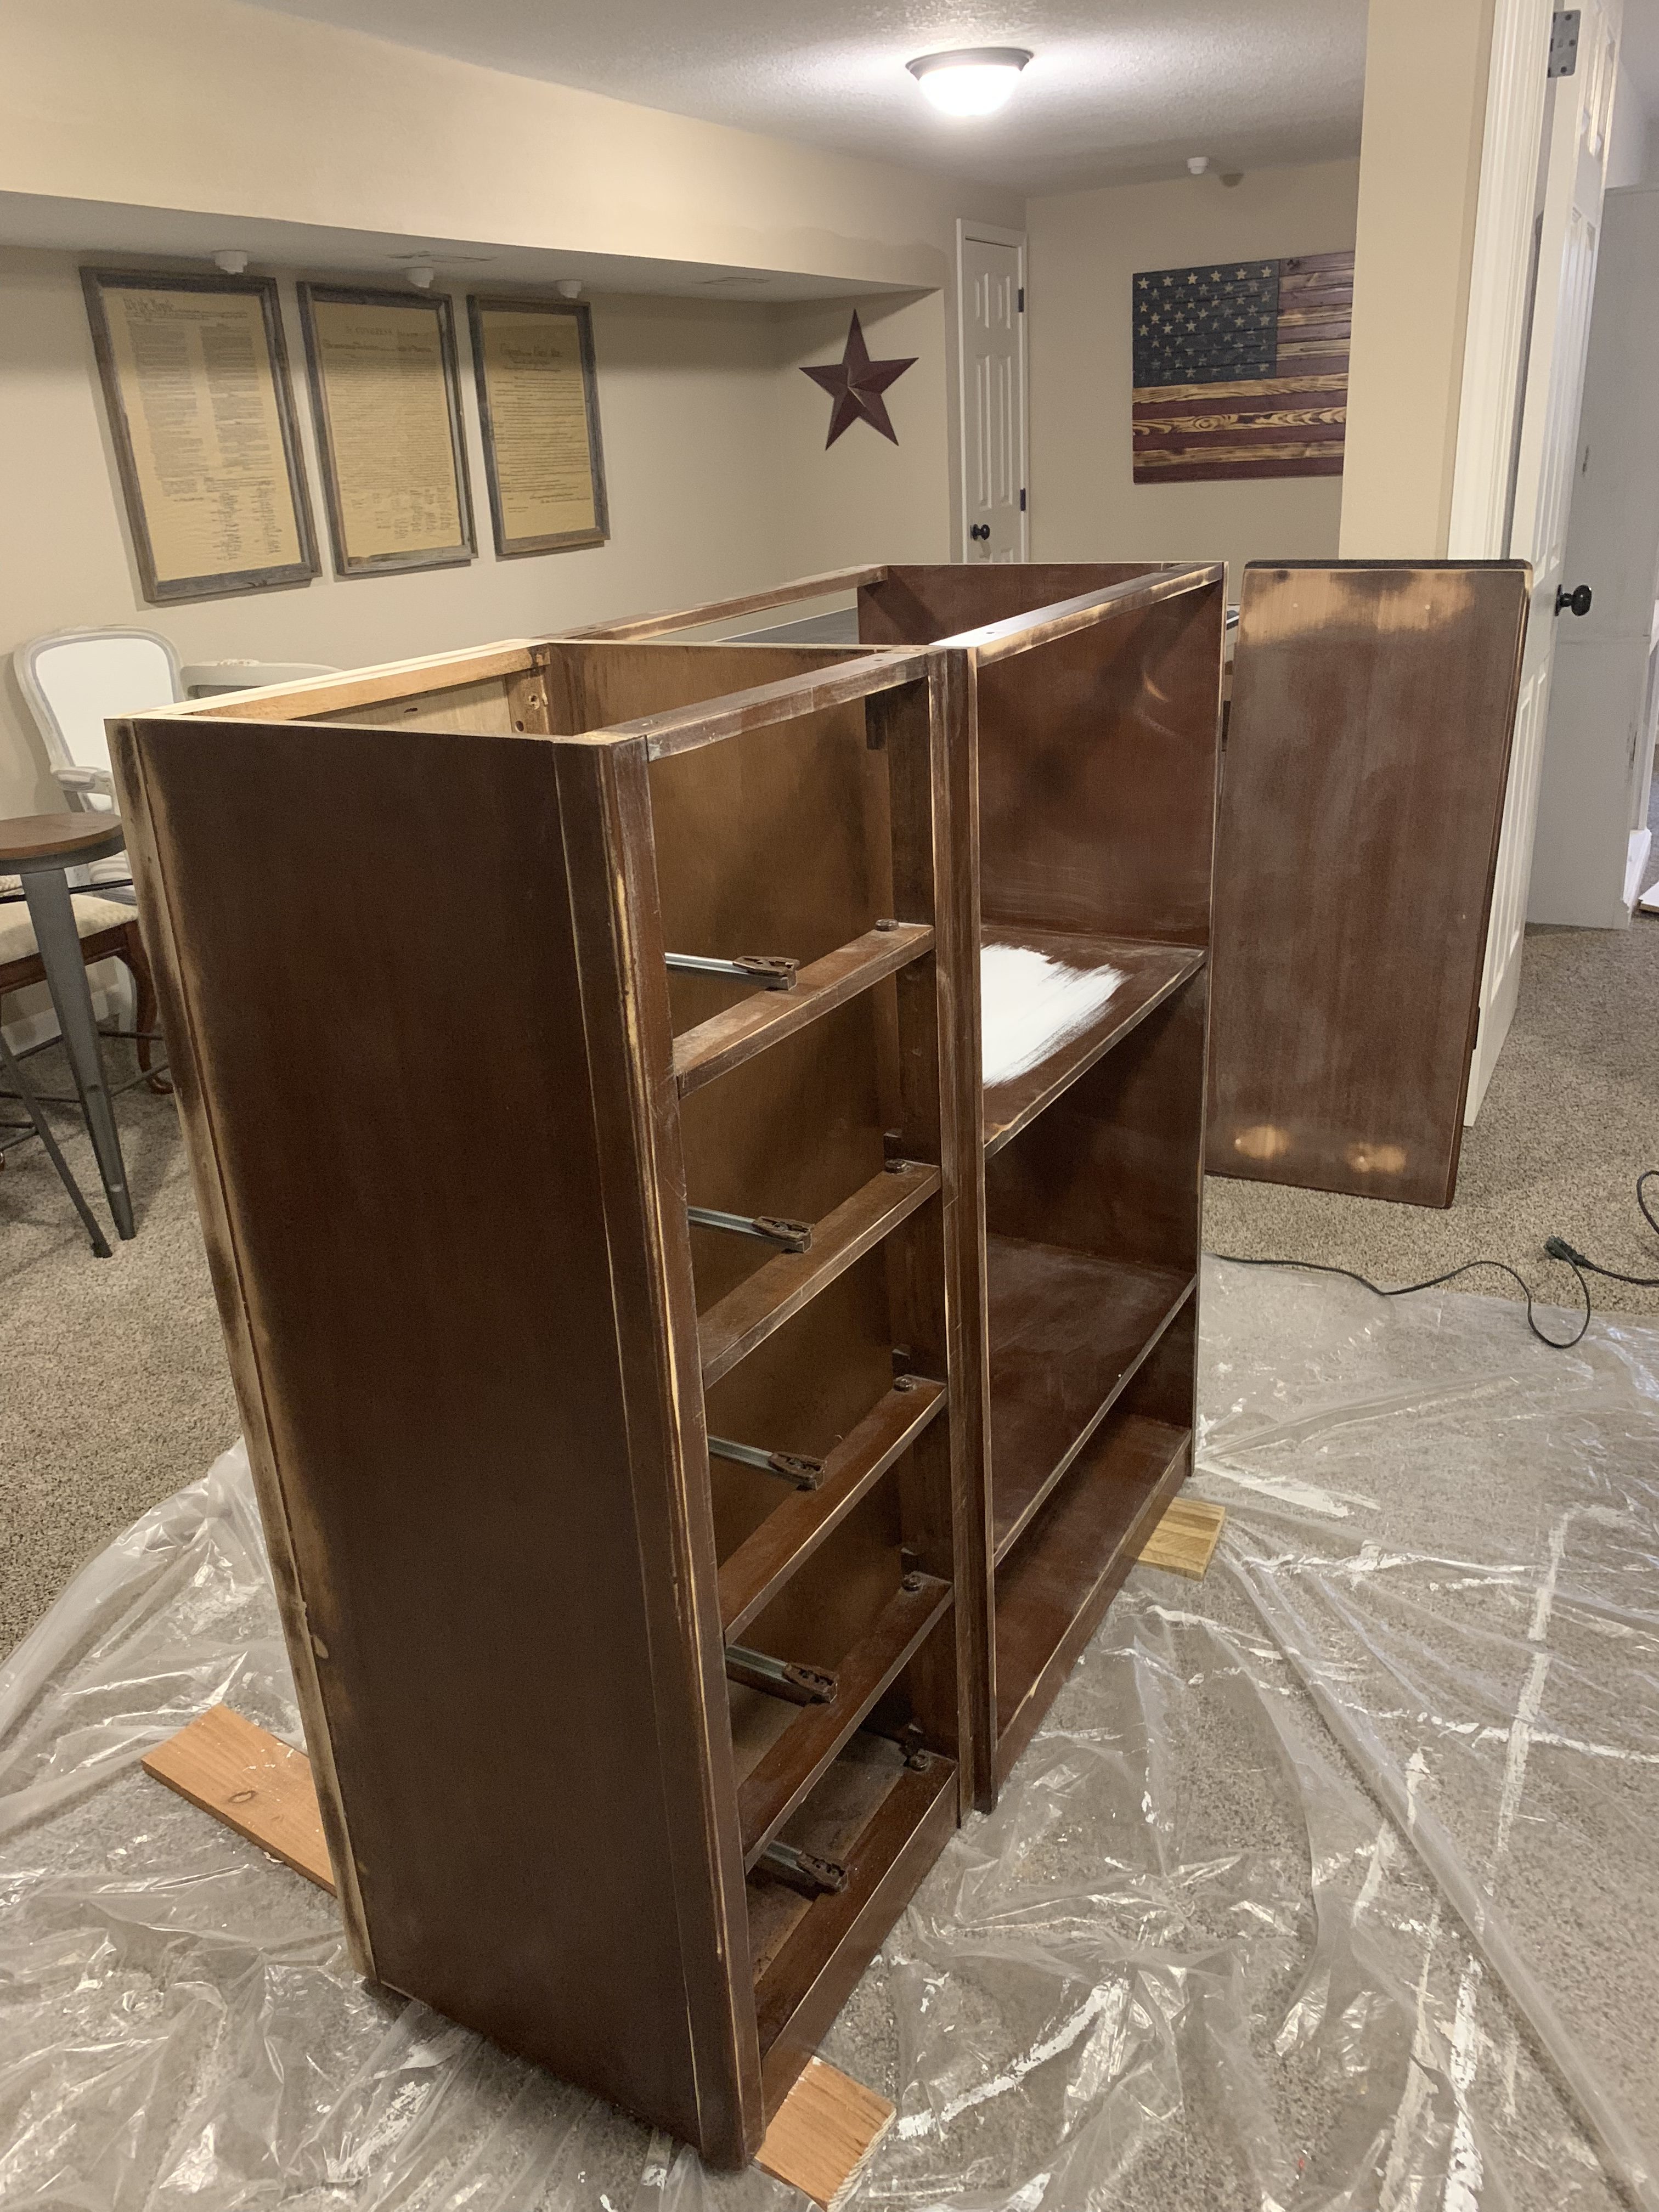
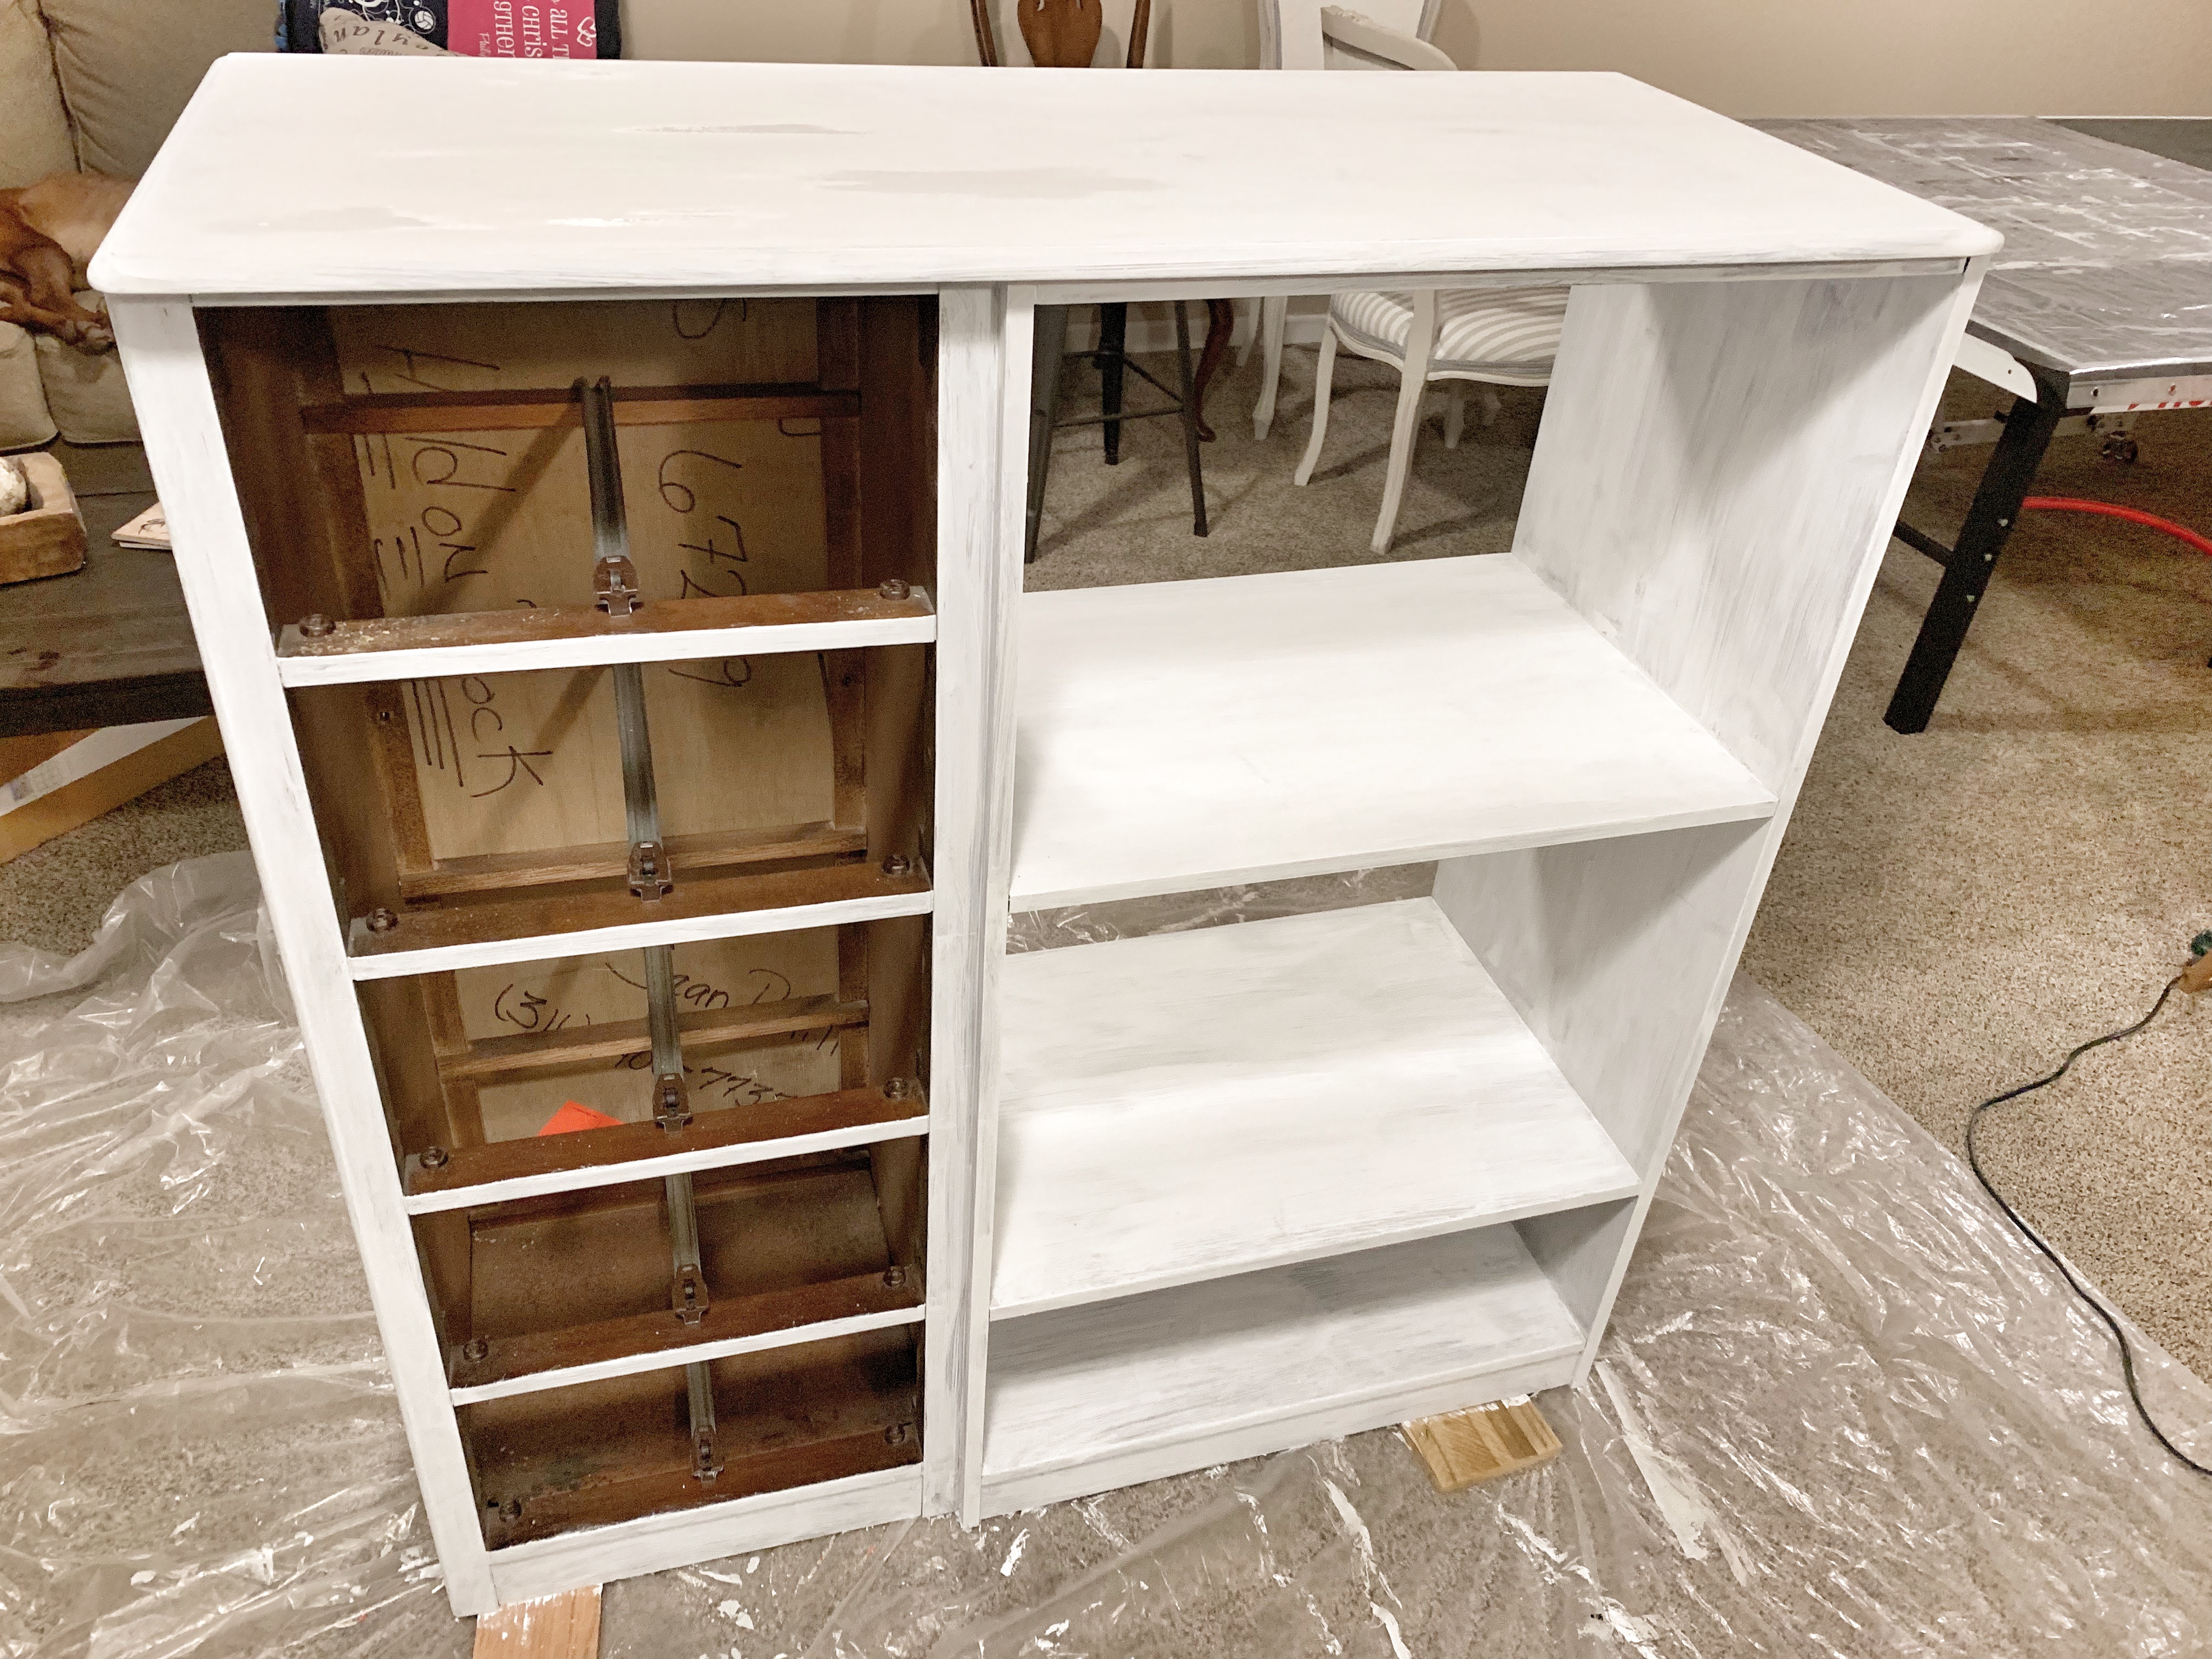
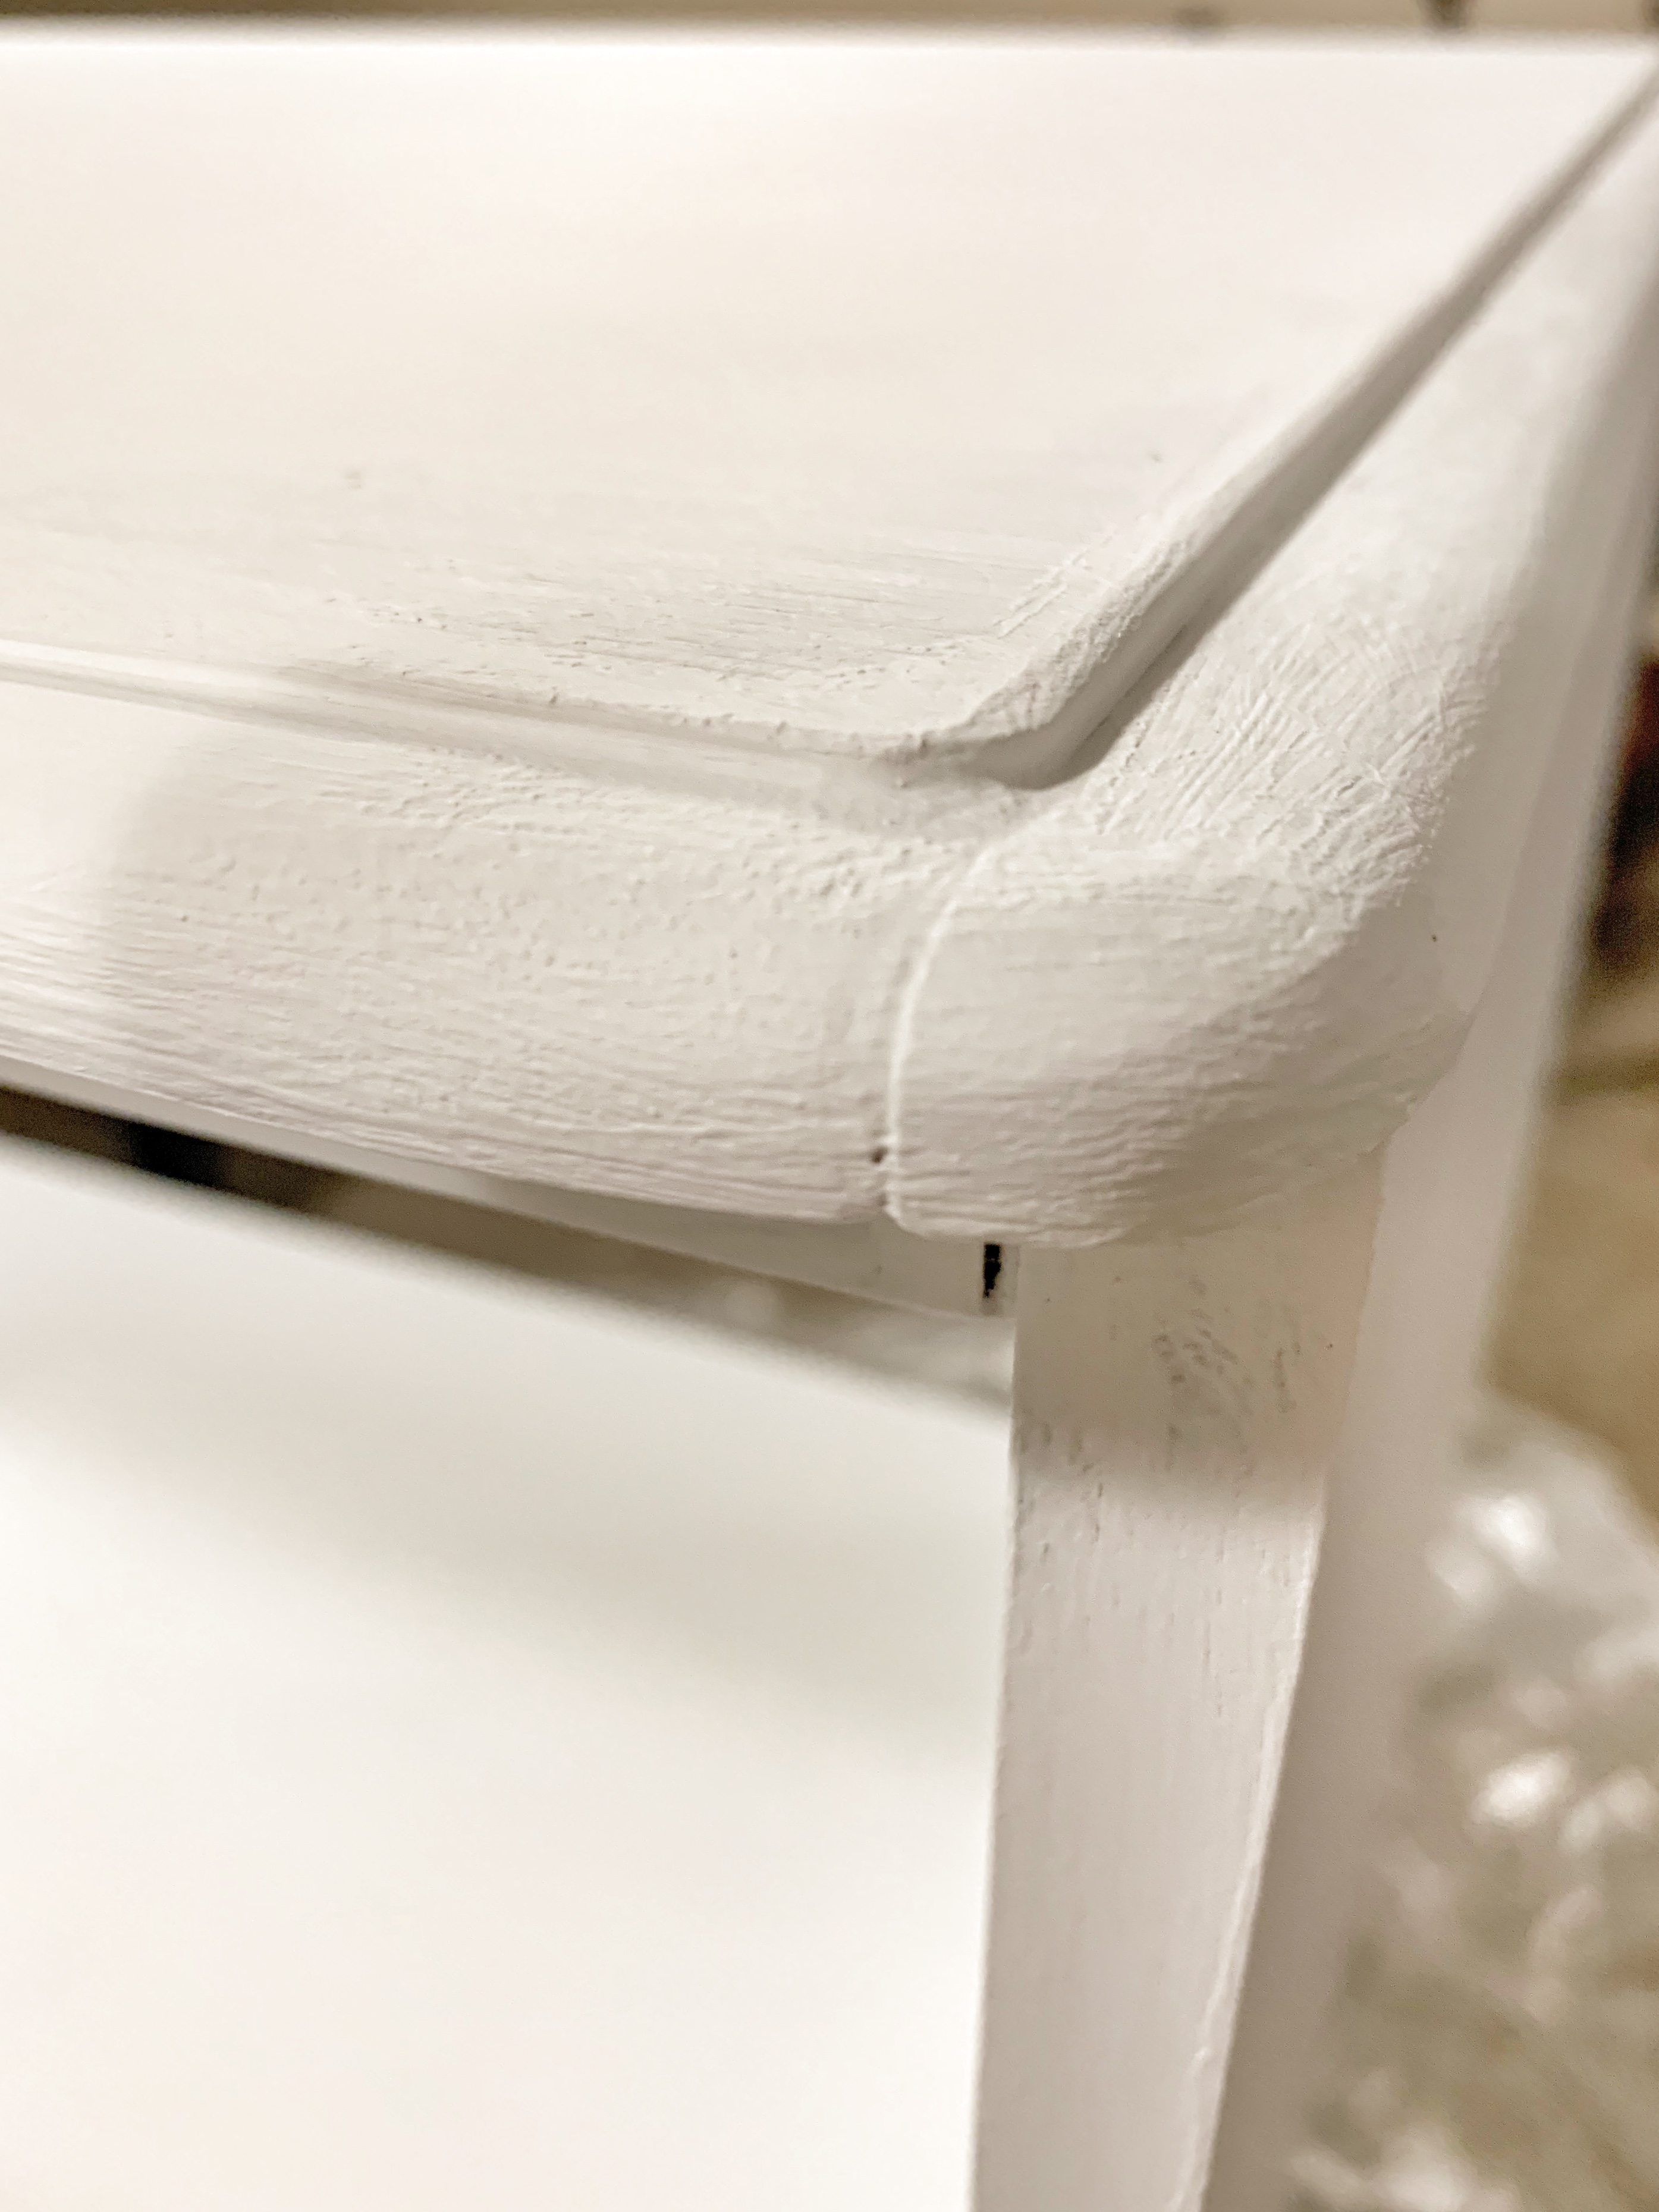
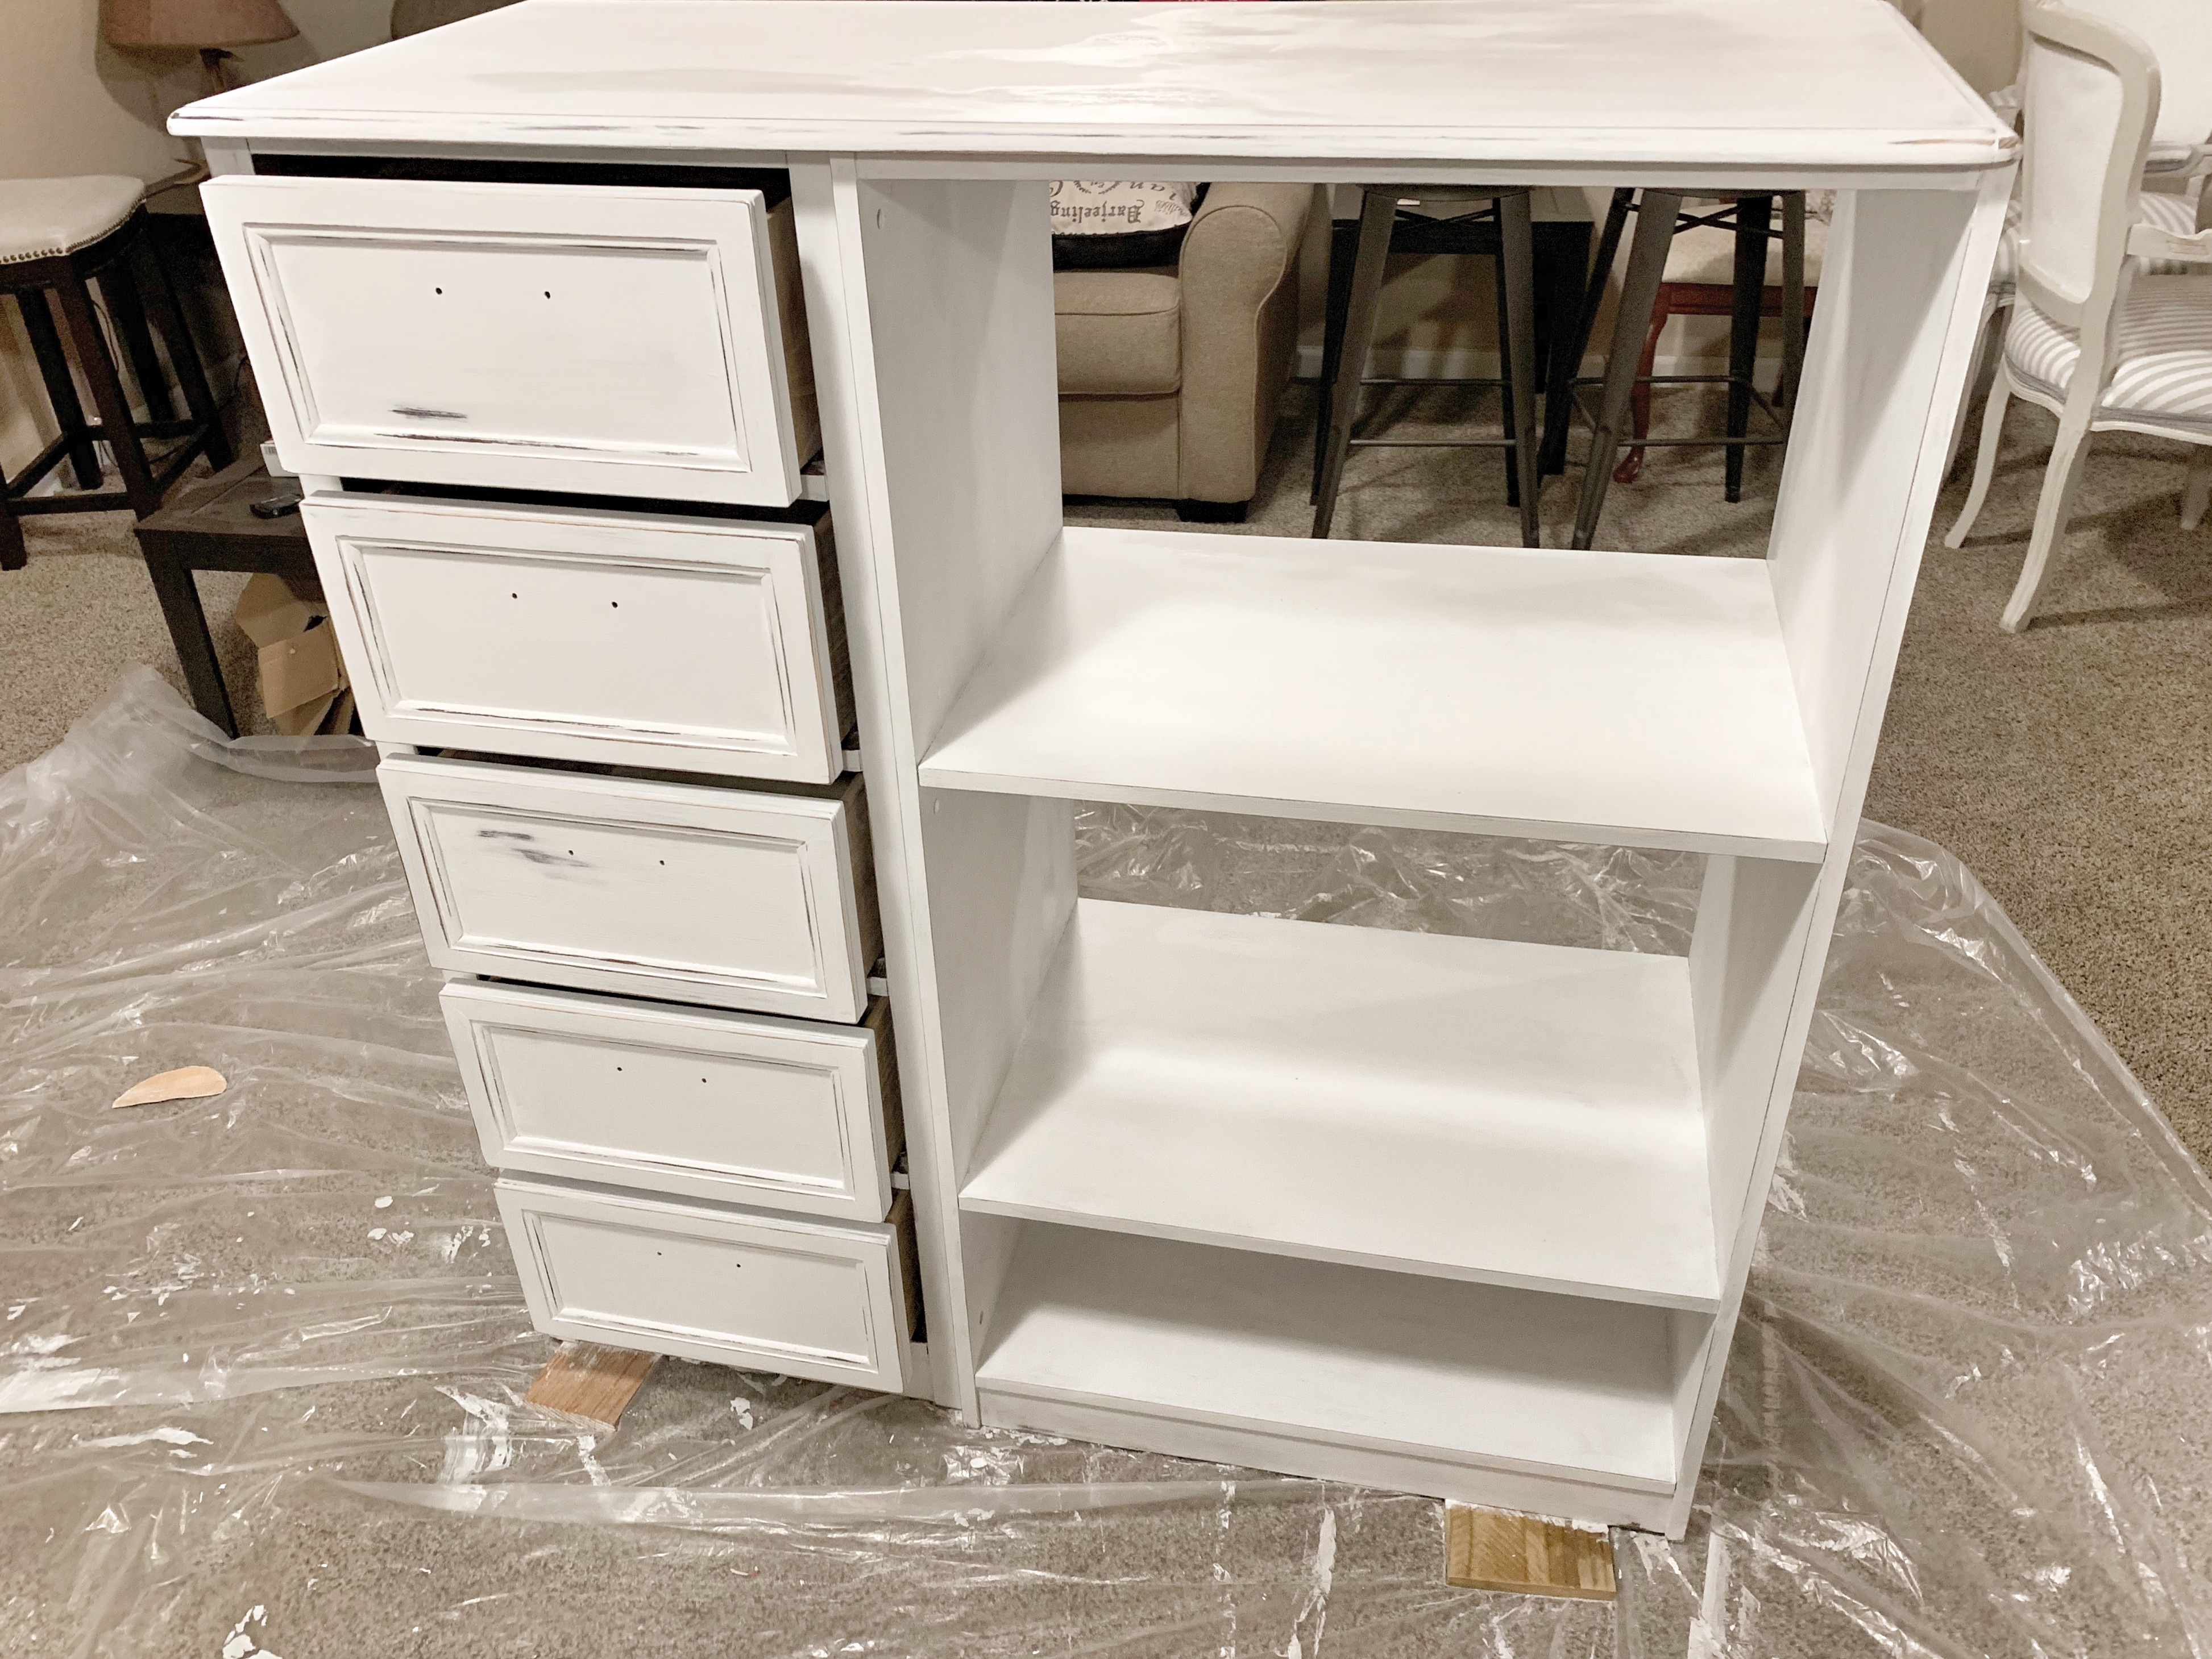
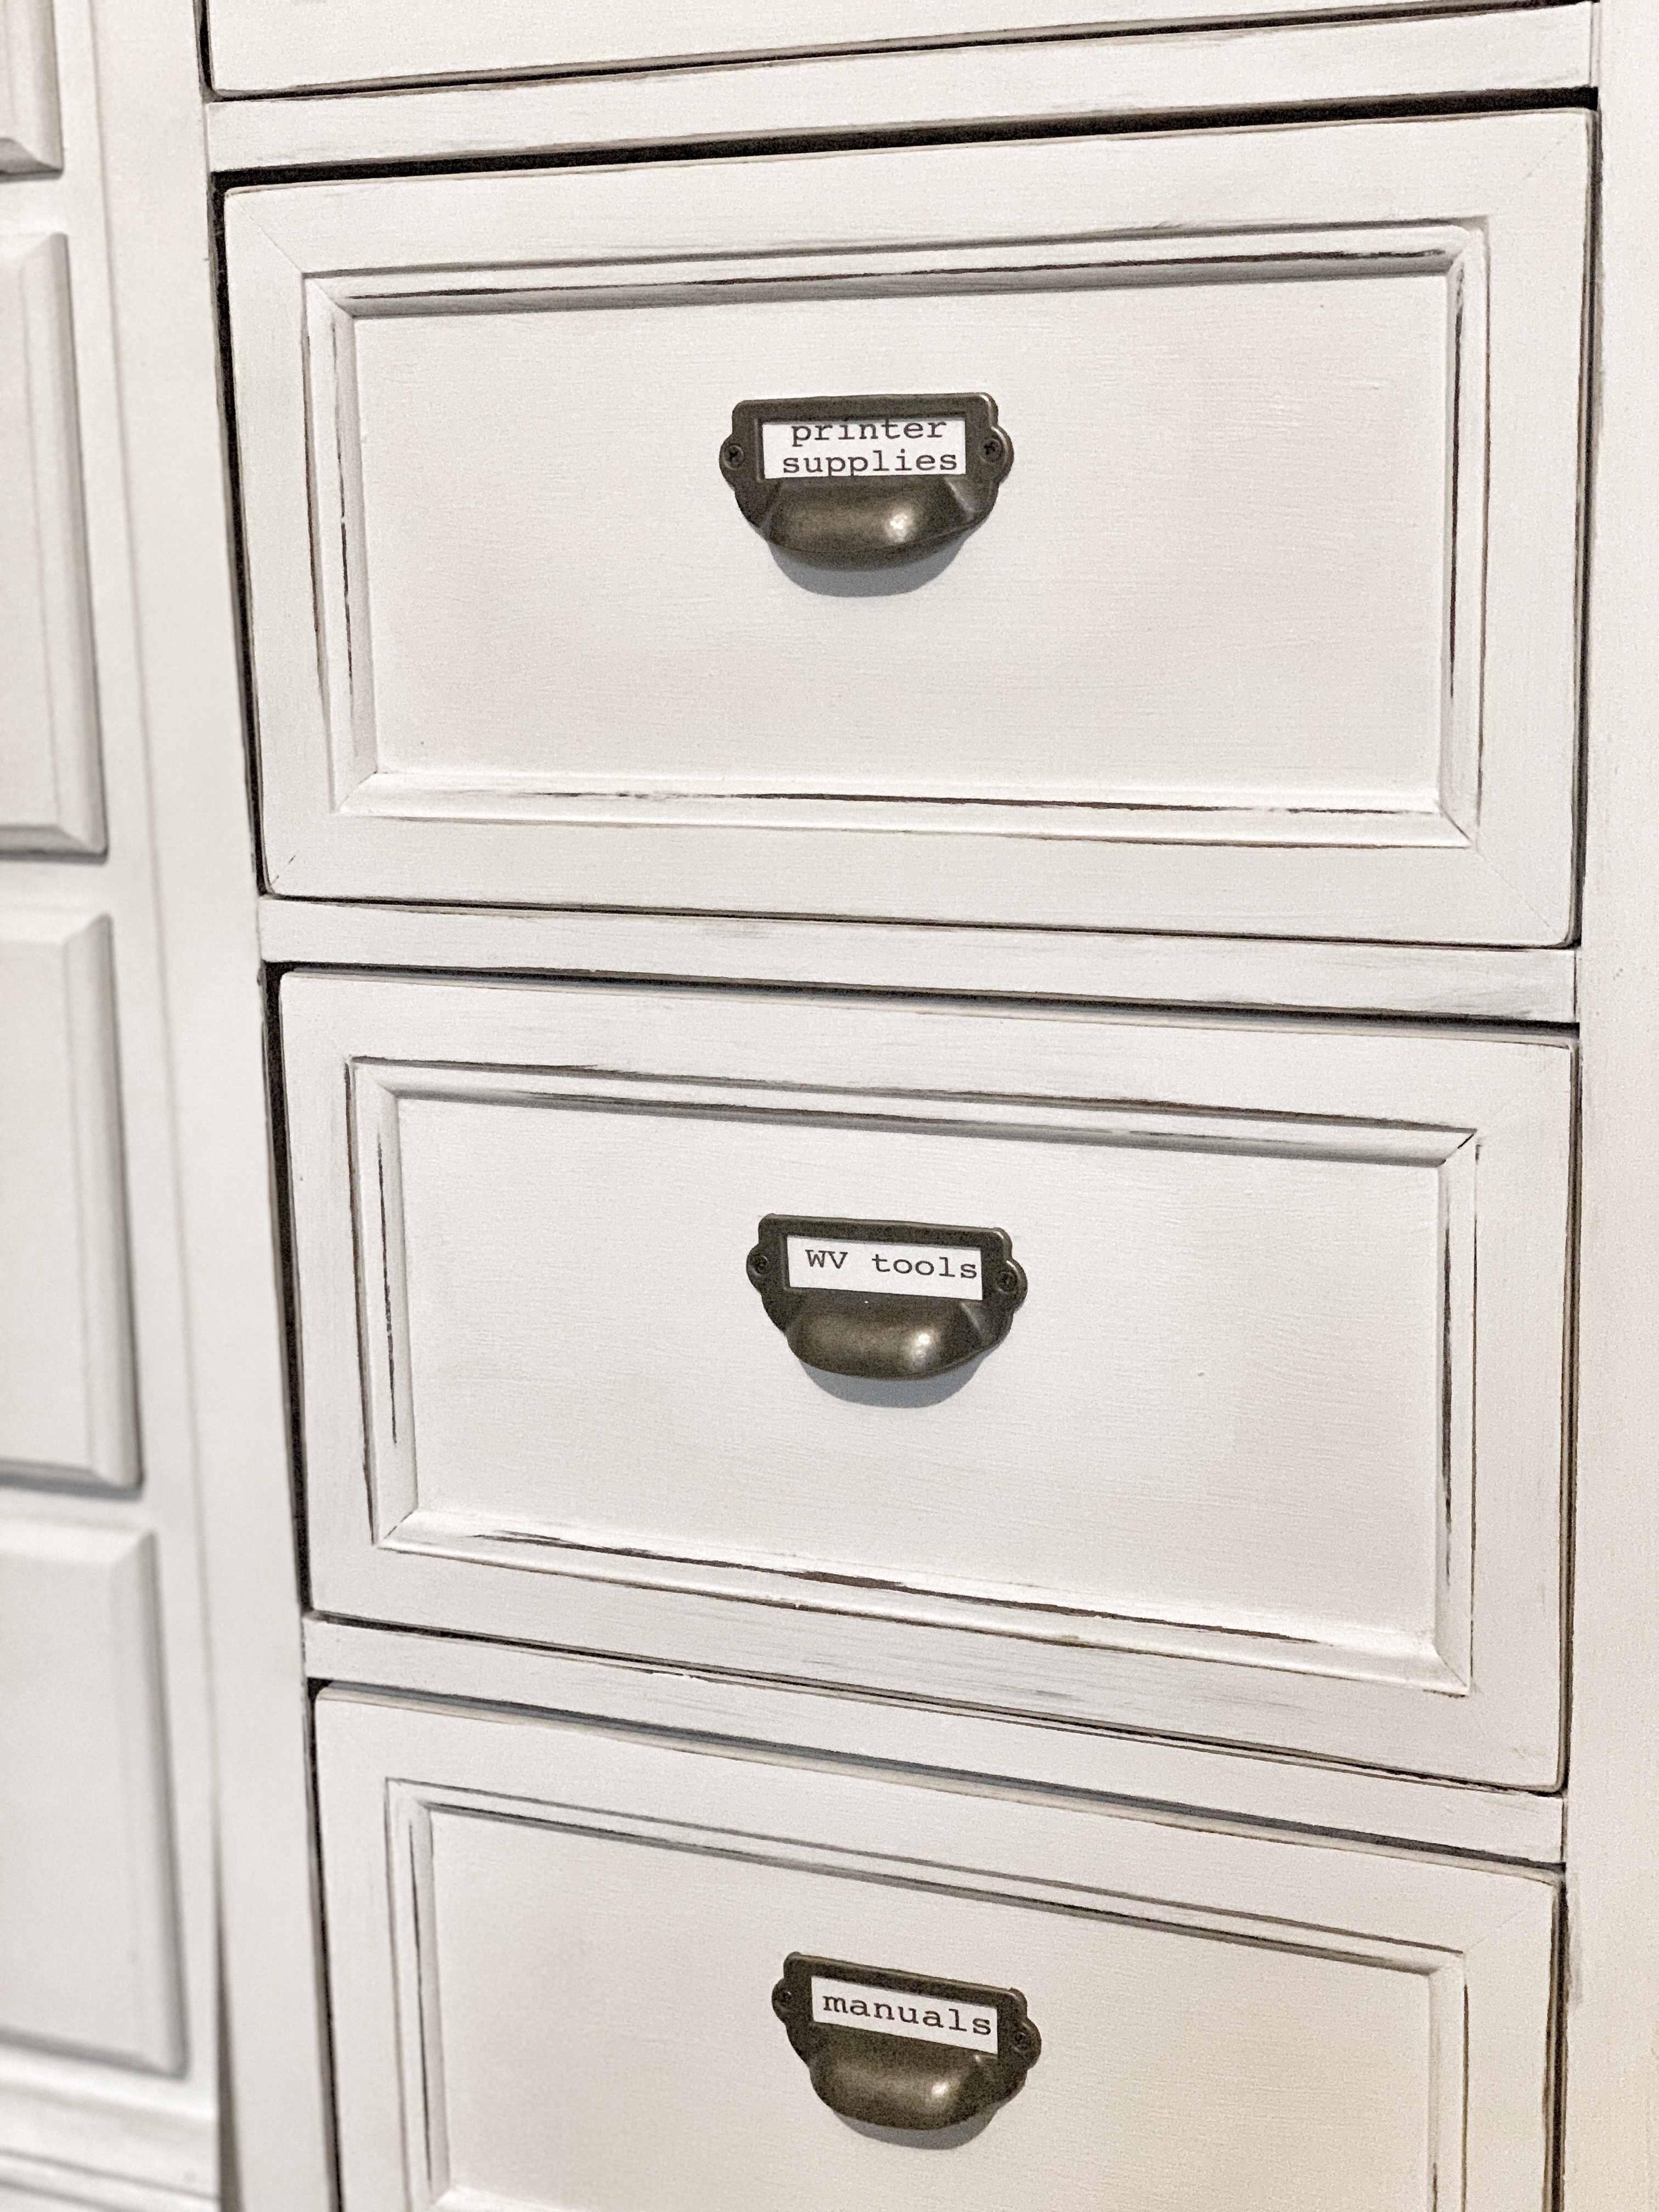
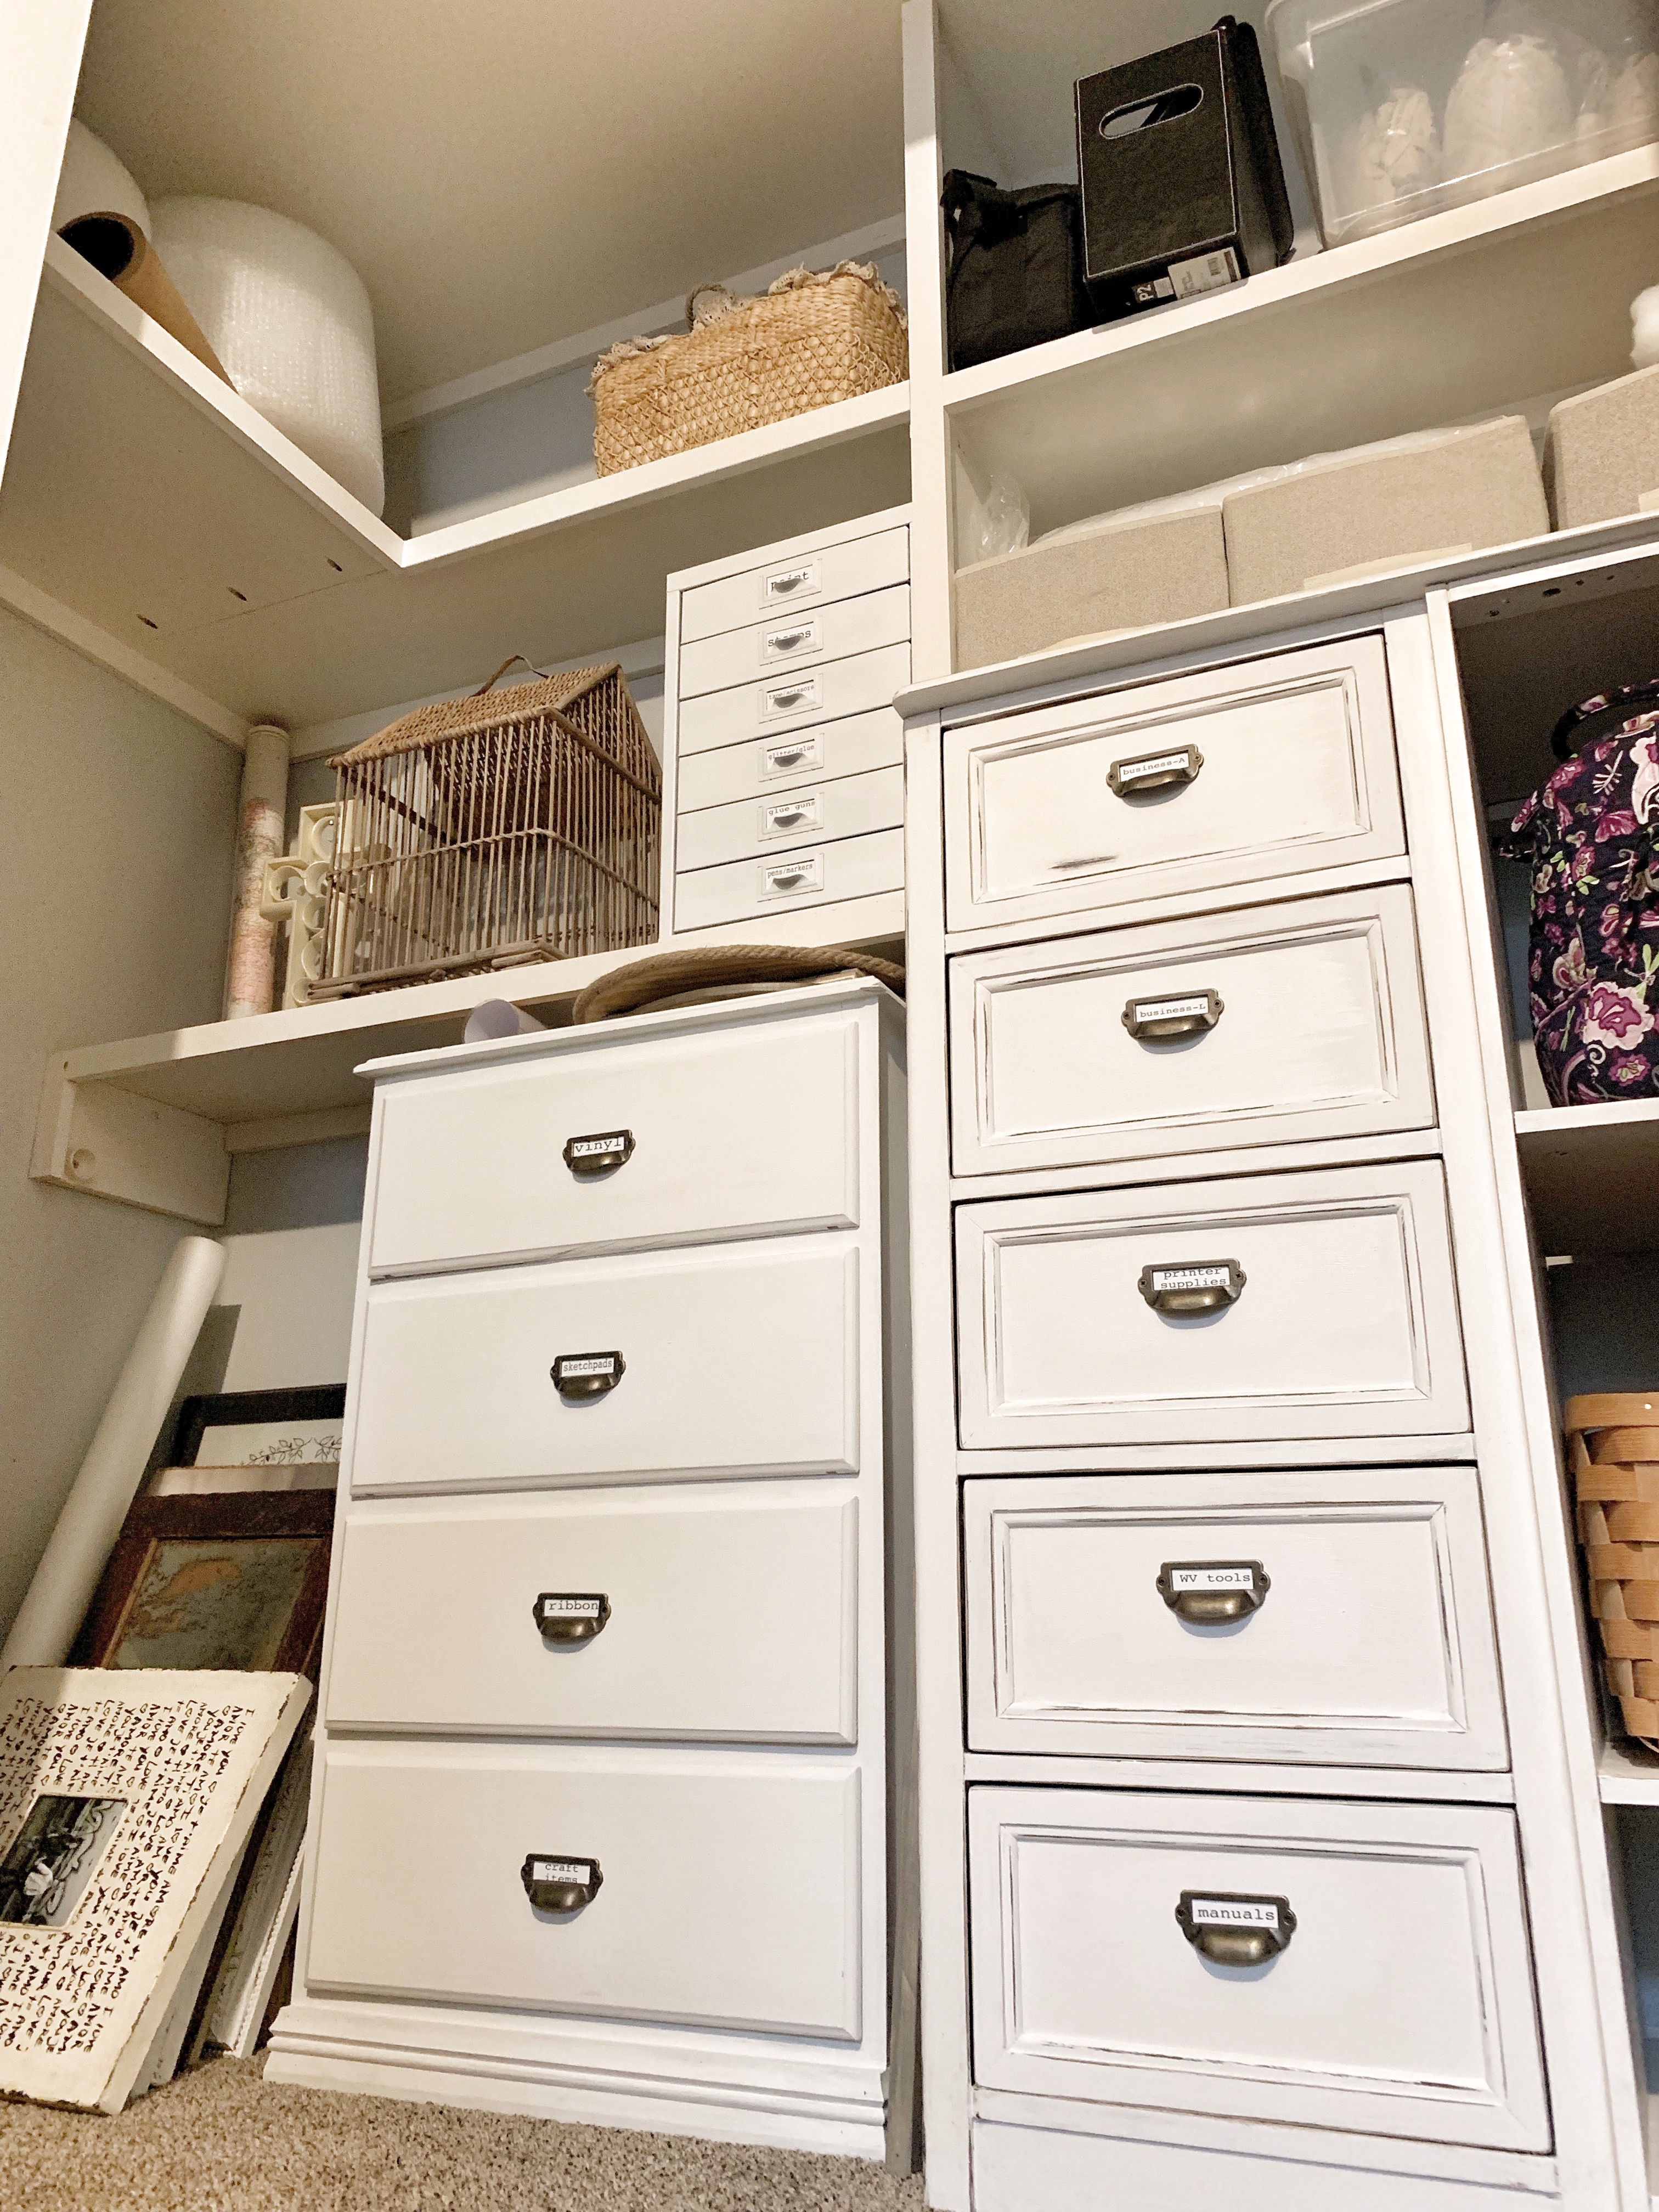
I sanded the edges to give it a distressed look, used an aging technique on the paint (see our farmhouse bench refurbish), and applied the matte clear coat. I added some drawer pulls which really gives it the antique filing cabinet look I was going for.
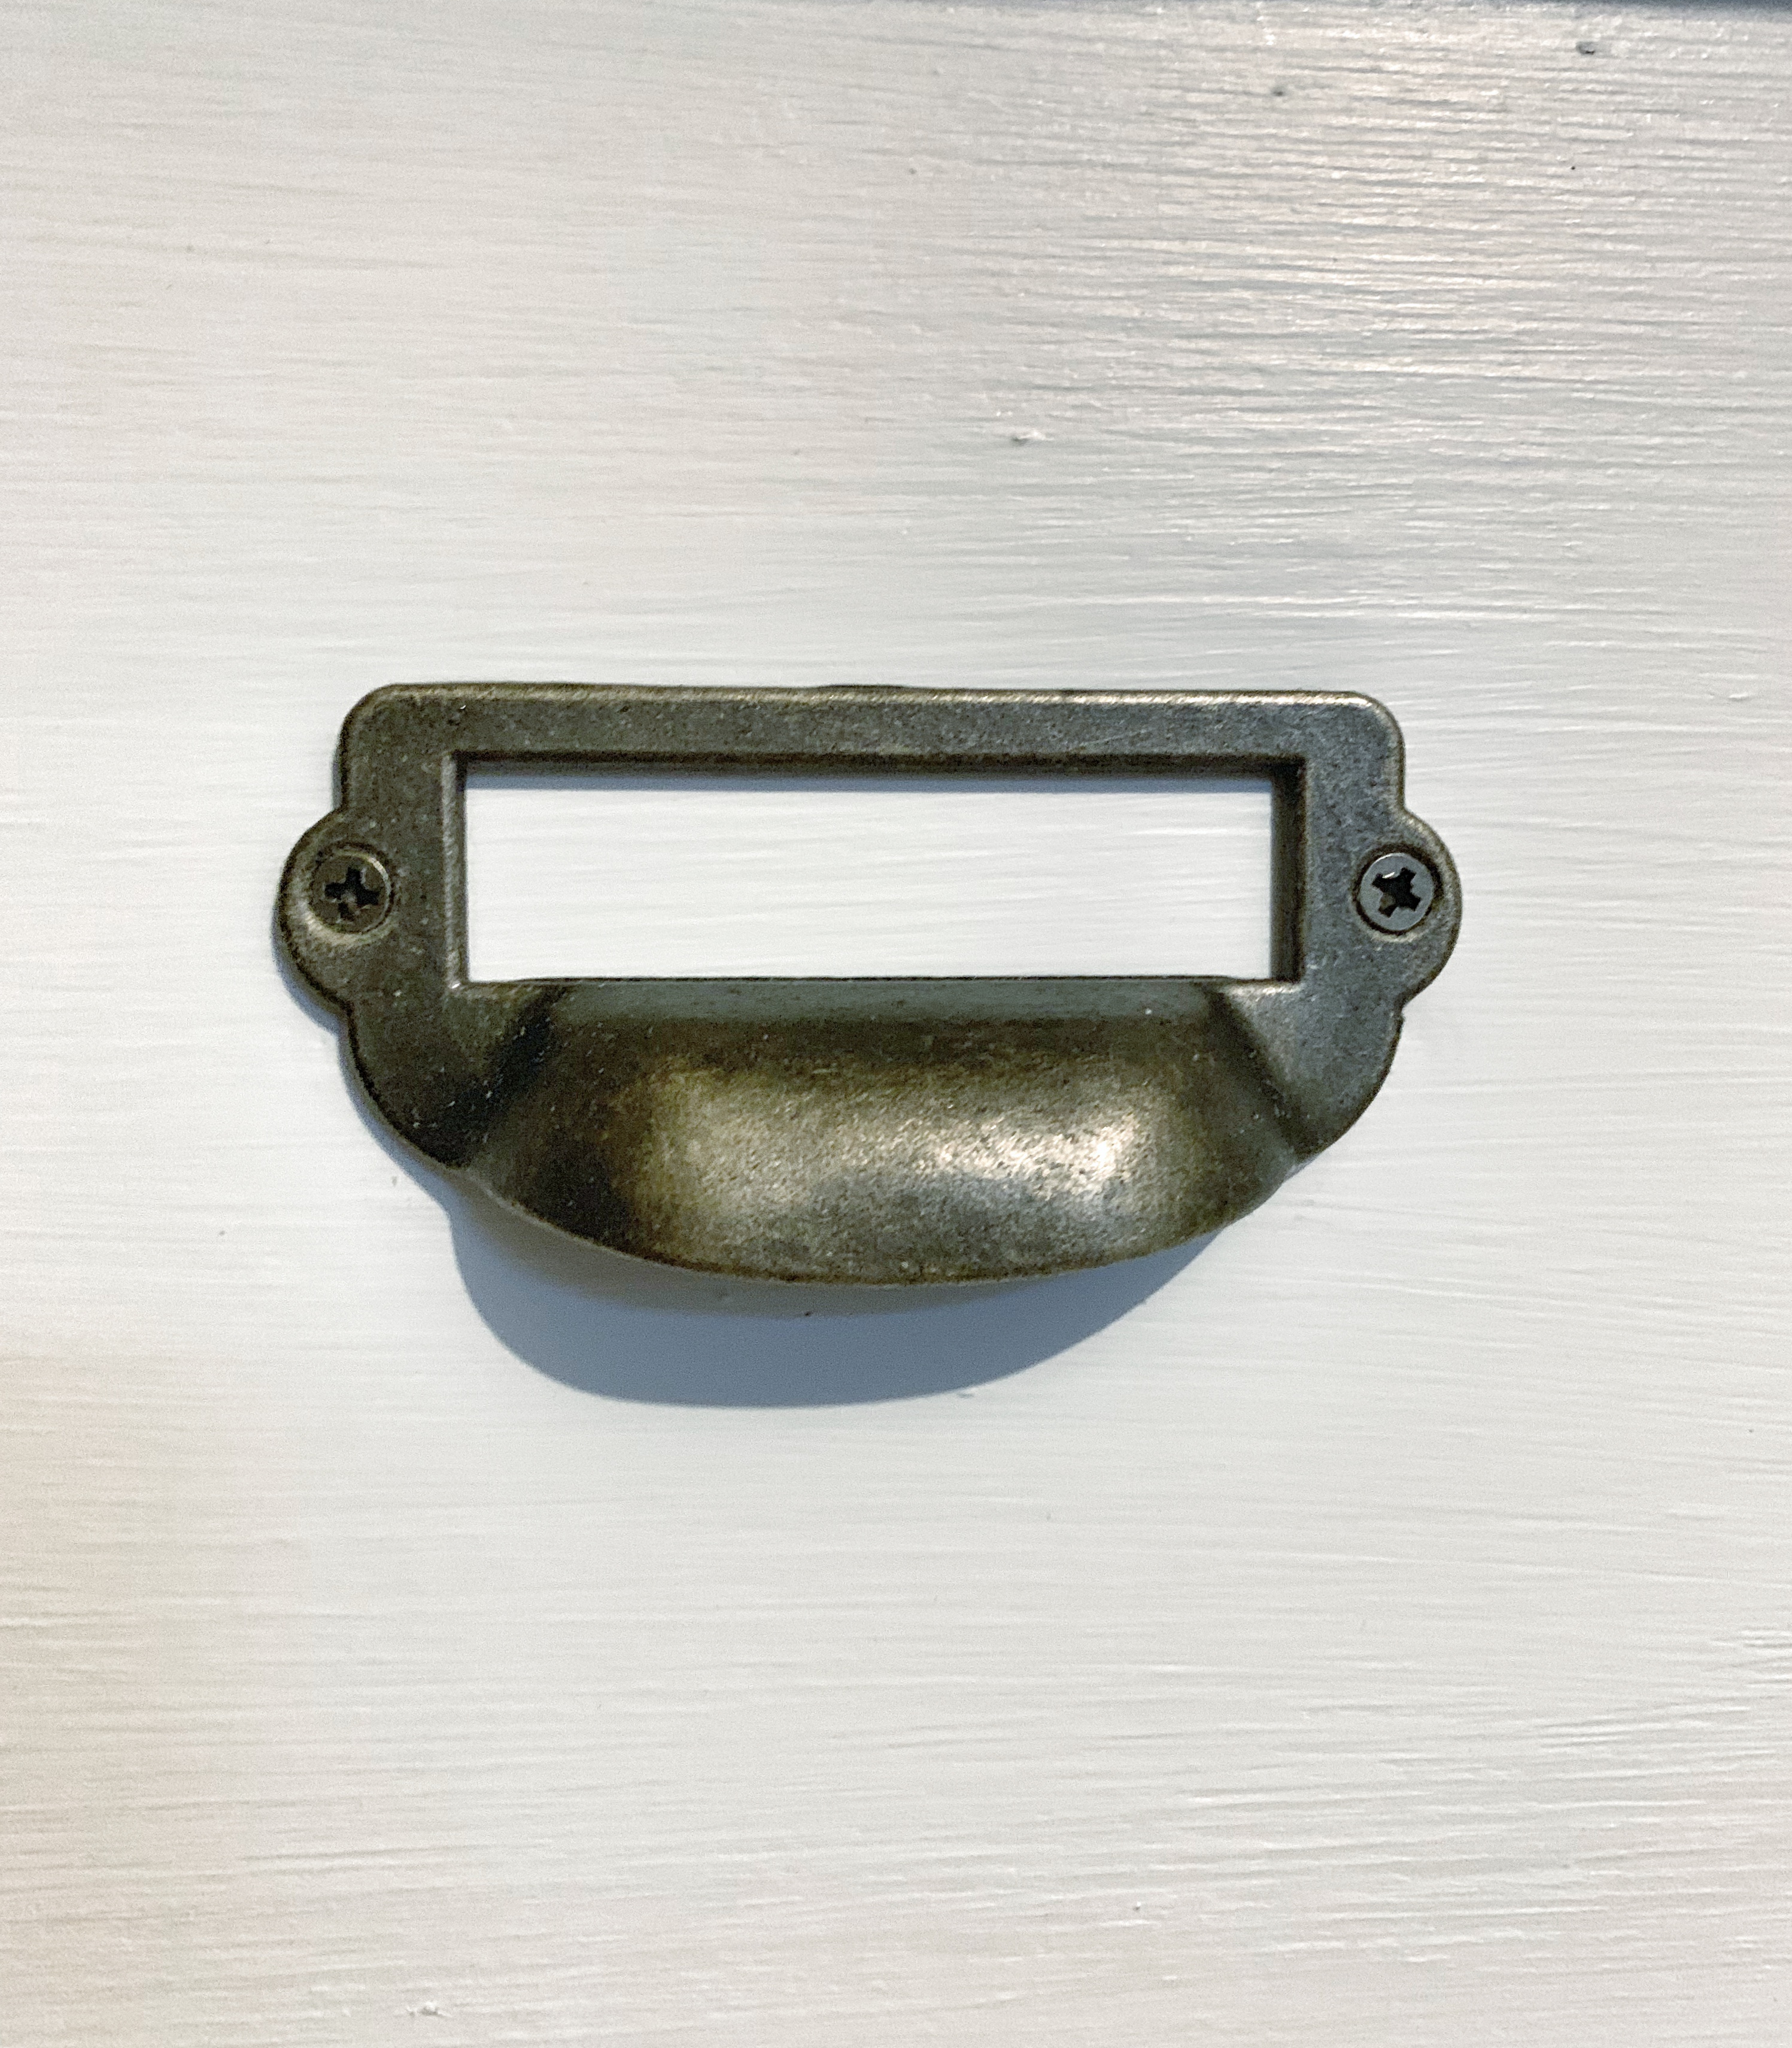
When I went to attach the drawer pulls, I realized I needed to drill new holes because they were front mounting hardware. This meant I would have to refinish all the drawer fronts again (sigh), but, it was all worth it in the end! I love this hardware because it allows me to label the drawers for even better organization. I printed some labels with a typewriter font which I feel adds to the vintage style!
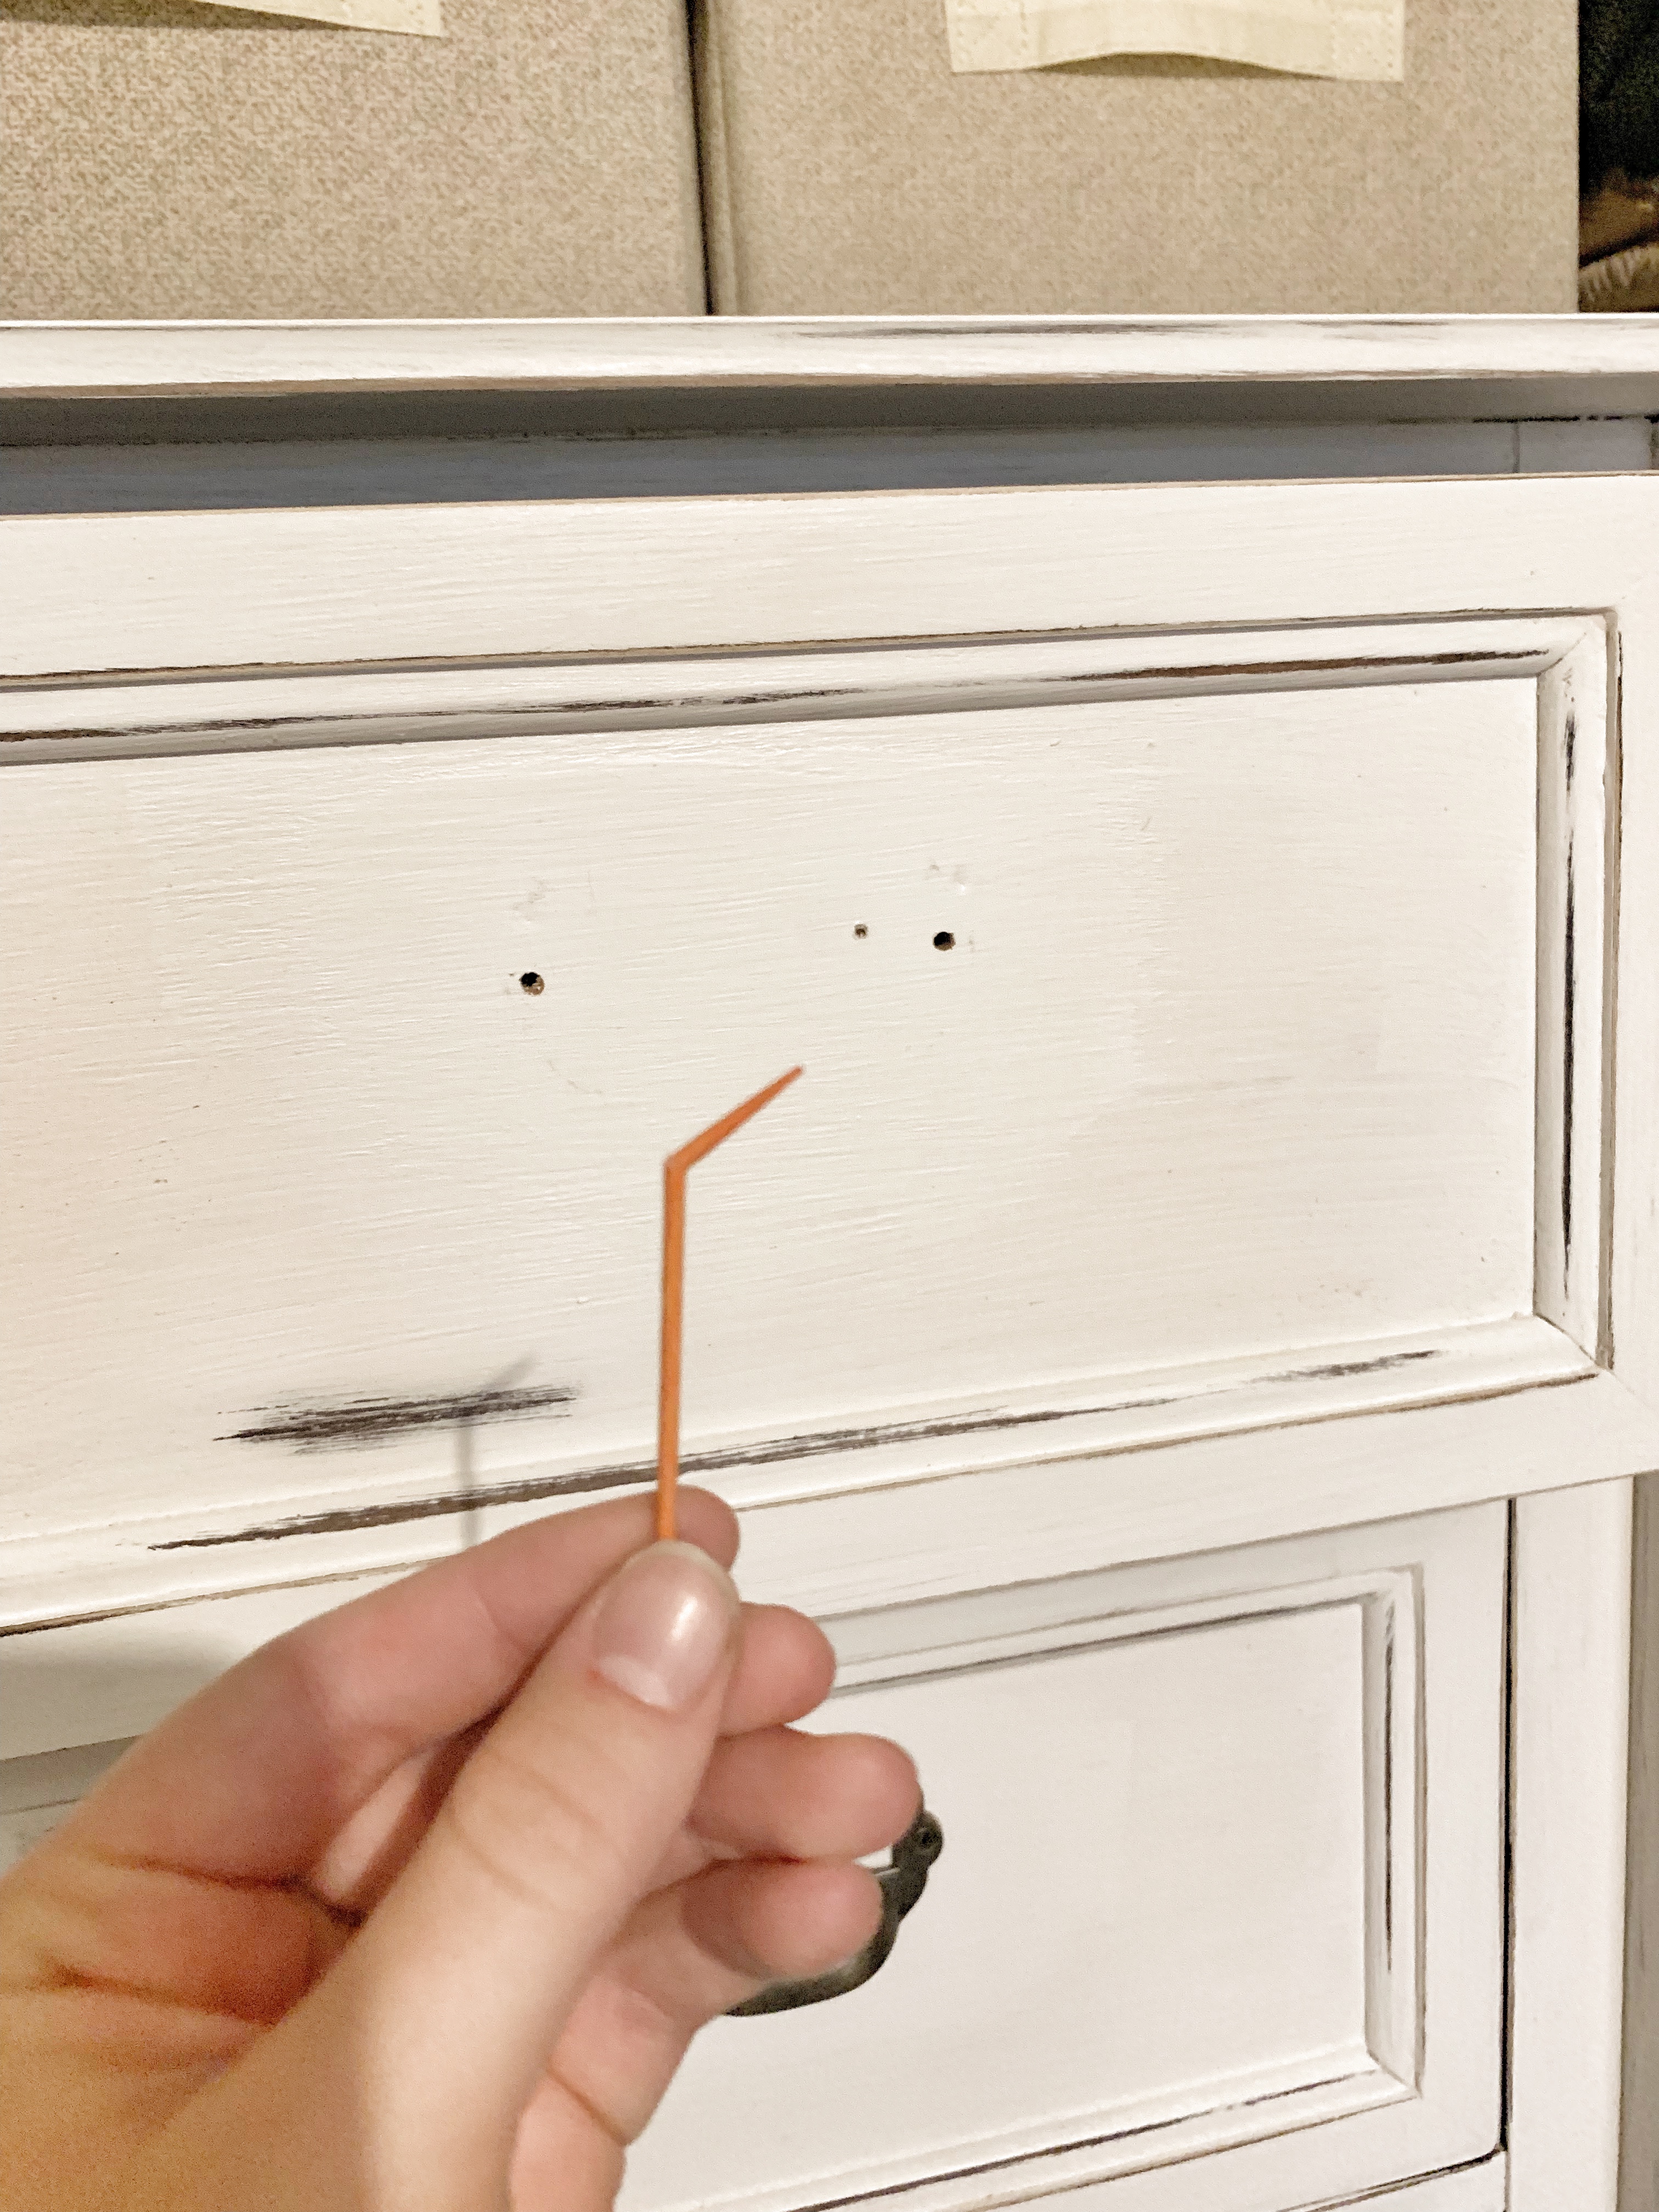
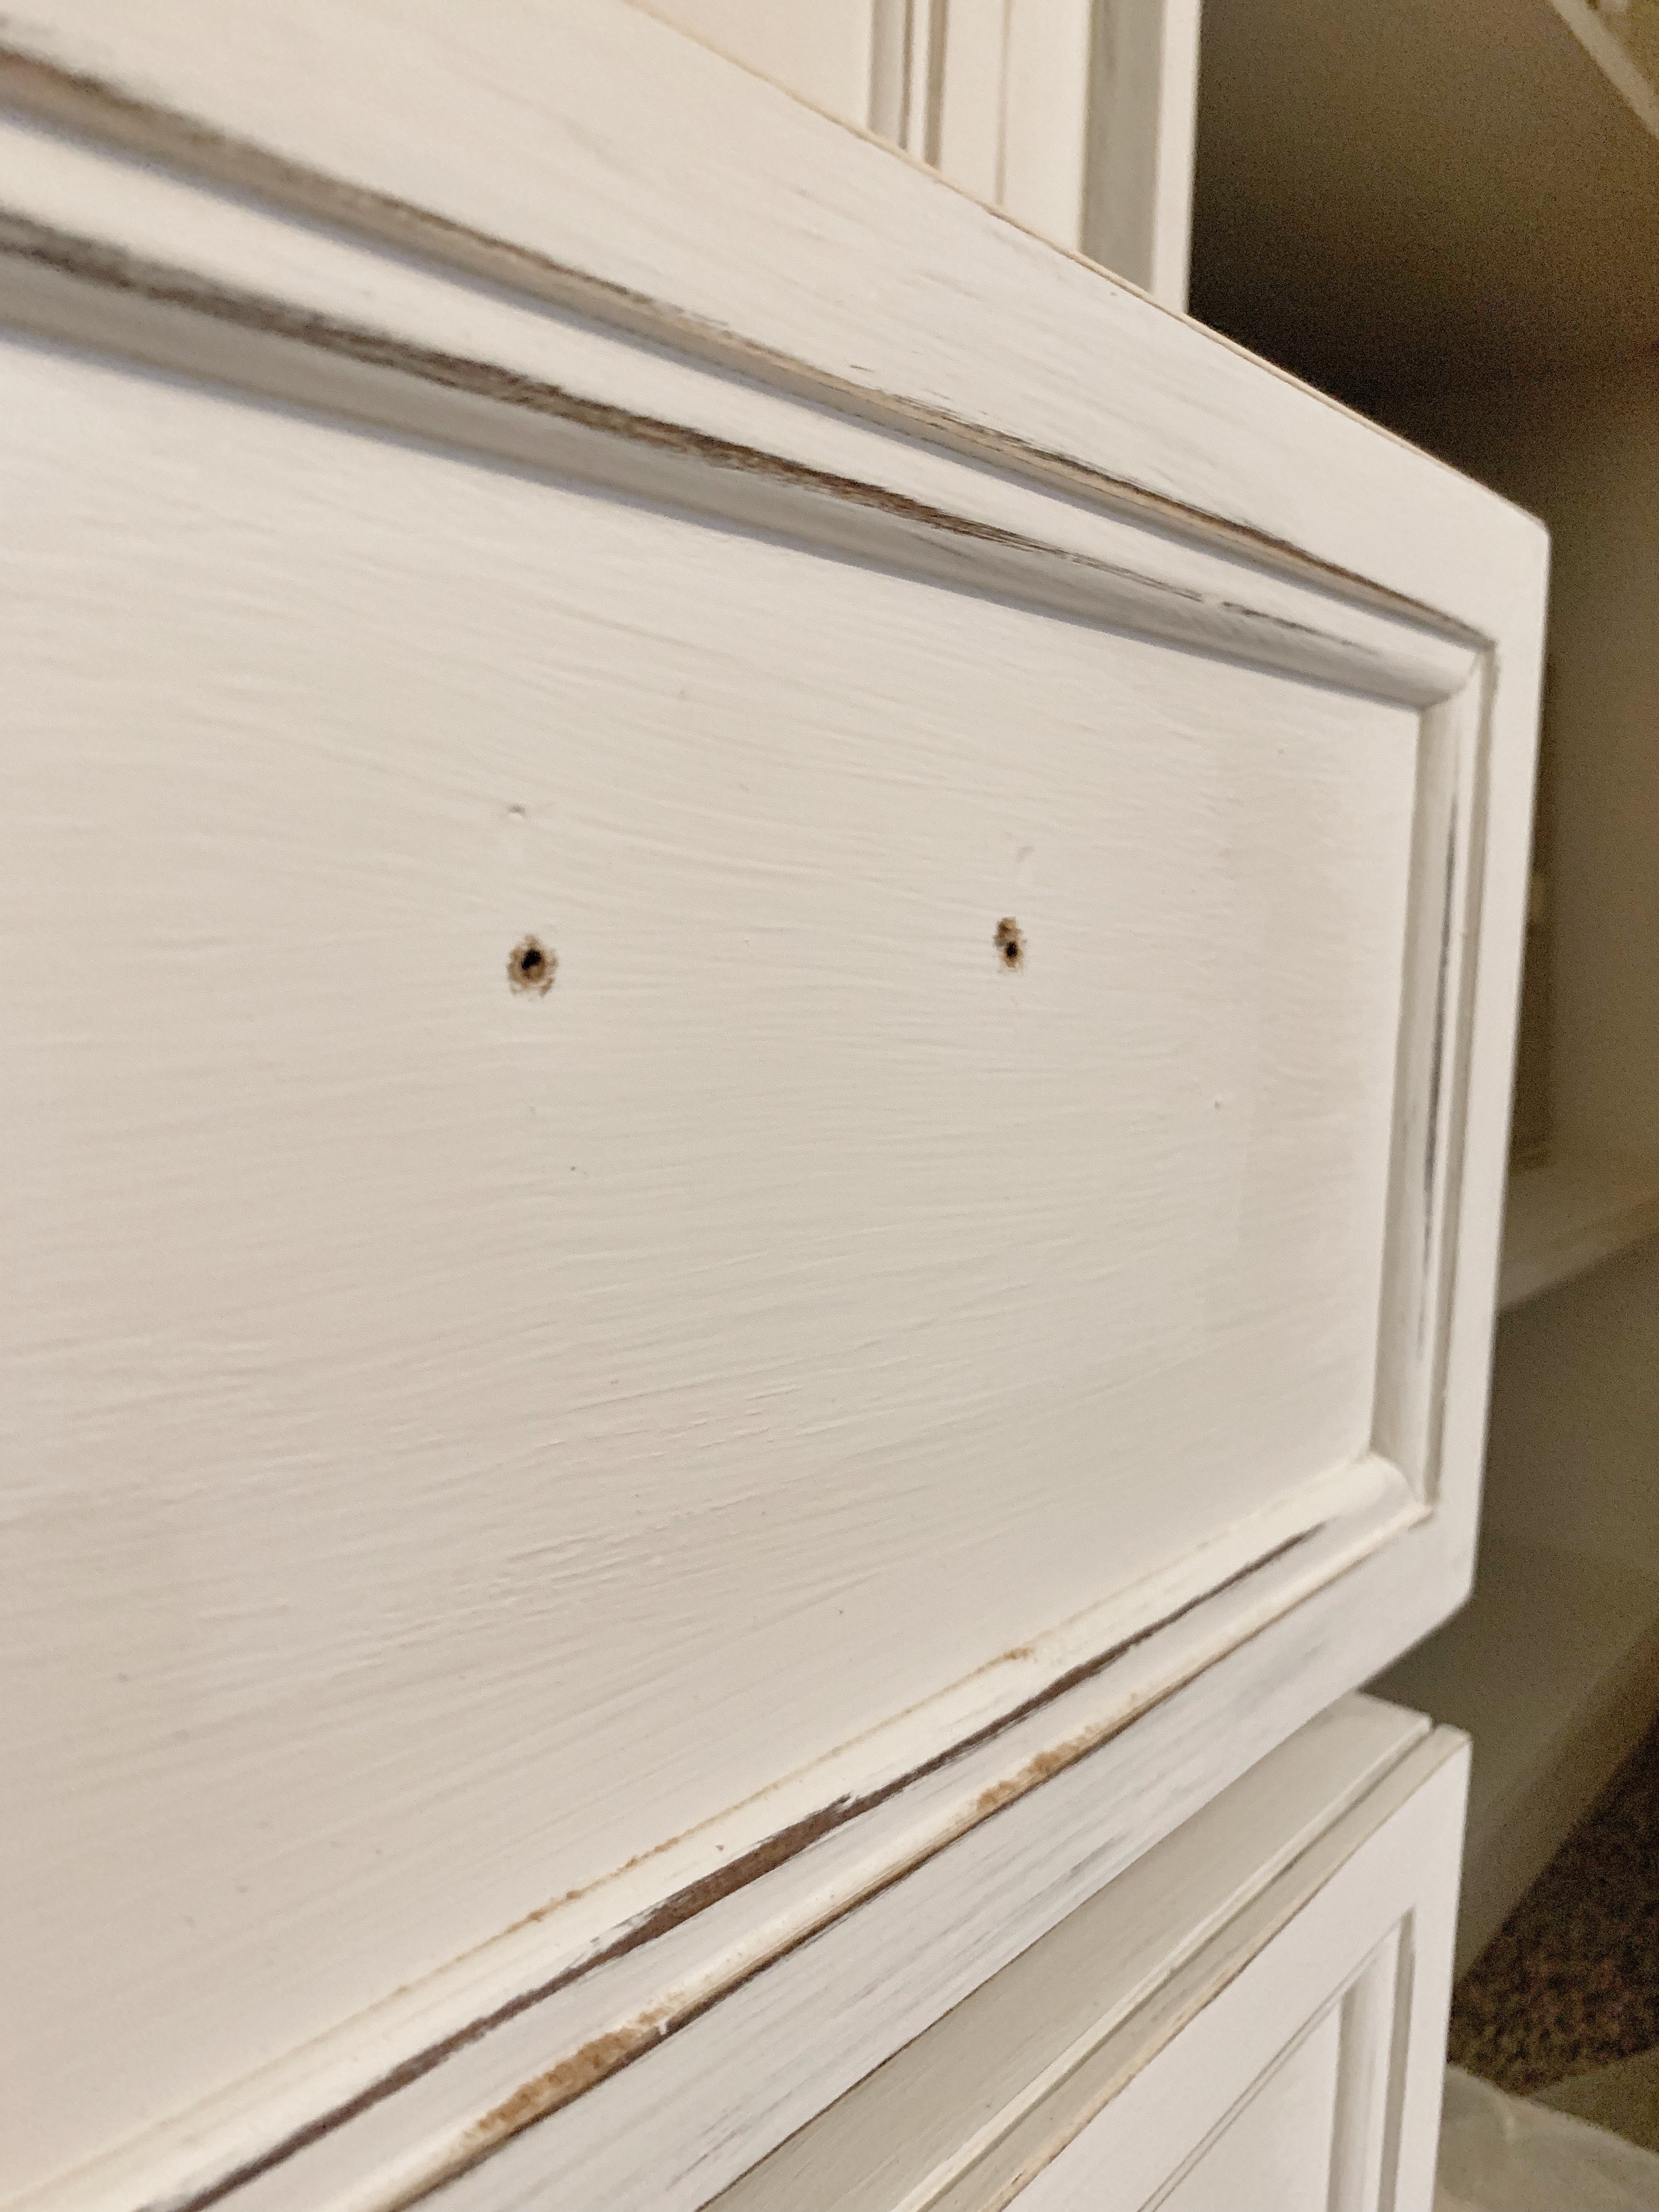
TIP: On one of the drawers I accidentally drilled the holes too big and the screw wouldn’t attach. Oops… To fix this, I just took a tooth pick and I cut it to the length of the hole, placed it inside with a little bit of wood glue, and was able to screw the hardware on! Good as new!
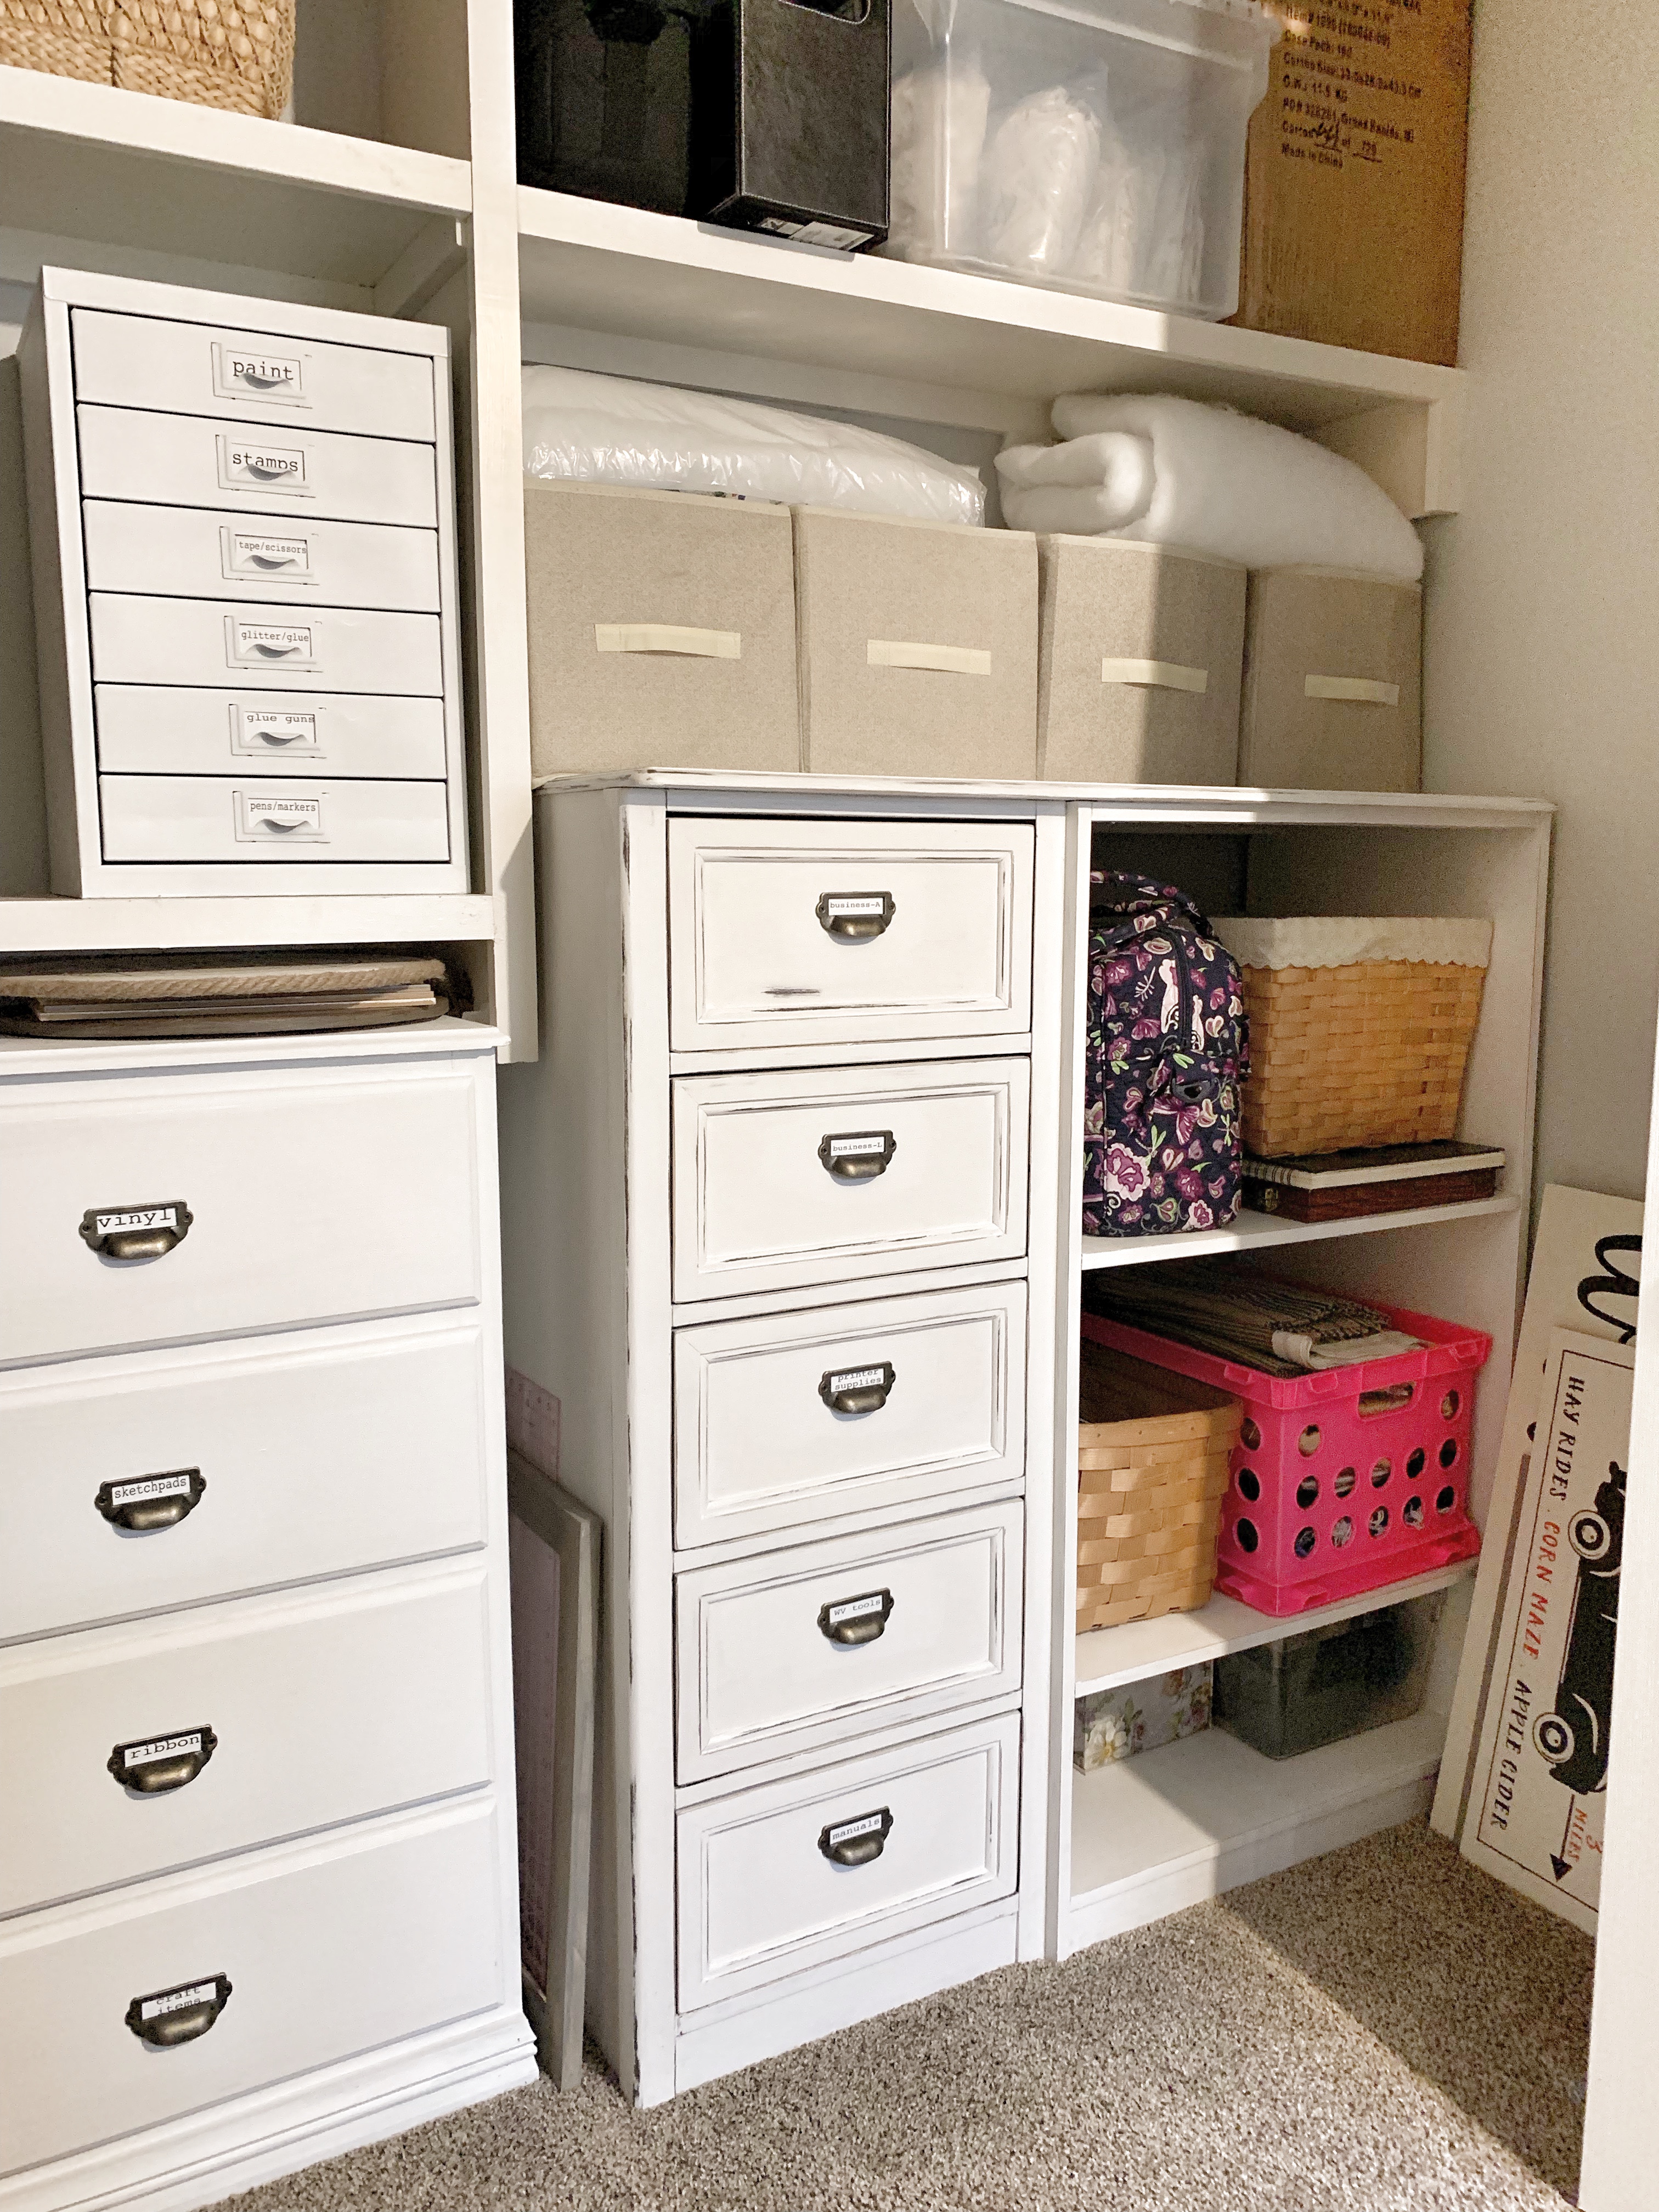
The crazy part is that this bookshelf measured 2″ less than the opening in the closet, so it was MADE for it! That’s as close to “built-in” as you can get. The drawers are great storage for office supplies, miscellaneous crafting items, and papers, and the shelves store things like fabric and my sewing machine.
Project Two
The second project was a small chest of drawers that we purchased when we first got married. We got this because it was cheap and we needed something small to fit in our tiny apartment. Did I mention it was cheap lol? I repainted it when we first bought it (back when I didn’t know what I was doing), but since then the particle board has been scratched, scuffed, and chipped.
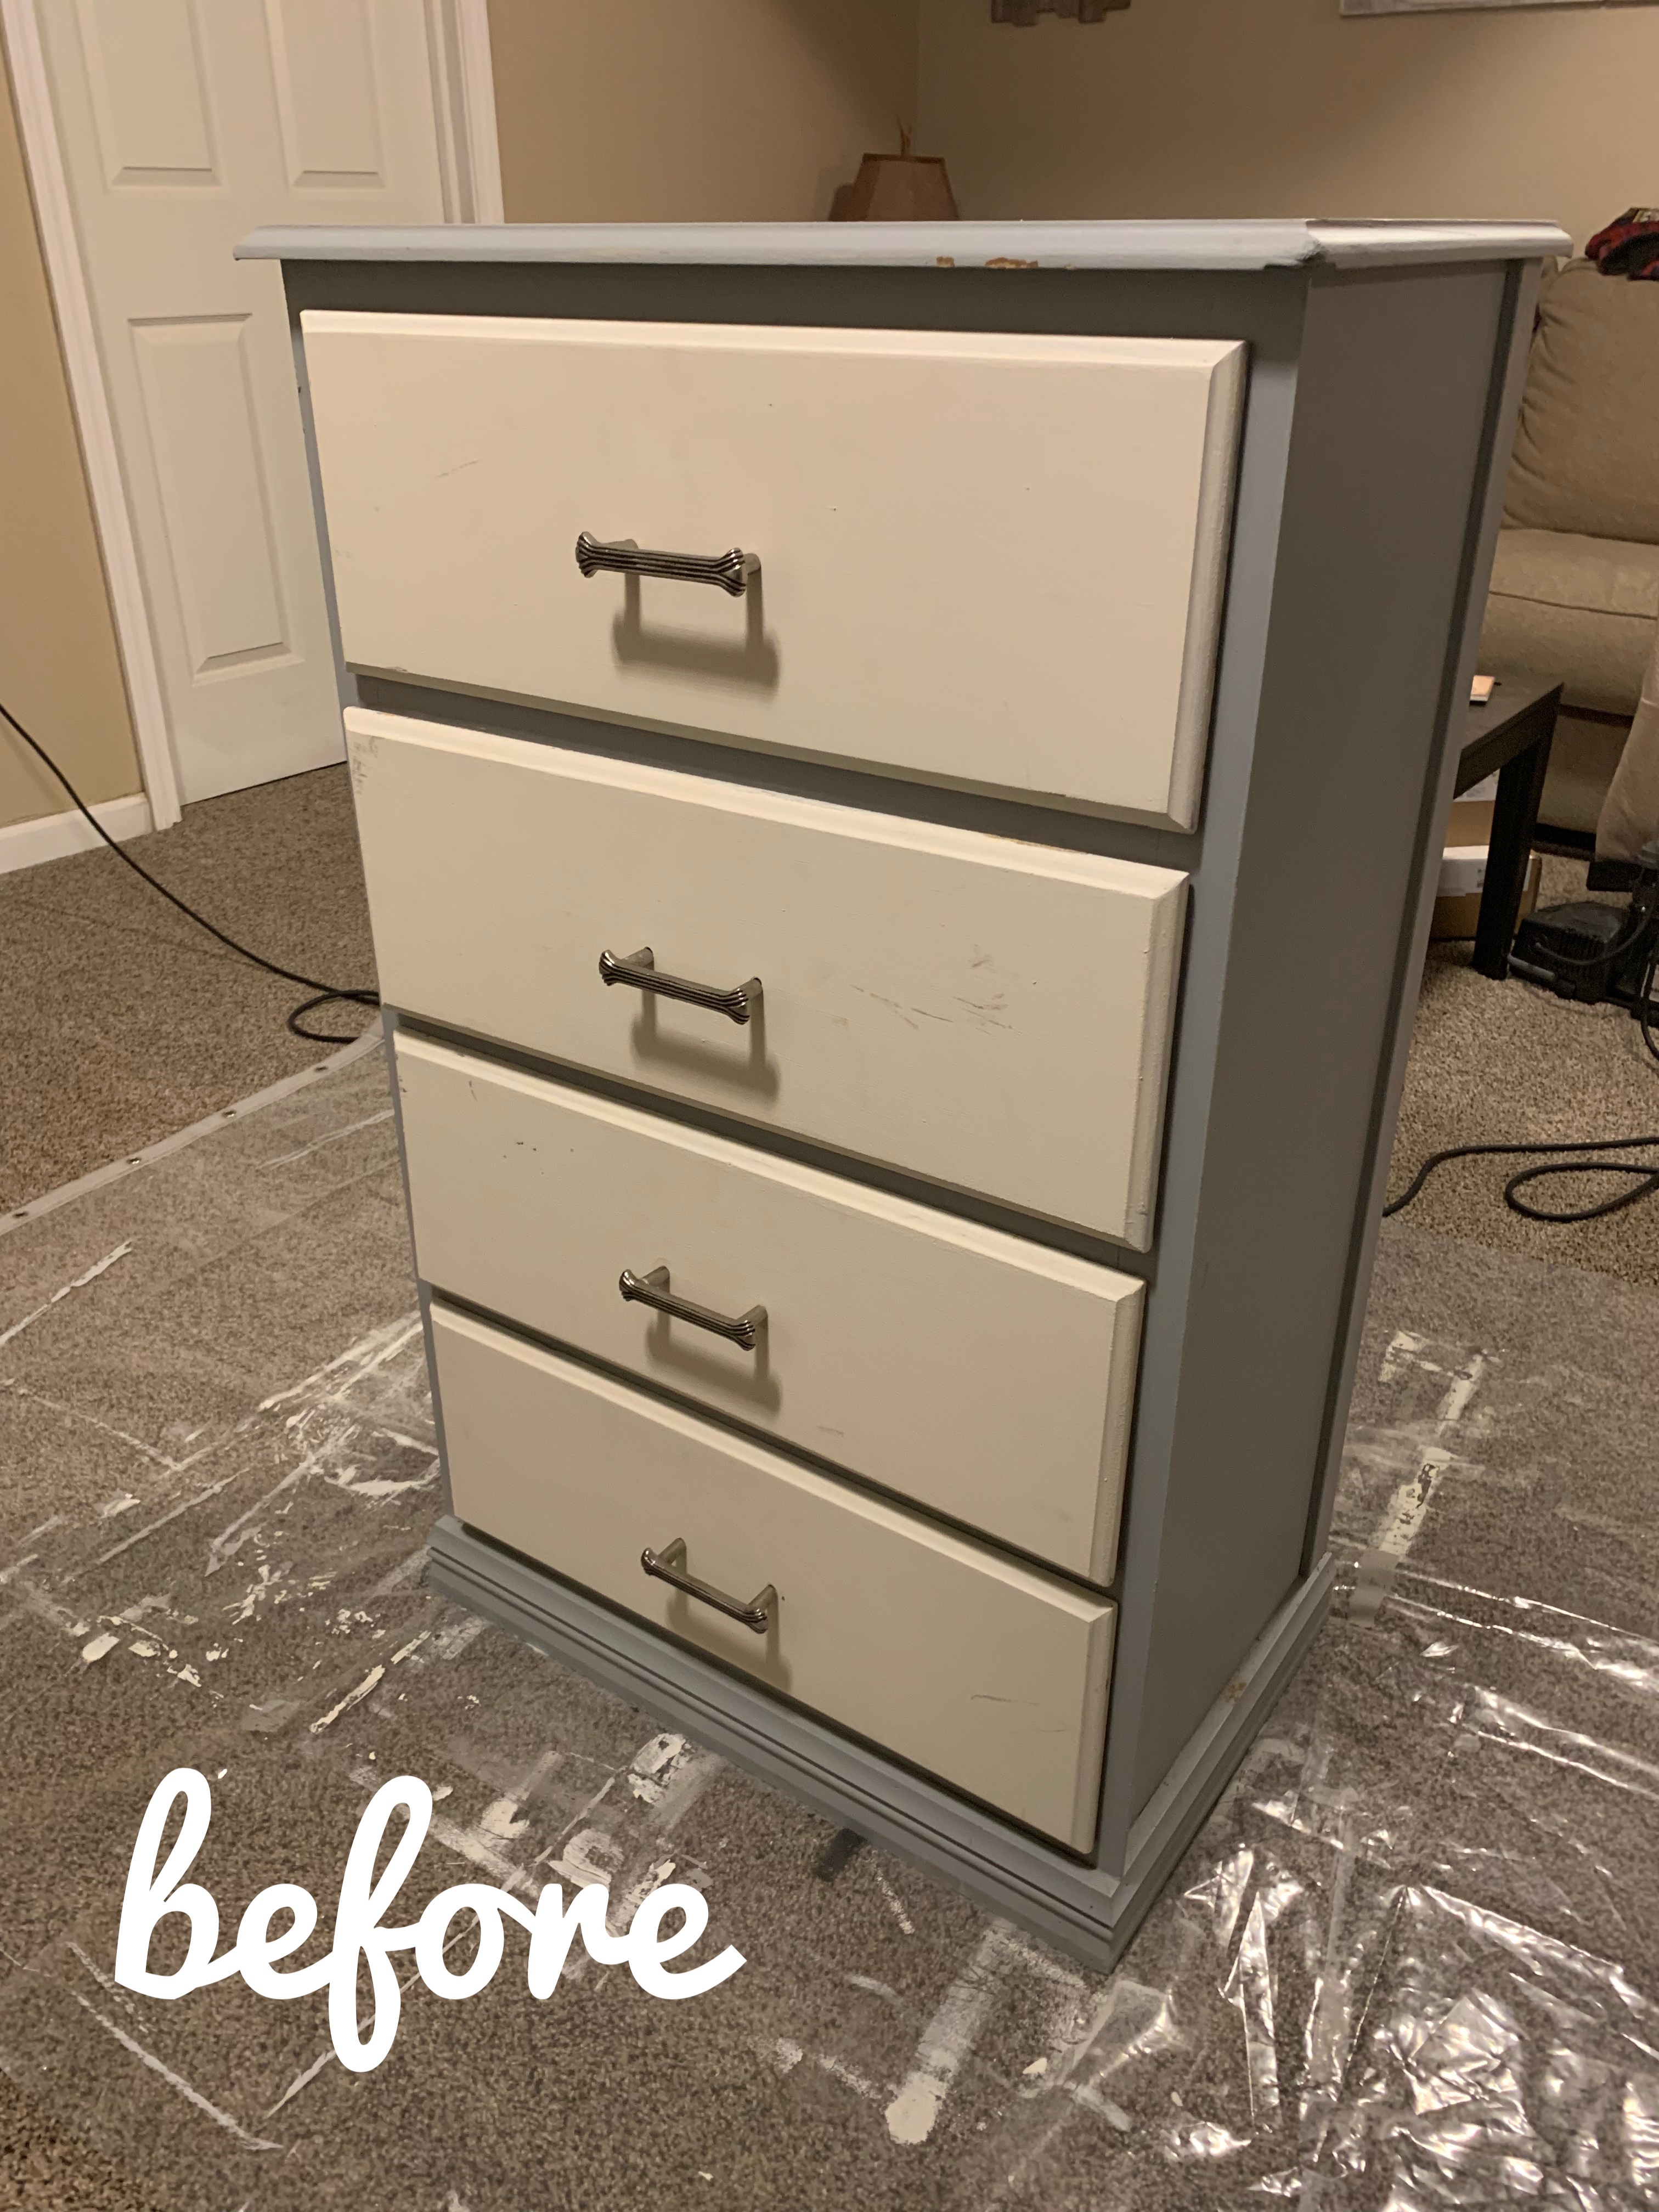
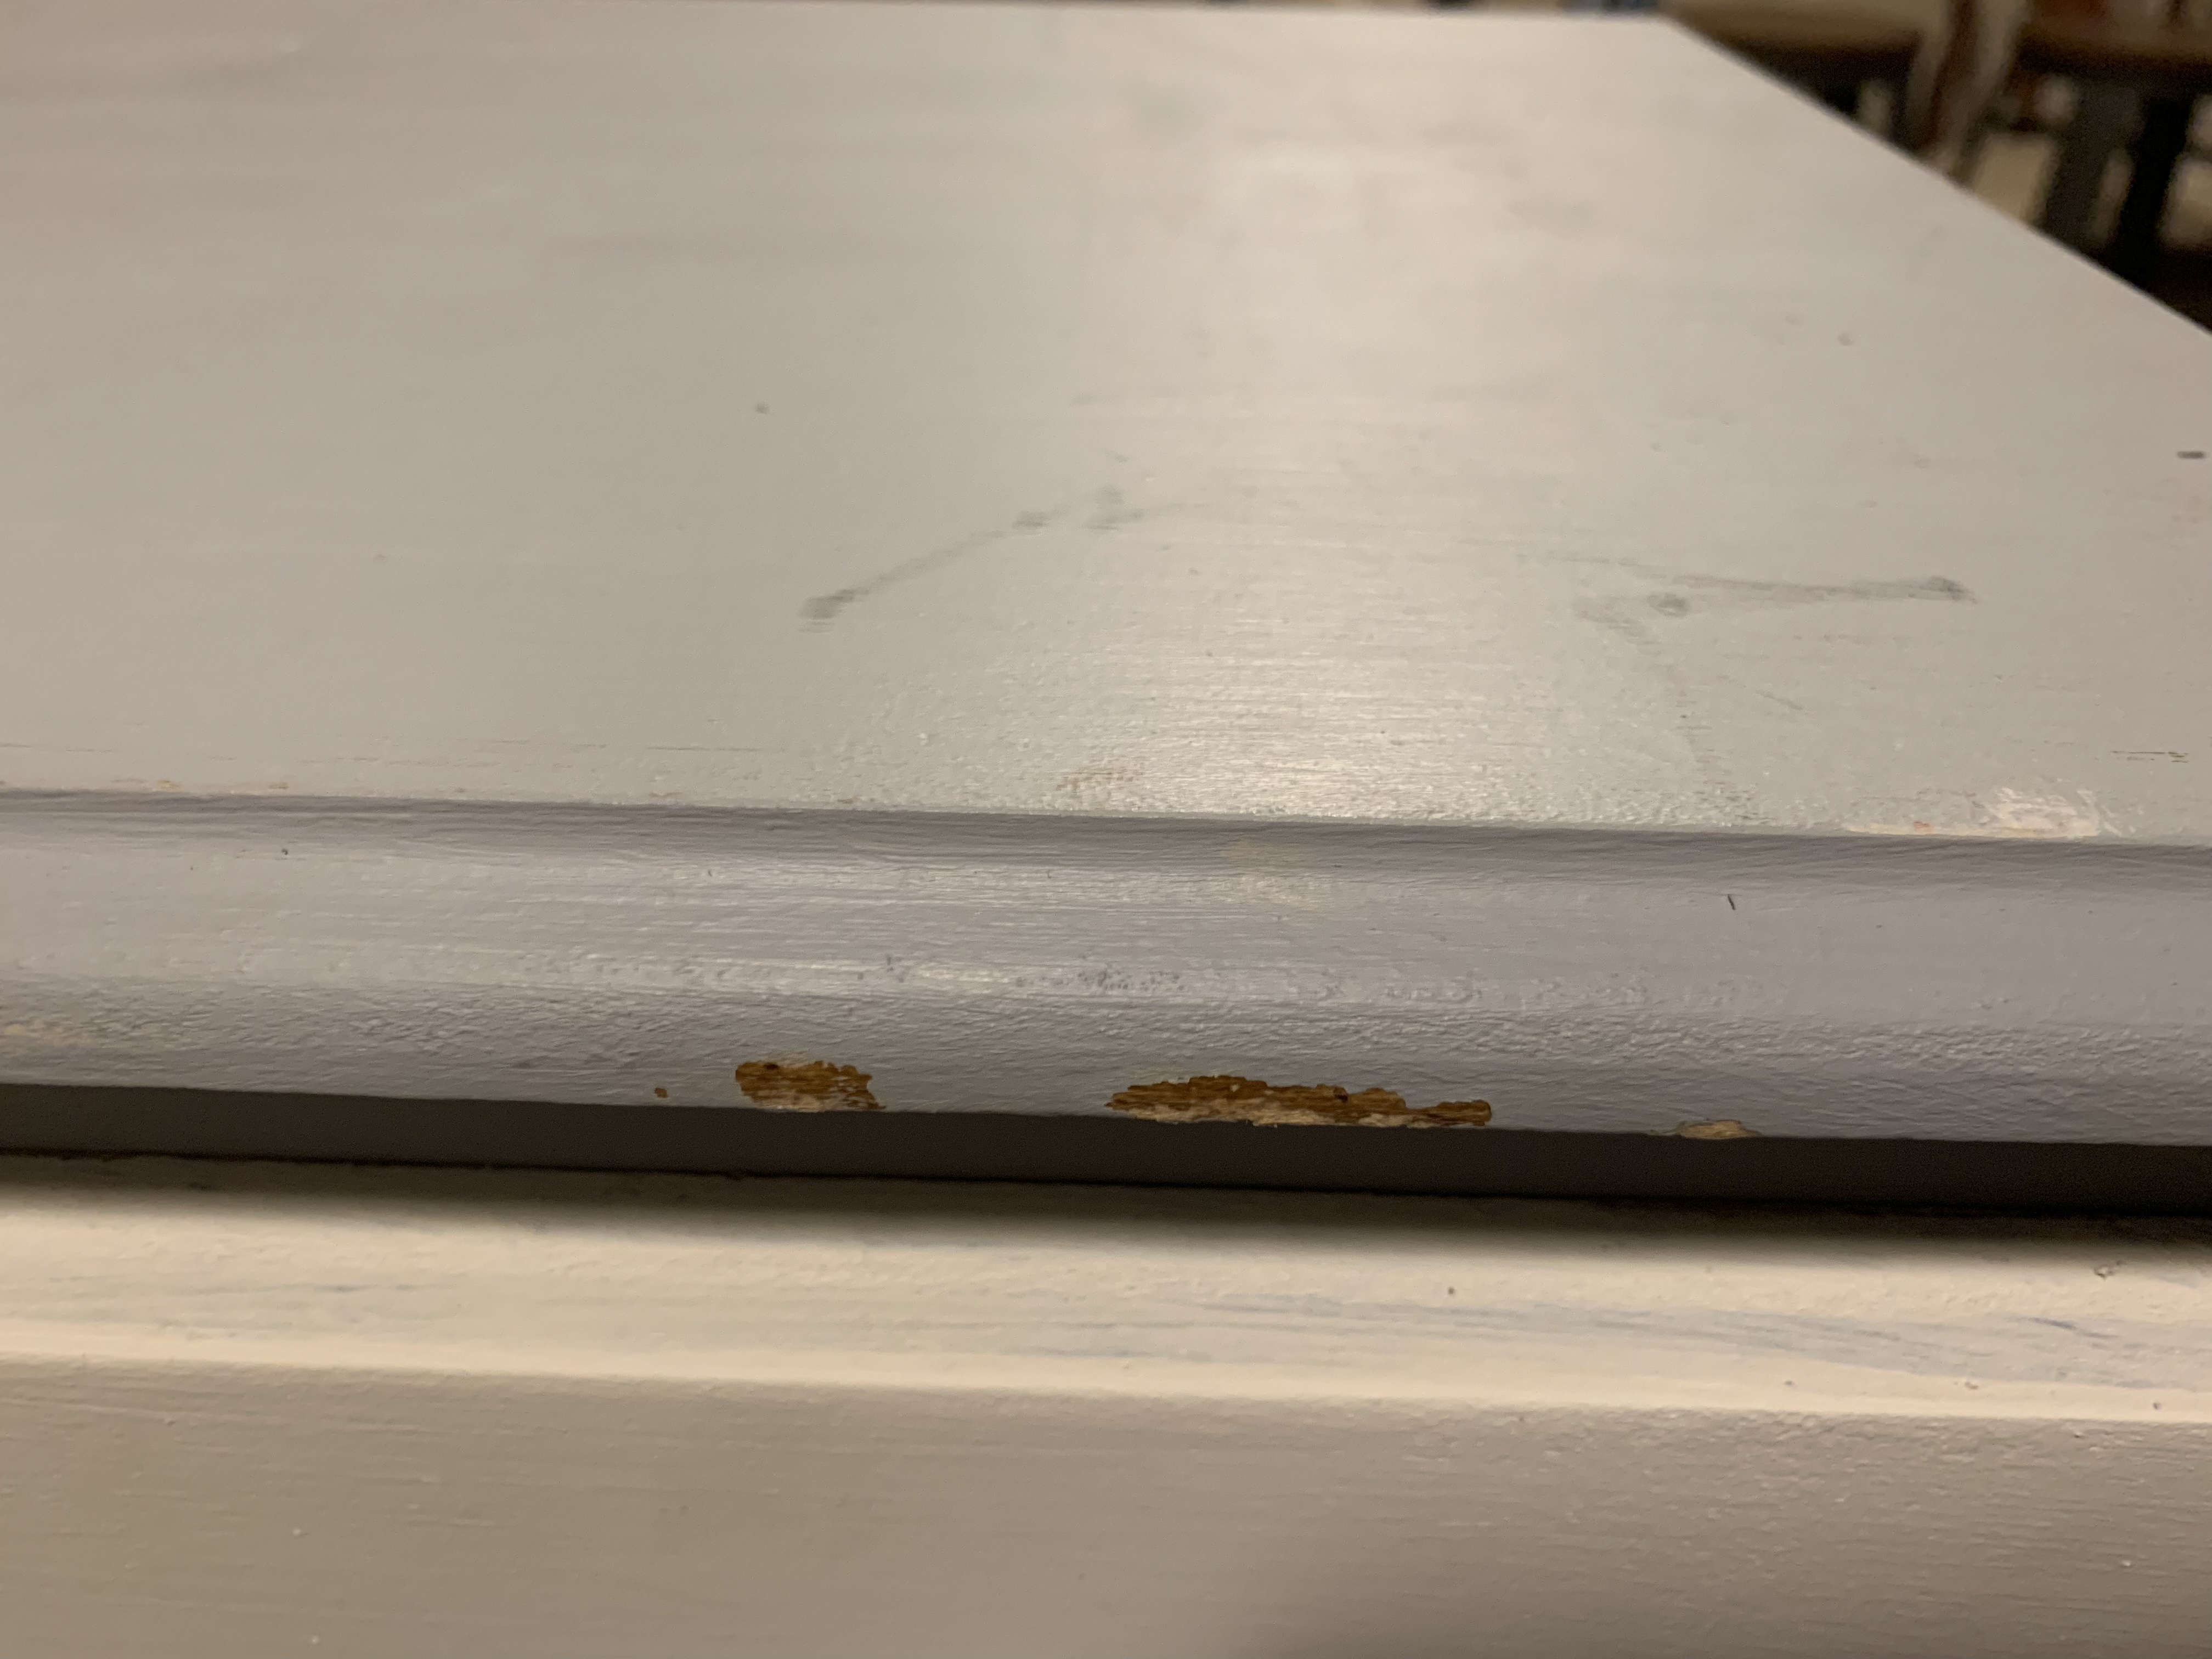
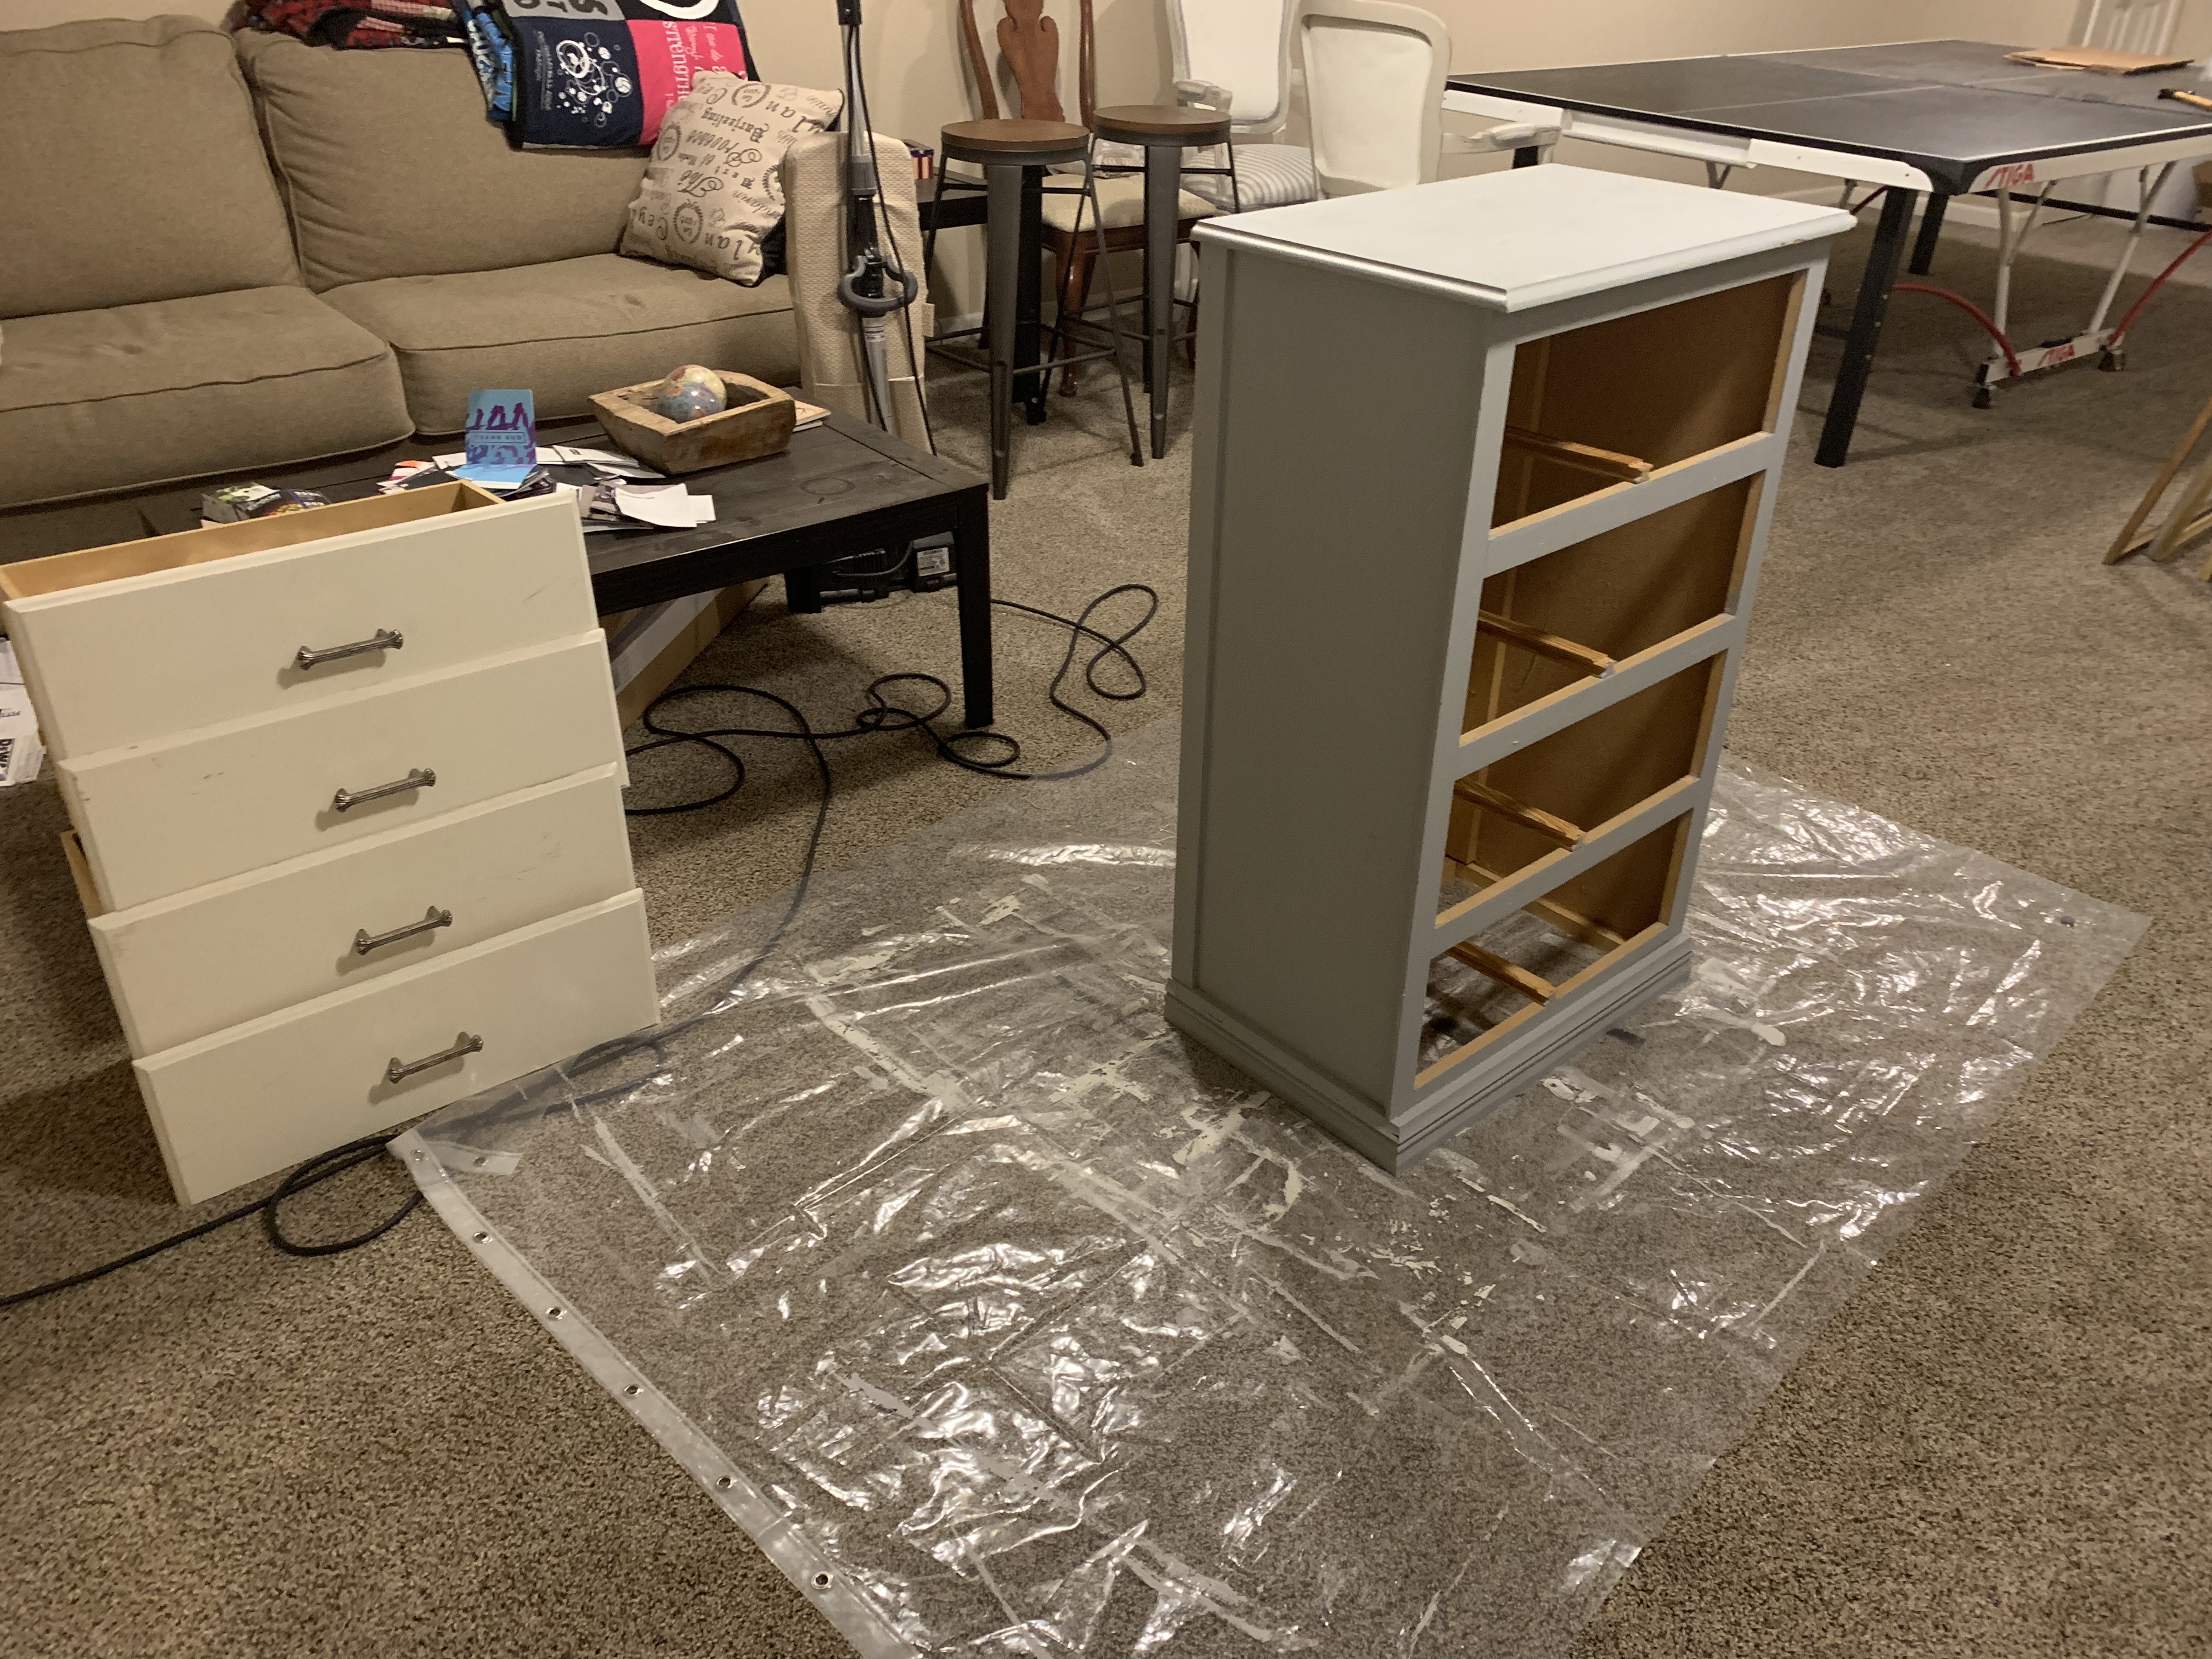
I thought about just throwing it out since we didn’t need it in our bedroom anymore, but I figured it could still provide good storage in the office closet.
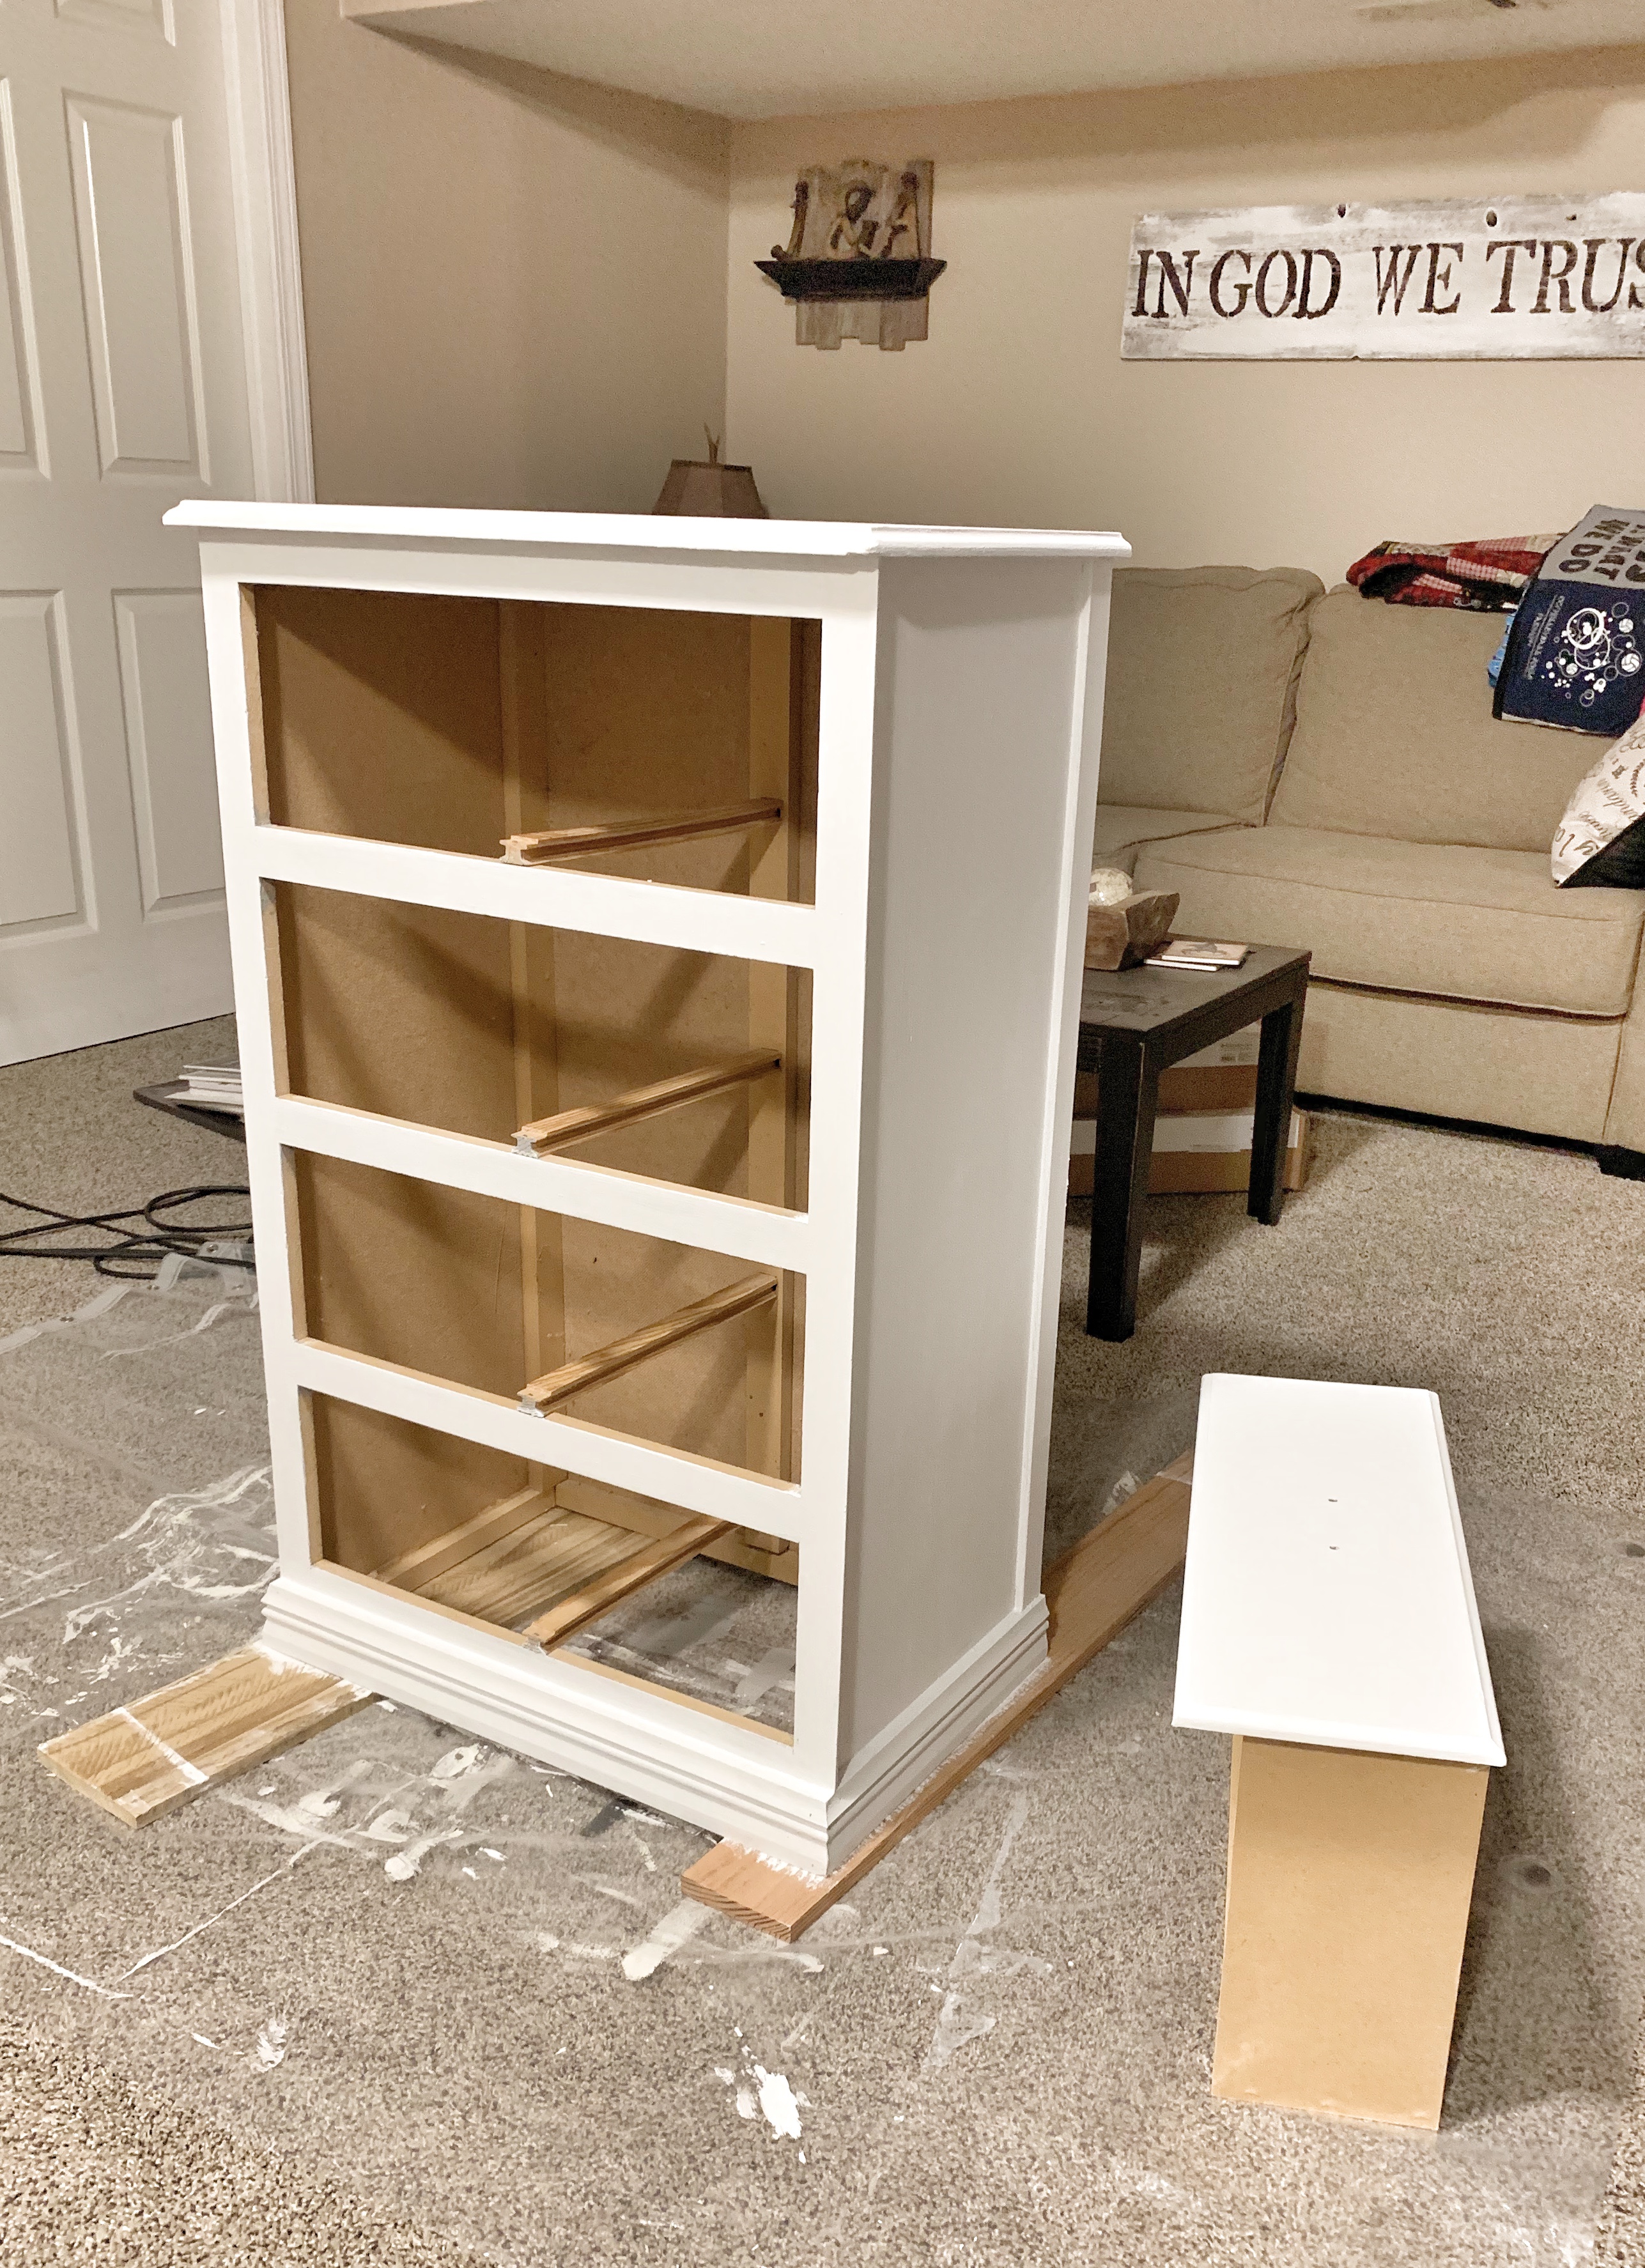
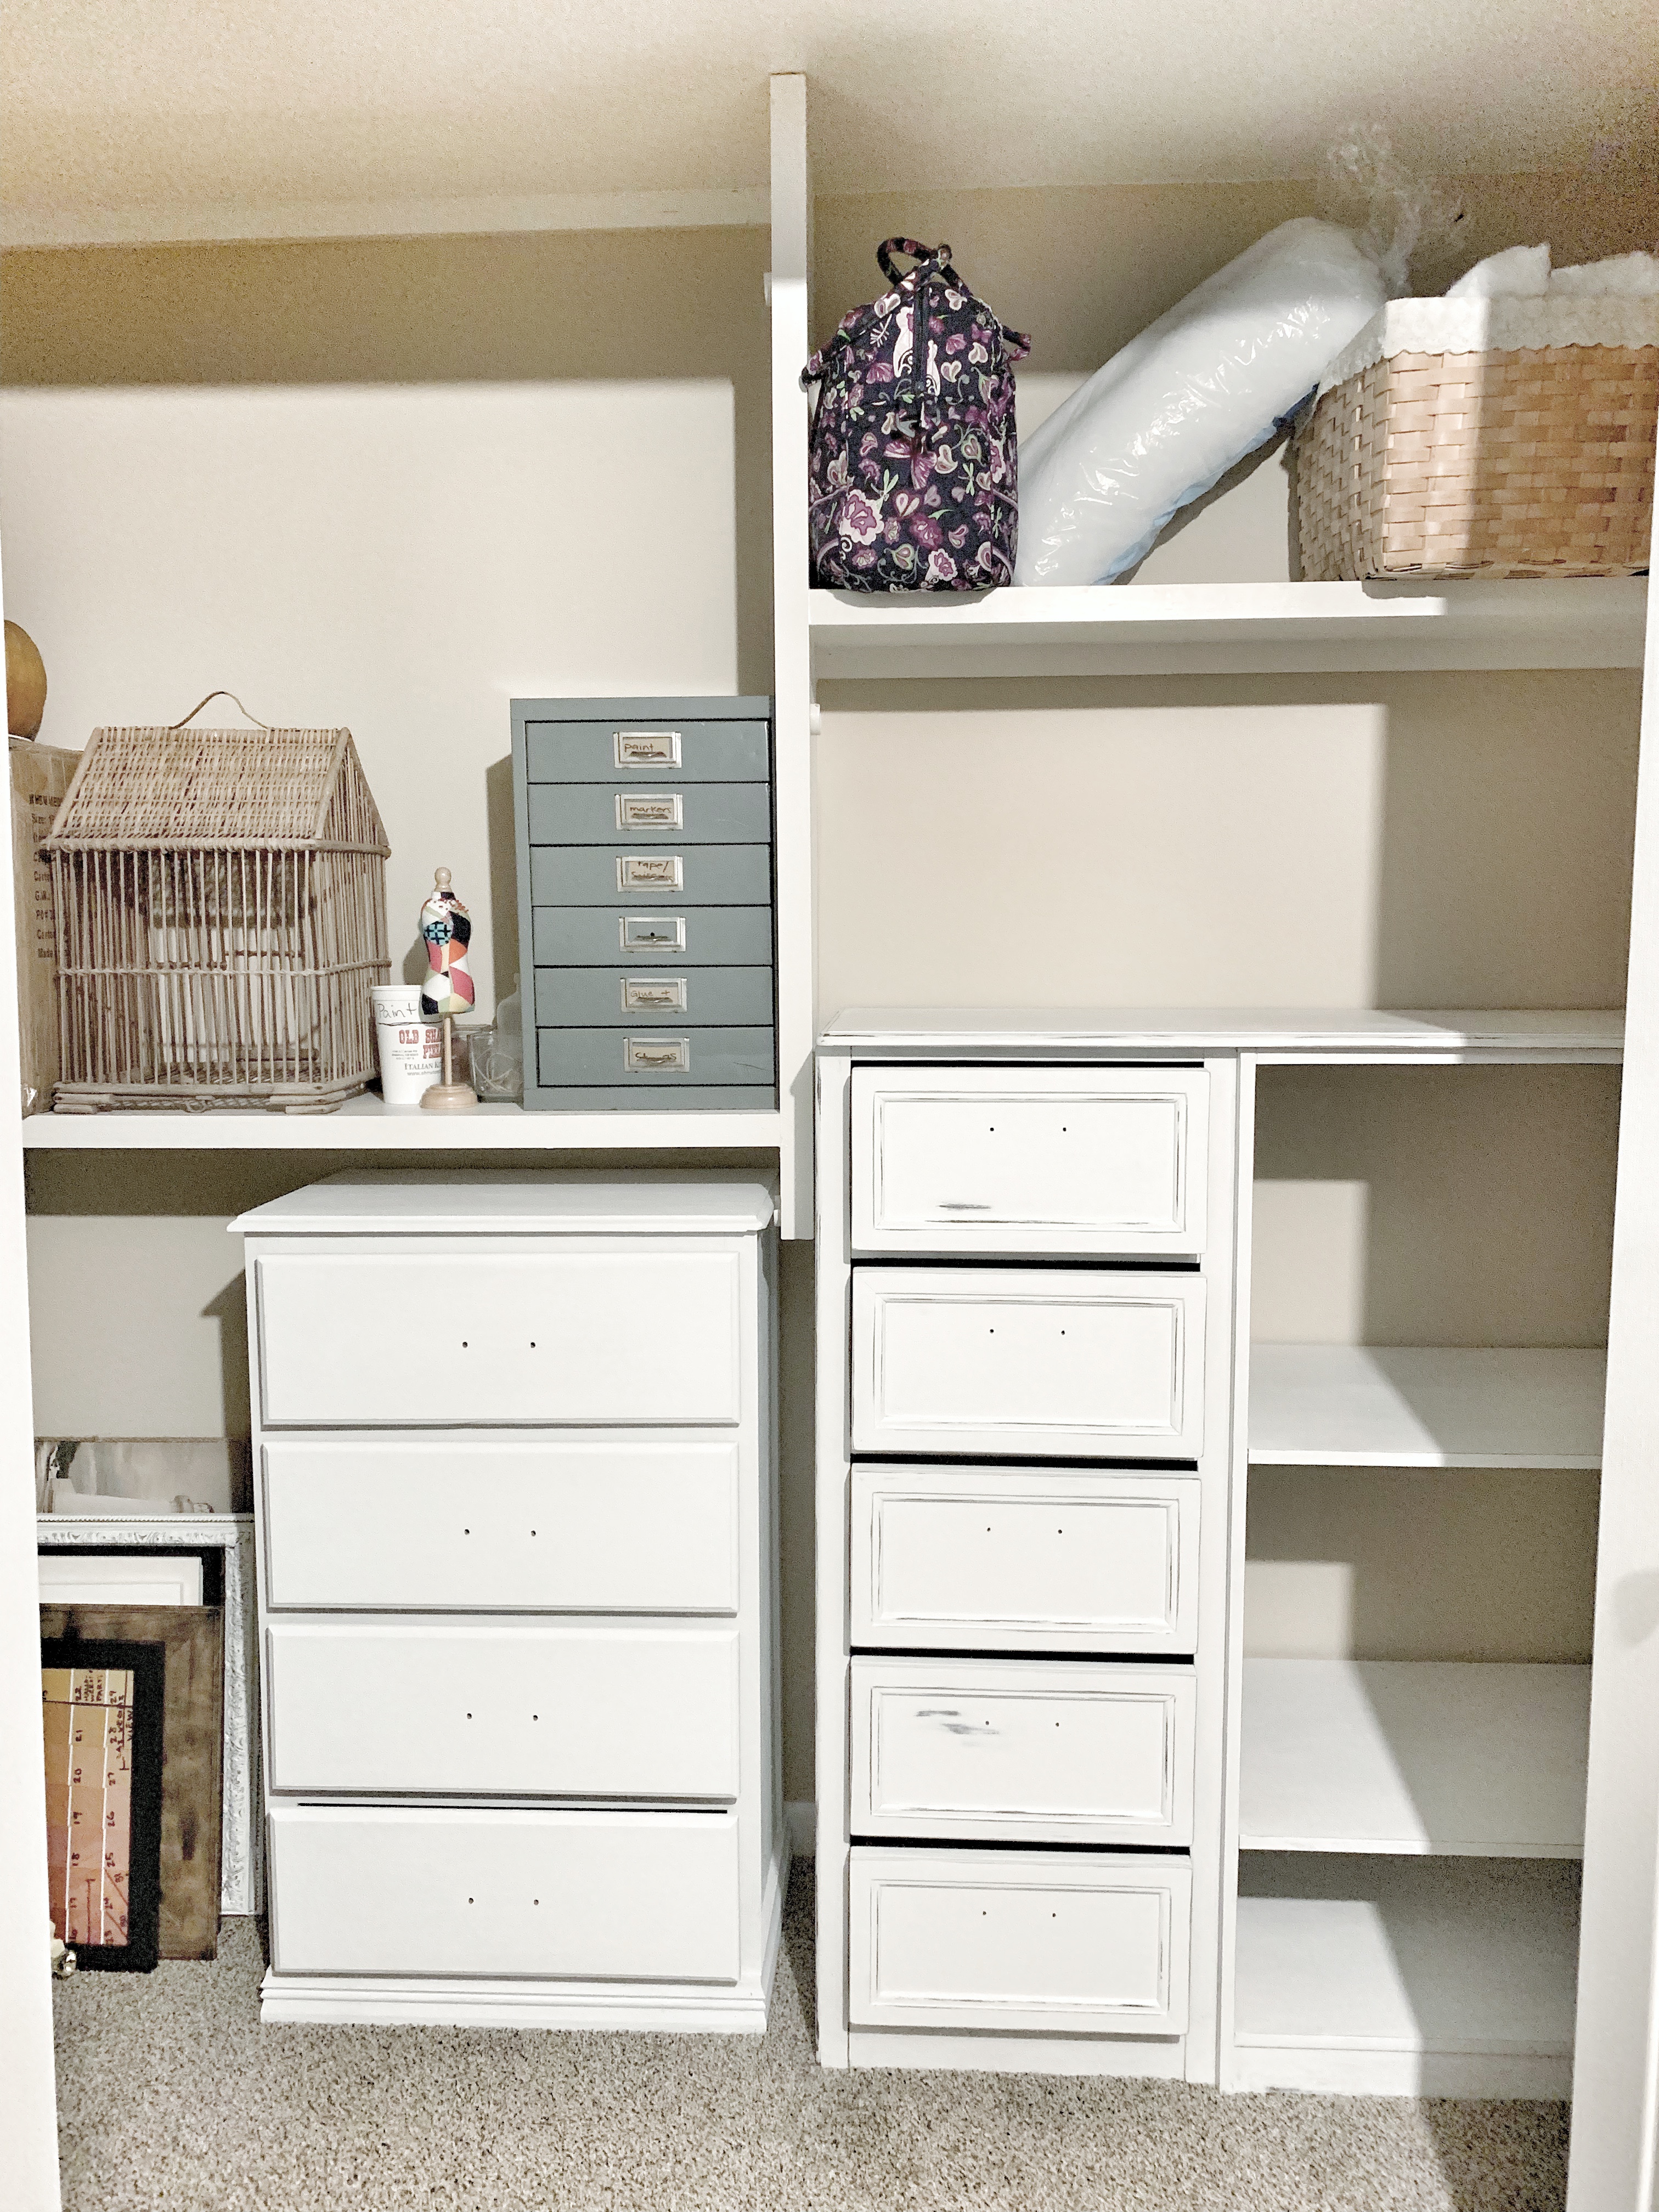
After applying the same paint and hardware as the first piece, this small chest of drawers was ready for a new chance at life! Because it is made of particle board, I didn’t distress or antique this piece, but it seriously looks as good as new, especially with the new hardware!
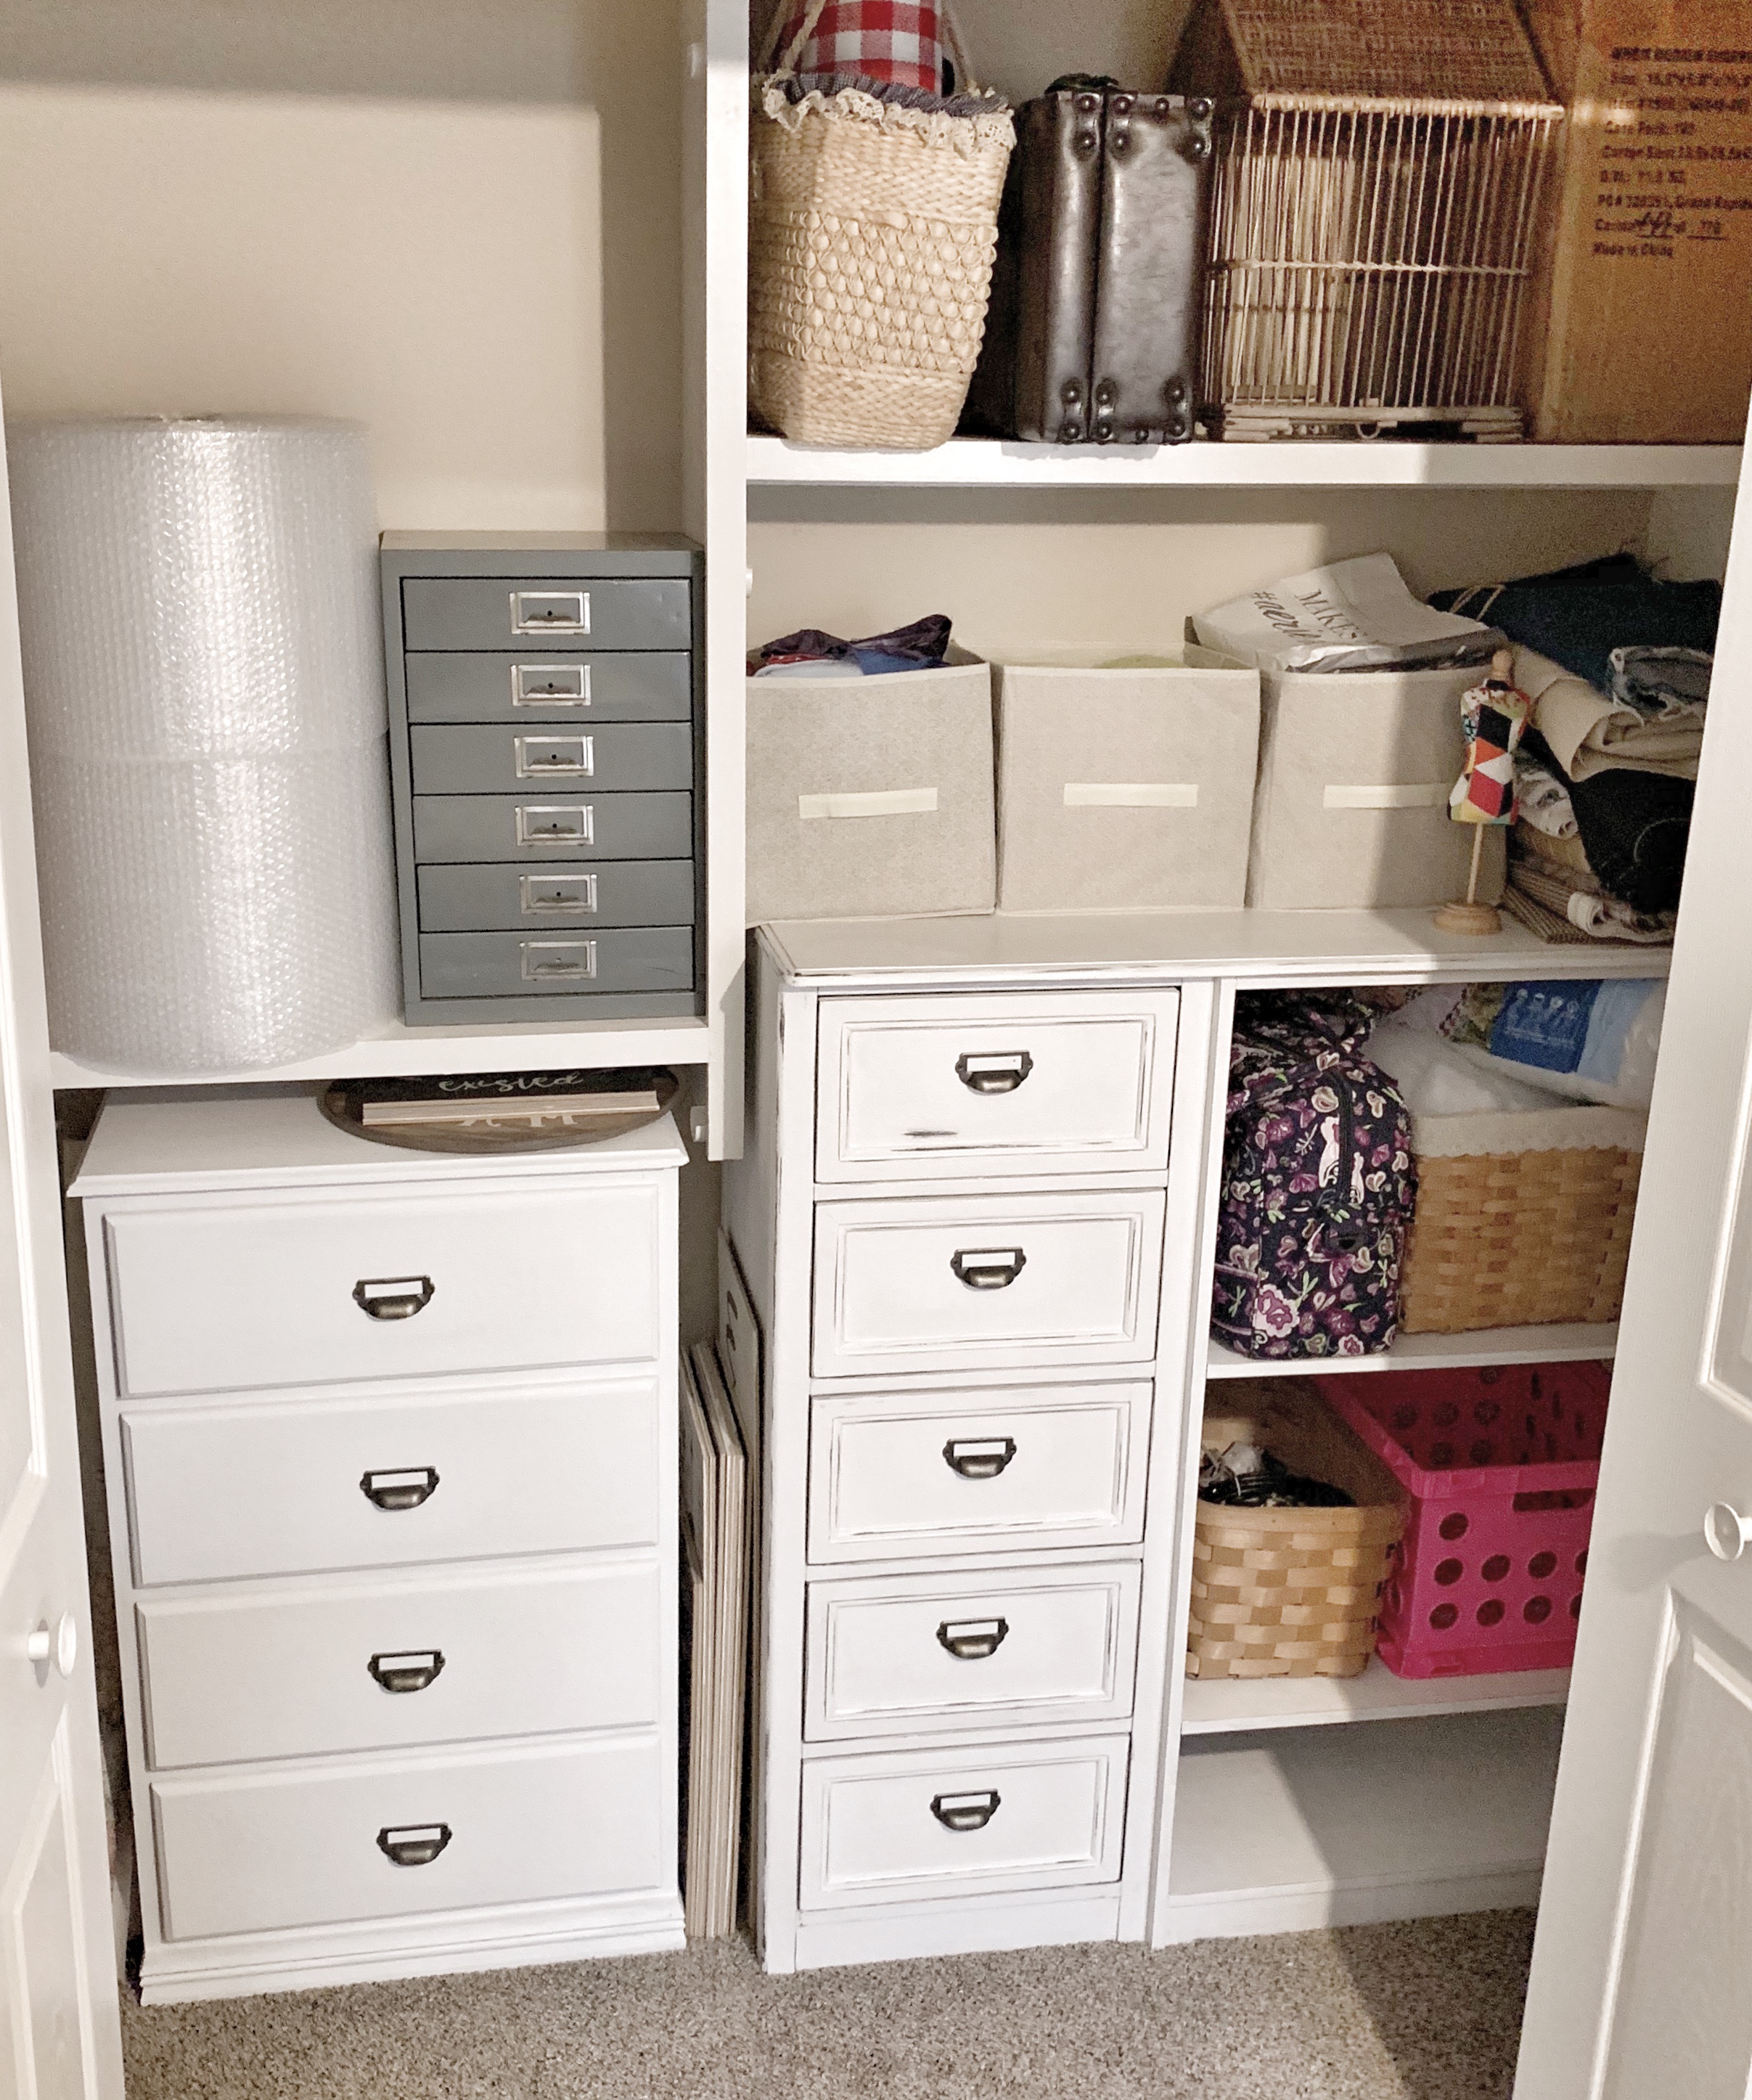
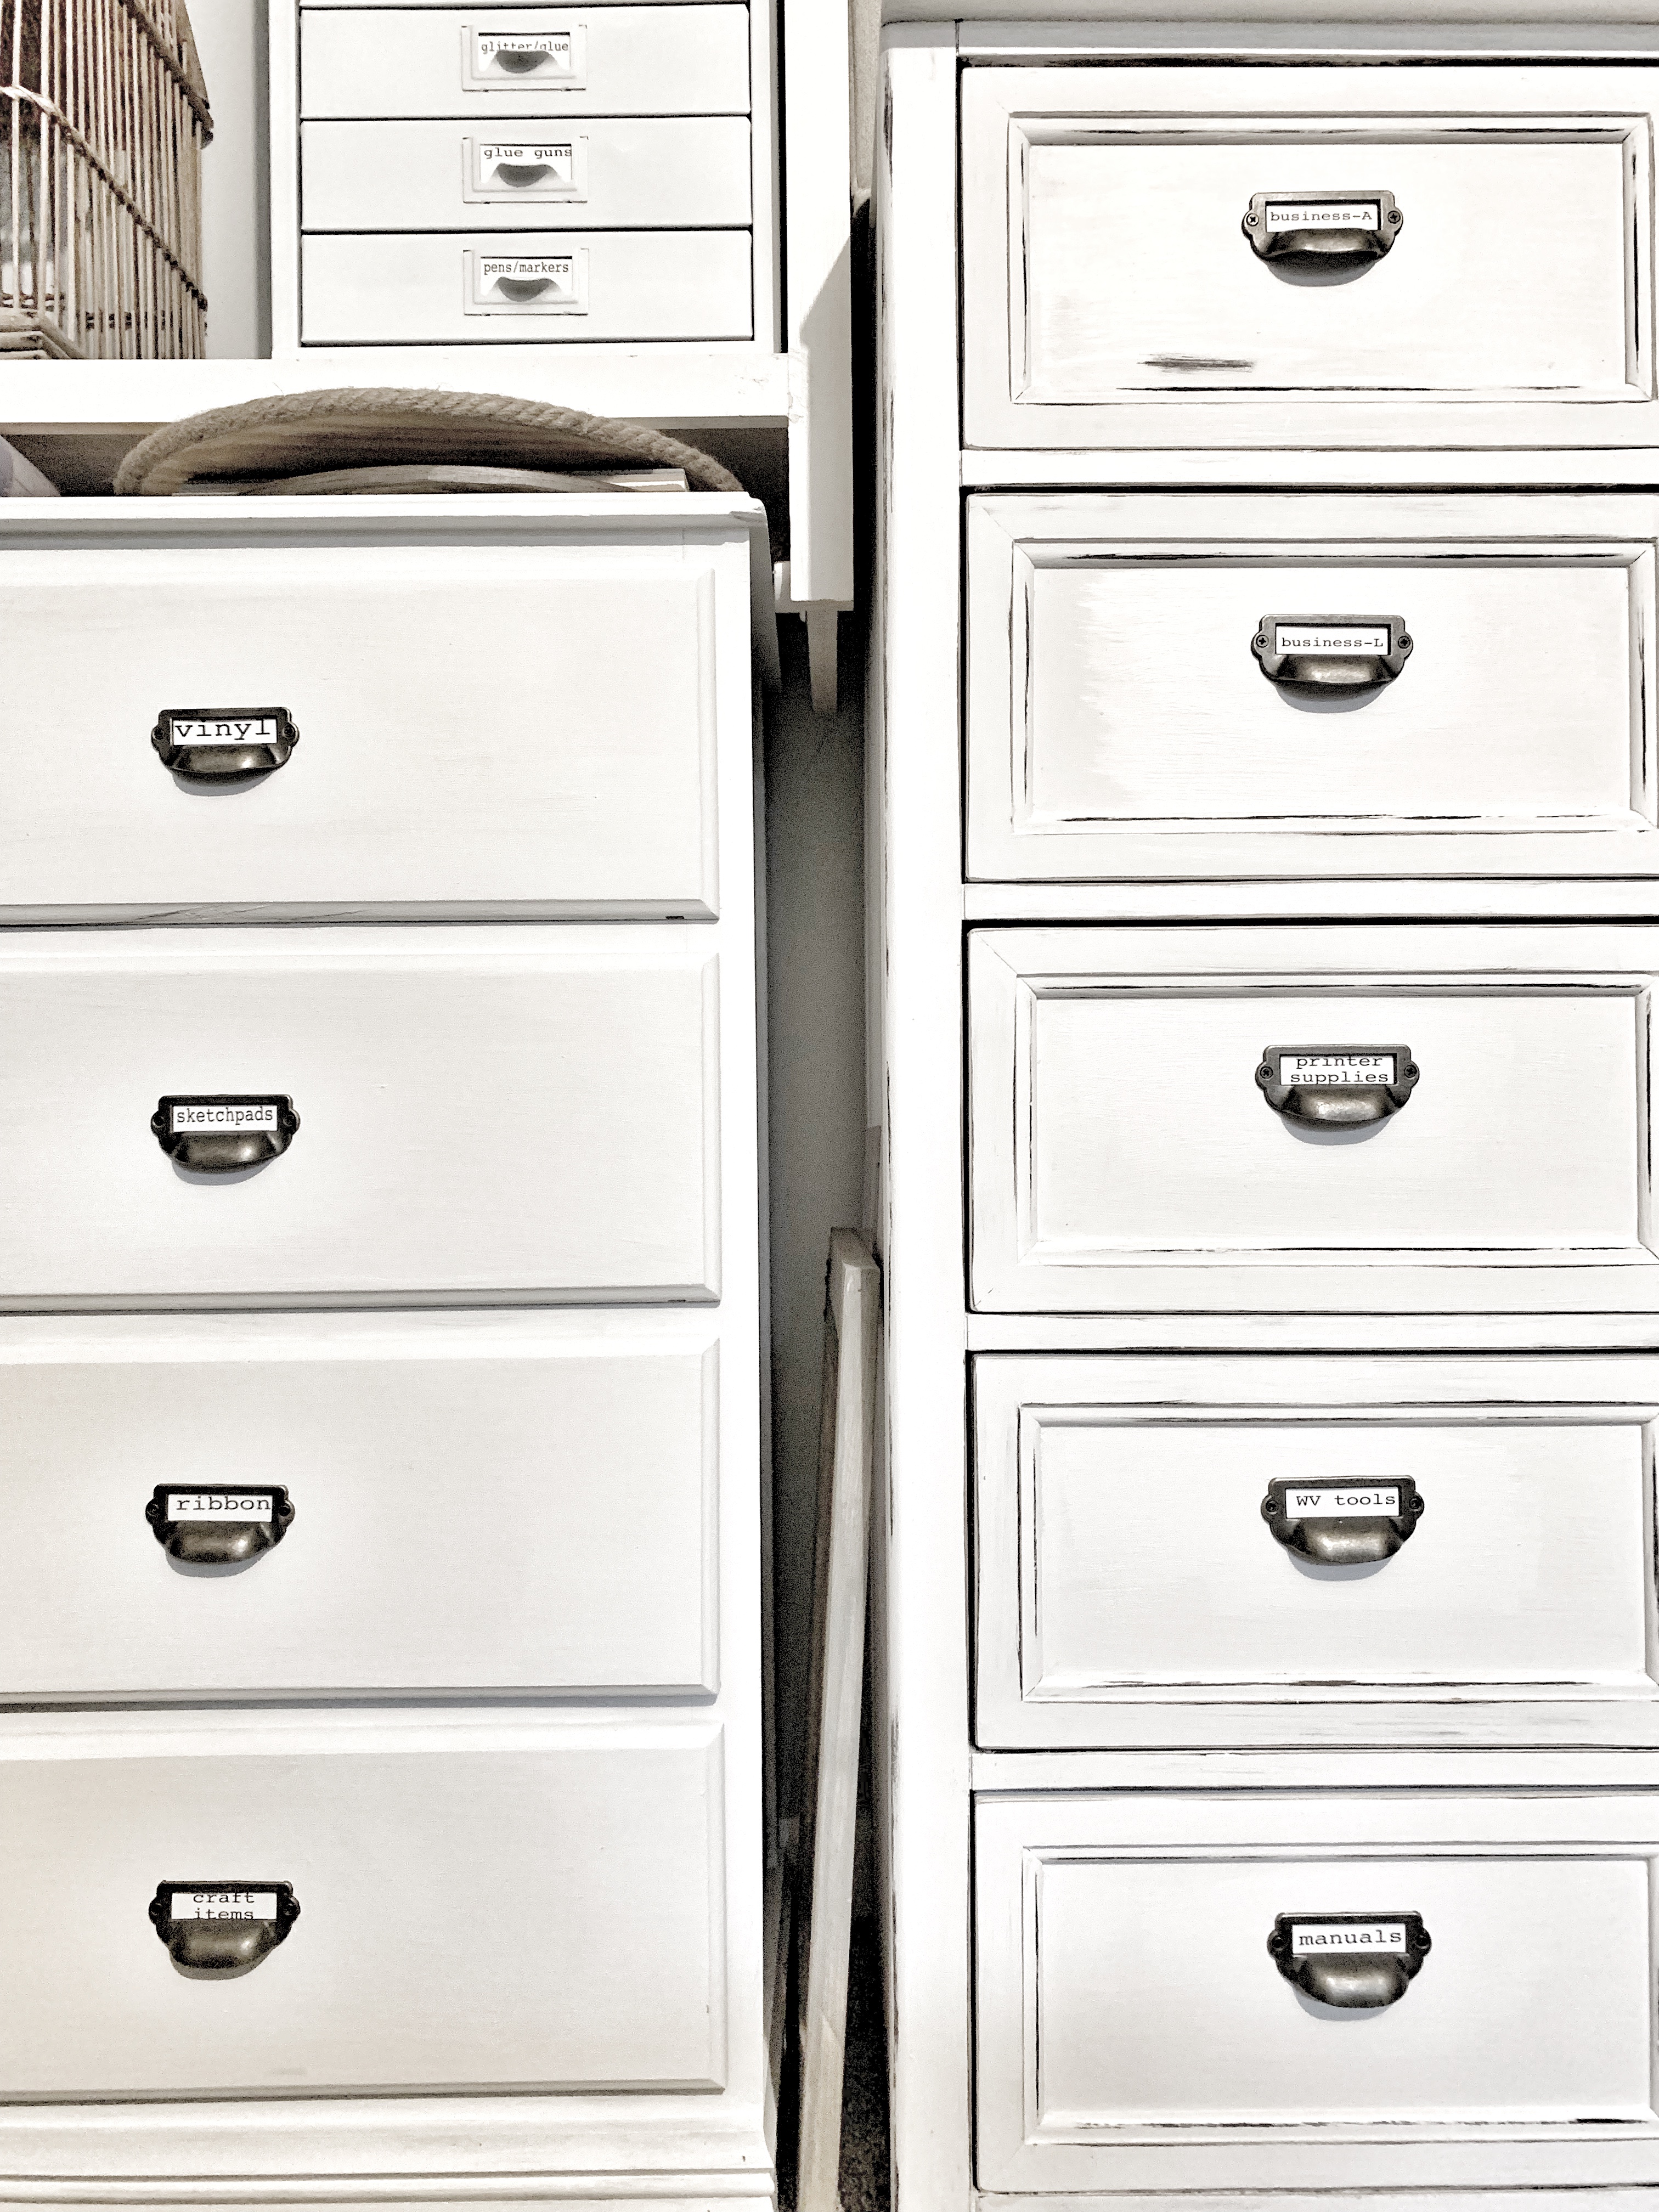
Again, it’s almost as if this chest of drawers were made for this space! It fits so perfectly right next to the other shelf and provides even more storage for ALL THE THINGS (almost).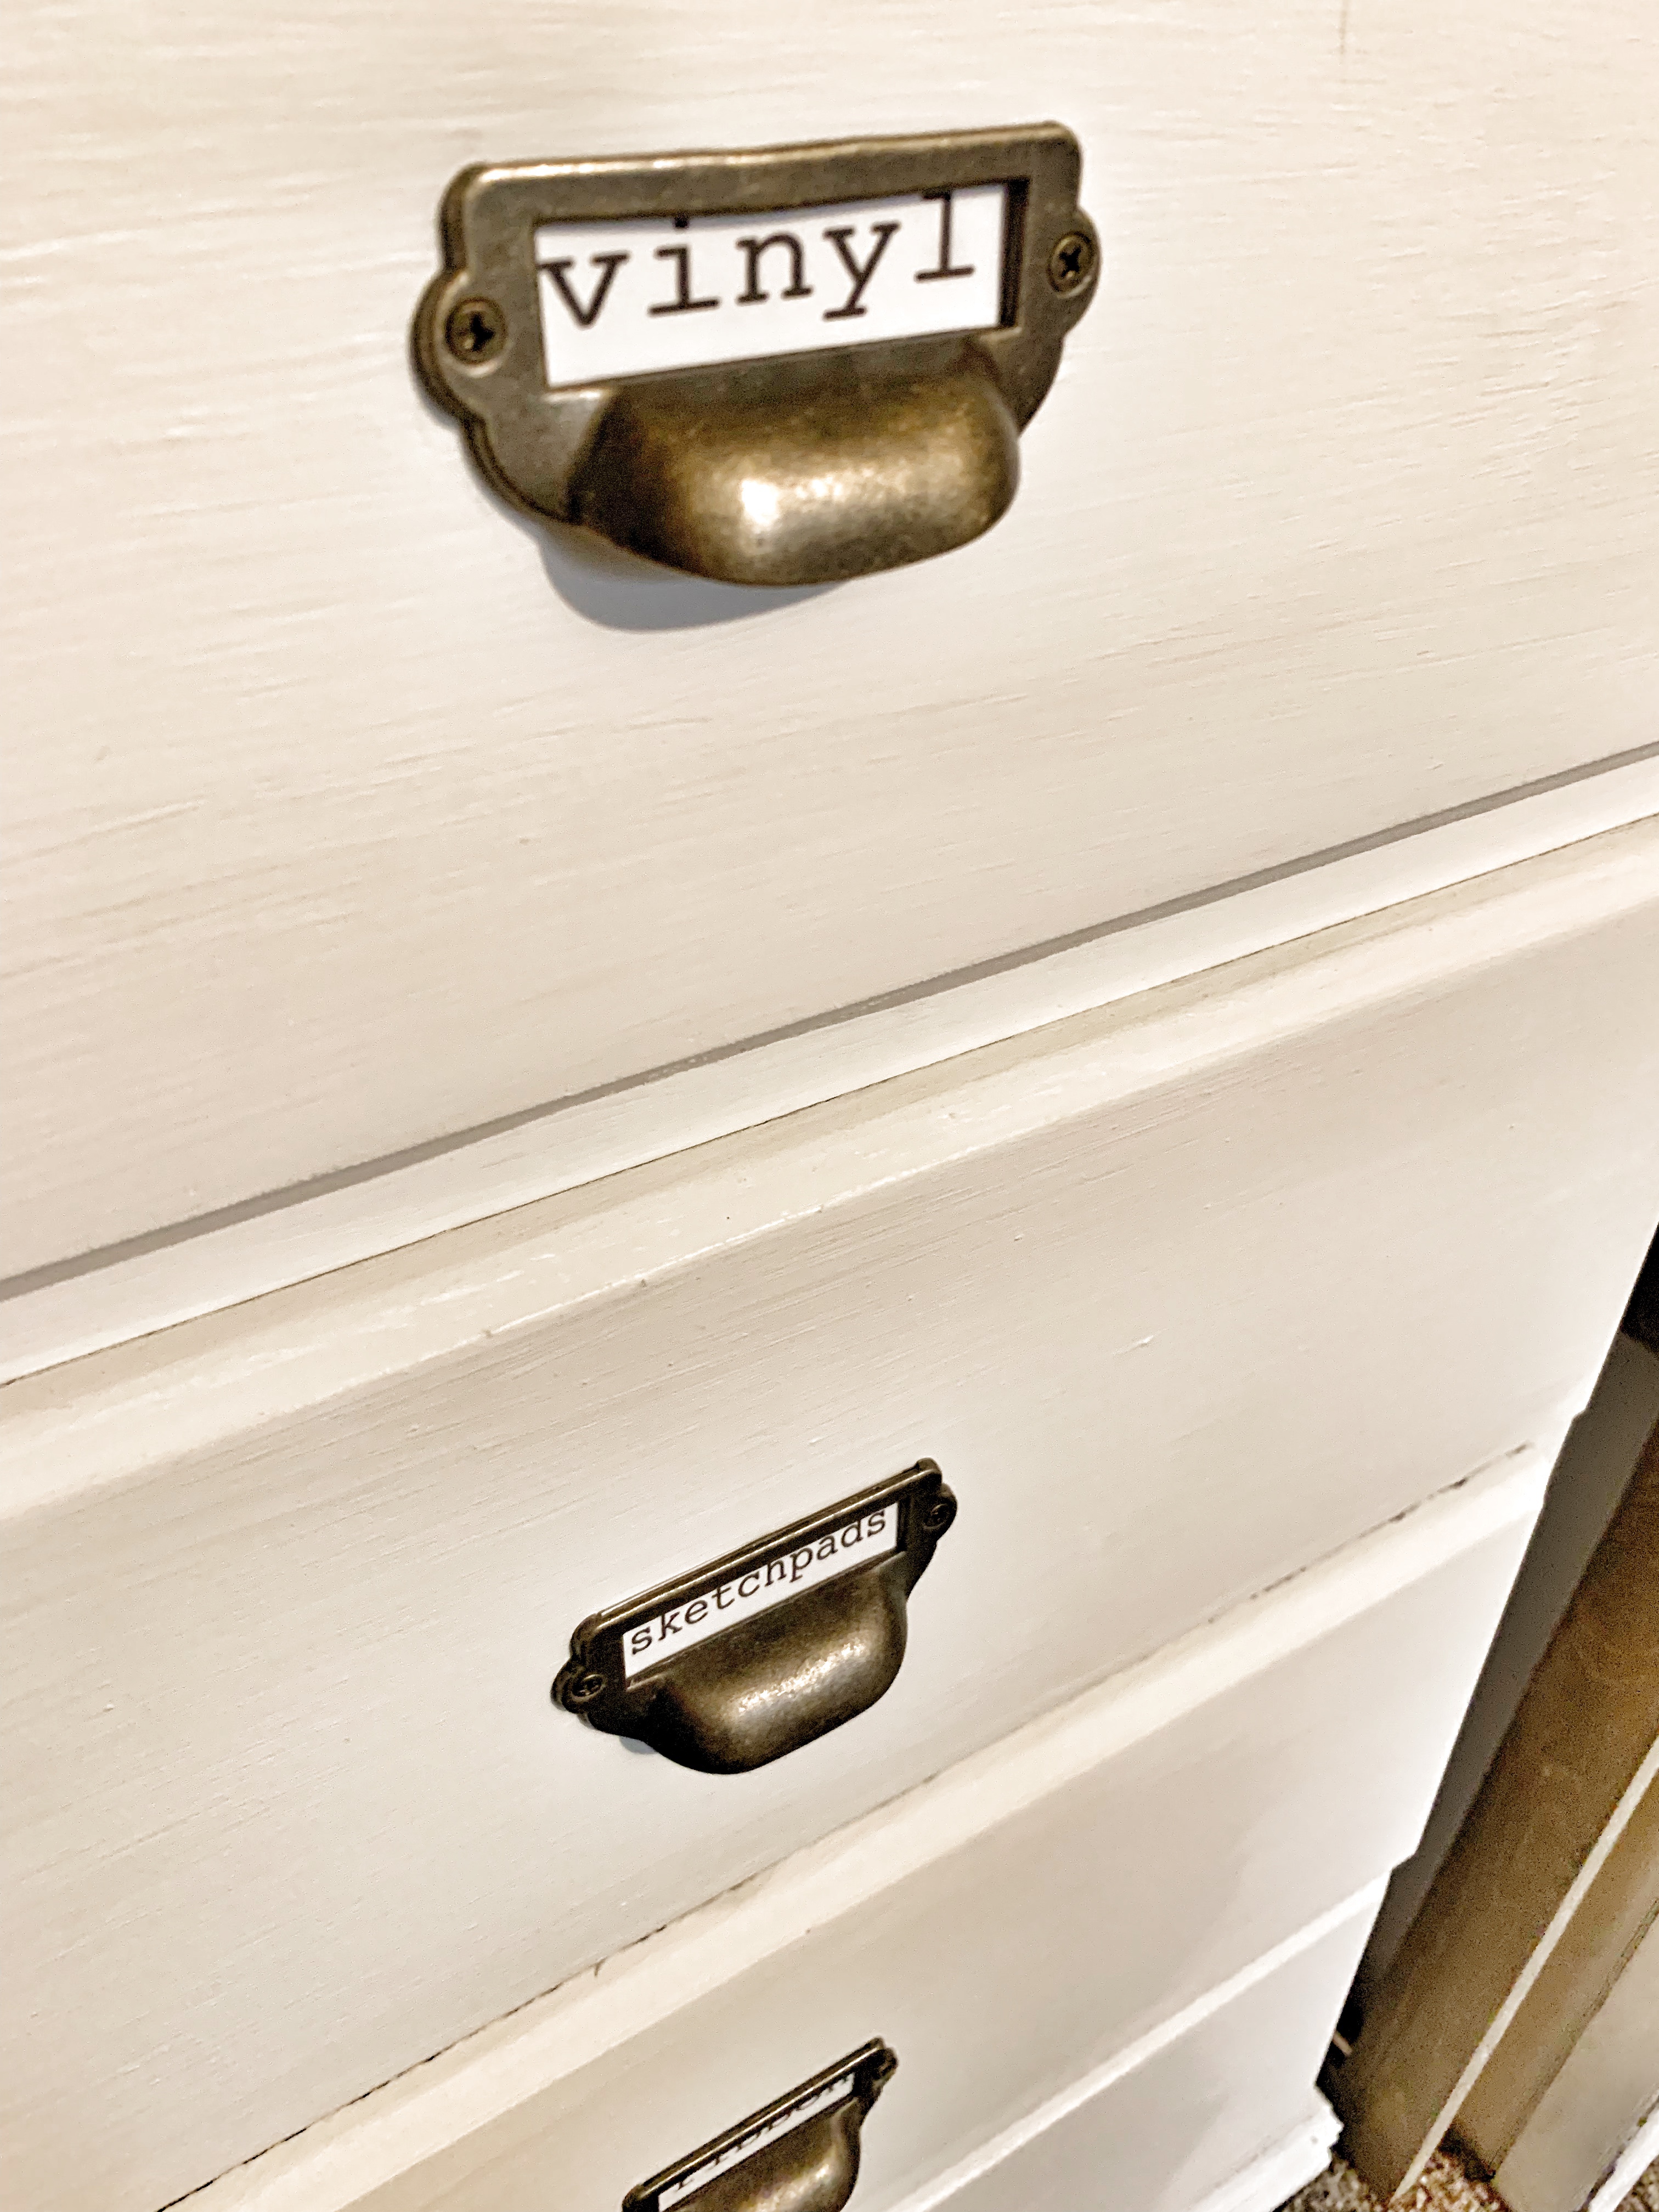
Project Three
The last part of this update was actually a built-in shelf. This is the only project we did that is permanently built-in, and I justified it because I had quite a few bigger things that didn’t fit in the drawers and needed to be on a shelf. If need be, this closet would still have two spots for hanging clothes, which is plenty, even with the shelf!
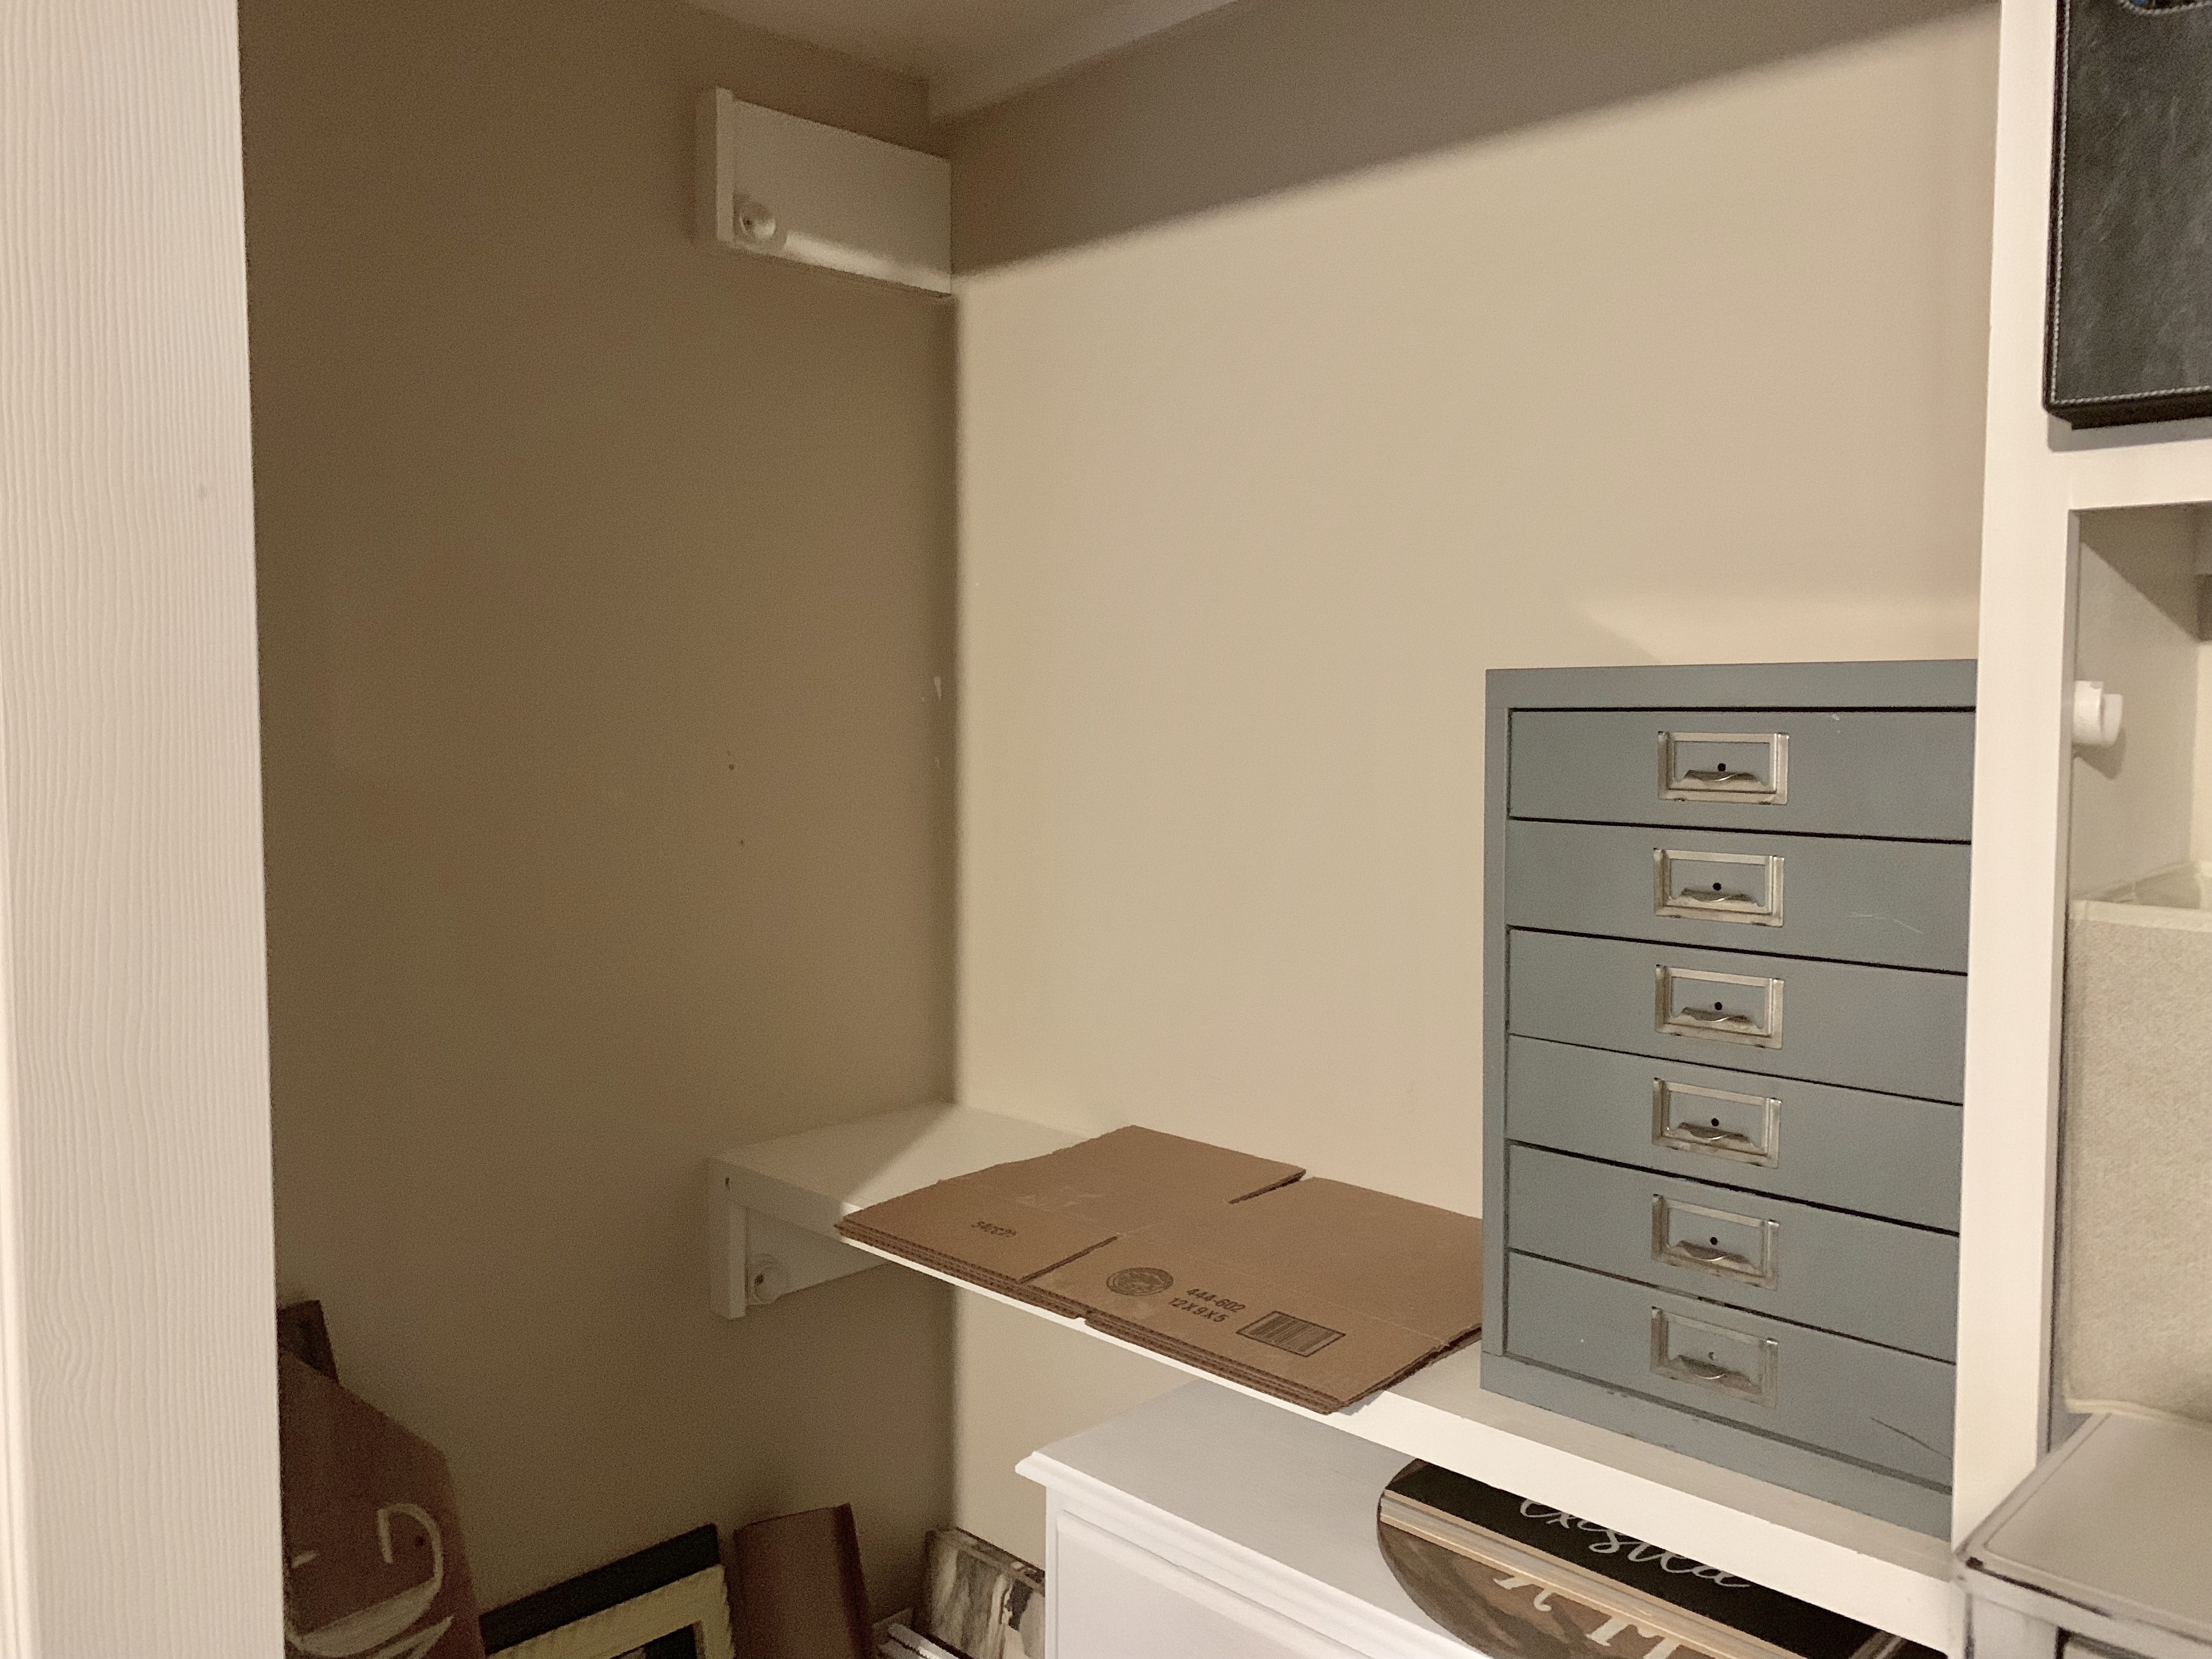
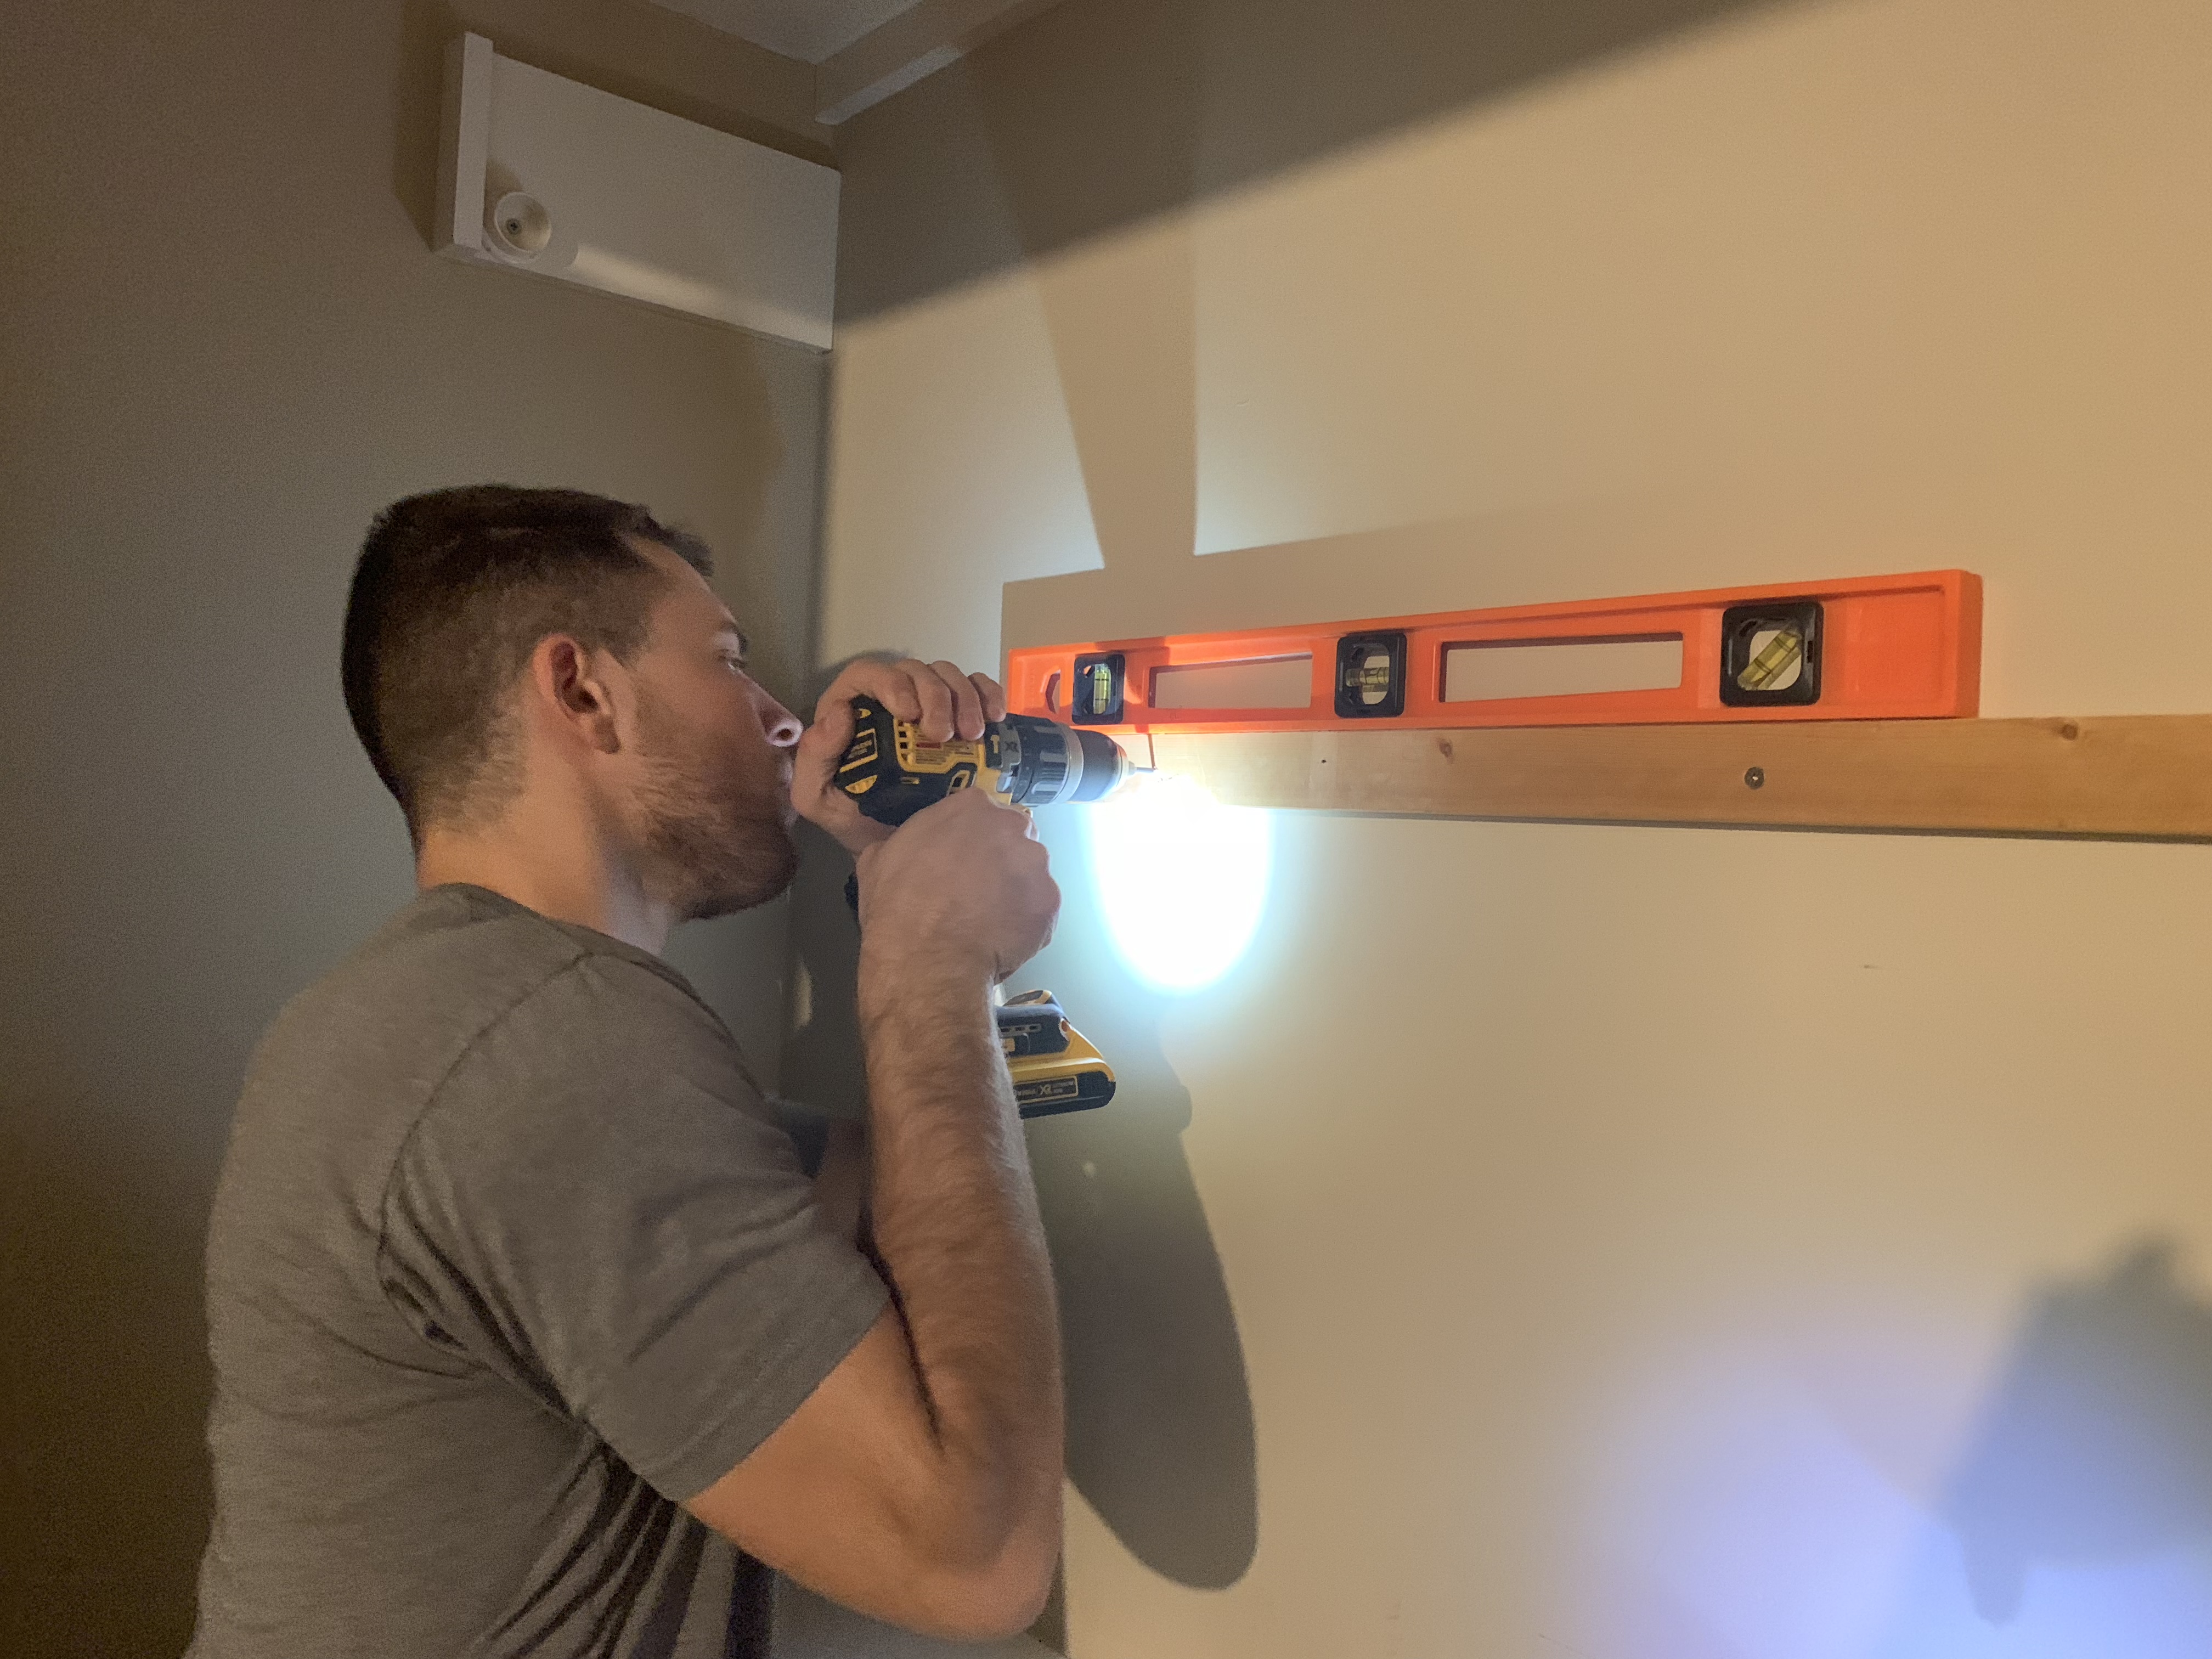
We started by adding the shelf supports, which were just 1x4s ripped in half. We screwed them into the studs and painted them white to match the rest of the wood work.
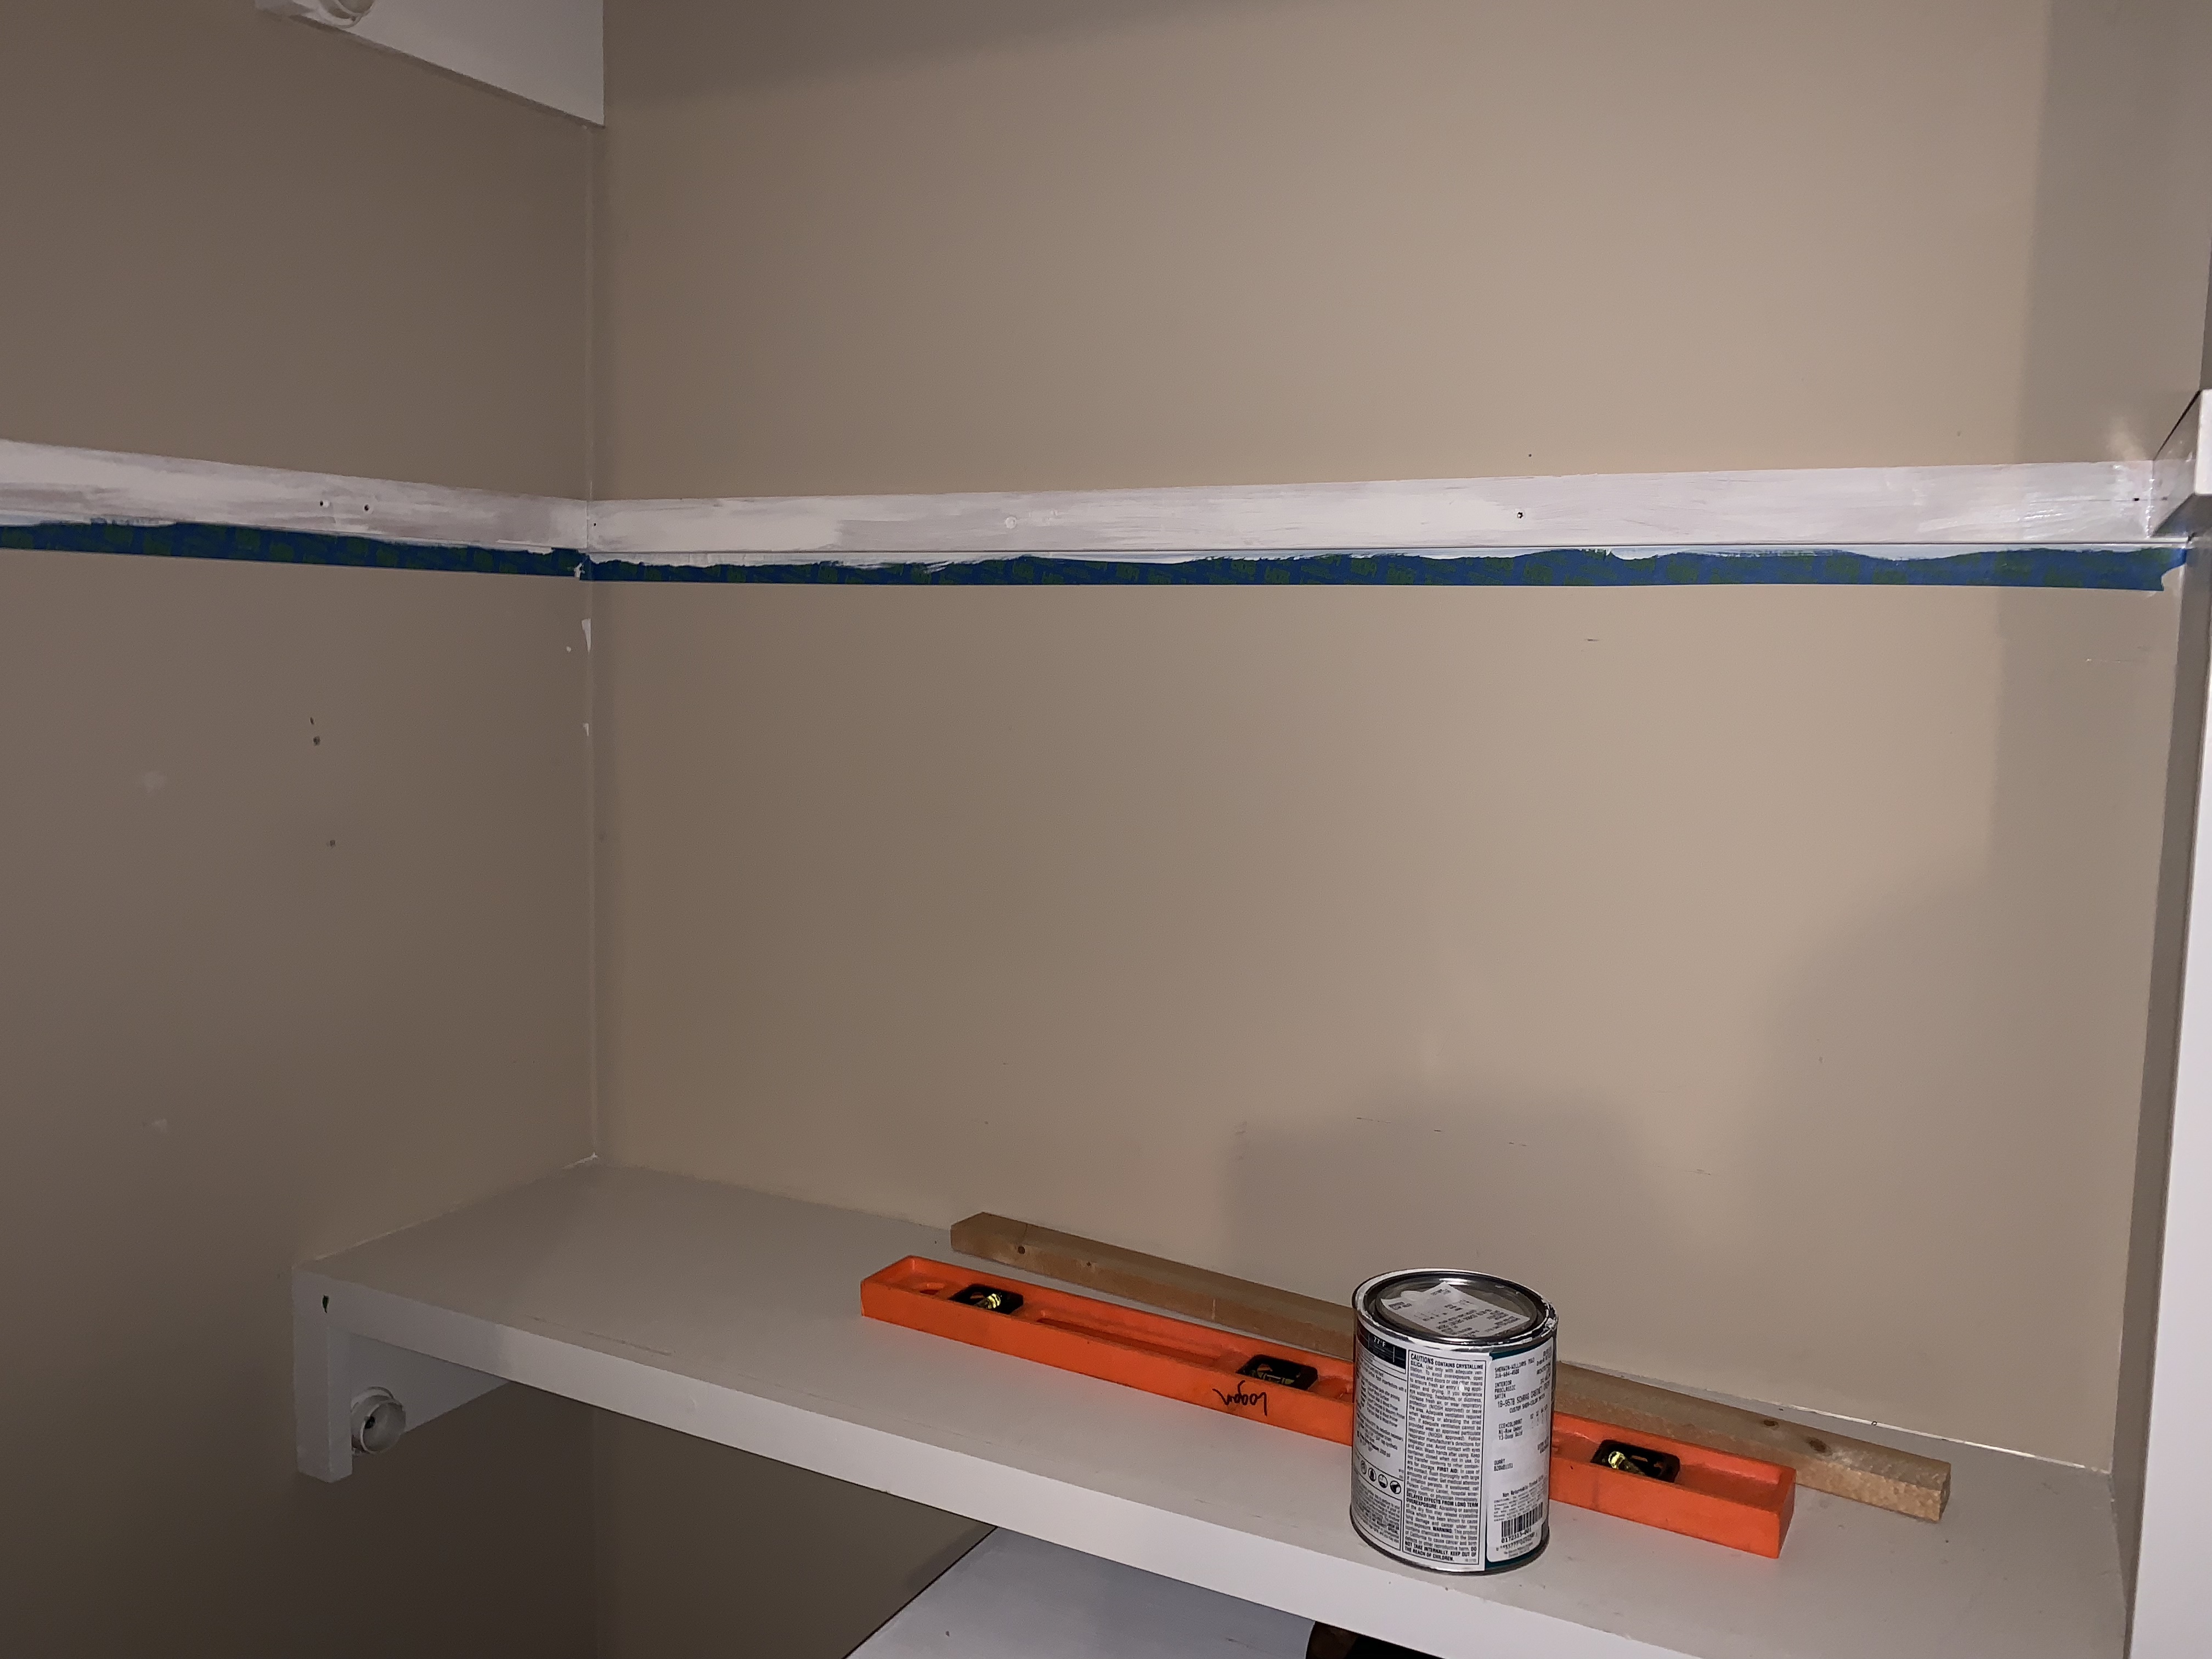
The actual shelf was made of 3/4″ MDF that we pre-painted white in two separate pieces so we could easily install it. We placed the two pieces on the shelf supports and attached them to each other with pocket holes underneath using our Kreg Jig, and then finish nailed them in place. Lastly, we added 1 1/2″ trim to the front edge so it matched the rest of the closet built-ins.
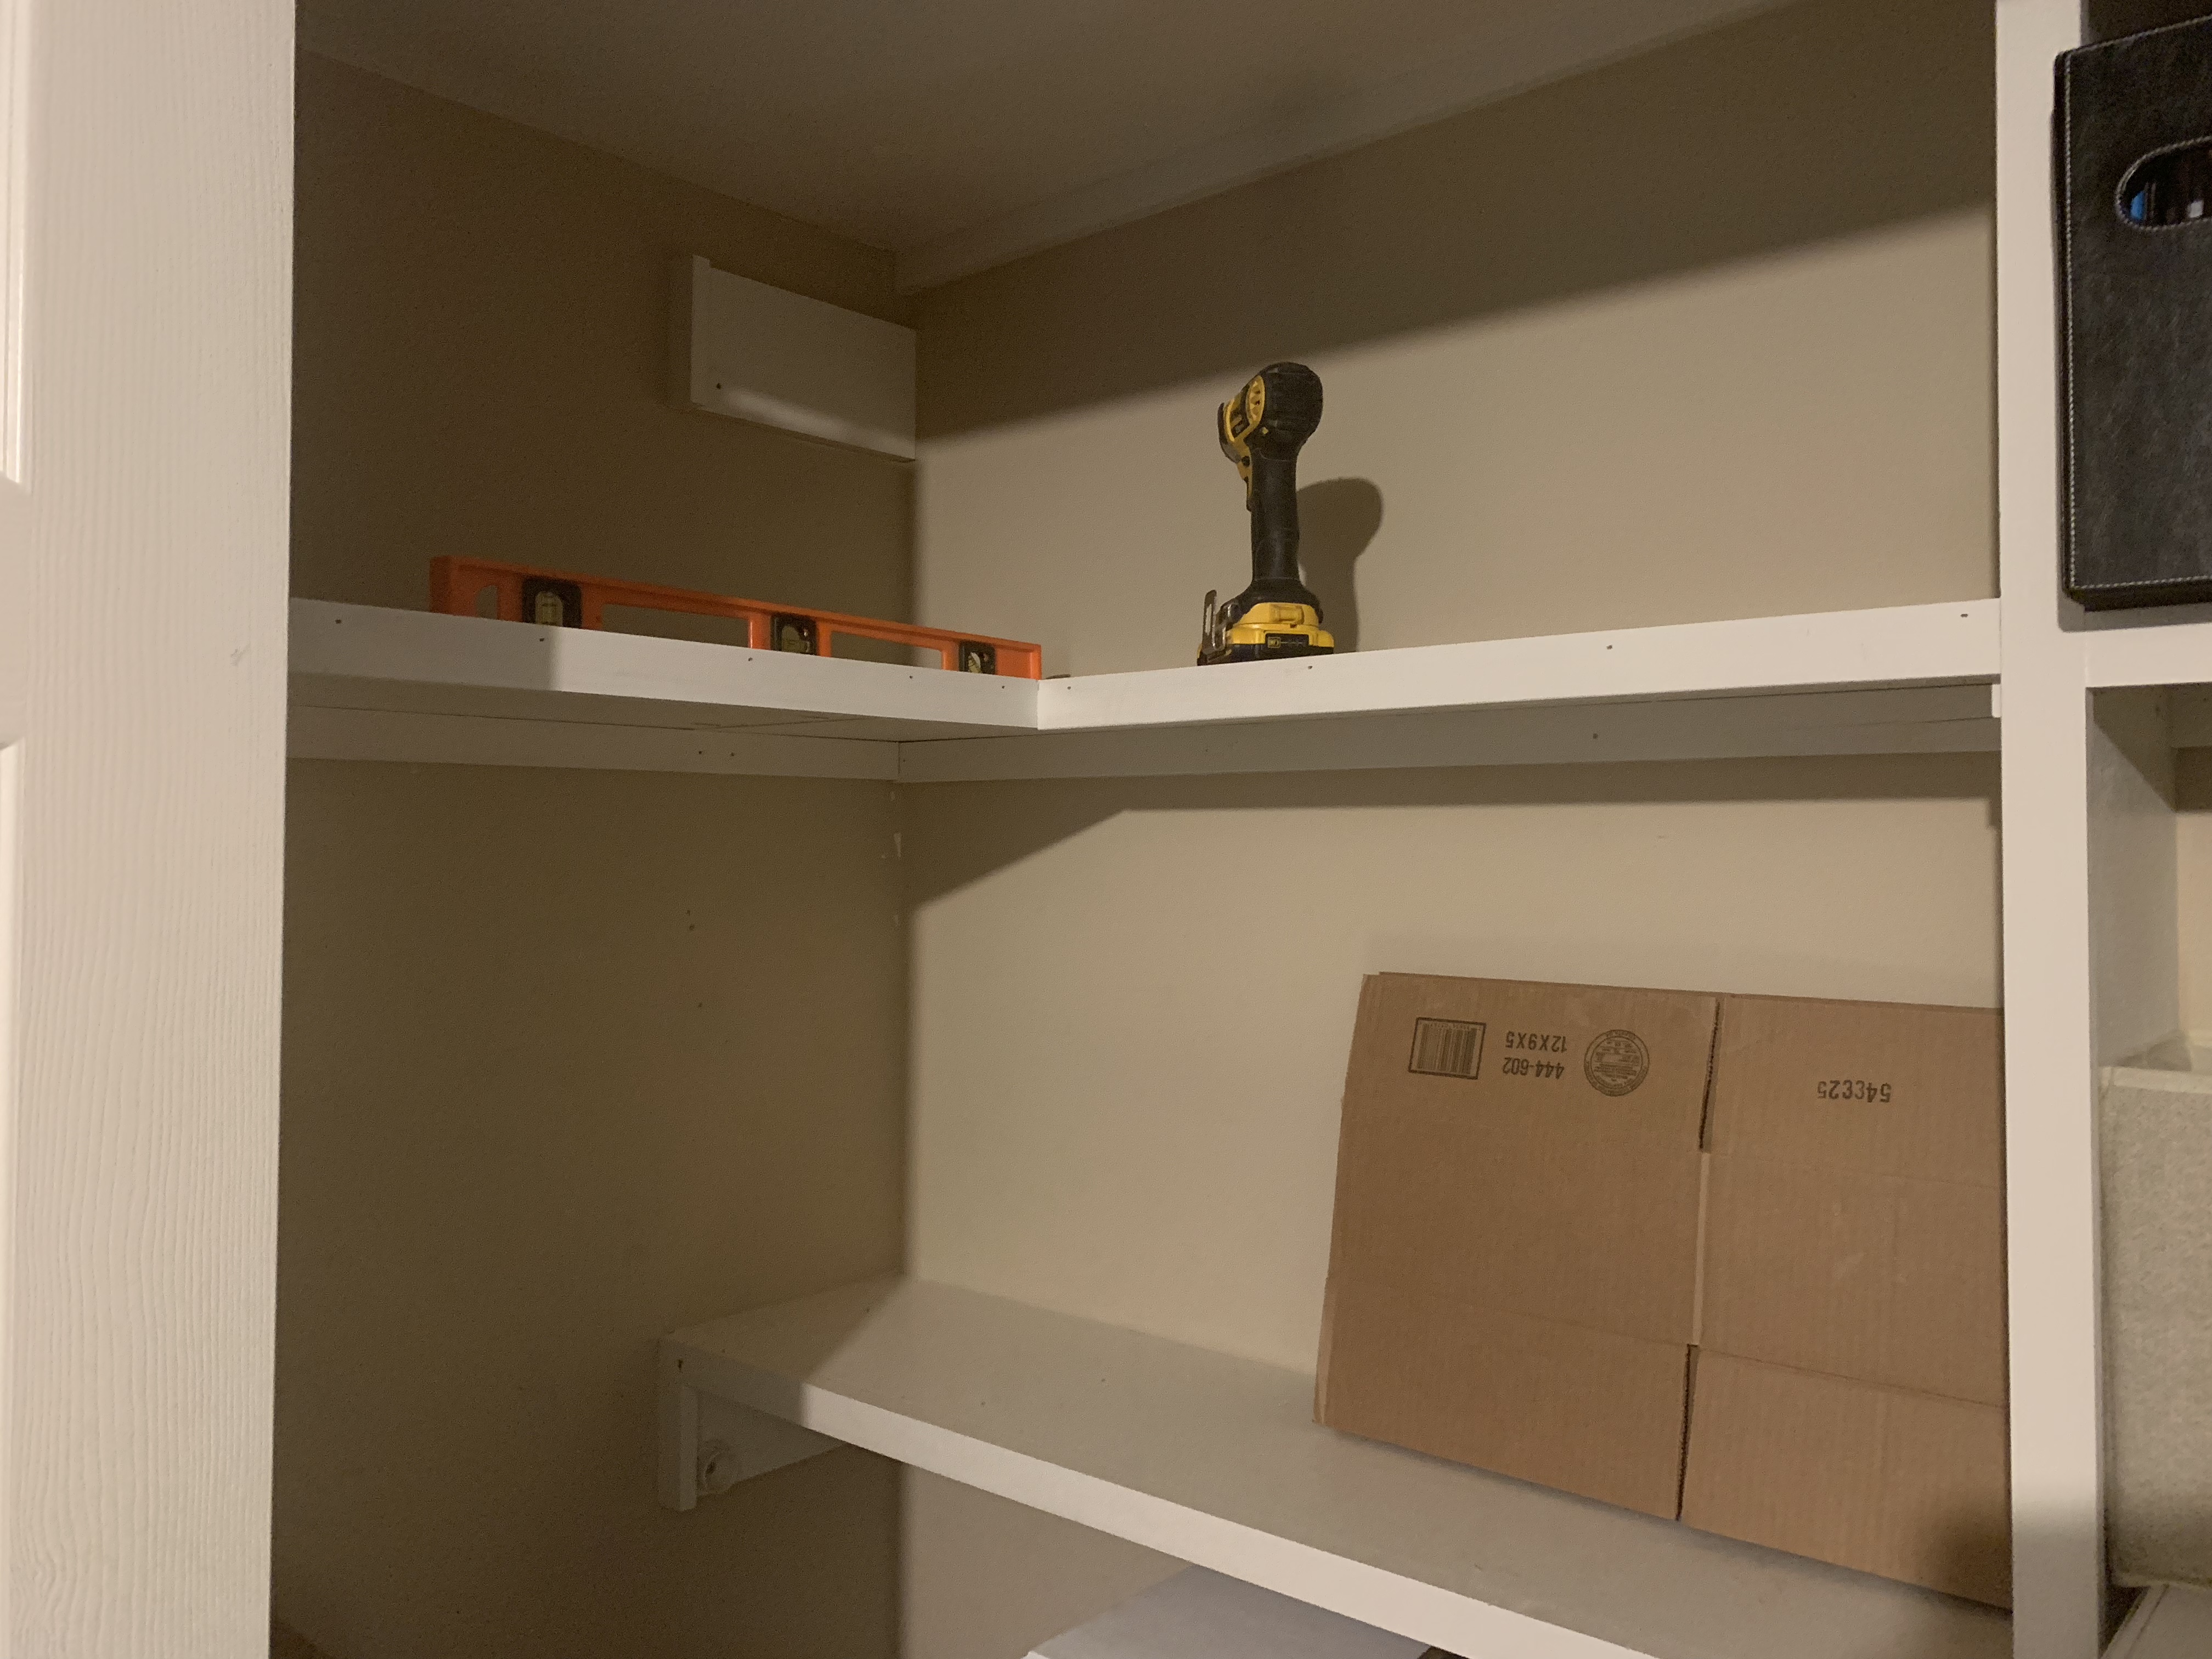
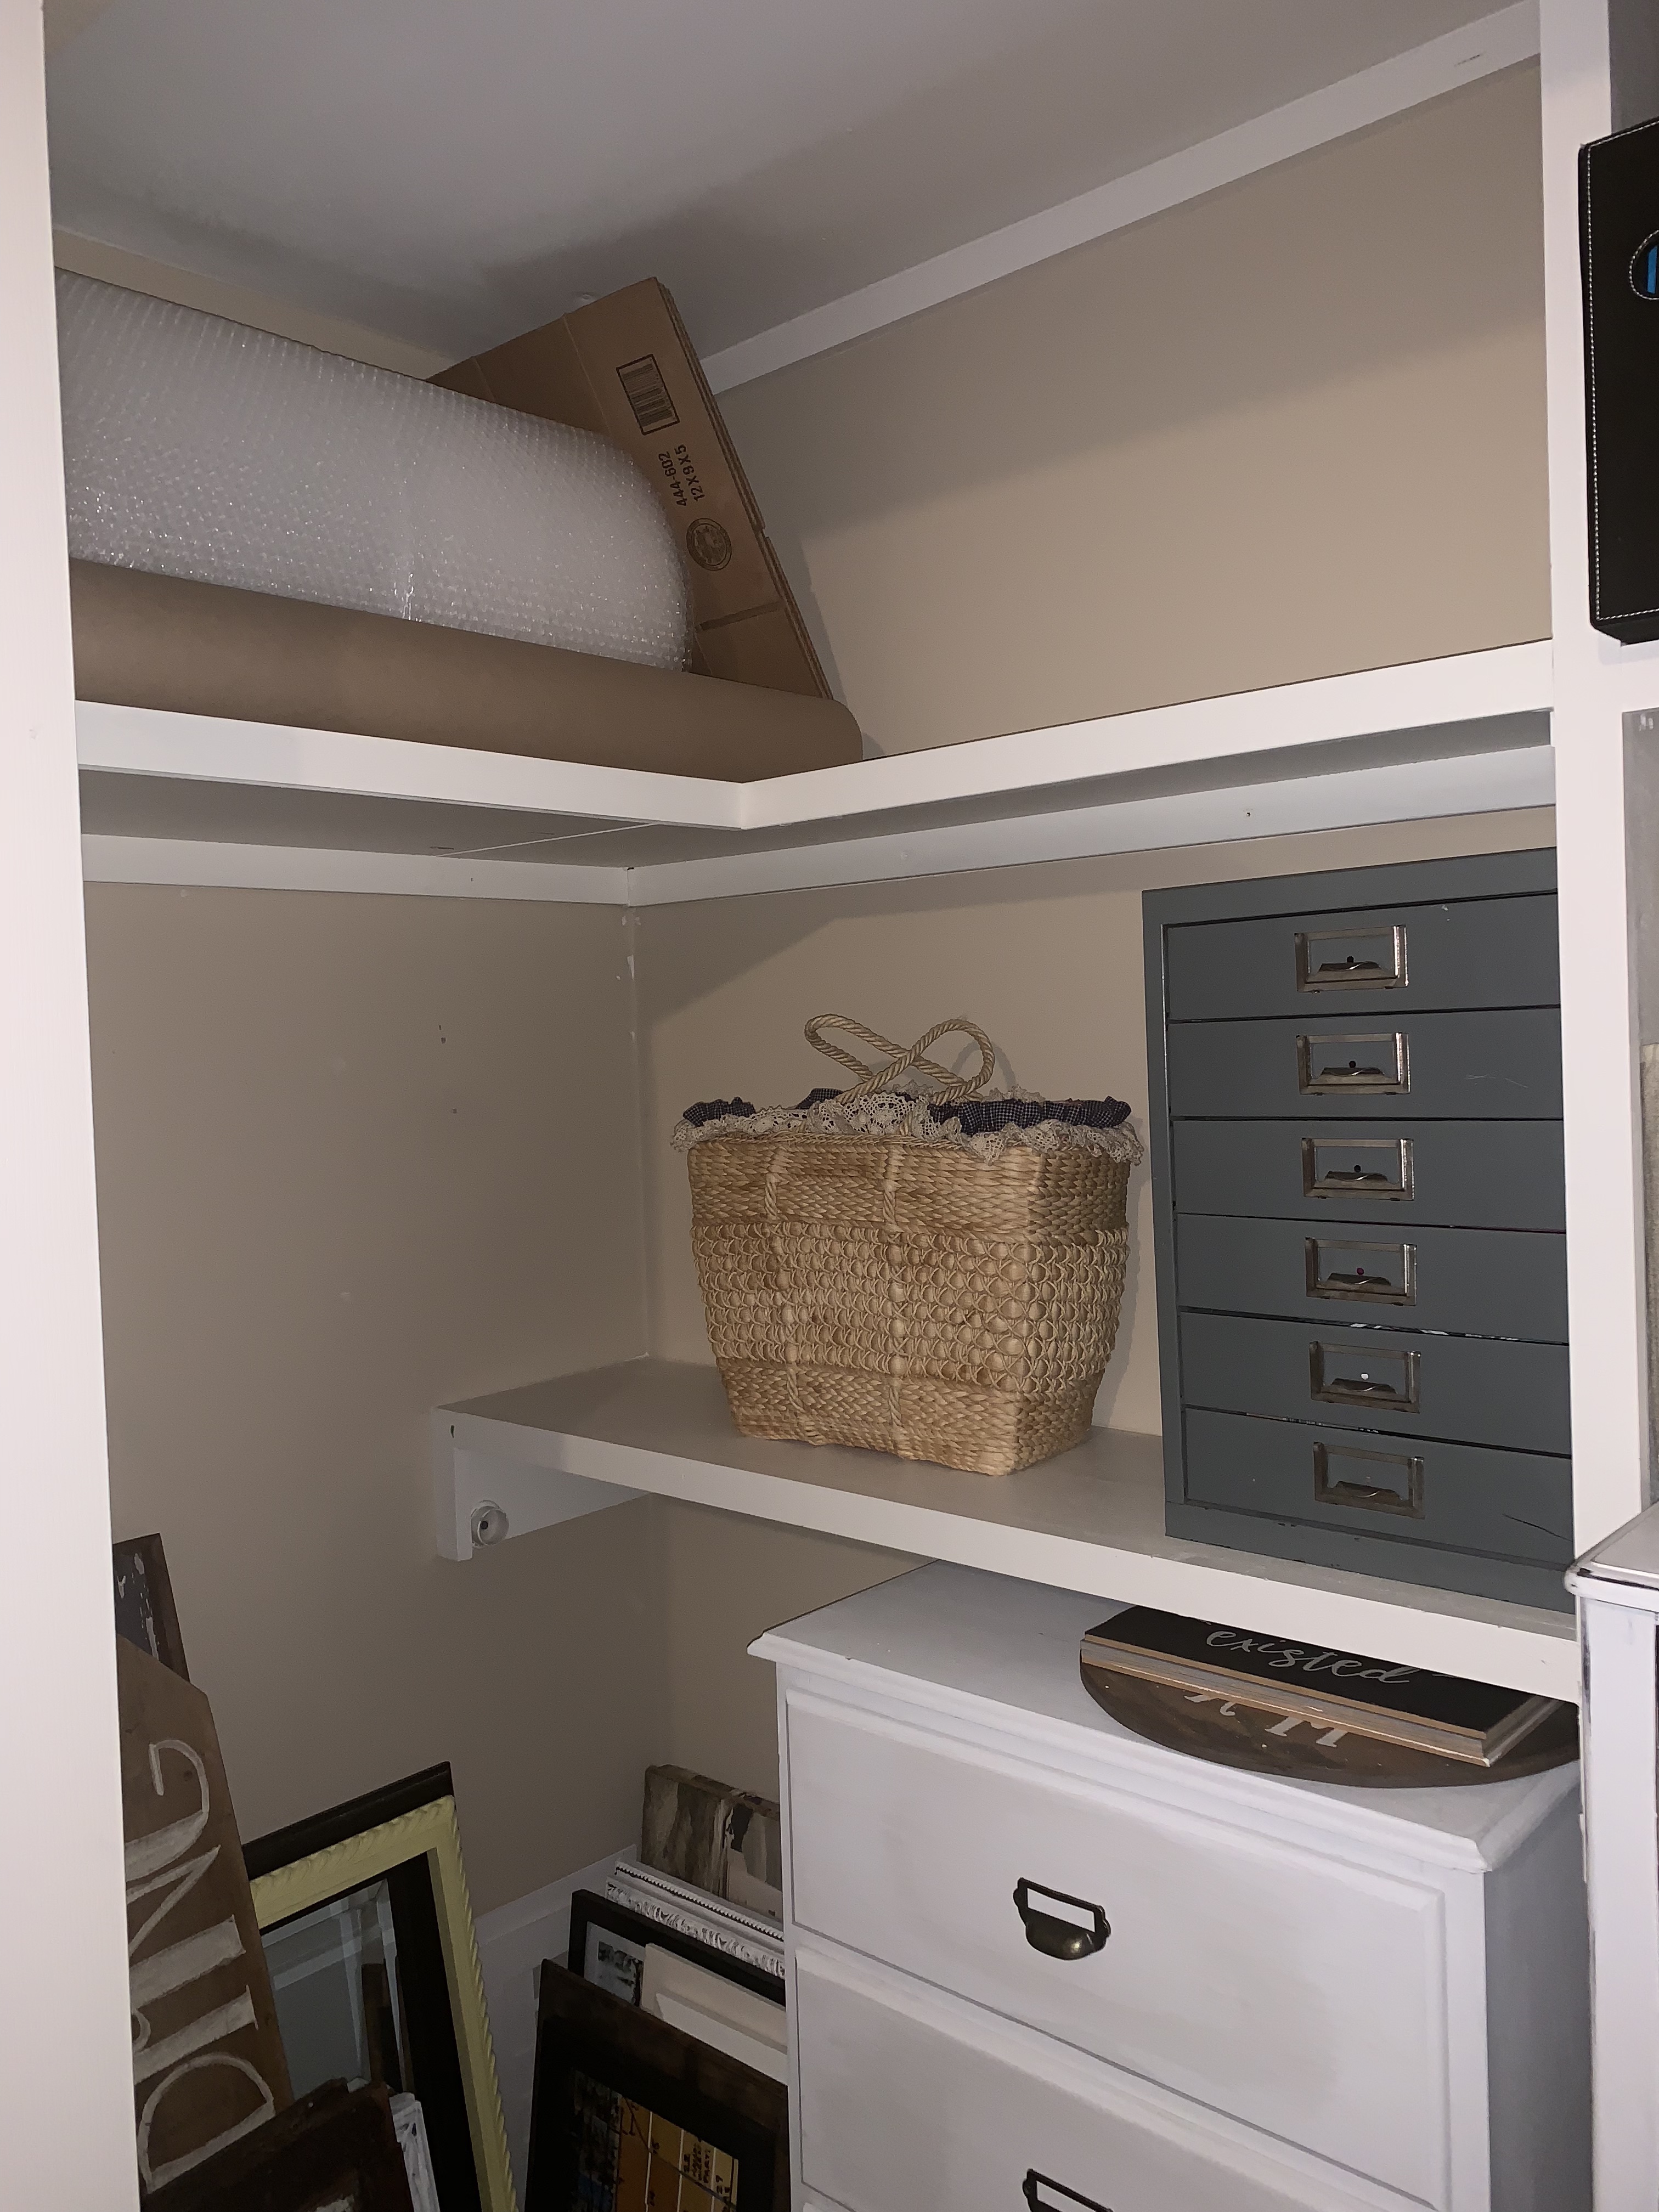
Easy enough! This shelf adds so much more storage for those bigger items that didn’t fit anywhere, and it looks like it had always been there! I love that it wraps around in an L-shape and really maximizes the space in this deep closet. I’m thinking about adding another one to the opposite side as well! Another great part is that the left side of the closet is open space for those awkward sized picture frames.
TIP: It’s always nice to have some space that isn’t labeled so you can put what ever you need to there!
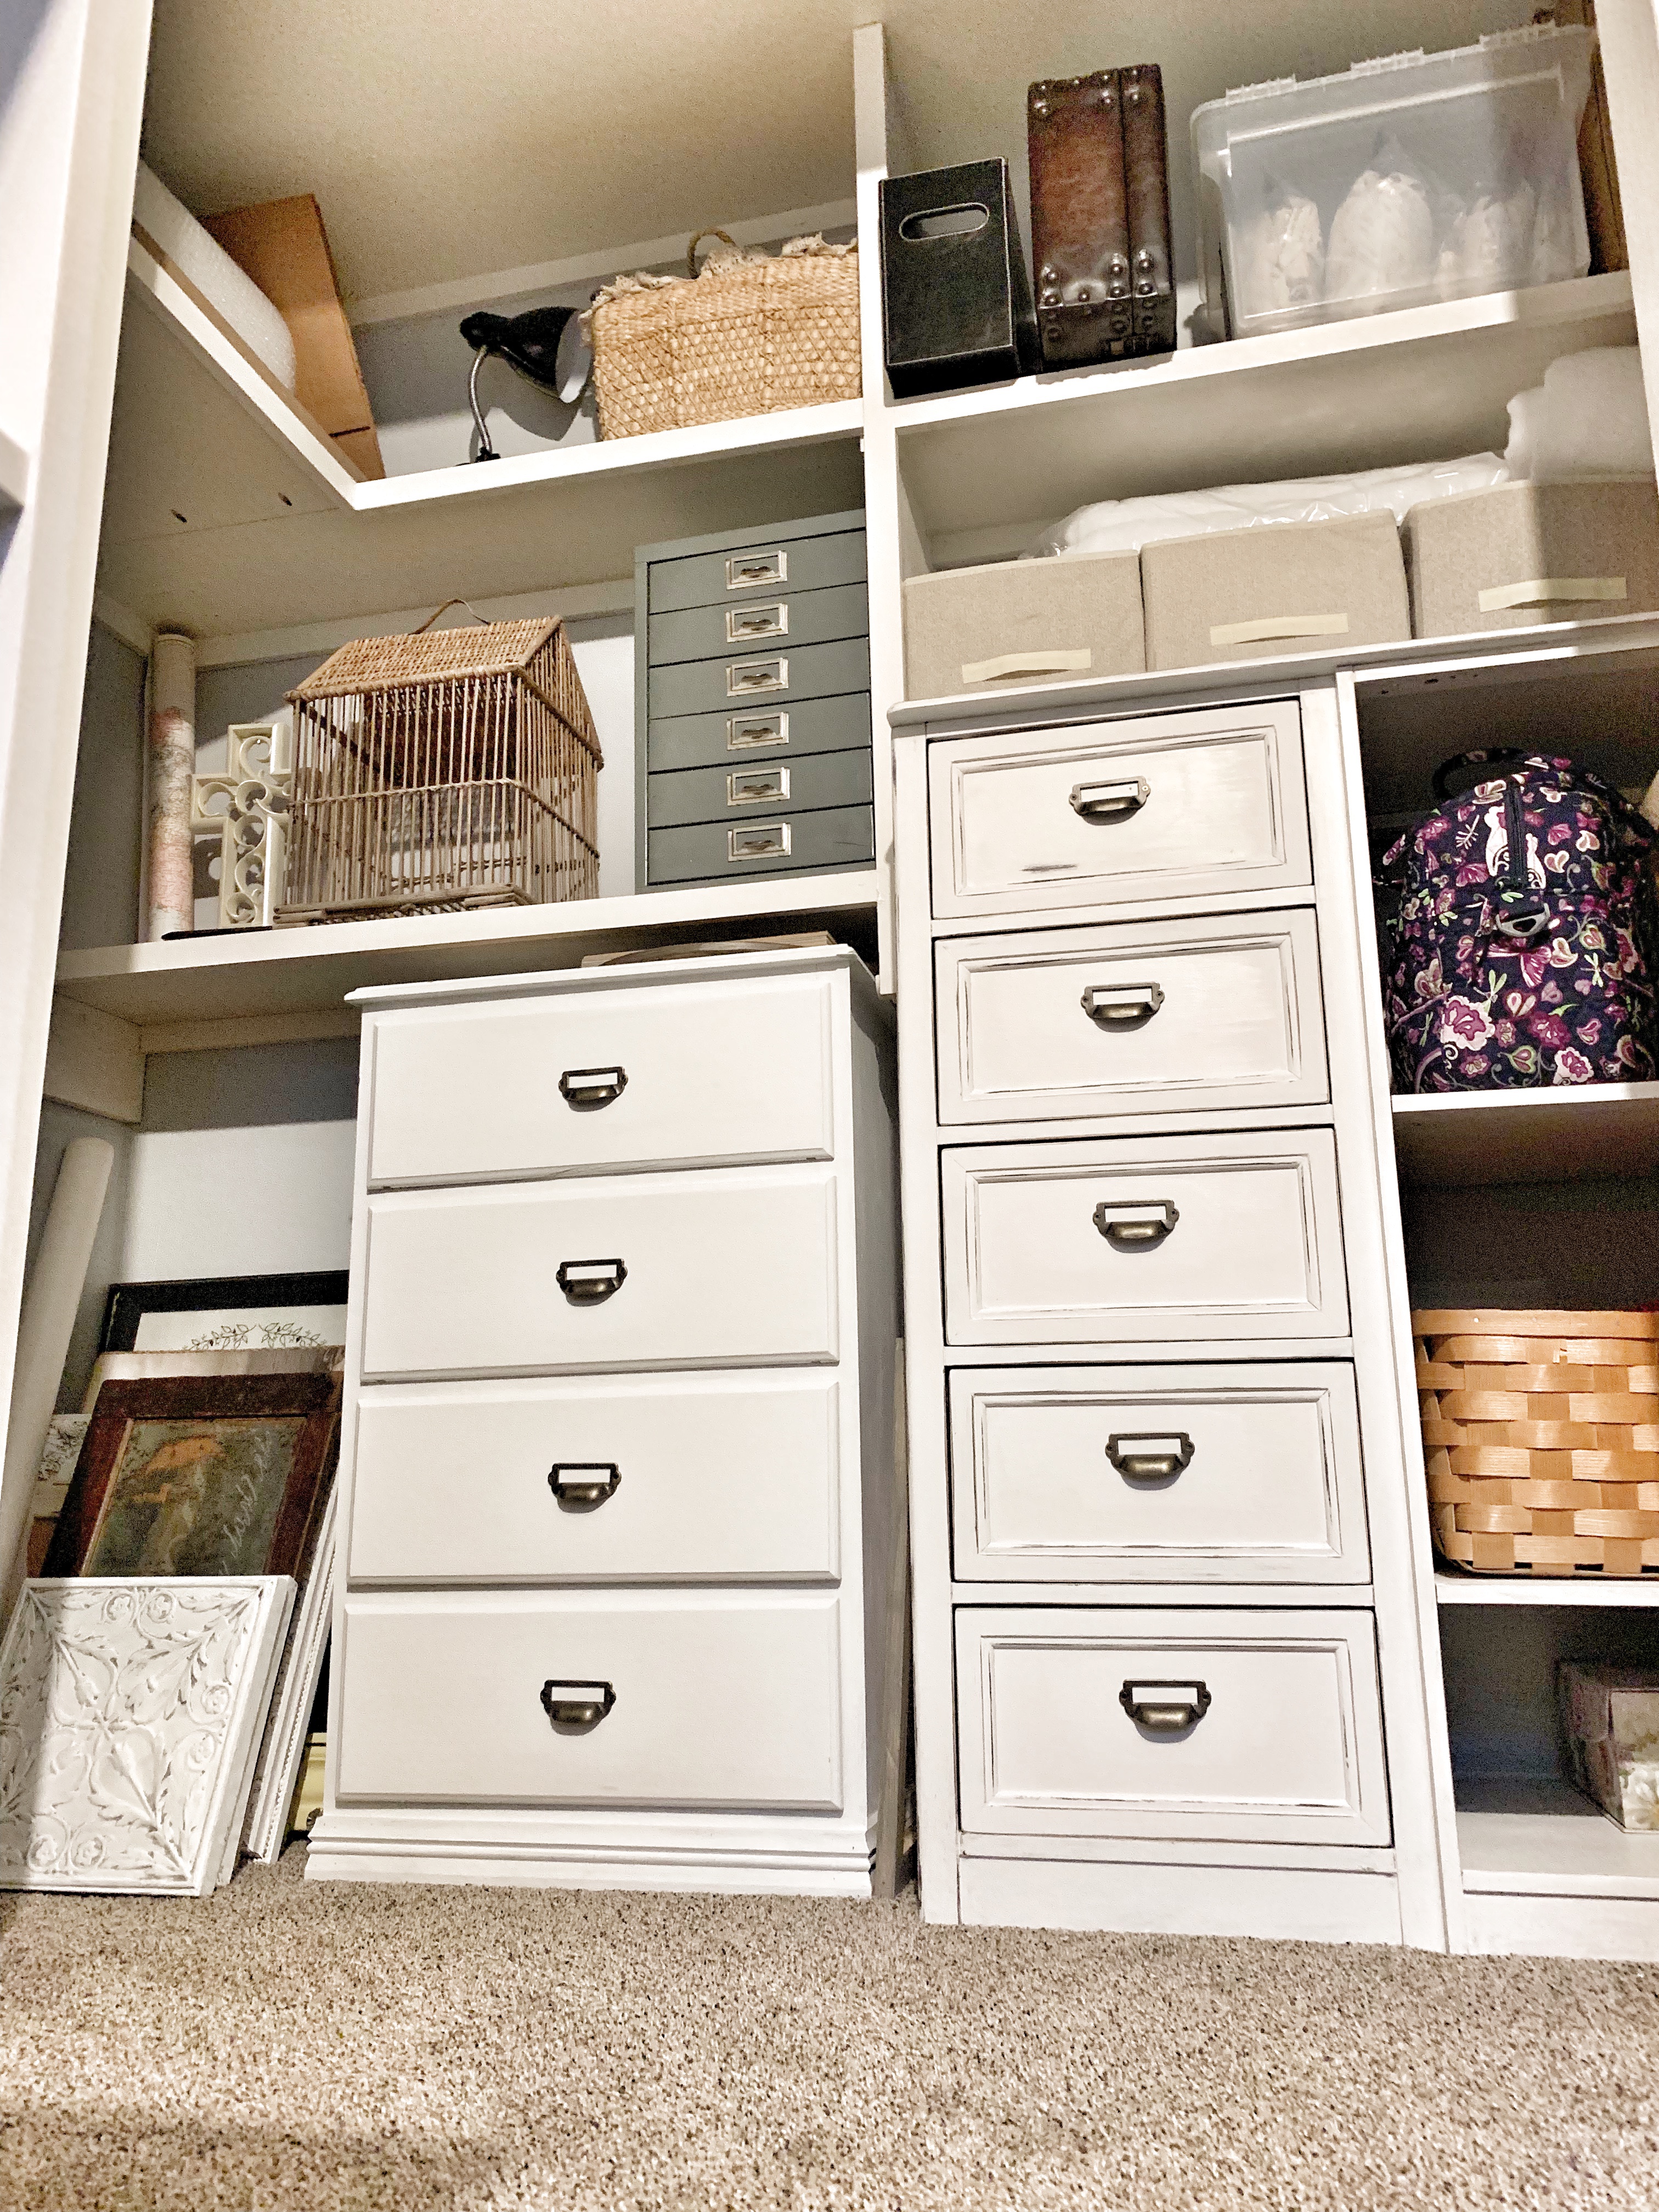
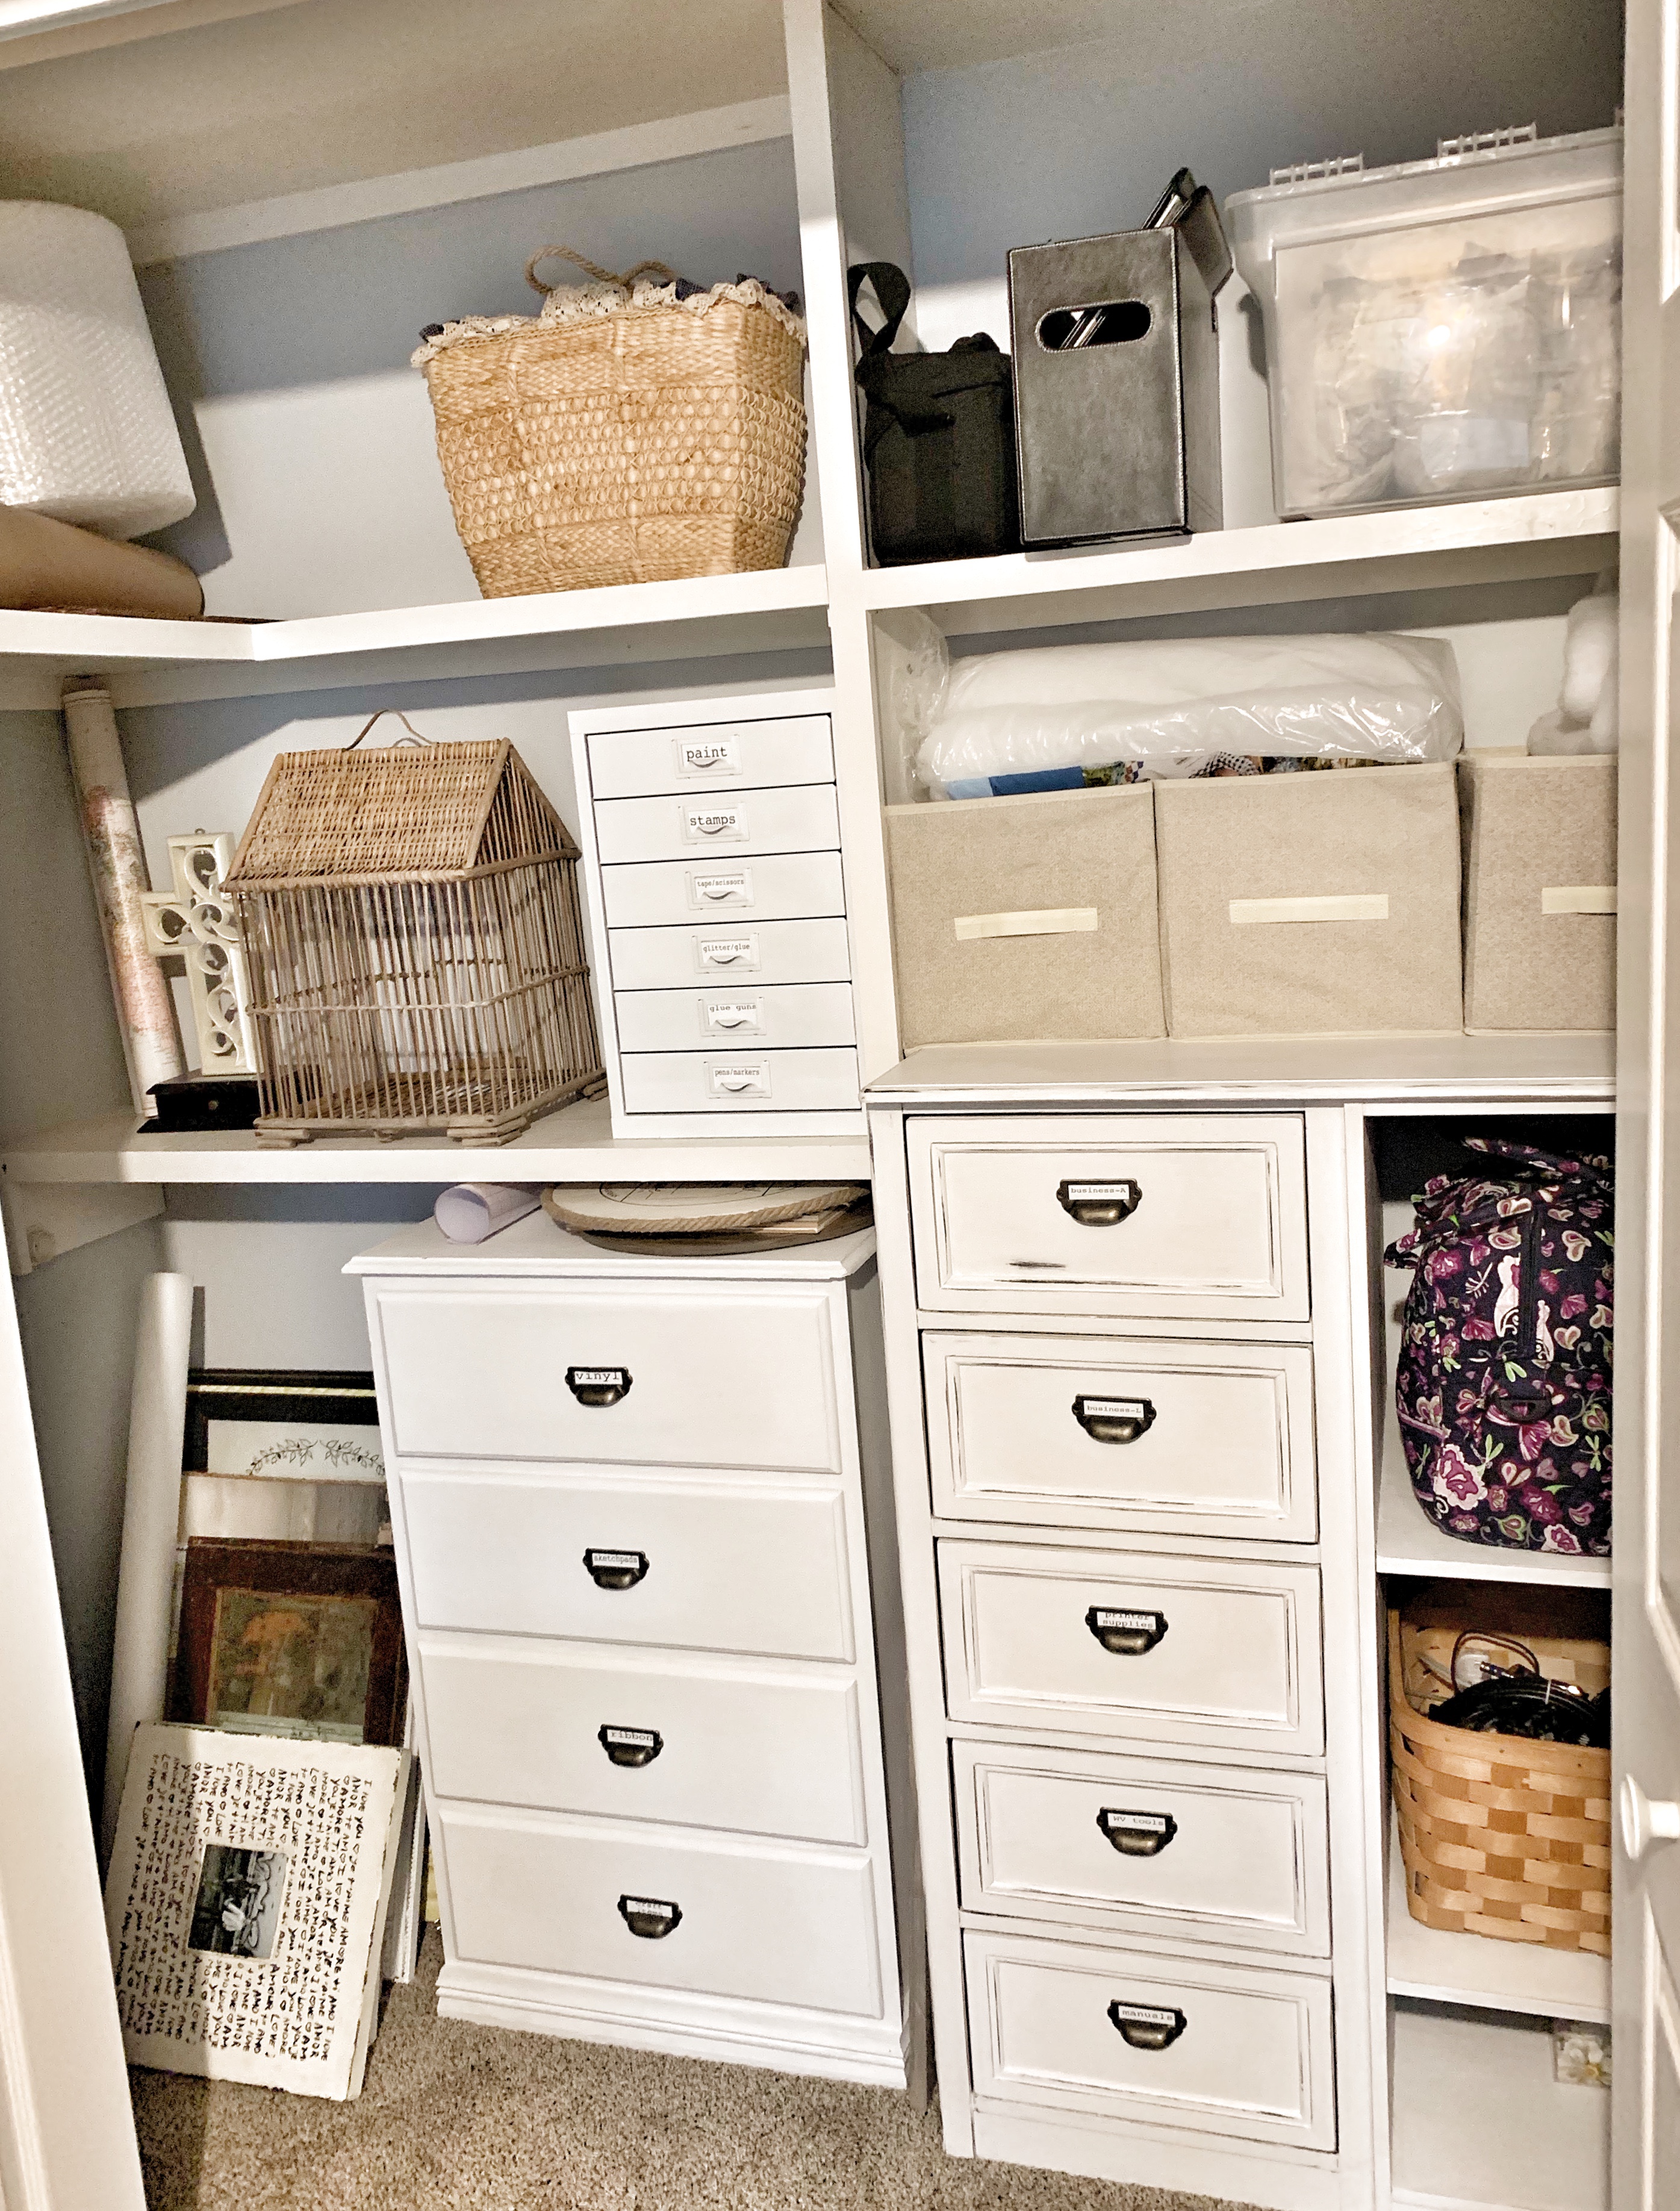
I’m so pleased with how this update turned out! I would say this cost close to $50 total for the paint, hardware, and material for THREE PROJECTS. What a deal! Especially considering that this closet wasn’t doing anything for me before this update (besides causing frustration)! What was once an organization disaster, is now a dream!
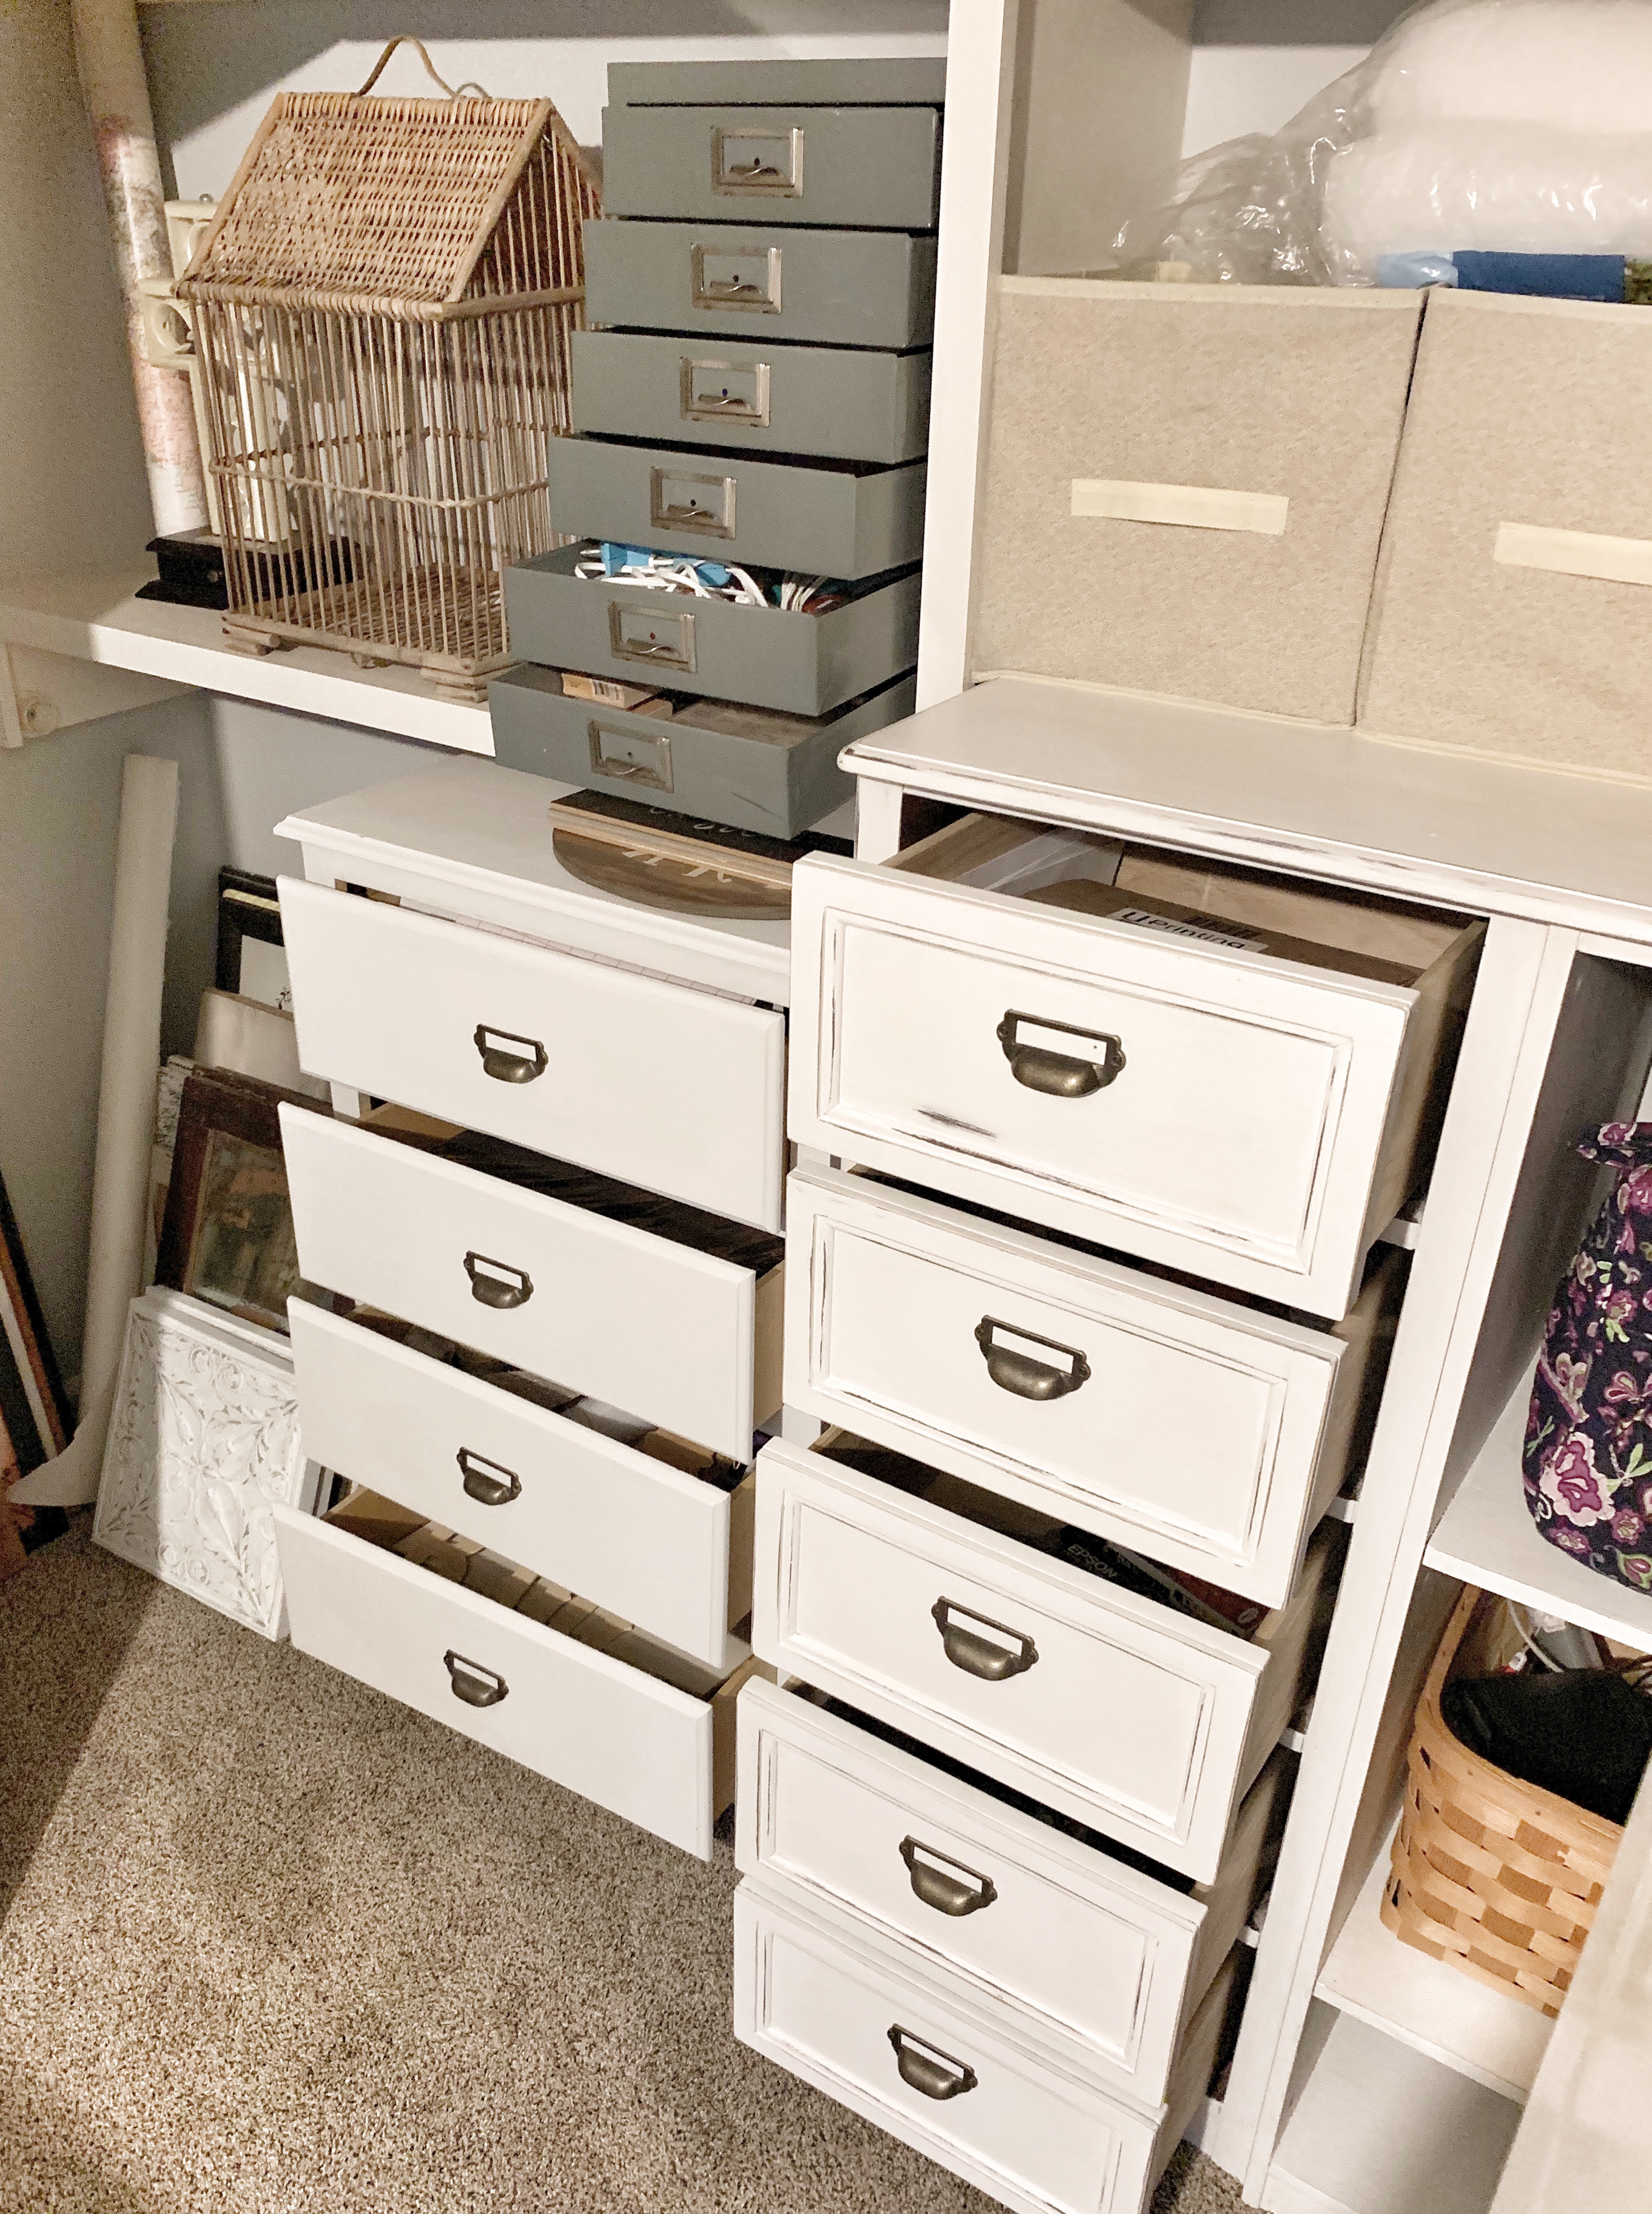
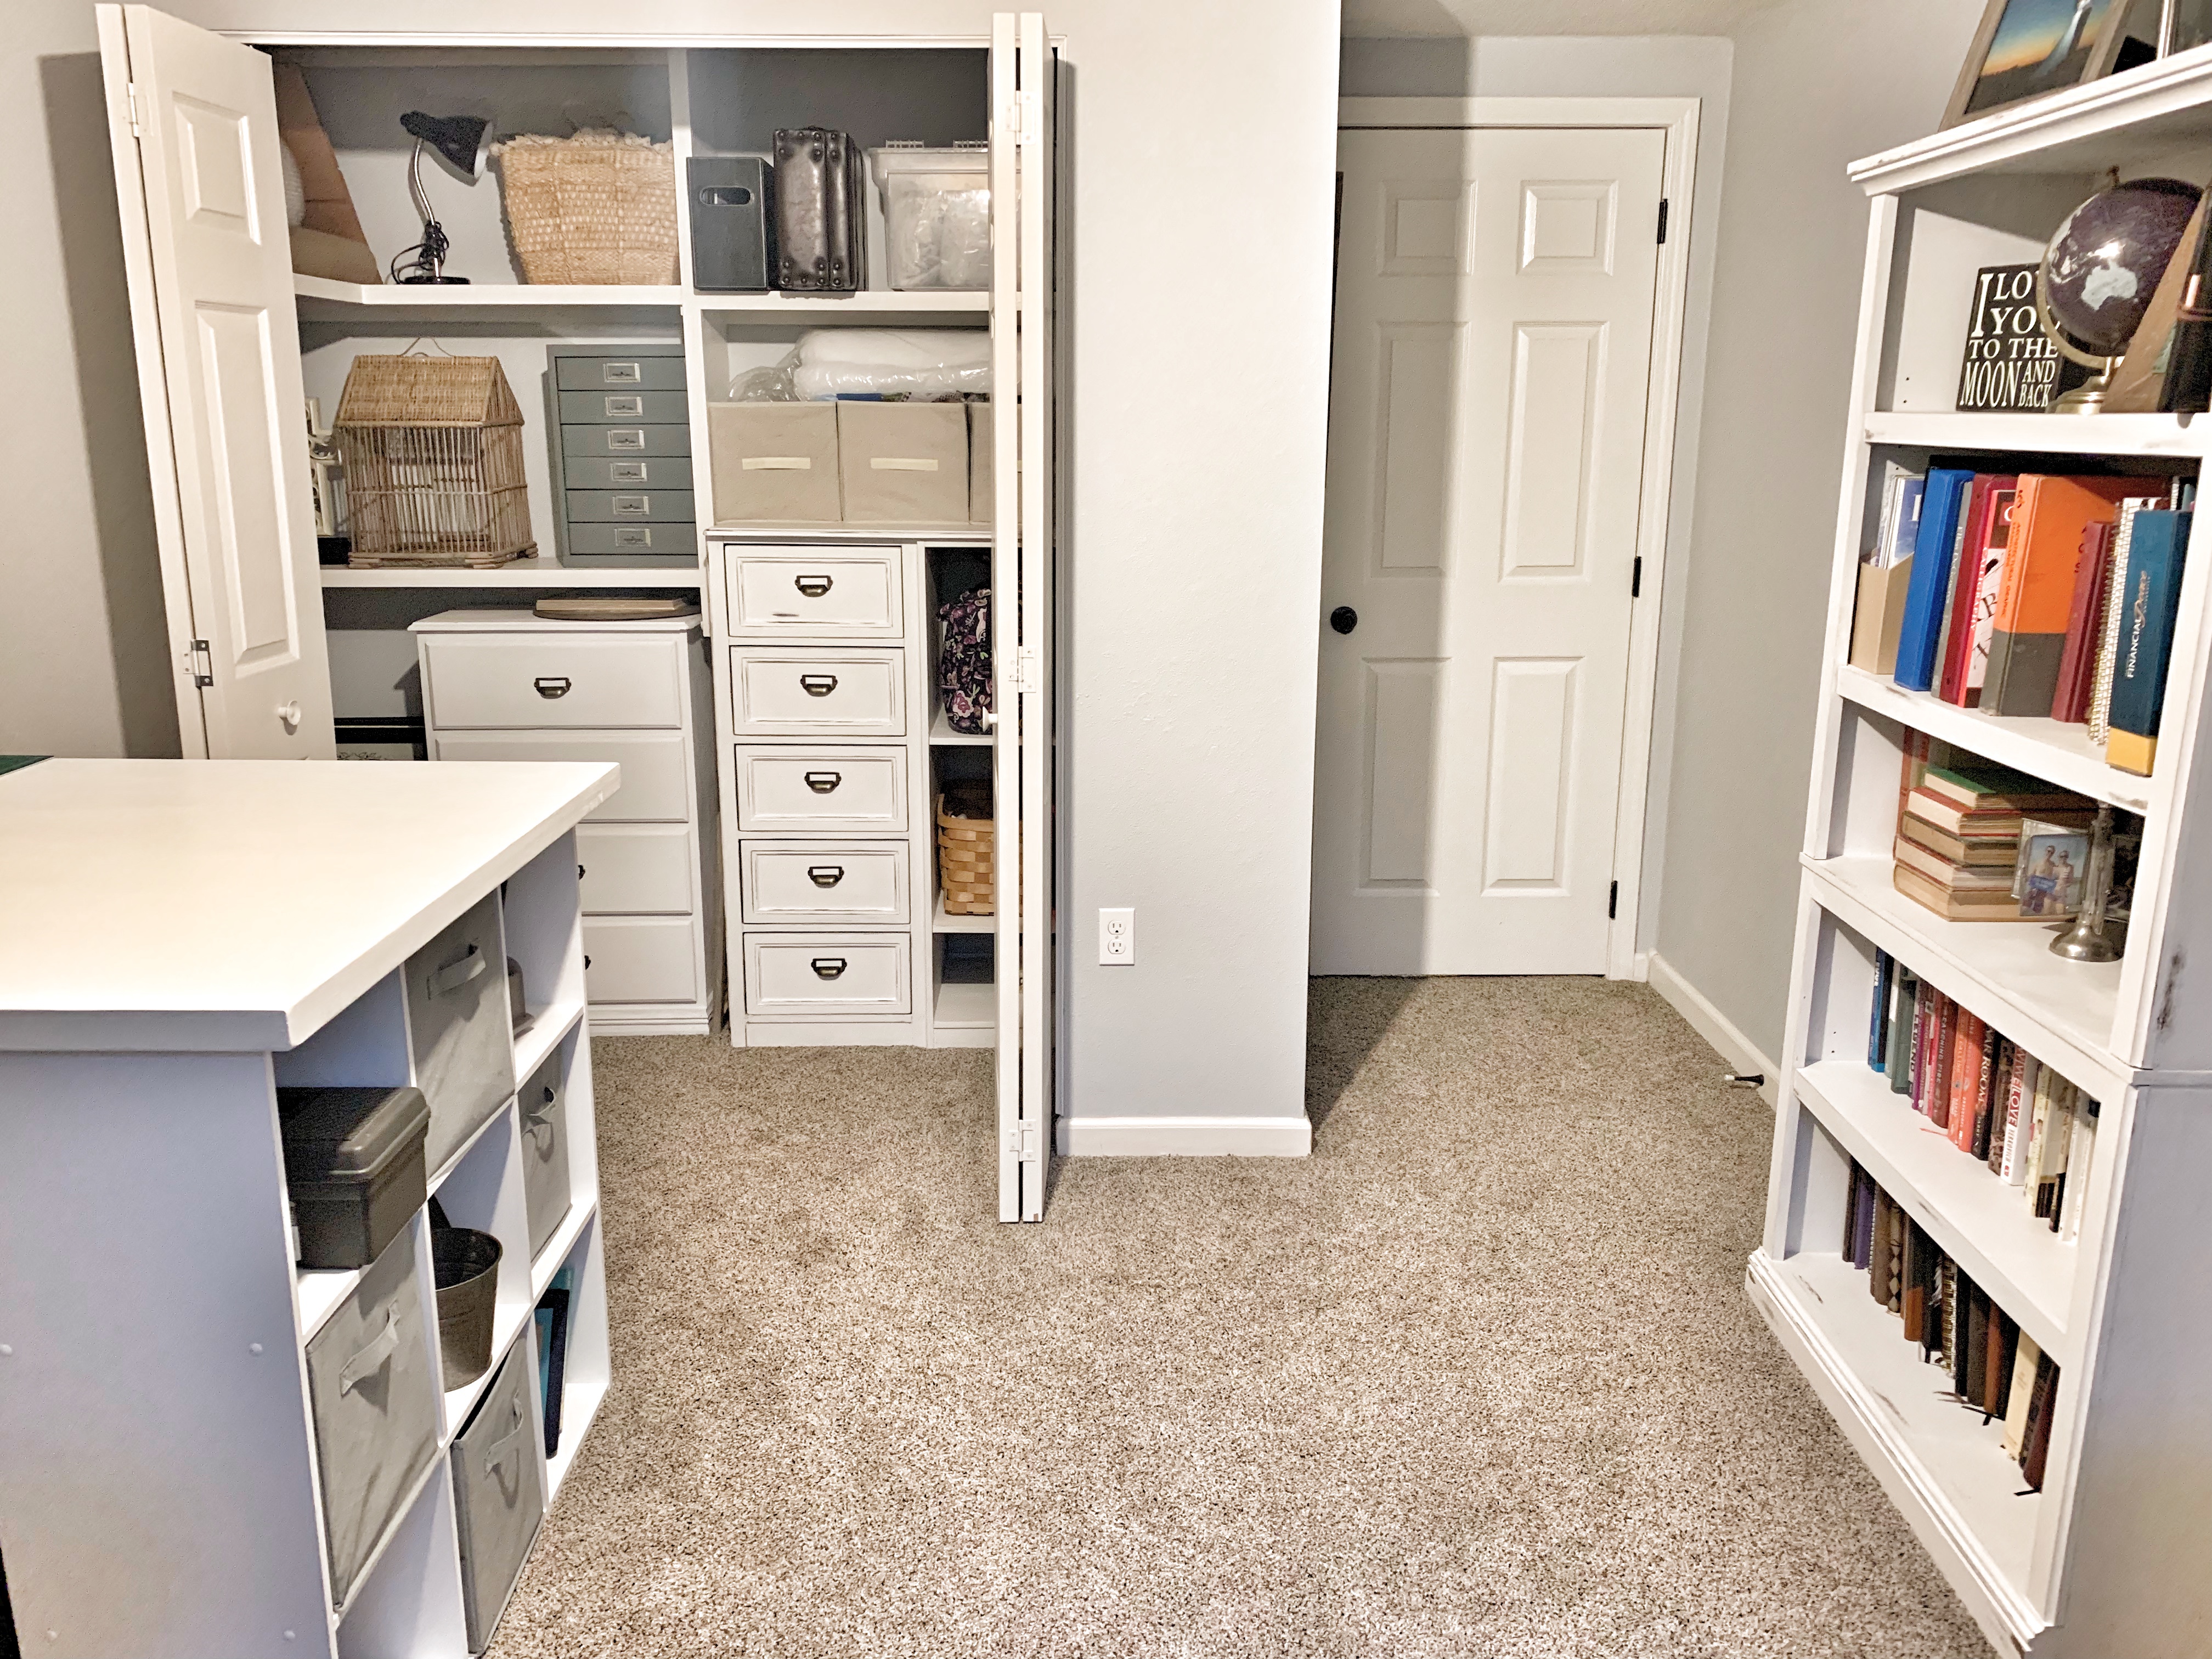
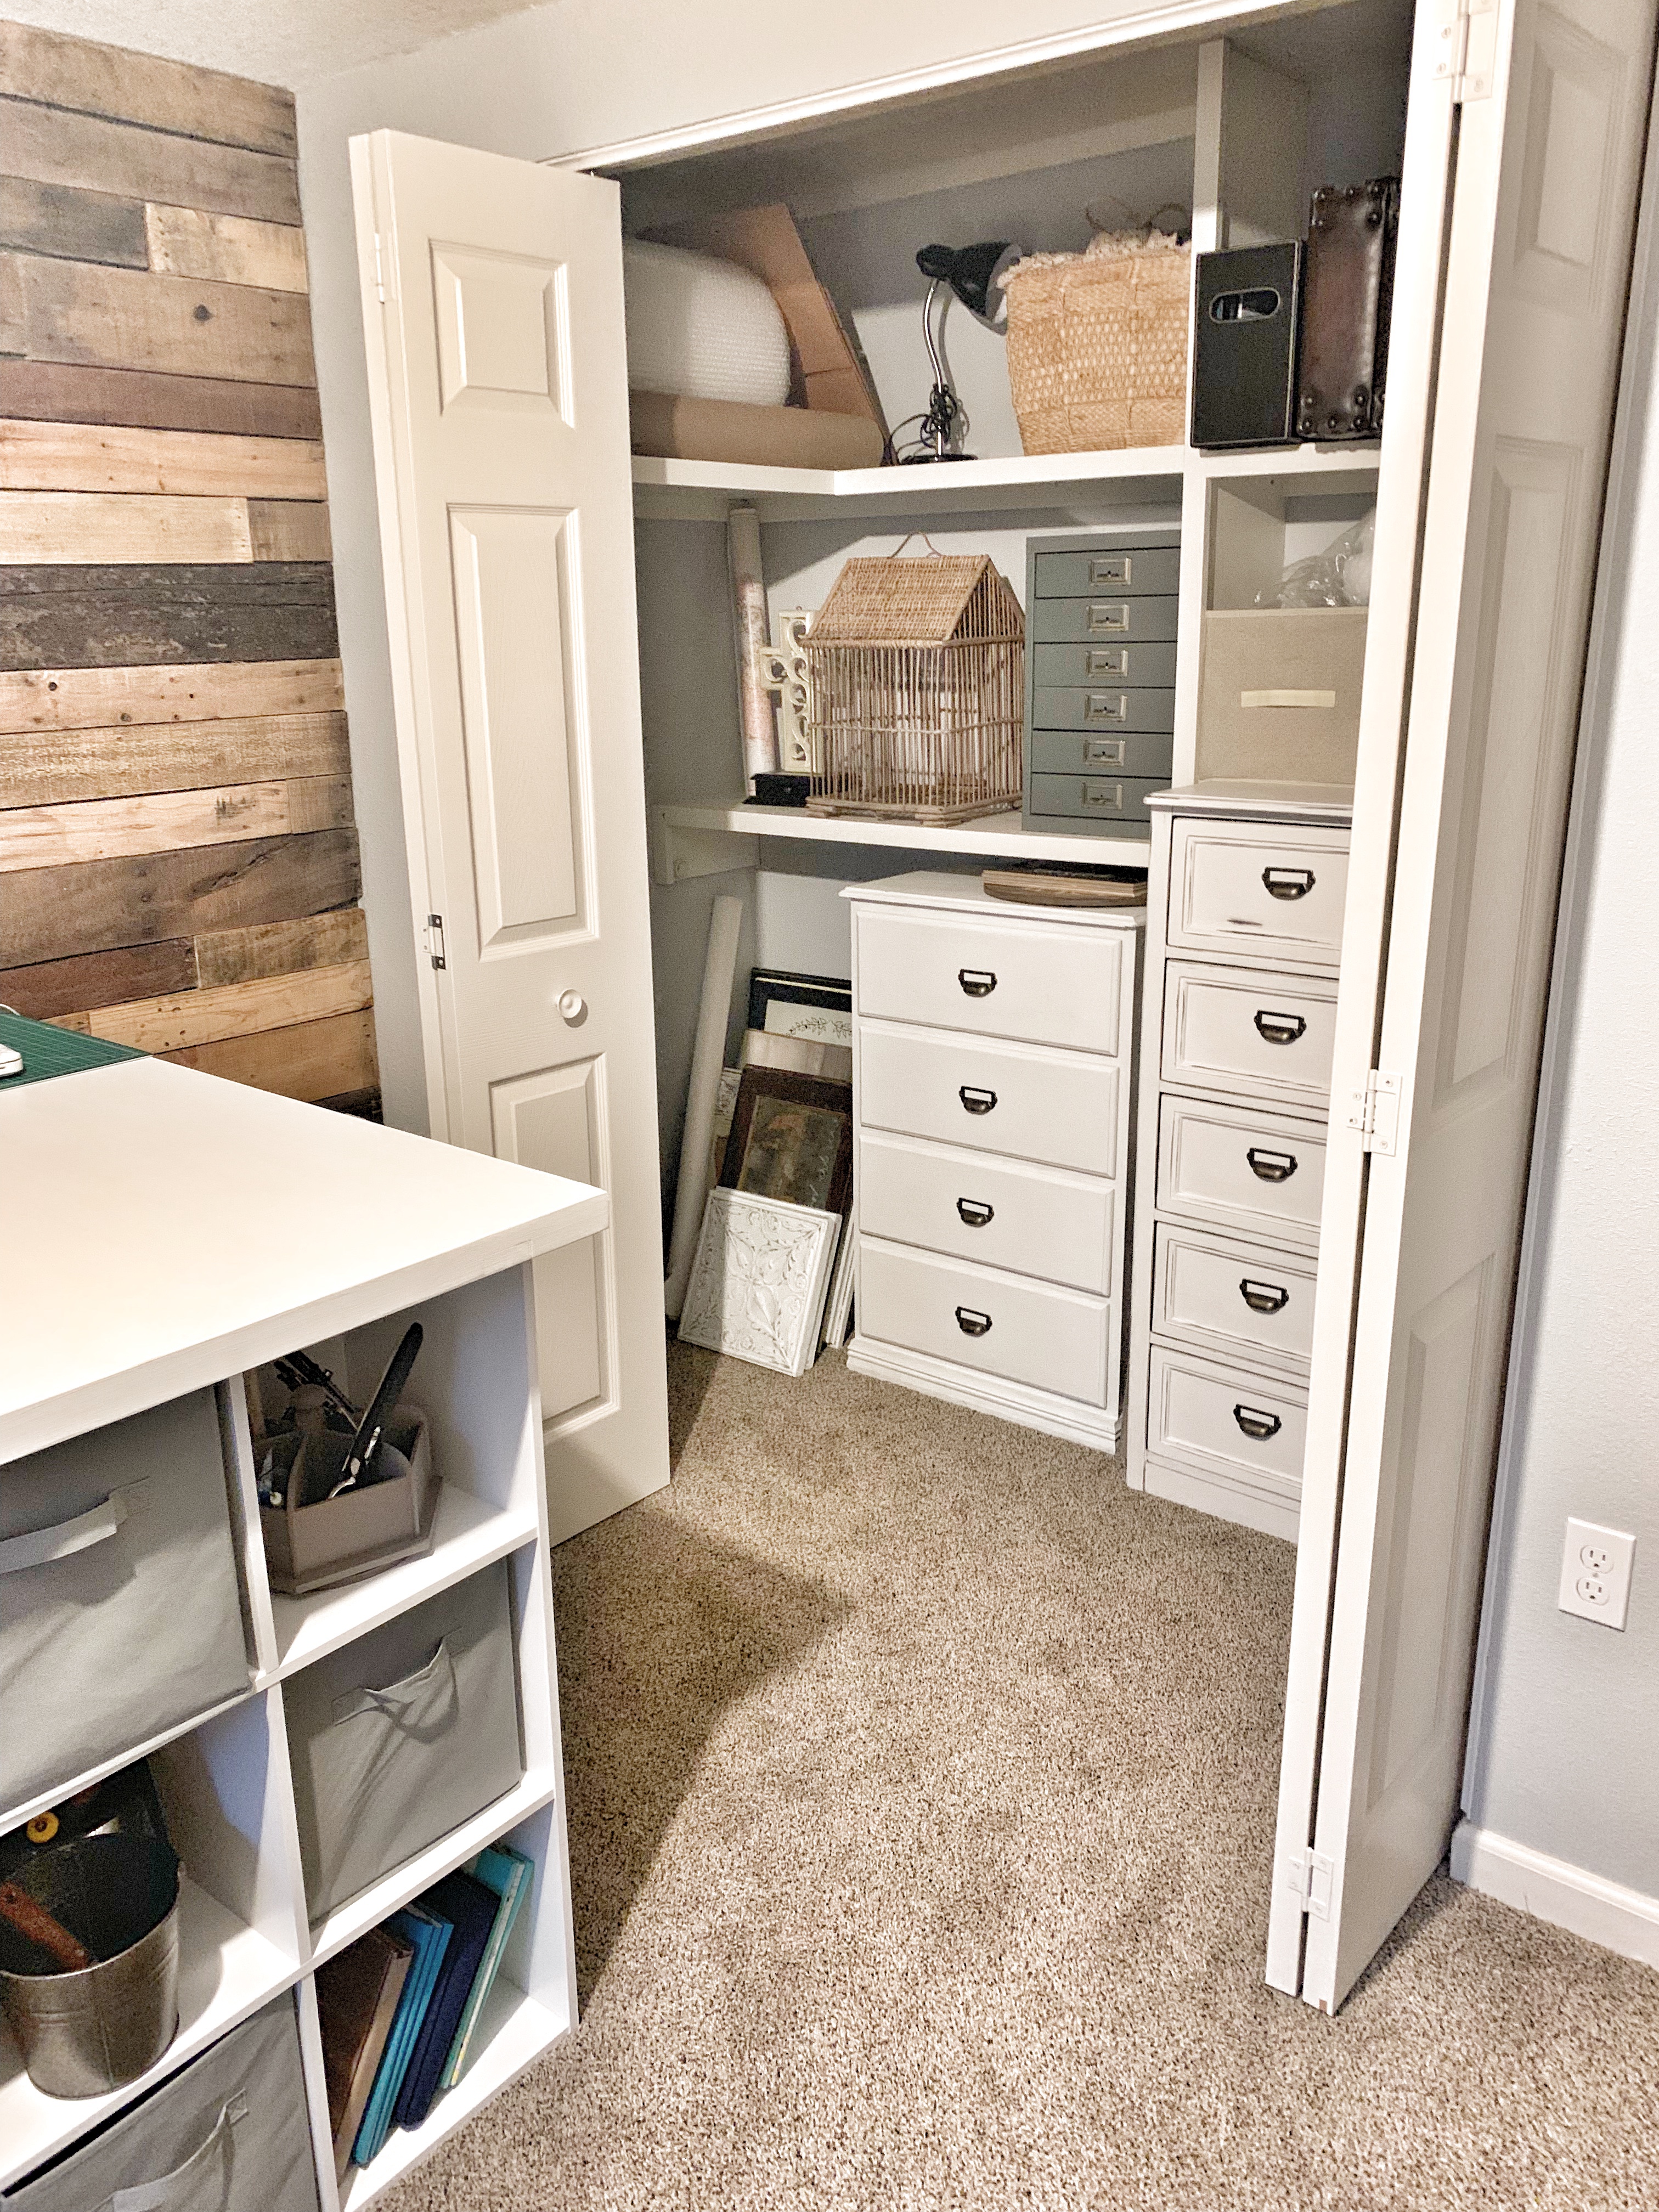
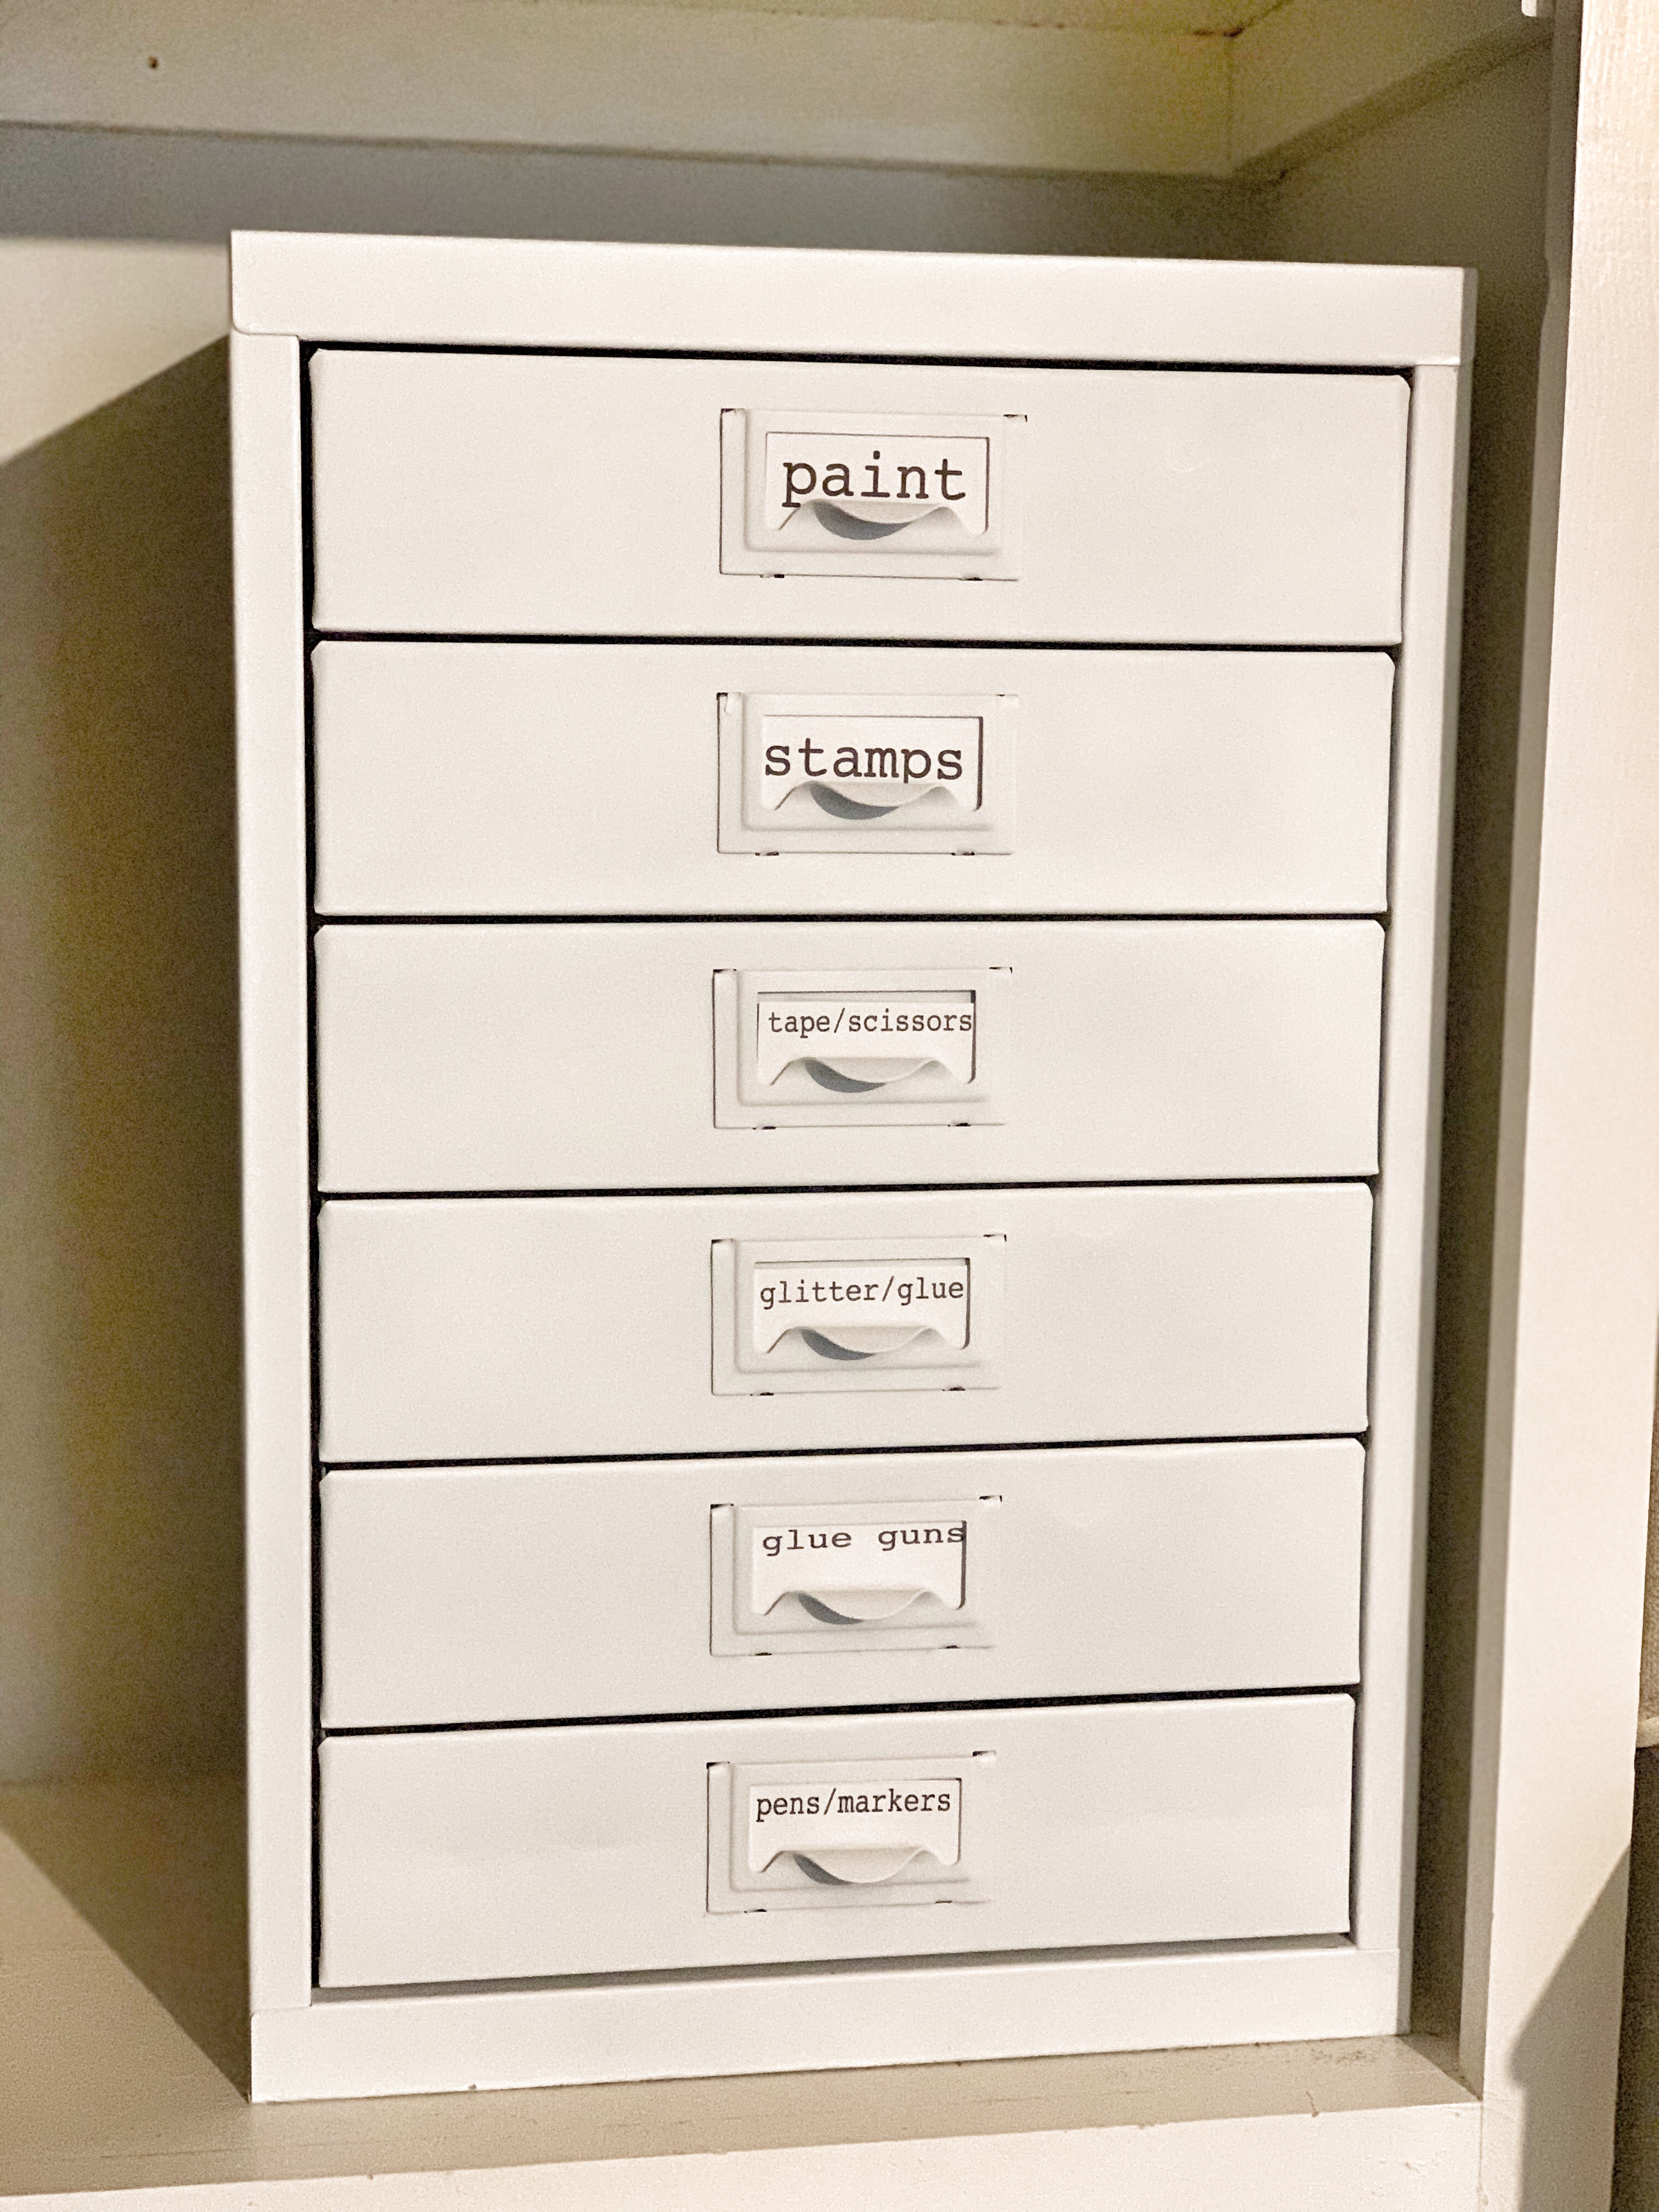
I last minute decided to paint the closet walls, and also the small metal drawer unit, and I’m so glad I did. It just gives it a clean and finished look! Not only does this closet function nicely, but it also looks so beautiful!
So, if you are struggling with how to organize your office/craft room closet without spending a ton of money, think of what you might already have: anything that would fit nicely in the closet to give you that extra needed storage, like an old dresser you can refurbish, or a cubby organizer that isn’t being used, or the leftover scrap boards in your garage! It doesn’t always have to be fancy or built-in, in fact, sometimes it’s better that way!
I hope this inspires you to think outside the box and organize the closet in your office by up-cycling something you already have!! Our studio office update isn’t complete yet, so stay tuned for part four, DIY farmhouse desk!! Thanks so much for reading, God Bless!
XOXO
ASHLEY DIANN
