Studio Office Update (Part Four)
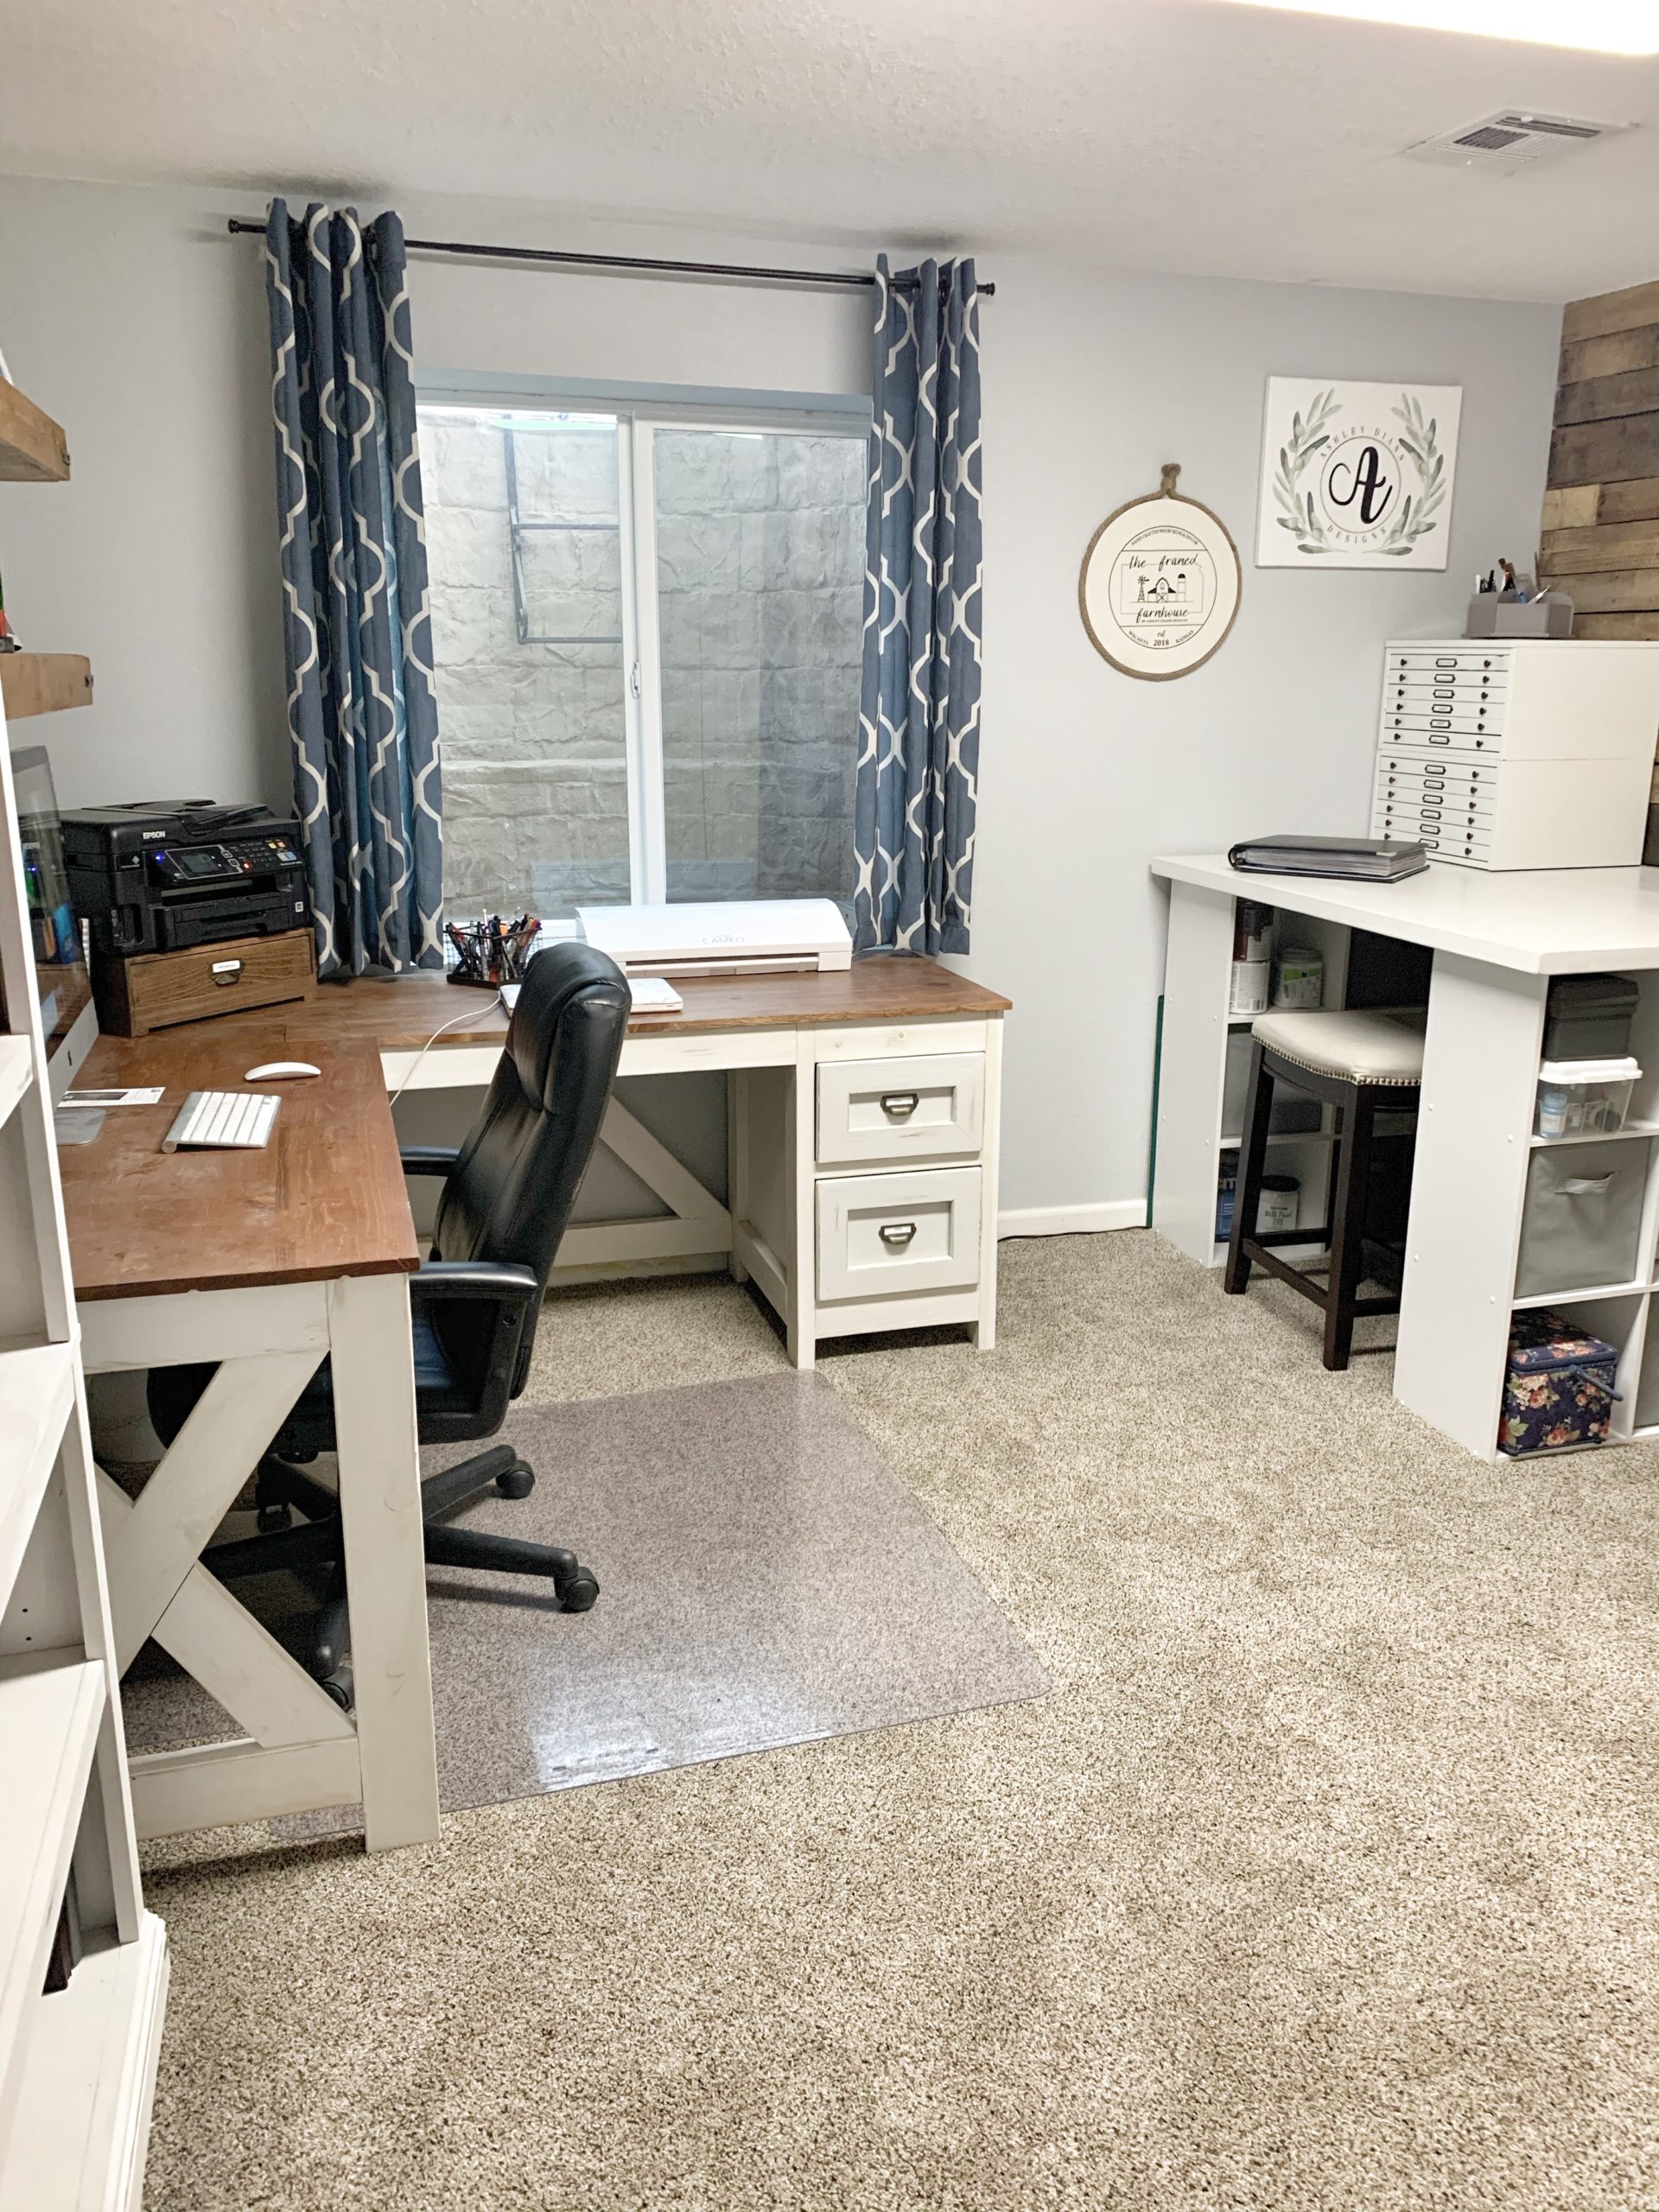
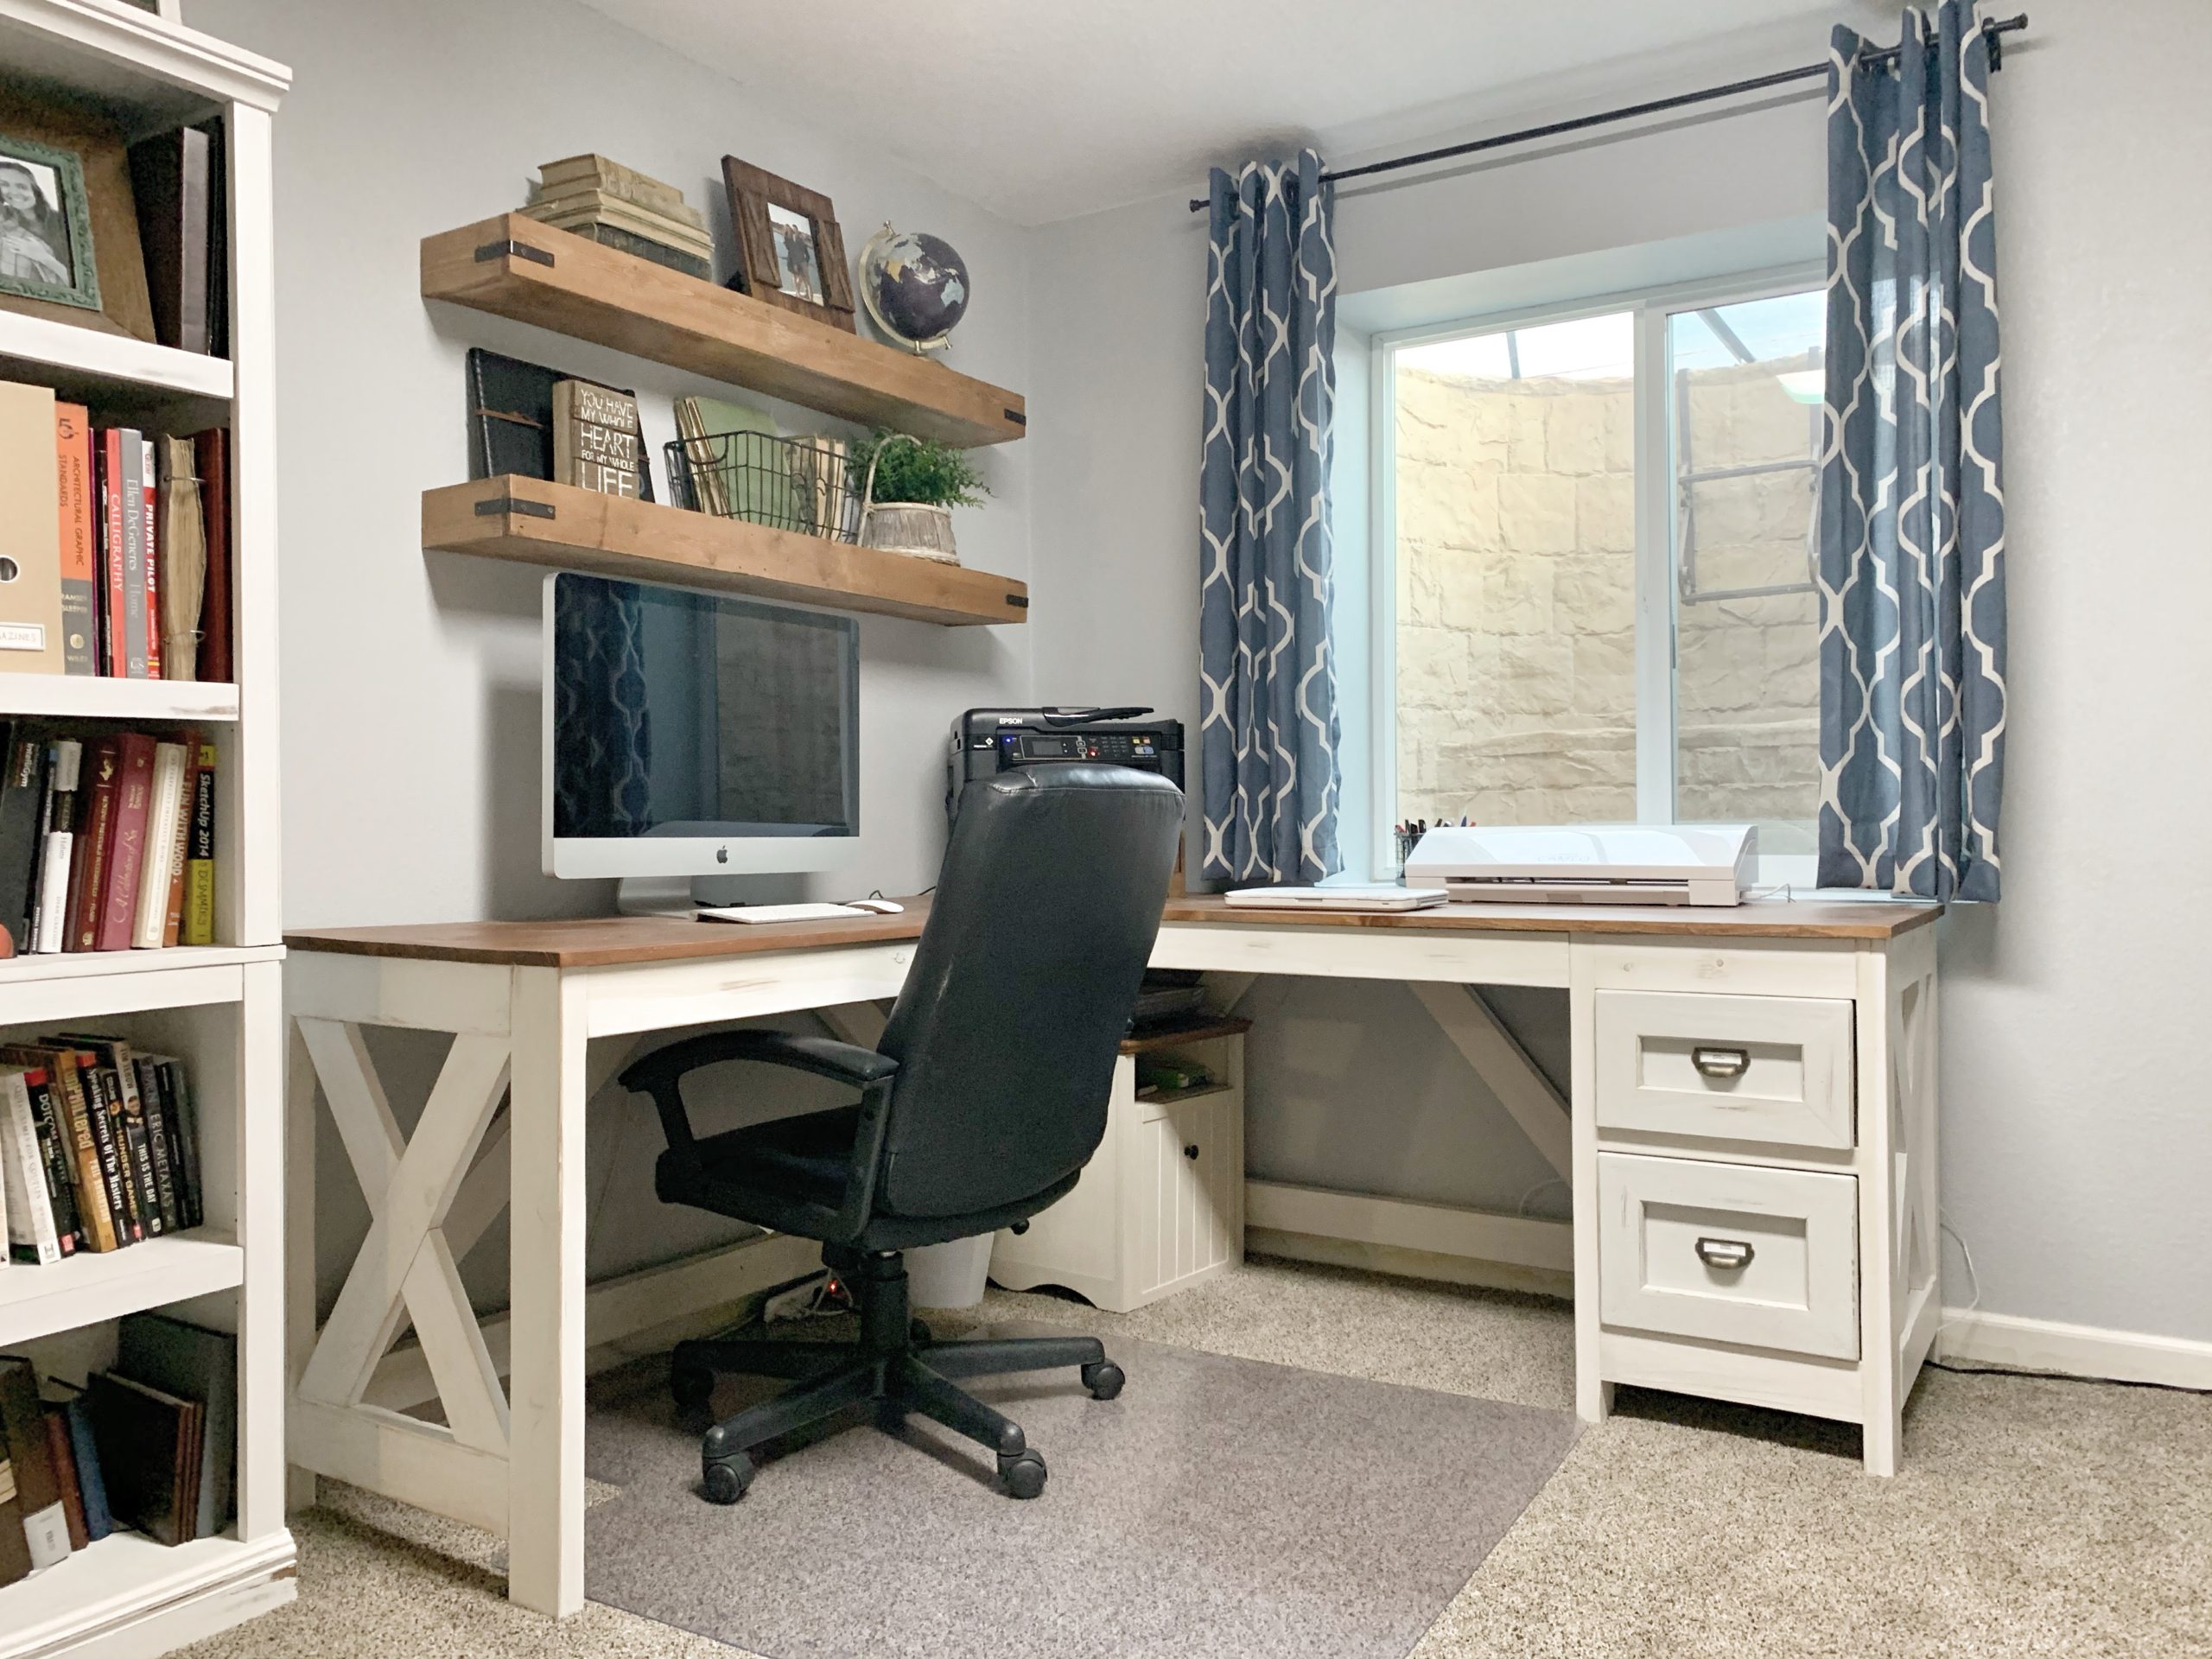
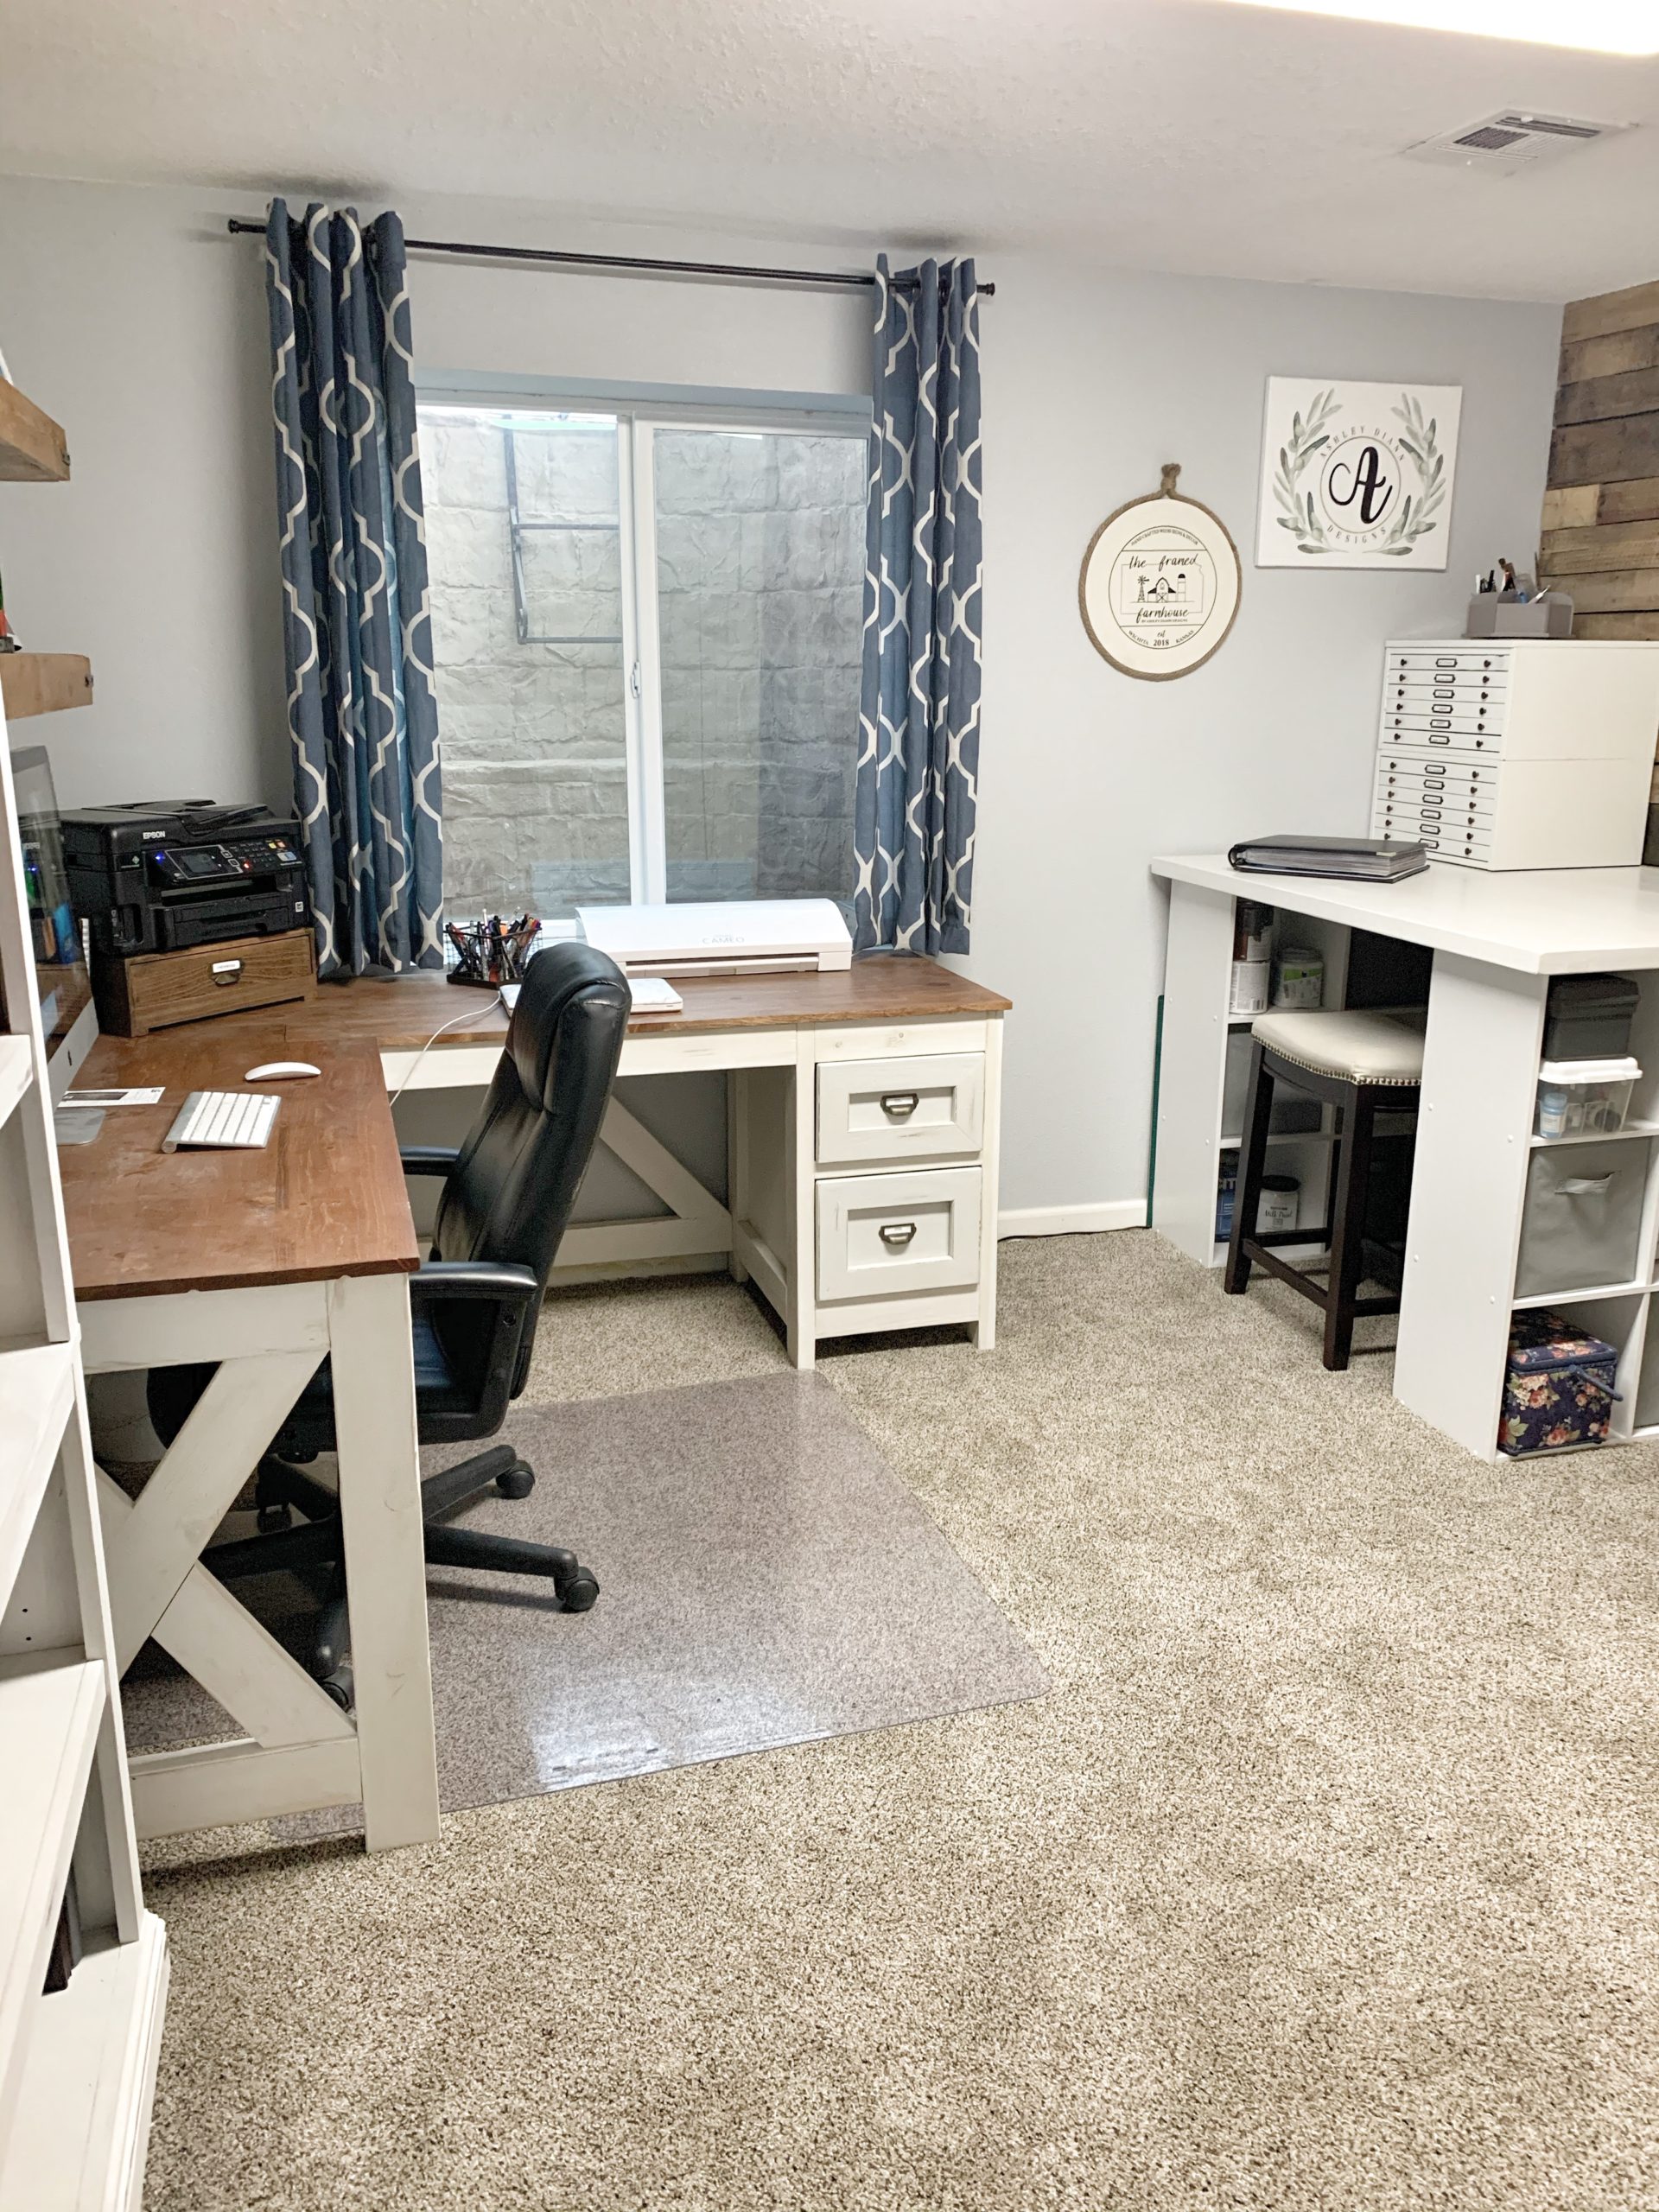
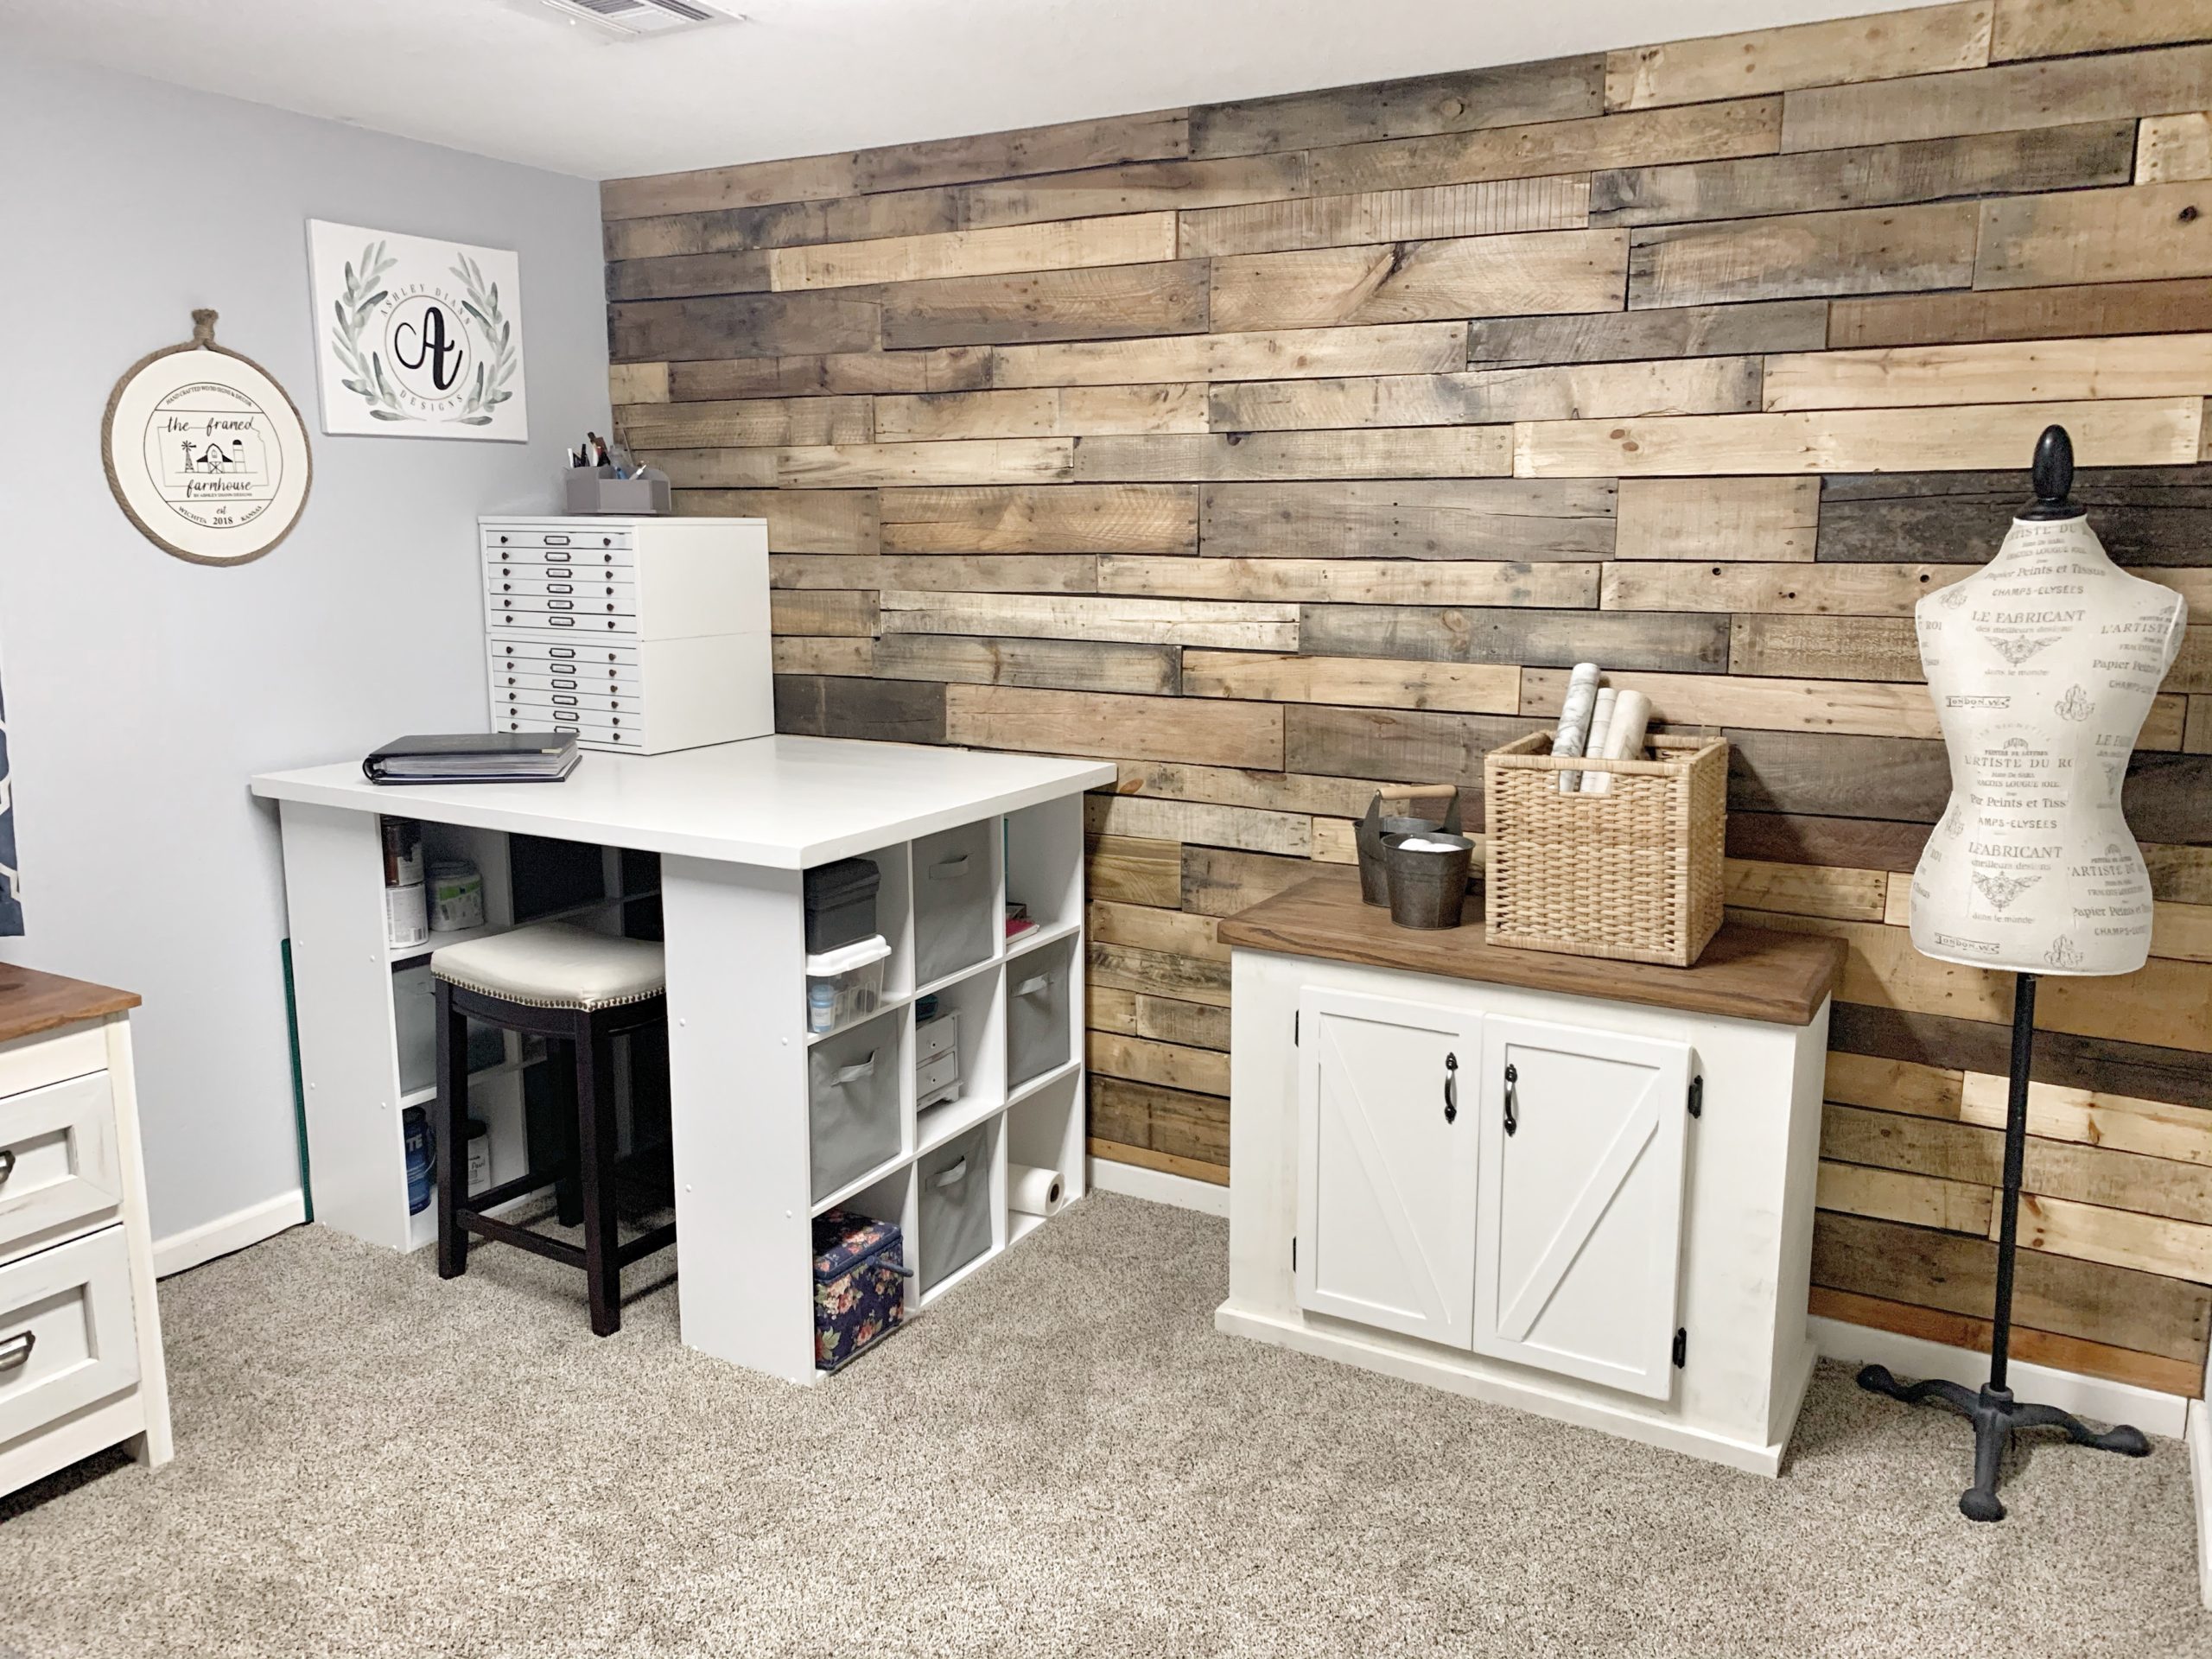
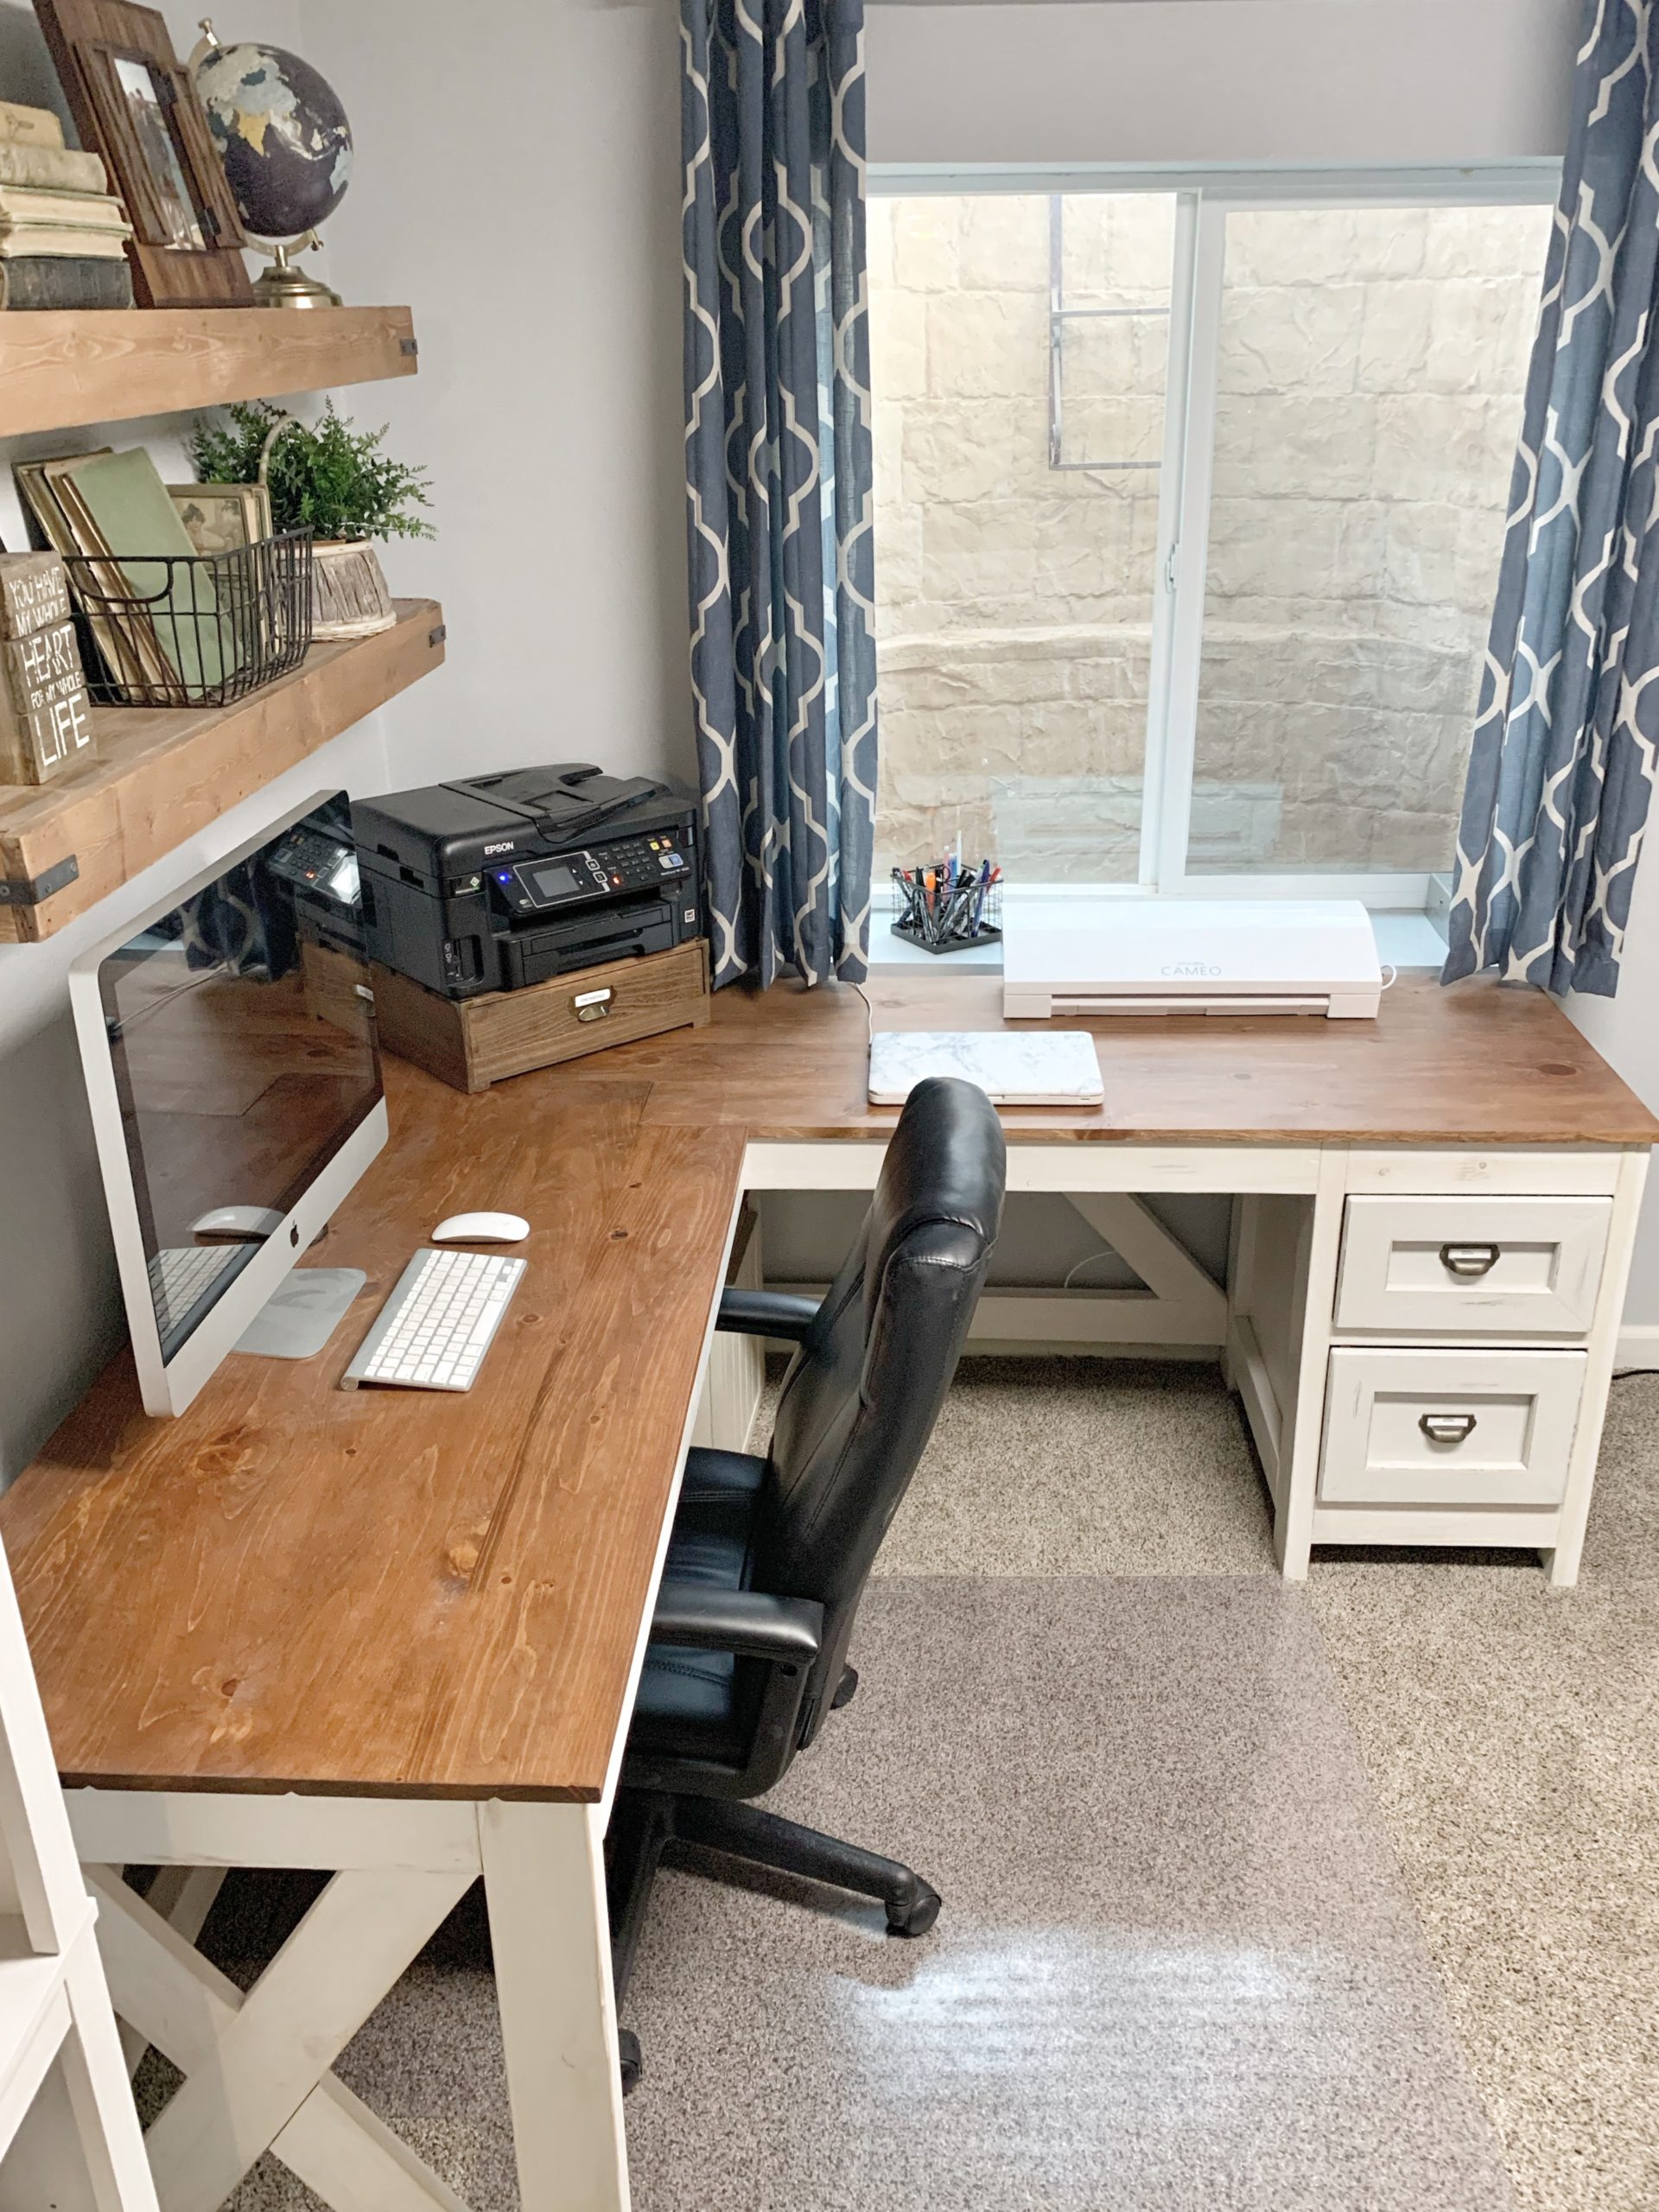
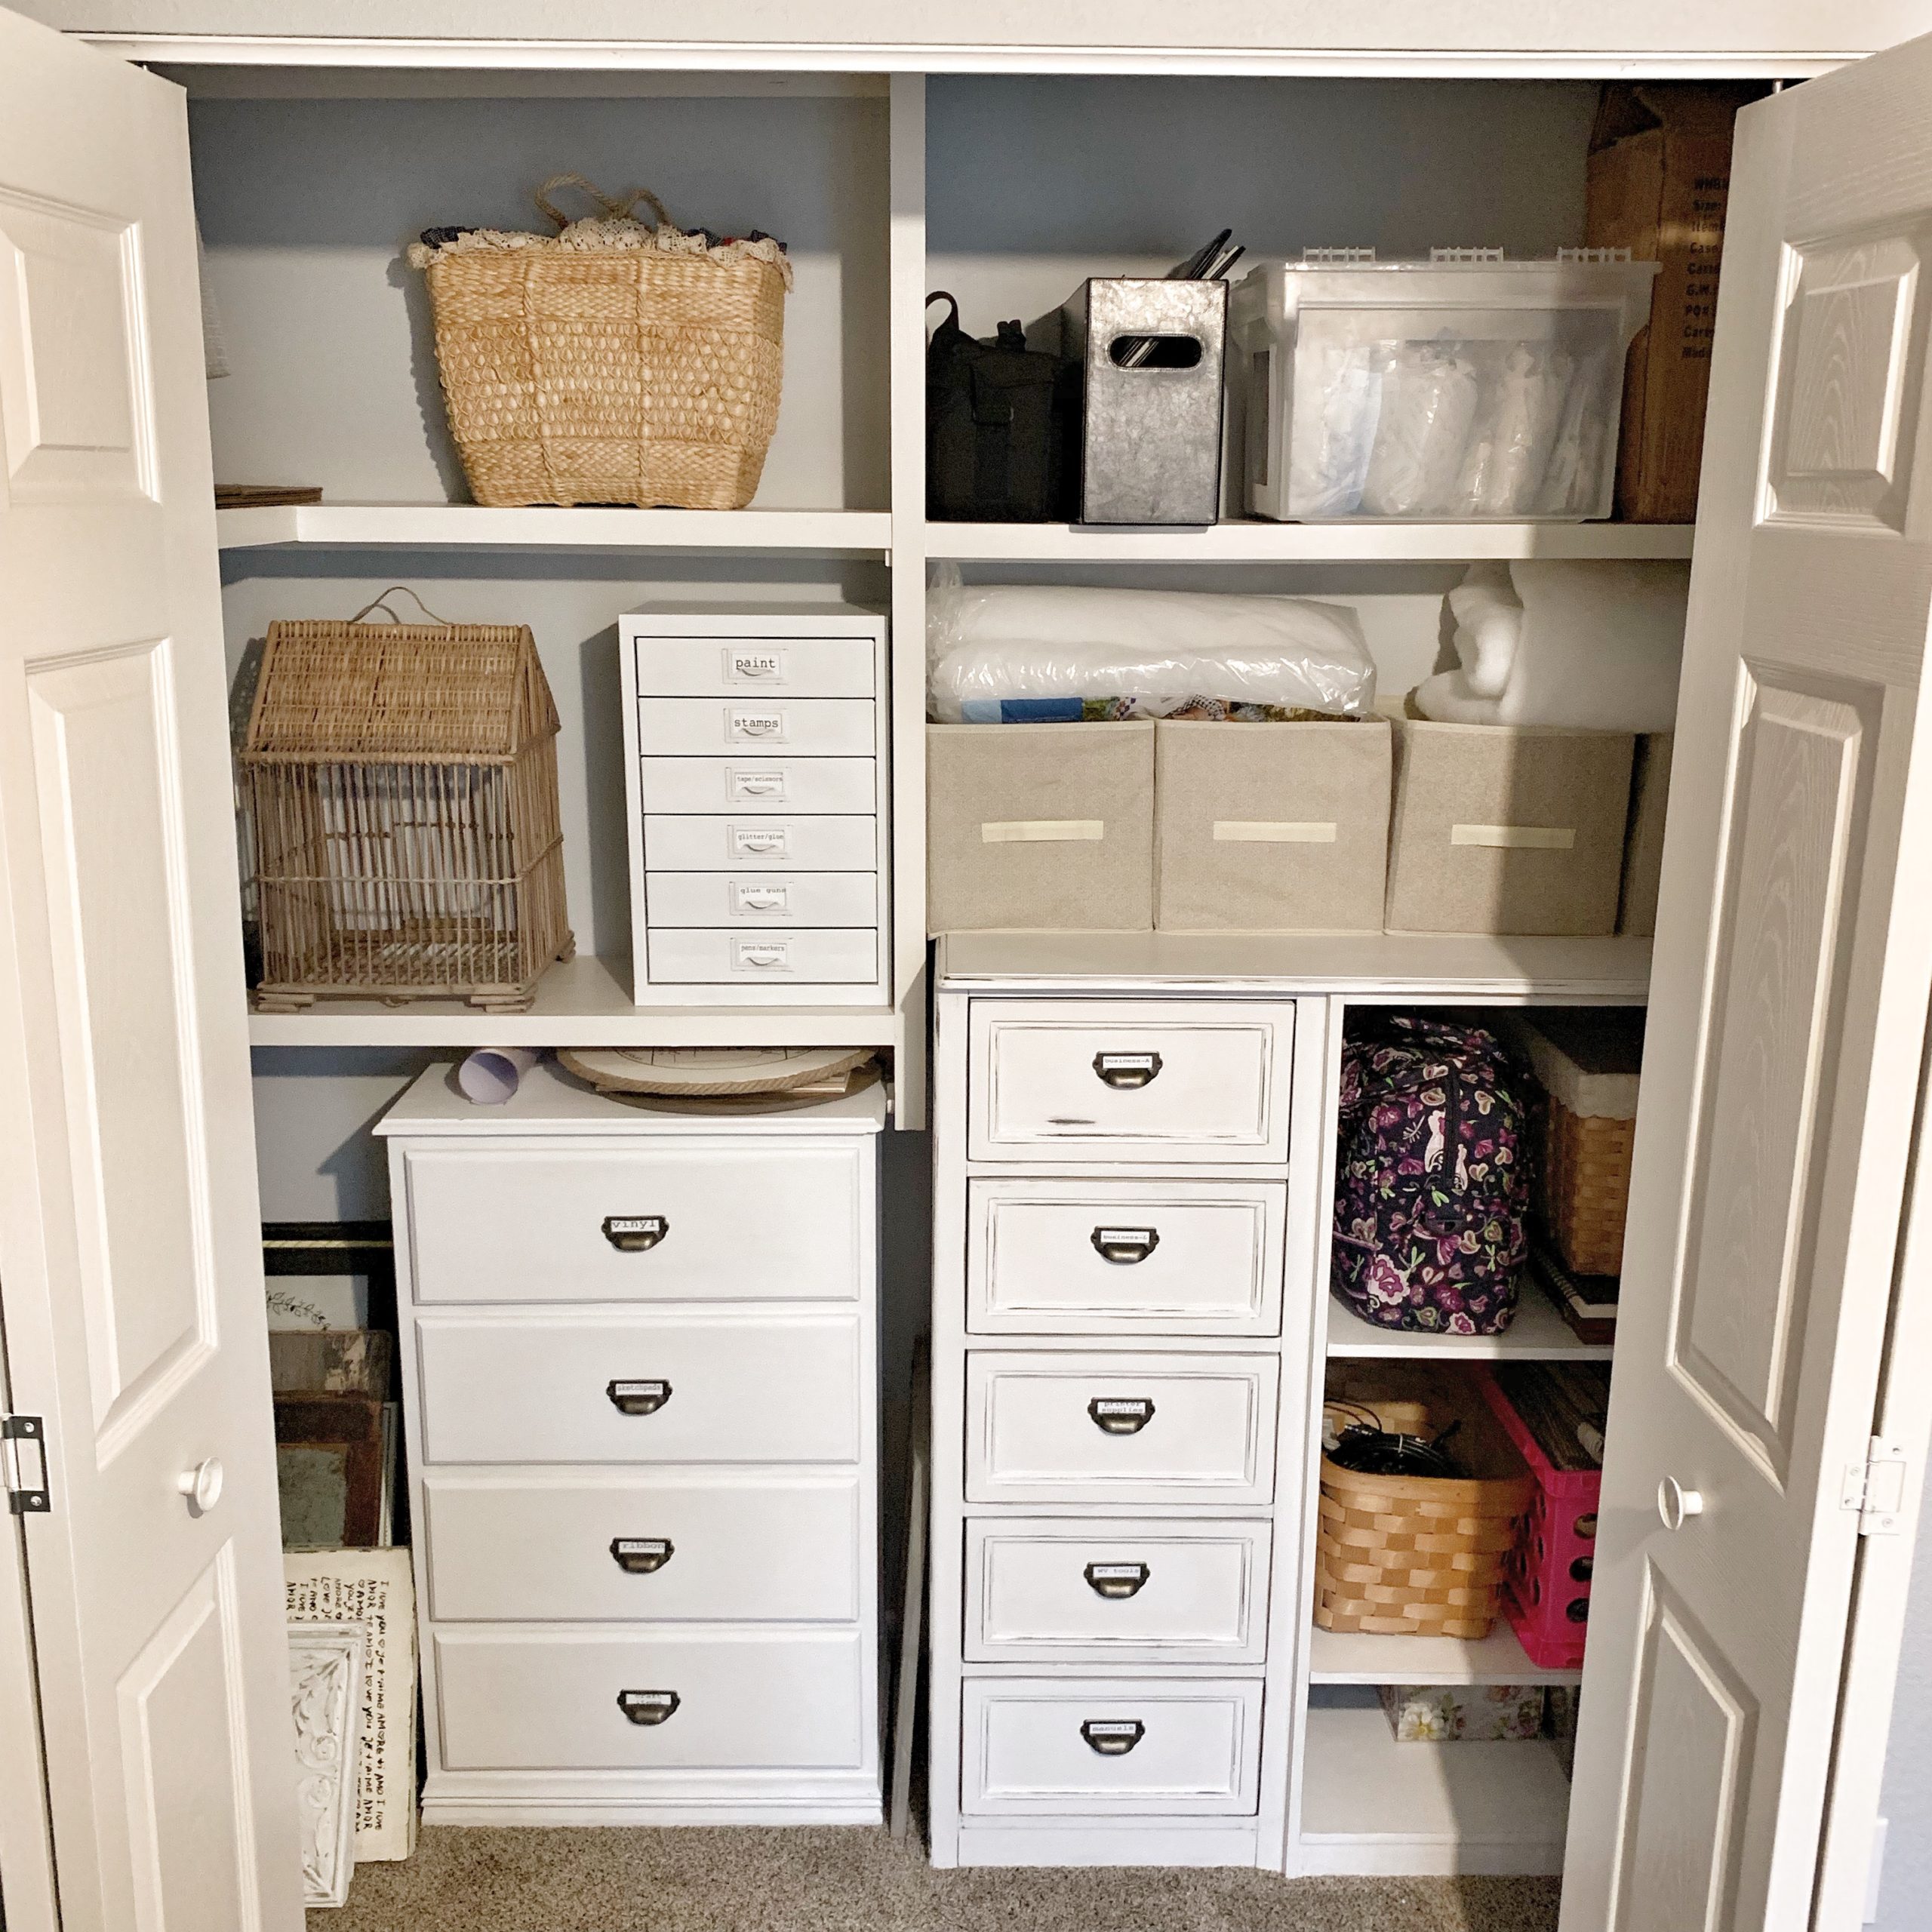
Our studio/office update is finally complete with this custom DIY farmhouse desk! If you missed the first three parts of this room update series, check out DIY Pallet Wood Accent Wall, DIY Craft Table, and Office Closet Organization.
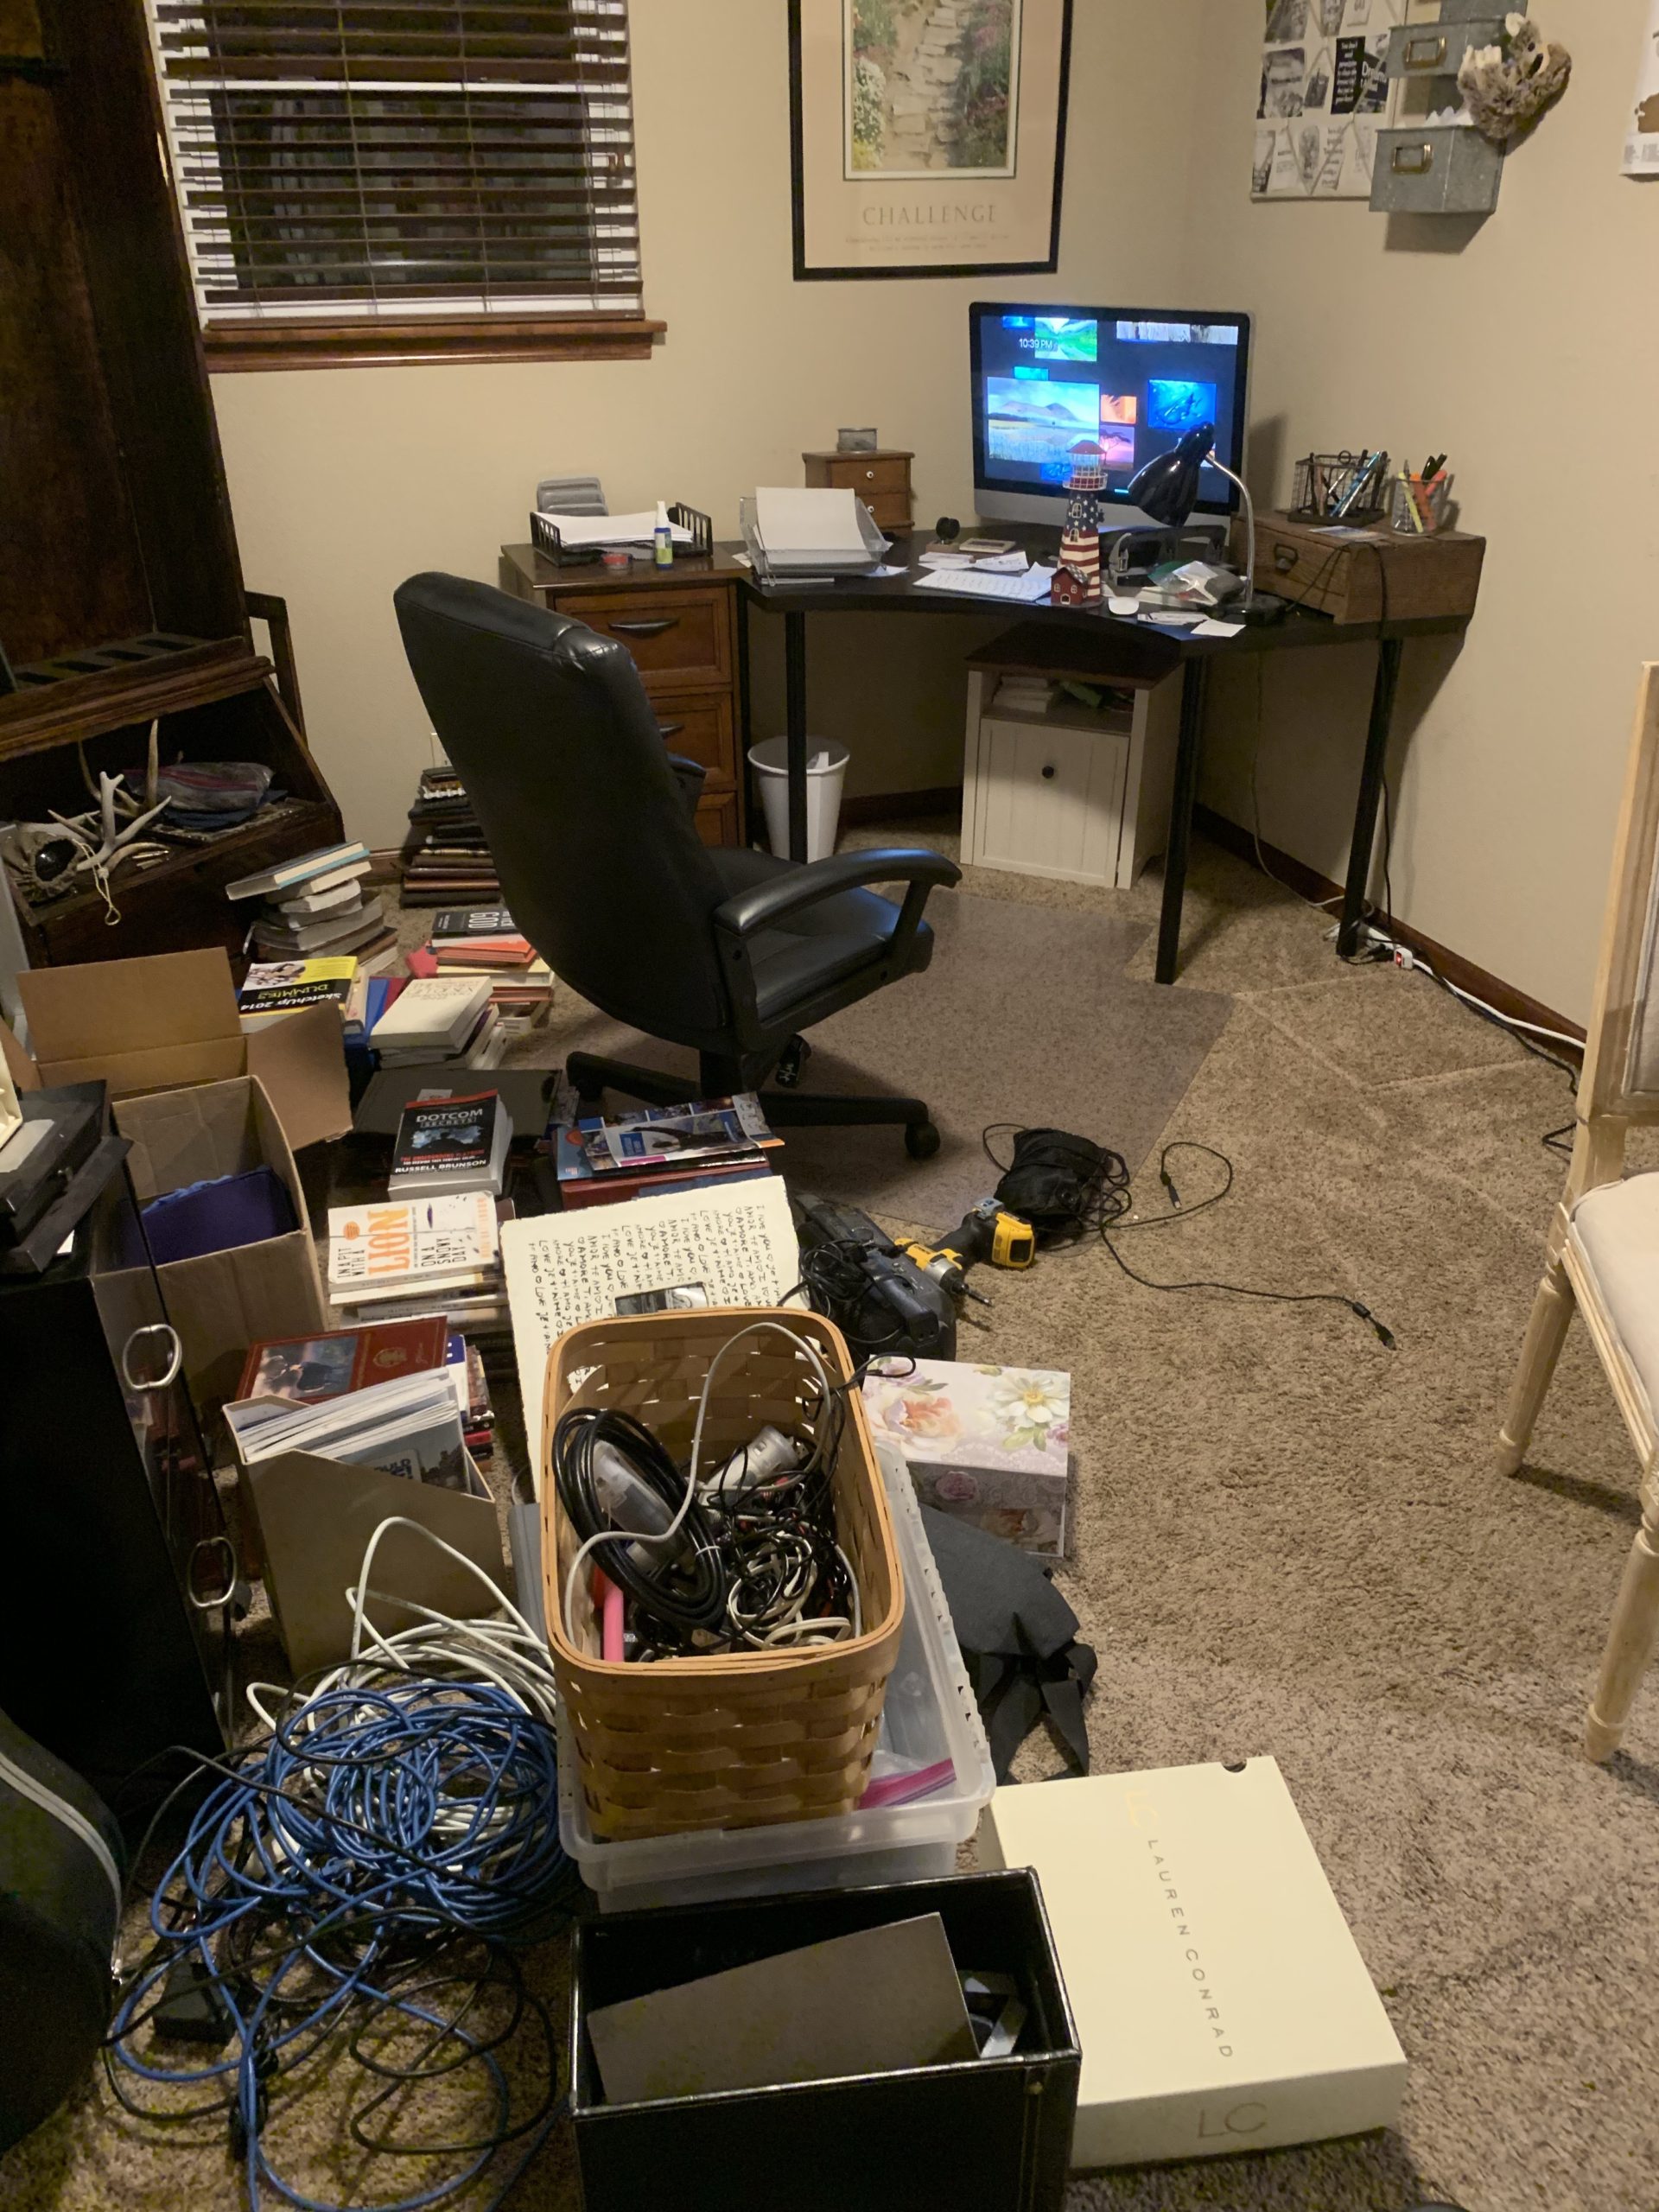
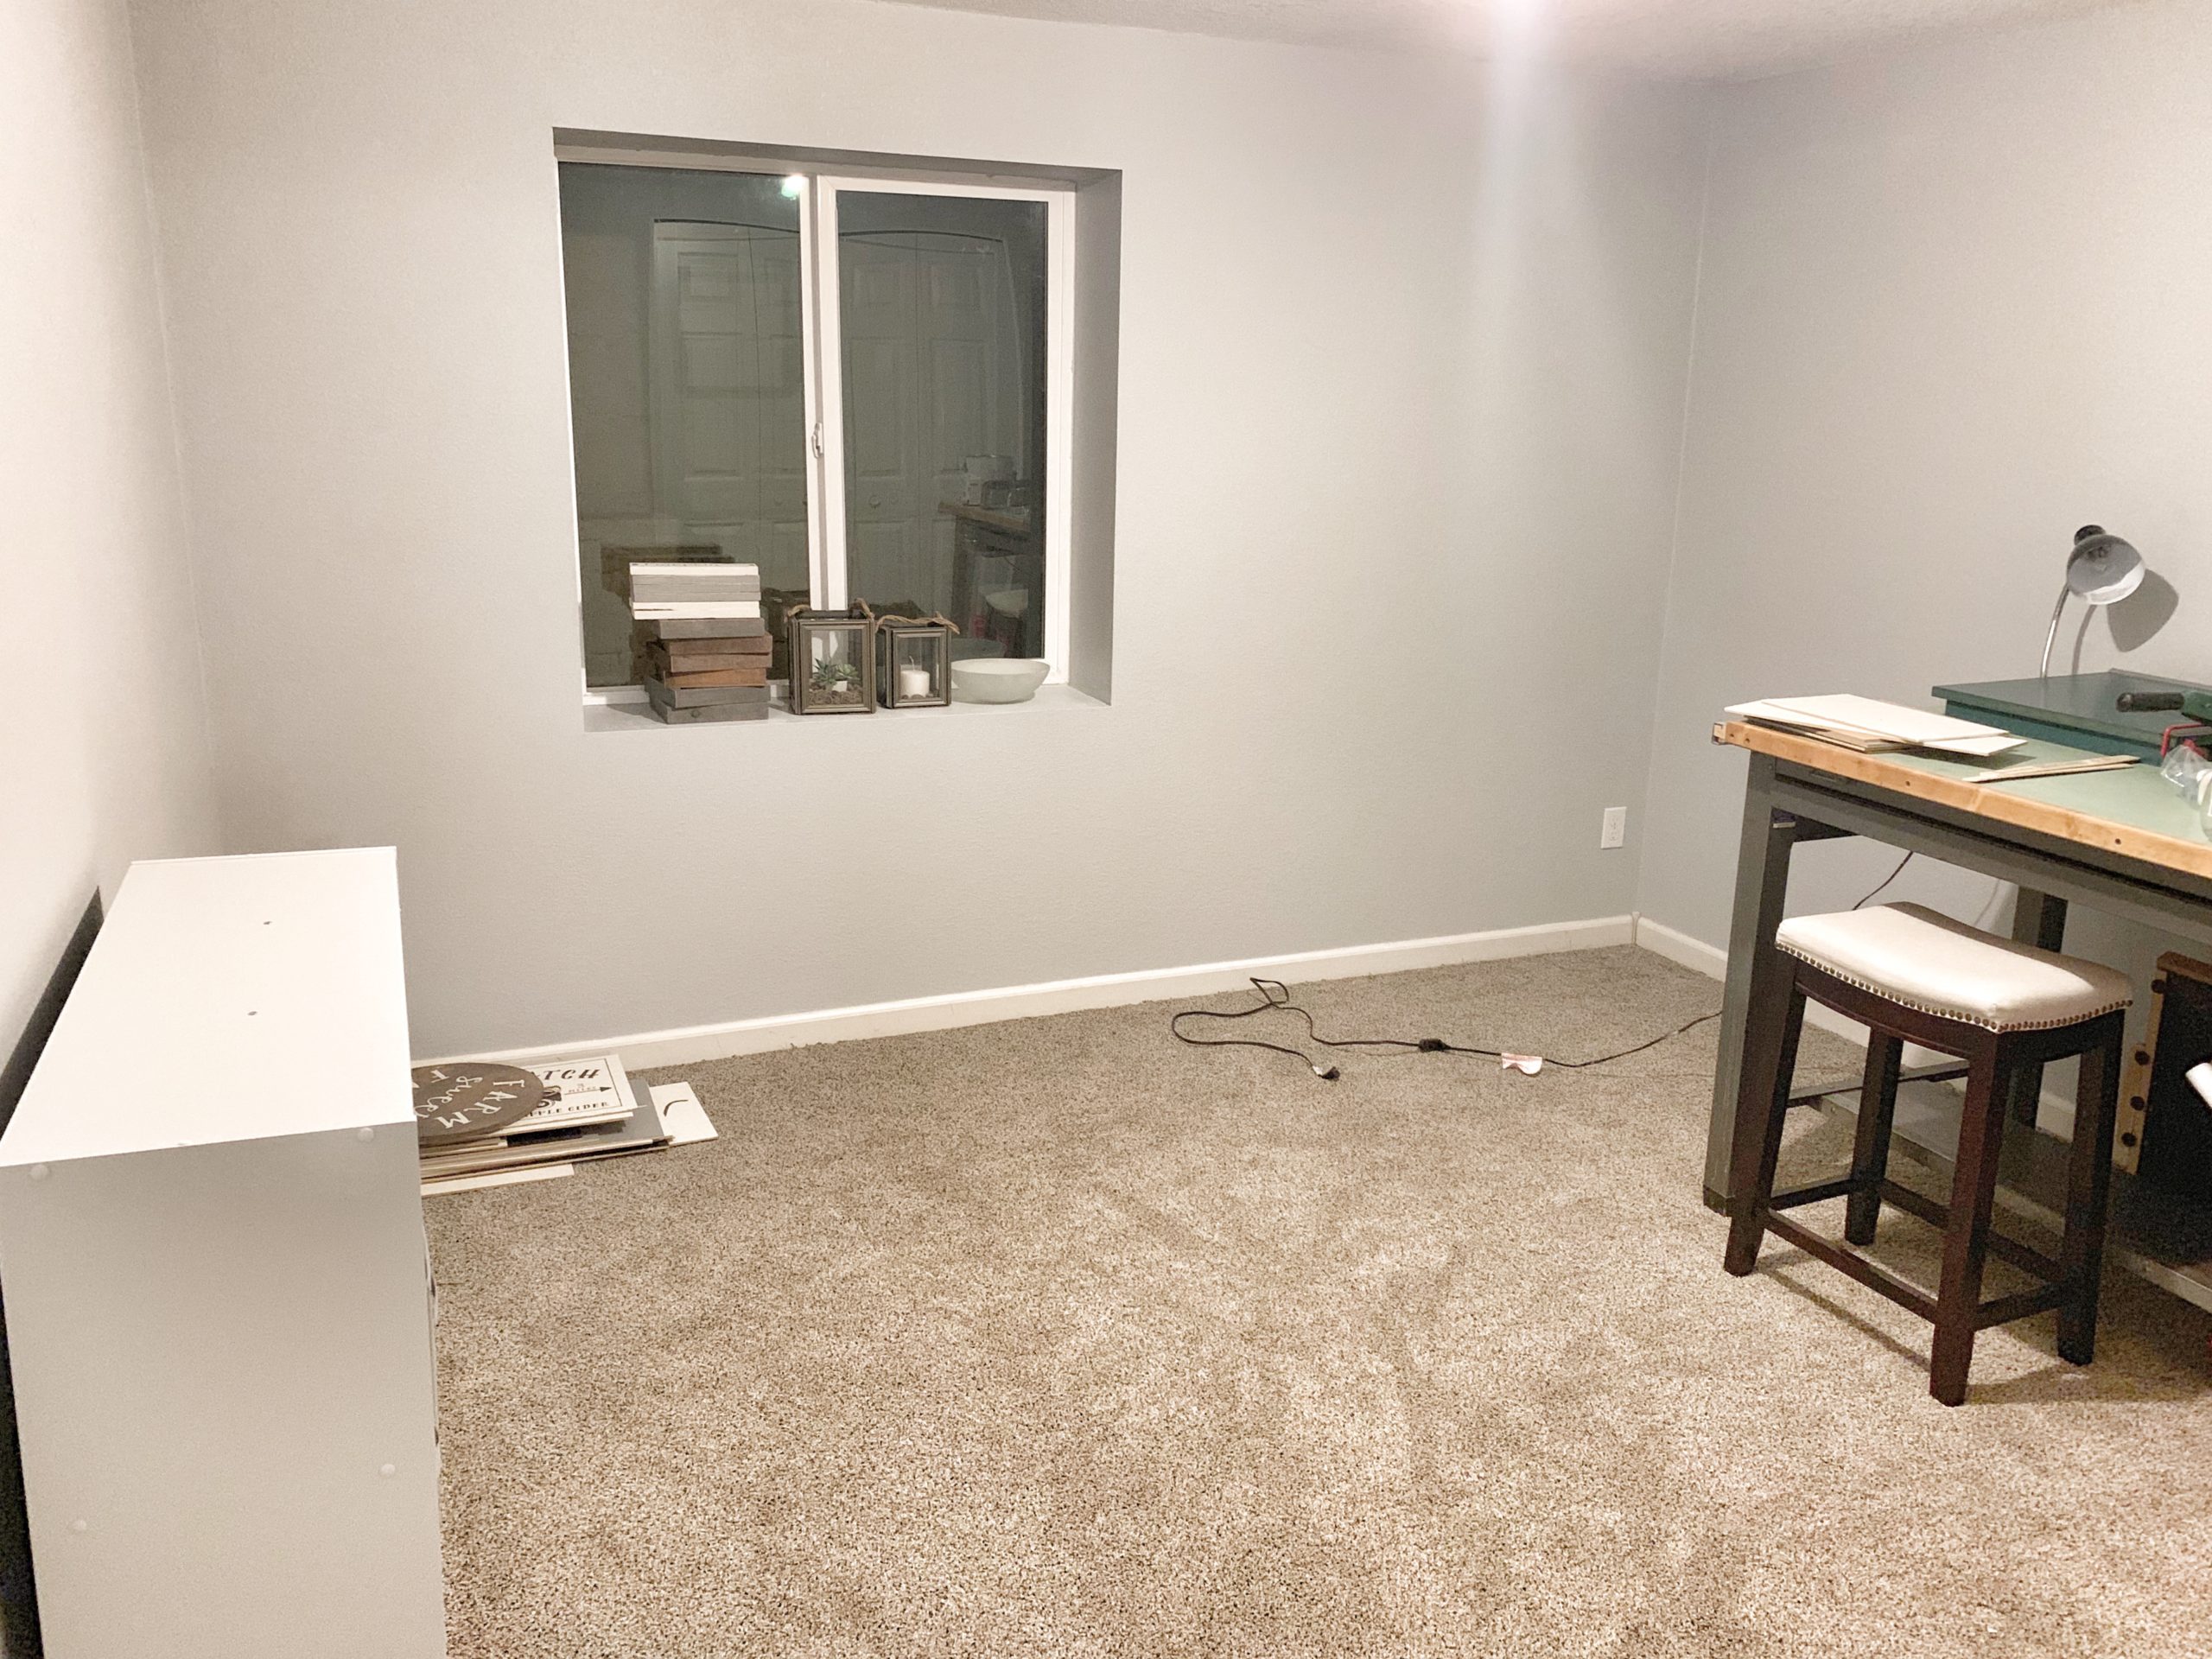
Every office needs some kind of desk, and since our office doubles as my studio/craft room, we needed something very specific to fit in the space we had. So, naturally, we had to DIY it!
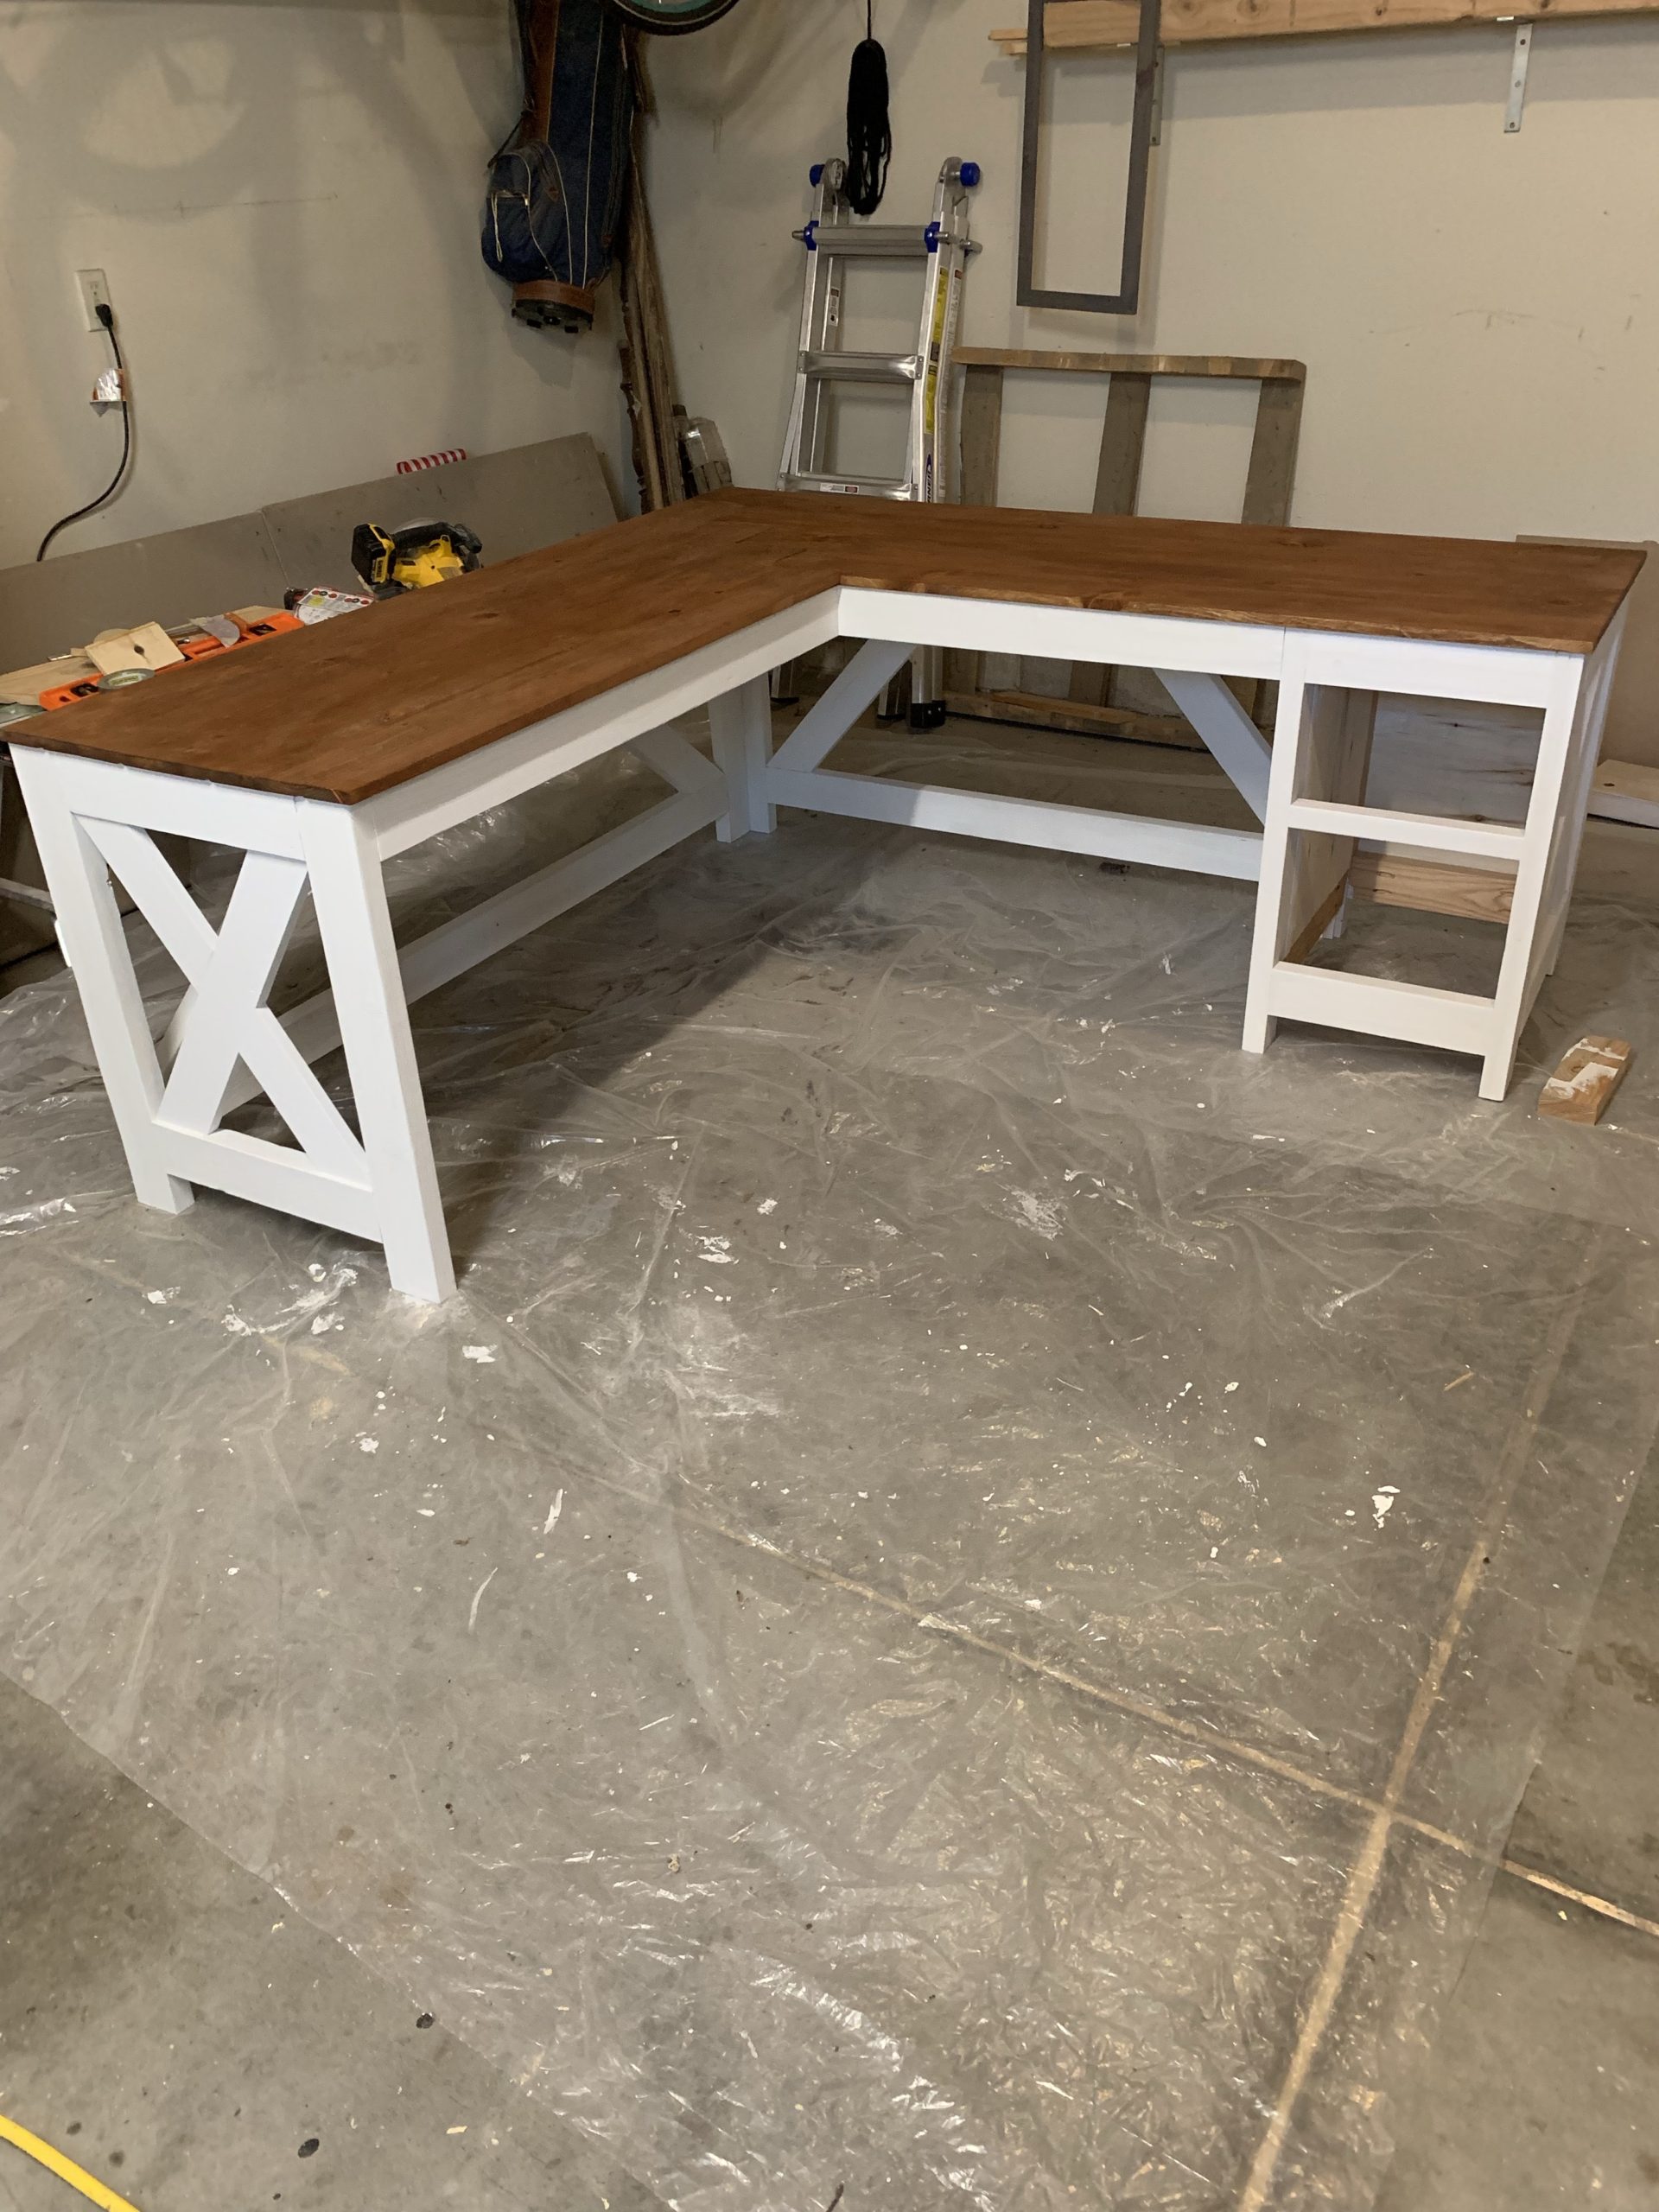
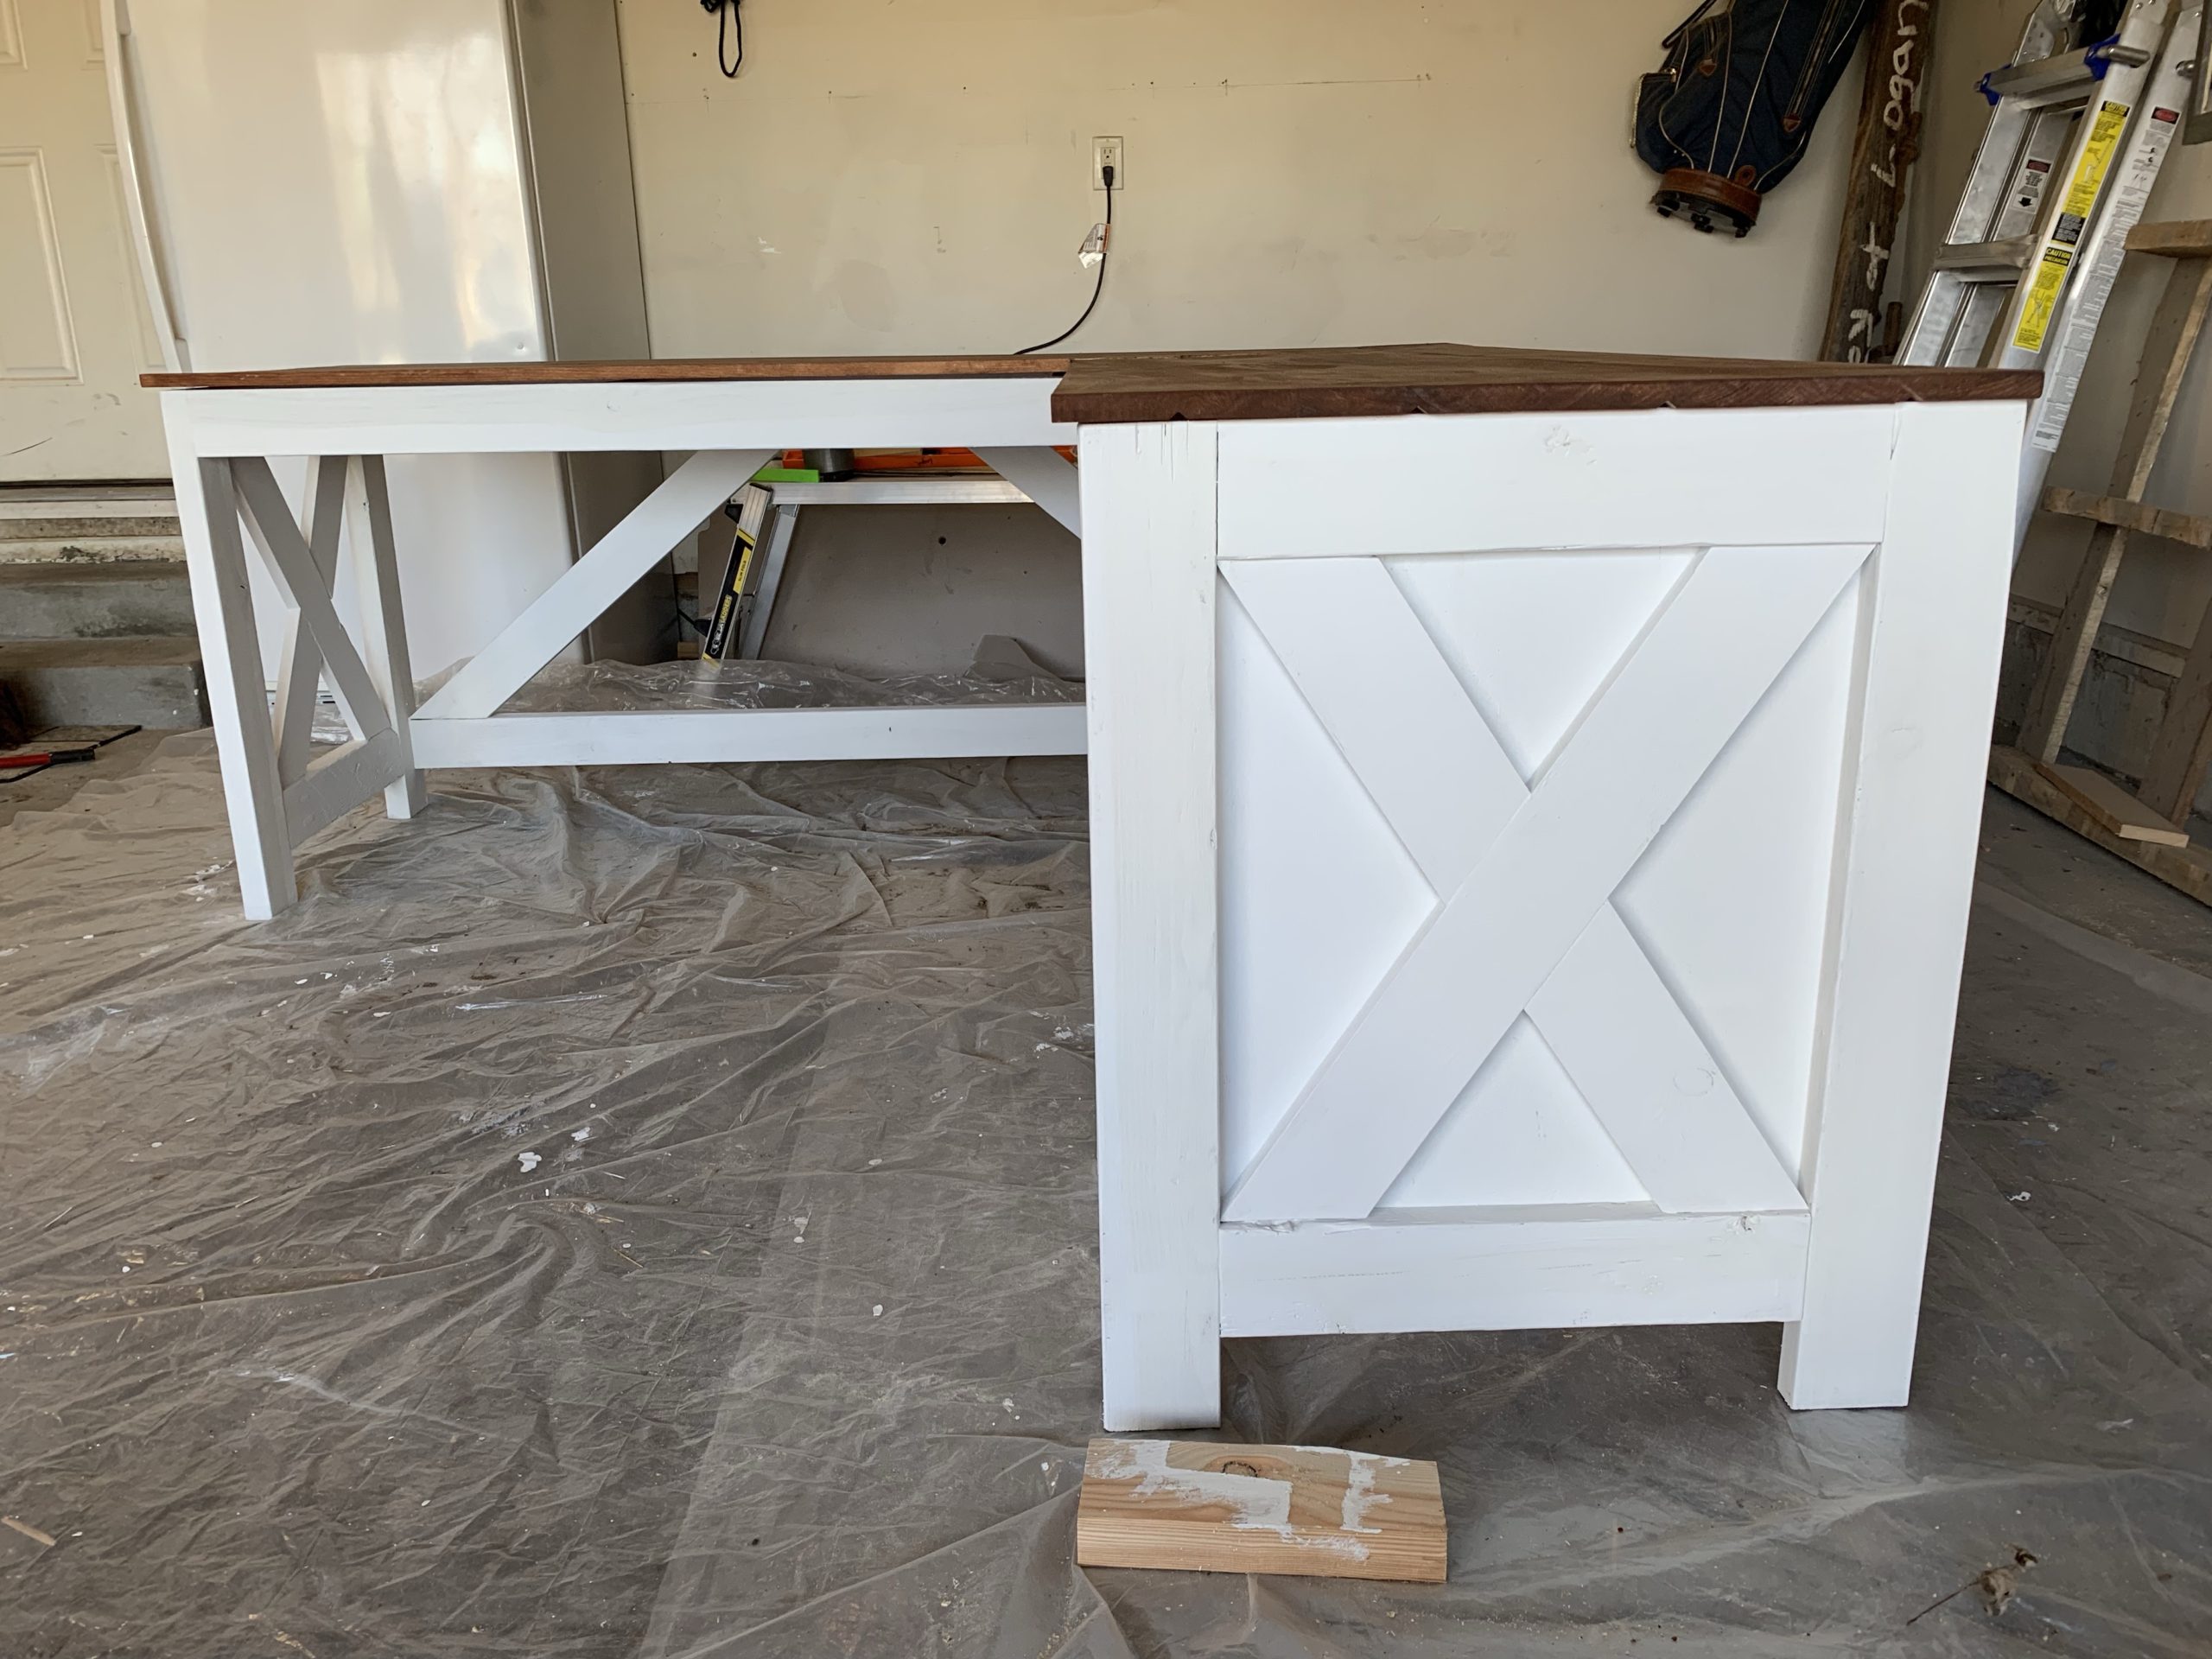
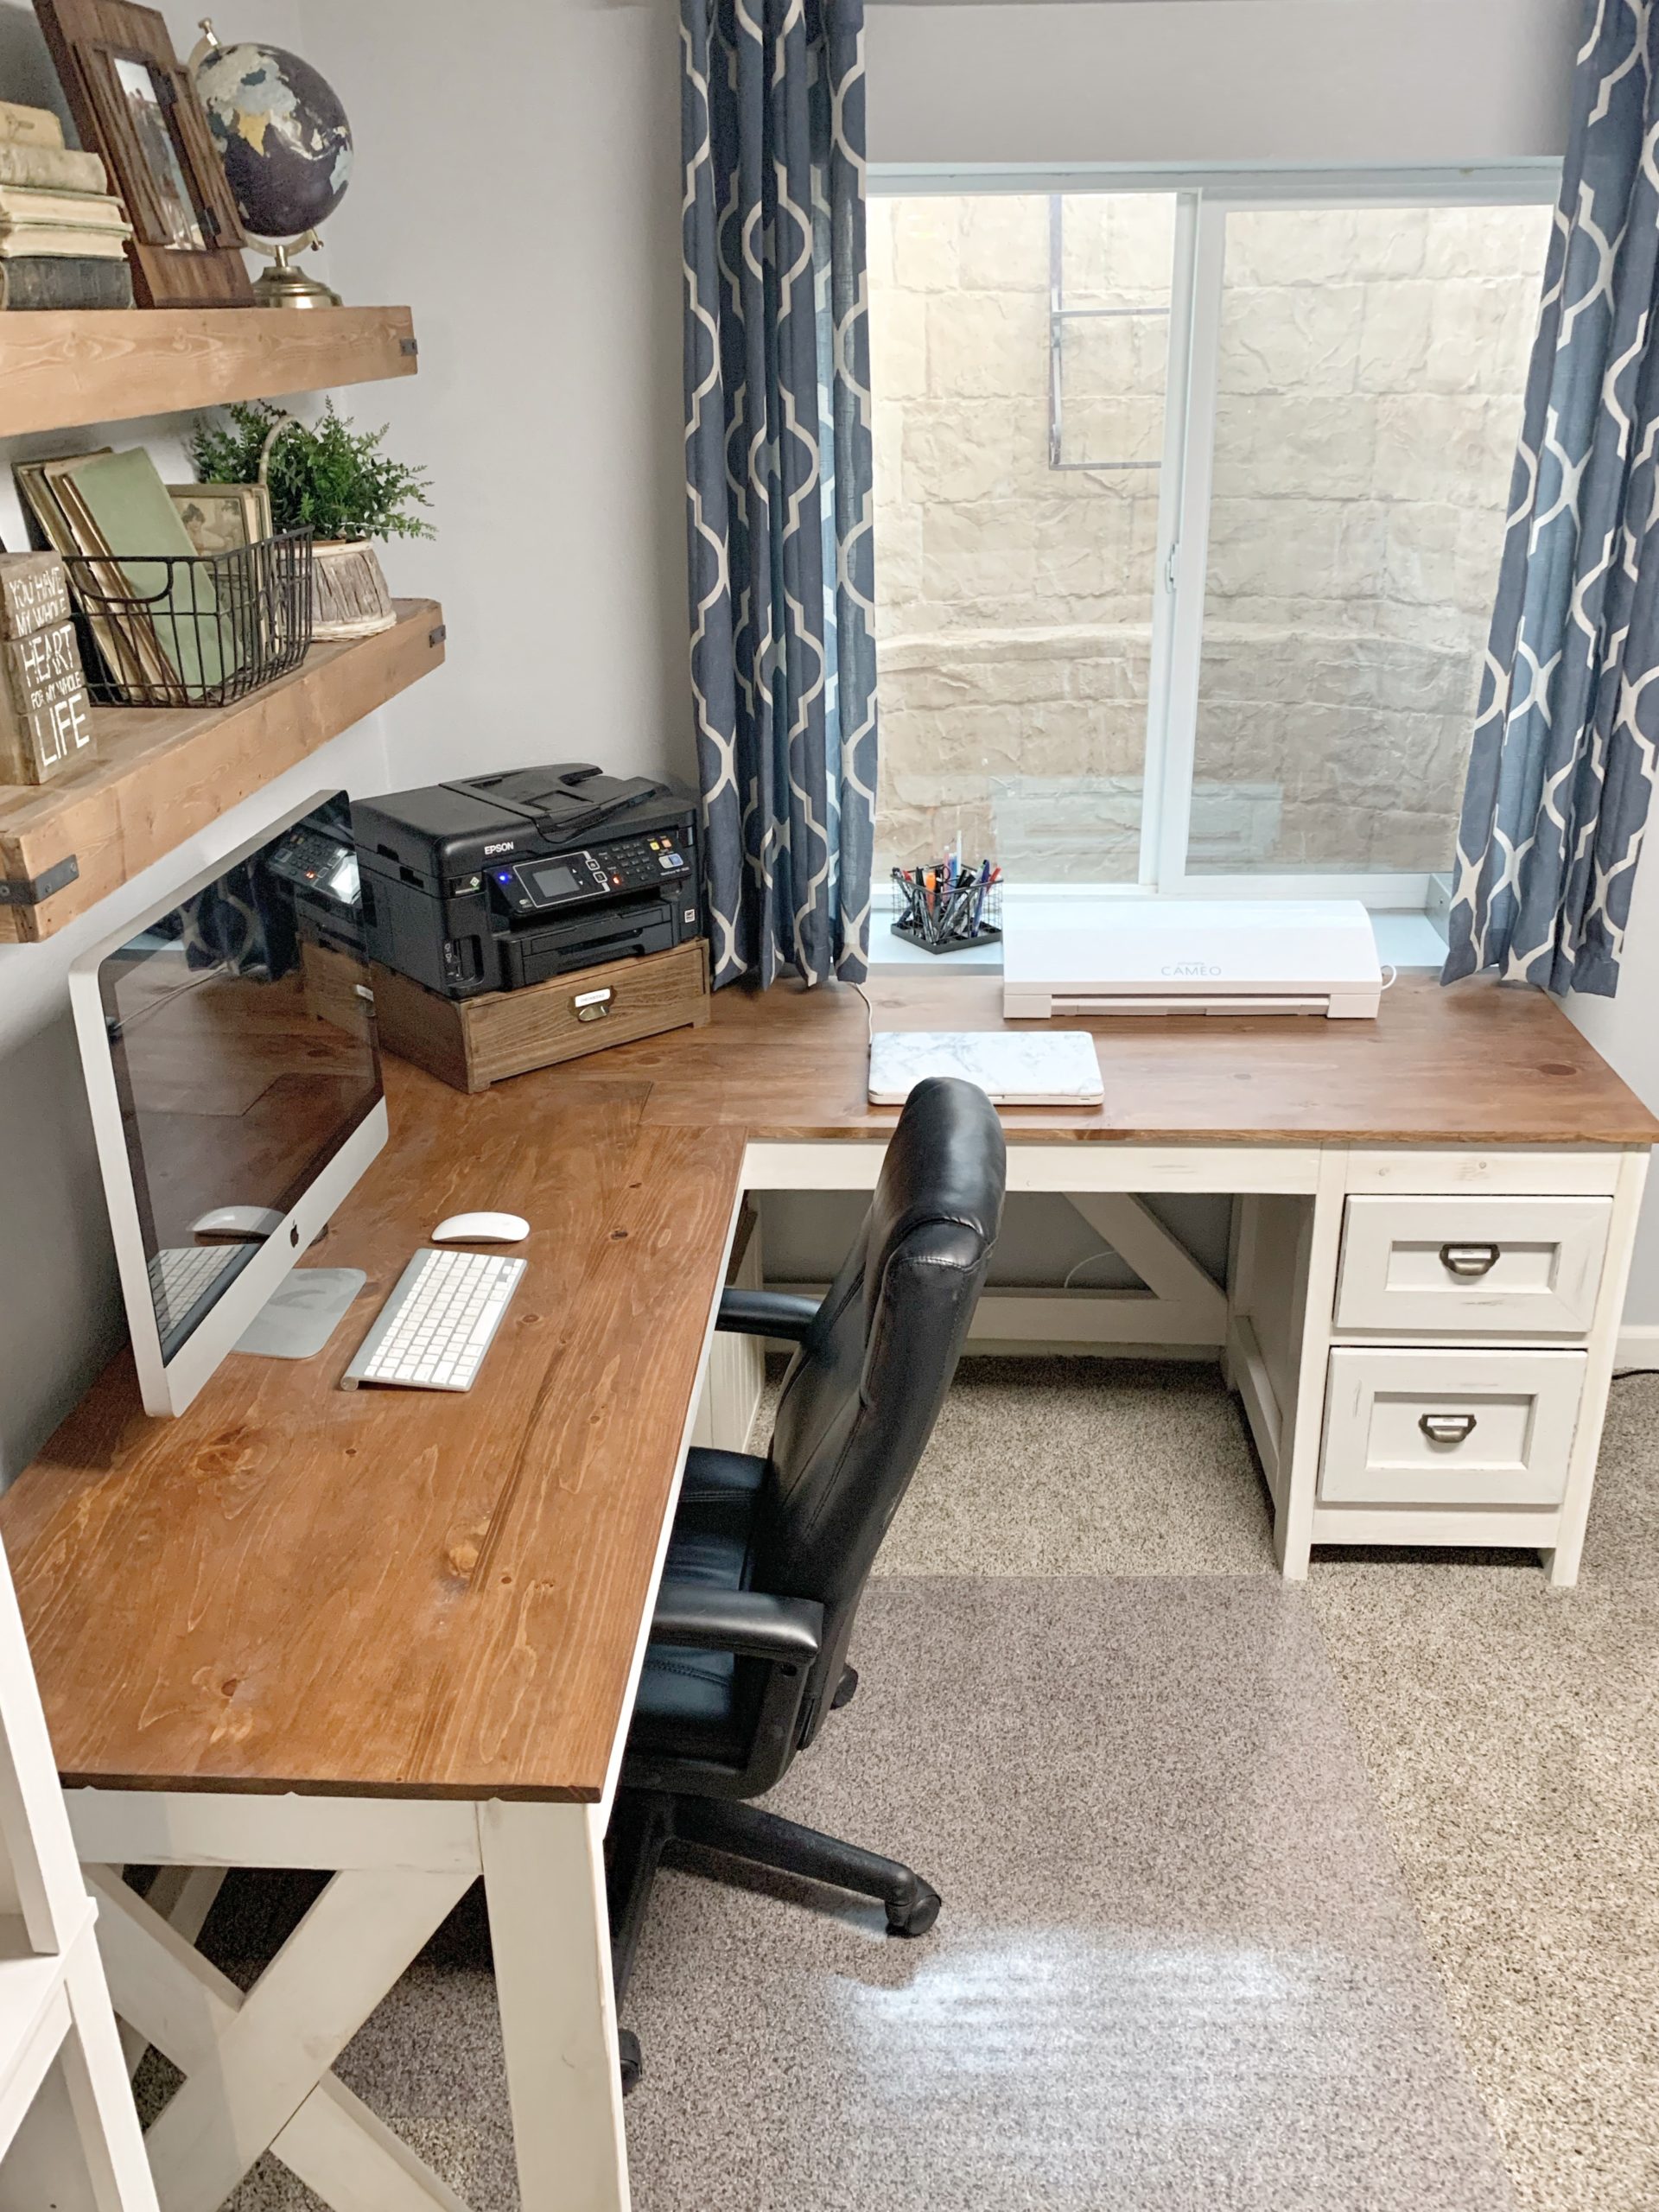
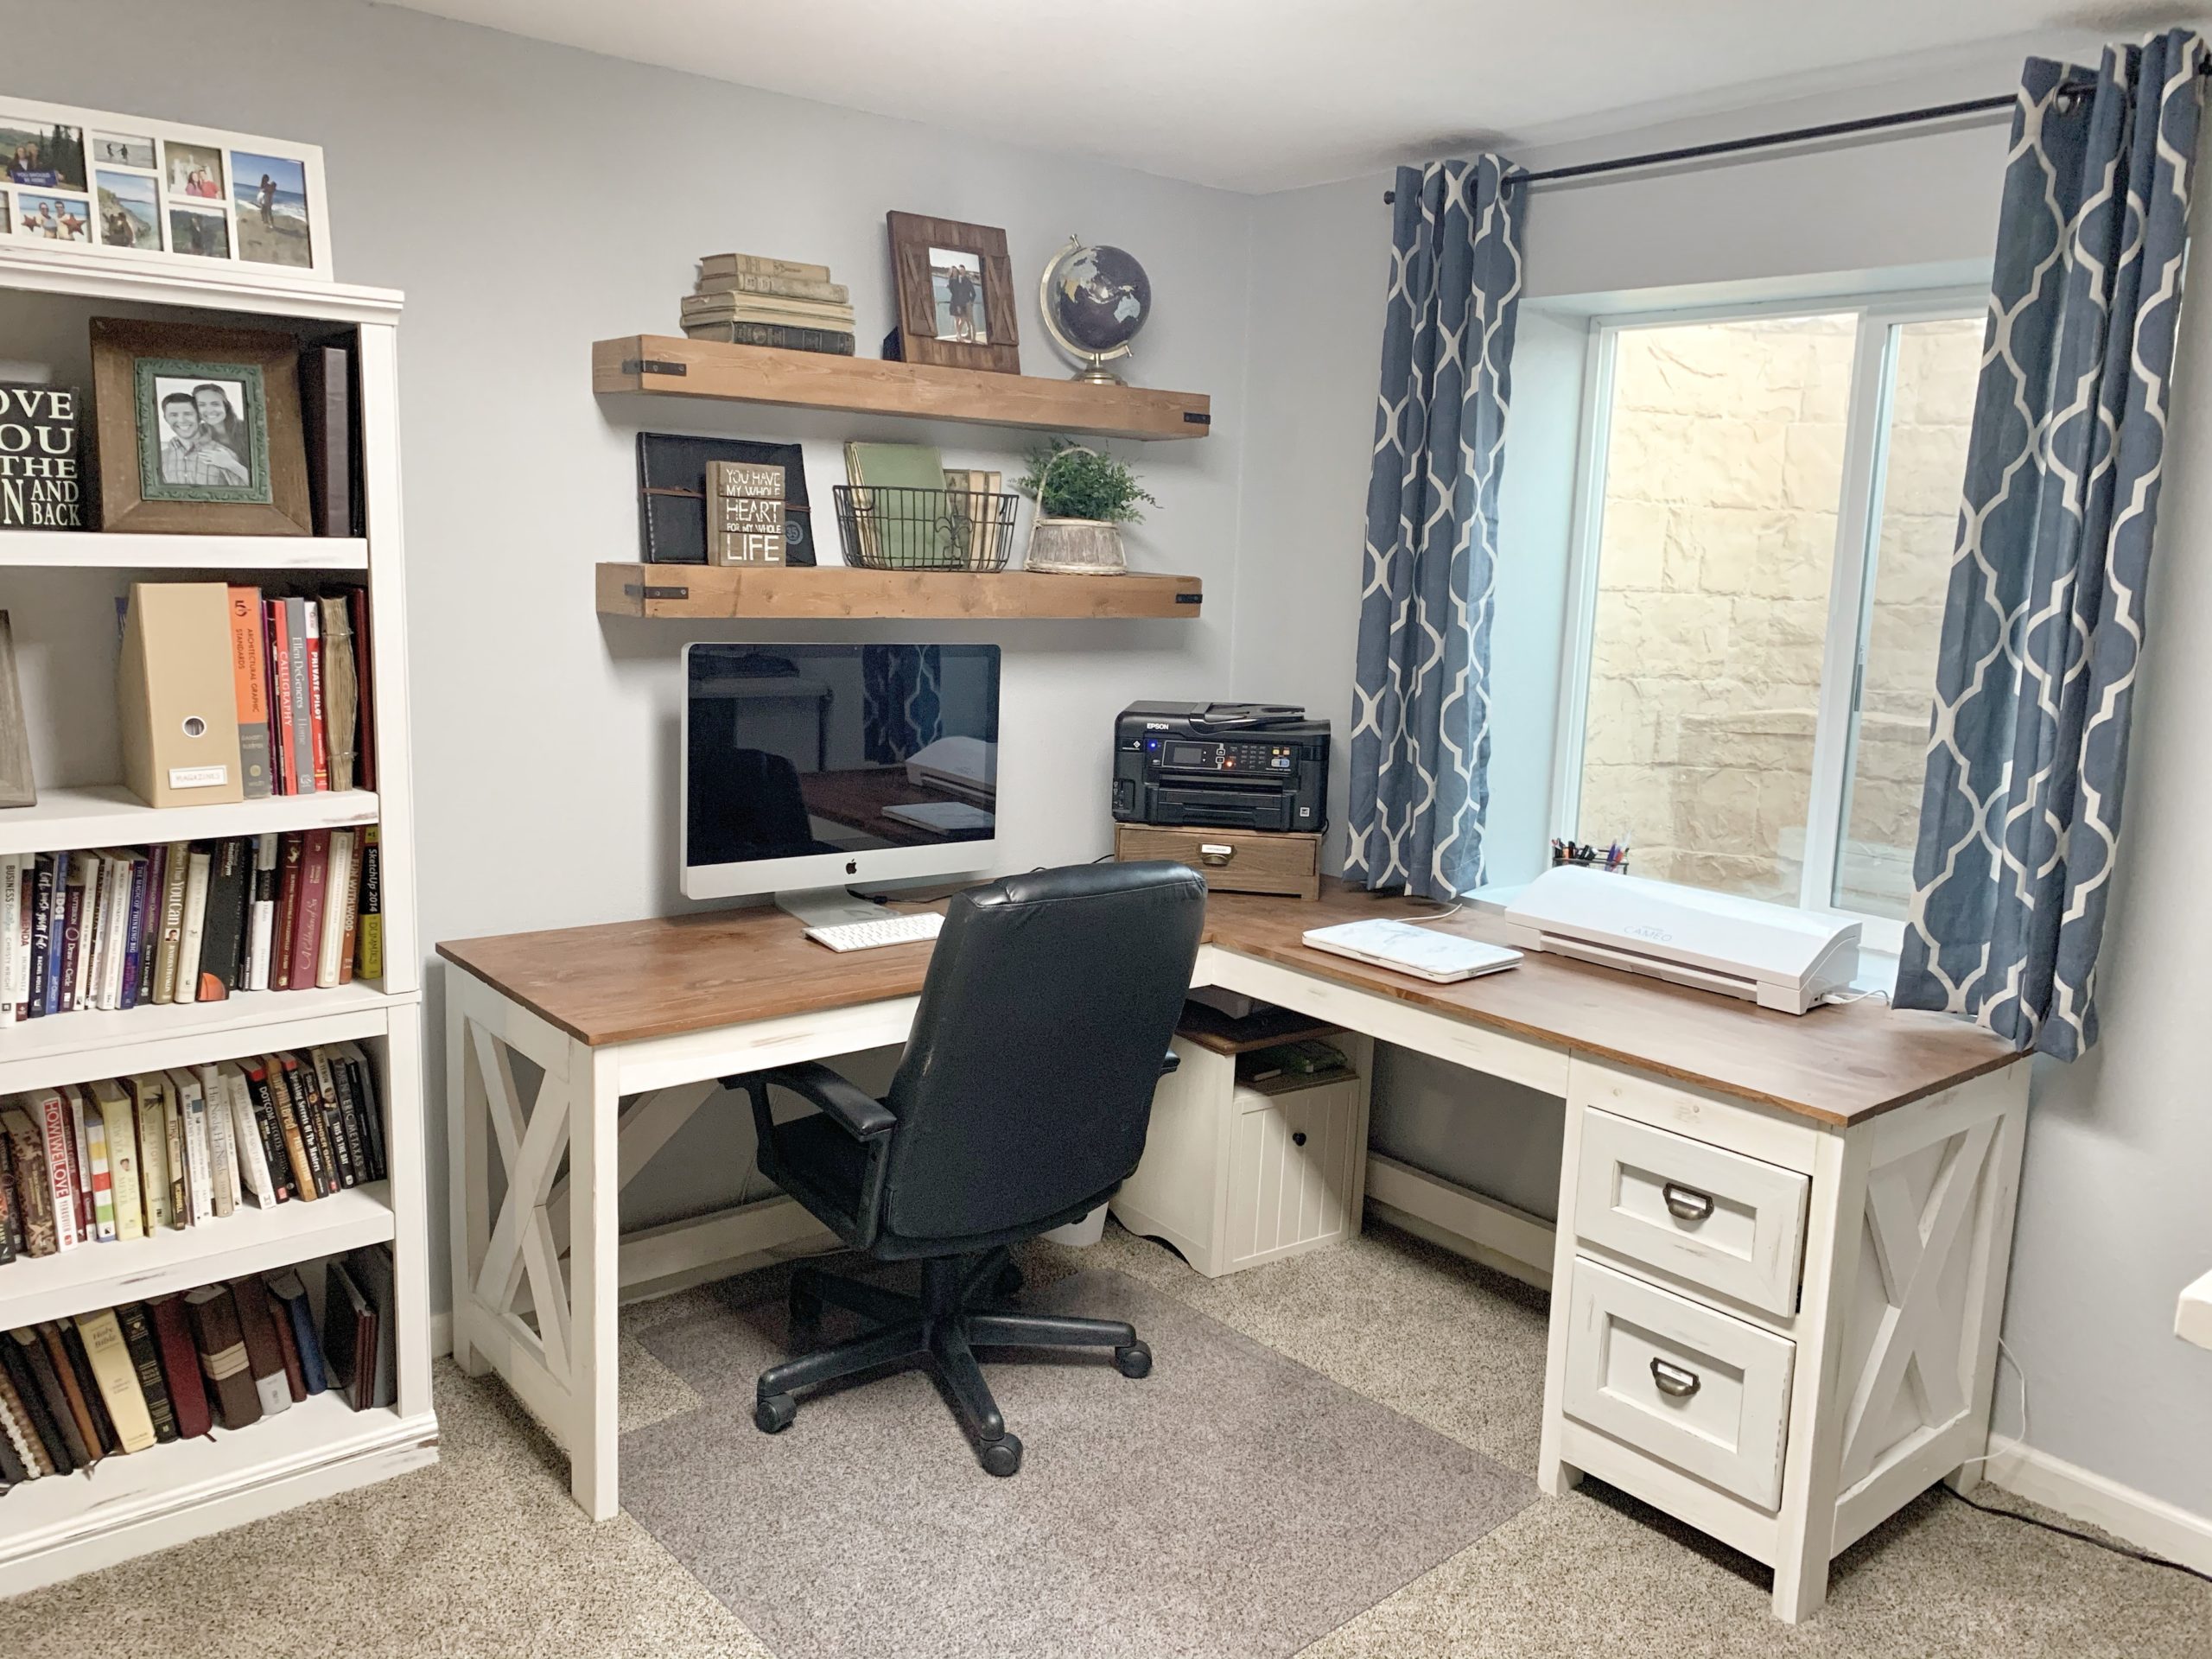
Before, we just had a cheap IKEA corner desk. I knew I wanted an another L-shaped desk to fit in the corner, but we needed more surface space and a couple of drawers for storage. We wanted as big of a surface as possible without crowding the room. I liked the idea of doing an X-leg for the base to make it feel less bulky.
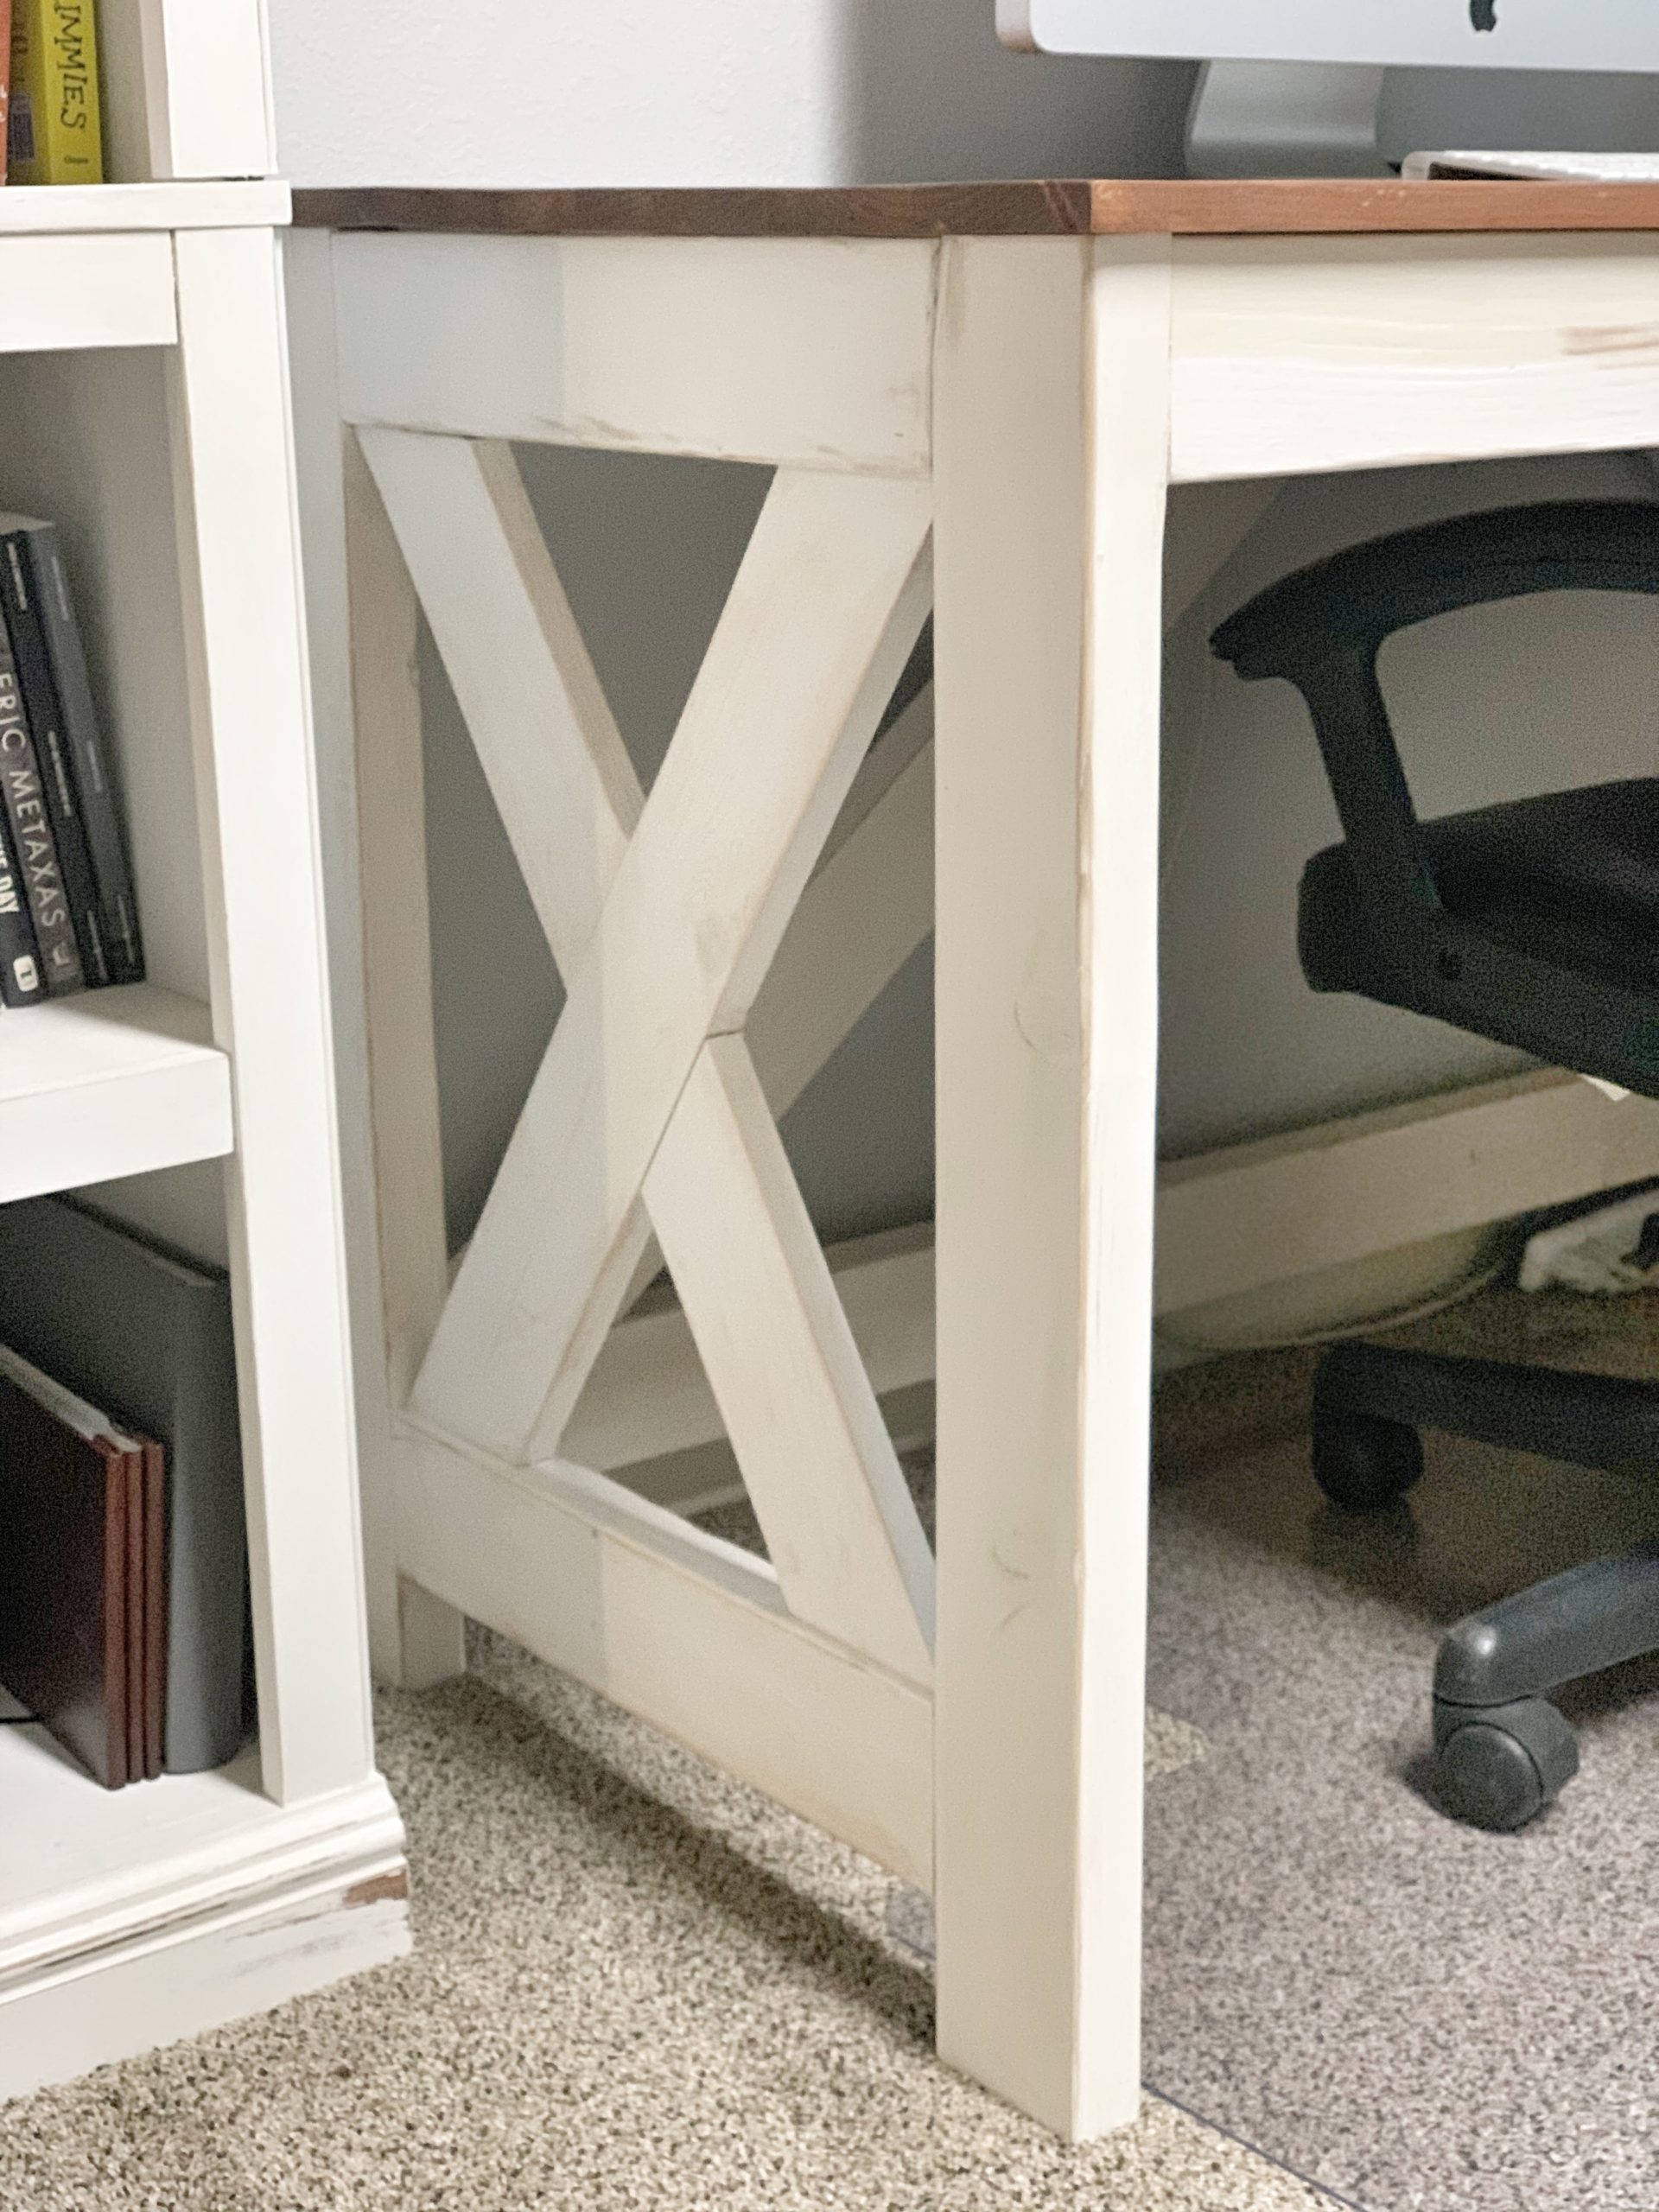
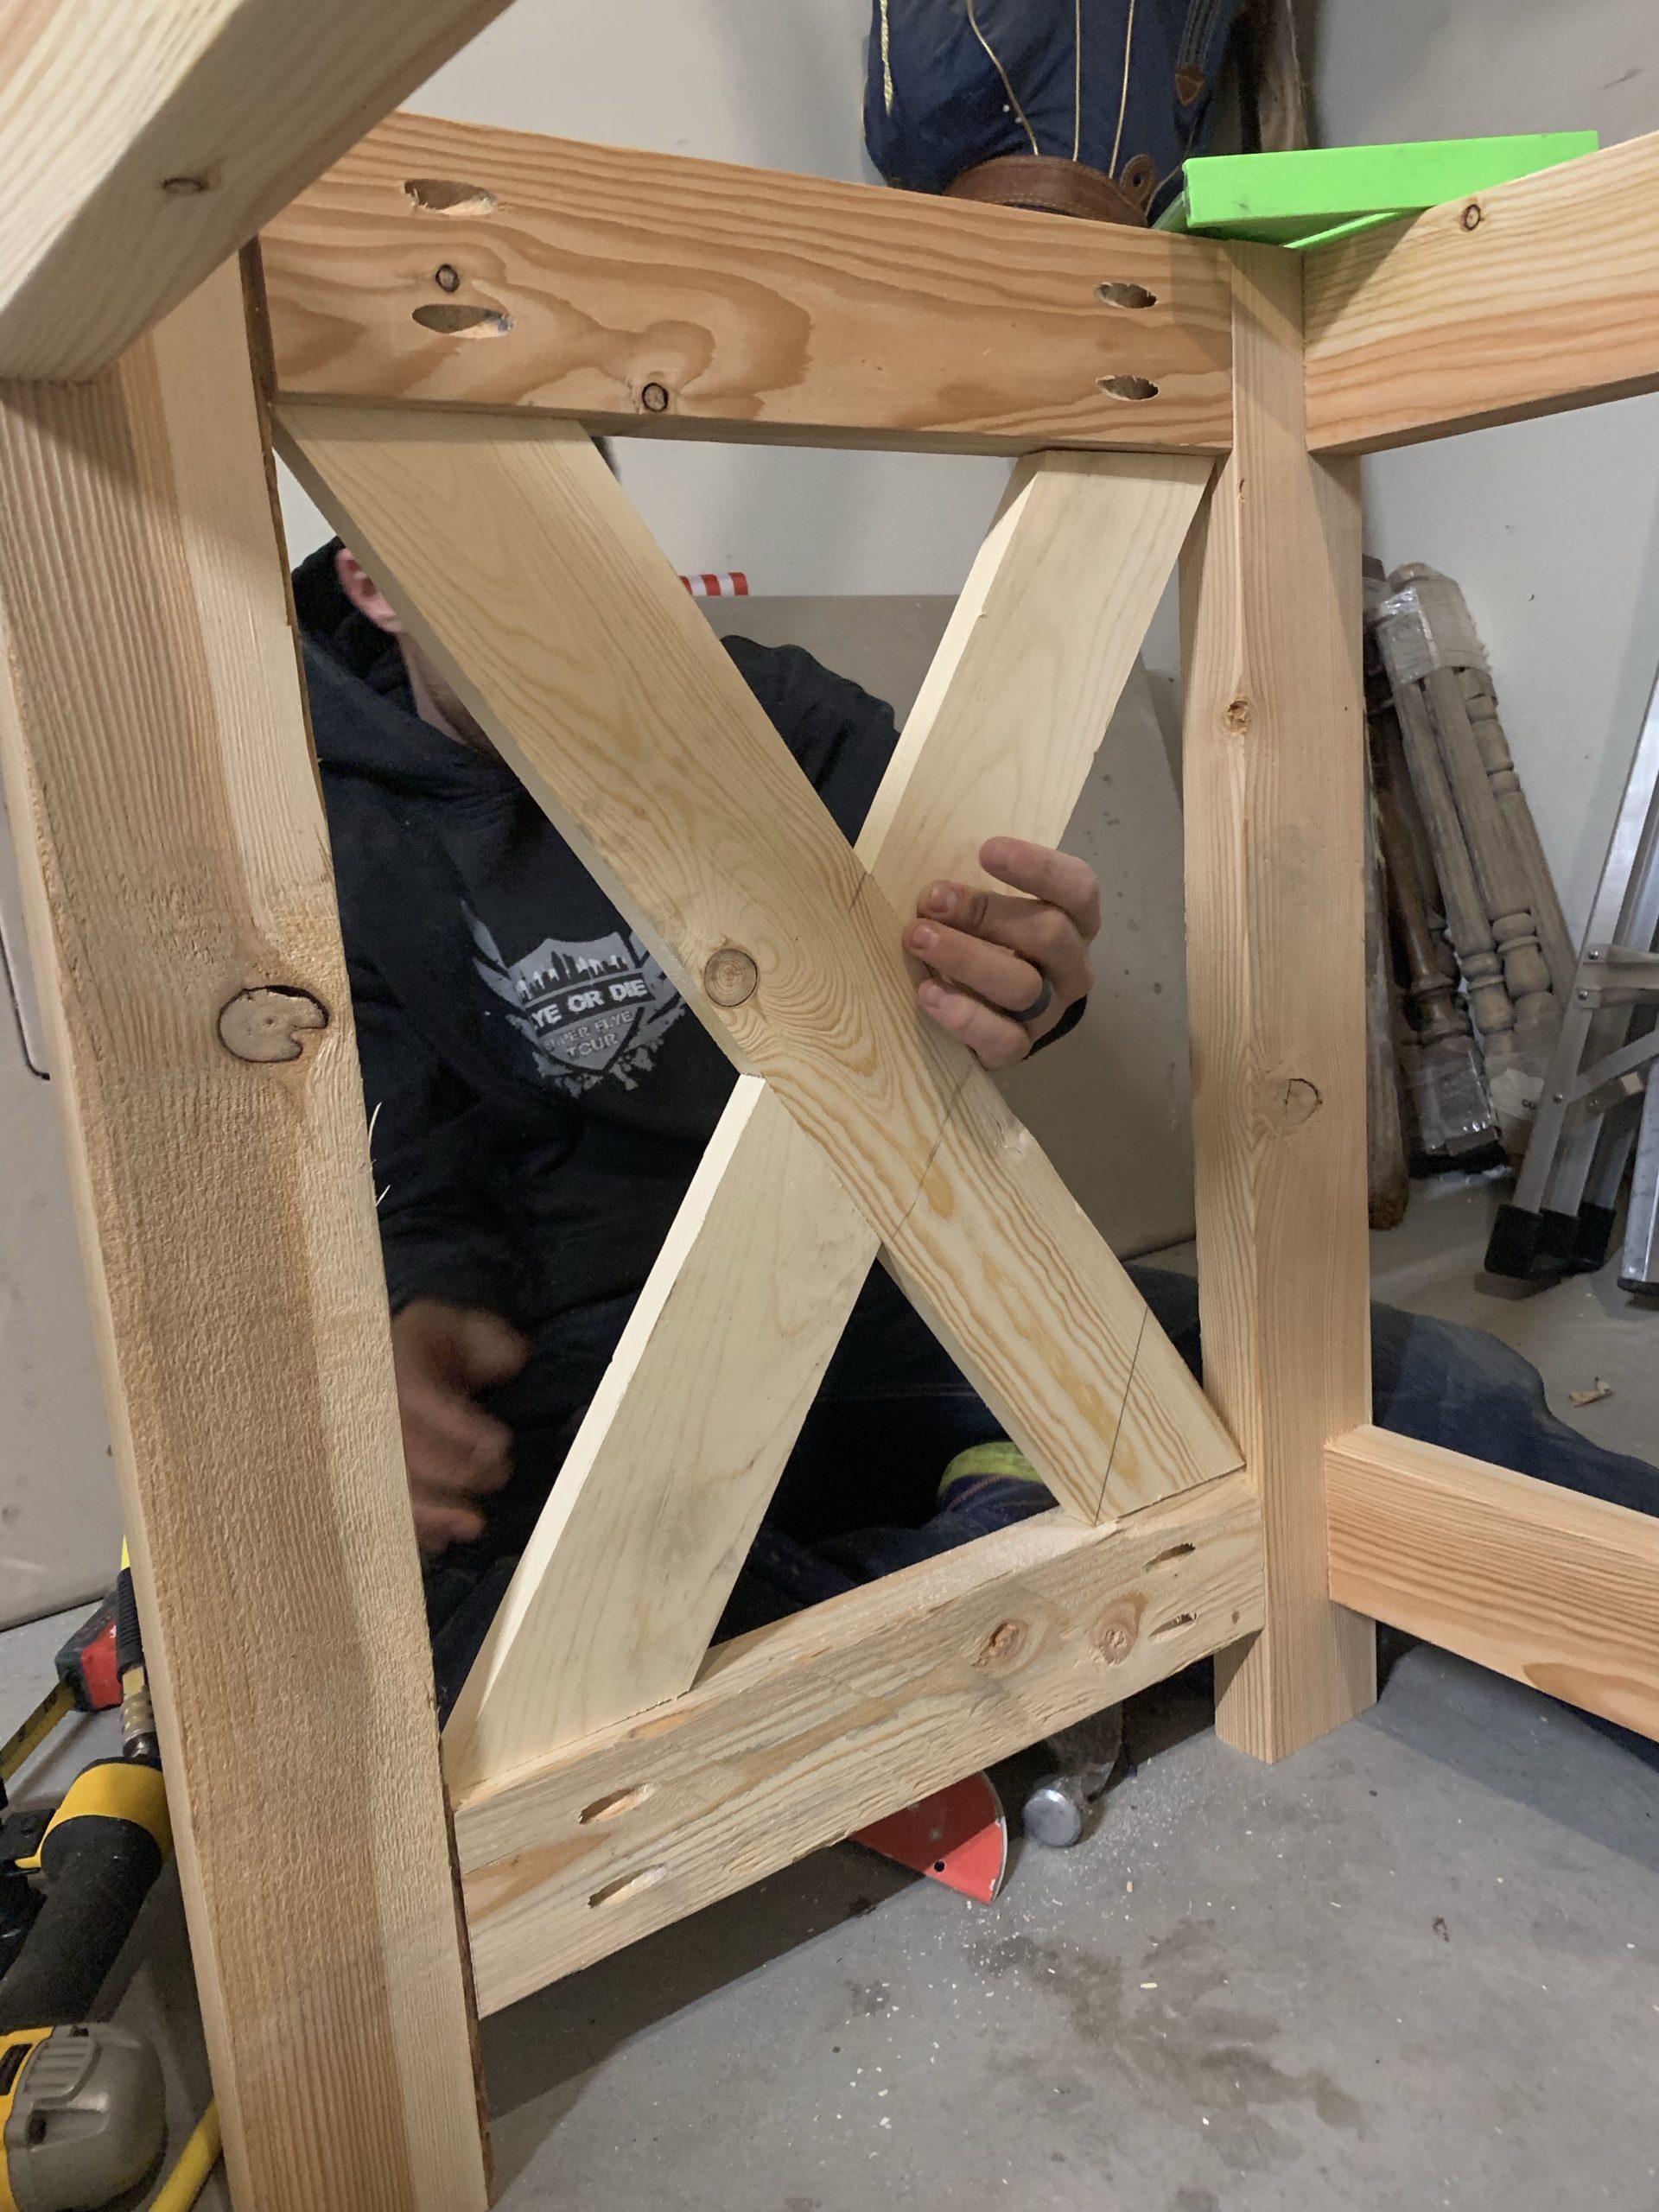
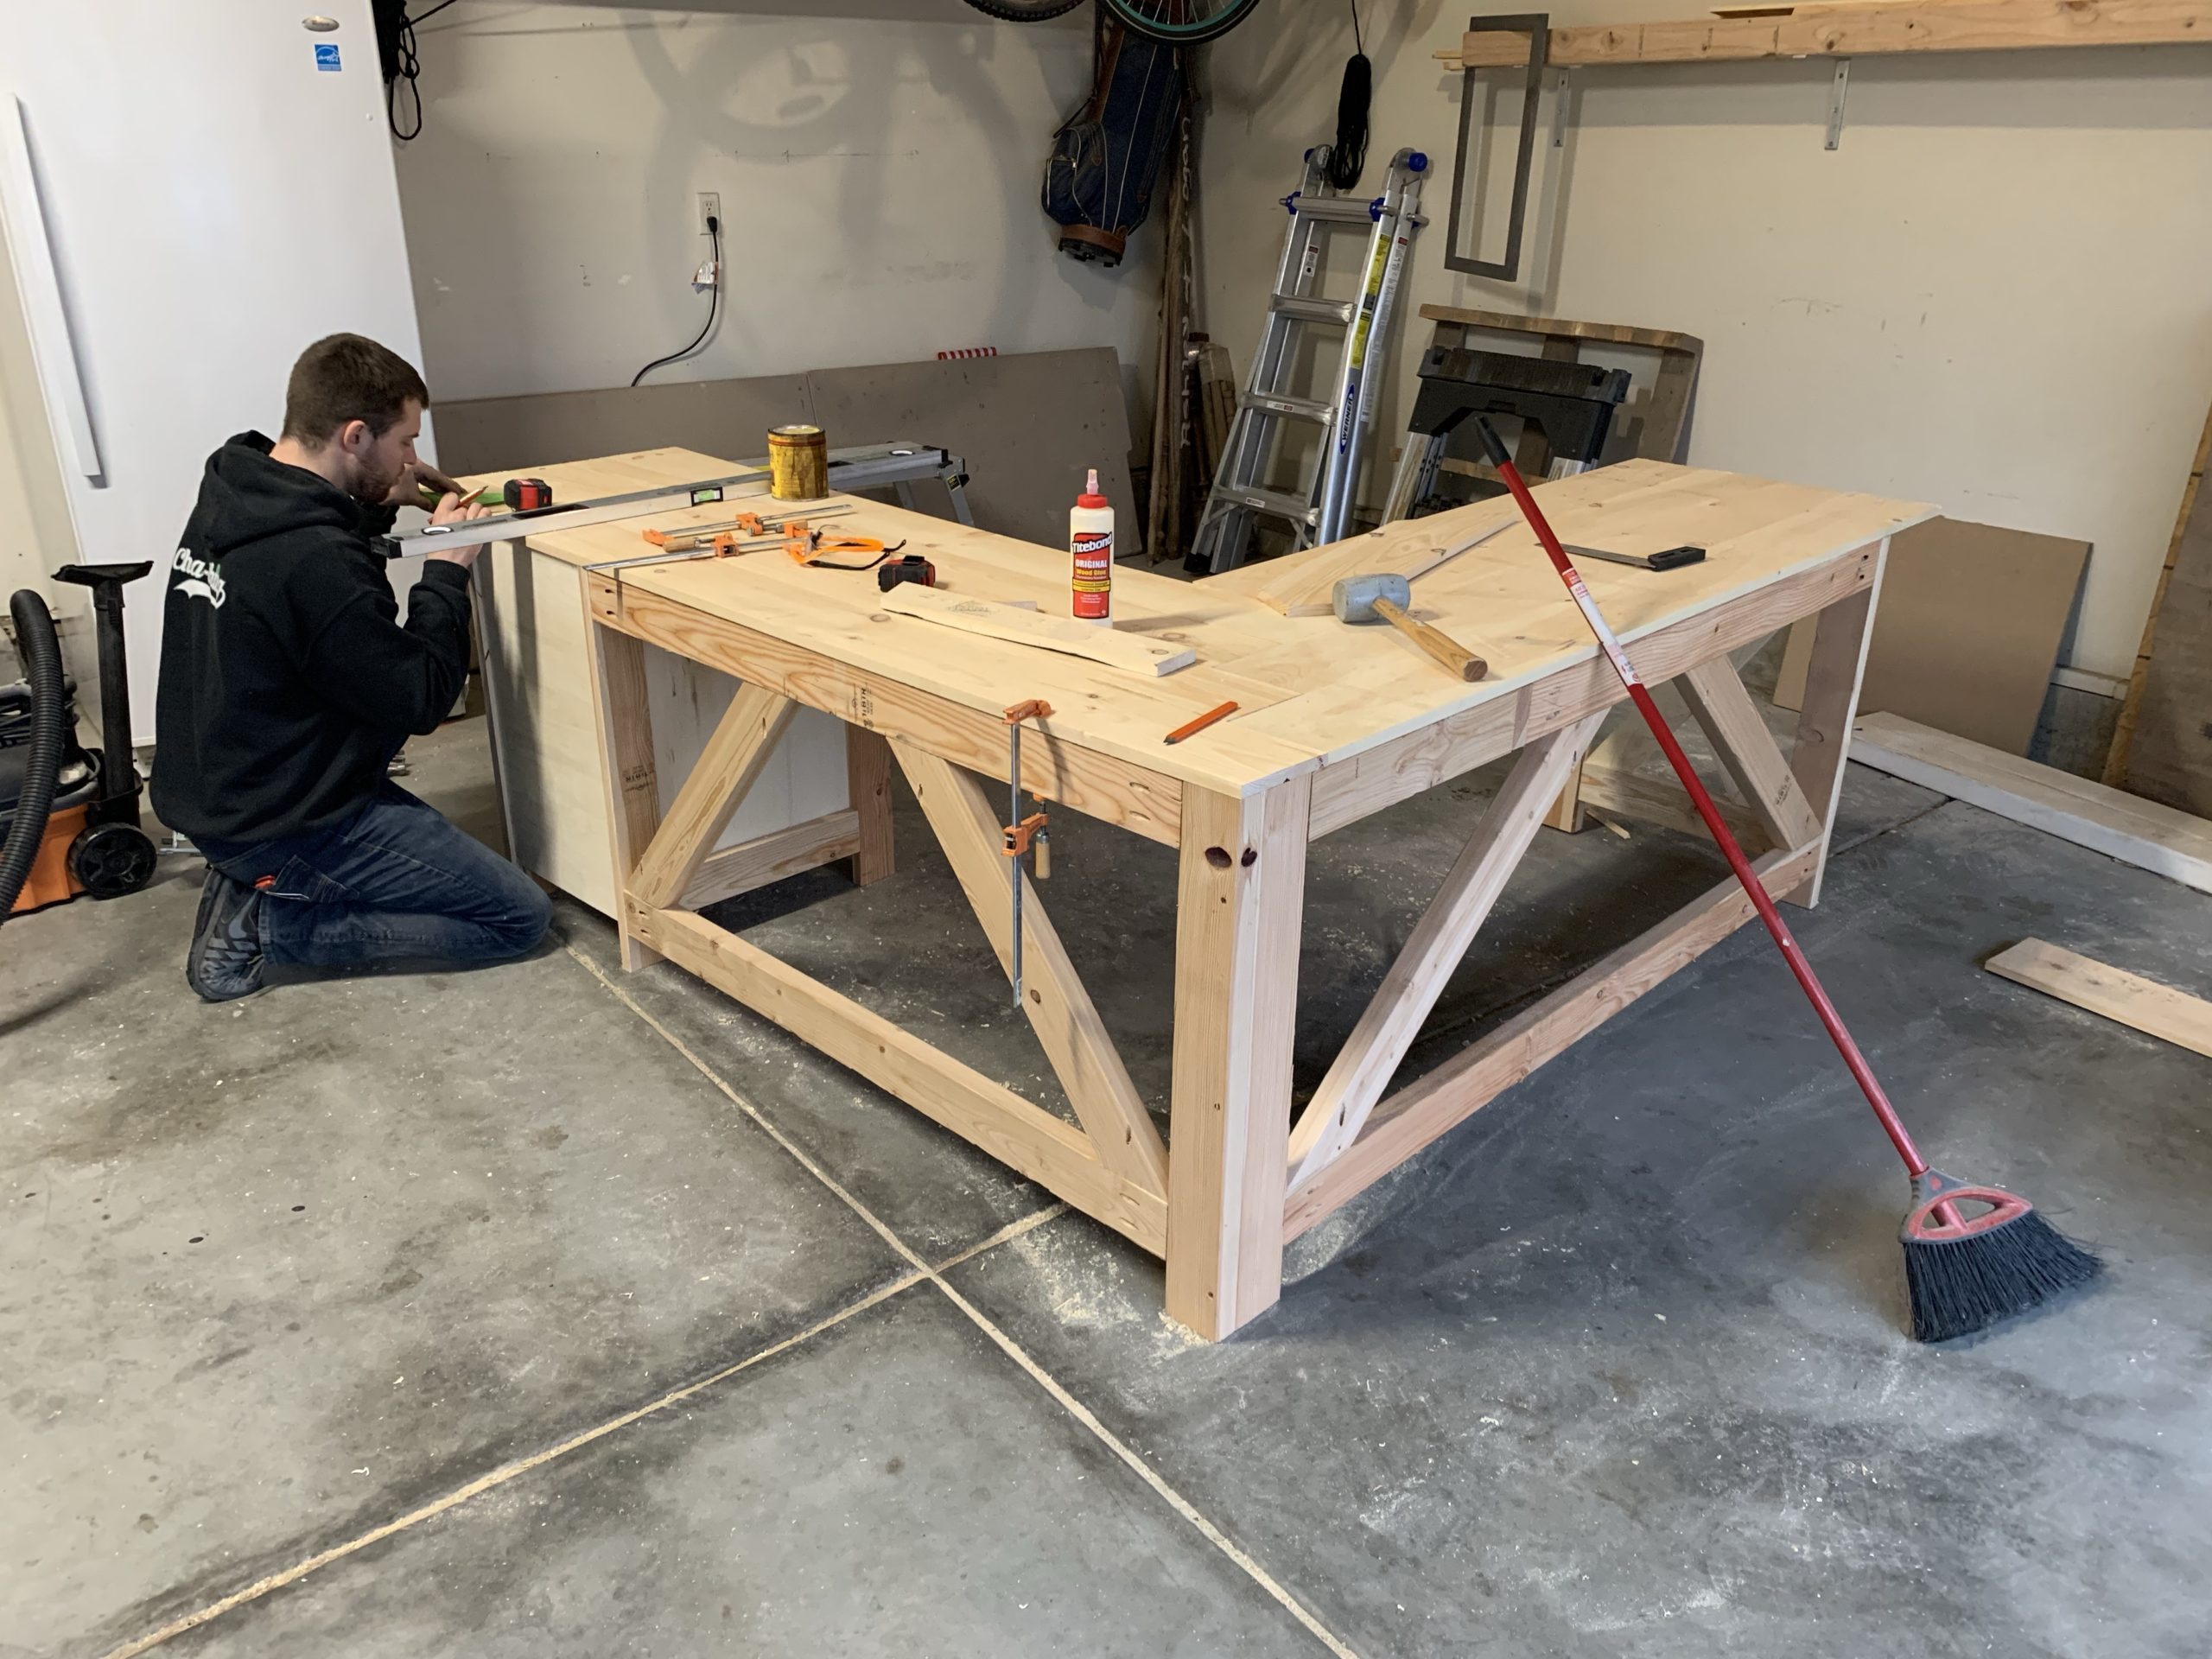
I really liked these plans I found from Handmade Haven, and we used them as inspiration when building our farmhouse desk. However, we modified ours quite a bit to fit the space and function for our specific needs. If you like this look and want to build something similar to ours, these plans are easy to customize and follow for any level of DIYer!
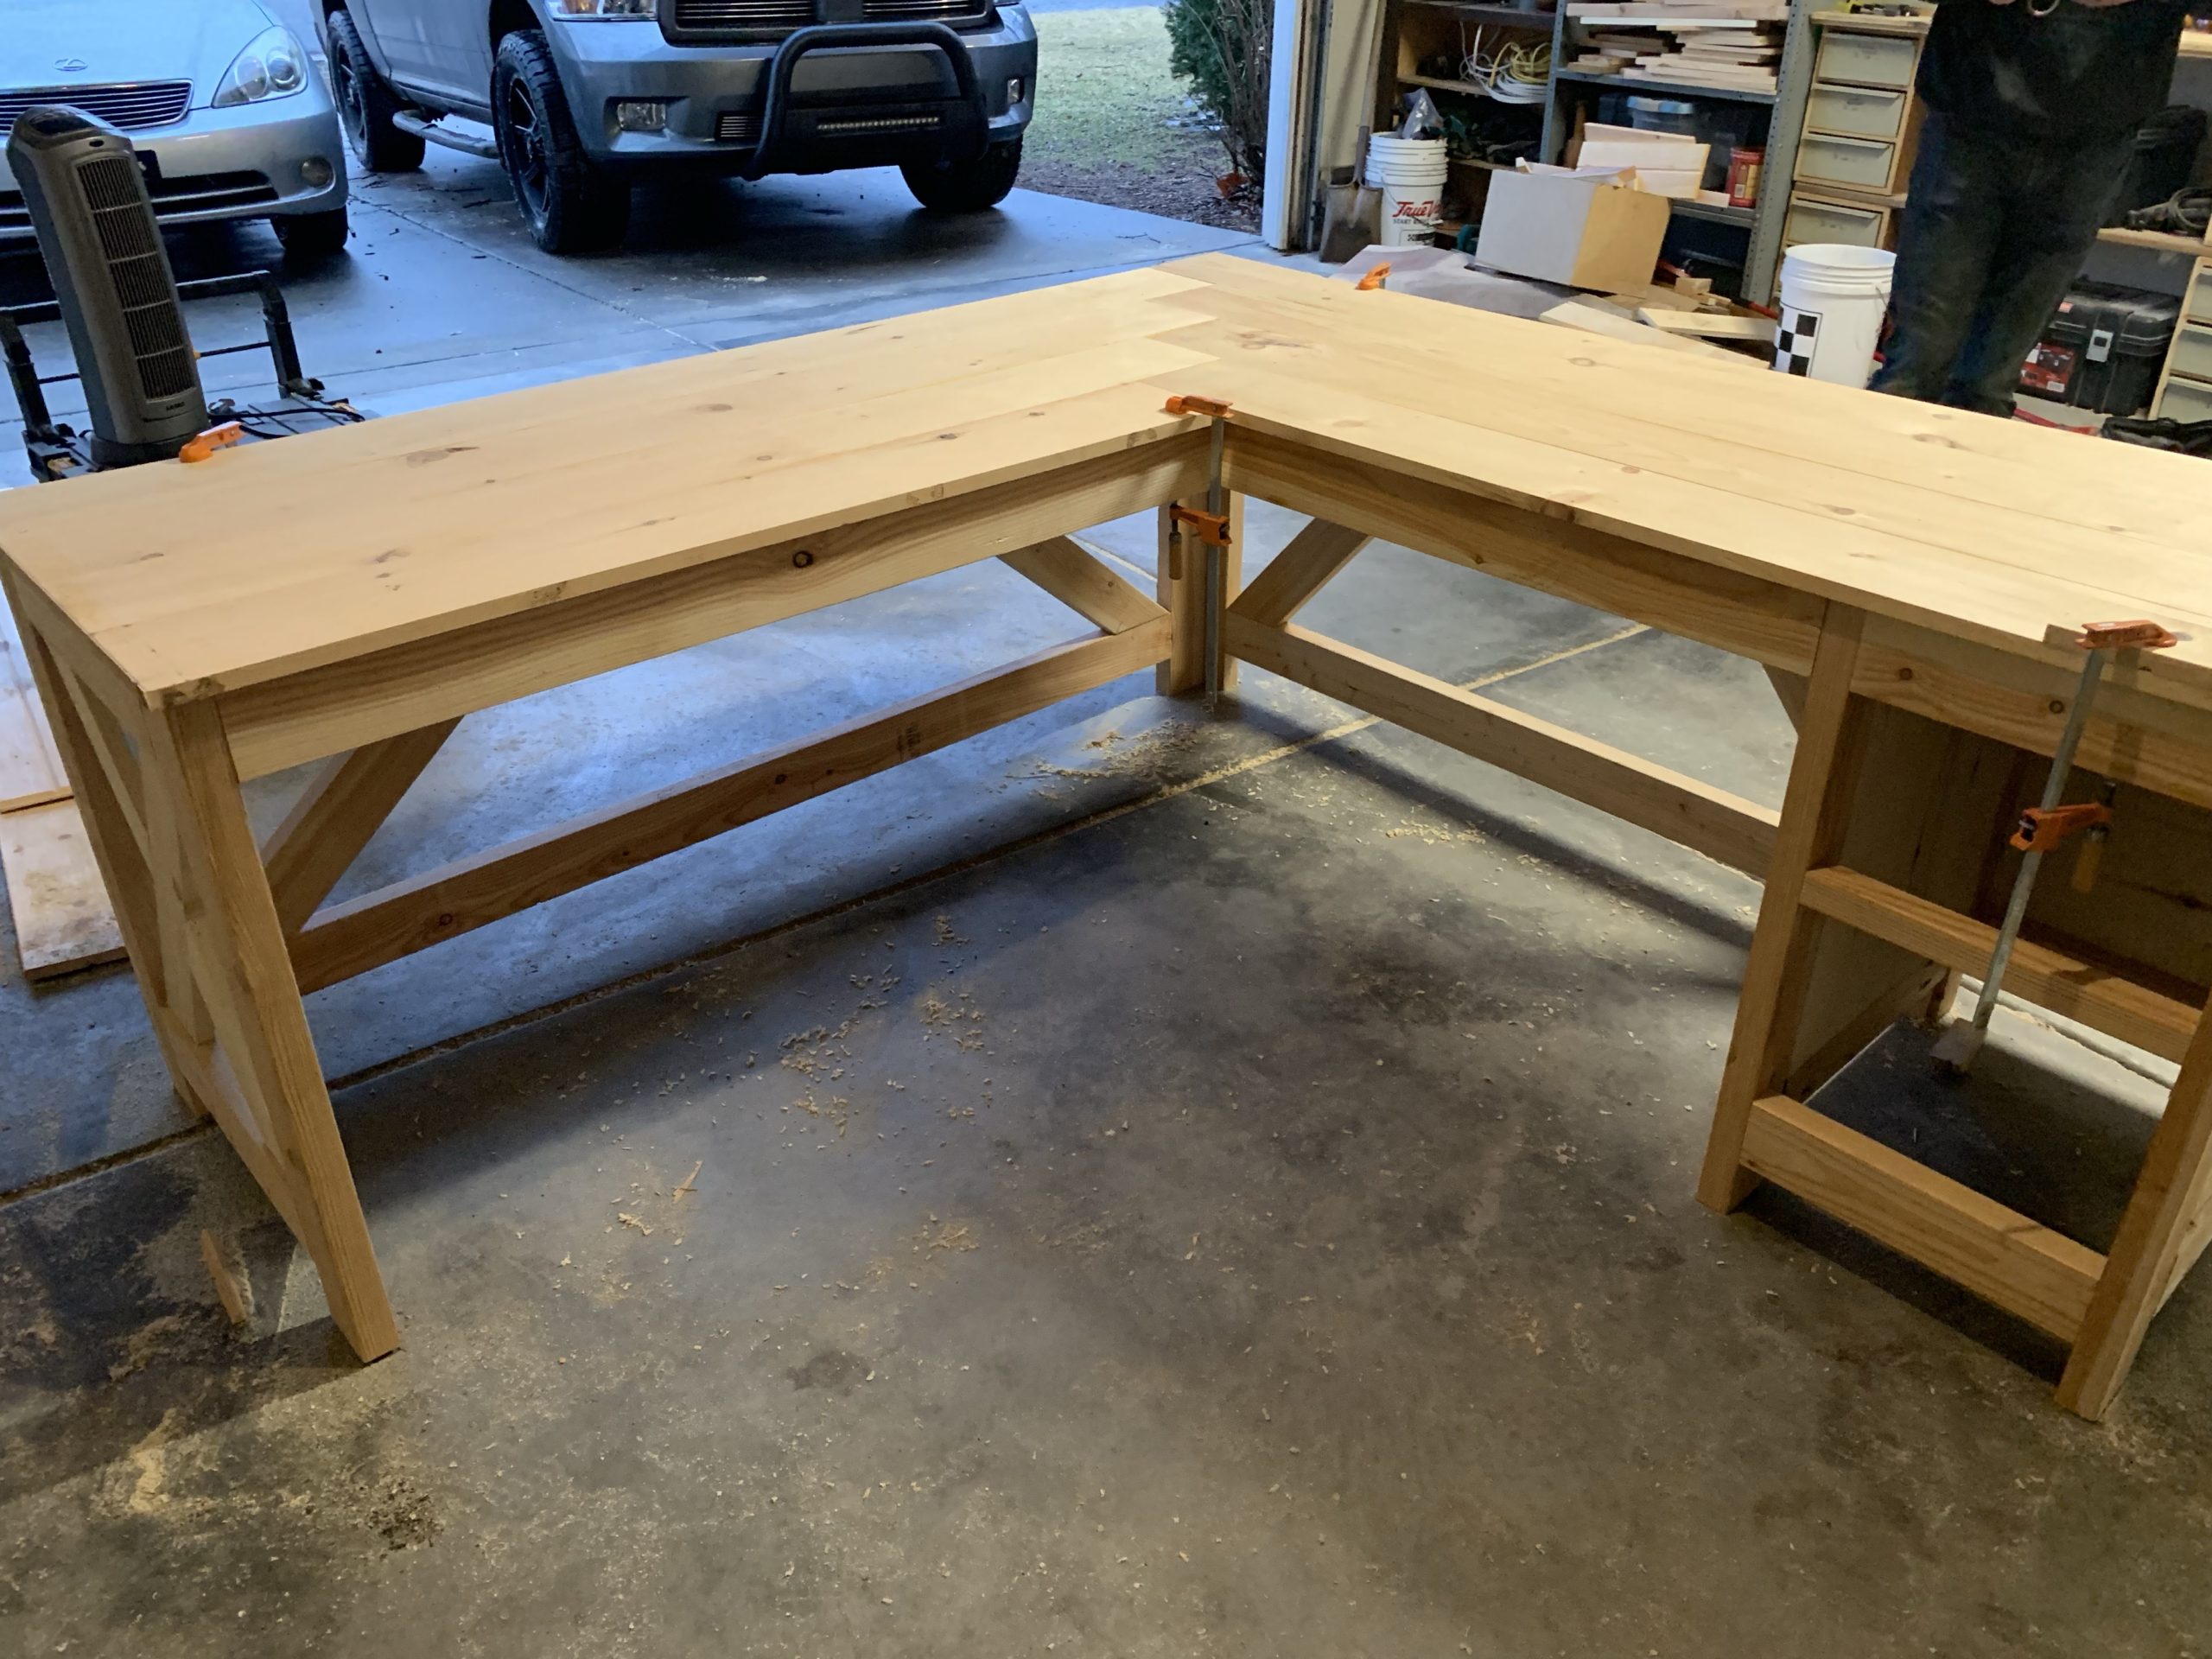
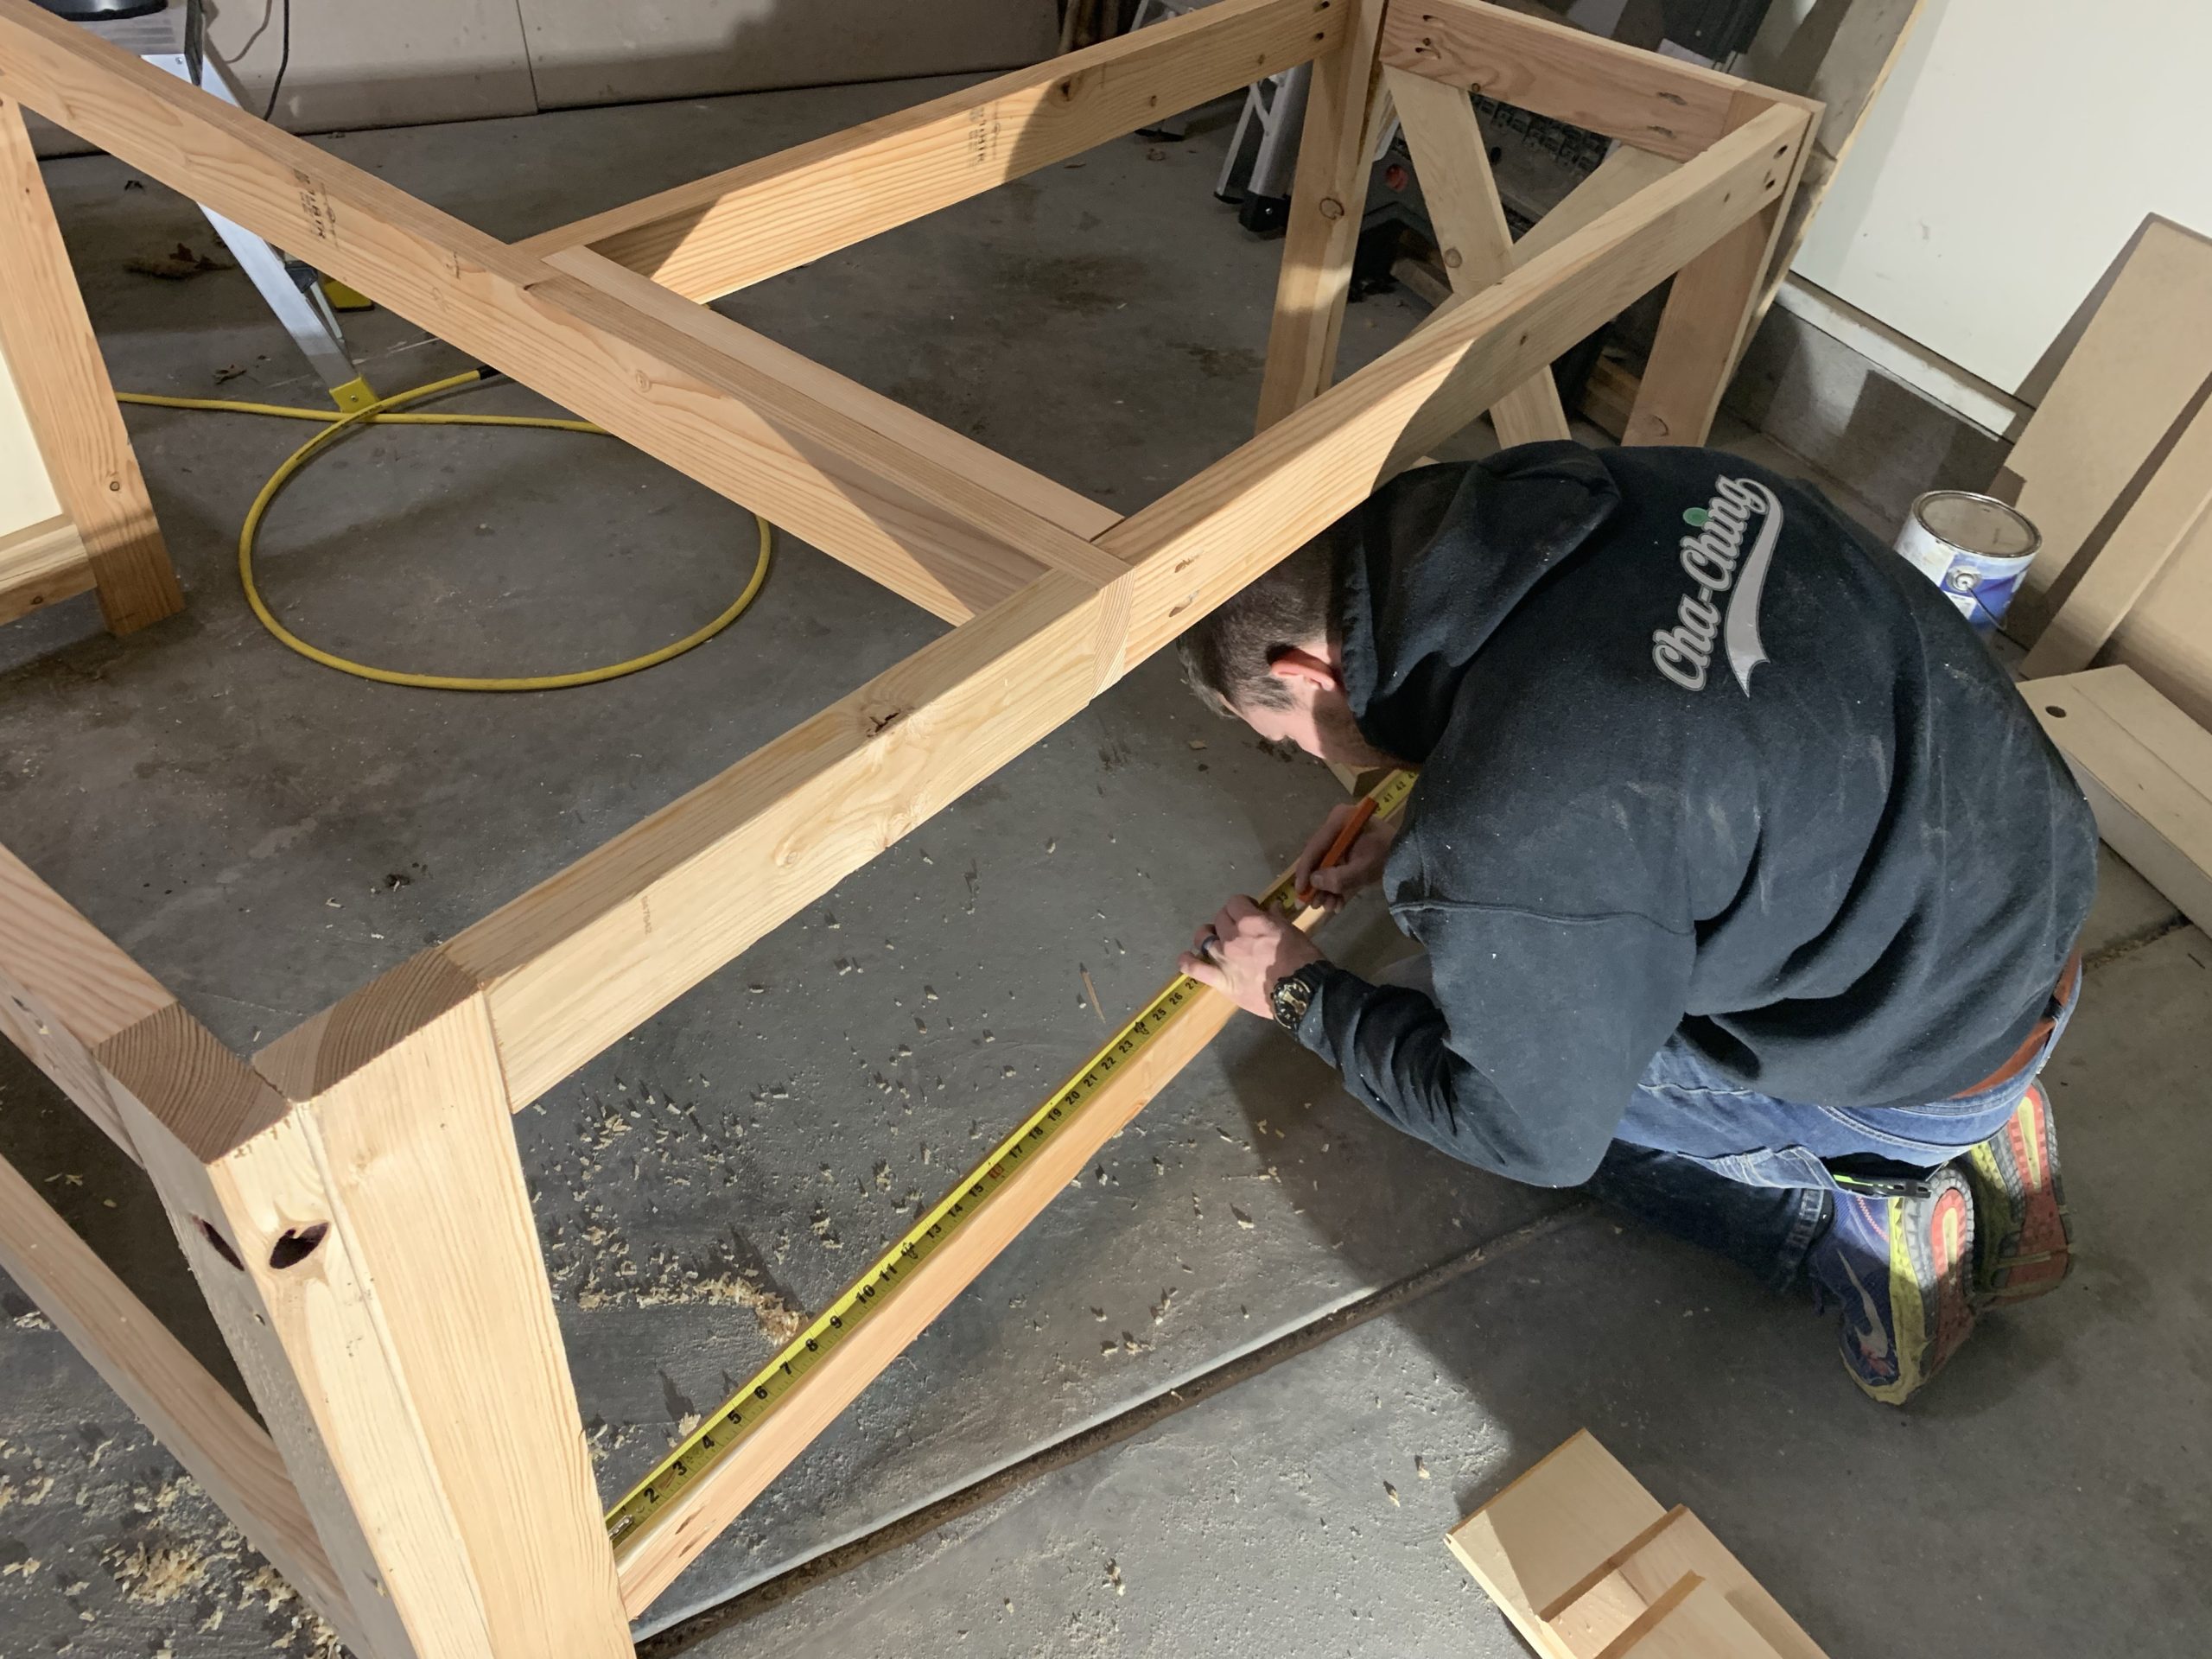
This is really the first piece we have built completely by ourselves in our very own workshop!!! Over the past year and half, we have really been saving up to buy our own tools so we can be more independent! (Goodbye parking cars in our garage lol).
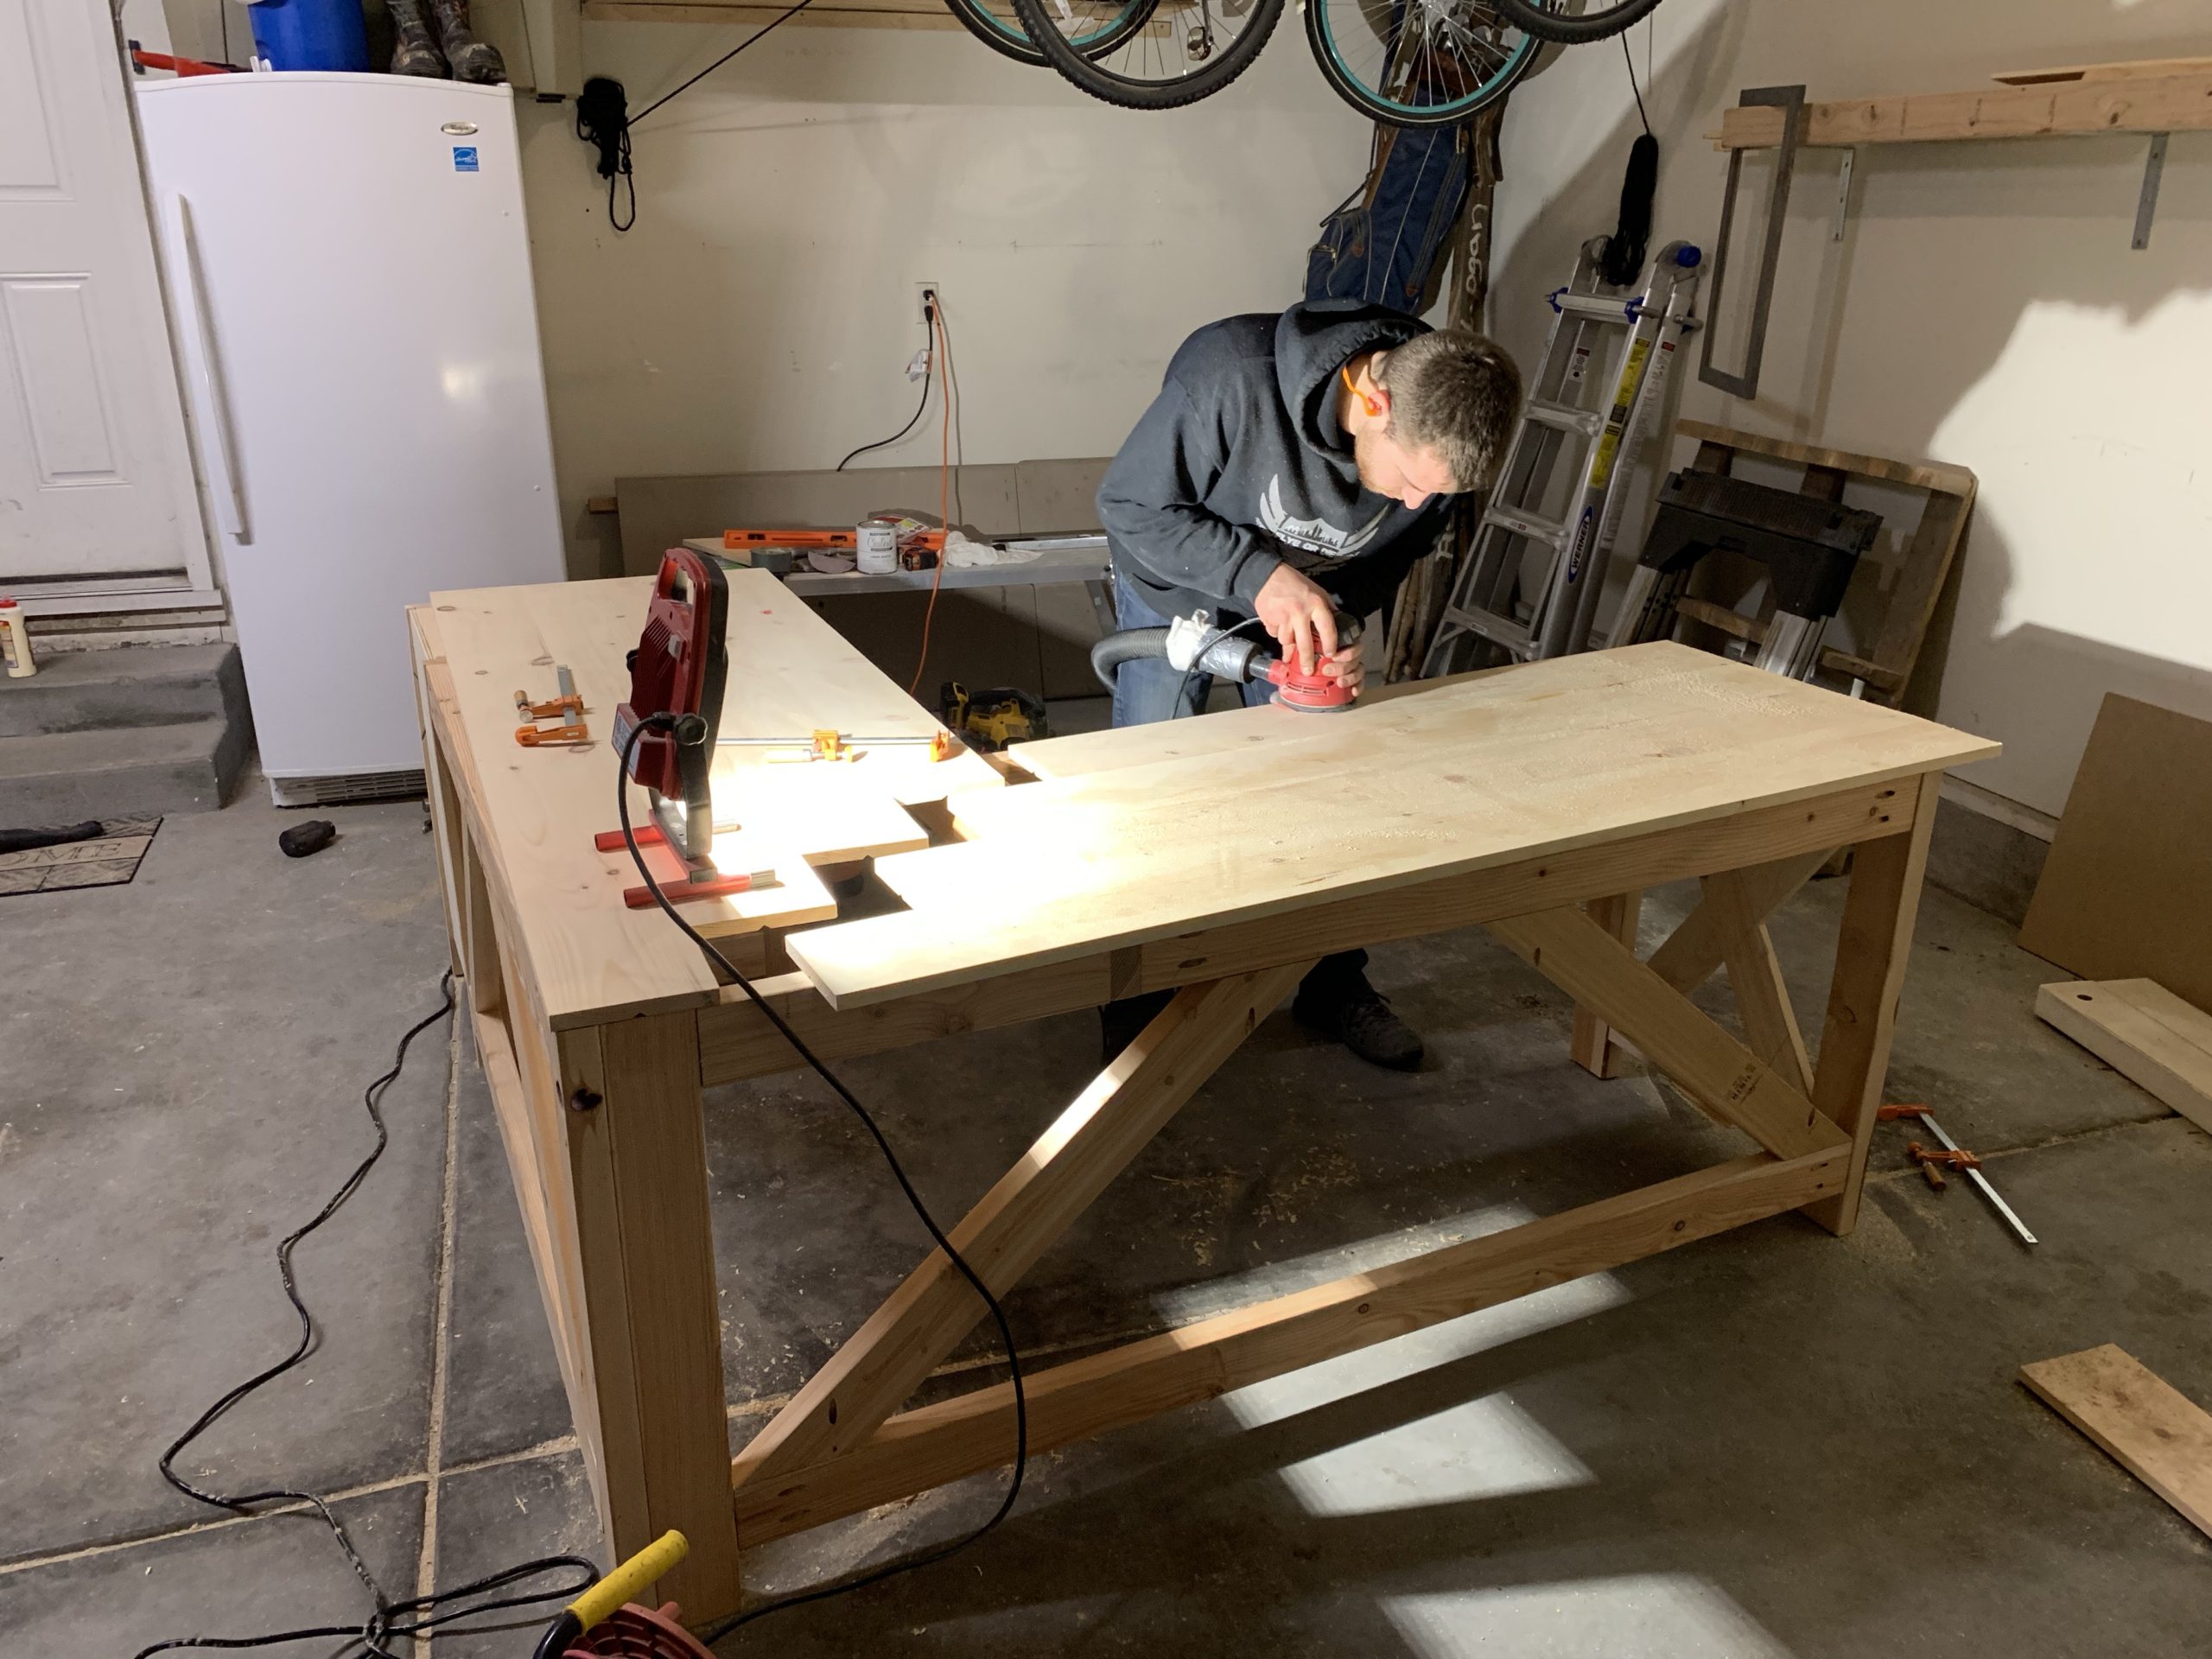
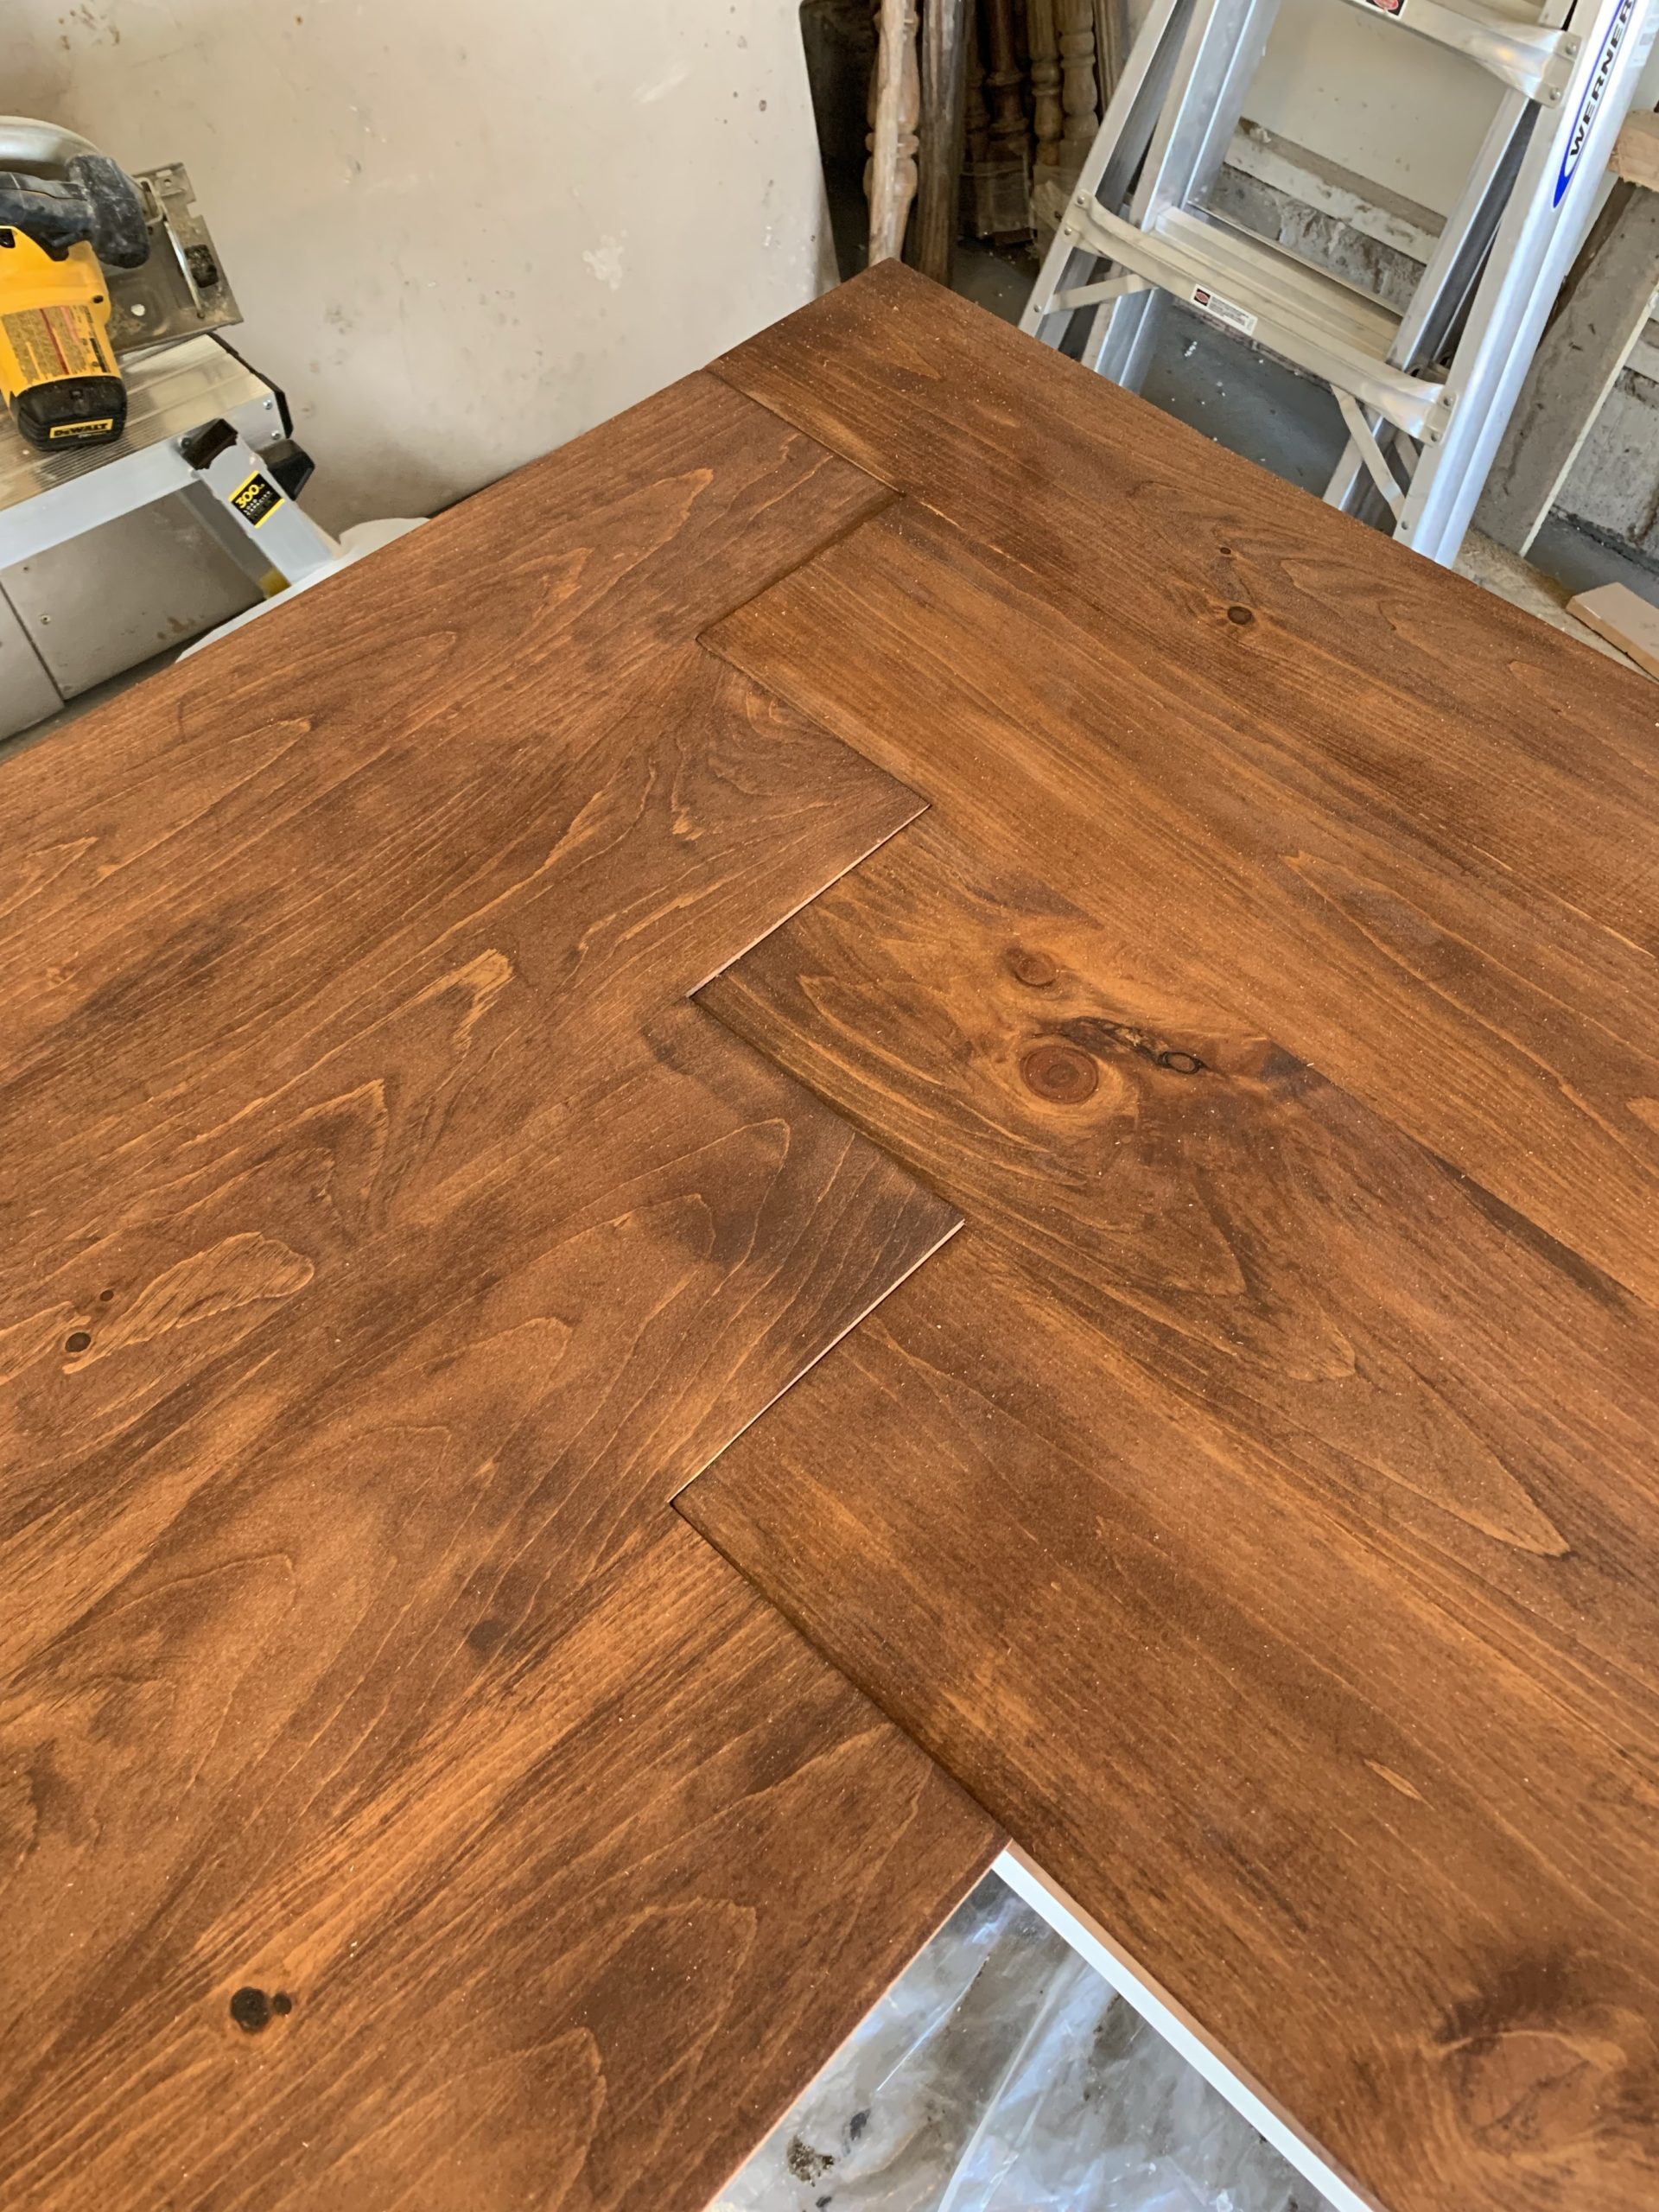
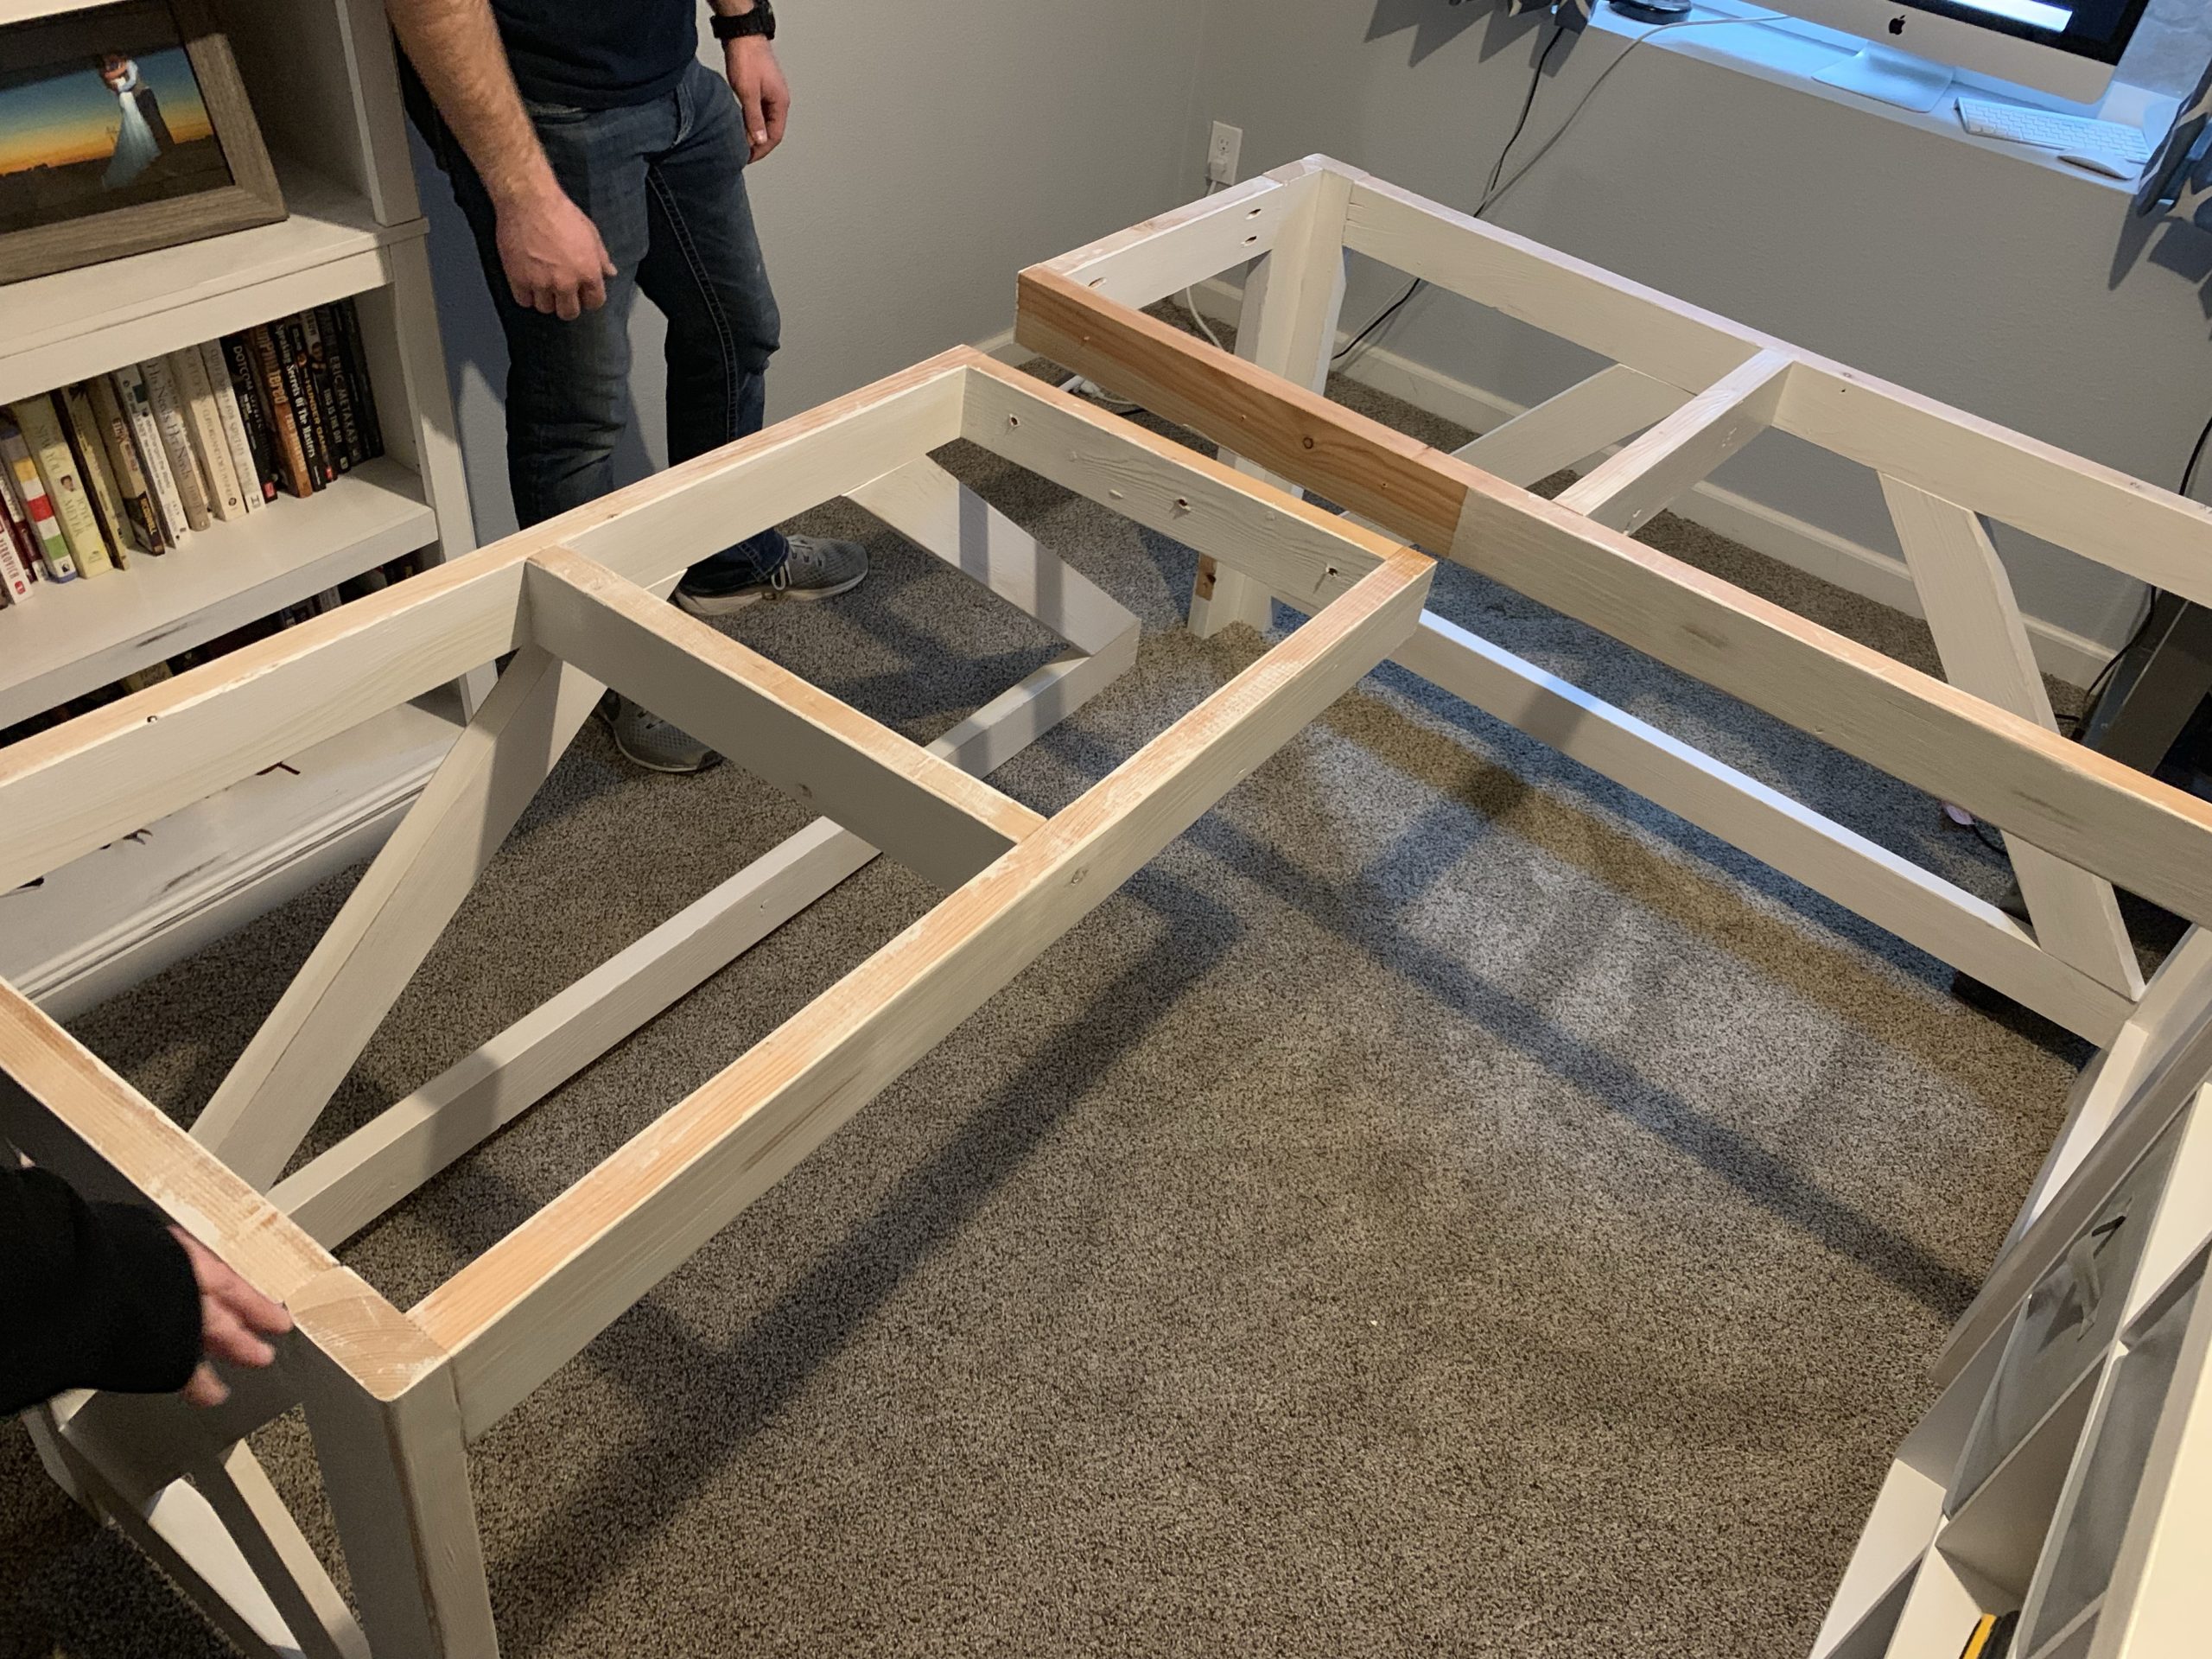
We built this in two parts because it’s pretty massive, and we needed to be able to carry it down to the basement. Since it comes apart in two pieces, we constructed the top to fit together in a herringbone pattern when it’s assembled.
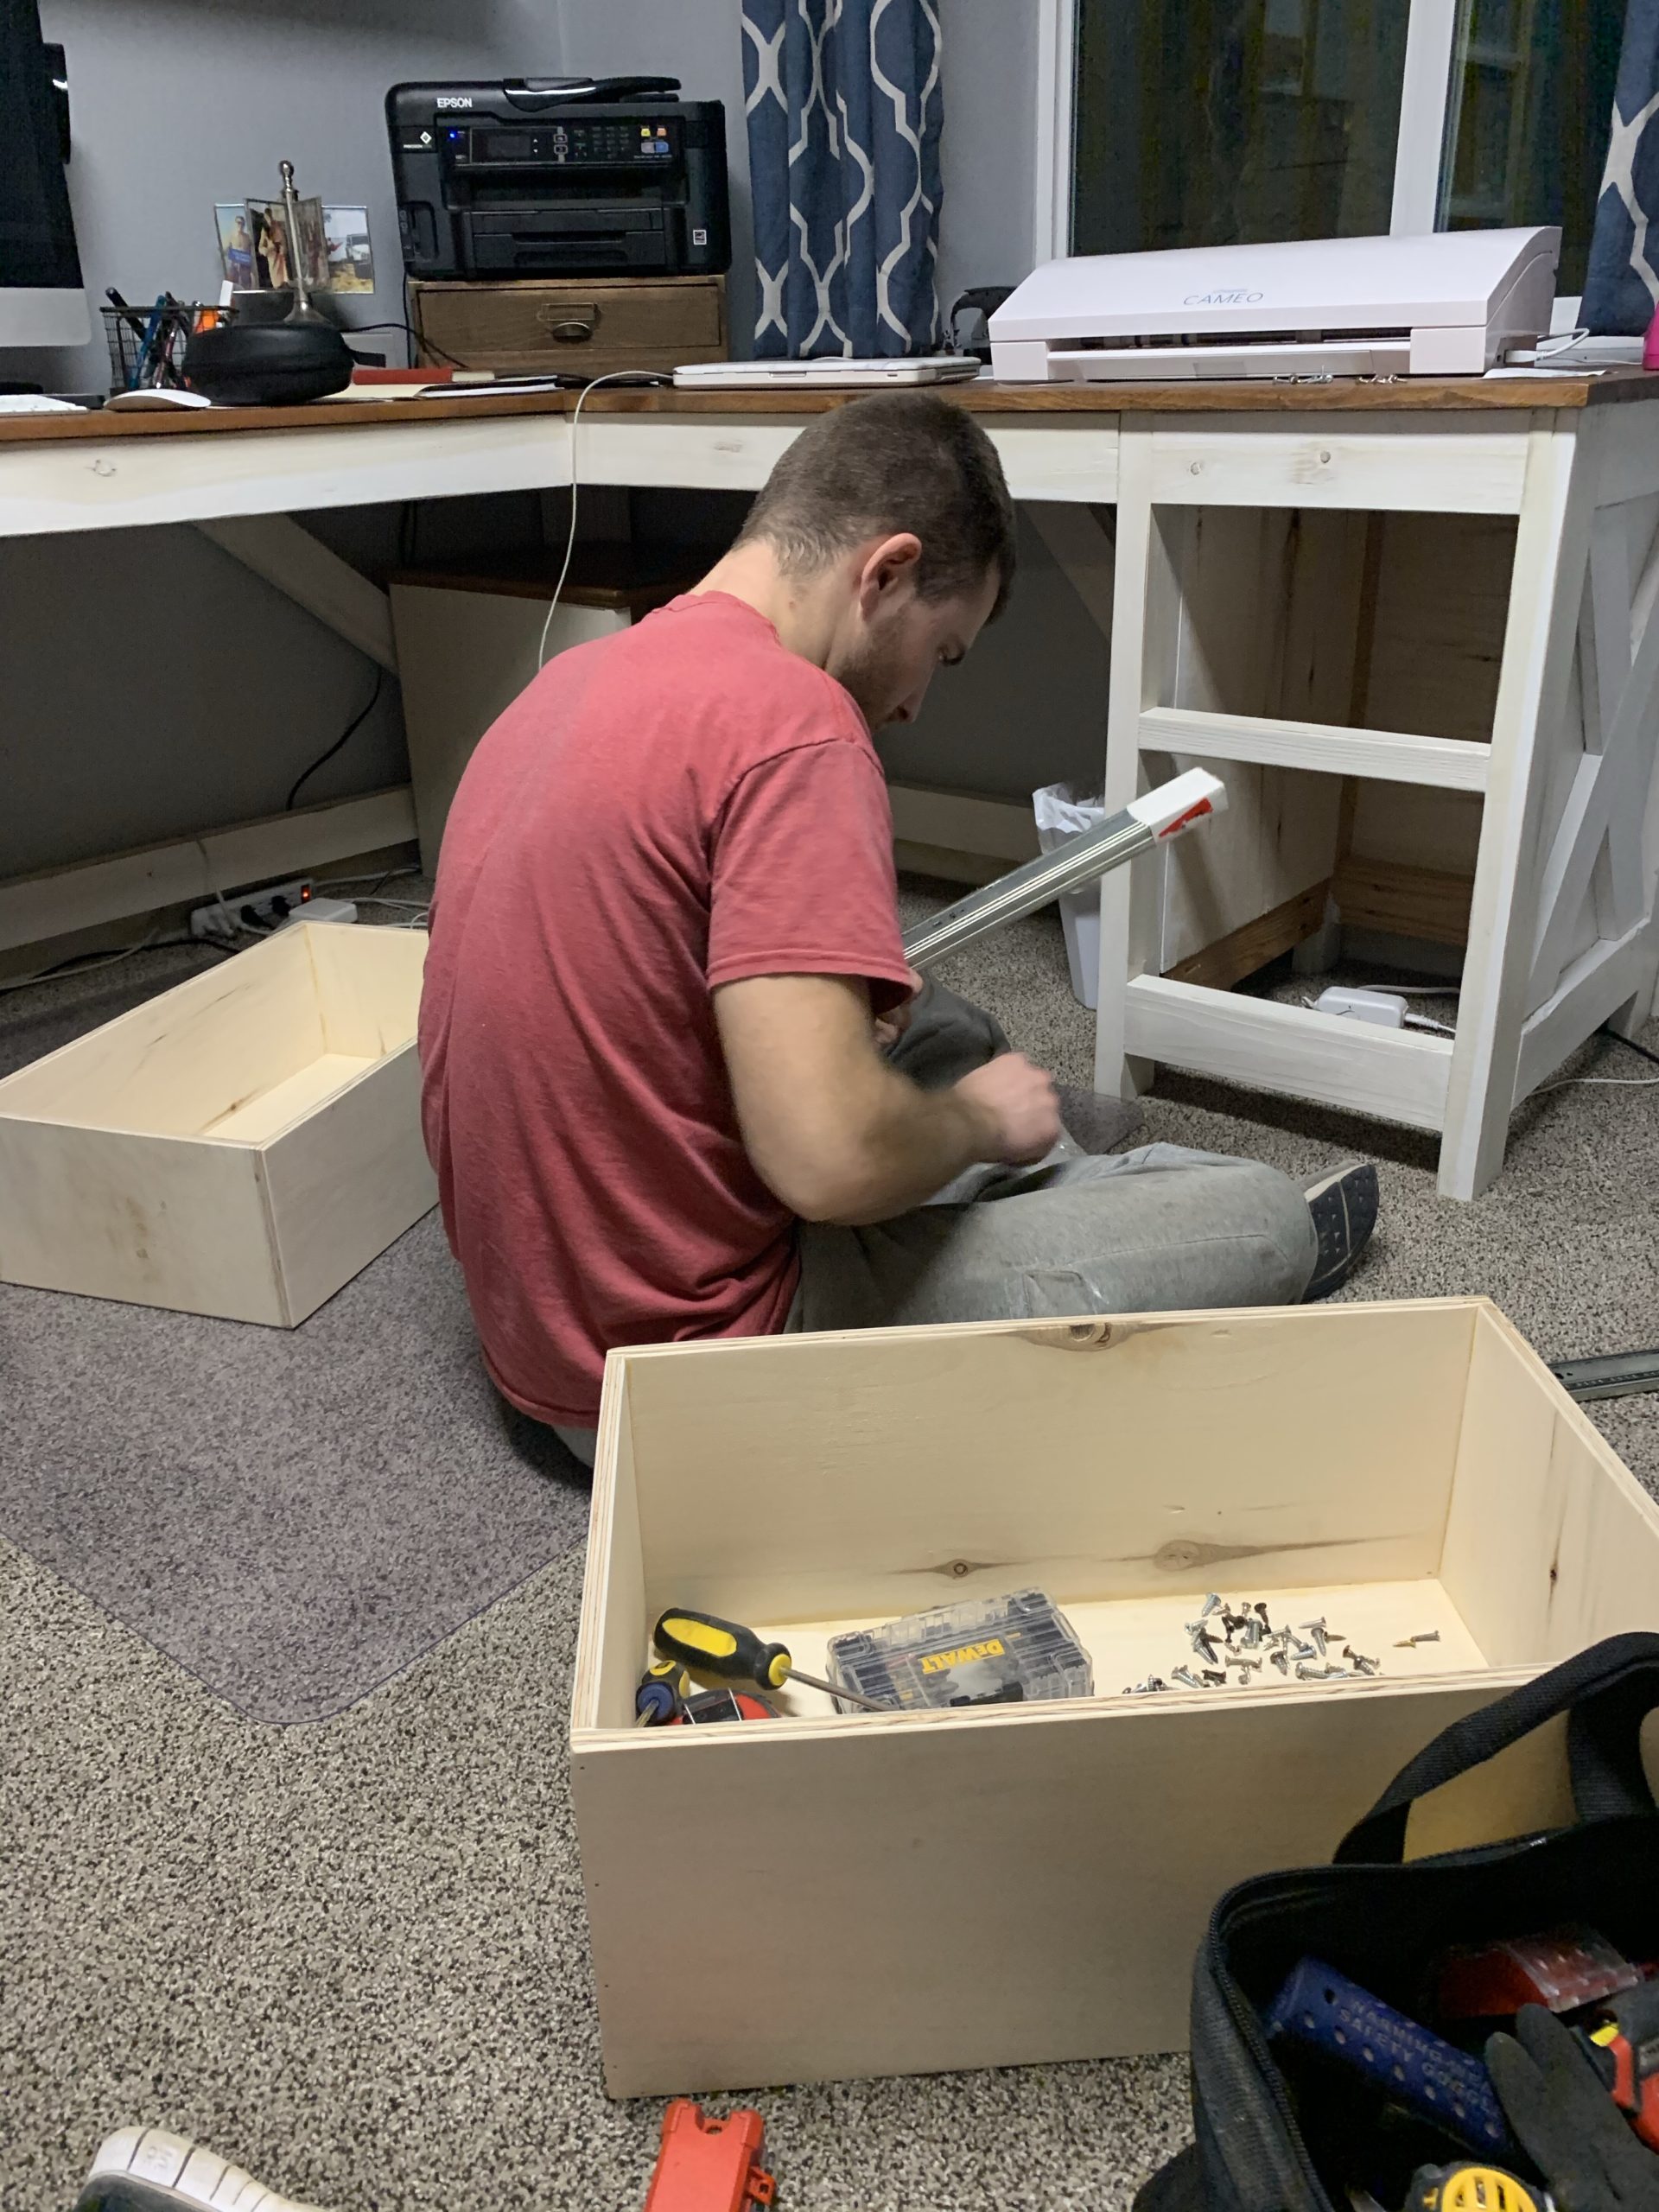
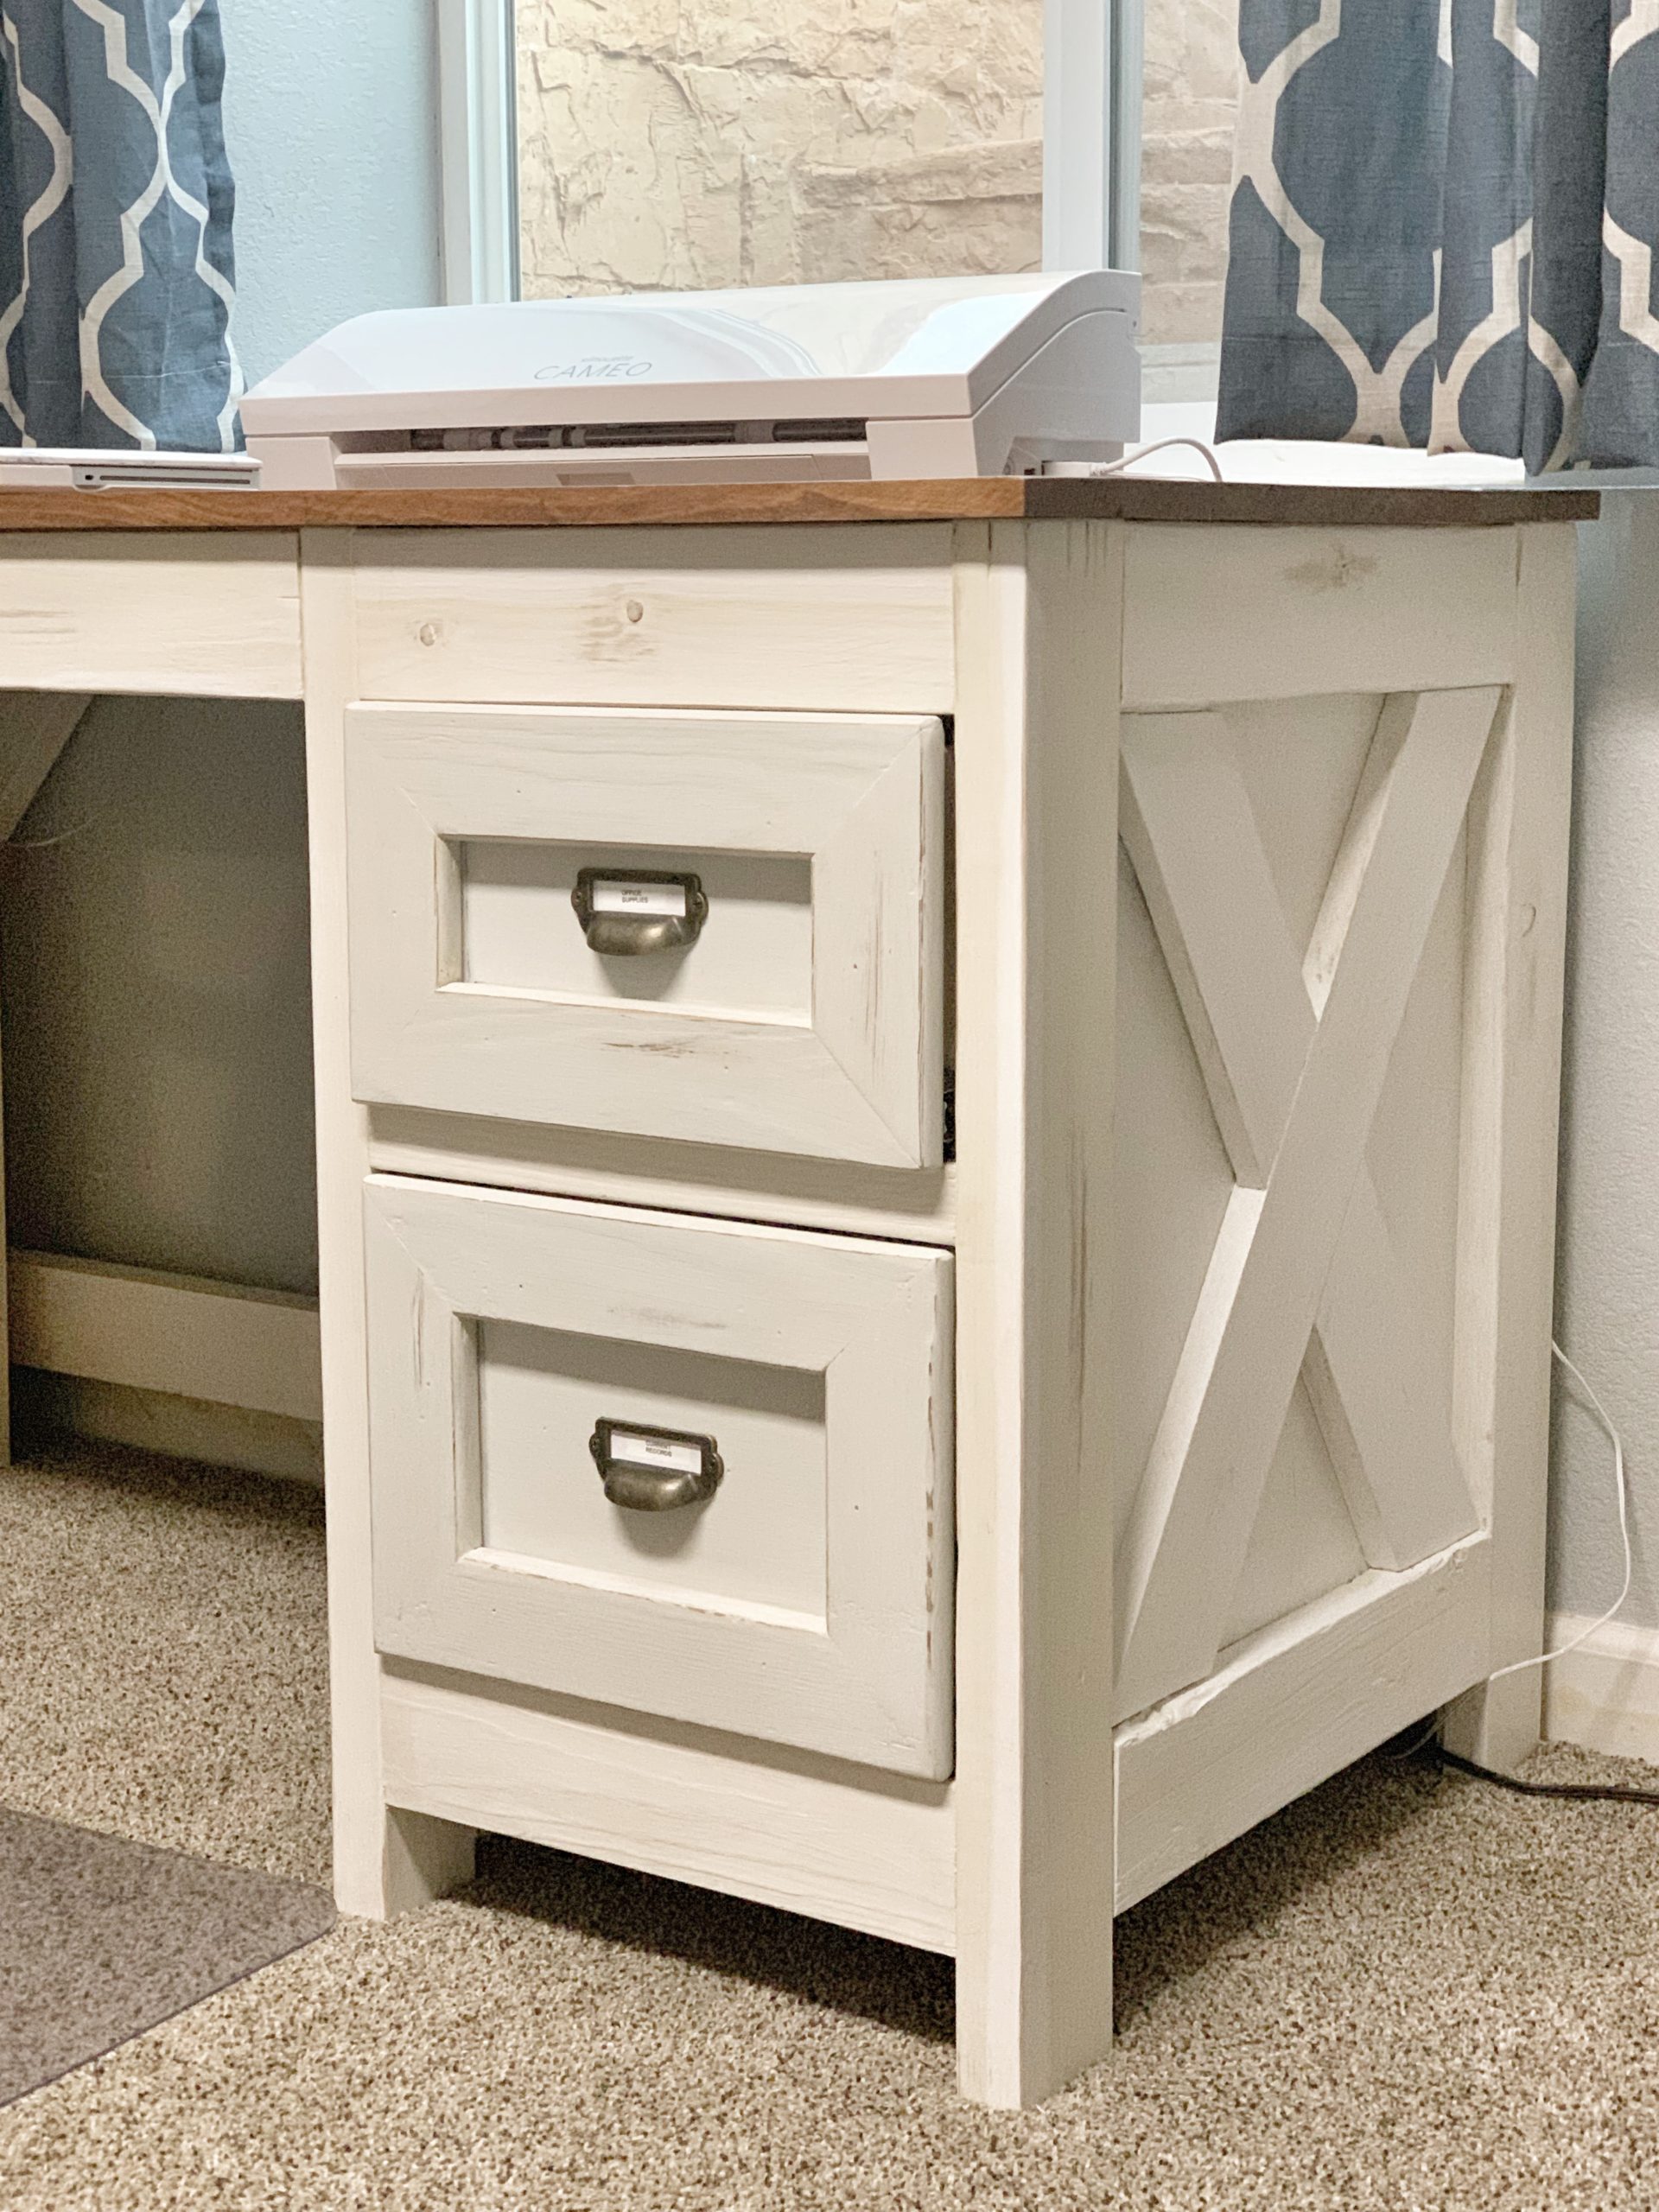
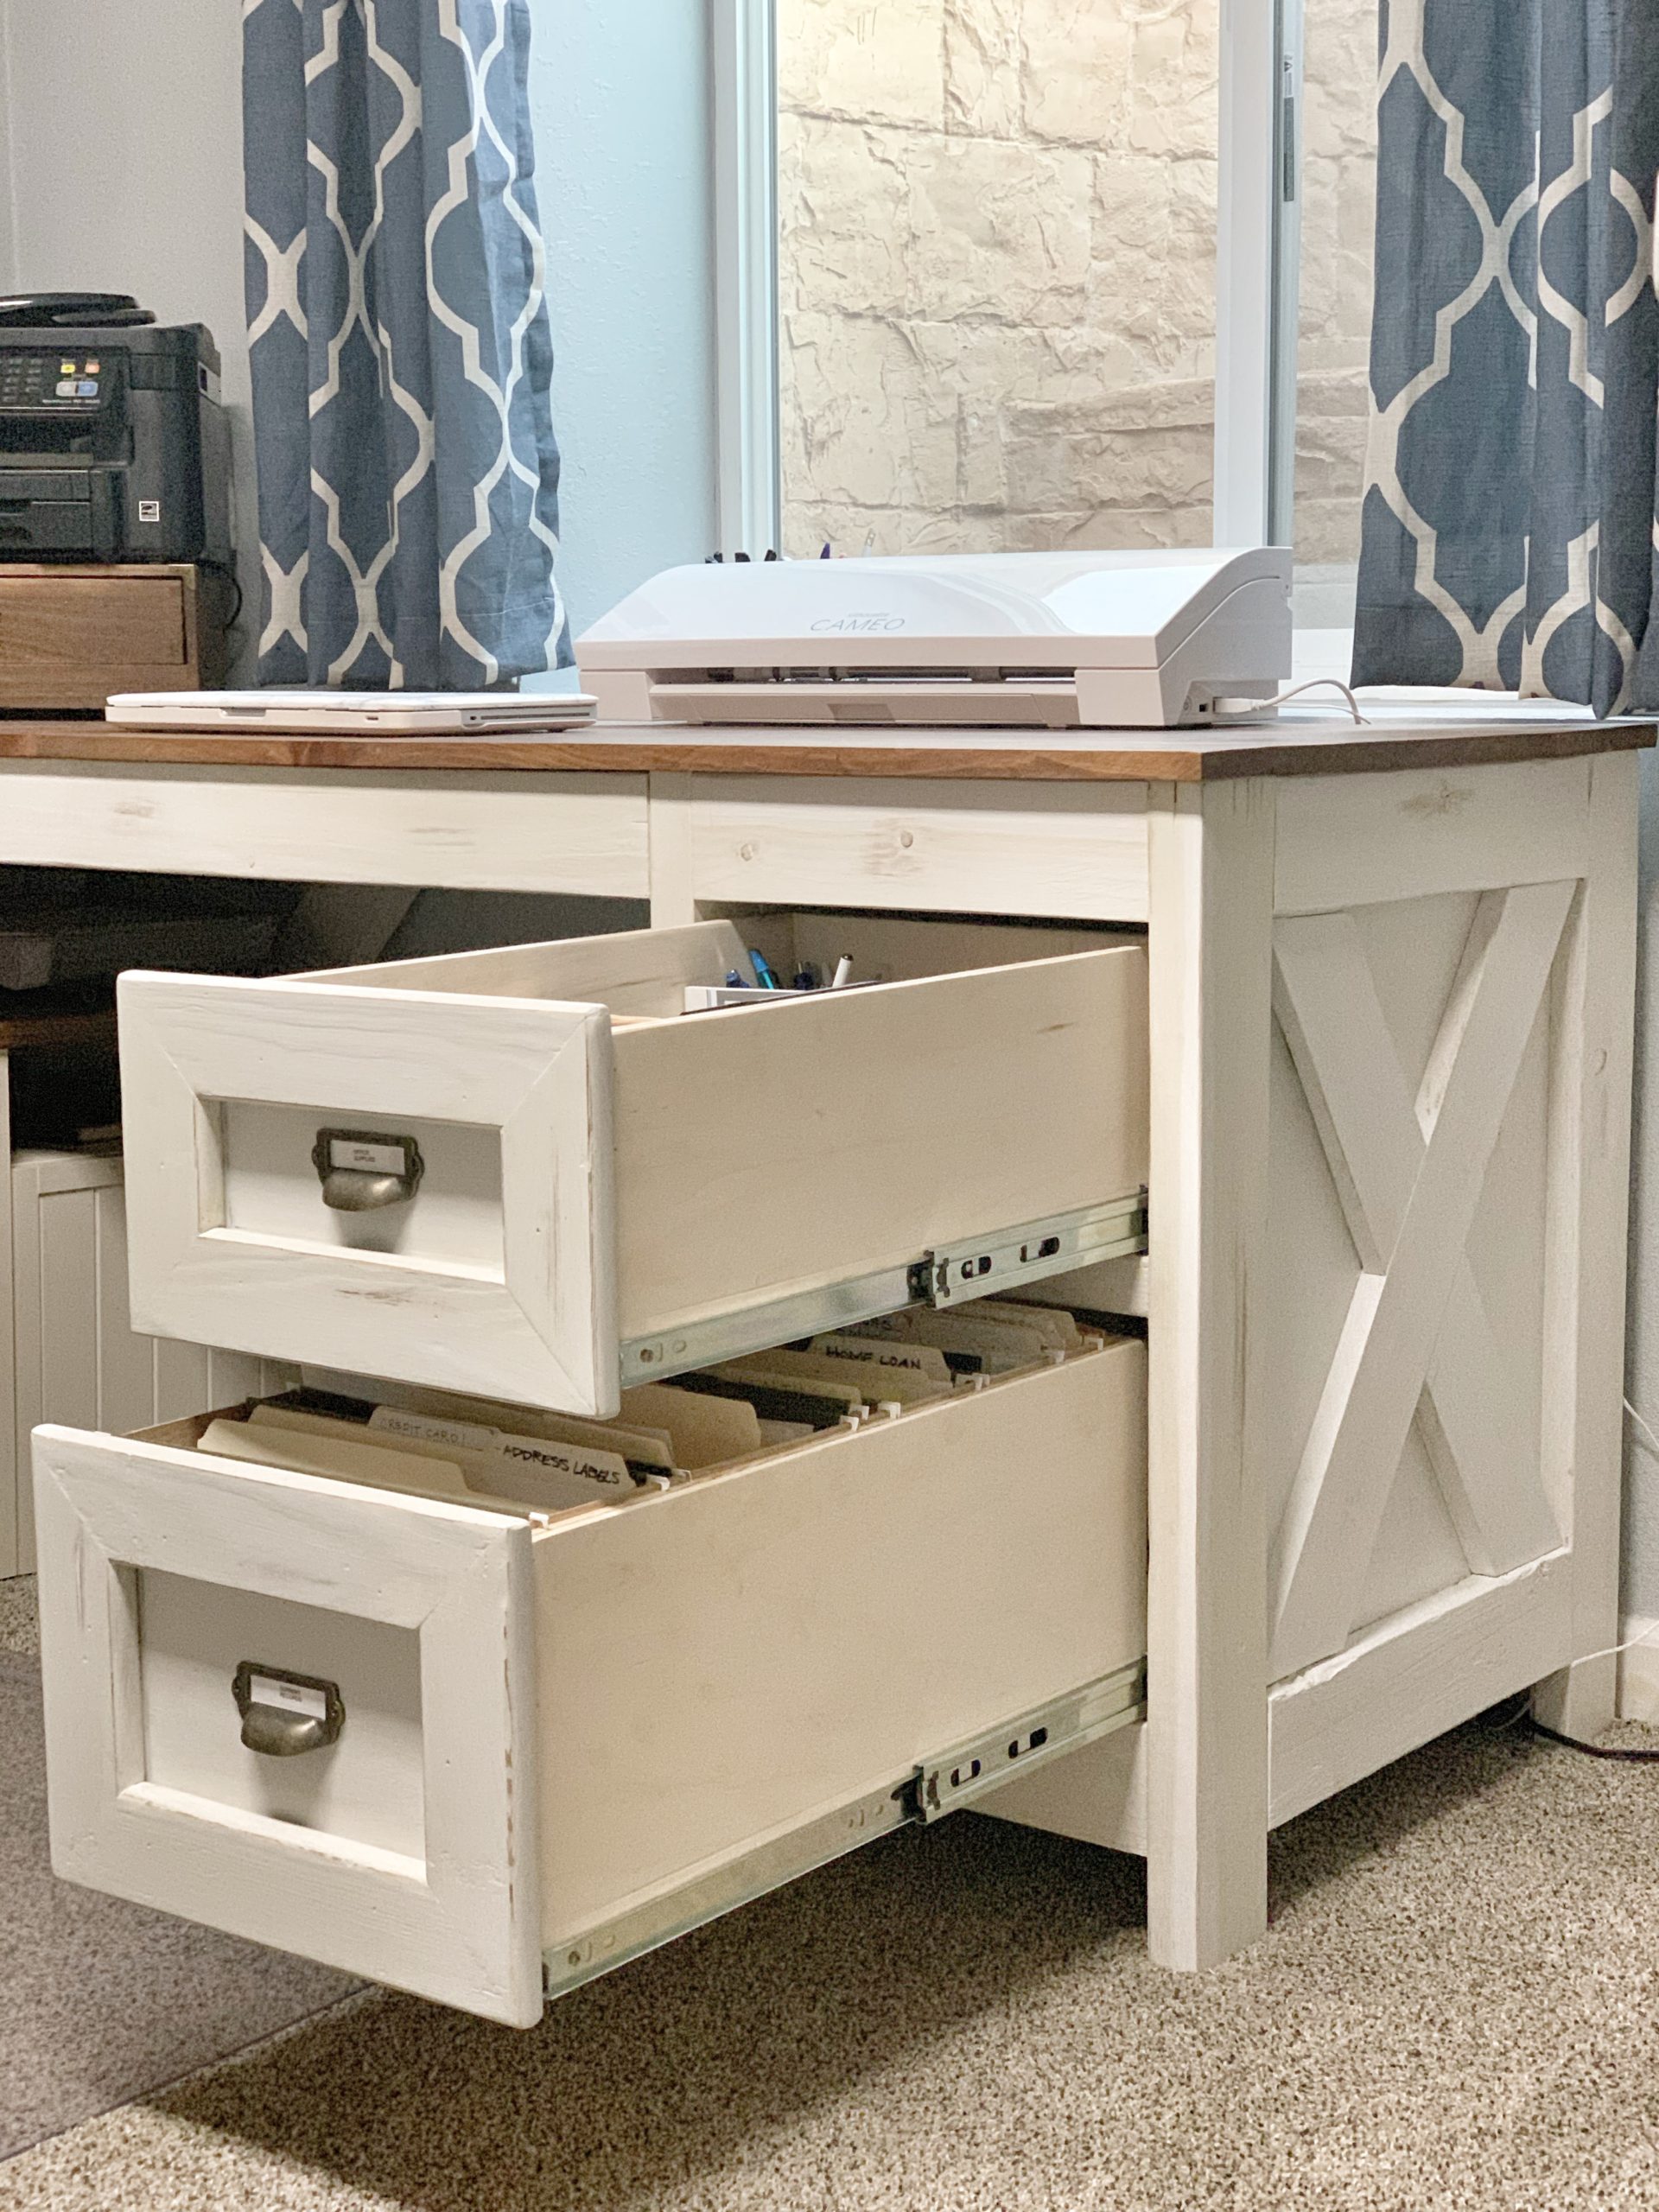
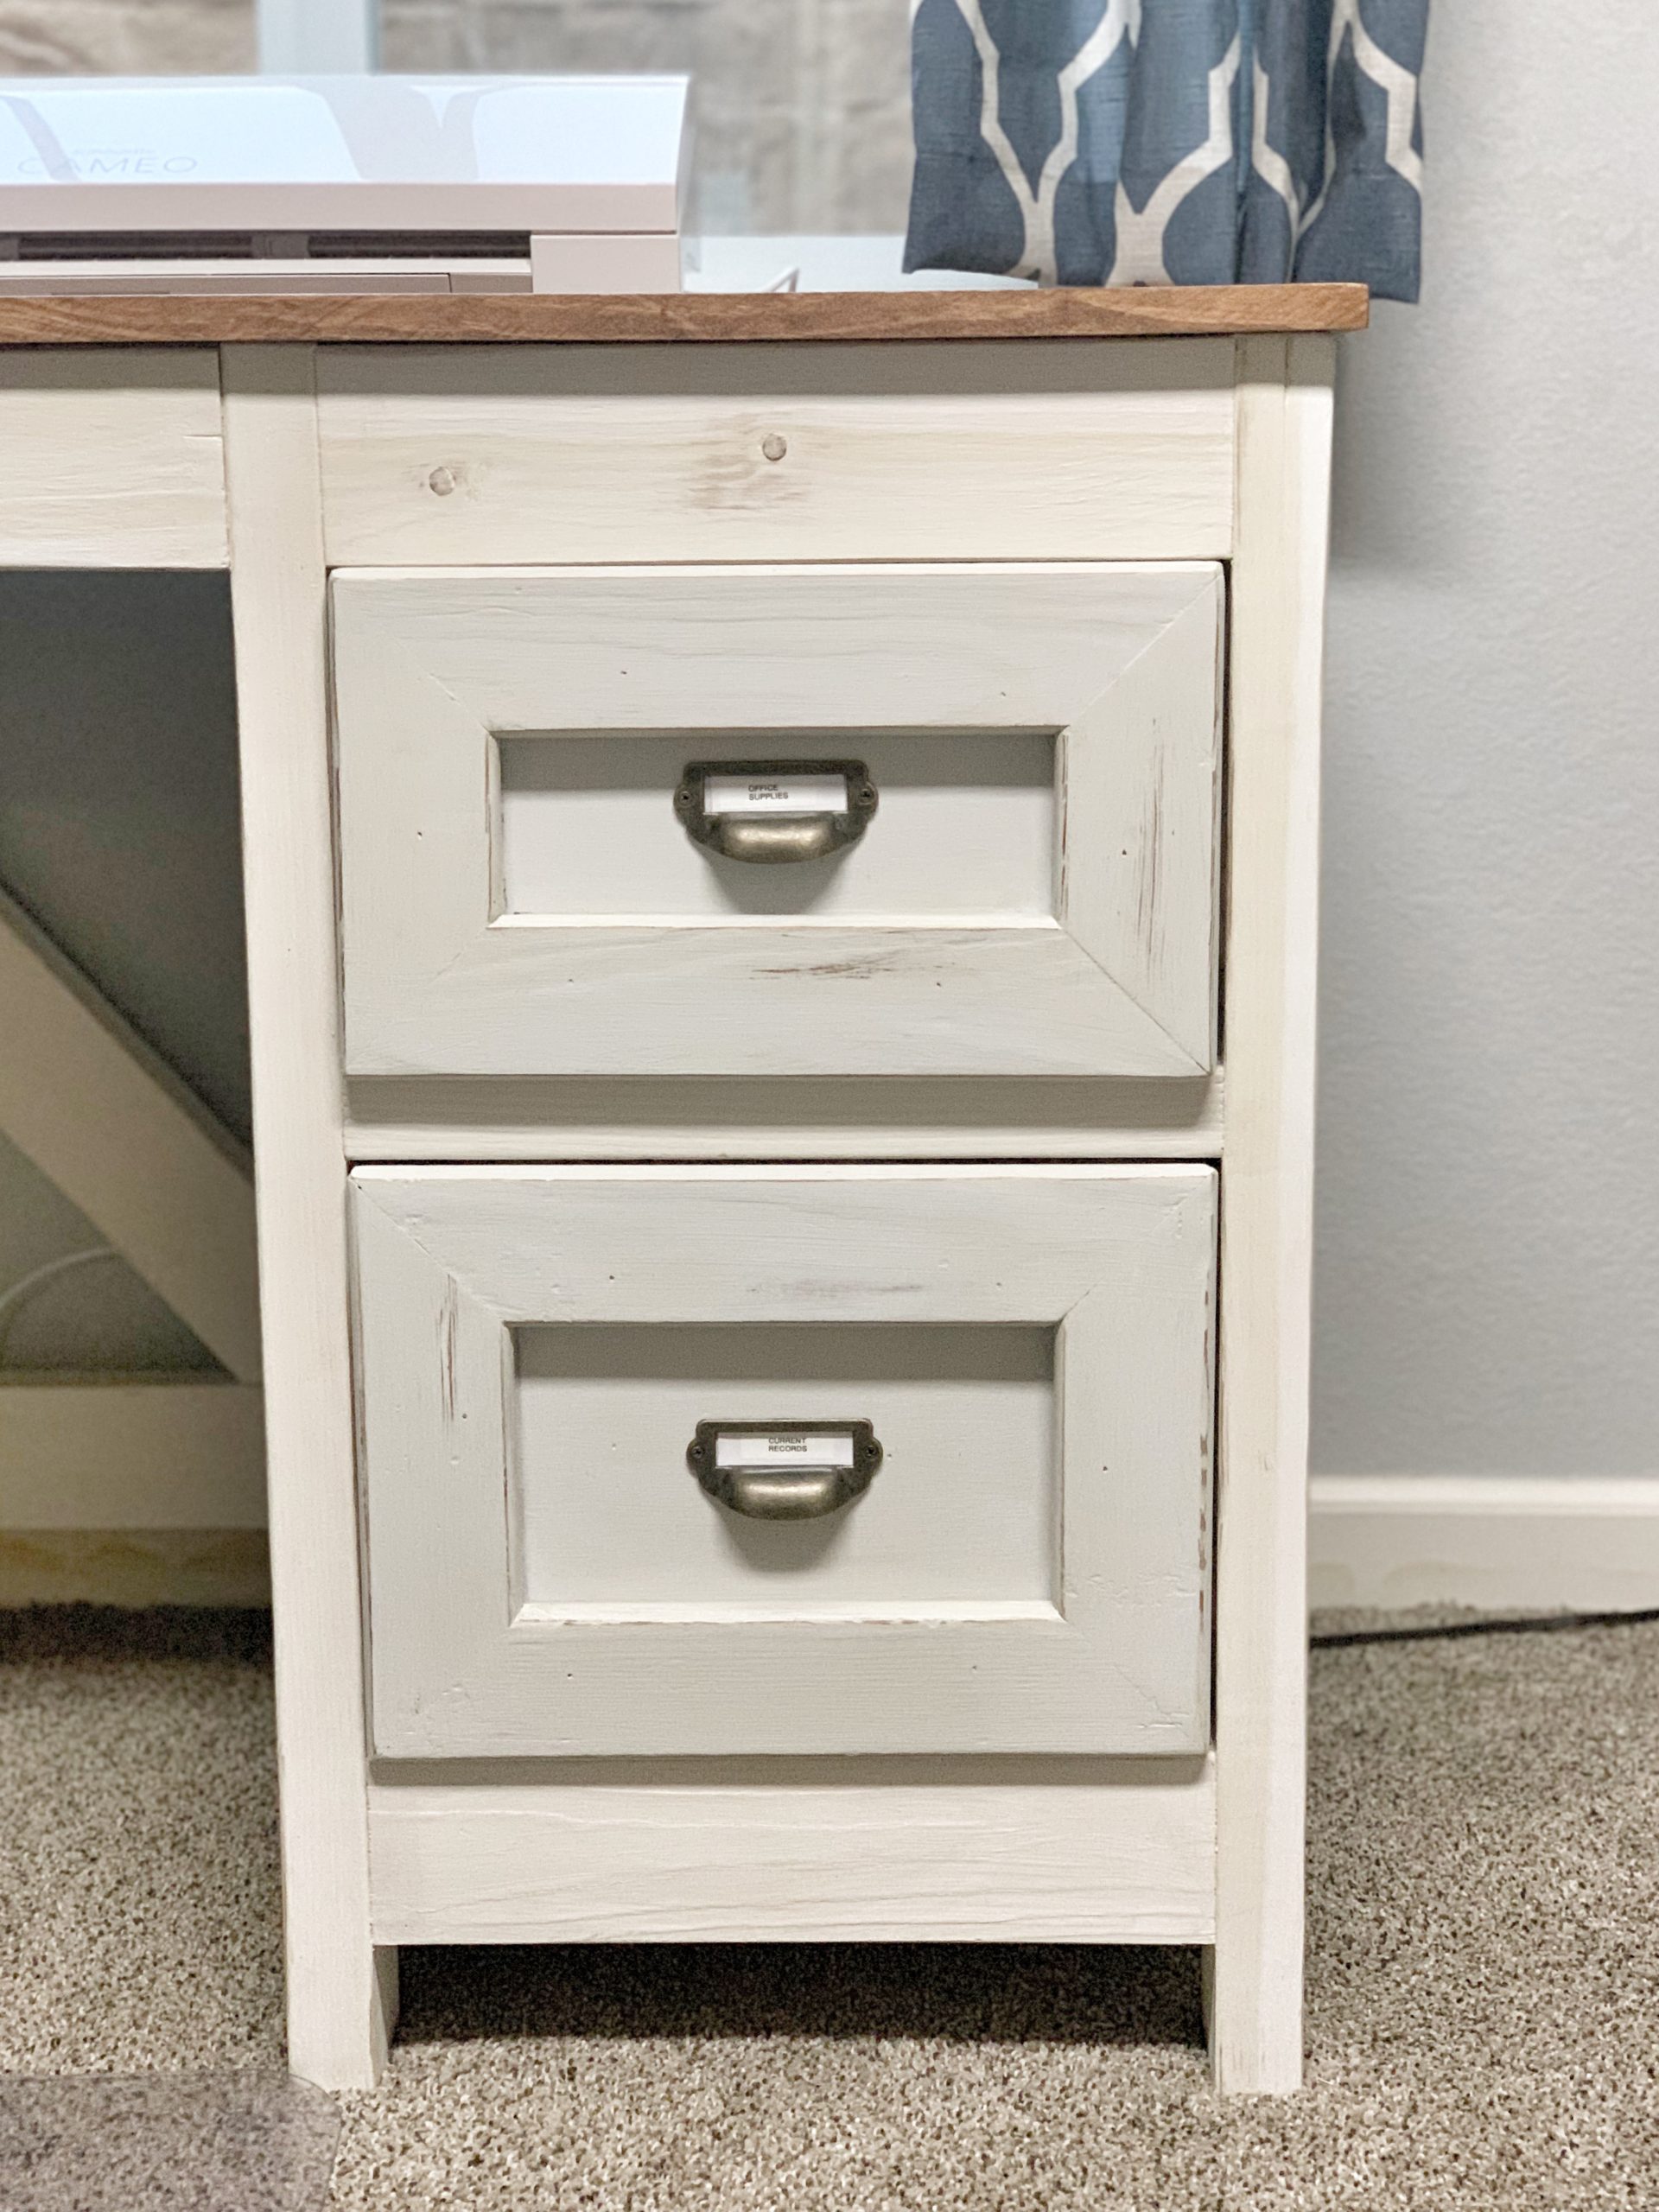
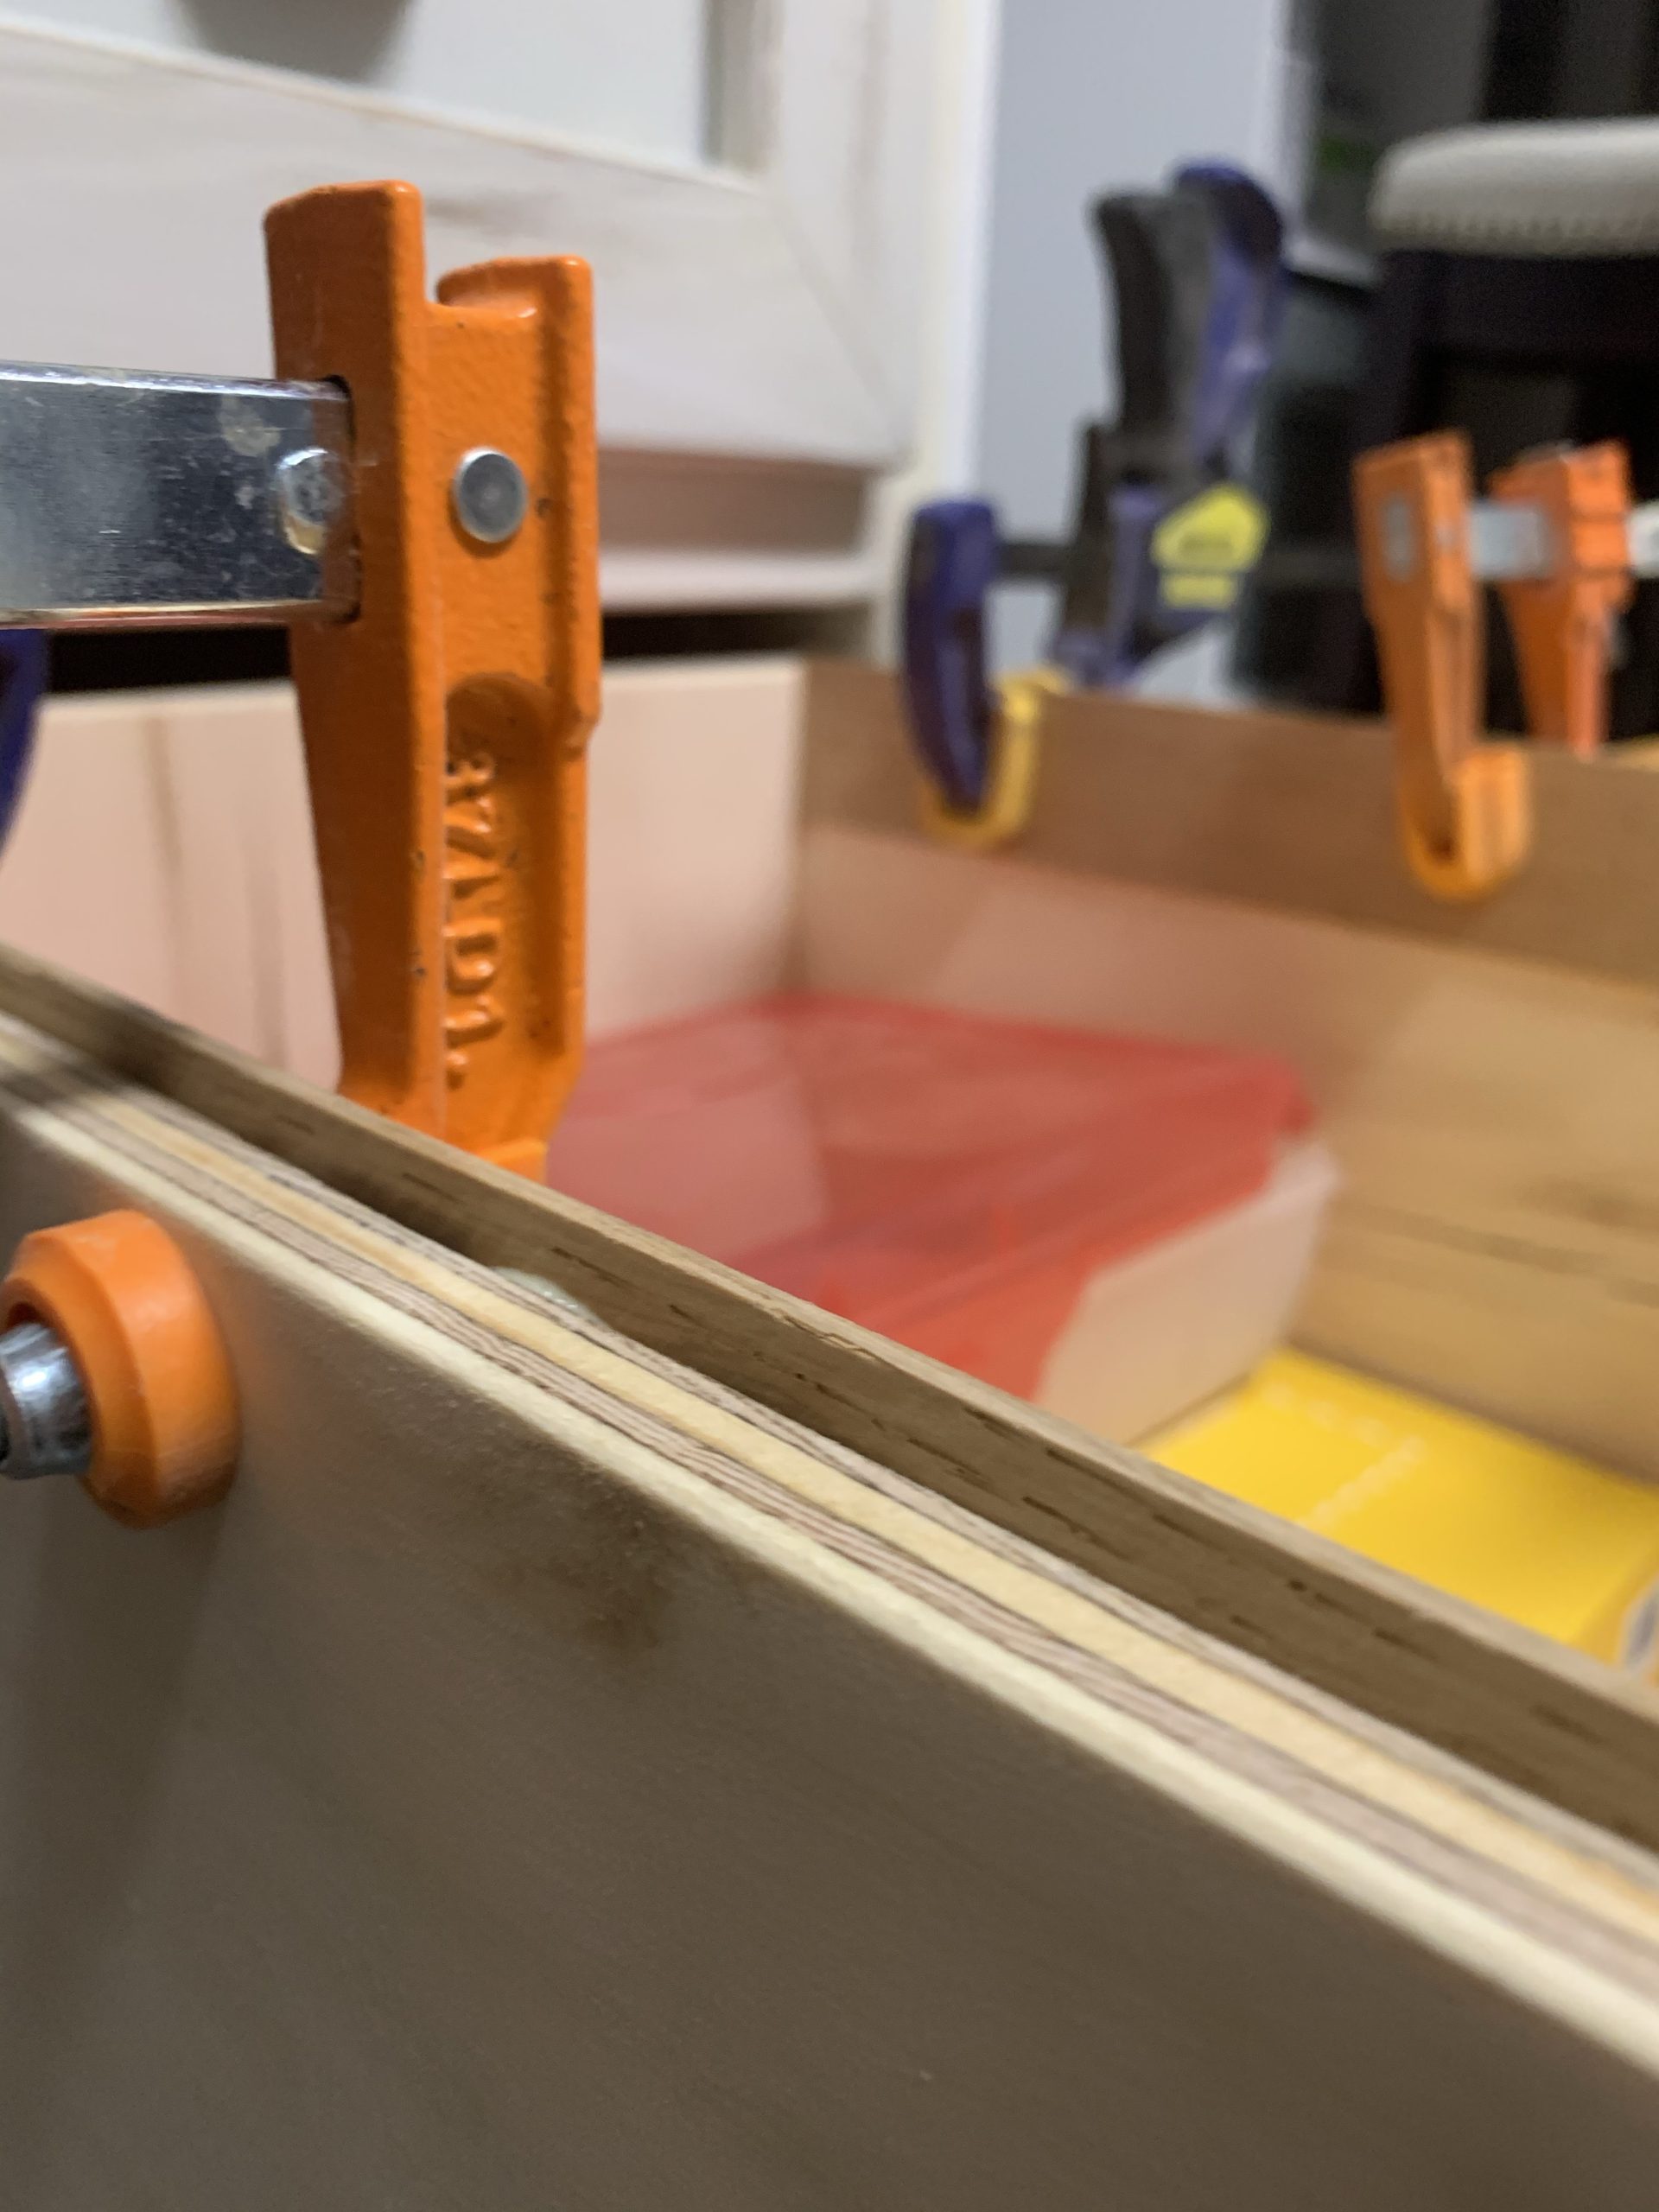
This DIY was something we started and then didn’t finish for several months lol. We built the desk part and set it up in the office before we built the drawers. (We are 95%ers when it comes to projects sometimes lol). But I’m happy to say, we finally (several months later) completed this project, drawers and all! I even glue some tracks for filing folders on the bottom drawer! 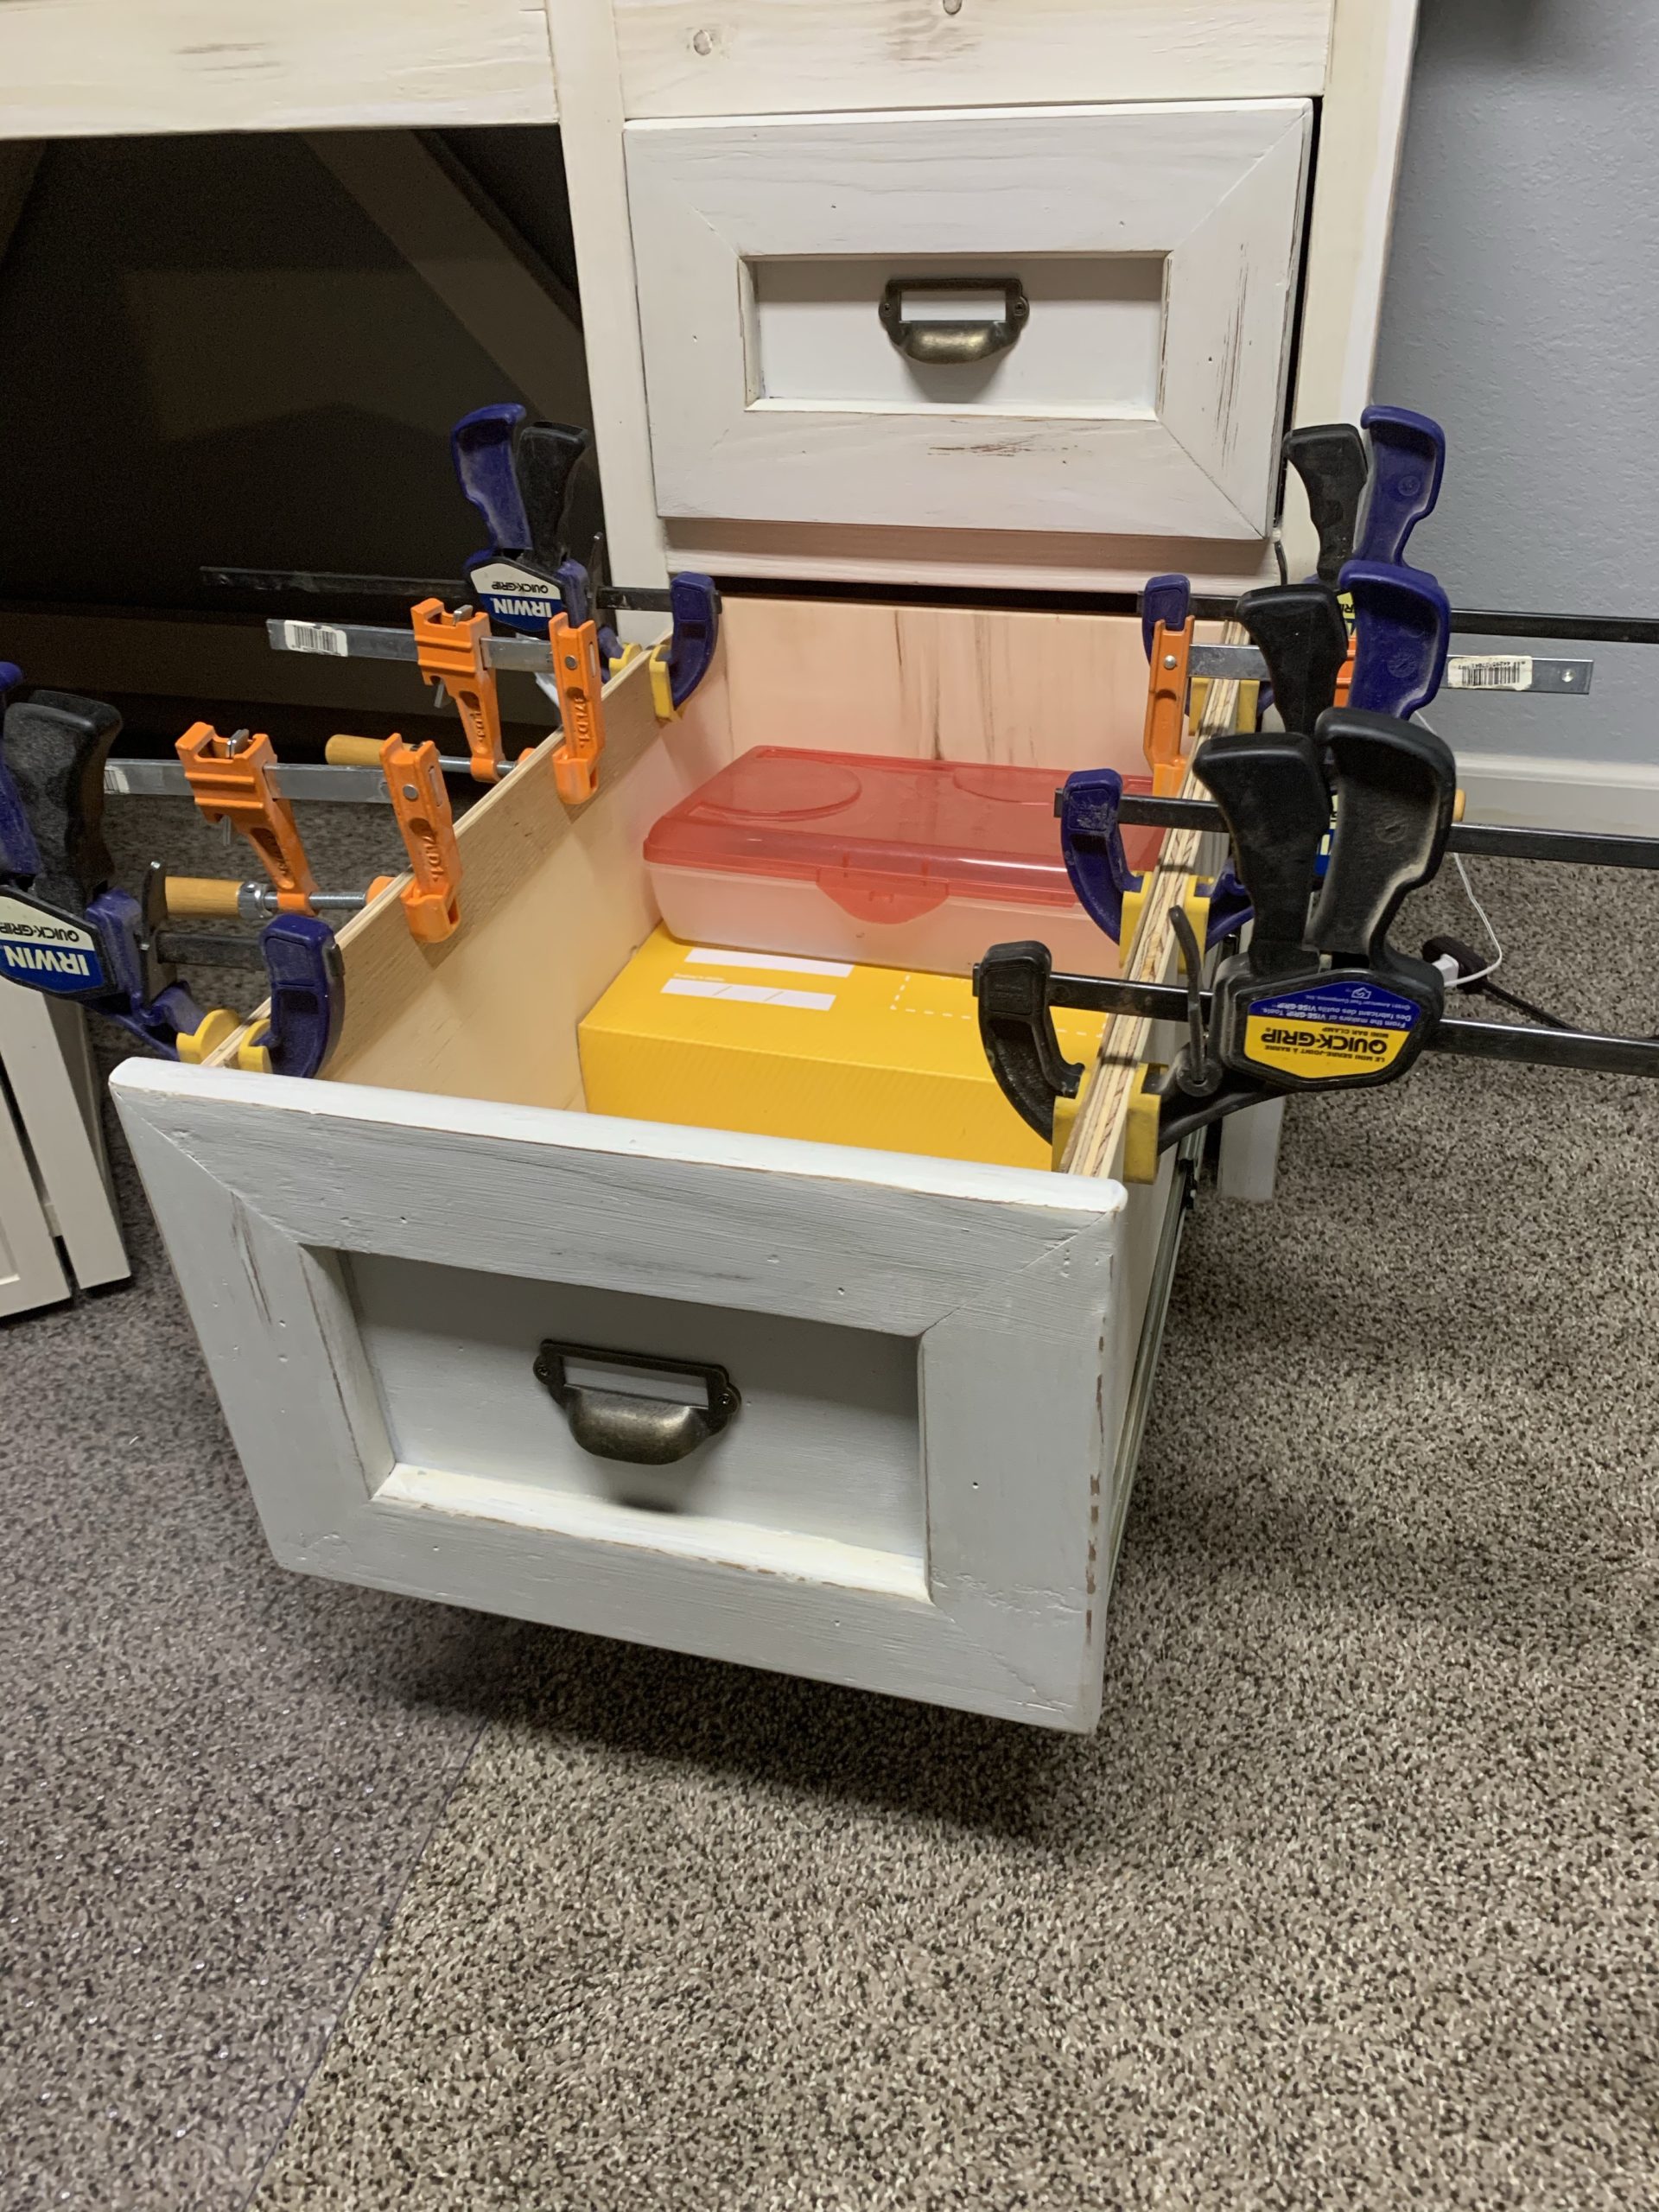
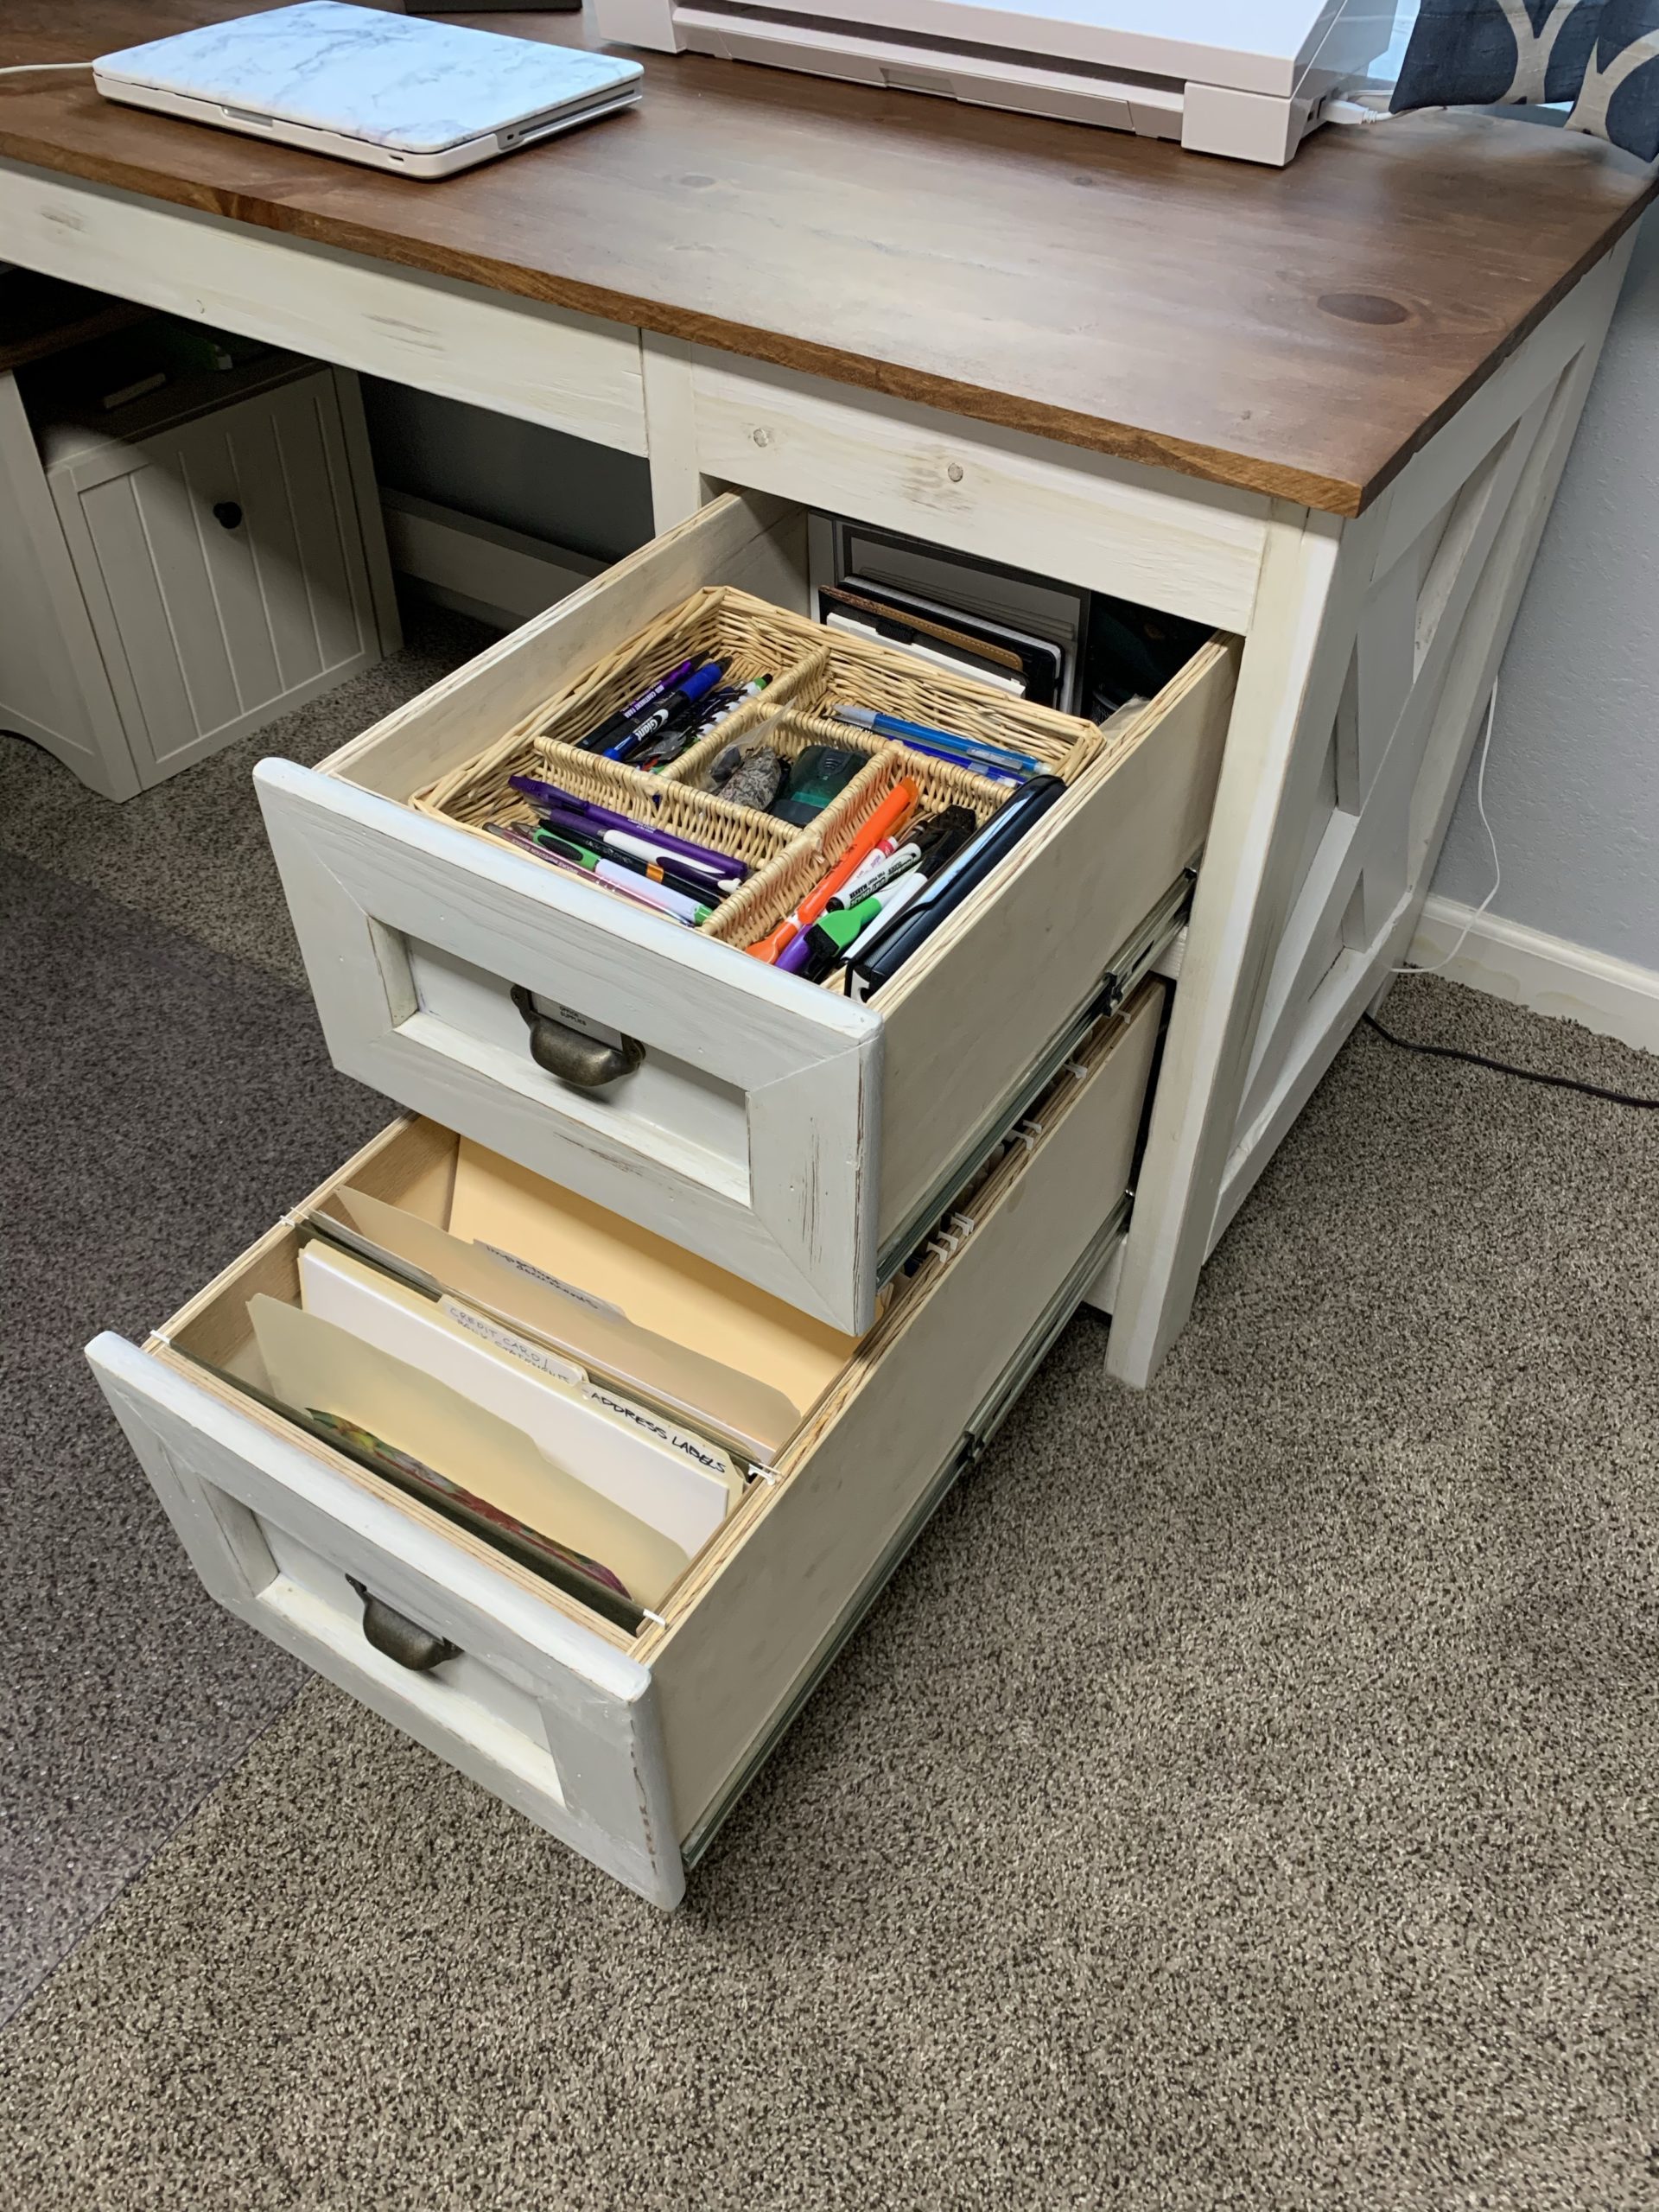
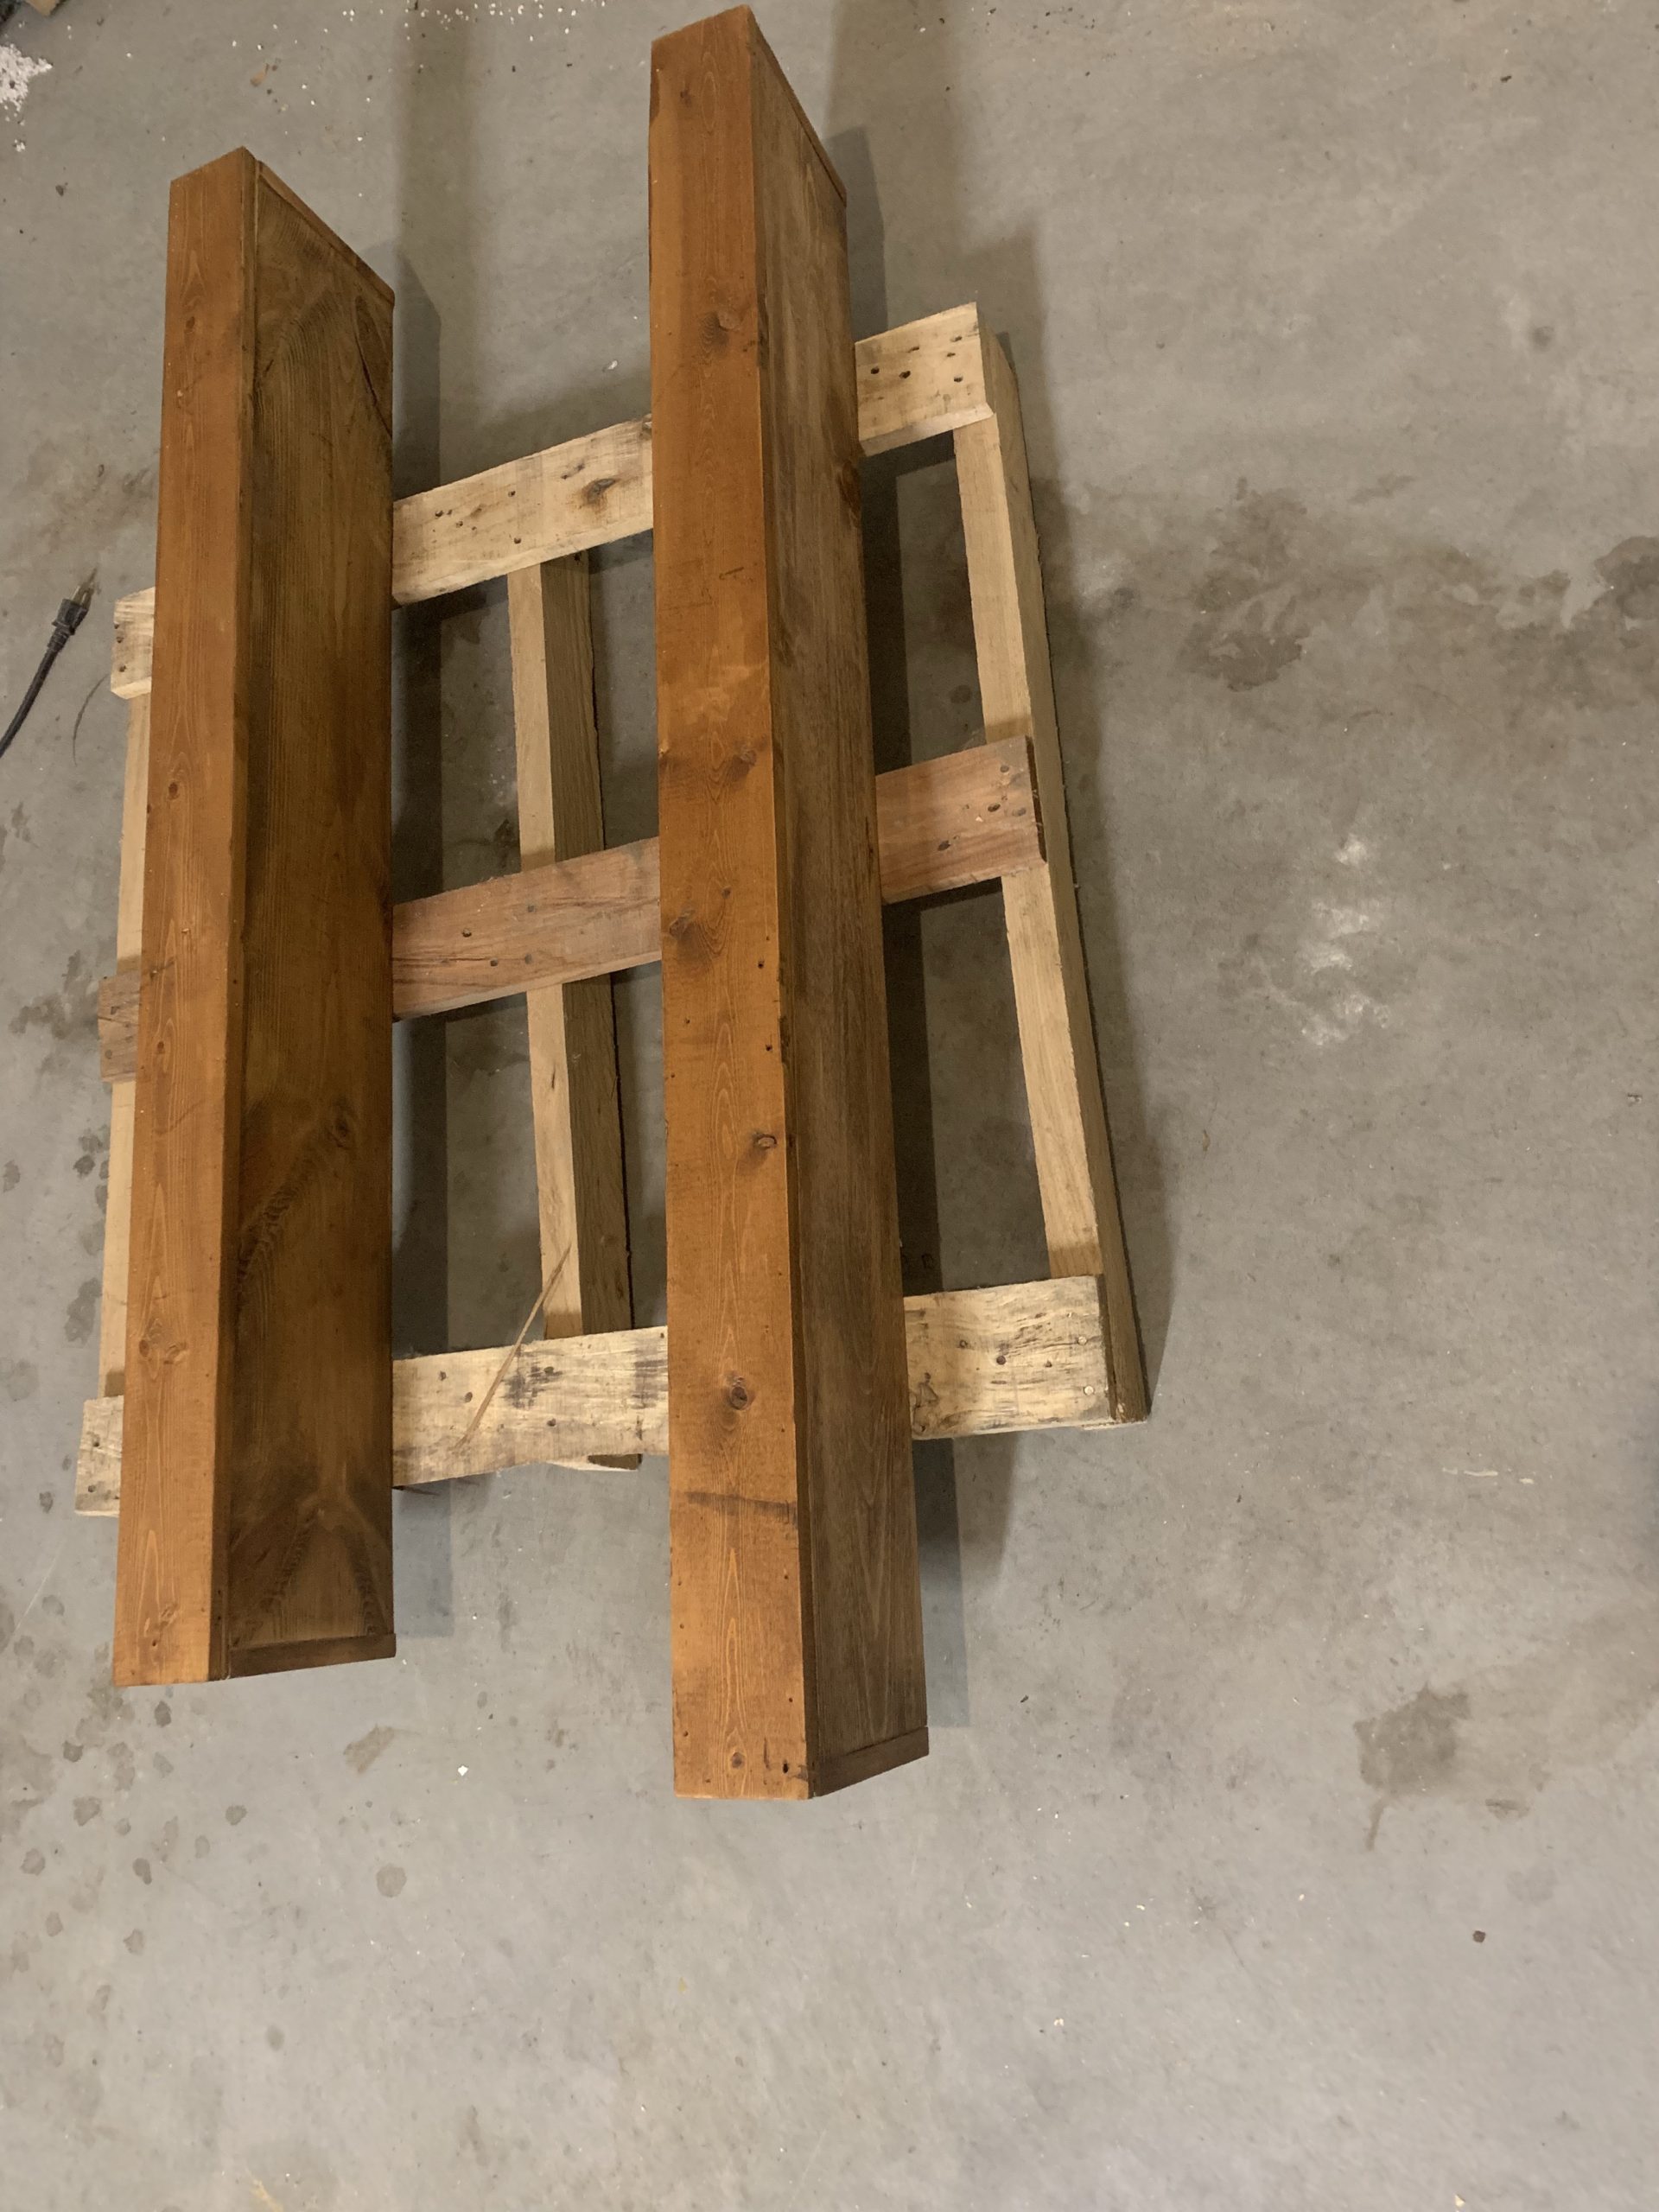
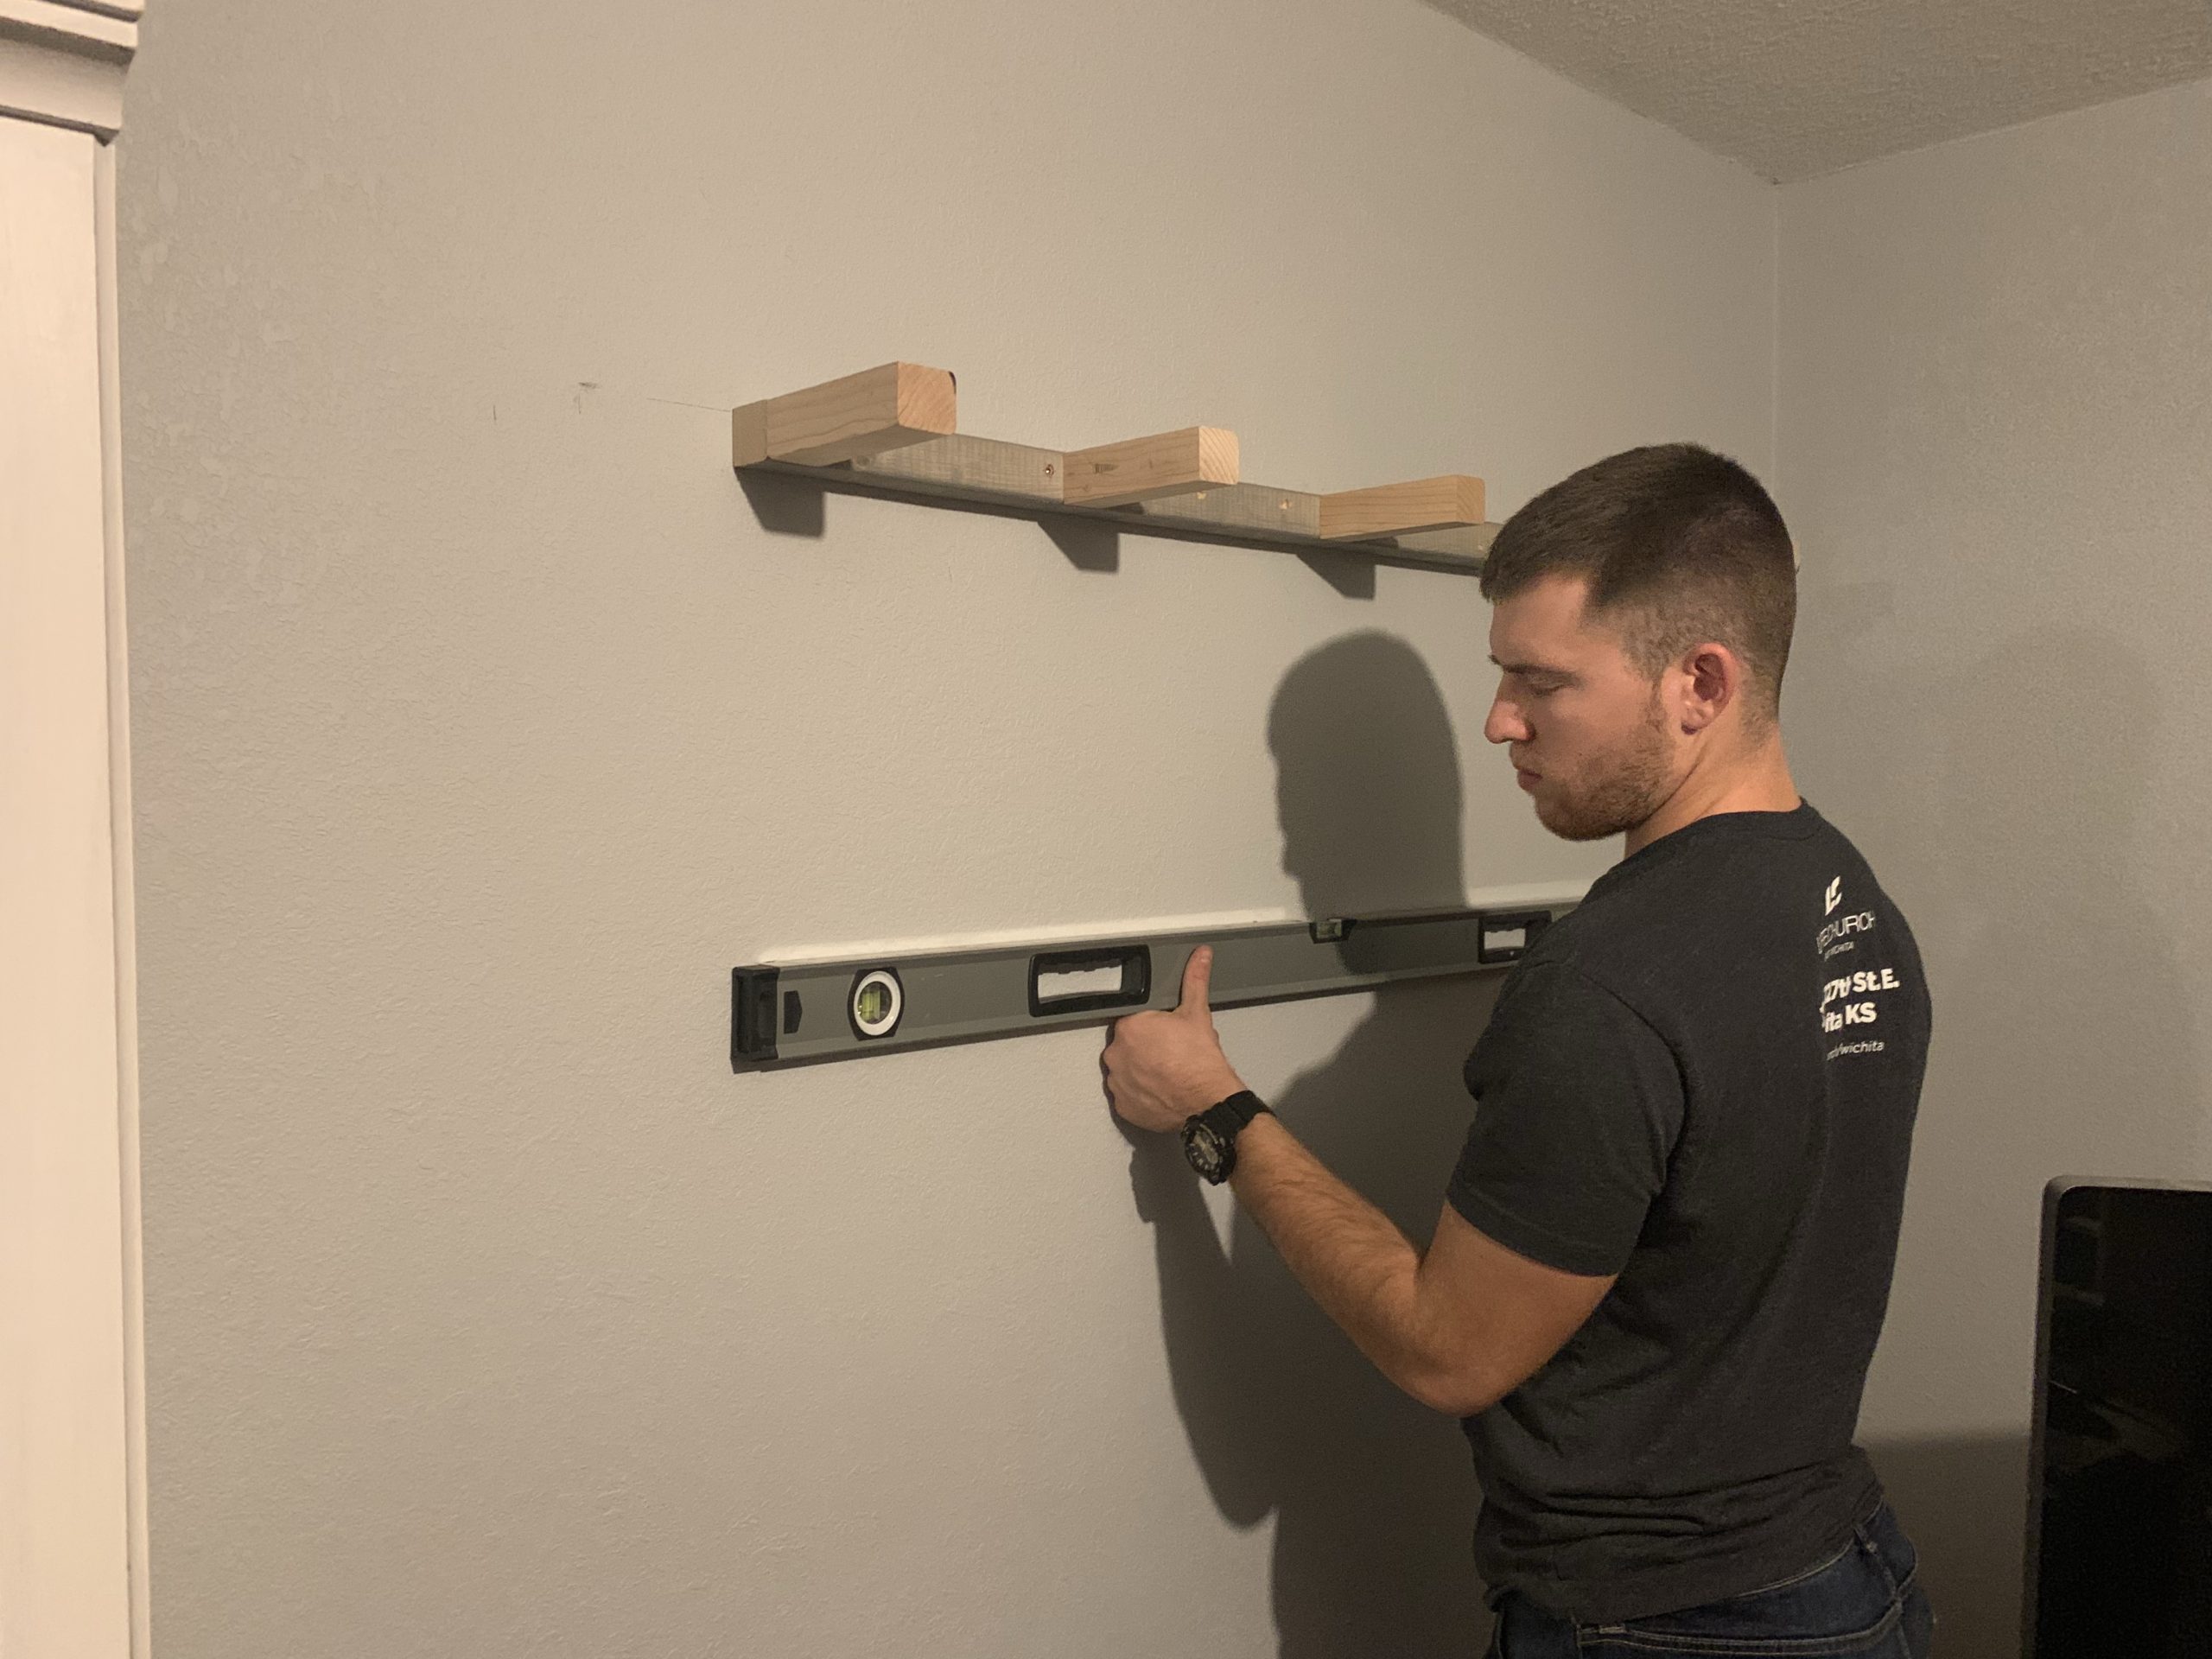
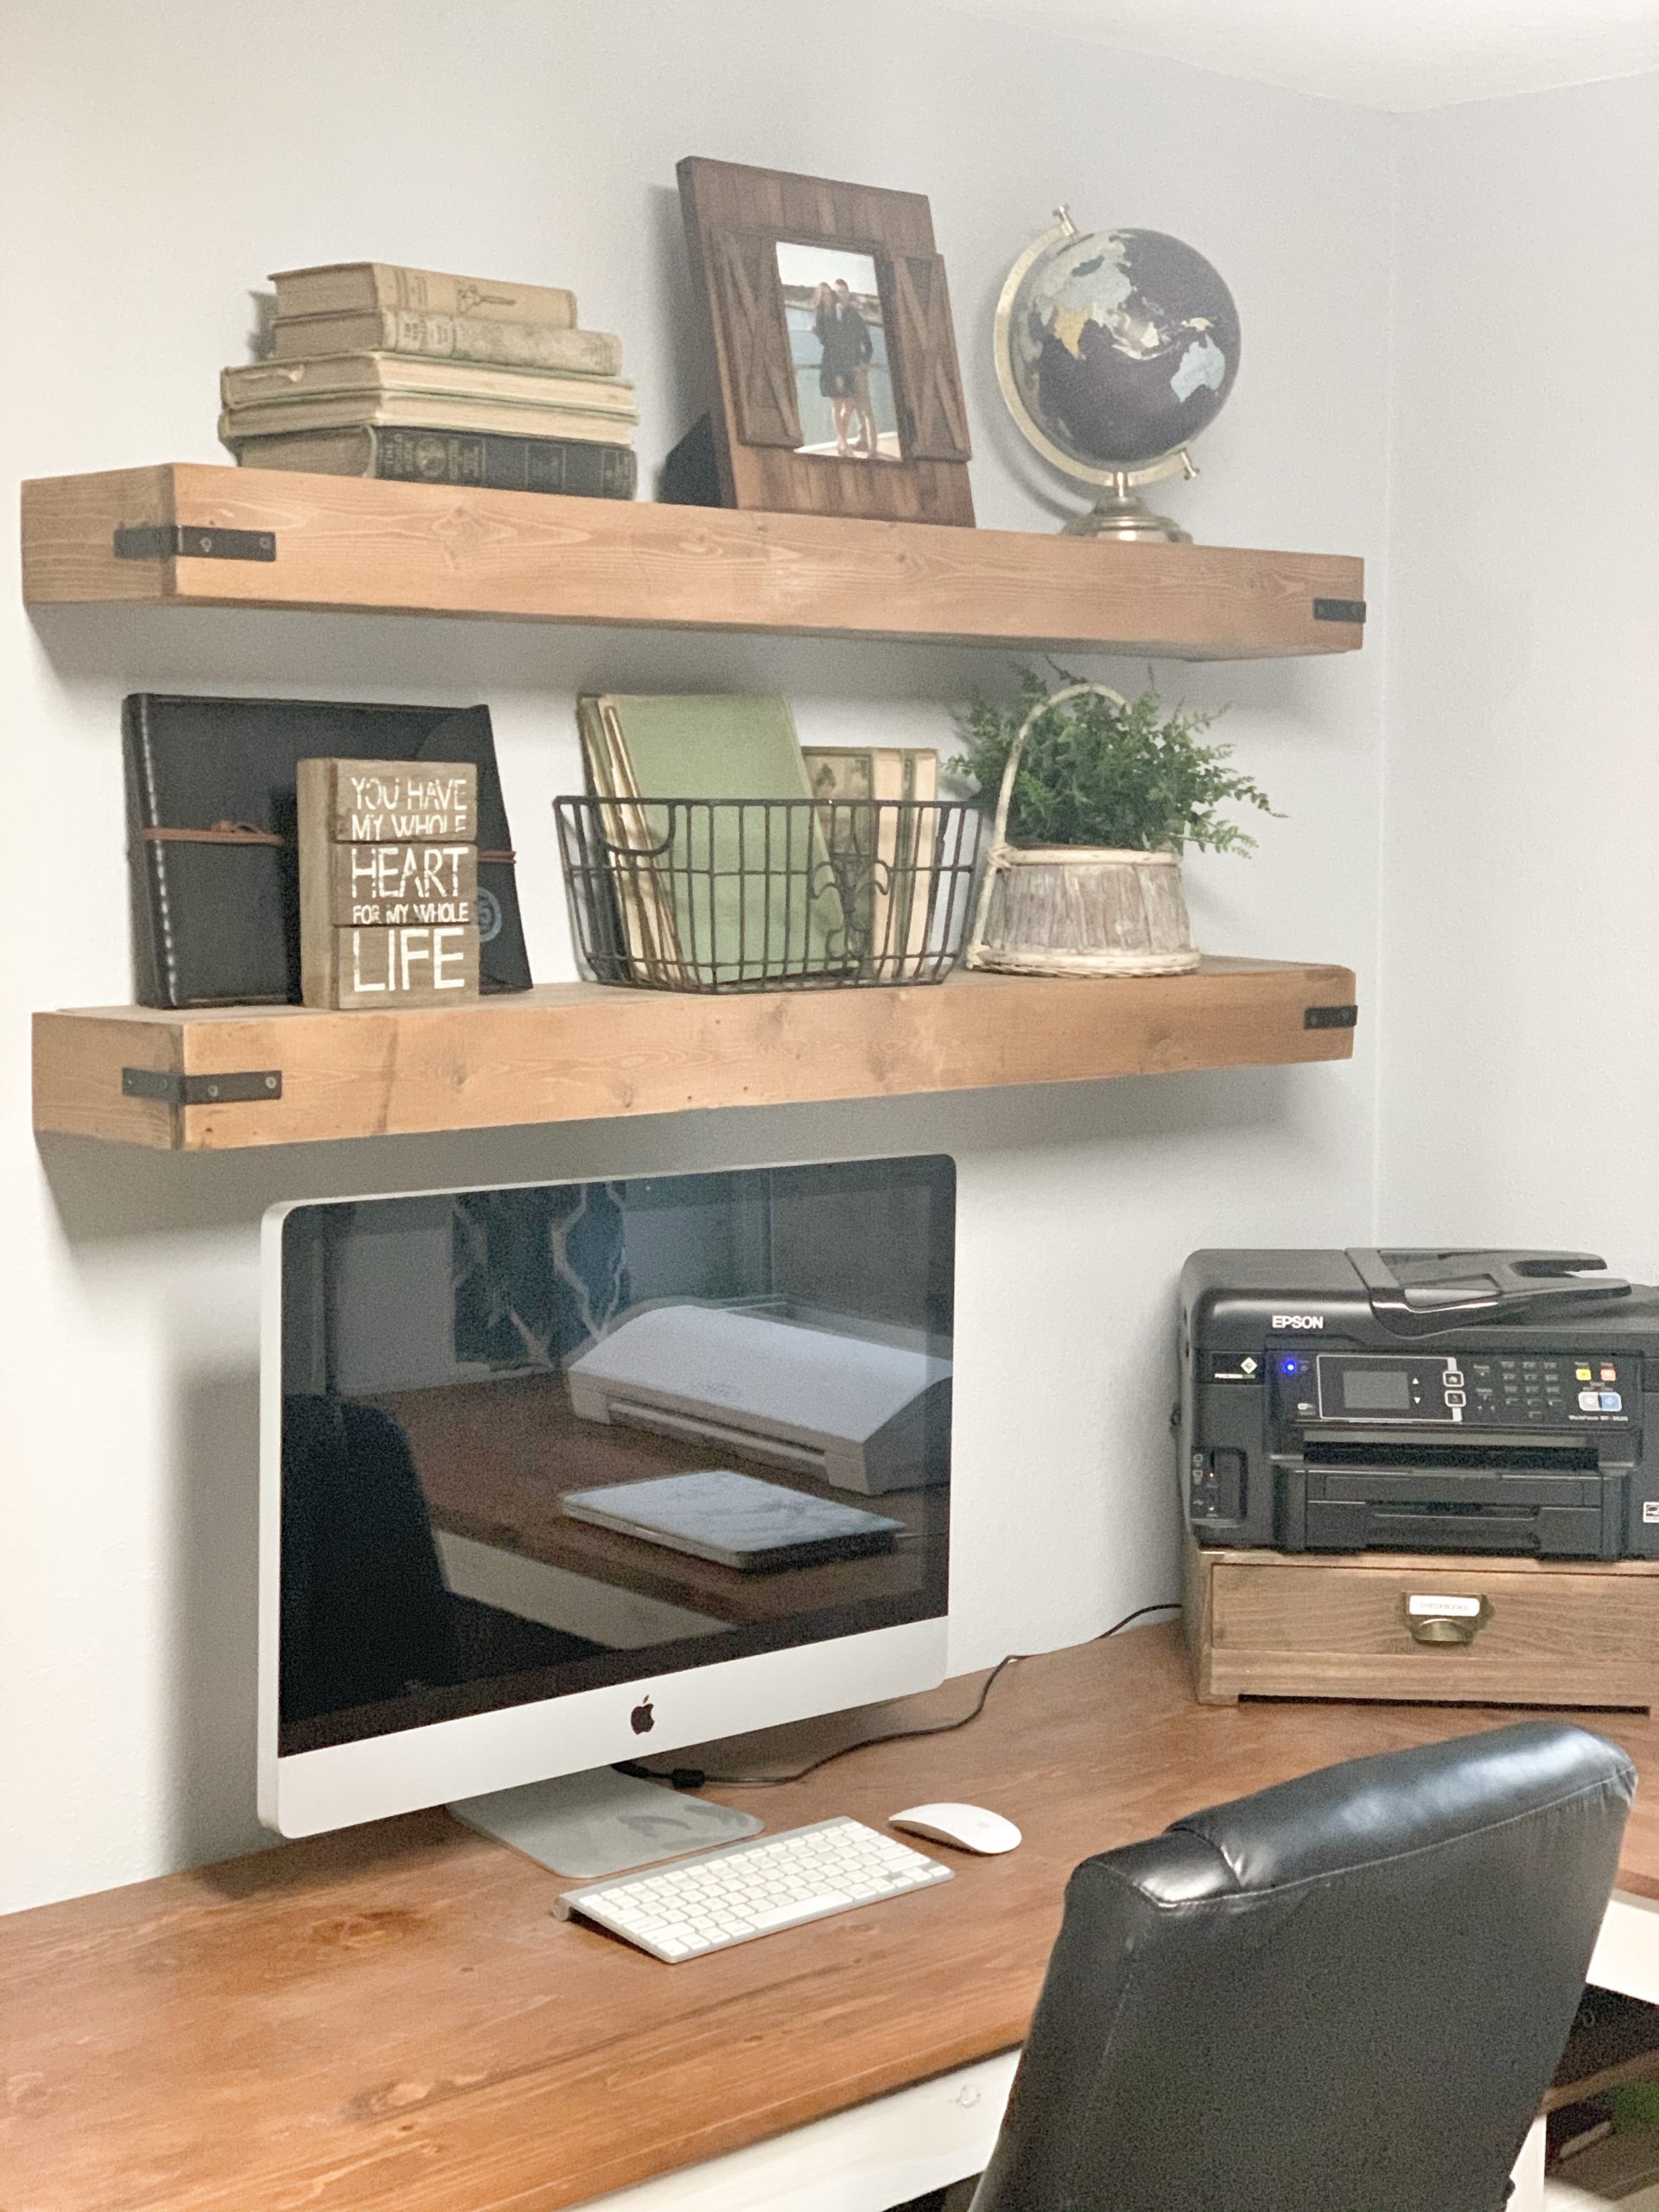
I’m so happy with how everything came together in here! The stained top and white base really add the farmhouse charm I love, and brings some warm wood tones to this side of the room. We also added DIY floating shelves above the desk for more visual interest! These were so cheap and easy to build!
Well that’s a wrap on our studio office room update! Now that this room is functional, organized, and stylish, I’ll be able to utilize it for smaller DIYs to share with you! I hope this project series inspires you to DIY something for your office, whether it’s an accent wall, a piece of furniture, or some organizing solutions! Thanks so much for reading, God bless!!
XOXO
ASHLEY DIANN
Hello! I love the desk that you built and it looks so expensive! My husband followed the link to the similar desk you followed when building yours, but we were wondering if you had plans to follow to build the drawers you created?
Thank you so much! Unfortunately I don’t have plans available for the drawers..
Hi!! Do you have a step by step tutorial of how to make this??
Hello! Unfortunately since this was custom, there is not a step by step tutorial for this exact desk, but the link I provided has detailed steps to build something similar!
I was curious as to the length of each side of the l-shaped desk. Will be building one in the next few weeks and wanted to get the largest size that would be able to fit through the door. Thanks
we built it in two pieces, but the sides are the same length when assembled. 72 1/2″ x 72 1/2″
What is the dimensions of this desk?
72 1/2″ x 72 1/2″
Beautiful Desk, Could you tell me if one side is actually longer than he other or is that my eyes playing tricks.
Hello! The desk is the same on both sides. 72 1/2″ x 72 1/2″
Ashley, I really like the desk you built, the only thing is I can’t find any plans on it. Could I ask if you could help me find them?
Unfortunately I do not have plans for the exact desk we made. I linked the plans to the one we used for inspiration!
I love this desk! What measurements is the desk? It is the ideal size i would want in my craft room/office.
thank you! the dimensions are 72 1/2″ x 72 1/2″
Do you have/know the dimensions of y’all’s final project of the desk?
the dimensions are 72 1/2″ x 72 1/2″
I to work from home and love this design. I would love to have this link for the step by step making of the desk. I truly admire the work and craftmanship that was done on the entire office. I have a office with same layout, but my husband made my wall bookshelves from top to bottom. So you desk on design on the lefthand side of the window would be perfection.
Thank you so much! Unfortunately I do not have step by step plans for the desk we built. I have linked plans to the desk we used as inspiration!
Do you have plans or a sketch isnfornthe book shelf next to the desk?
No, I actually didn’t build it. It was a bookshelf we got for free and I re painted it to match!
Could you share details on how the base was finished? Whitewash? Chalk paint? Any primer? Great write up! Planning on a simile build soon.
Thank you! I used white Rustoleum milk paint, no primer
Hi Ashley, what are the dimensions of your desk? Looks about 6×6, if not more? Thank you!
The dimensions are 72 1/2″ x 72 1/2″
Hey there. Love your desk. Do you have the measurements?
Thank you! It’s 72 1/2″ x 72 1/2″
is there any way you could tell me the measurements of this desk so i could try and make it the same size!?
72 1/2″ x 72 1/2″