Studio Office Update (Part One)
This month we have been focused on updating our studio office! We started by painting the walls a light gray to brighten up the space. I then had the idea to use pallet wood for an accent wall to bring some warm wood tones in the room. I love accent walls so much, and the best part about this project is that it cost next to nothing, just some paint and finish nails!
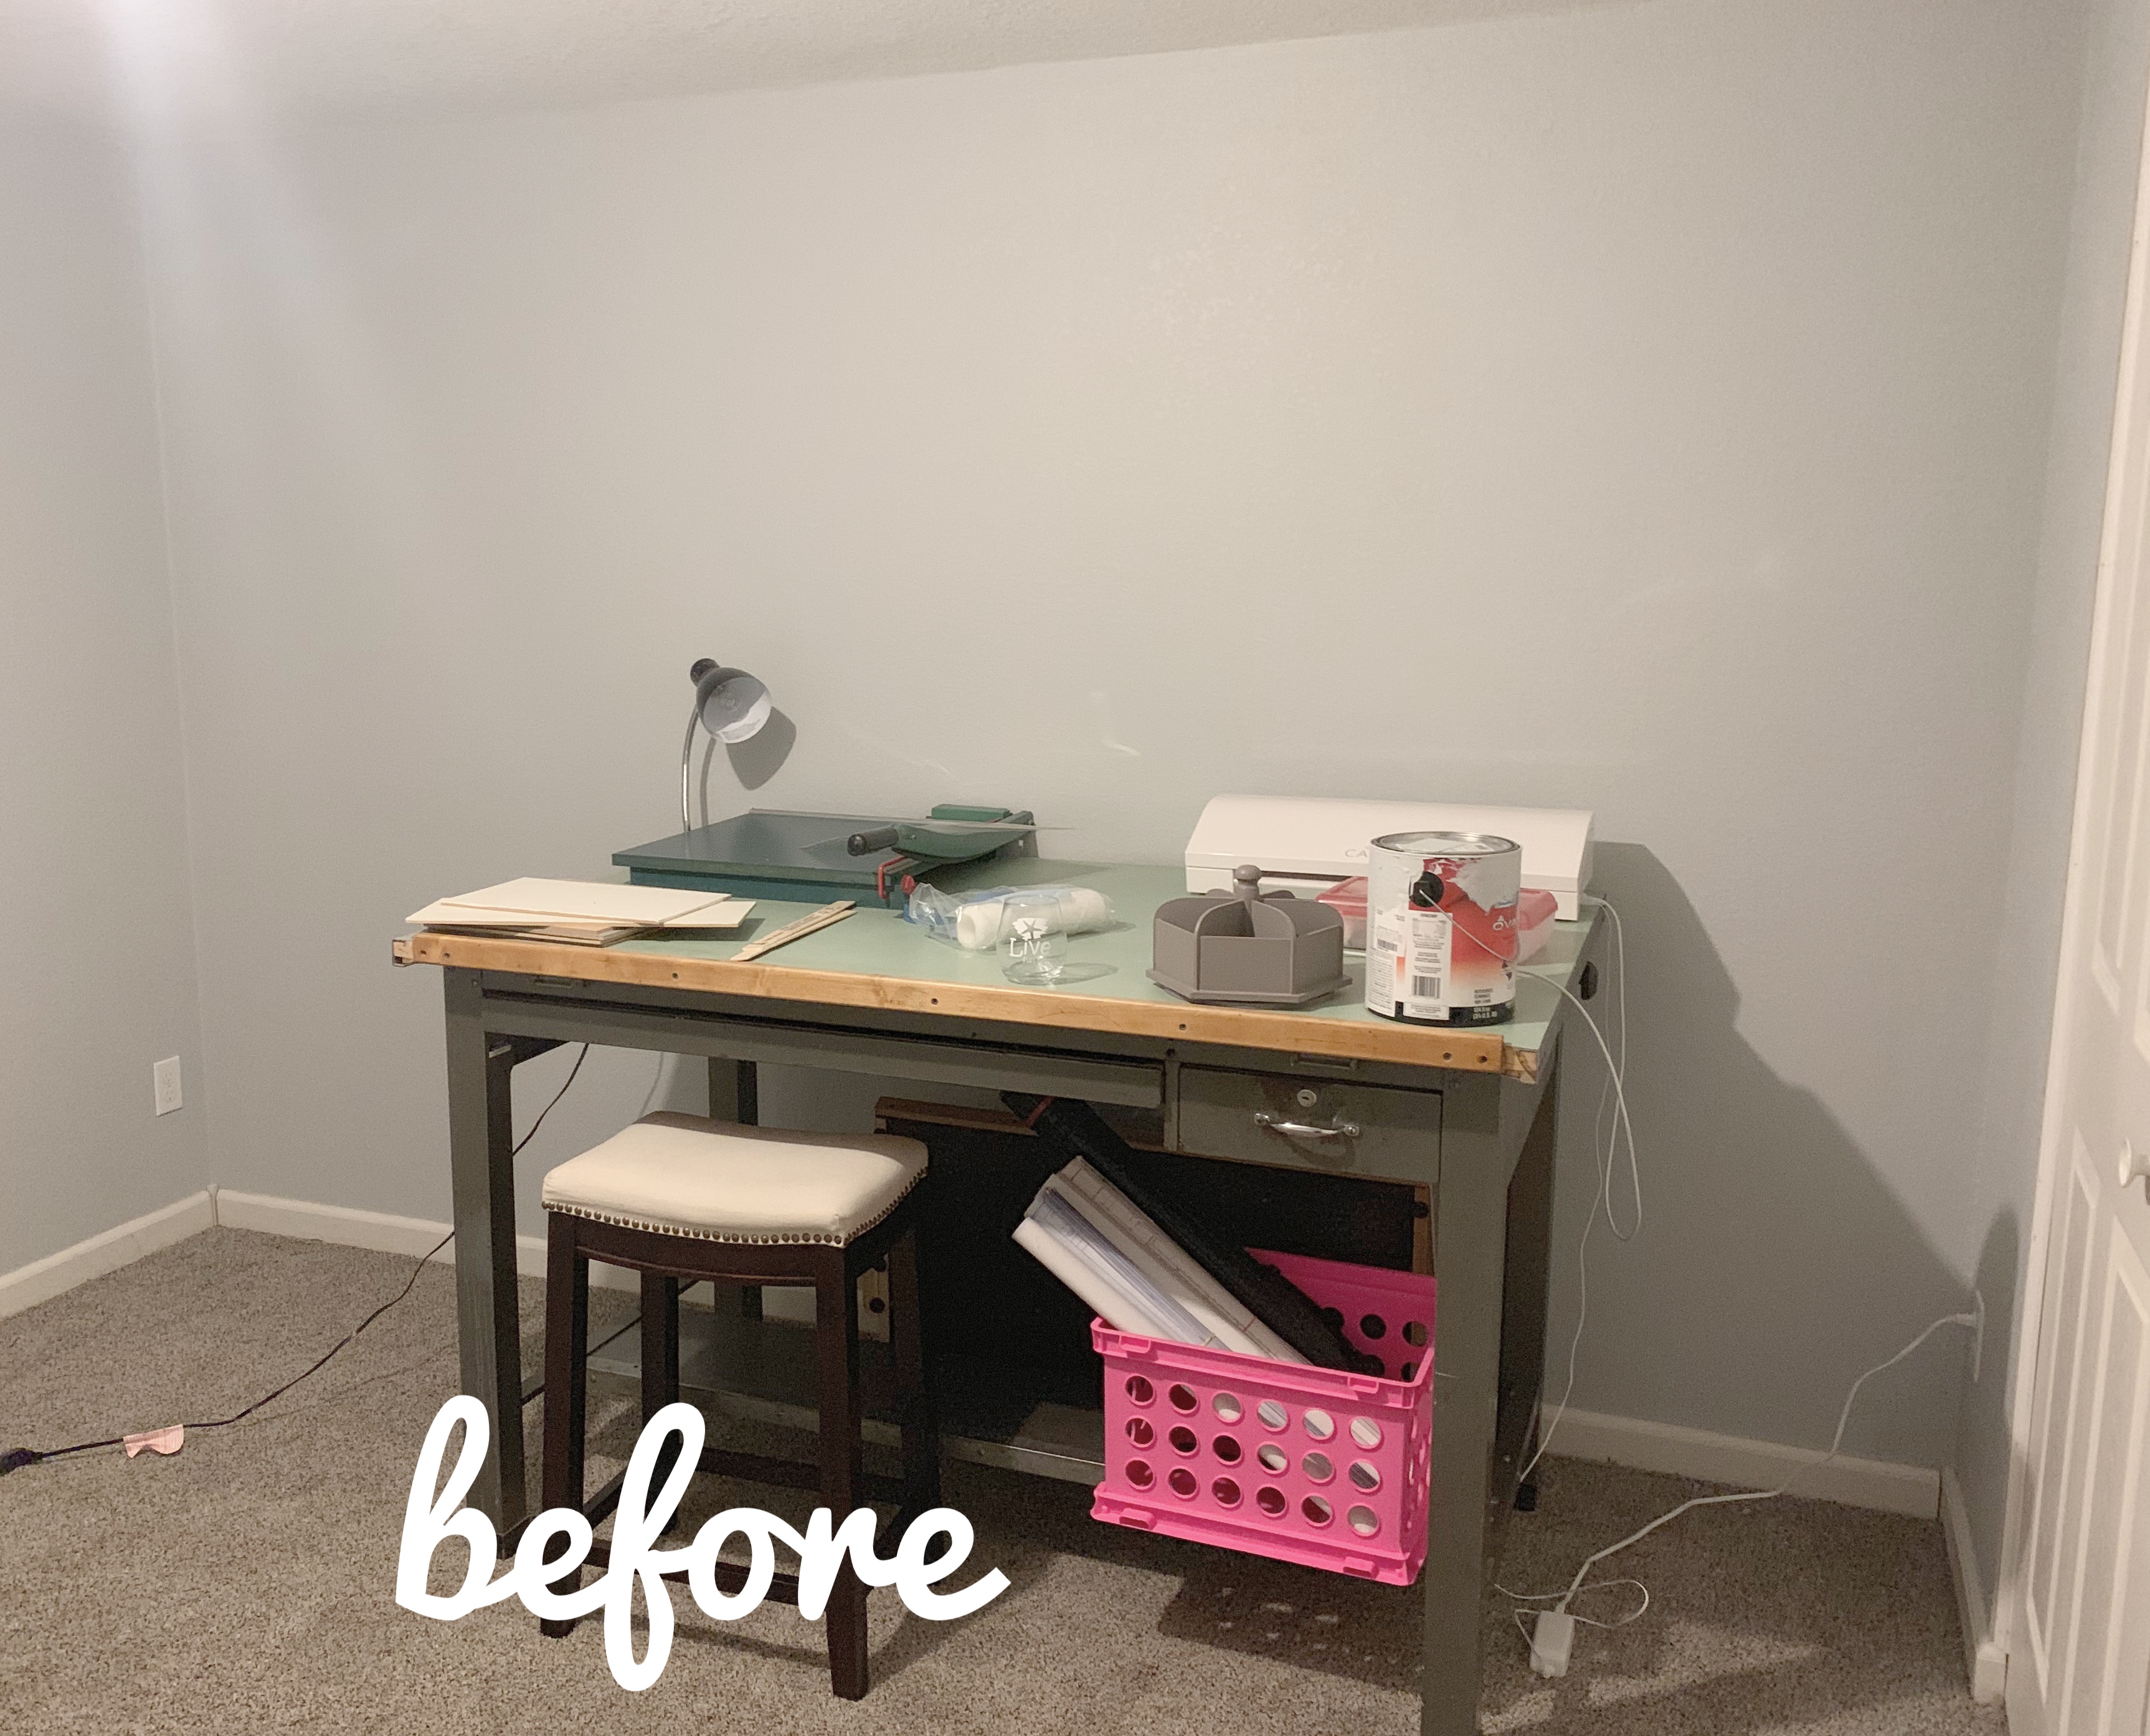
I didn’t even realize until we had started, but this wall has nothing on it; no outlets, light switches, windows, doorways, vents, or electrical boxes! We got lucky there for sure, and with nothing to cut around, this was meant to be an accent wall lol!
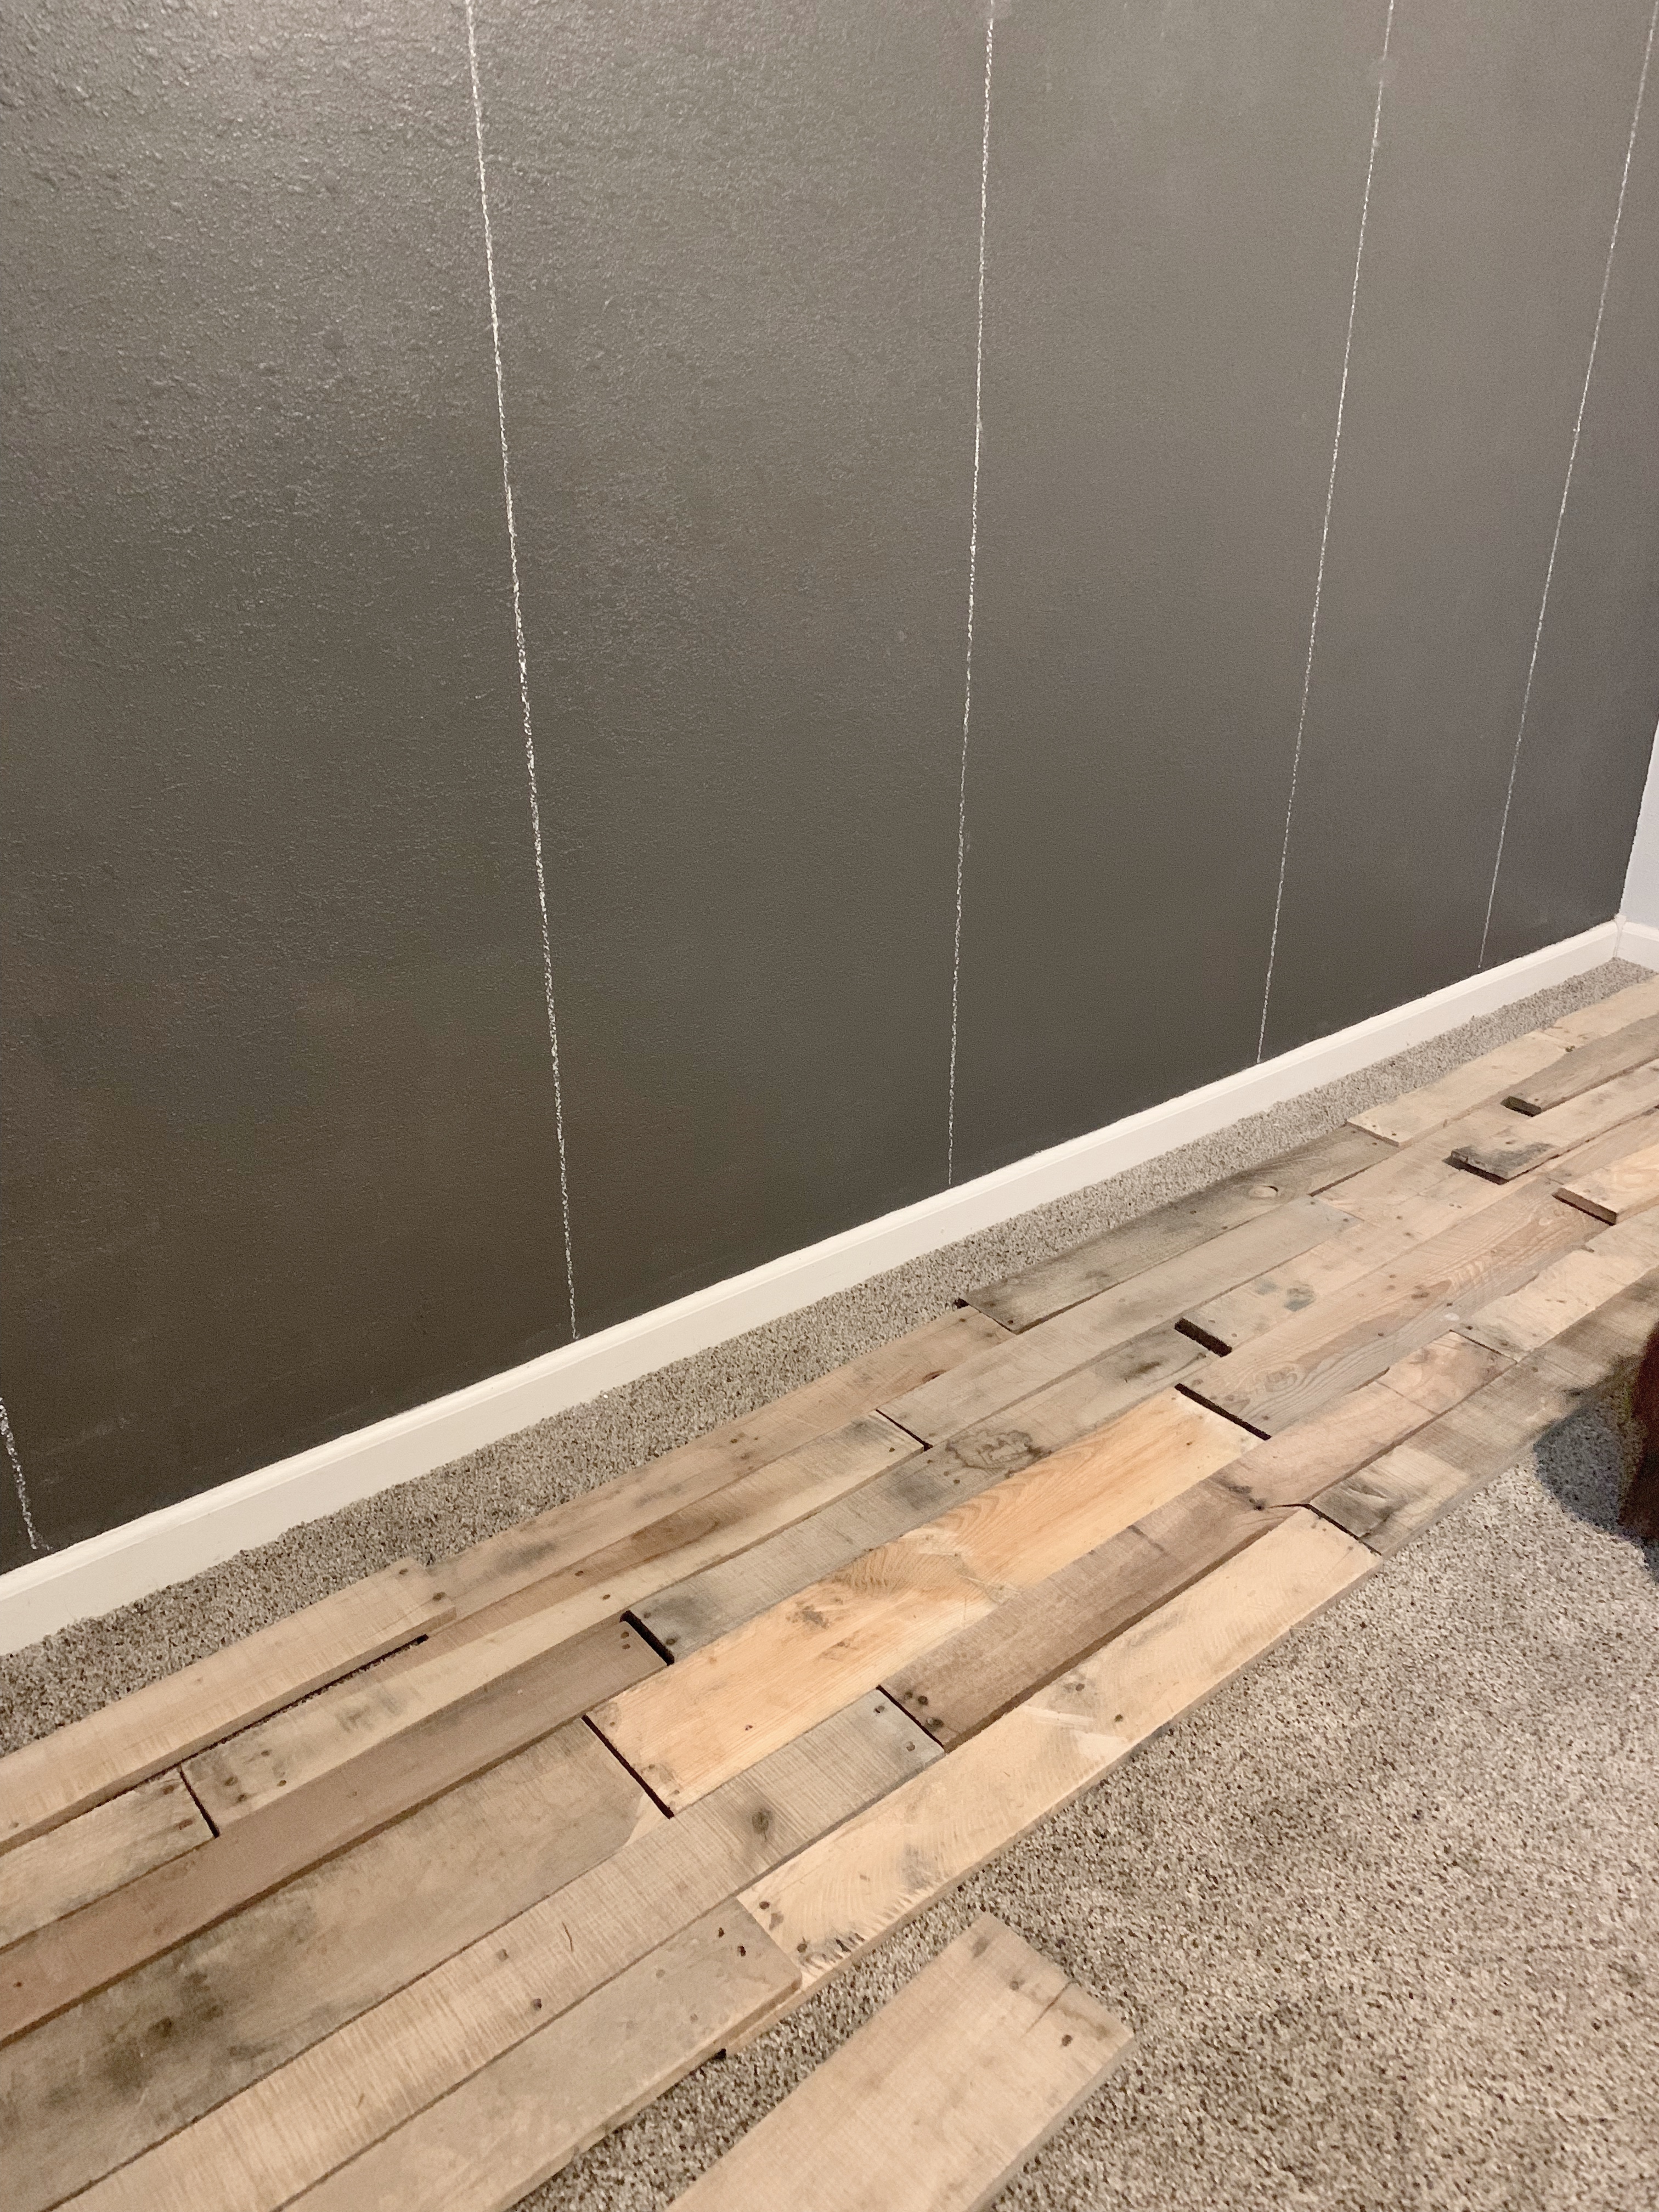
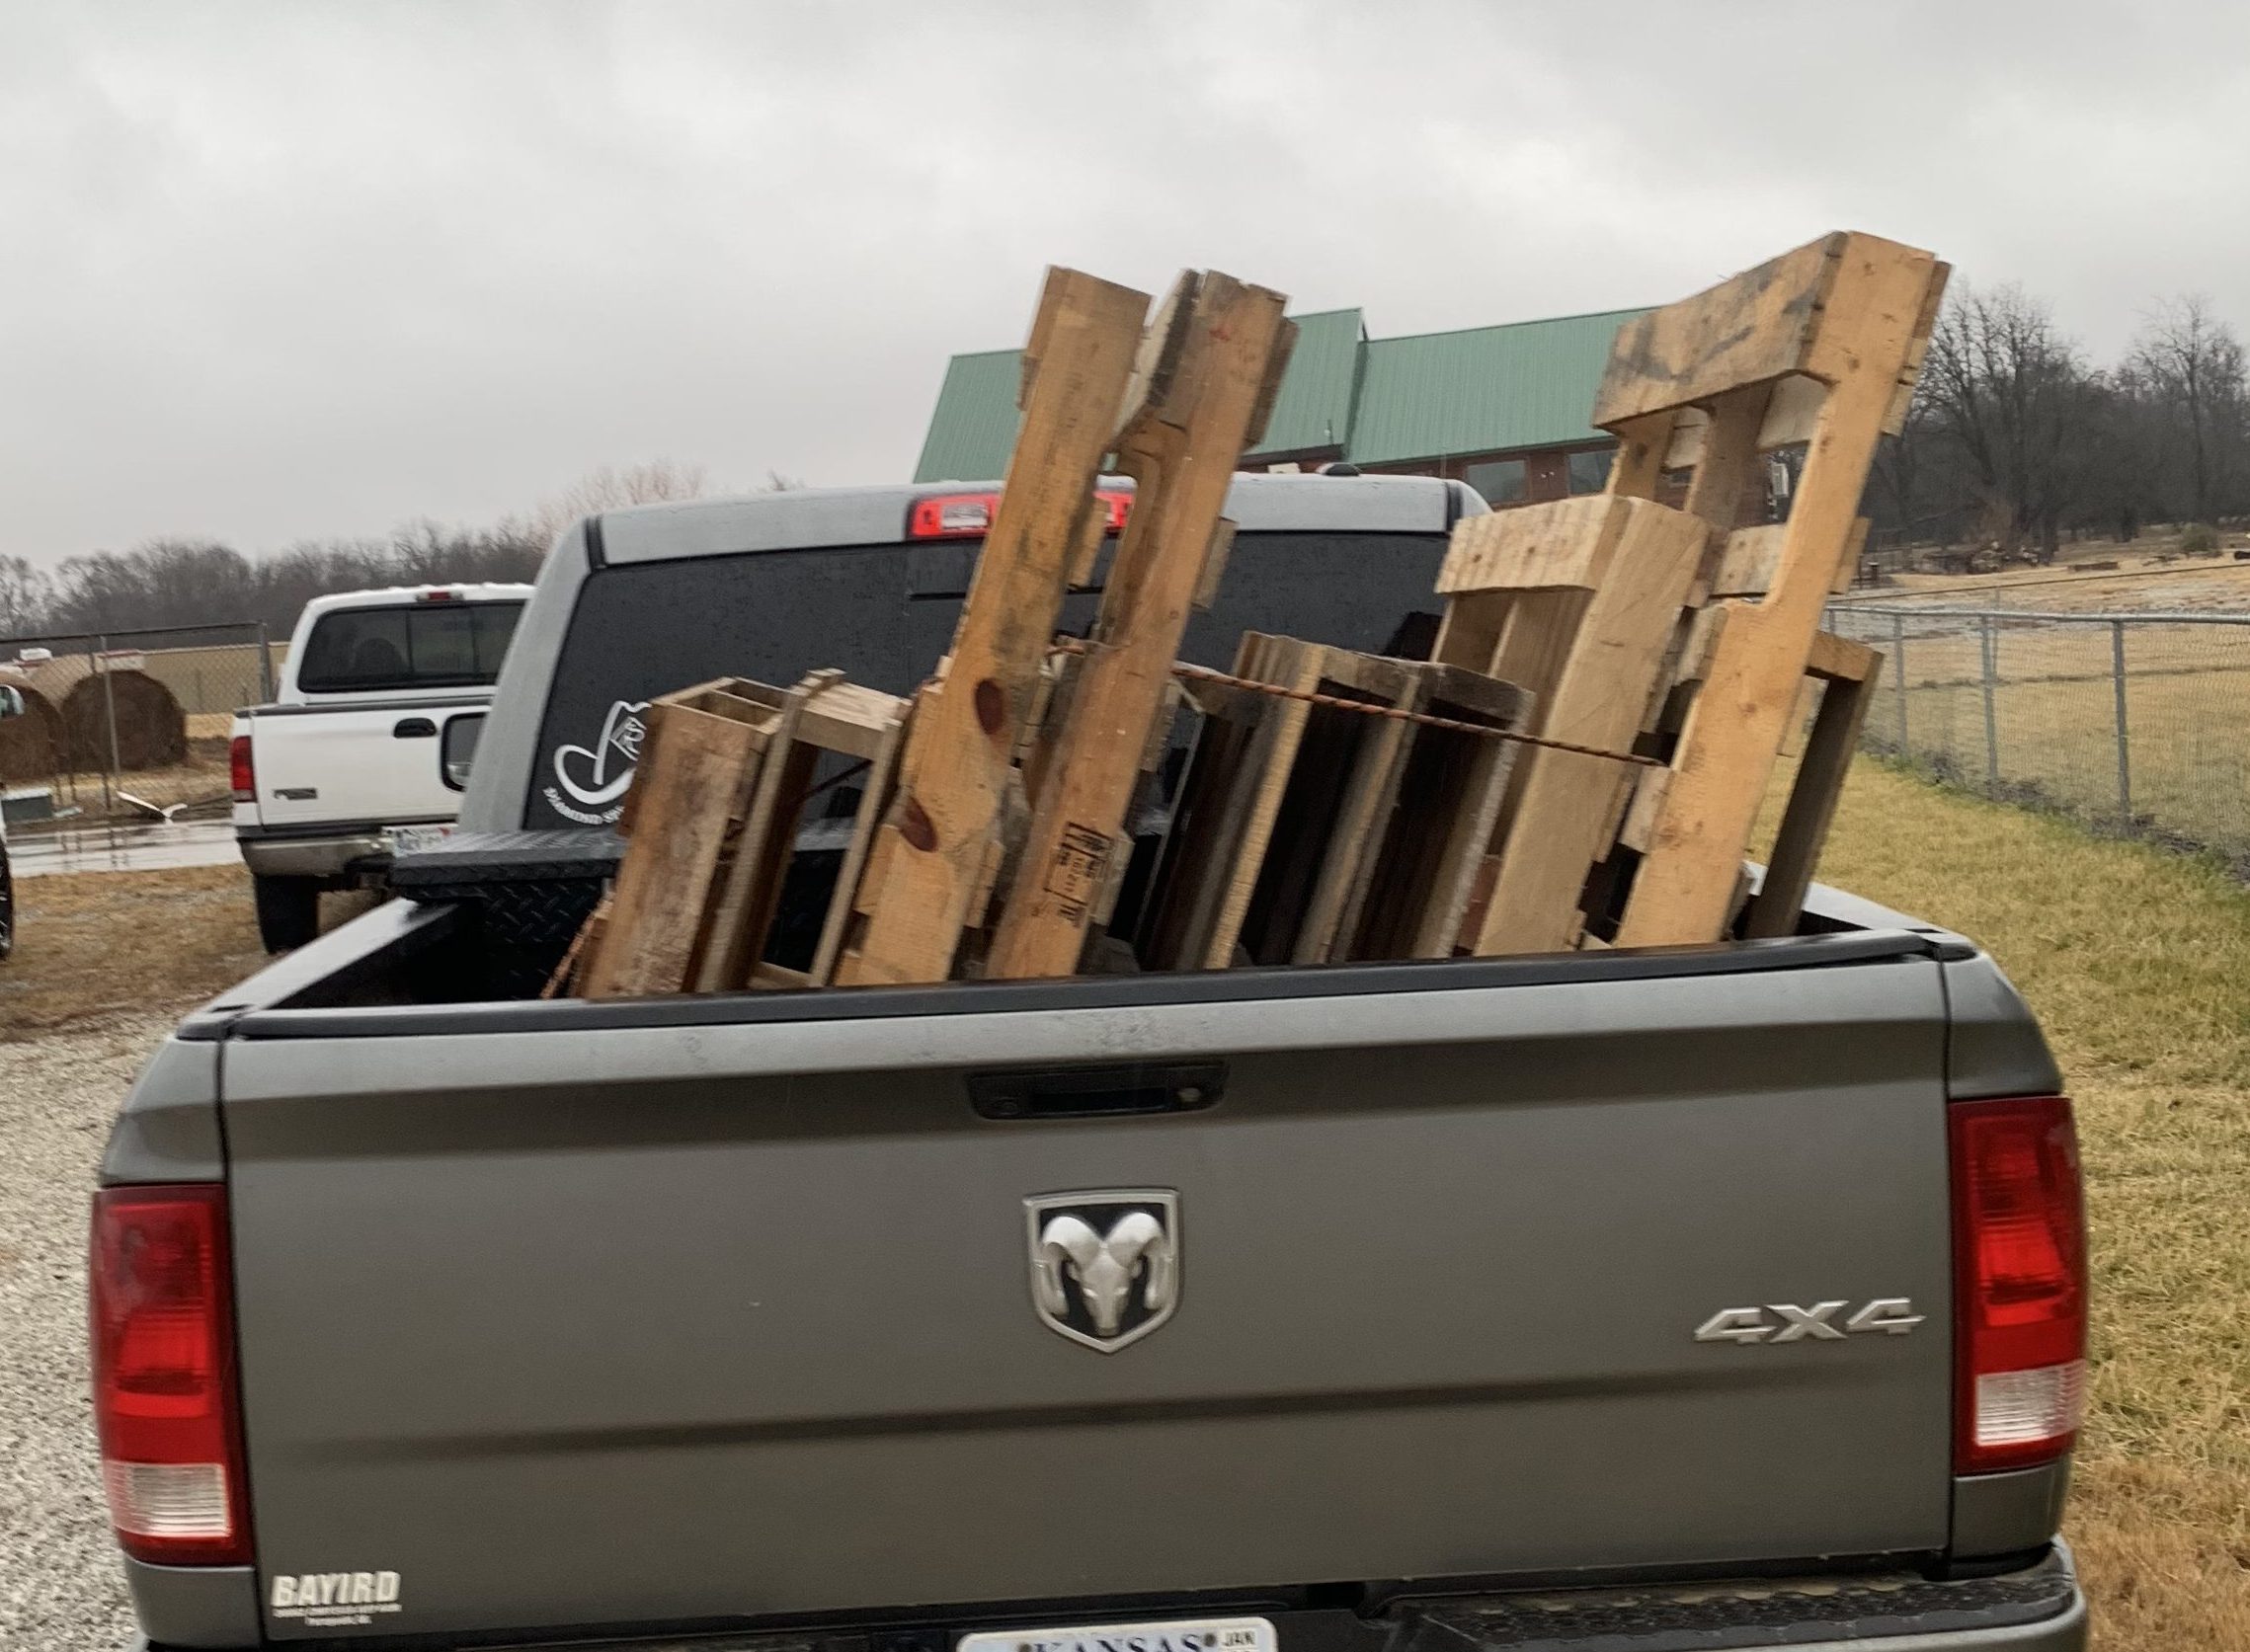
Pallet wood is pretty easy to come by, and a lot of times it’s even free. We picked up ten pallets for free from a mutual friend, and Logan made sure to chose ones with different sized planks, and different levels of aging to get varying colors and widths on the wall. This is what gives it depth and interest! As an average, one pallet is close to 9 square feet. Our wall is 88 square feet, which is why we got ten pallets. This was pretty accurate considering we only had about four boards left over lol, I actually thought we wouldn’t have enough to finish.
Tools Used for this Project:
Step One: Paint the wall black
I wasn’t sure that this step was necessary, but I’m glad I took this advice because the wall definitely shows through the planks, and black paint makes this almost unnoticeable! I would have been very disappointed if we hadn’t painted the wall first.
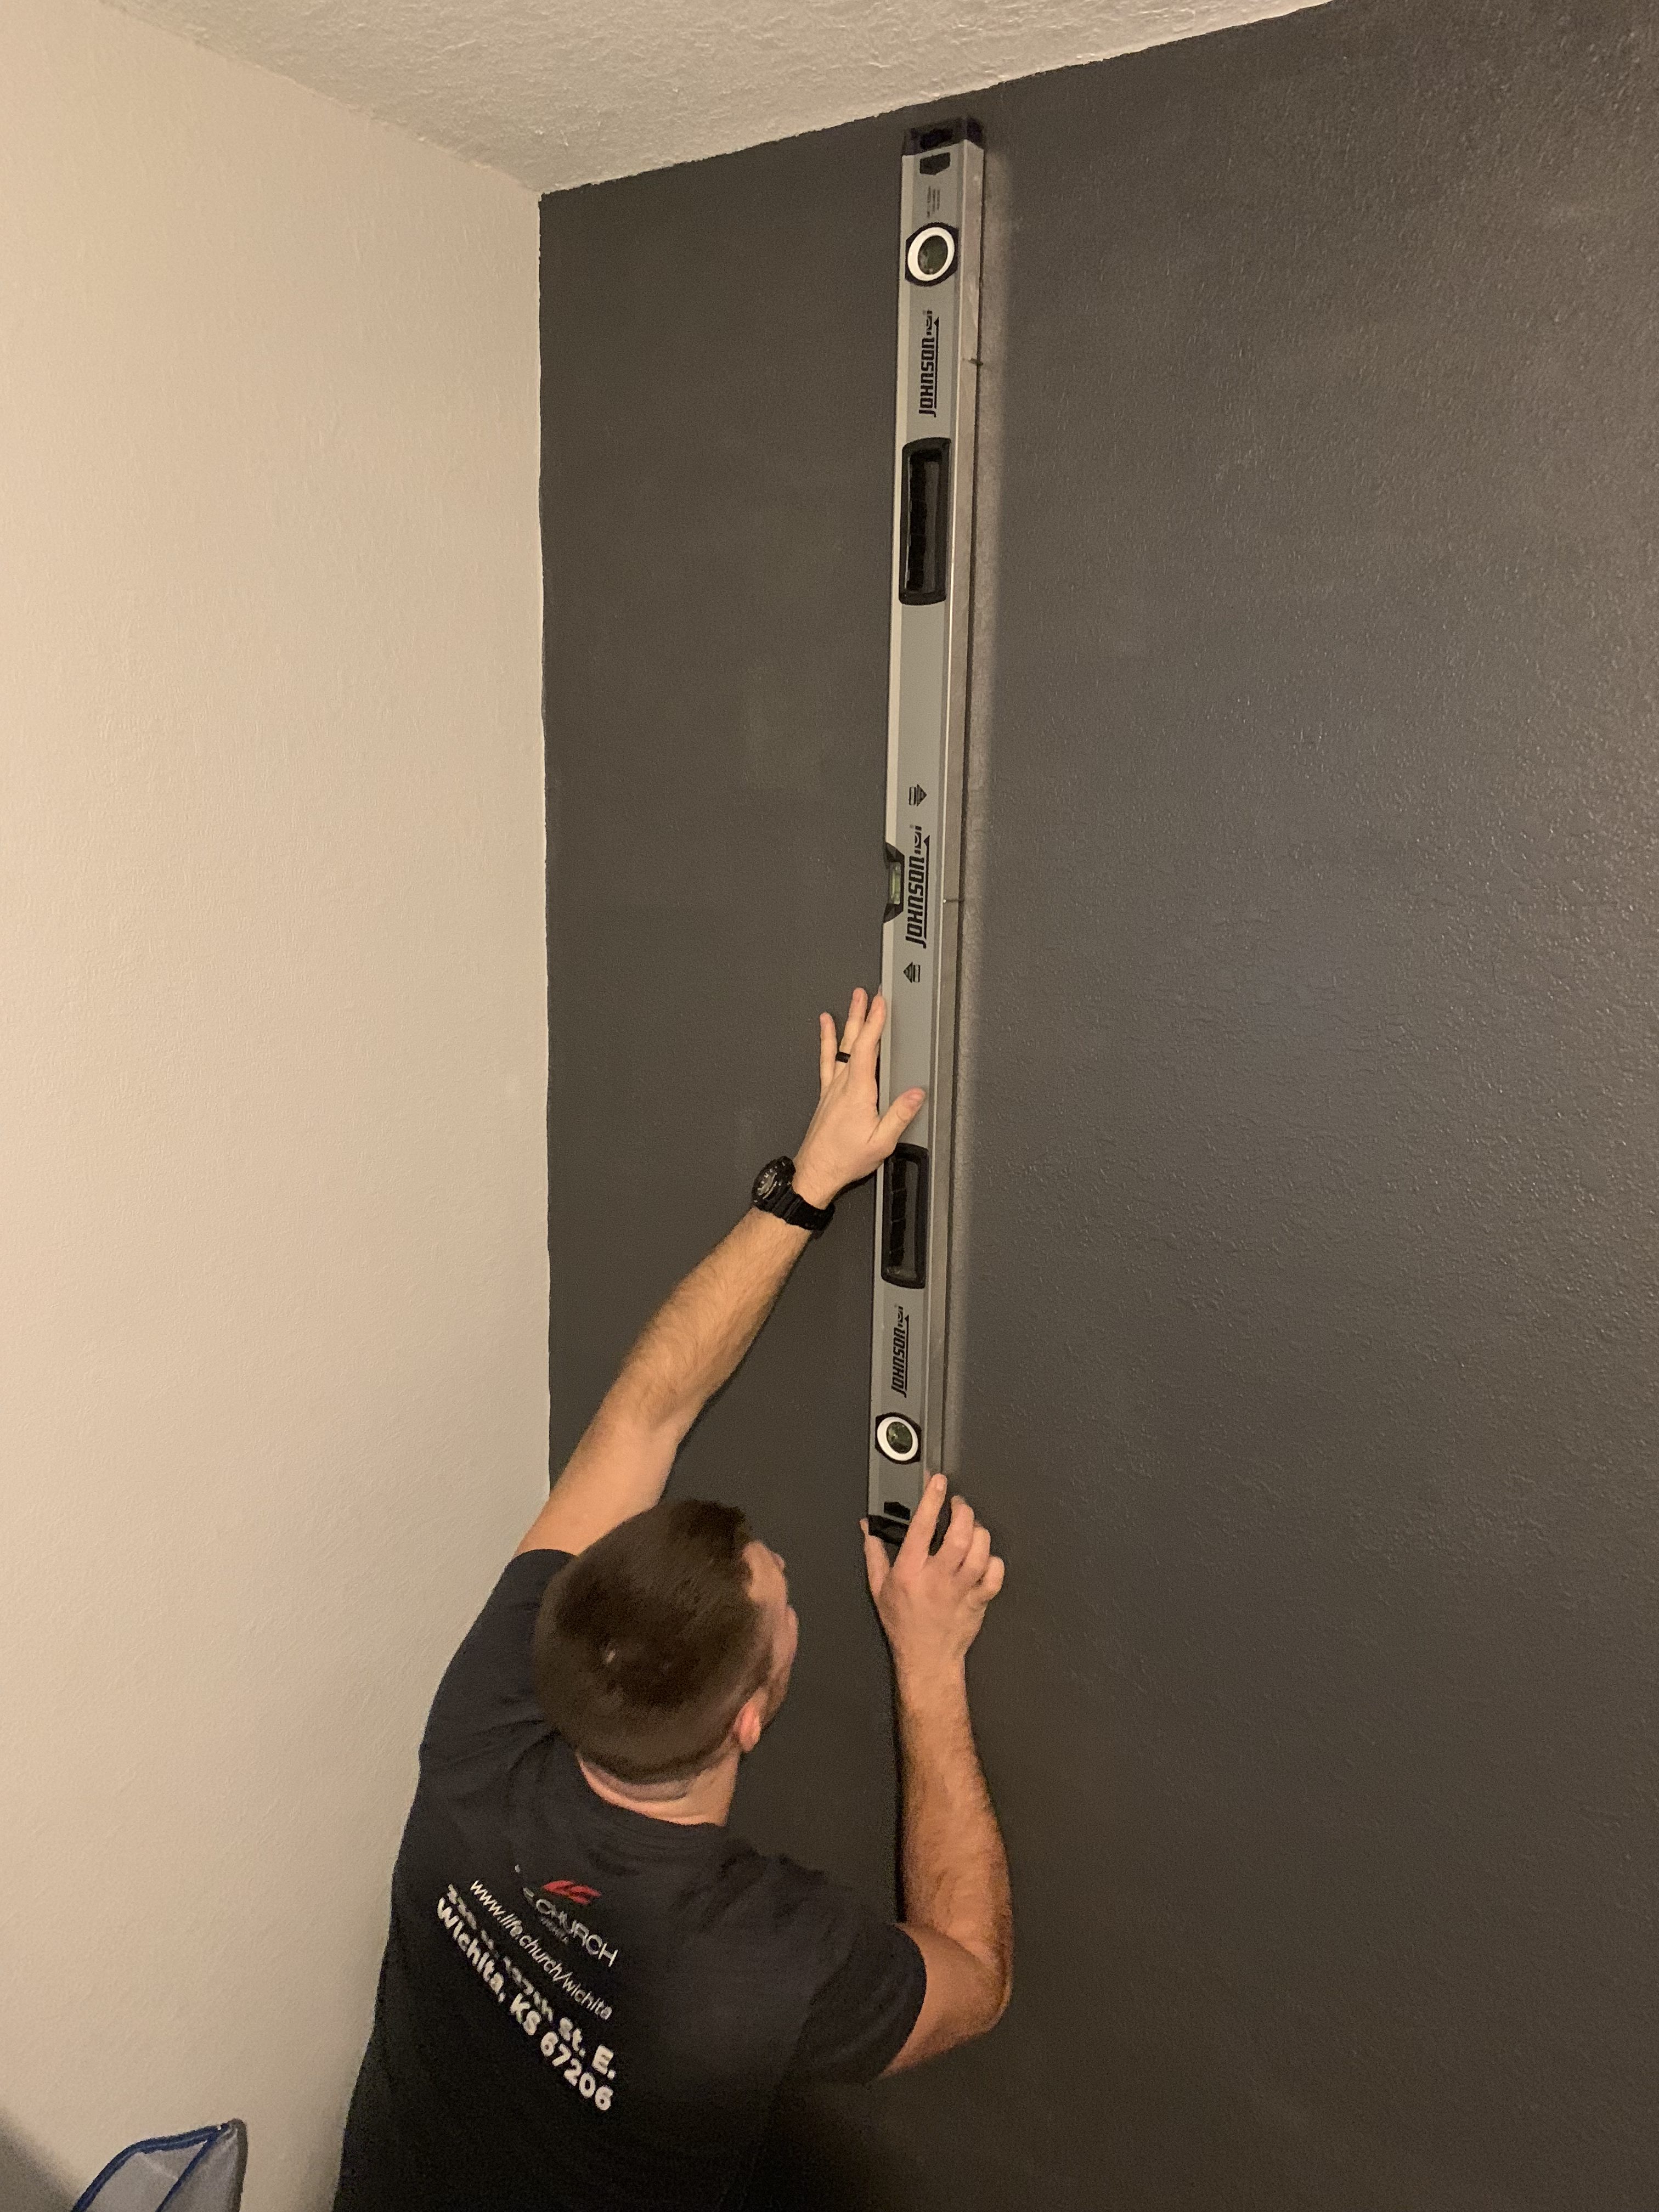
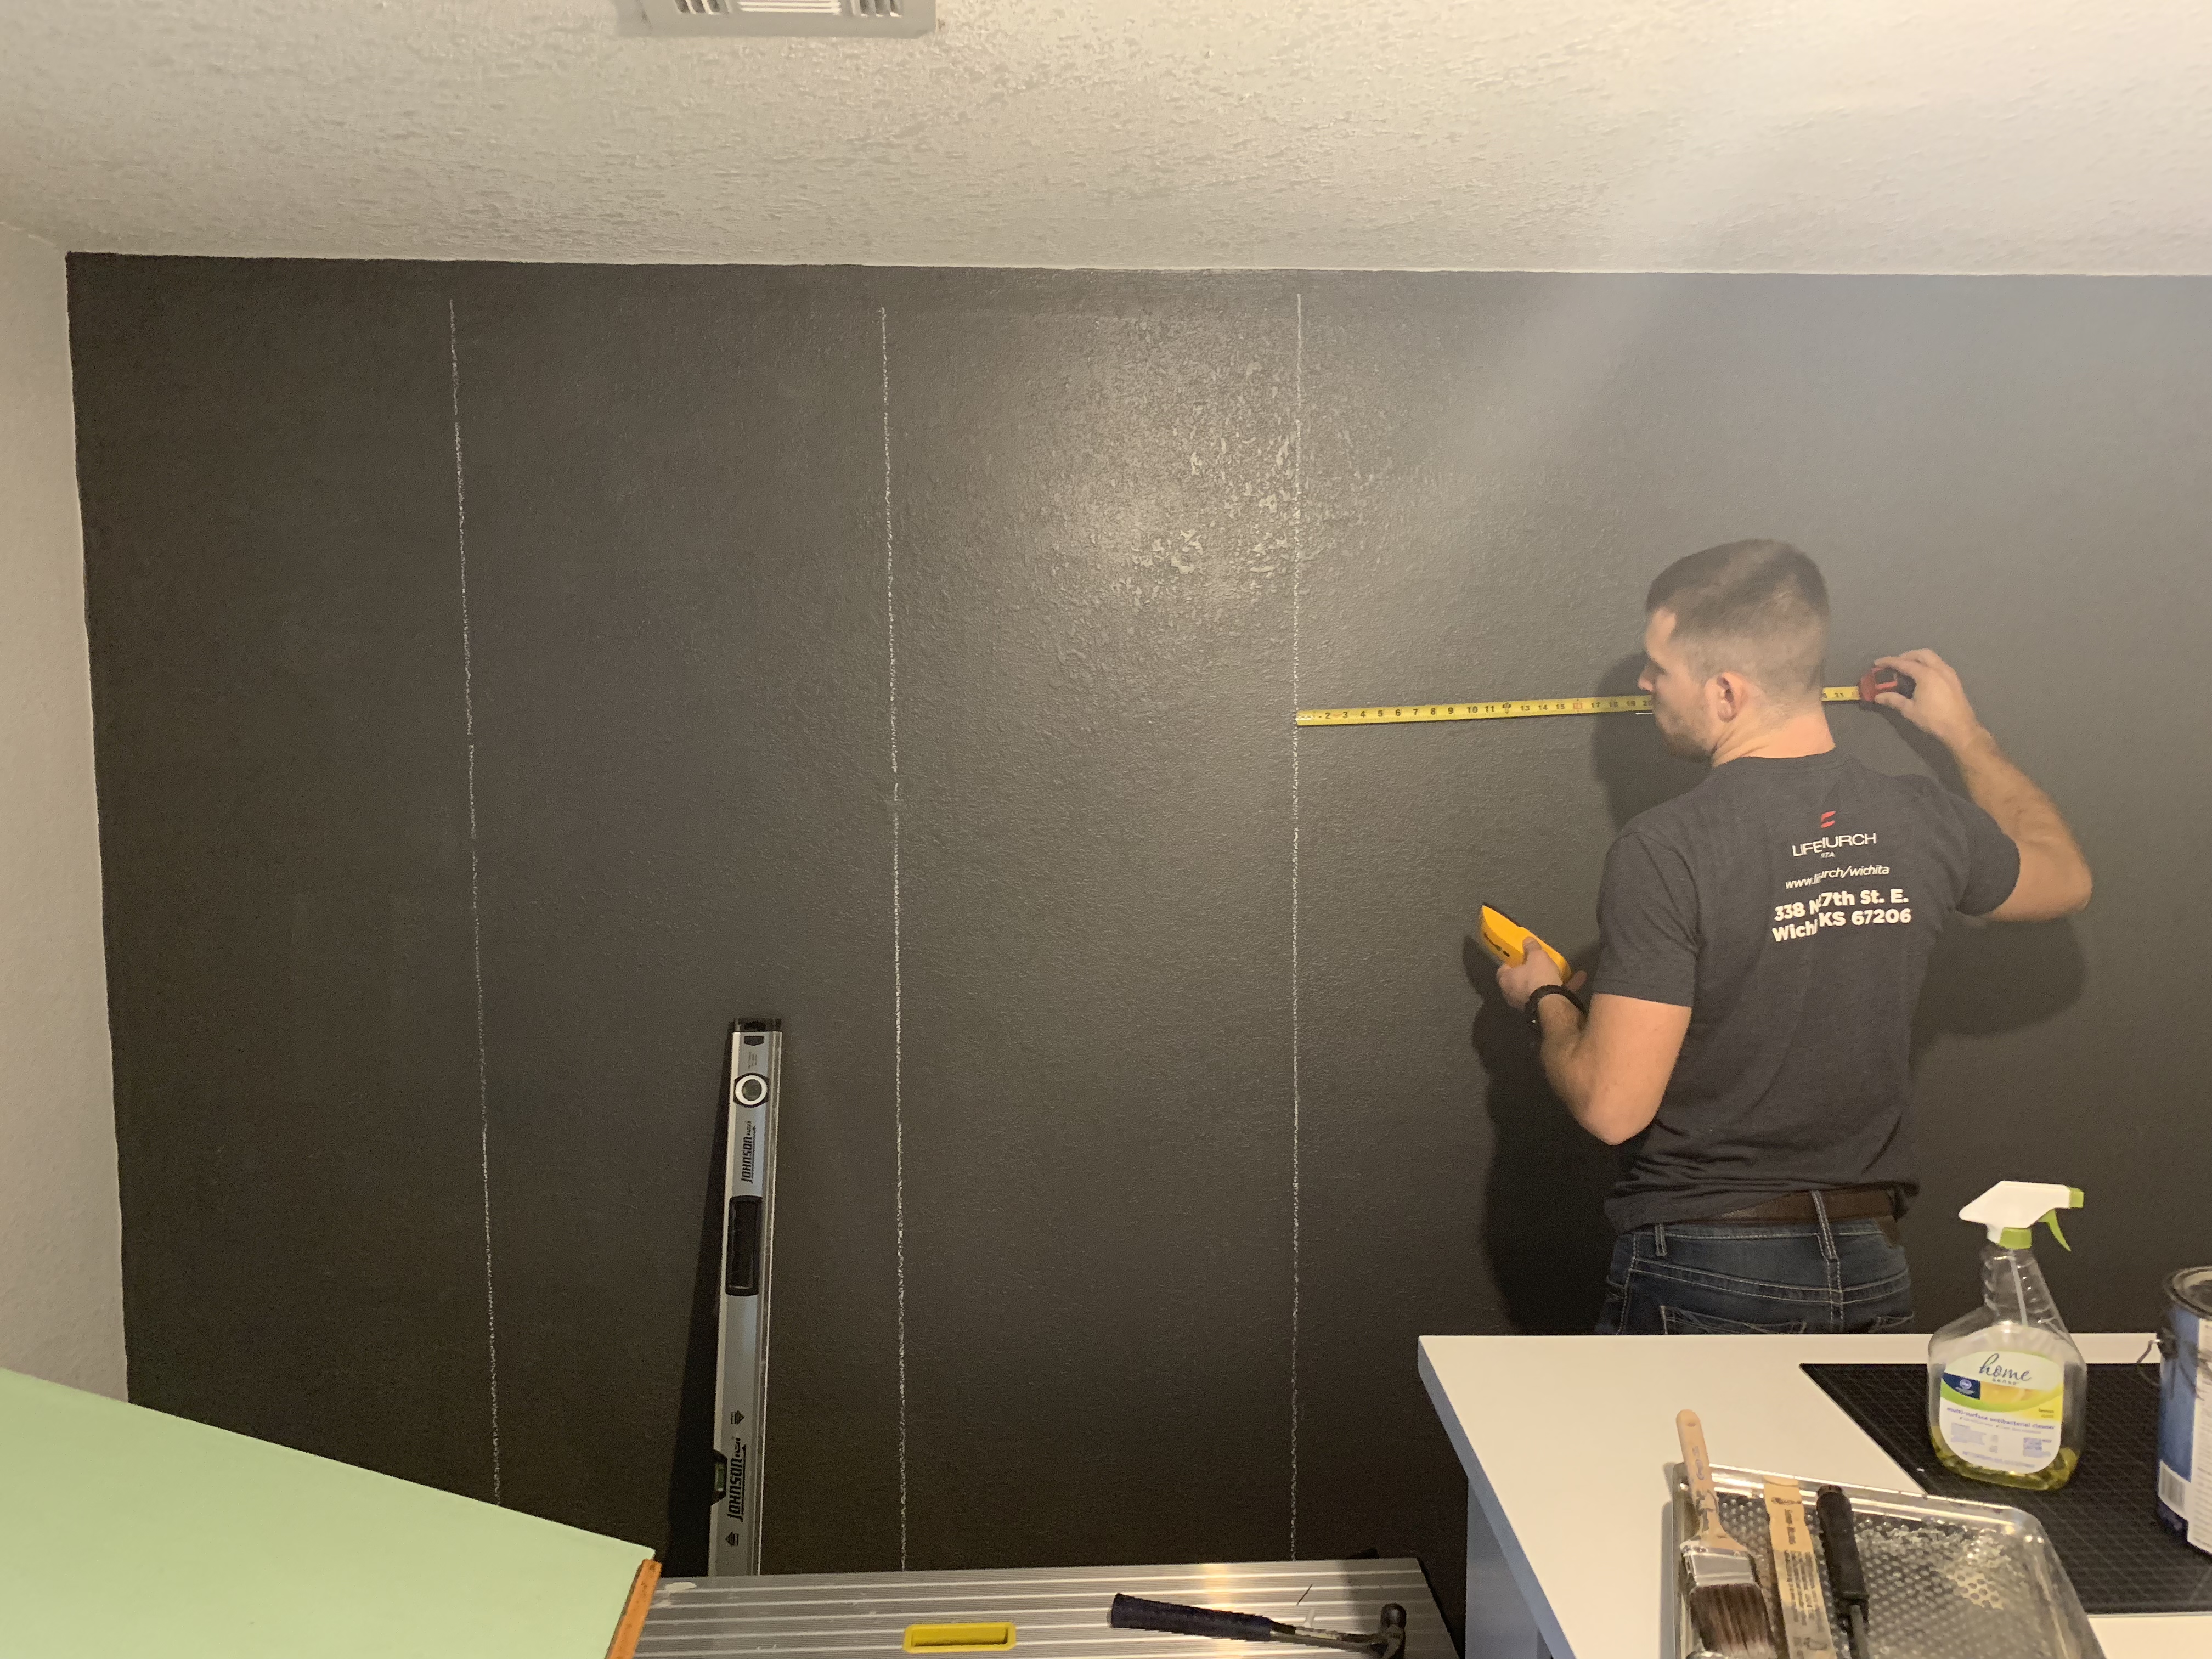
Step Two: Draw chalk lines
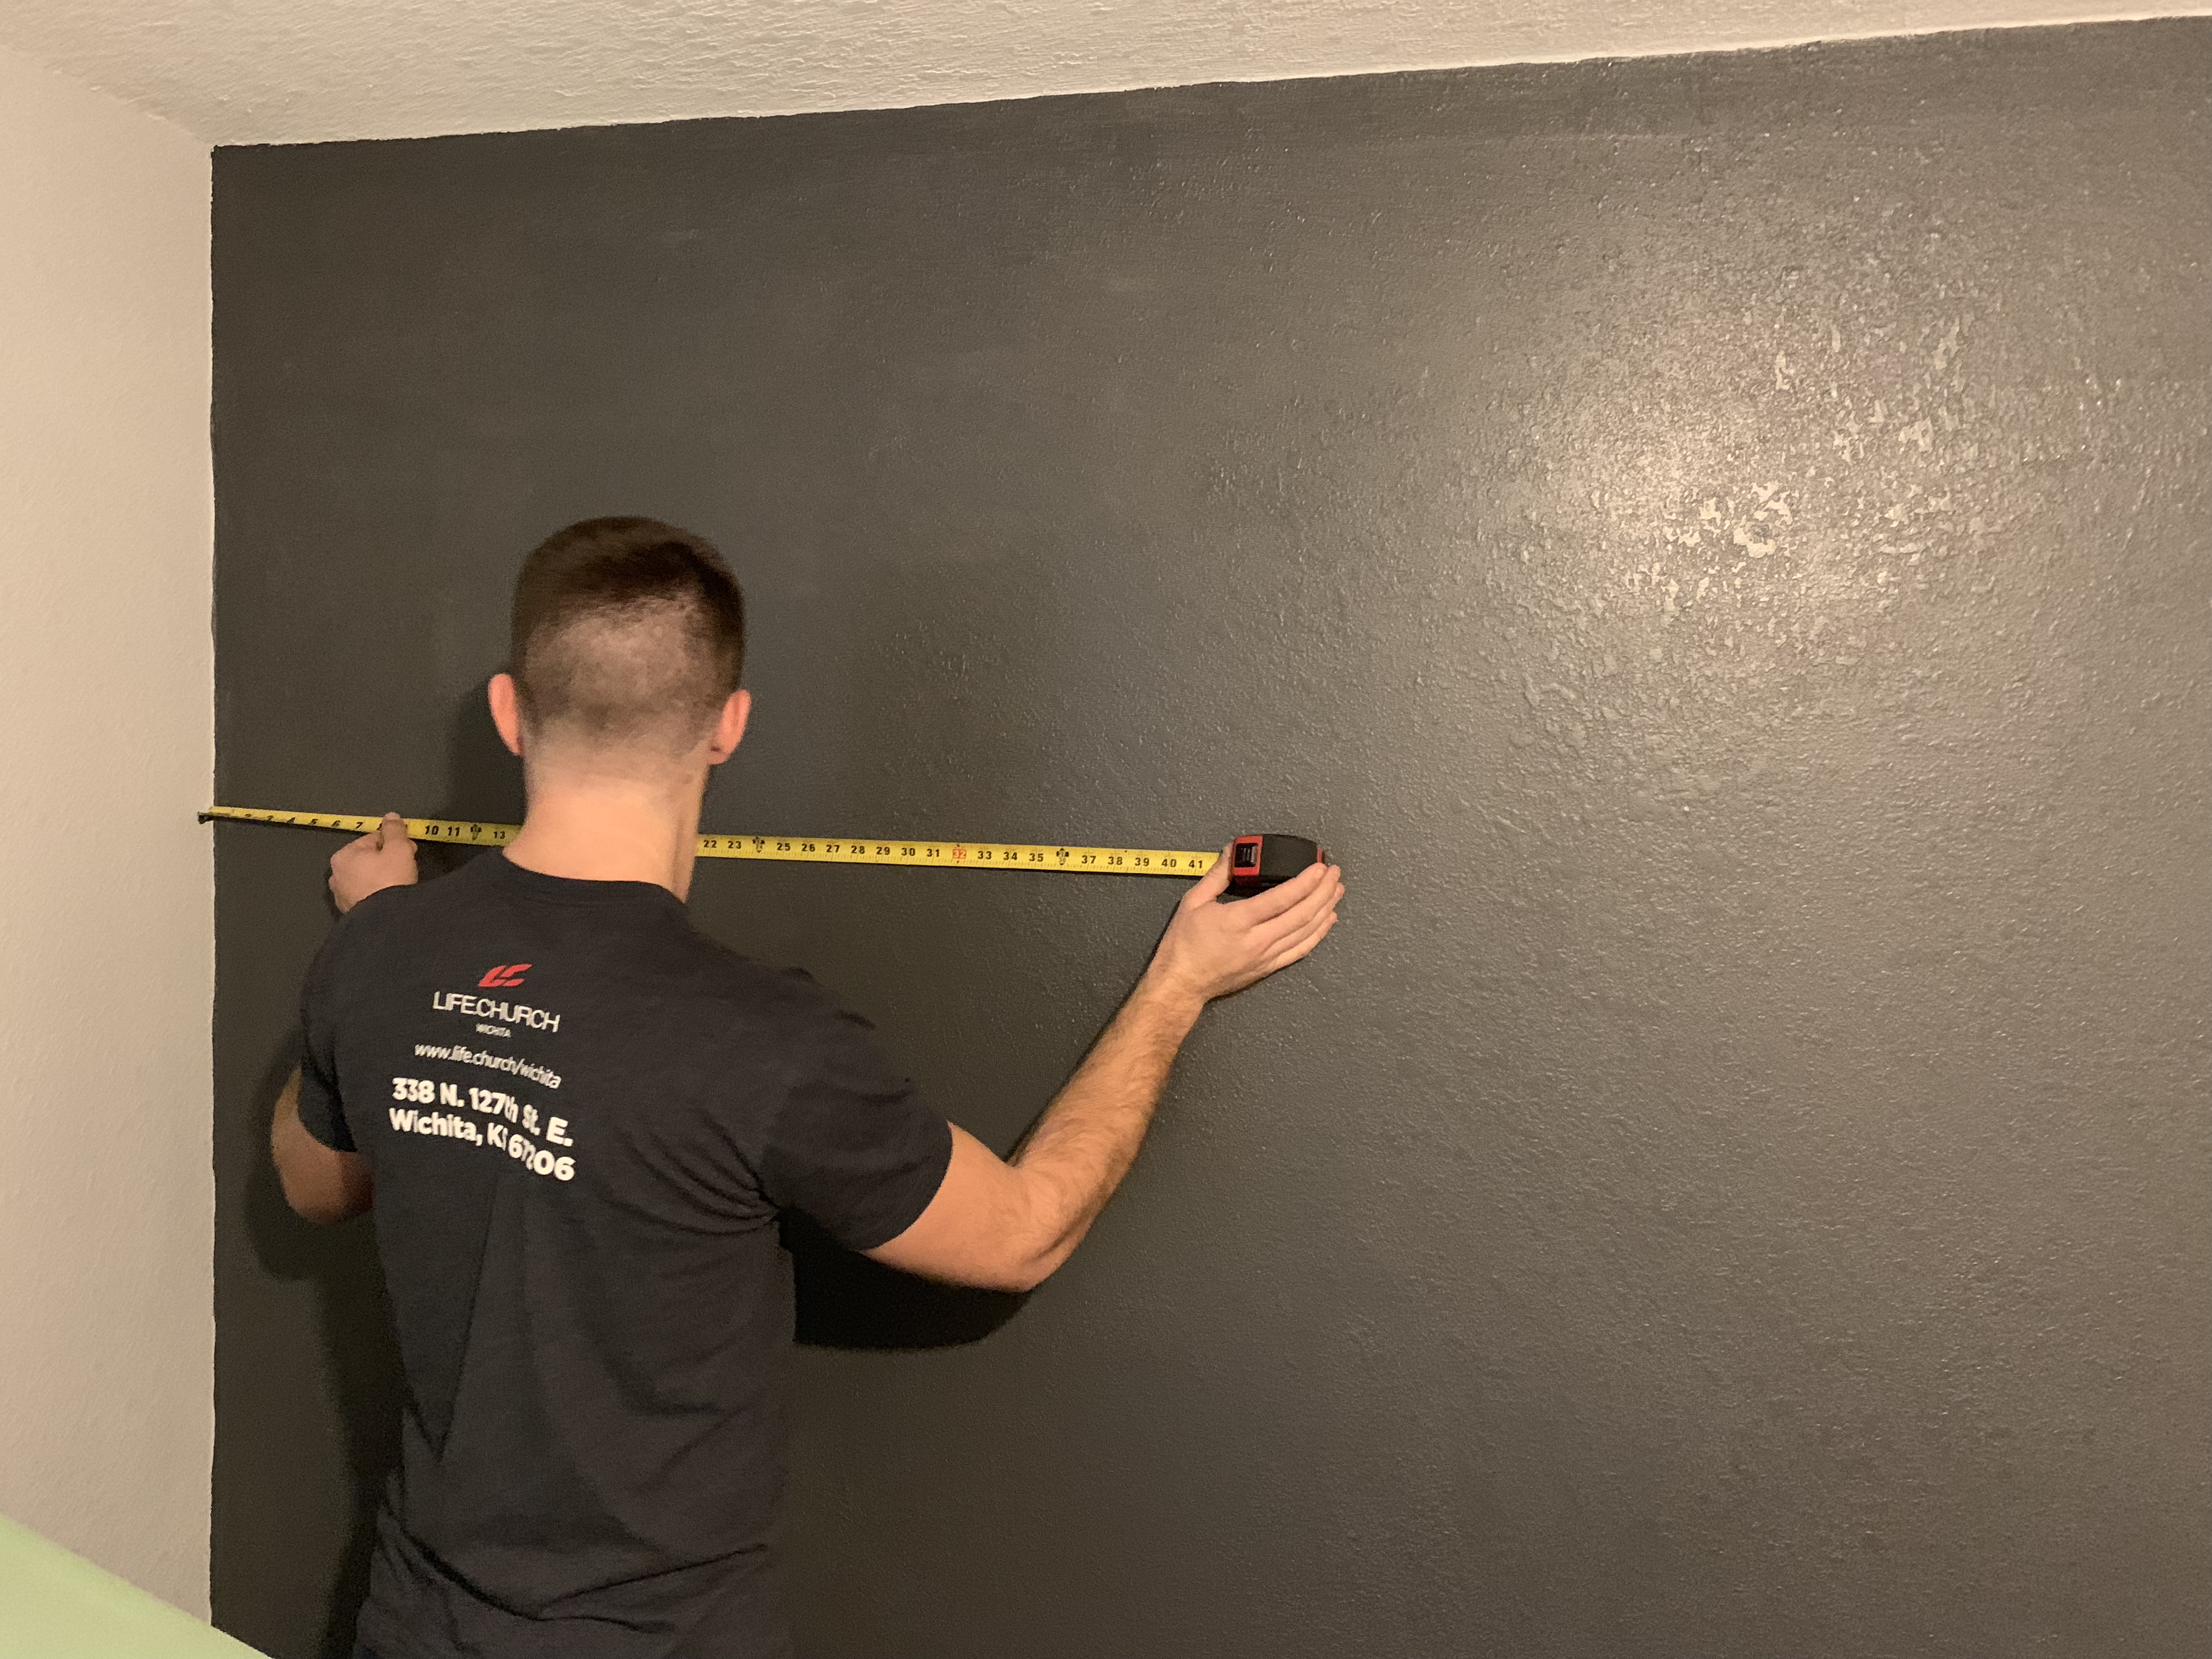
We used a stud finder and a level to draw chalk lines where the studs were. Because our studs were not evenly spaced, this took the guess work out; we knew exactly where the studs were when we installed the planks, which made all the difference! A chalk string to snap the lines would have been easier, but we were just fine with drawing the lines ourselves.
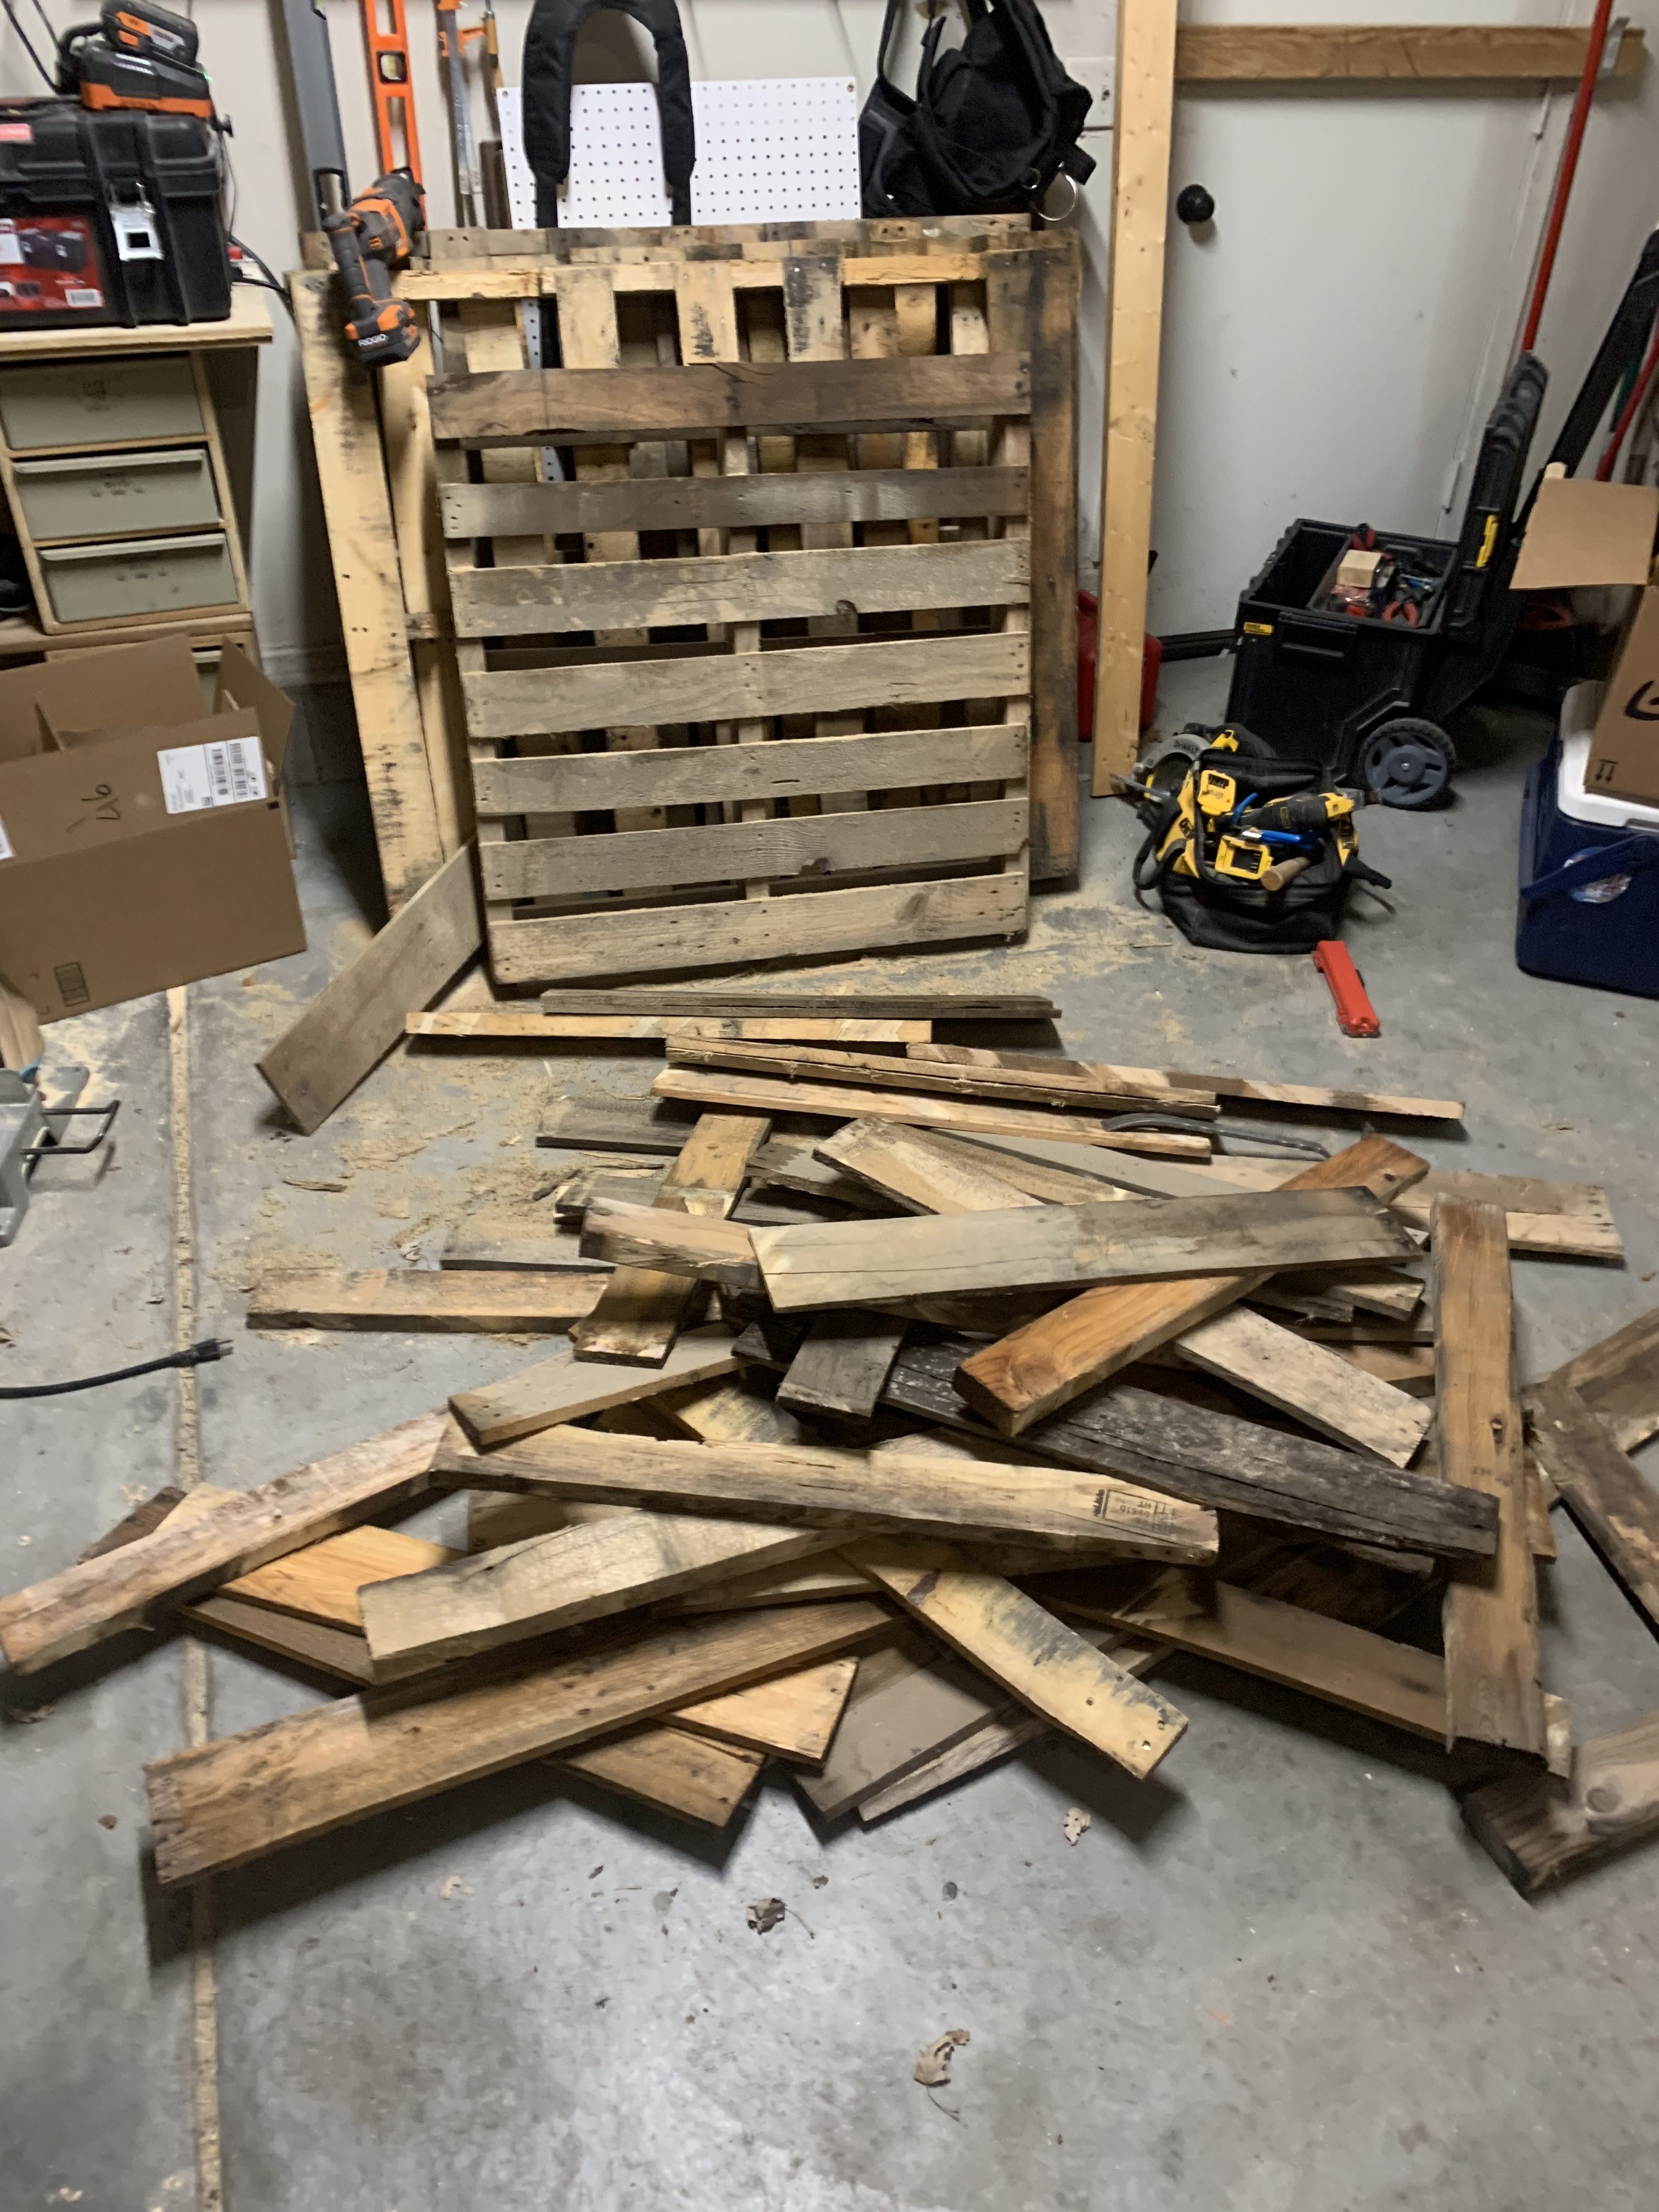
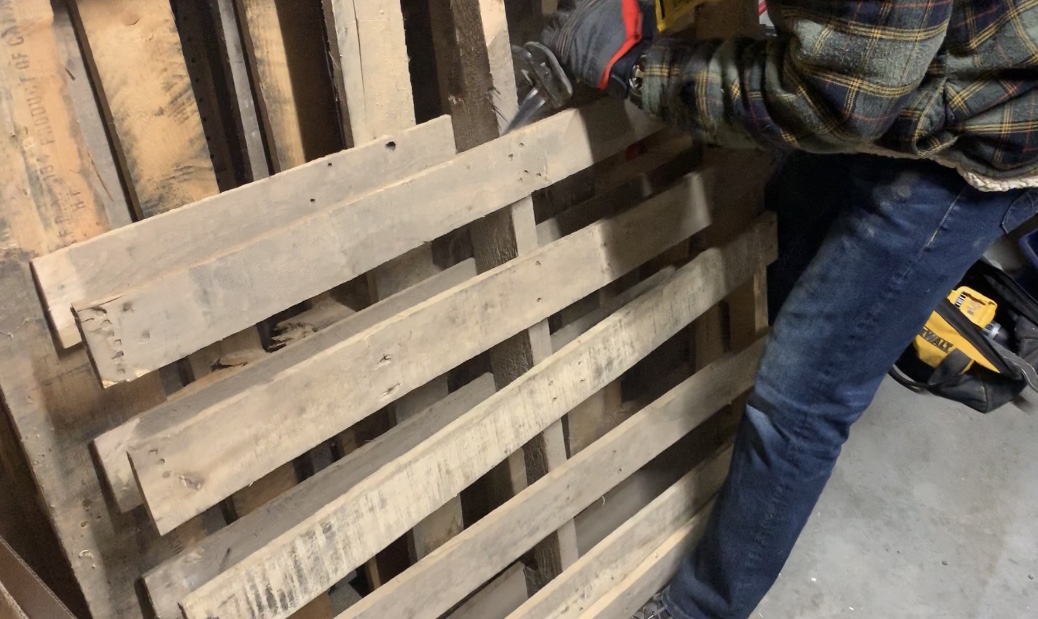
Step Three: Break apart the pallets
We used a sawzall to cut the planks off of the pallet, which was fairly quick and easy! Don’t worry about the nail heads showing on the front, this gives it character! I would, however, make sure there are no nails poking out on the back to ensure the planks will be flat against the wall. After we removed the planks and any loose nails, we lightly sanded the surface to get any dirt and rough edges off, being careful not to diminish the aged wood look.
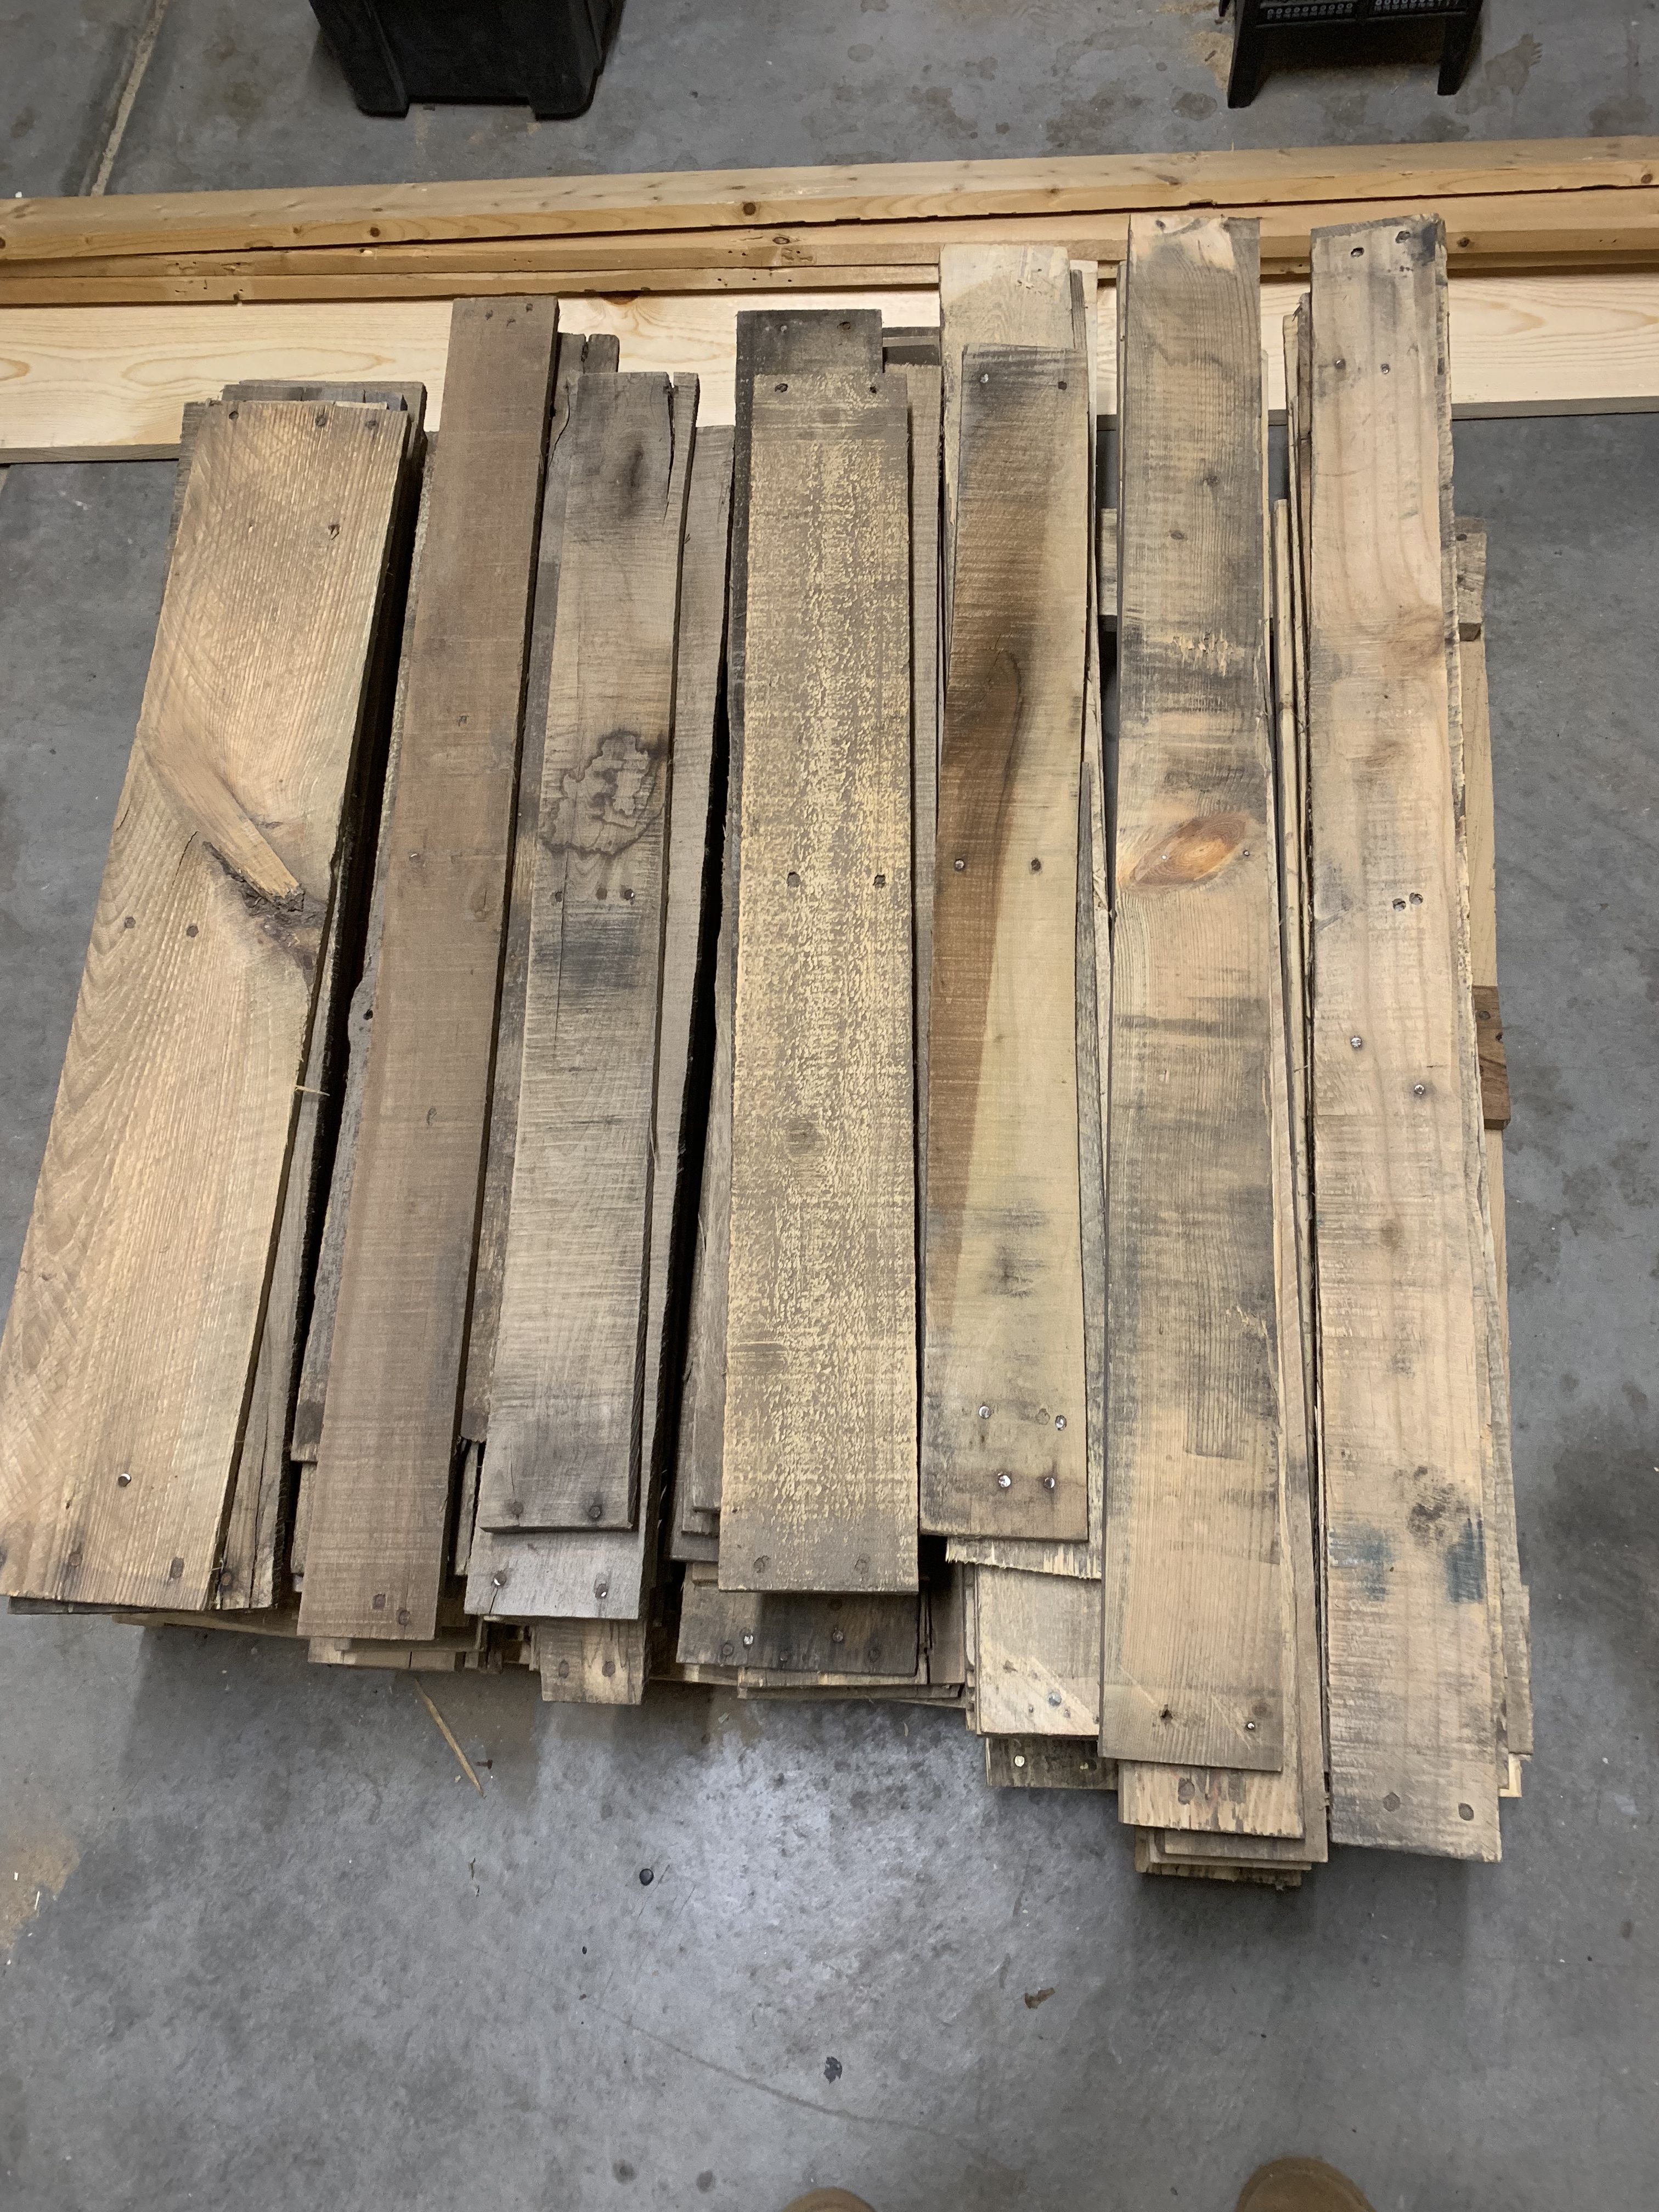
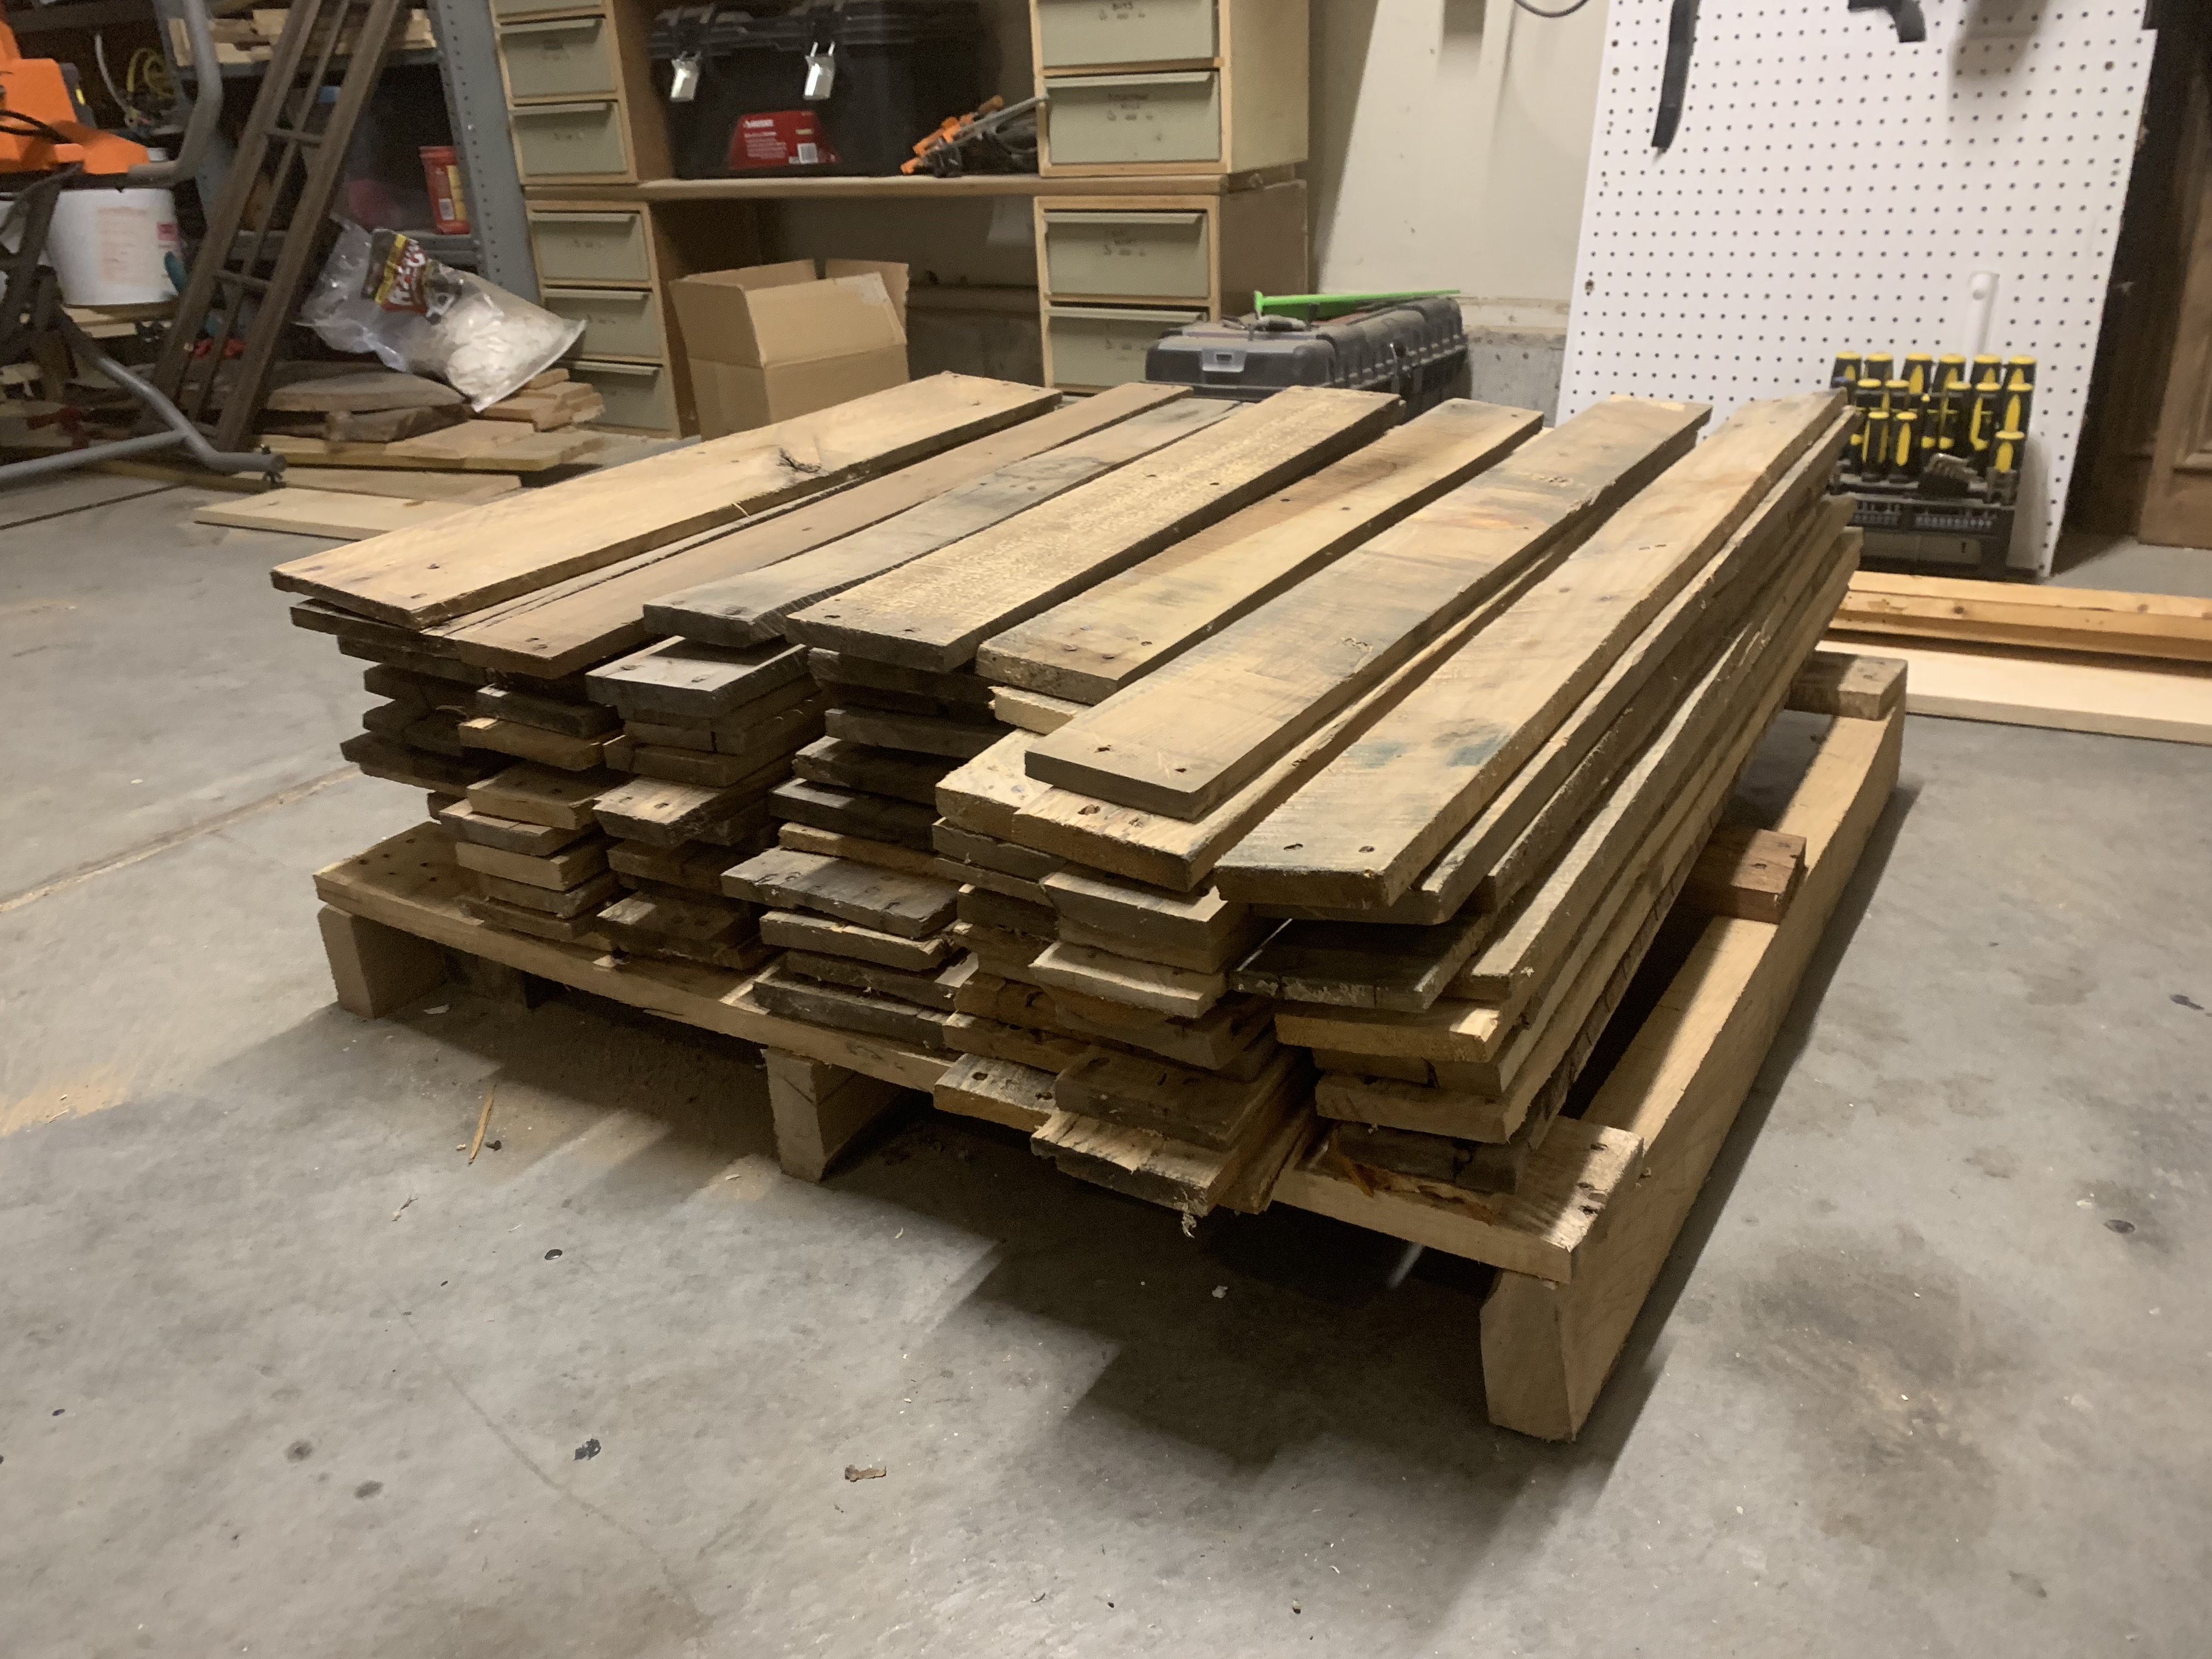
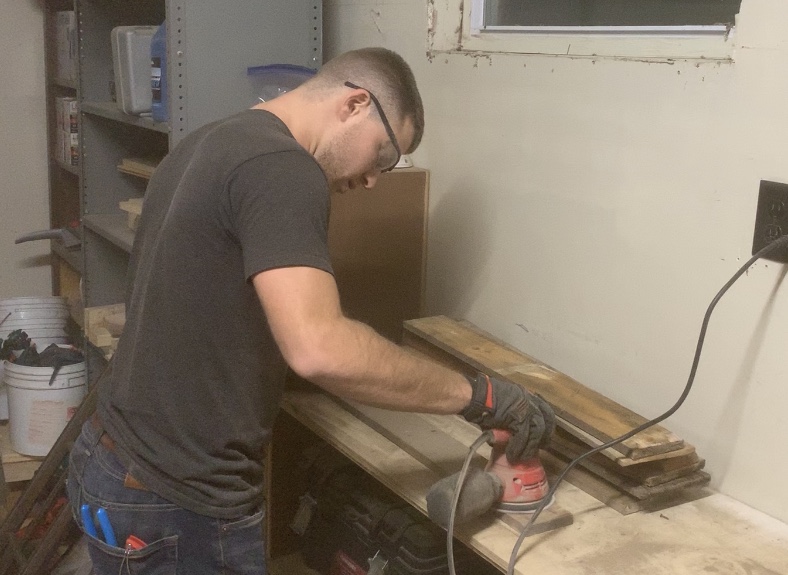
*Side note: We considered staining some boards to get the varying rustic colors, but like I said earlier, we picked pallets with different aged planks and that ended up being enough of a contrast. You can decide on that step for yourself.
Step Four: Plank the wall
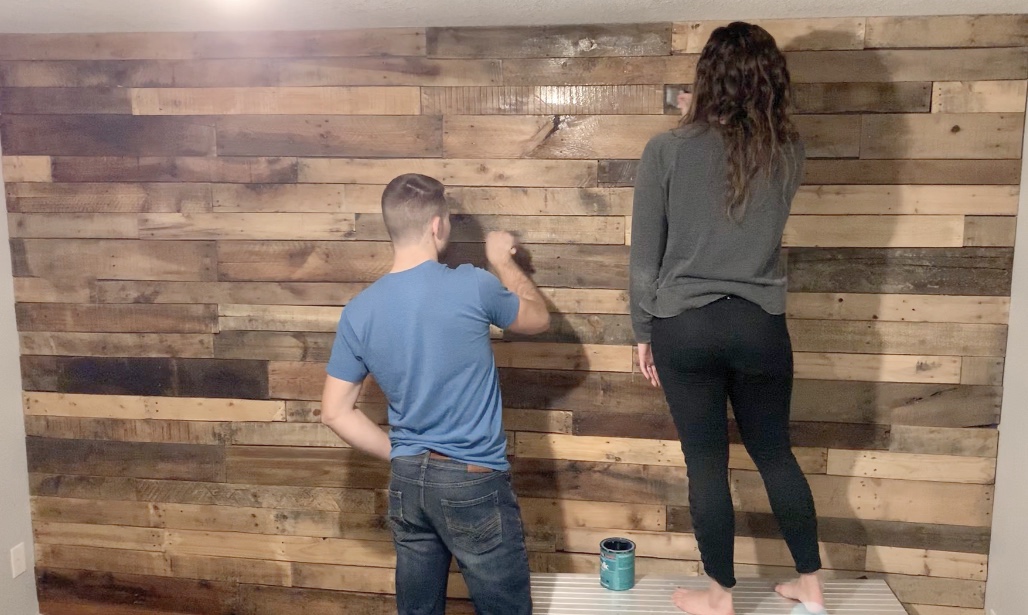
We started in the top corner and finish nailed the wood into the studs marked with chalk. With each row, we made sure to stagger the seams so they didn’t line up. Pallet wood is very imperfect and uneven, which is why it’s important to check each row with a level and make sure you aren’t going at an angle. After three rows of thinner planks, we did a row of wide planks to mix it up. We pretty much kept with this pattern the whole time, but it might be different depending on your particular pallet wood.
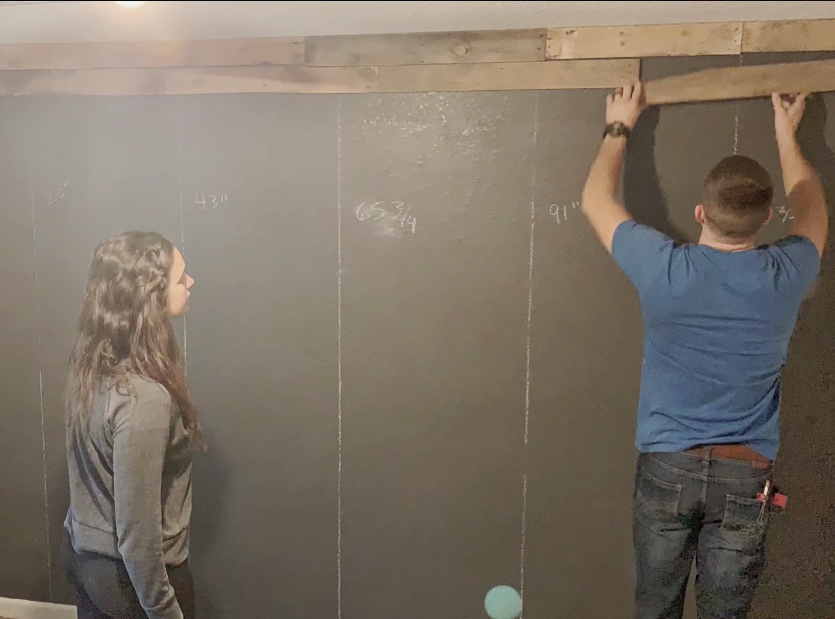
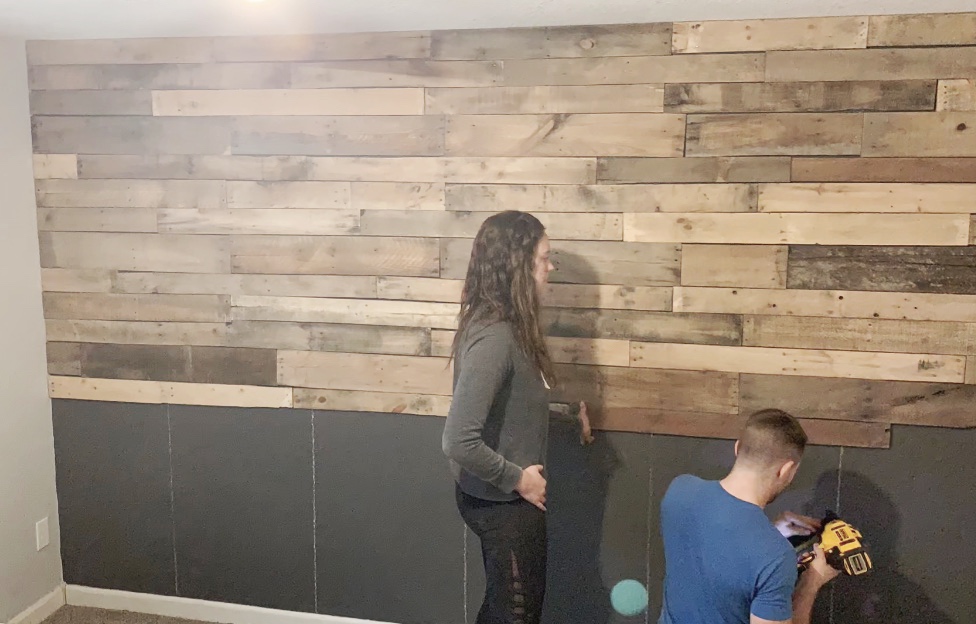
Also, be sure to start at different sides of the wall every-so-often to make sure you don’t have short pieces on only one side. The boards don’t have to fit together perfectly, remember this is a rustic accent wall! Imperfections are desired. When we got to the last row, there was about a 2″ space. We did our best to keep everything level, but we still measured for each piece on the last row to make sure it was a good fit.
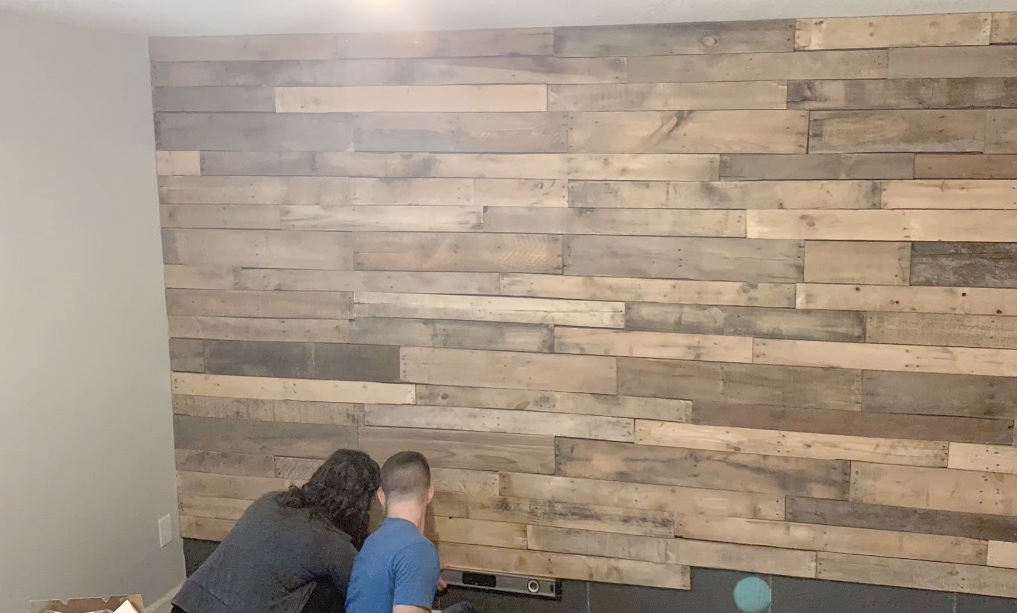
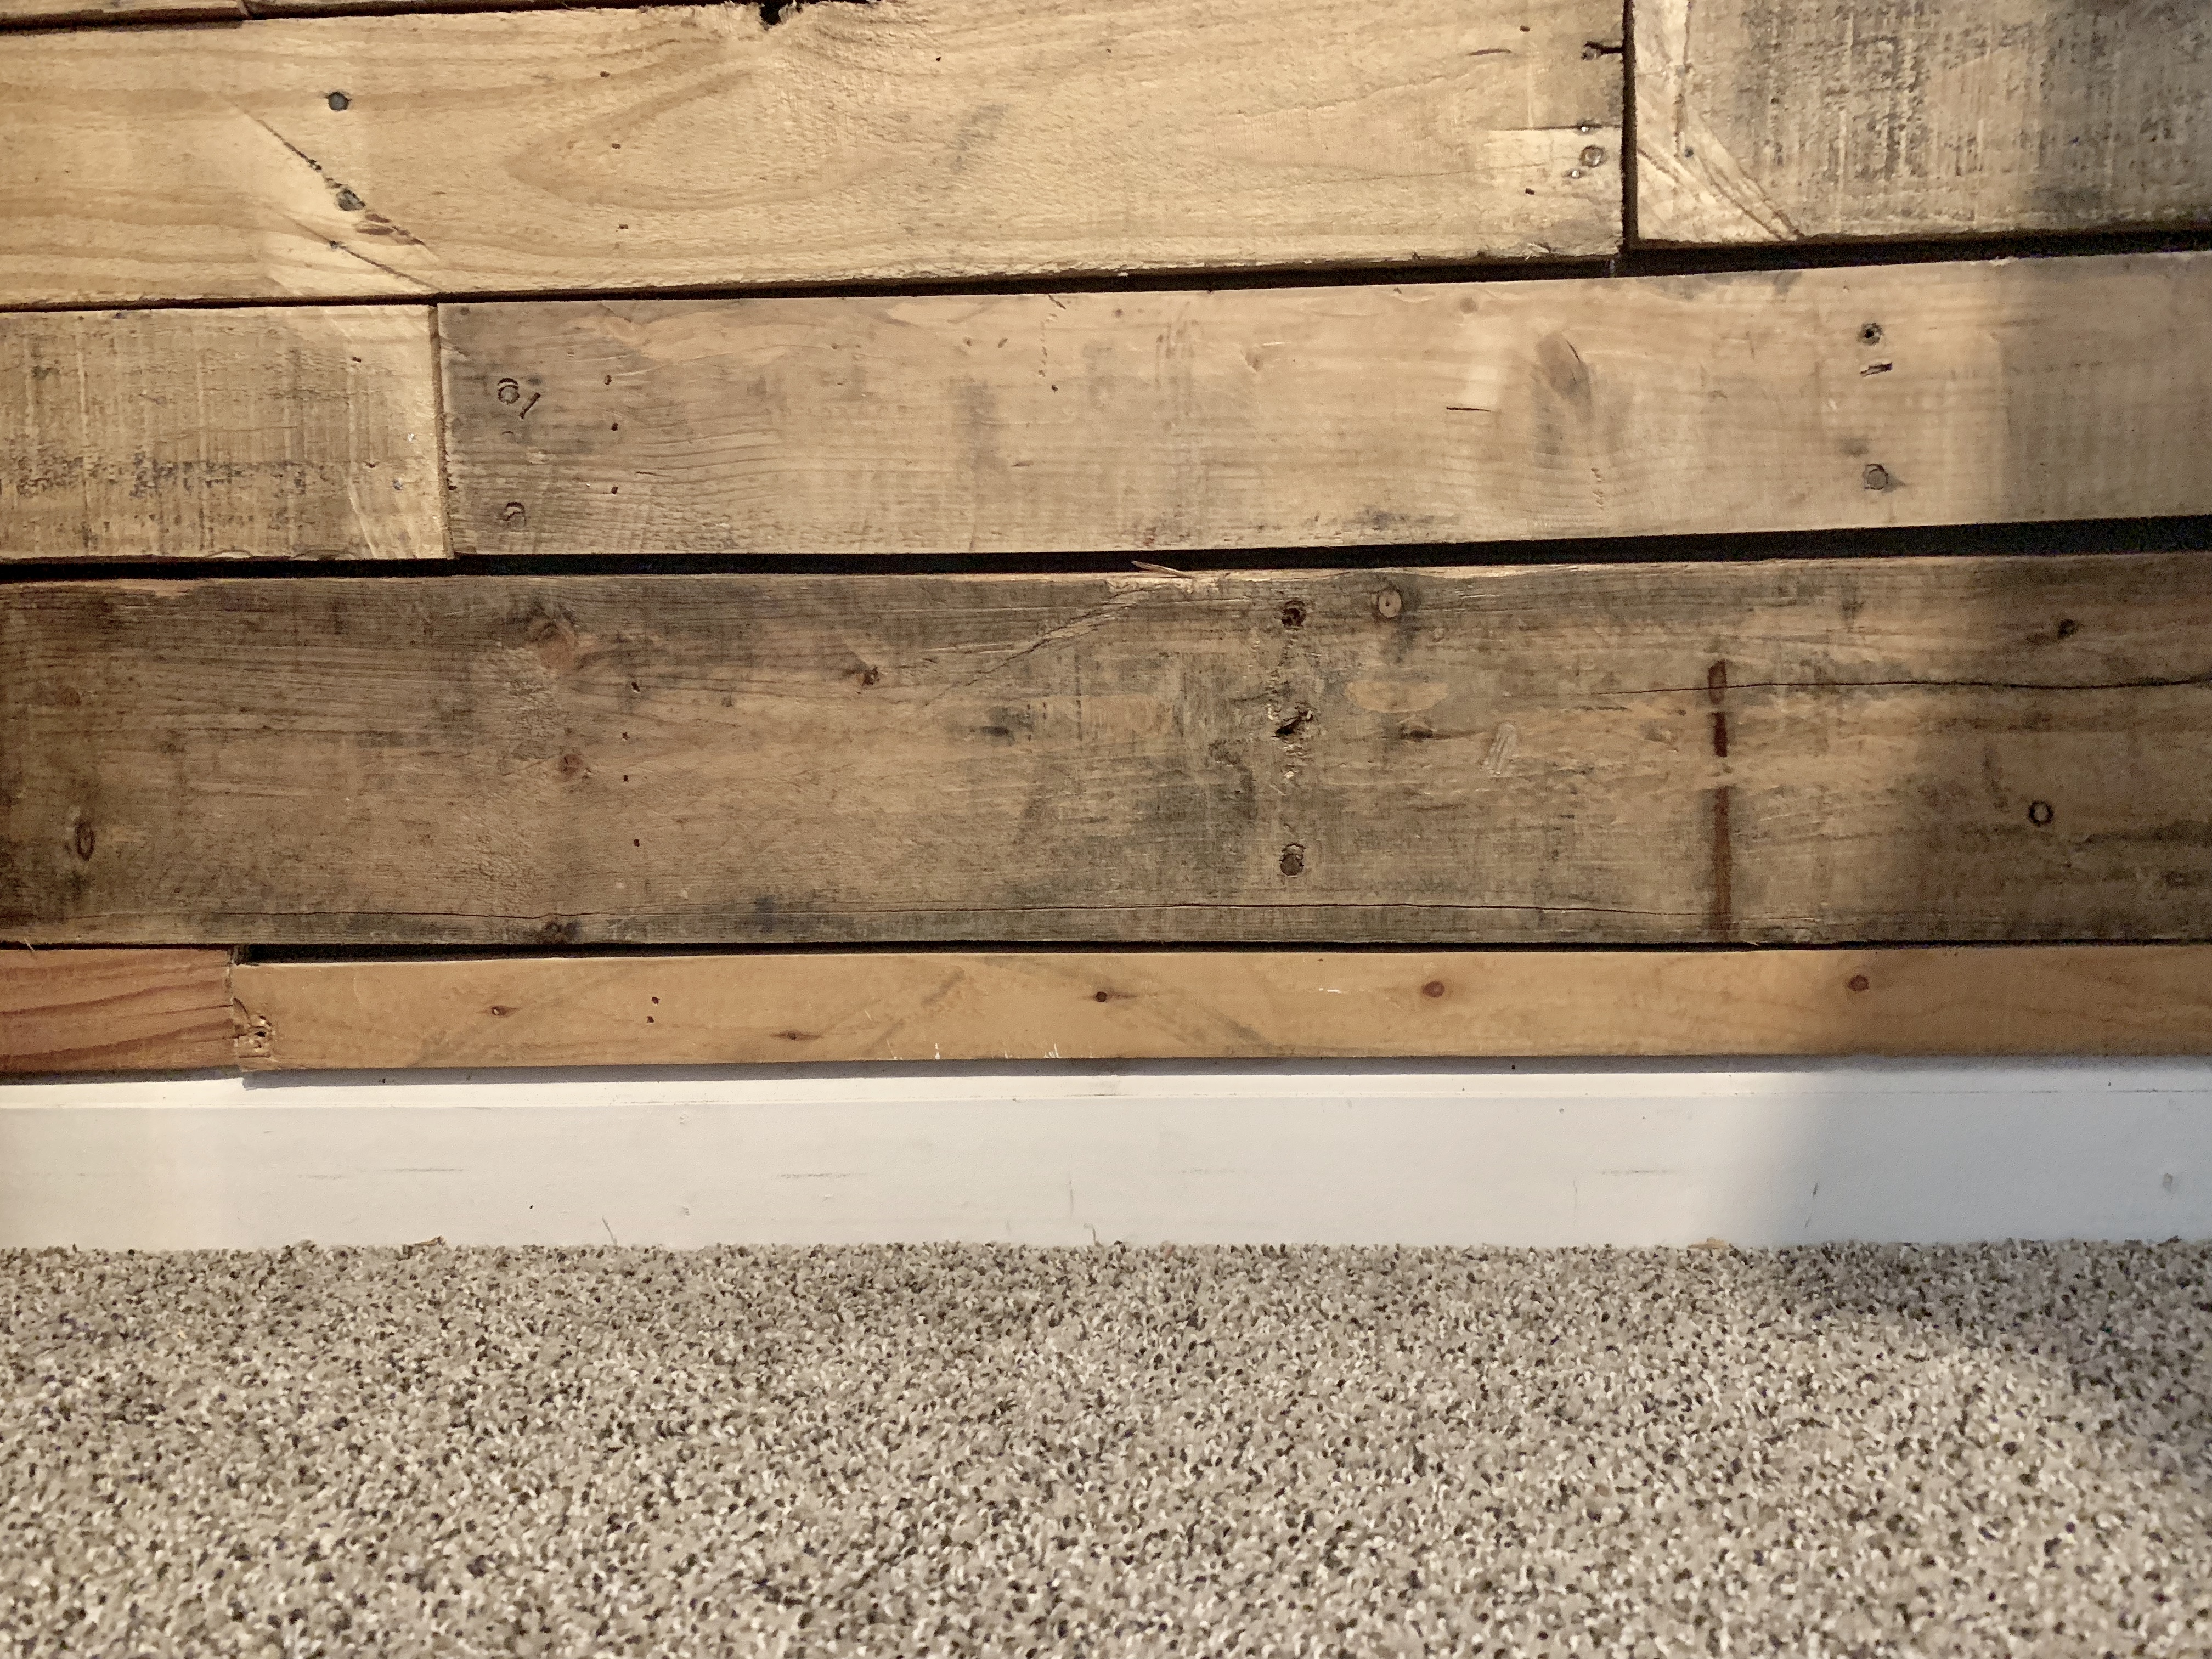
*Side note: I wondered if we would need to take the bottom trim off, but we decided not to mess with it because of the carpet and having to match the other trim in the corners. In my opinion, it looks just fine with the pallet wood being even with the trim on the wall!
Step Five: Clear coat the wall
We used a quart of Minwax Polycrylic clear coat to seal the wall. We brushed it on, and ended up having some left over! This not only sealed everything, but it richened the colors even more and really finished it off!
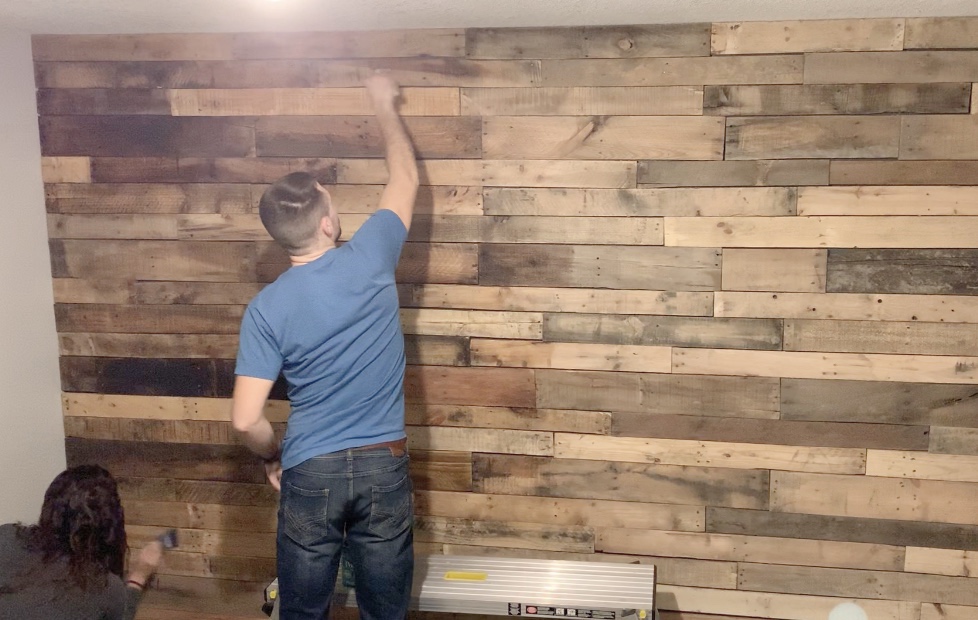
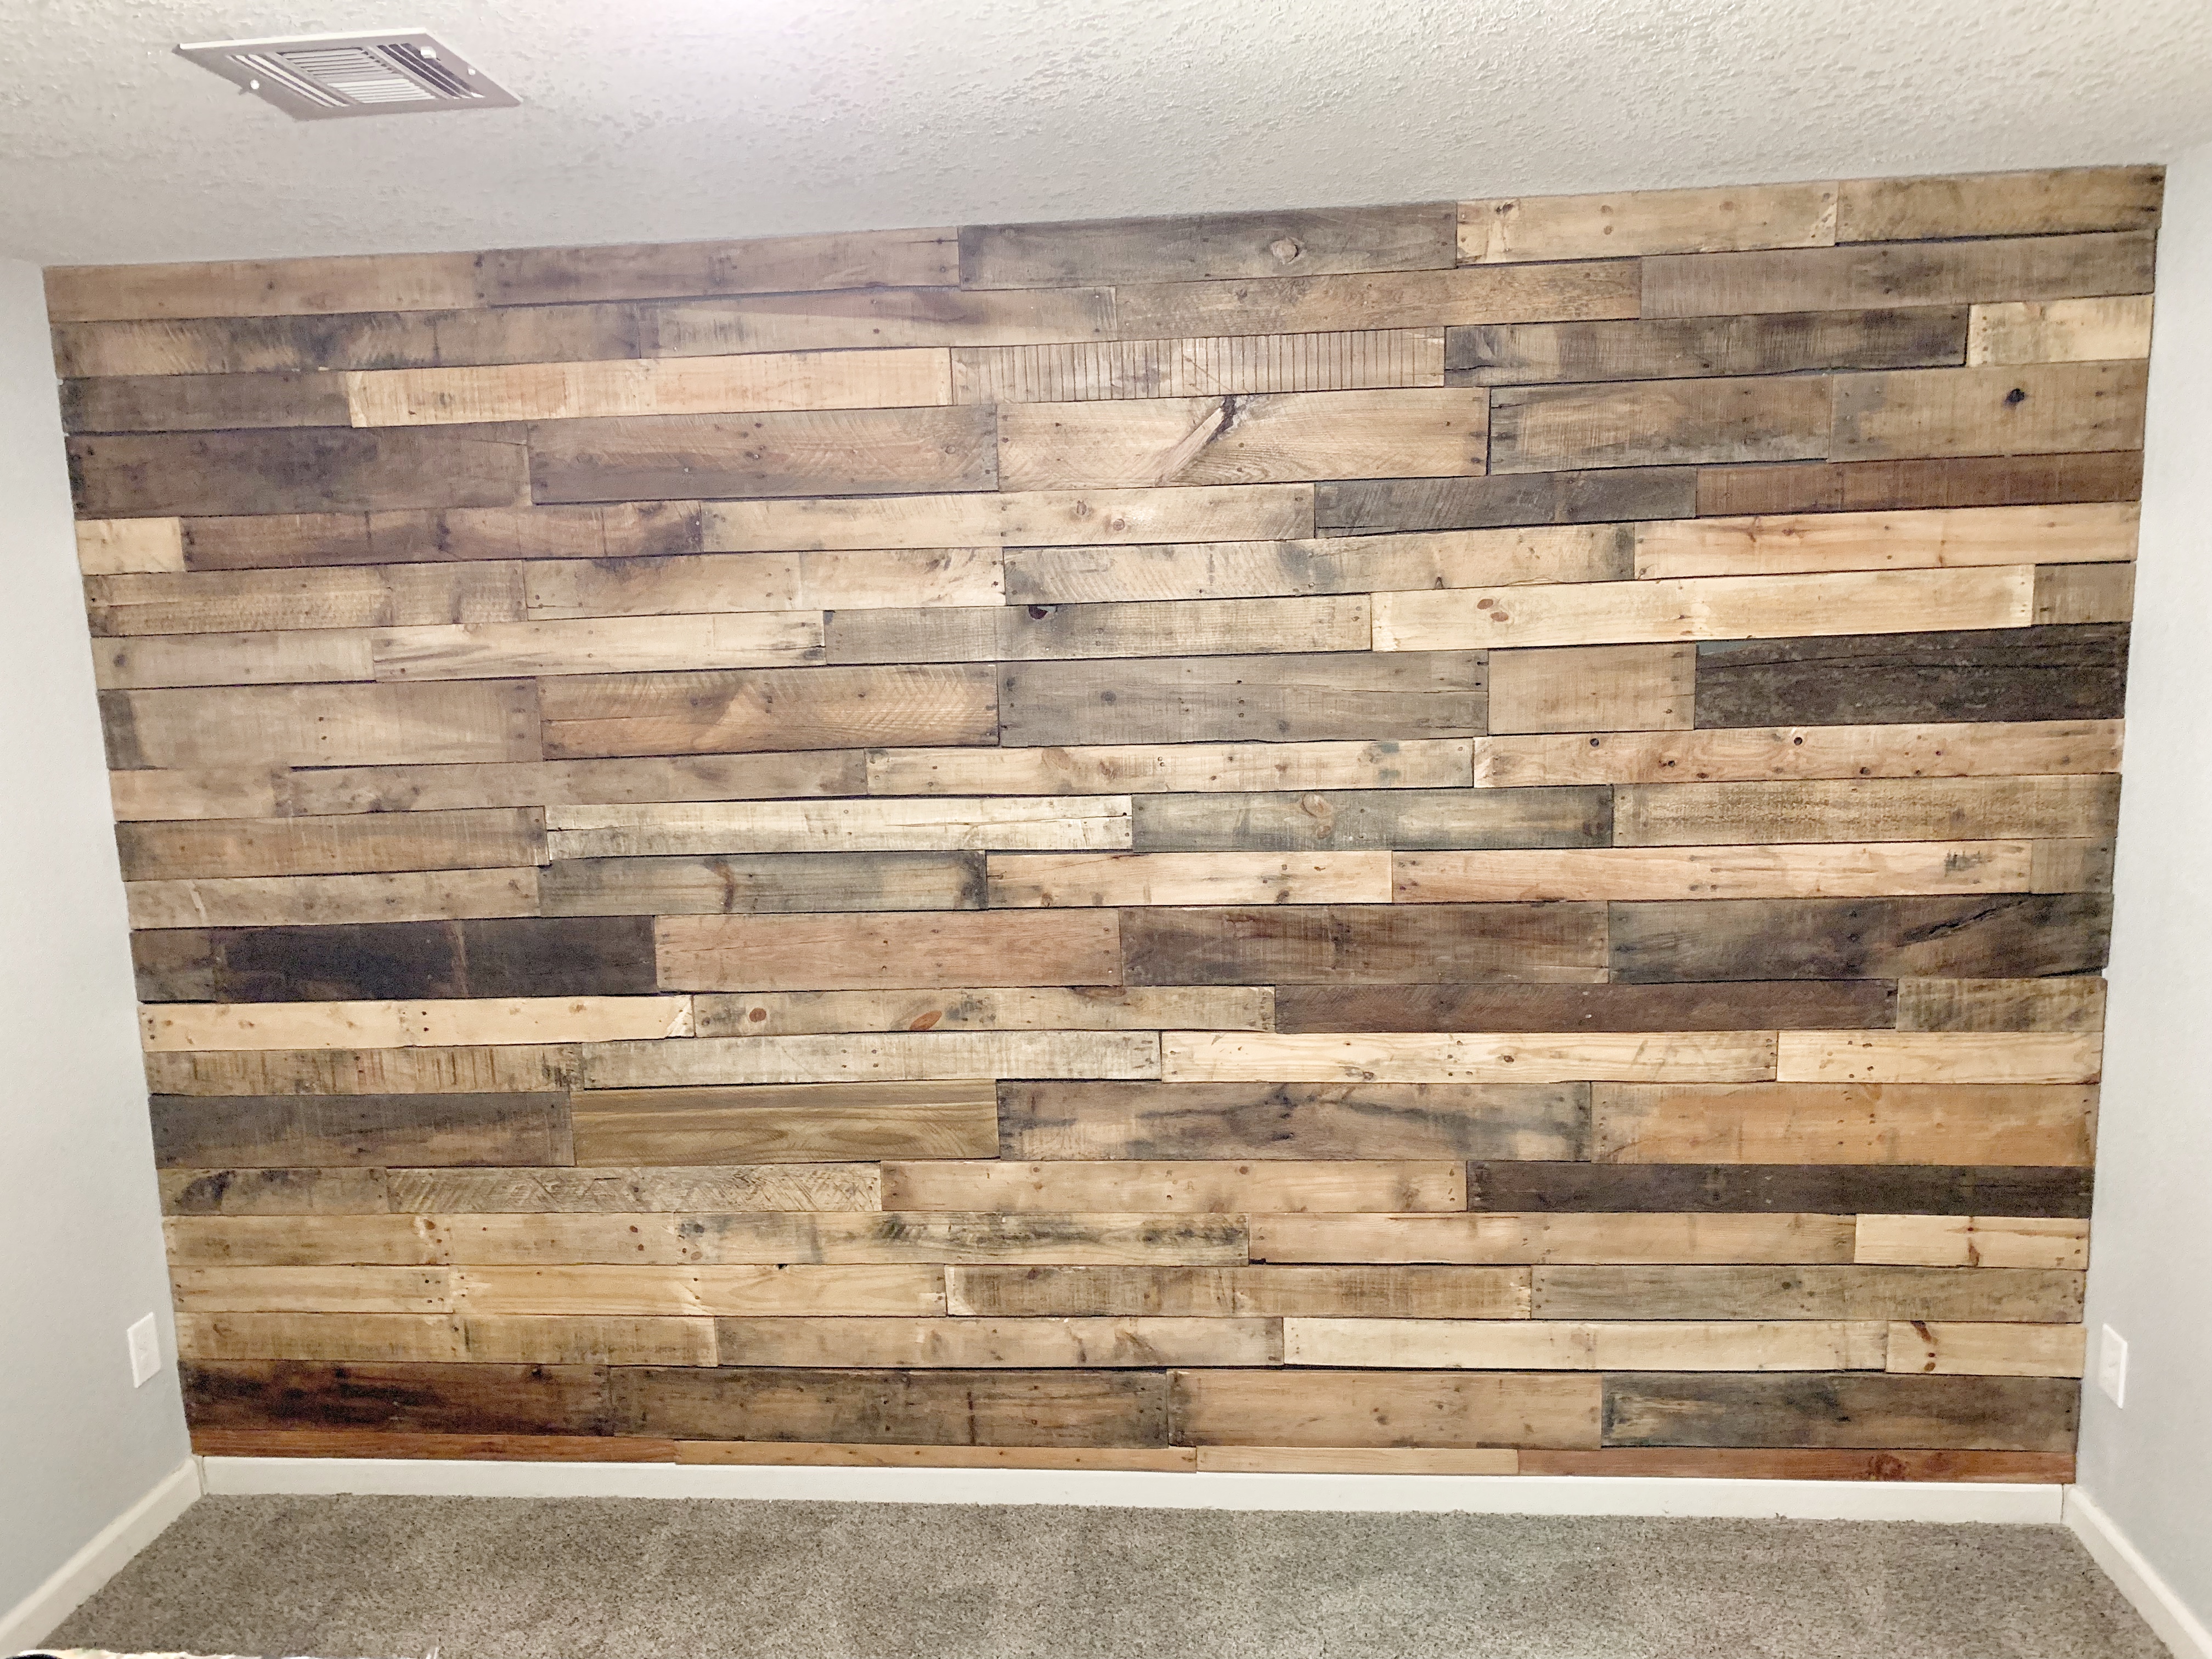
And just like that, we have a beautiful accent wall in our studio office that took only a few hours! It makes a statement as soon as you walk in the room, and it’s a great contrast with all the white furniture (Logan loves that part). I love projects that make a plain room look dramatically different for very little money, and this was no exception. My favorite part was picking out which planks to use where and mixing the colors, sizes and textures.
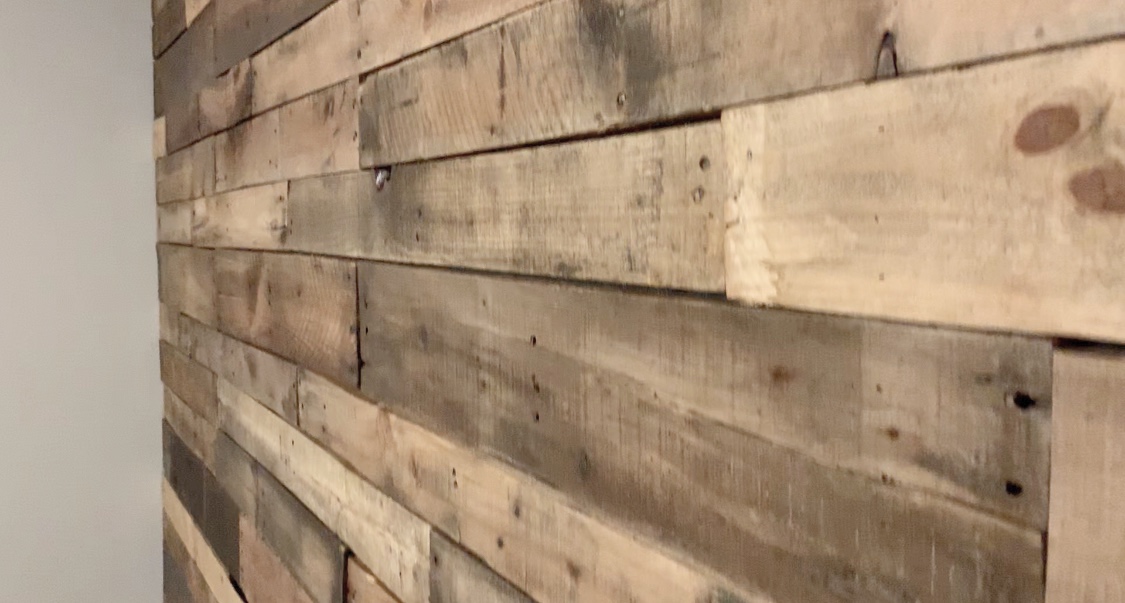
If you like the look of pallet wood, I hope this inspires you to try this in your home! It was so easy, inexpensive, and beautiful. Thanks again for reading, and stay tuned for part two of this room update, DIY craft table! God bless!

XOXO
ASHLEY DIANN

Thank you for your step to step tutorial! My 6yr old son is wanting a pallet wood accent wall in his room. Being a proffessional creative diyer and home design entrepreneur,I cant wait! I was a tad worried about some boards being to short towards the end of the wall, where it would meet the other wall.But now that I see it first hand ,it looks pretty avoidable simply by laying out each row before hand . Thanks again for the visual!
I’m so glad this was helpful for you, Laura! I have wanted to try this for a long time as well and I am very happy with how it turned out! Good luck with yours!!
Can you inform me what platform are you using on this site?
wordpress
Hi there! Such a nice article, thanks!
Hi there! Such a wonderful write-up, thank you!
Did you use gloss, semigloss or Matte finish
Did you use gloss, semigloss, or matte finish?
What finish did you use semi gloss ,gloss or Matte thanks
We used a matte finish.