Master Bedroom Makeover (Part Four)–Closet Renovation Tour
You guys! I’m SO excited to share this renovation with you! Like the other projects we’ve done in our master bedroom (see our dressers, storage bed, and nightstands), the closet was something I knew for sure I wanted to update. We did this reno in the spring of 2019, and I’m just now getting around to sharing it lol.
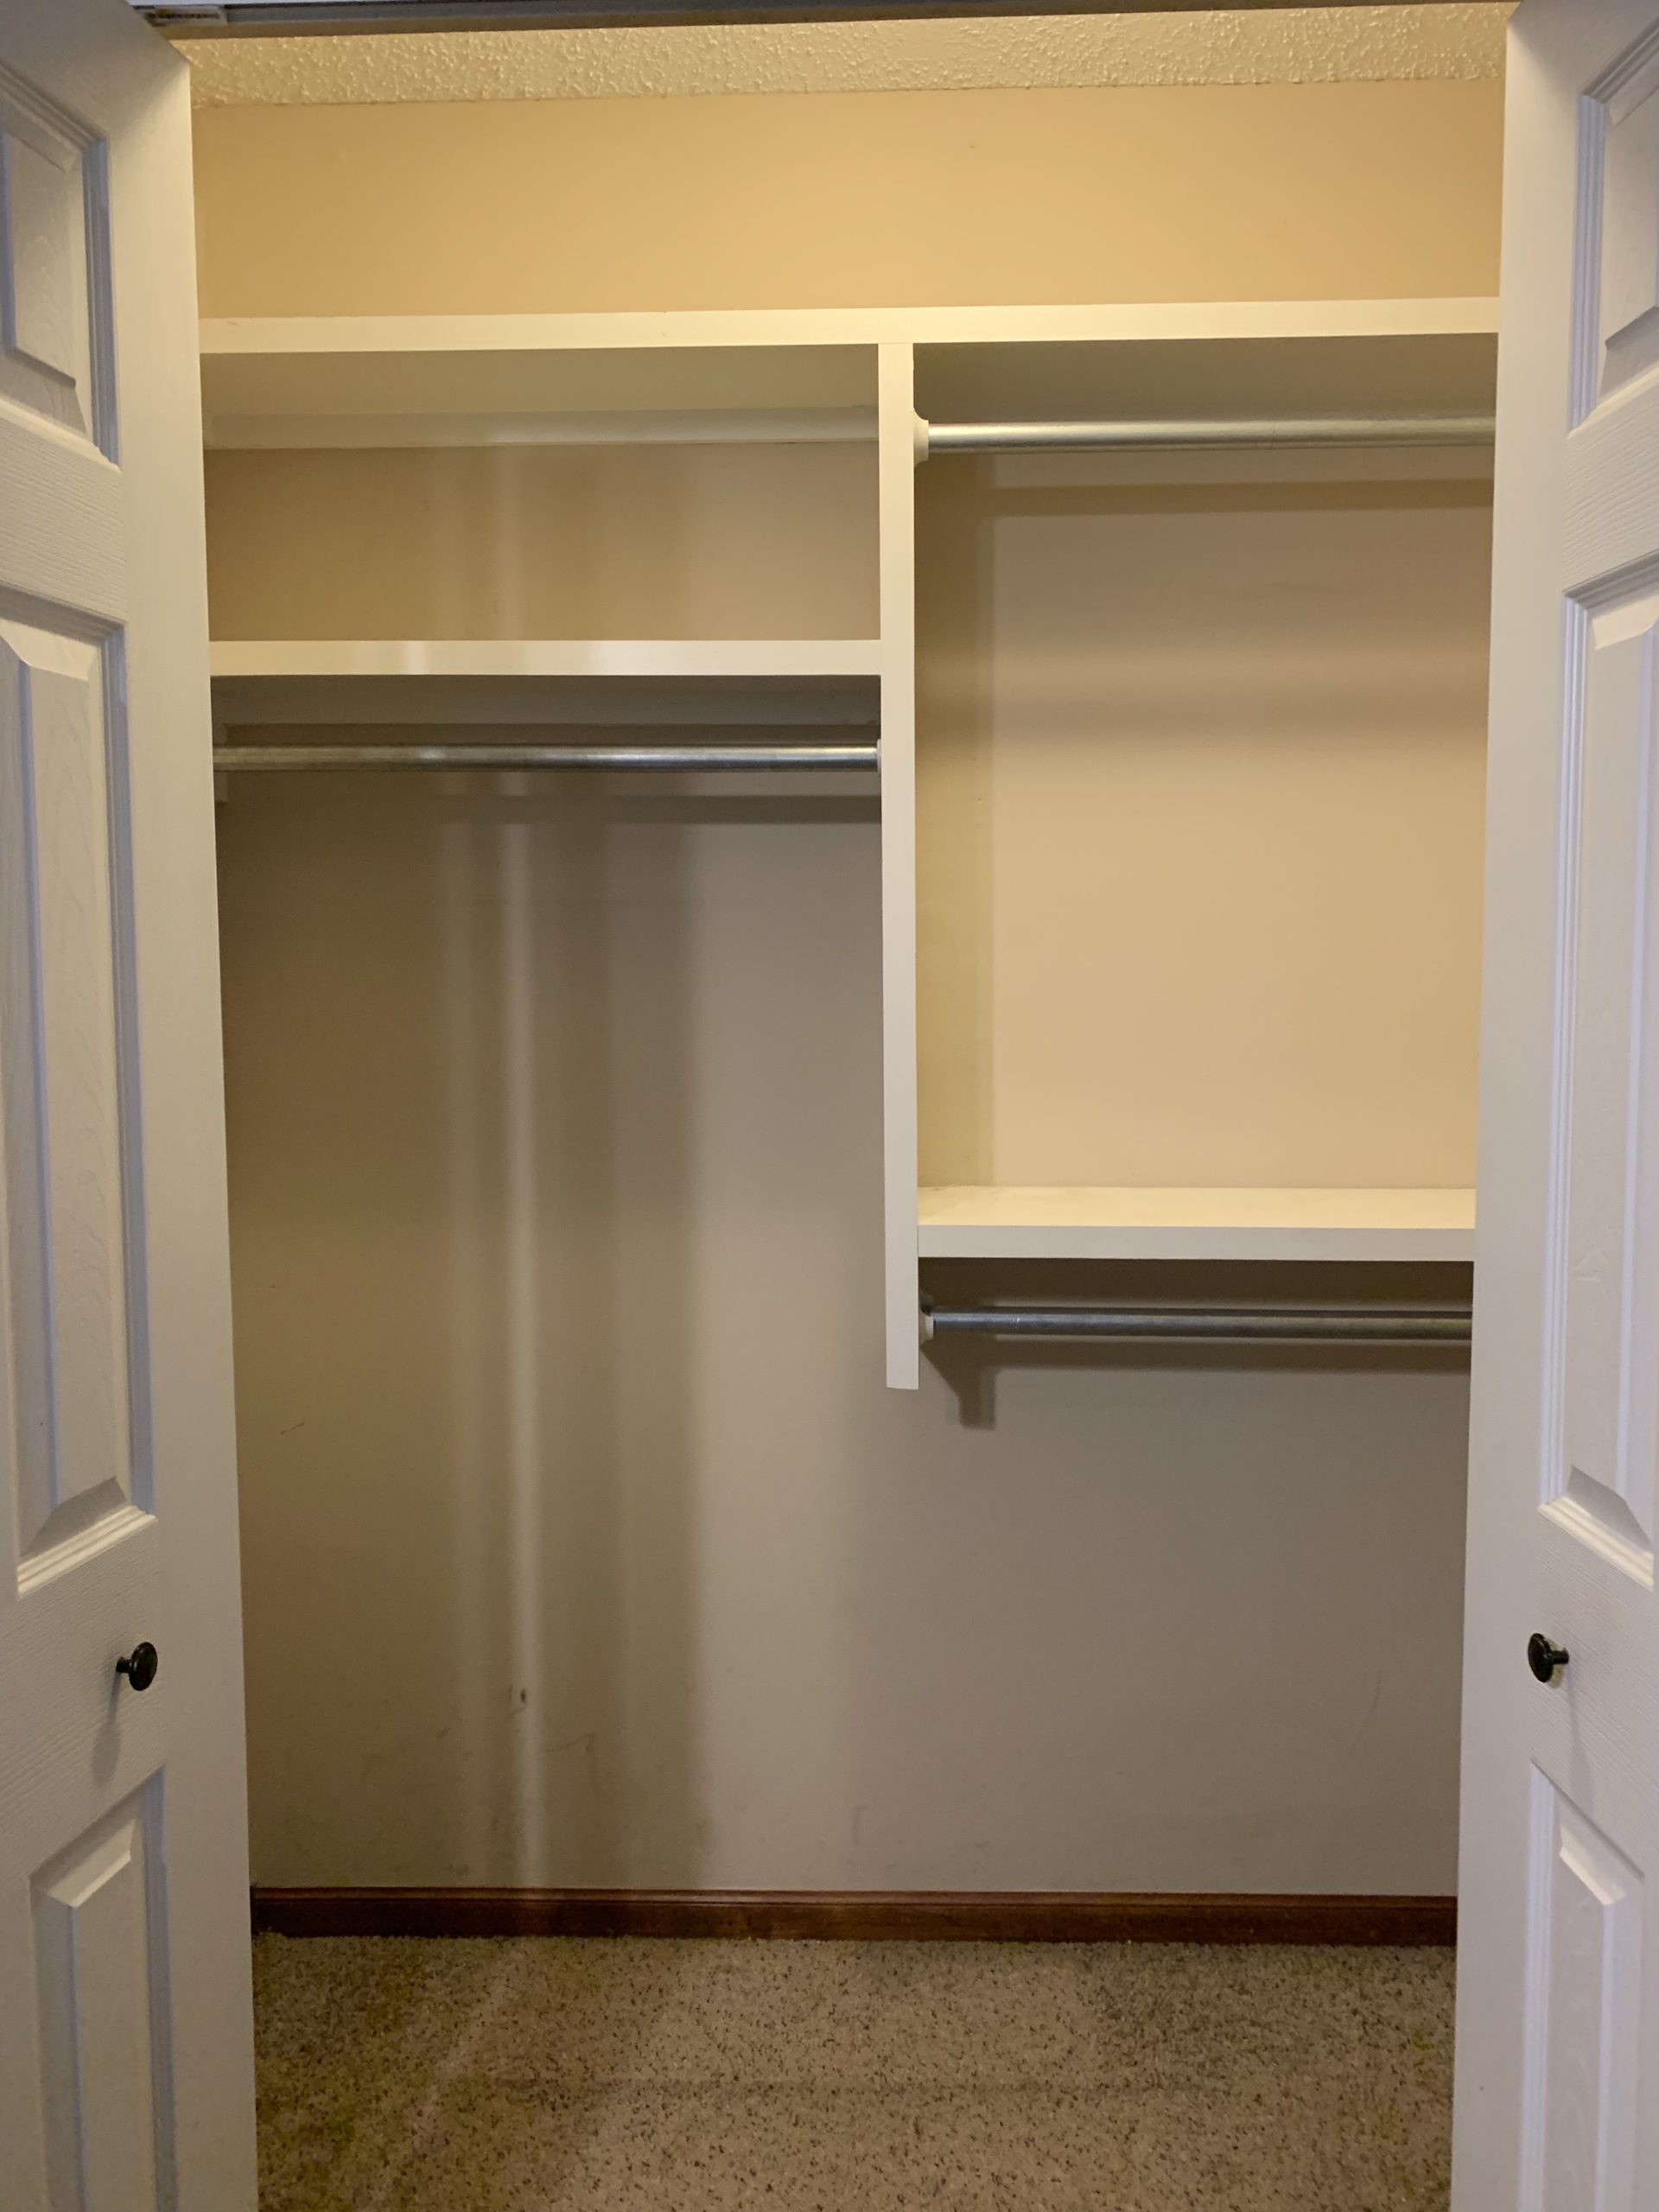
Before
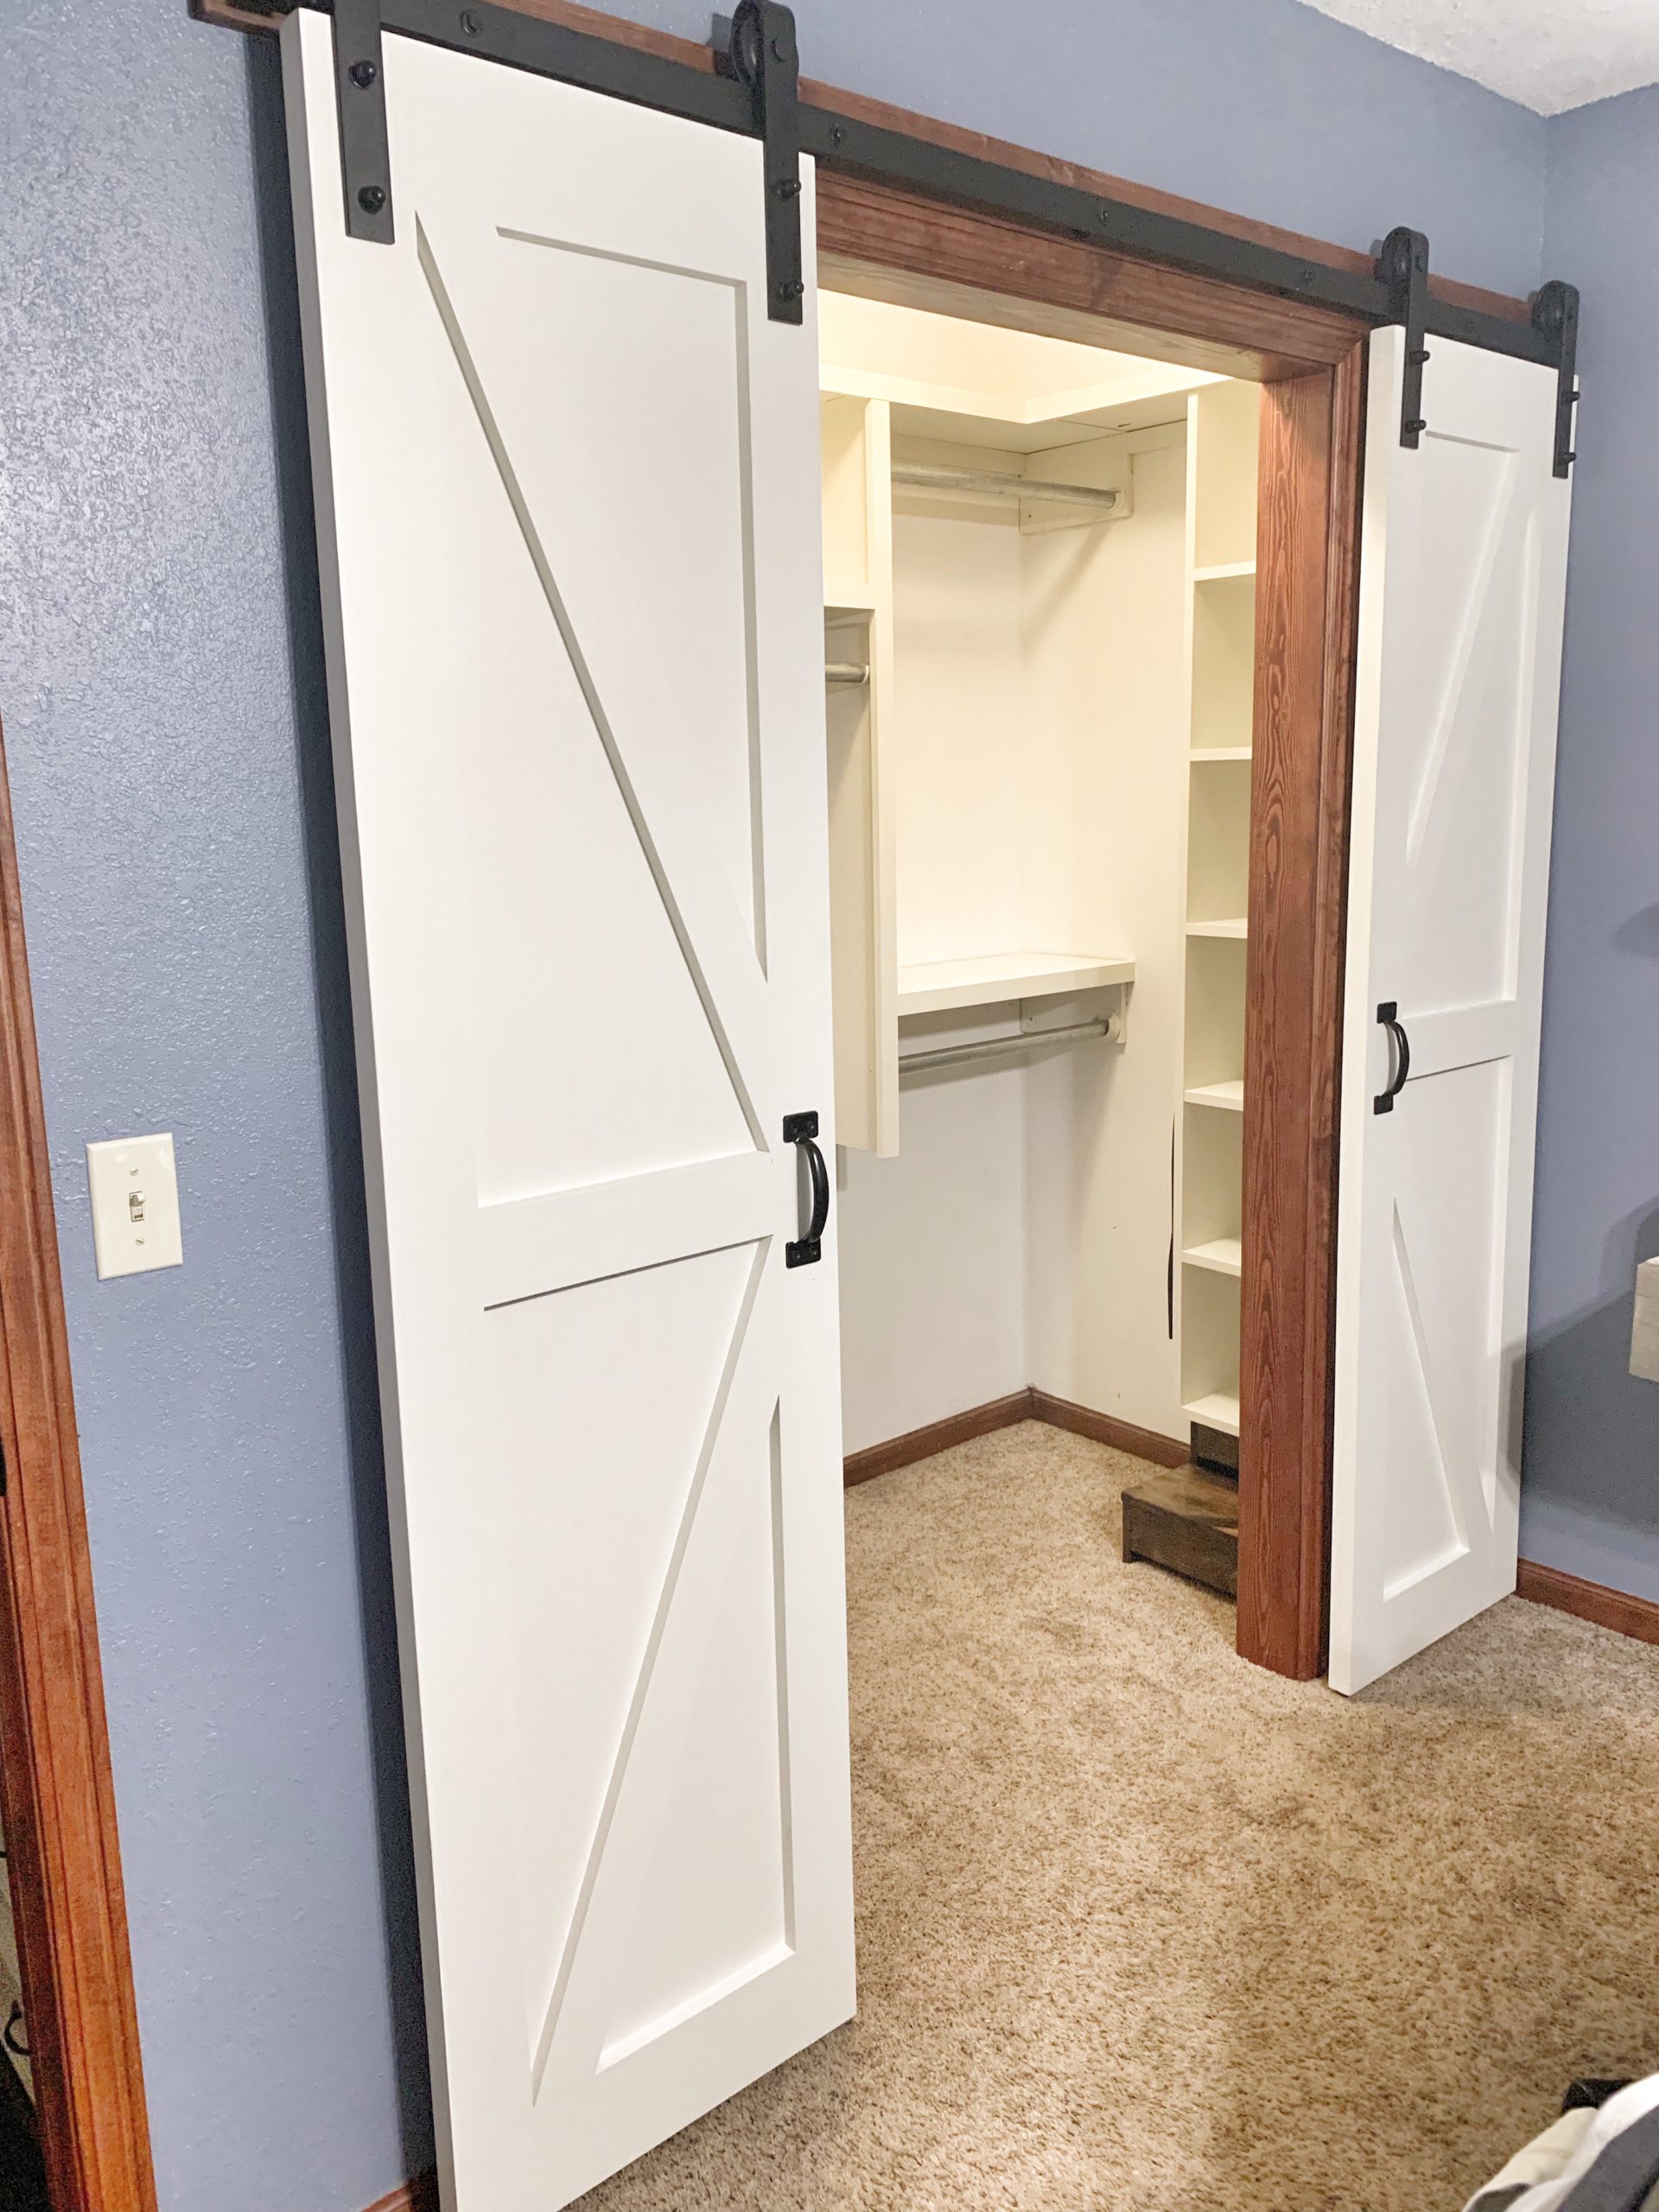
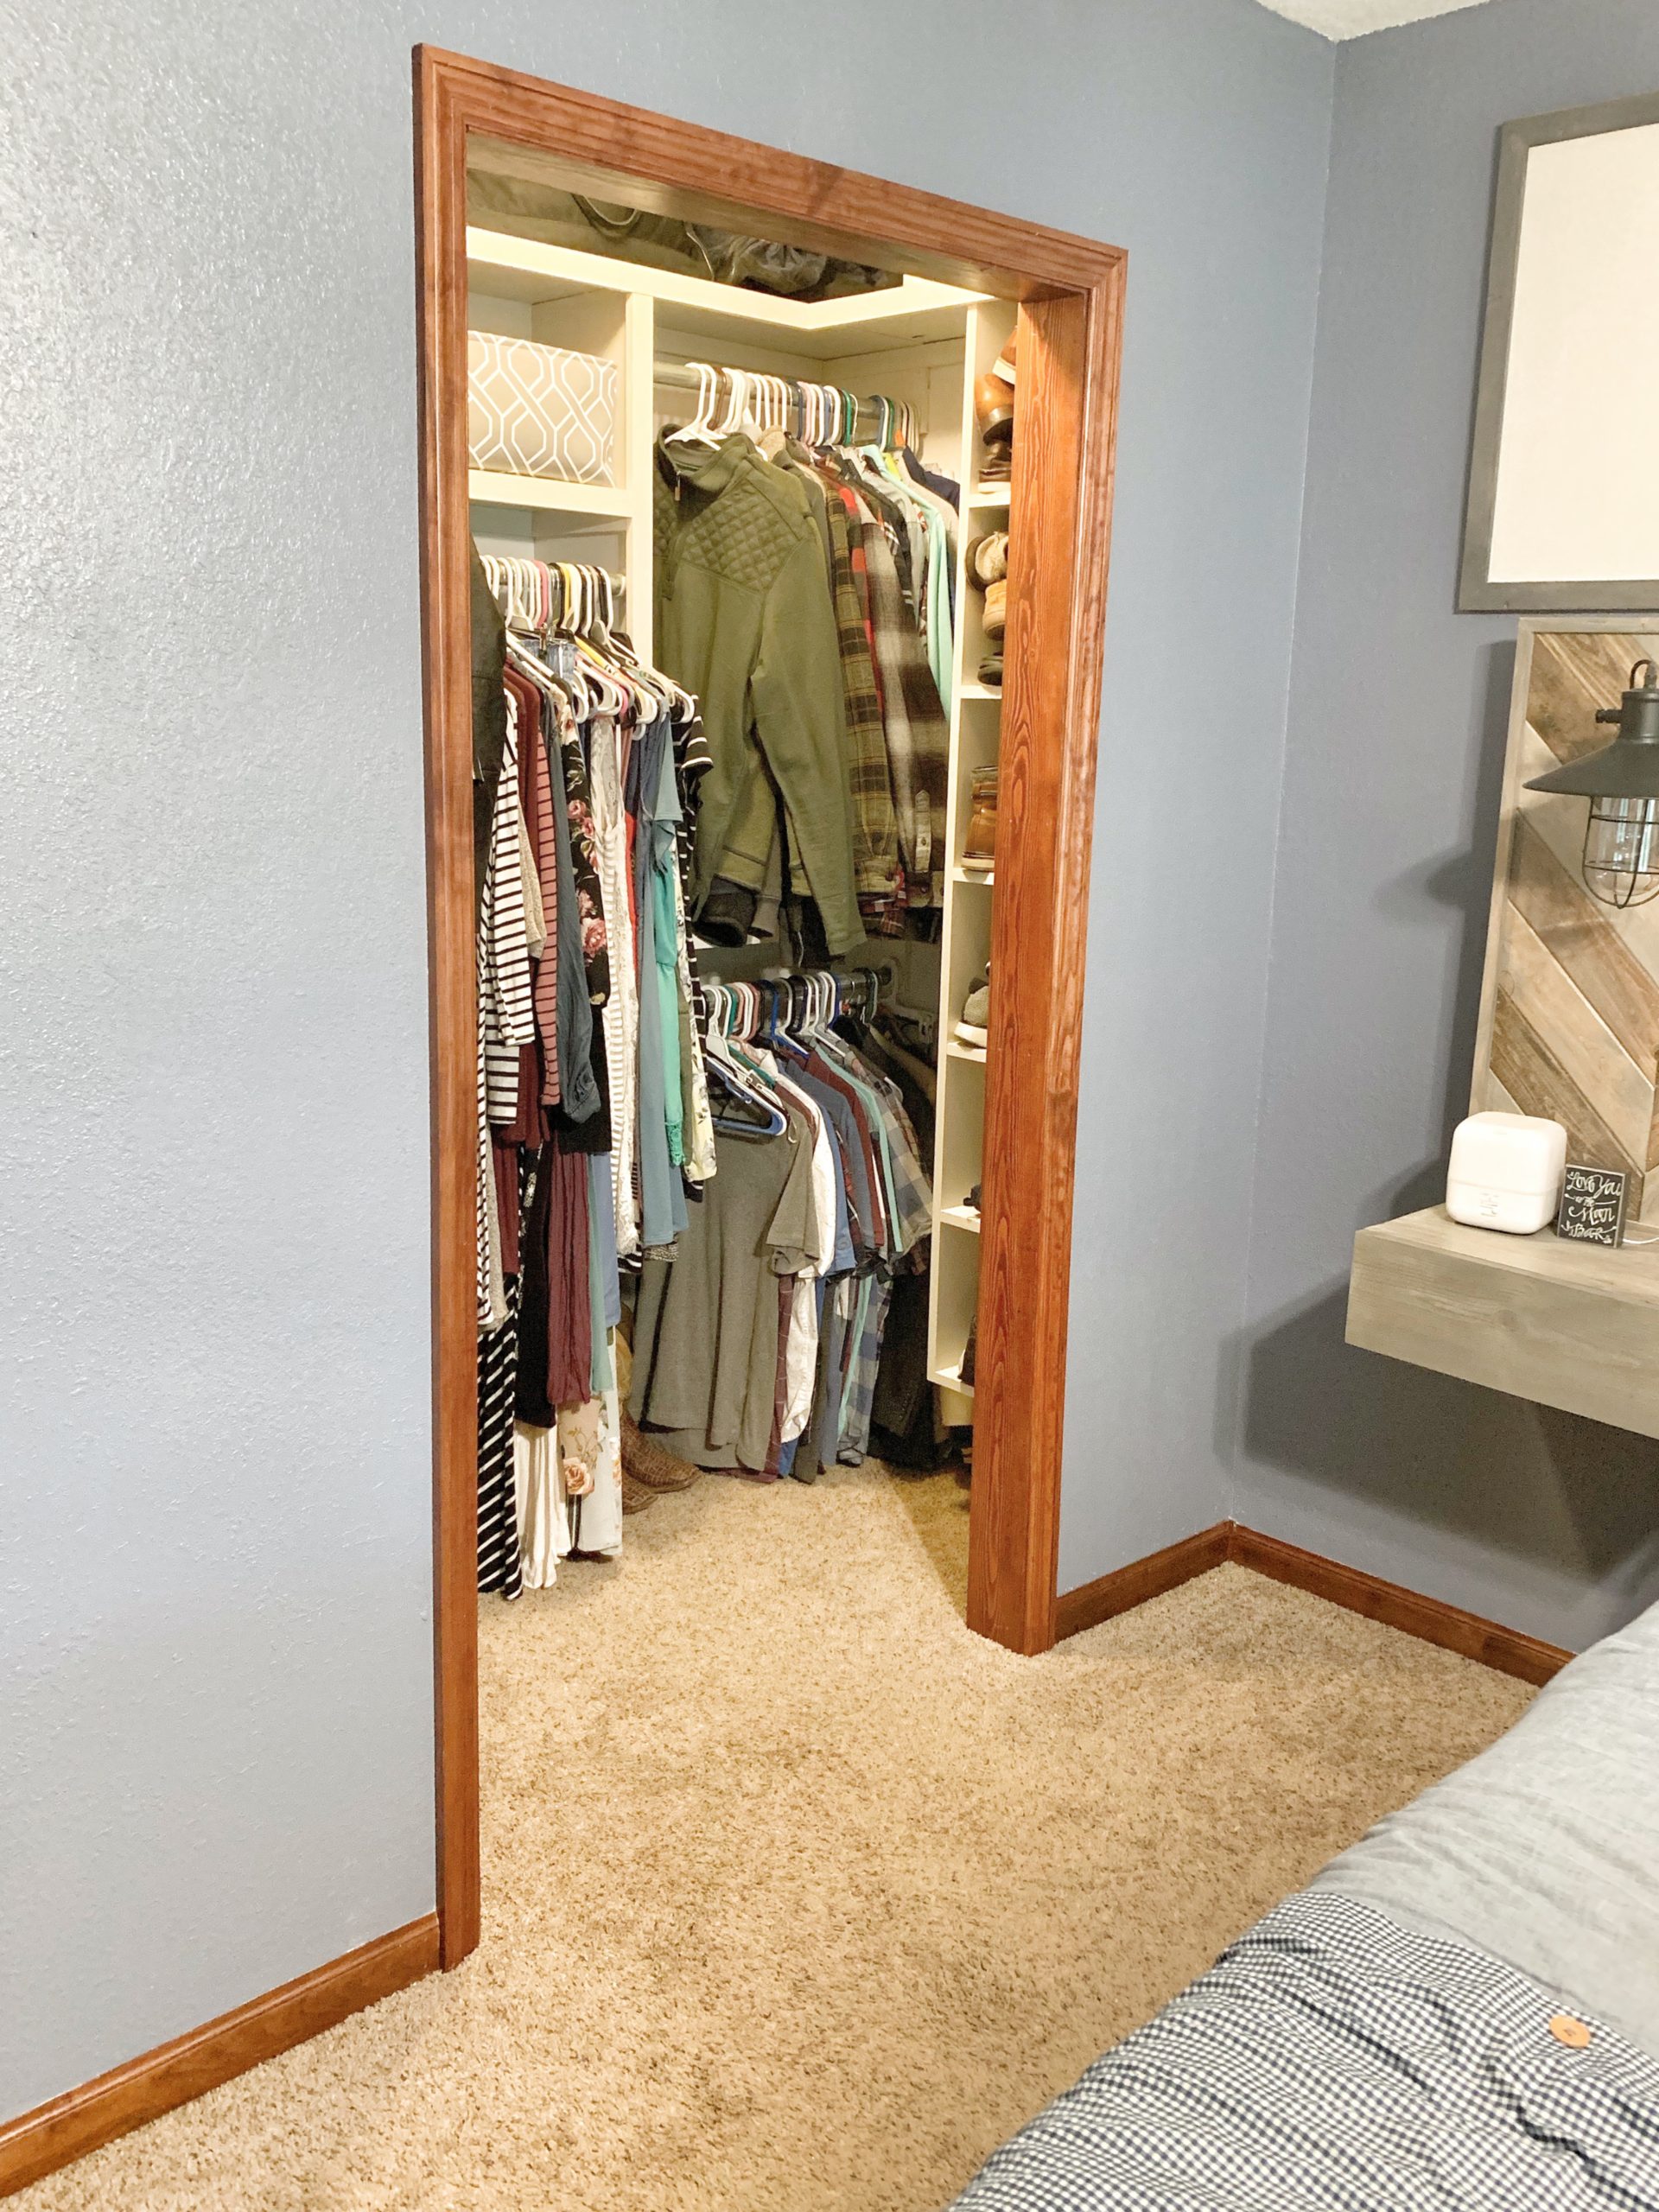
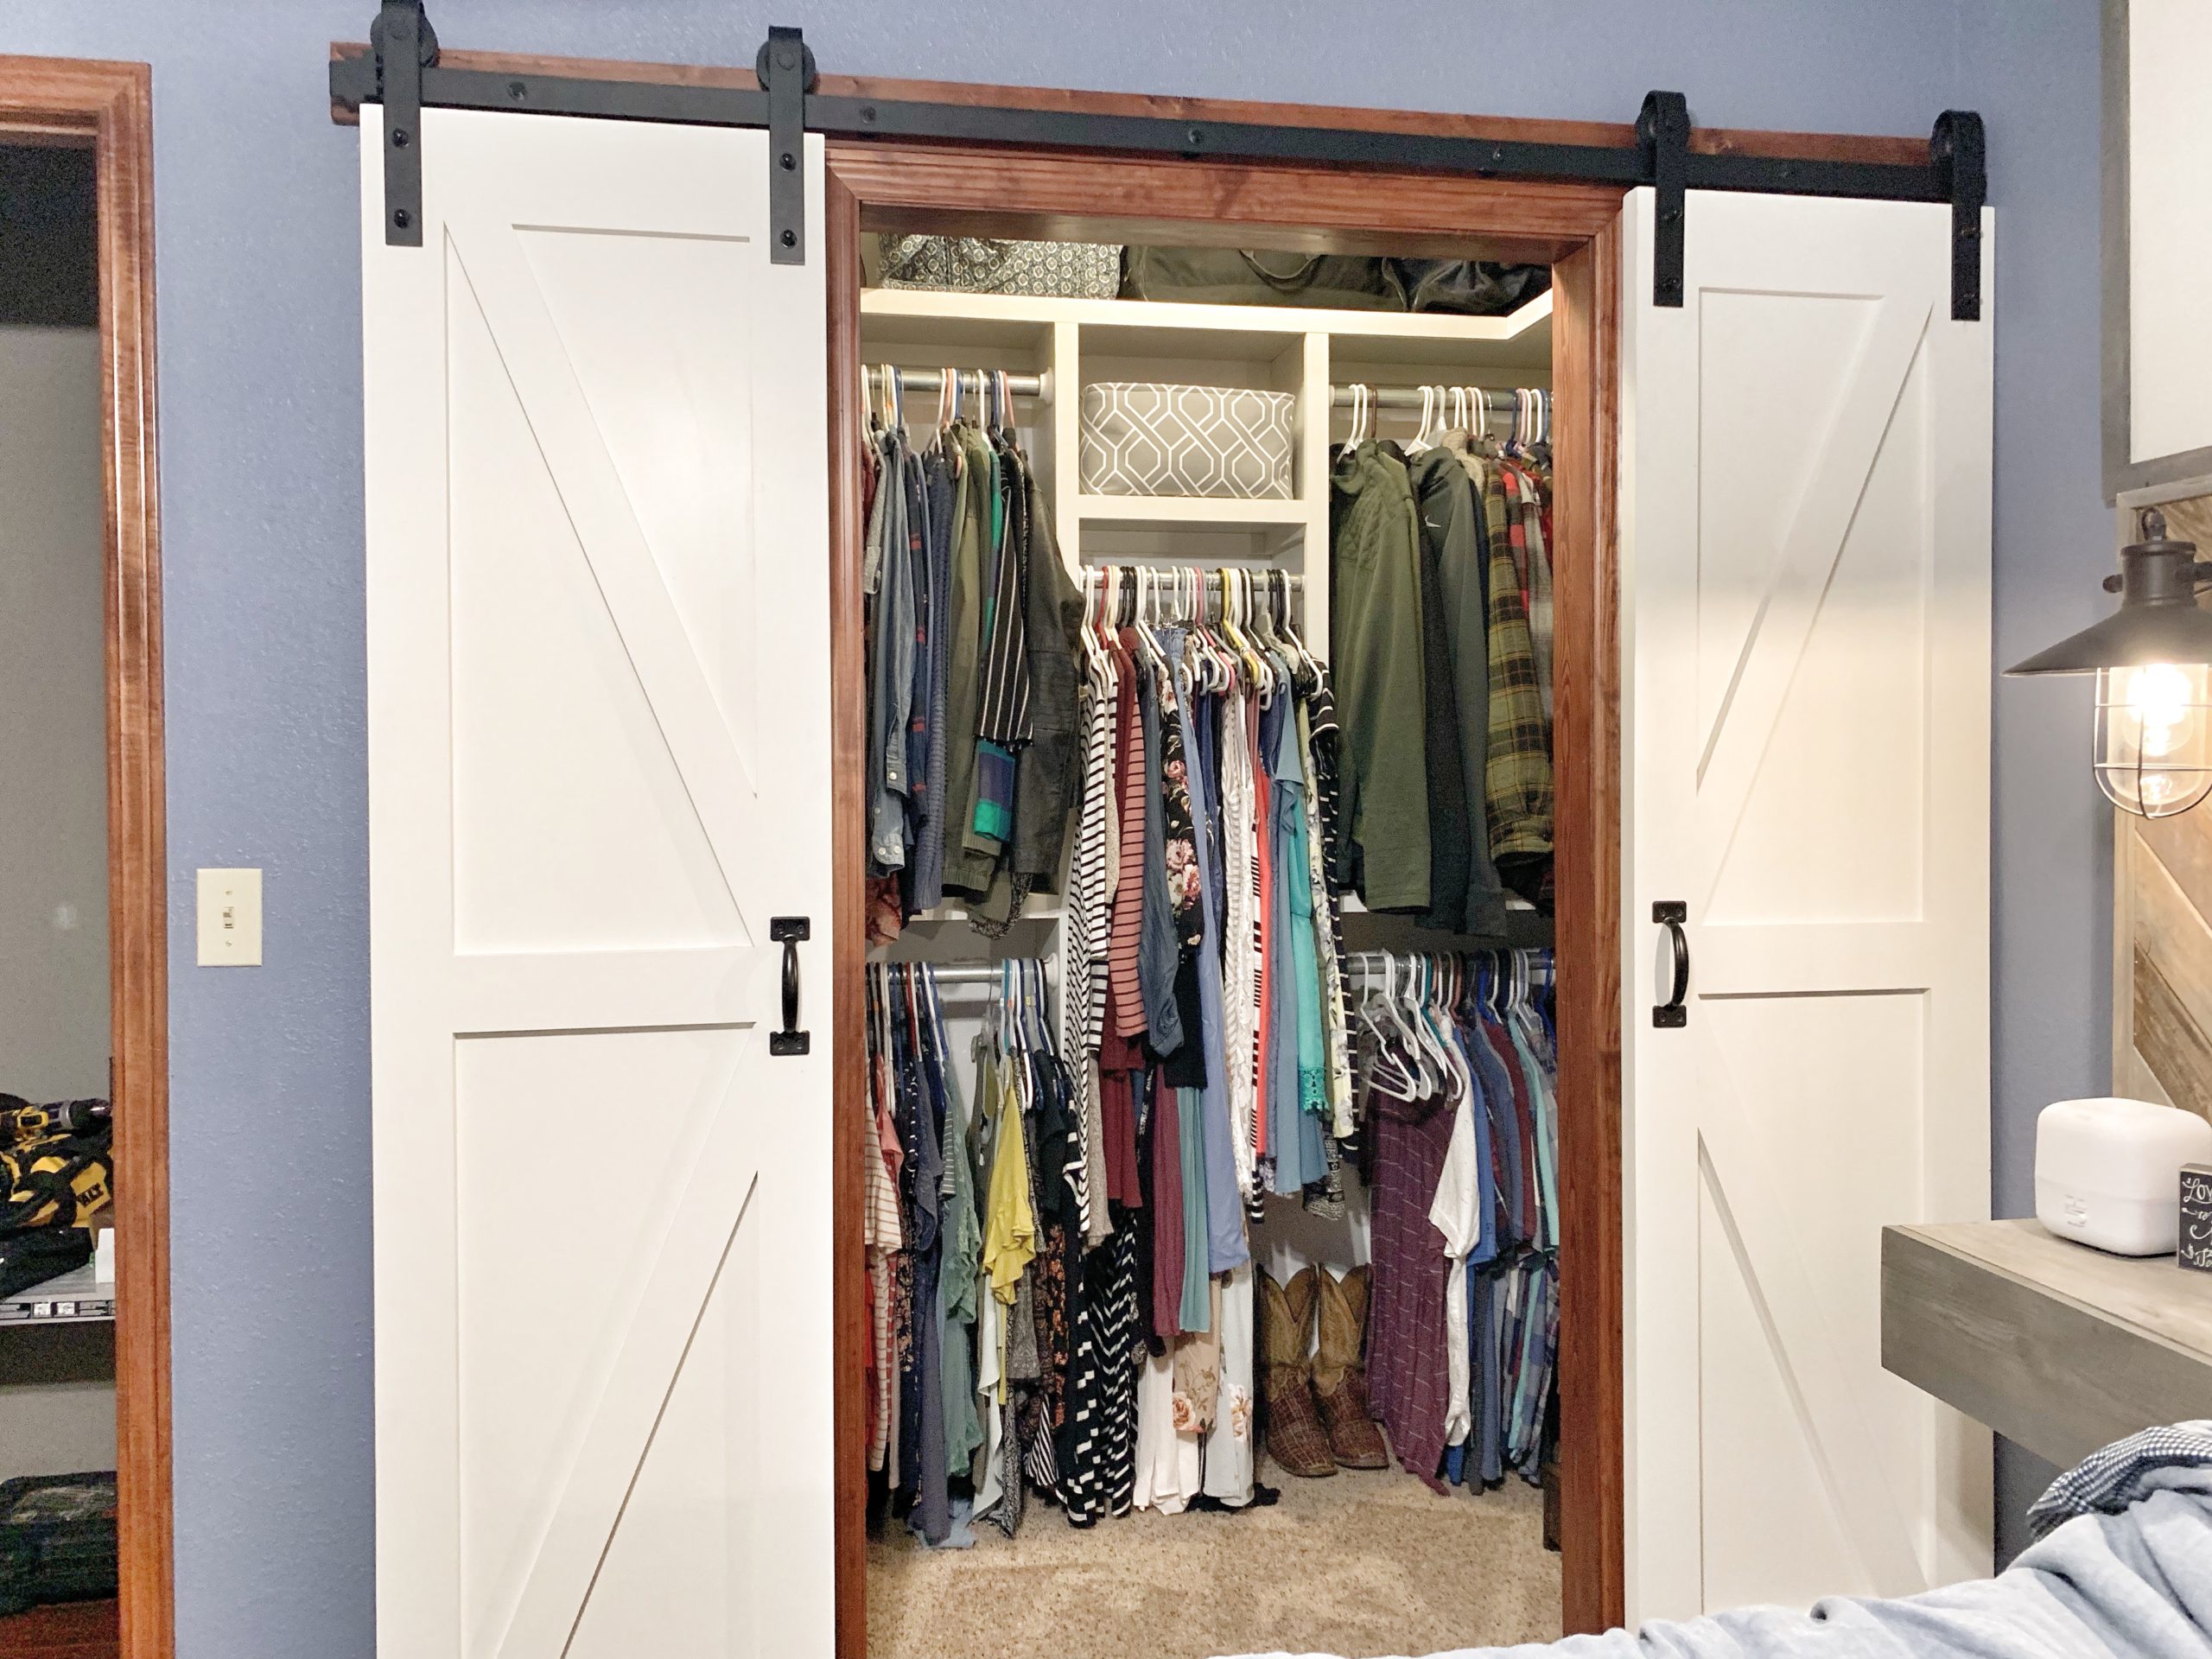
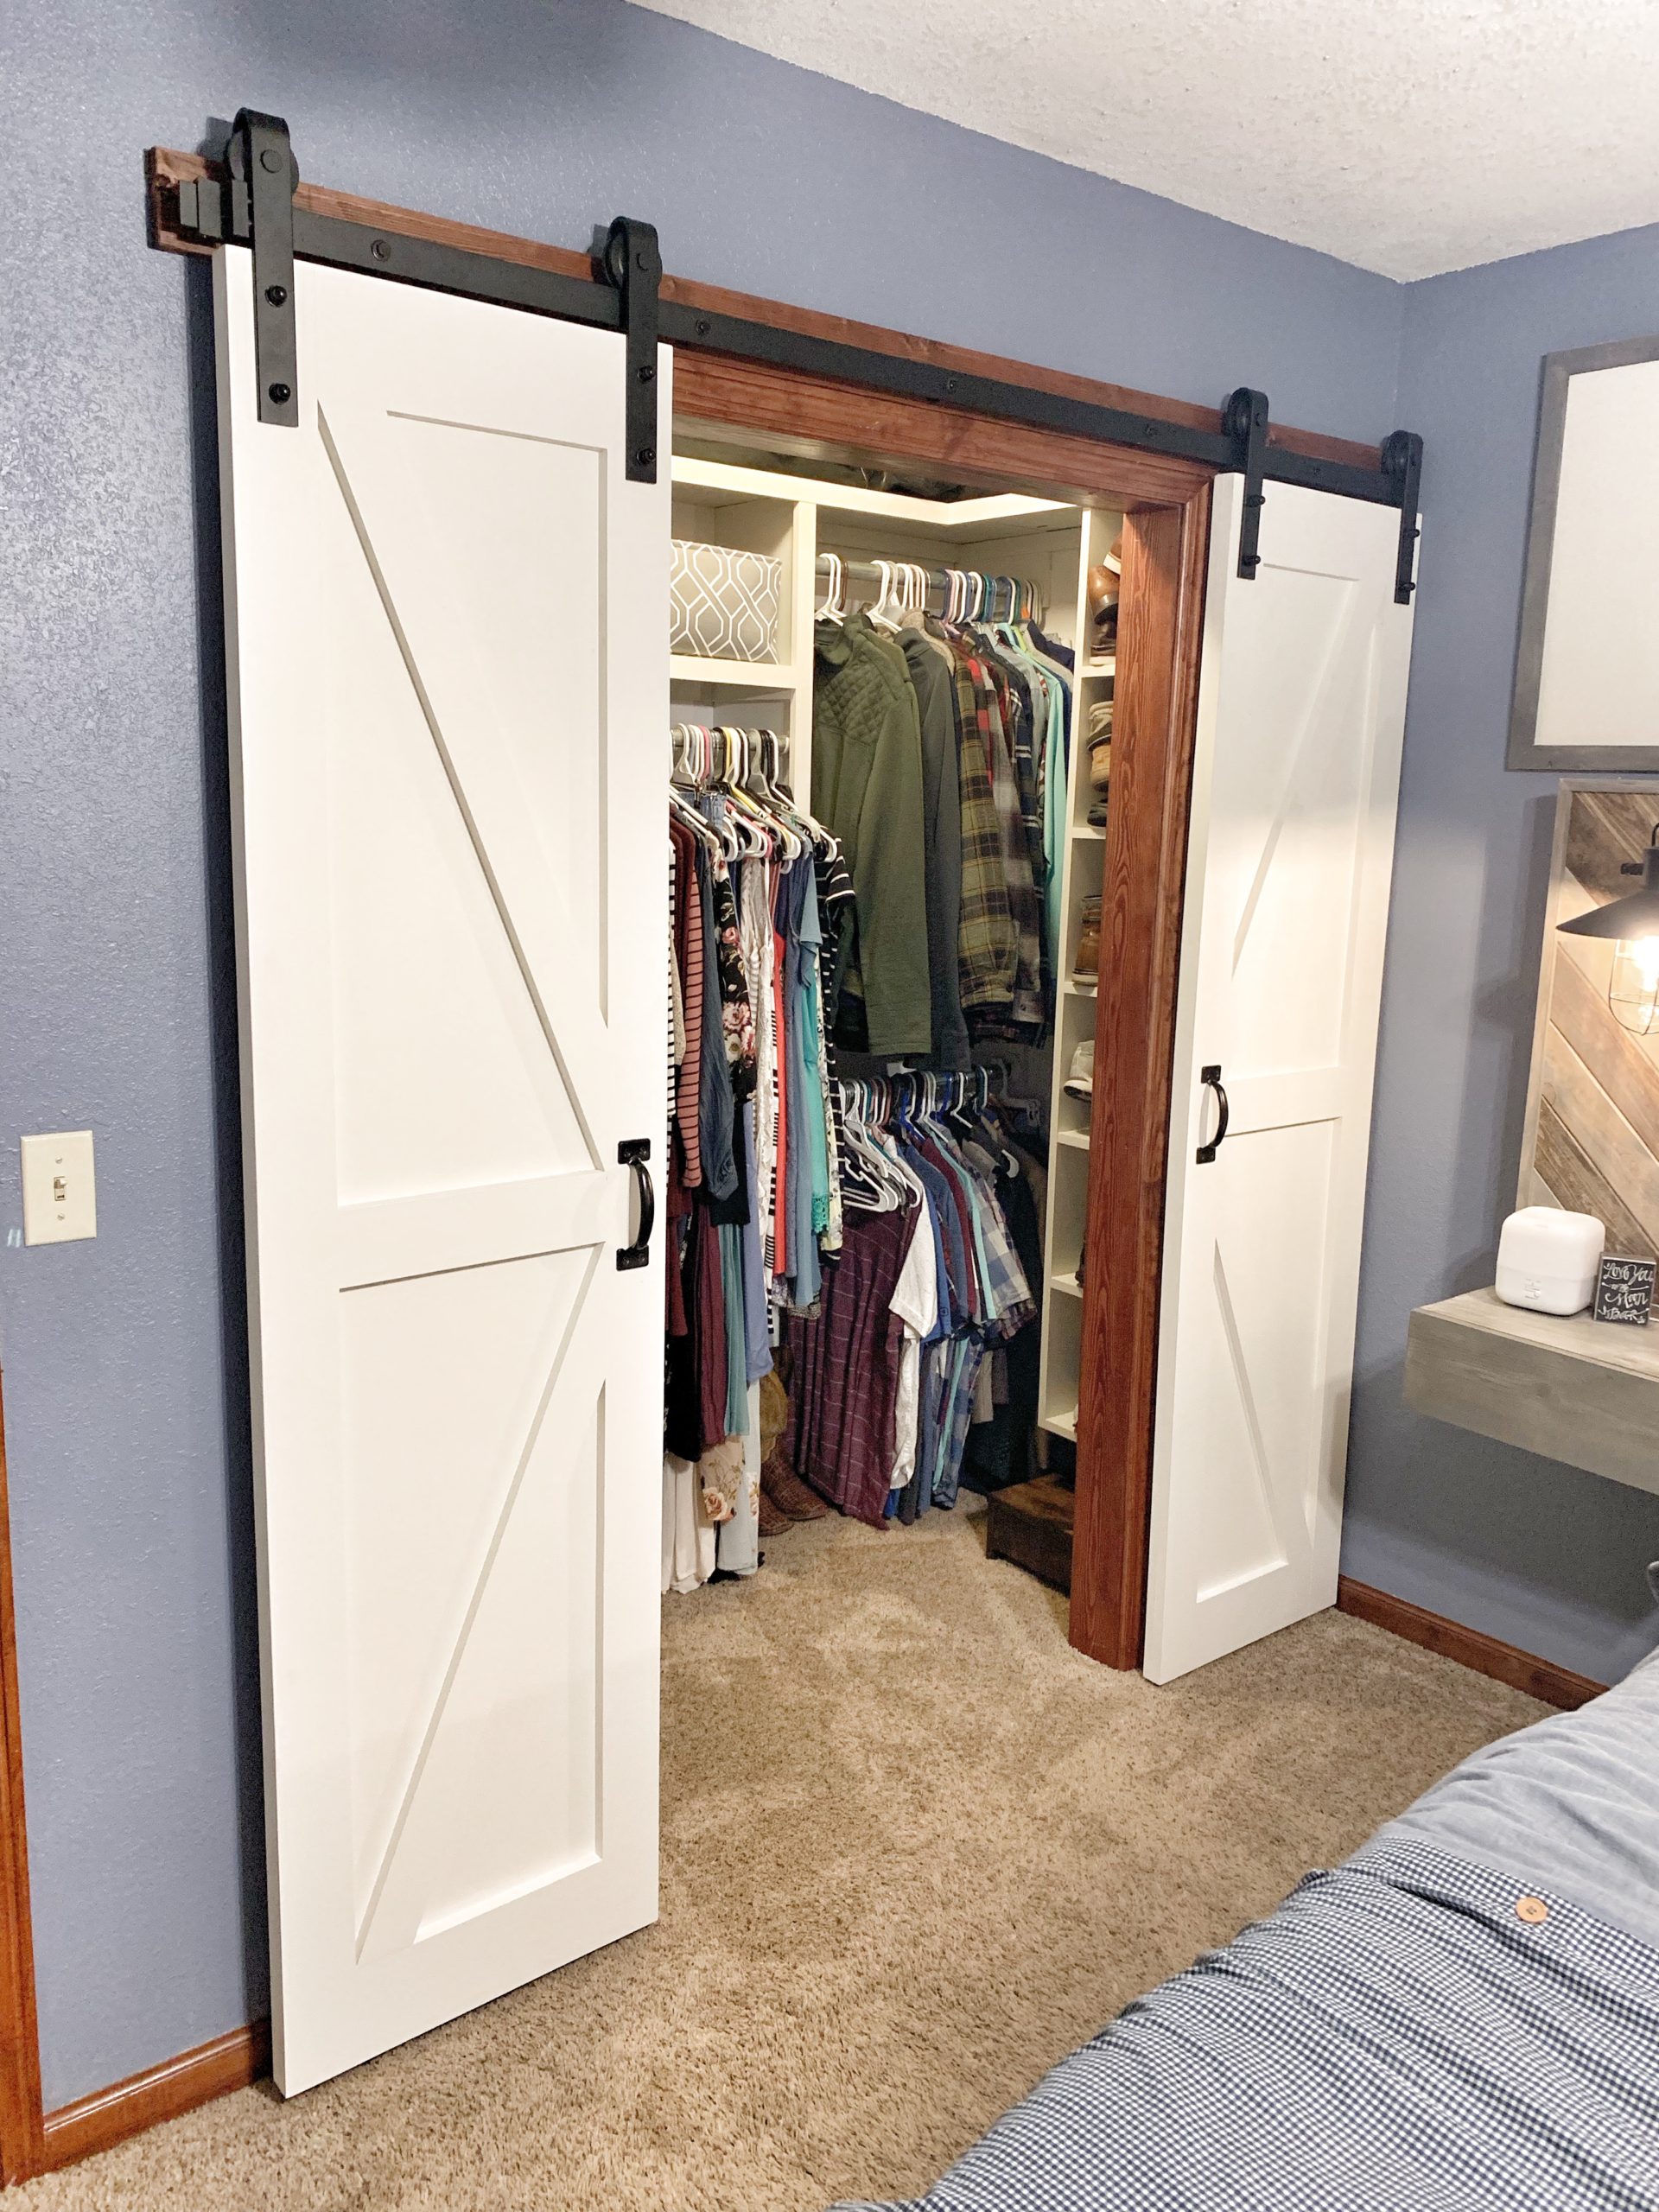
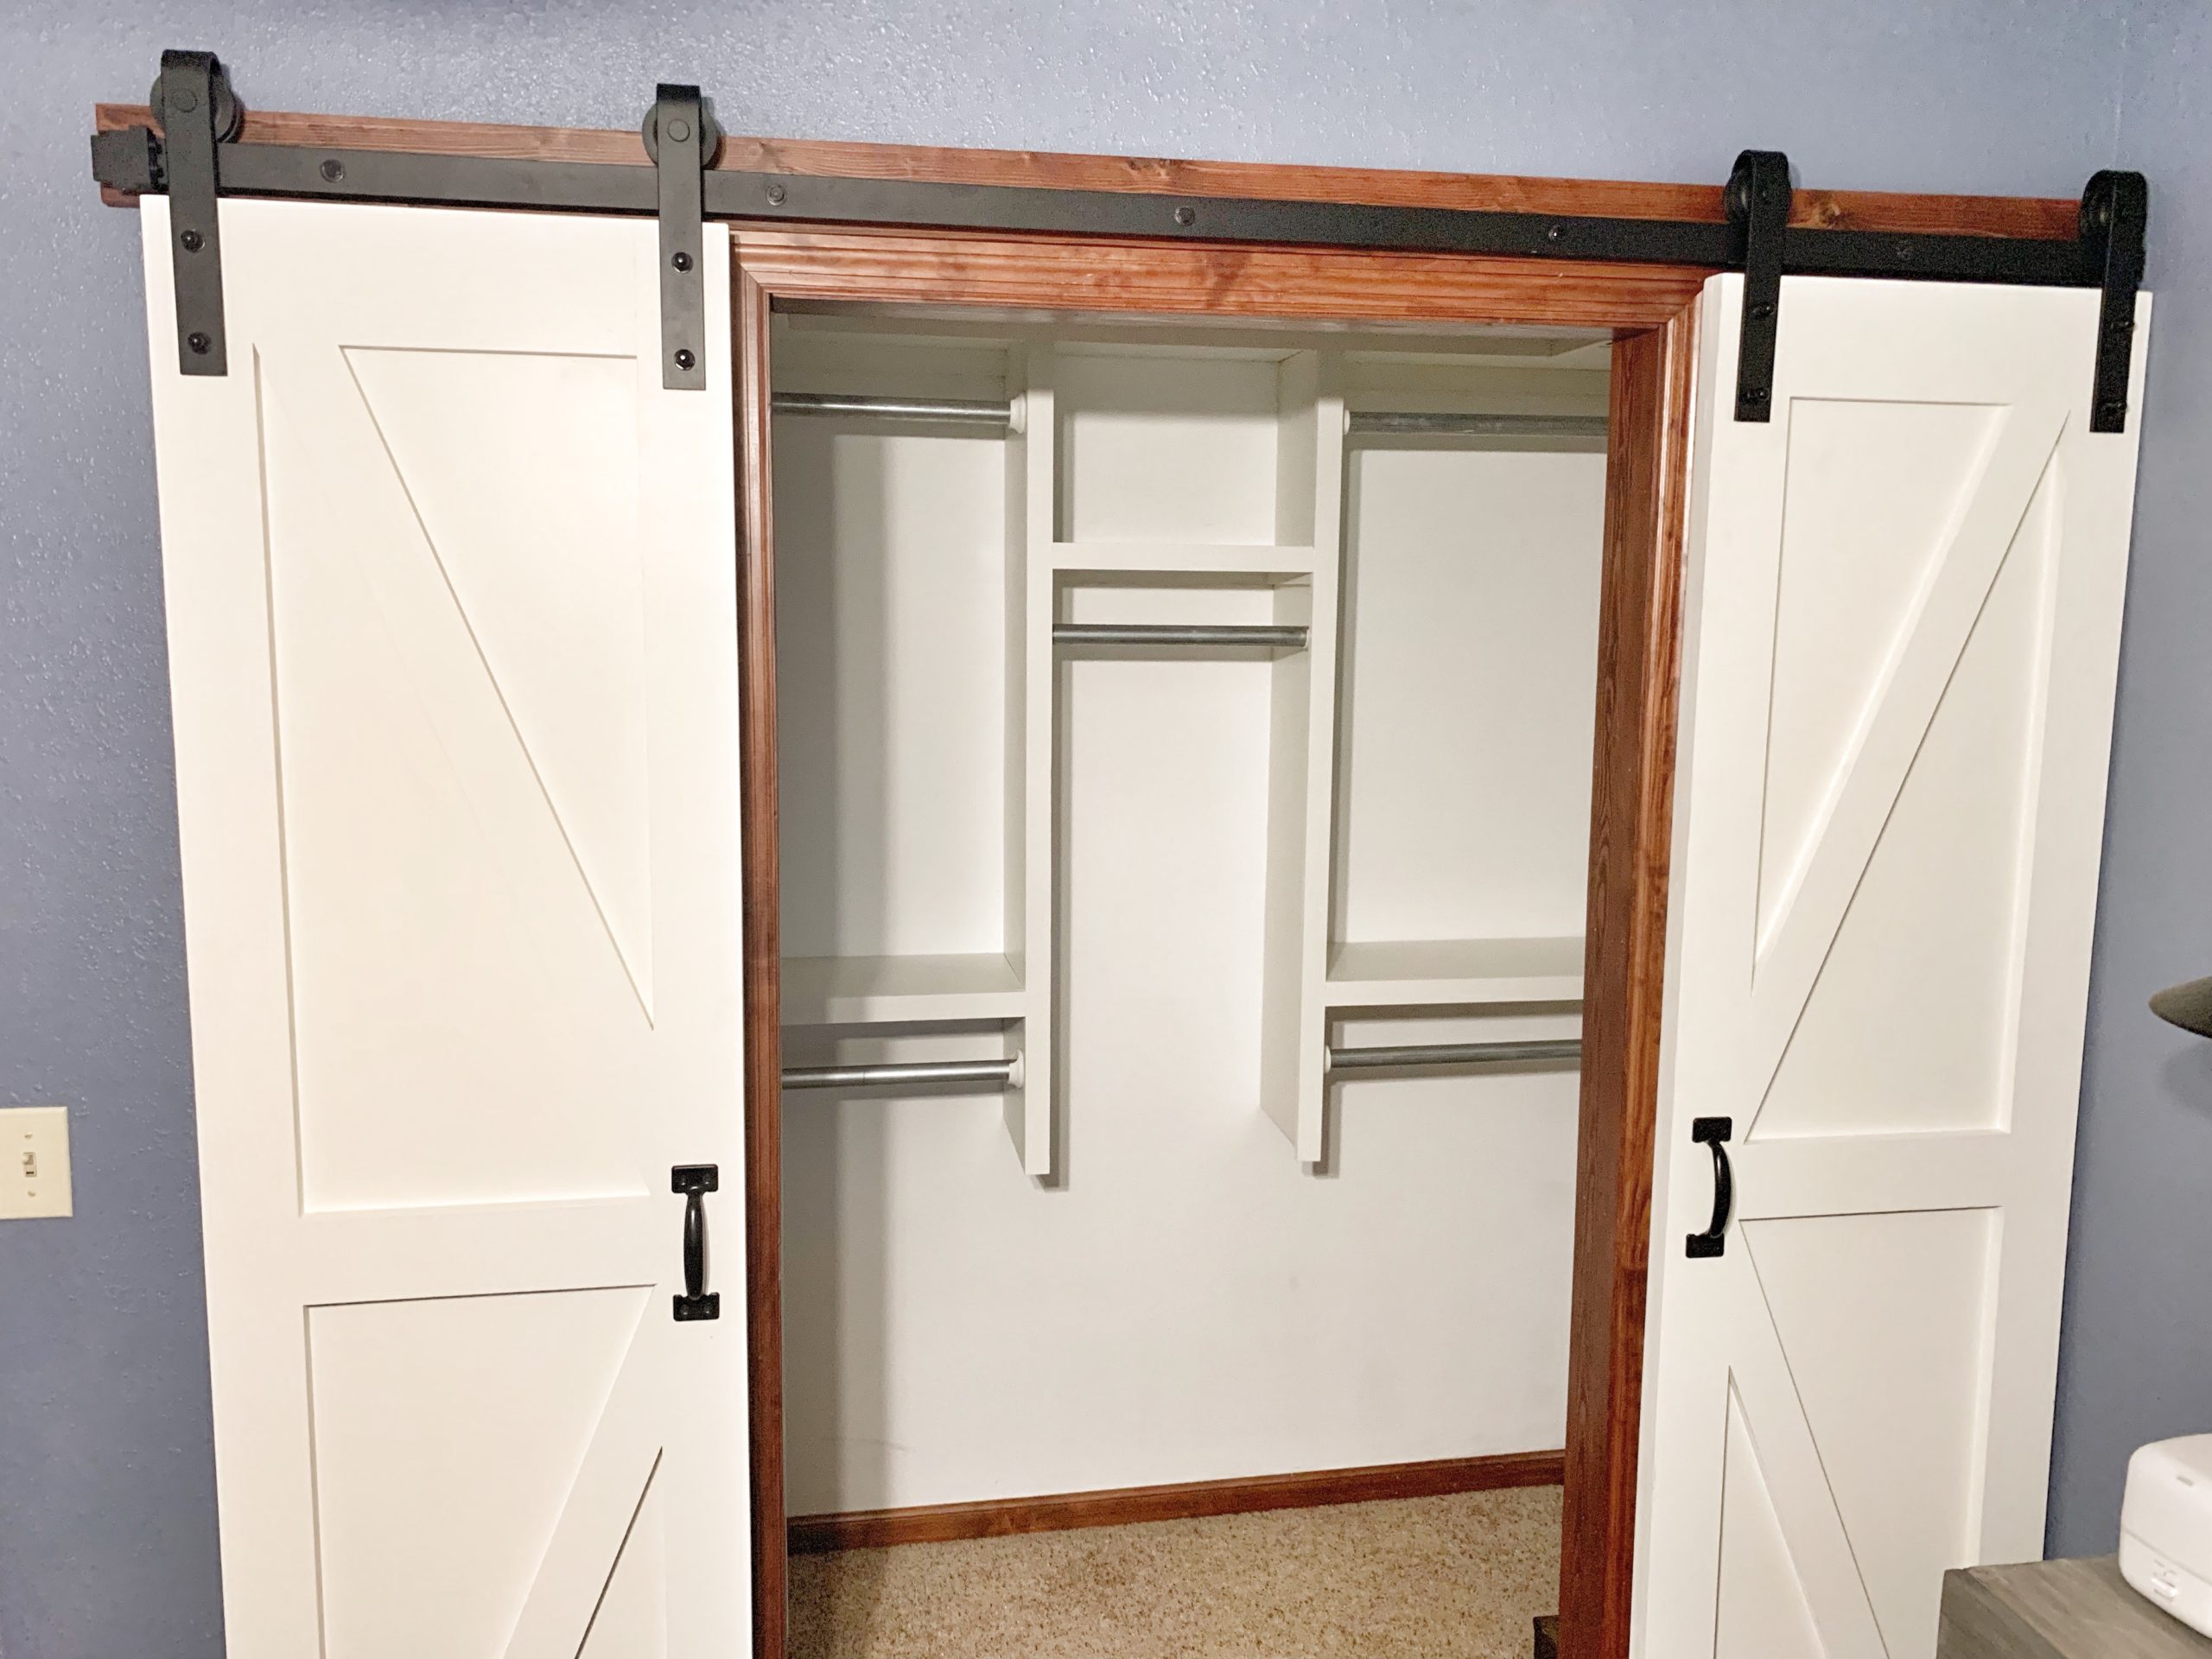
After
Not a lot of people probably think about this, but one of the major things that can add value to your home is a closet update. In older homes, especially, closets are normally very small and poorly designed, making them undesirable for most. Even with a small closet, however, updating the built-ins is a fairly inexpensive way to add value and salability to your home!!
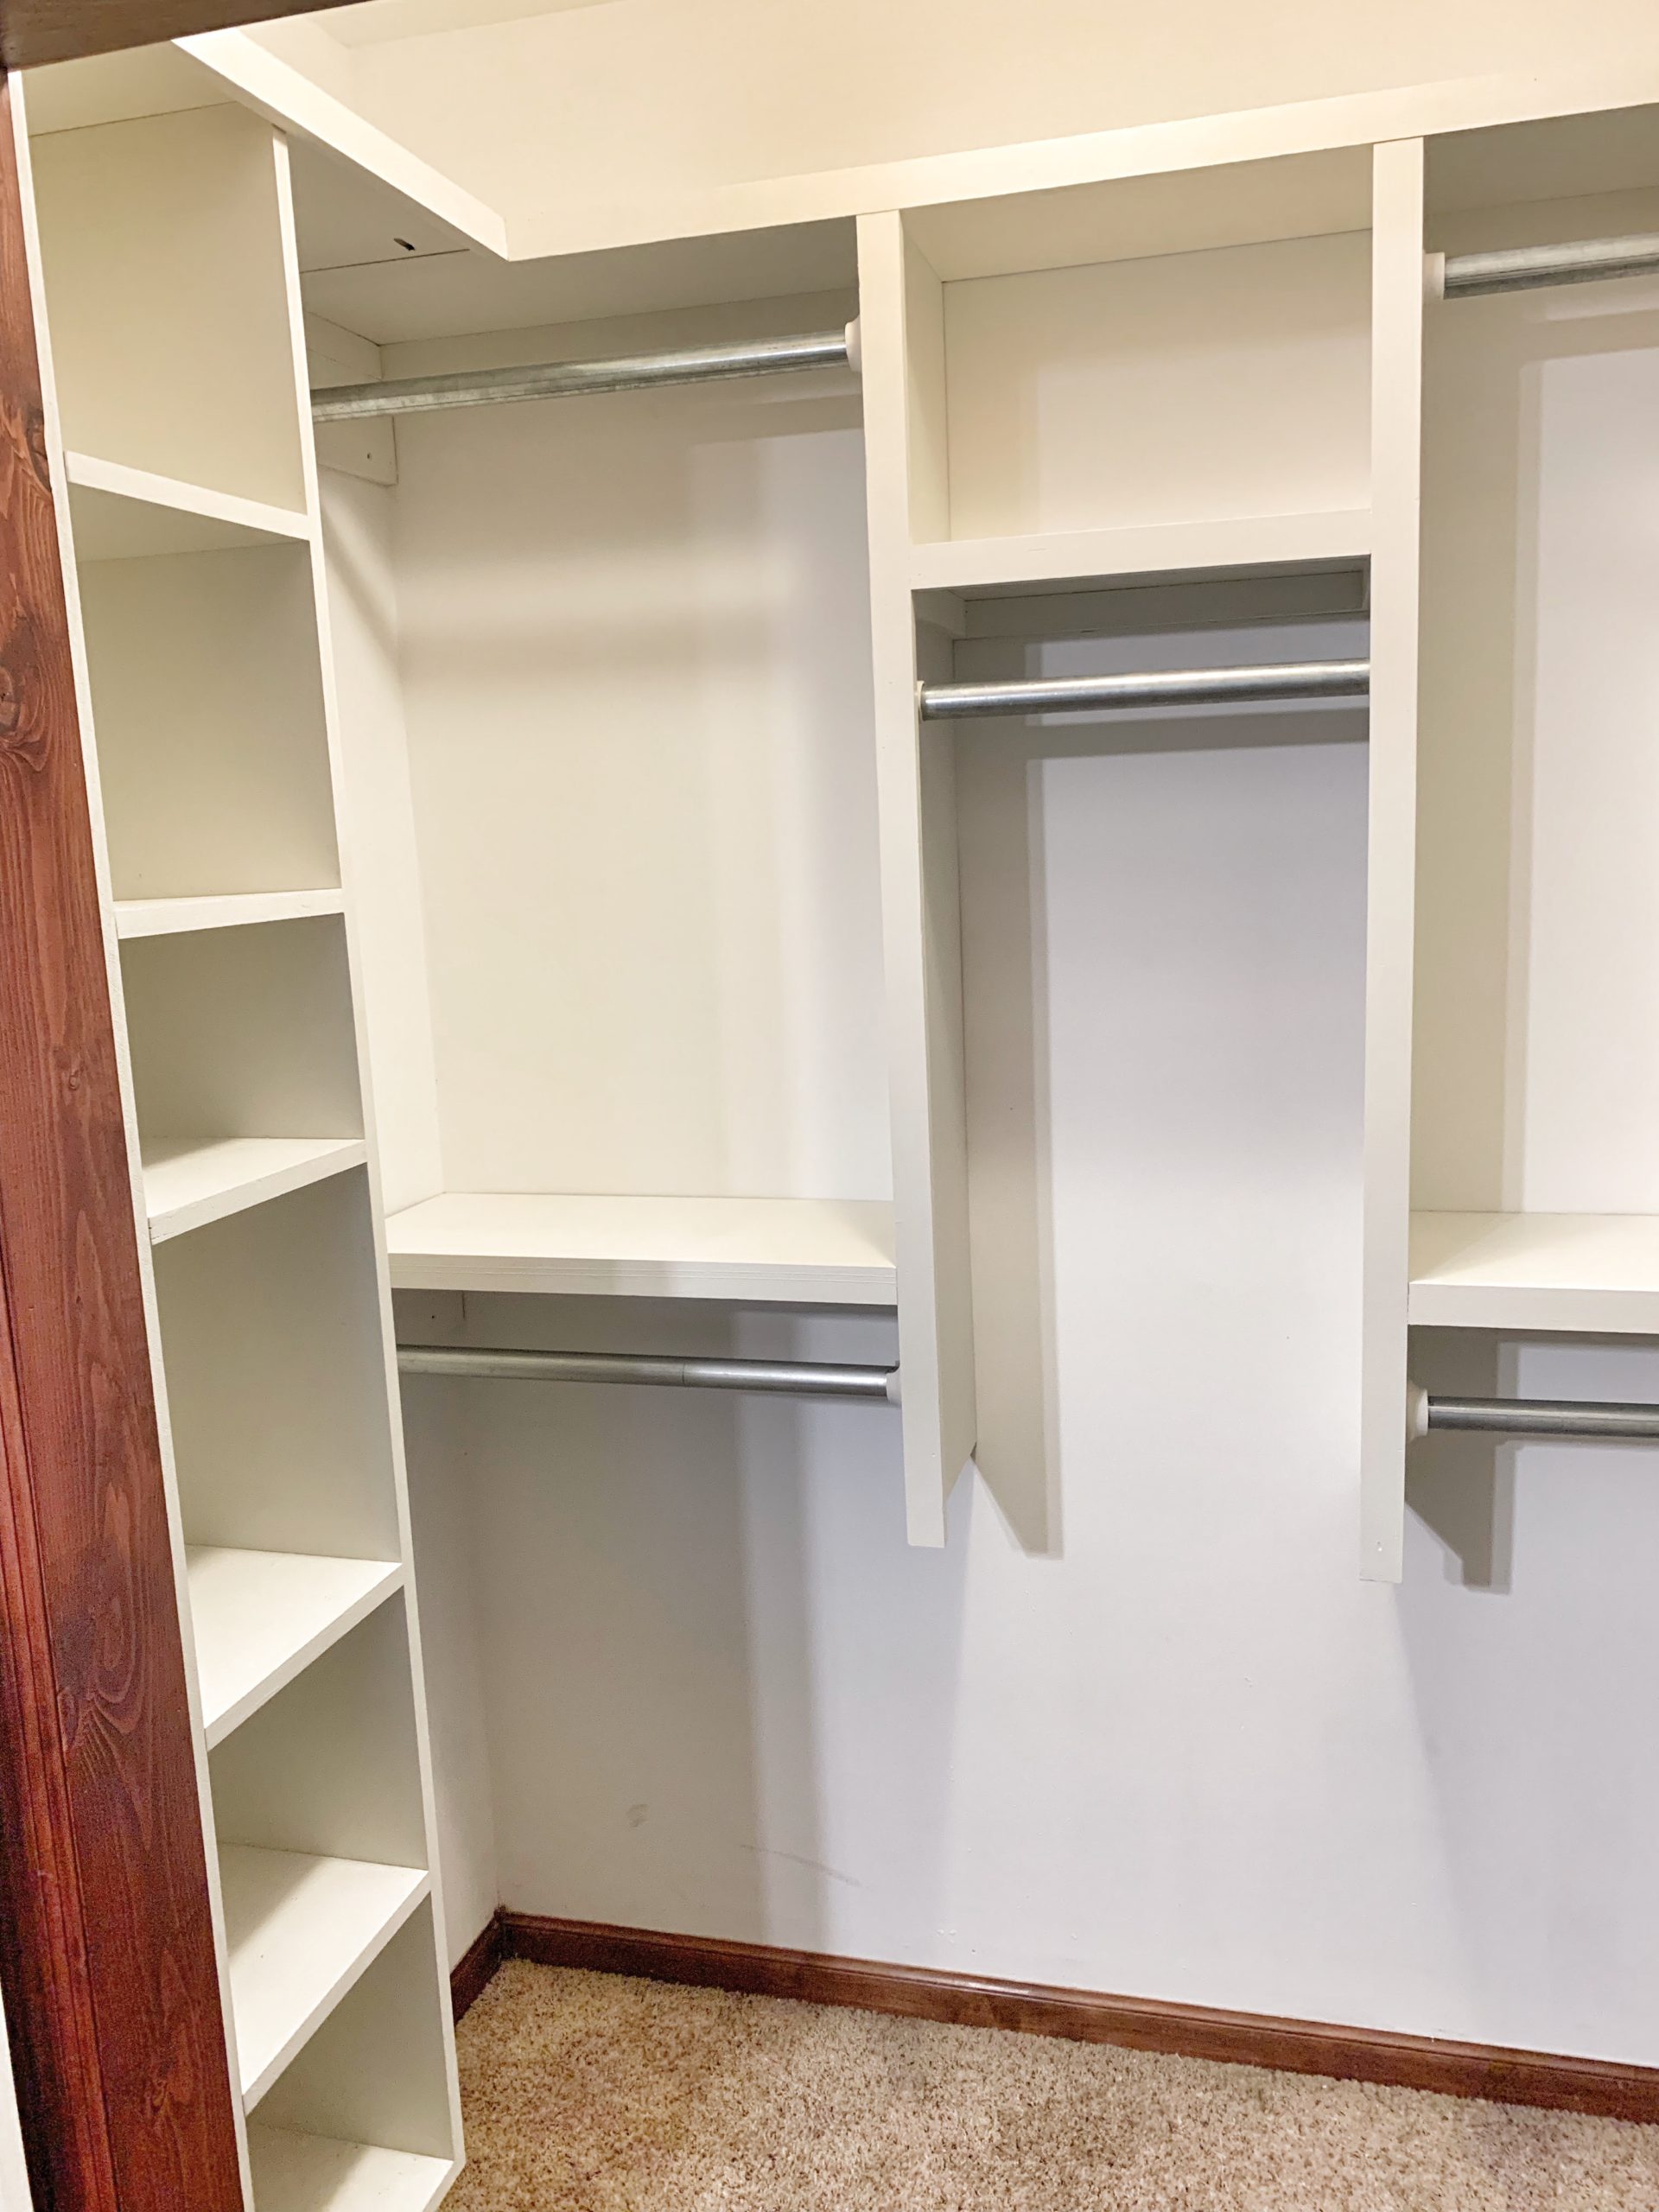
In our home, the master closet looked like a small builder-grade closet at first glance, but it’s actually bigger than average. Standard “reach-in” closets are typically 24″ deep, and “walk-in” closets are a minimum of 48″ deep. Our closet, being 37″ deep, is right in-between the two standard sizes, MEANING with a little makeover, we could gain so much more storage to really maximize the space we had available (and not have to put half of our clothes in the guest room closet lol).
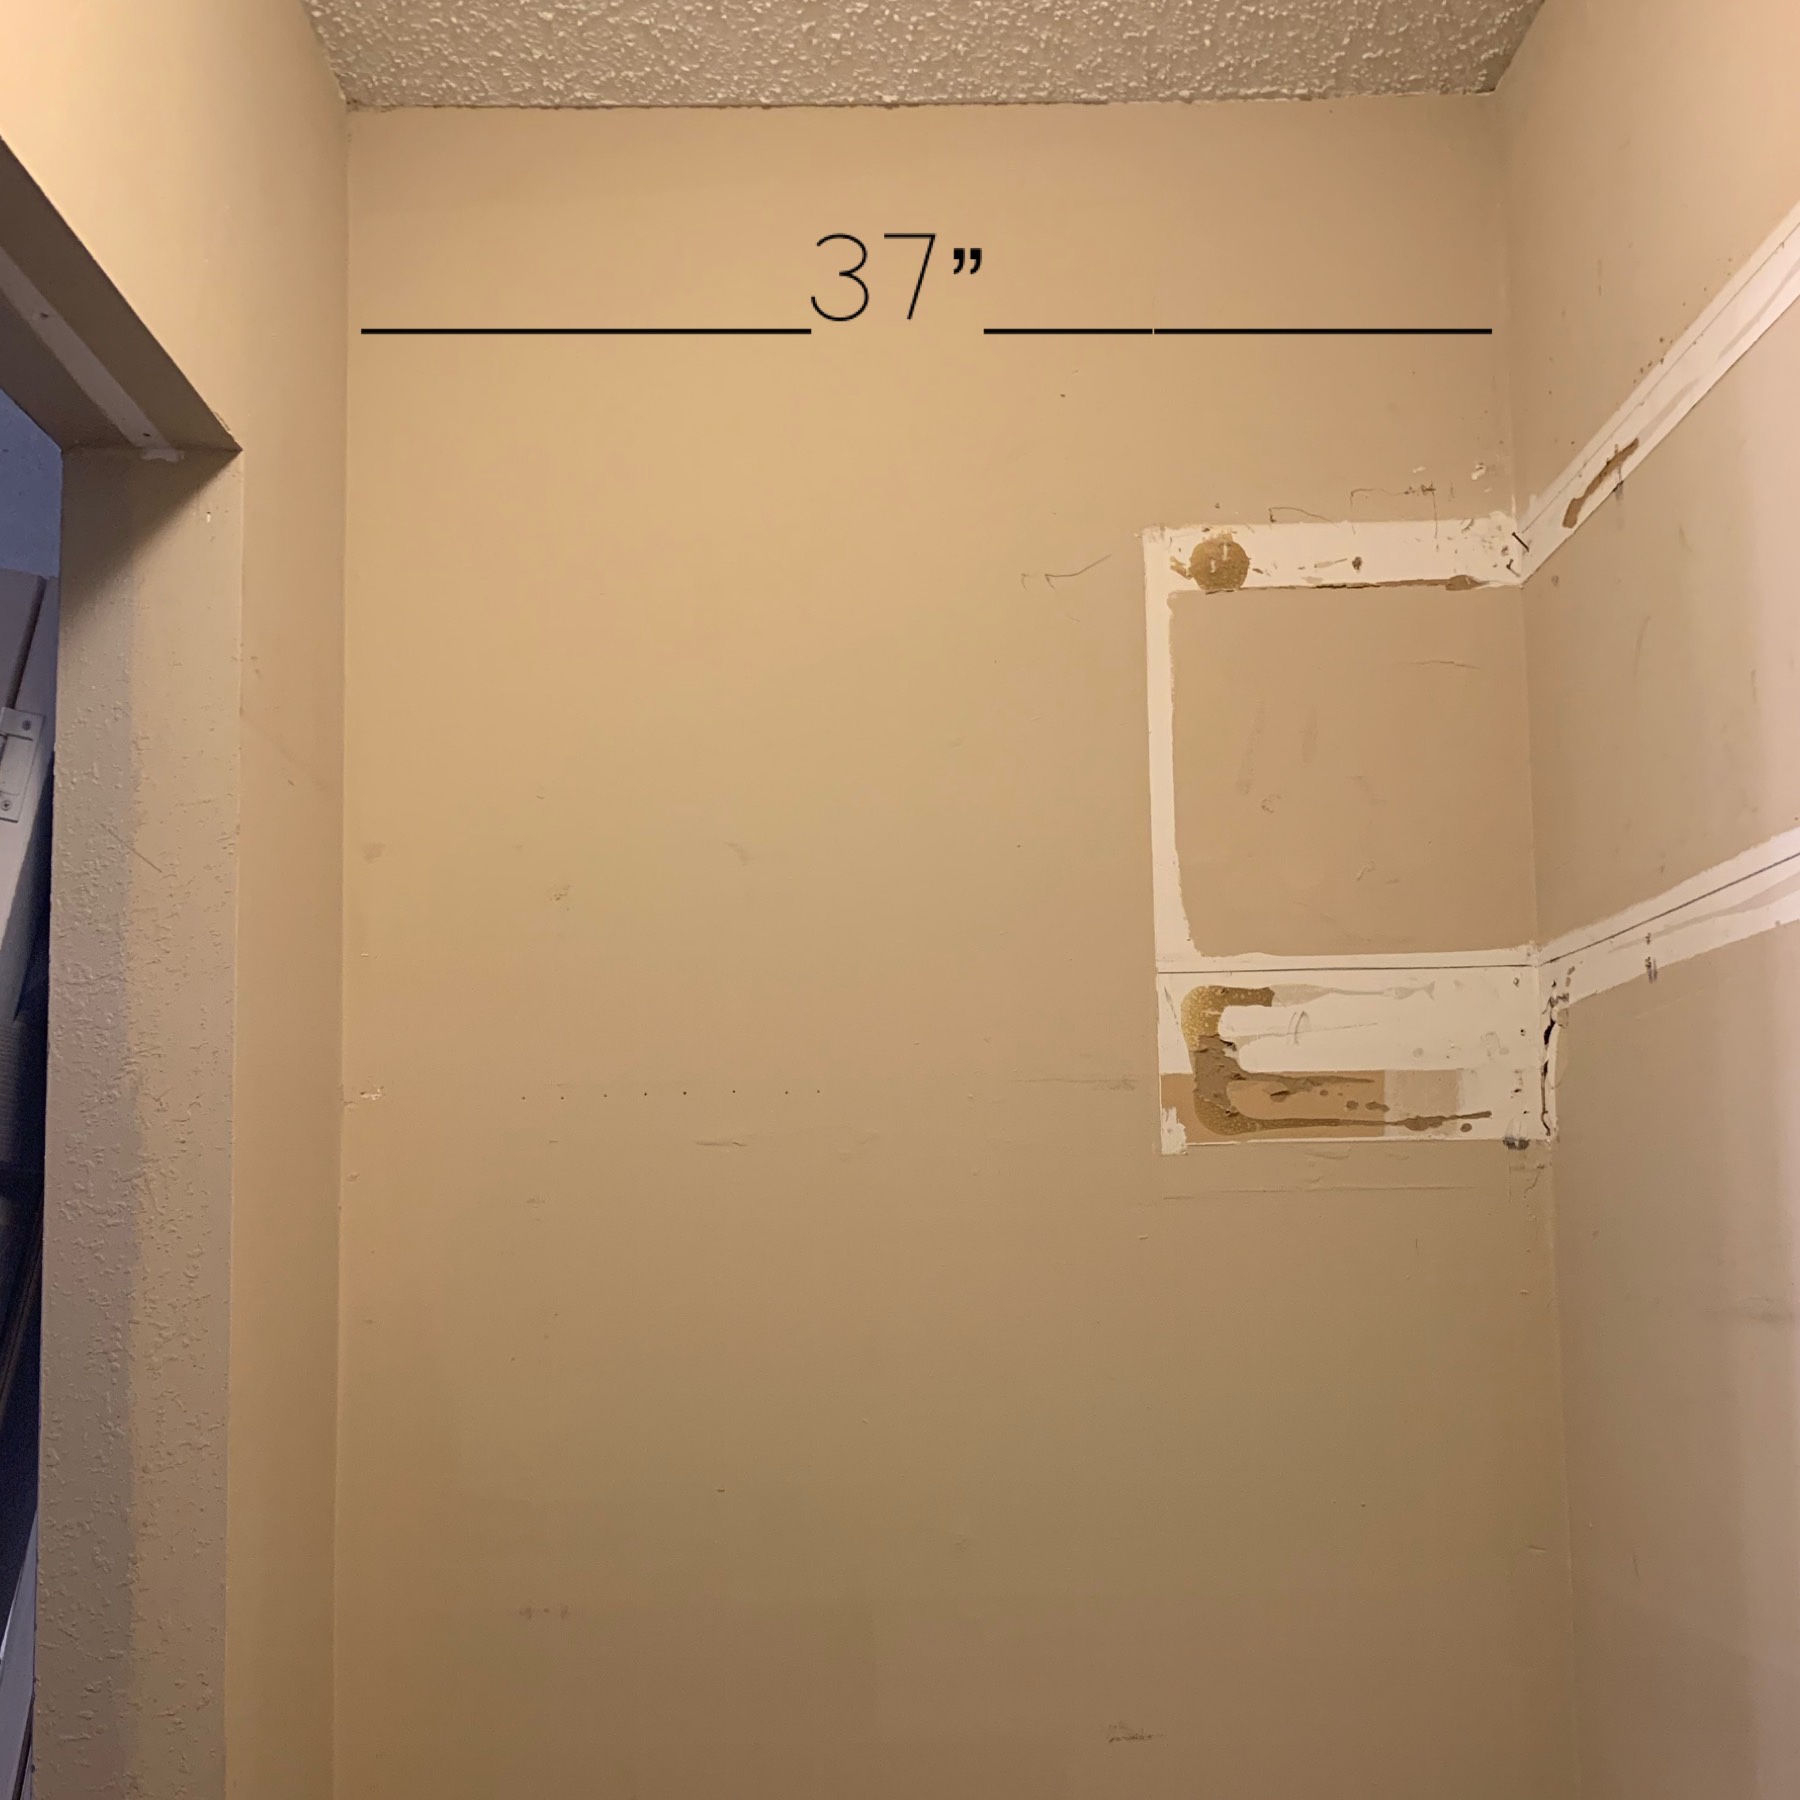
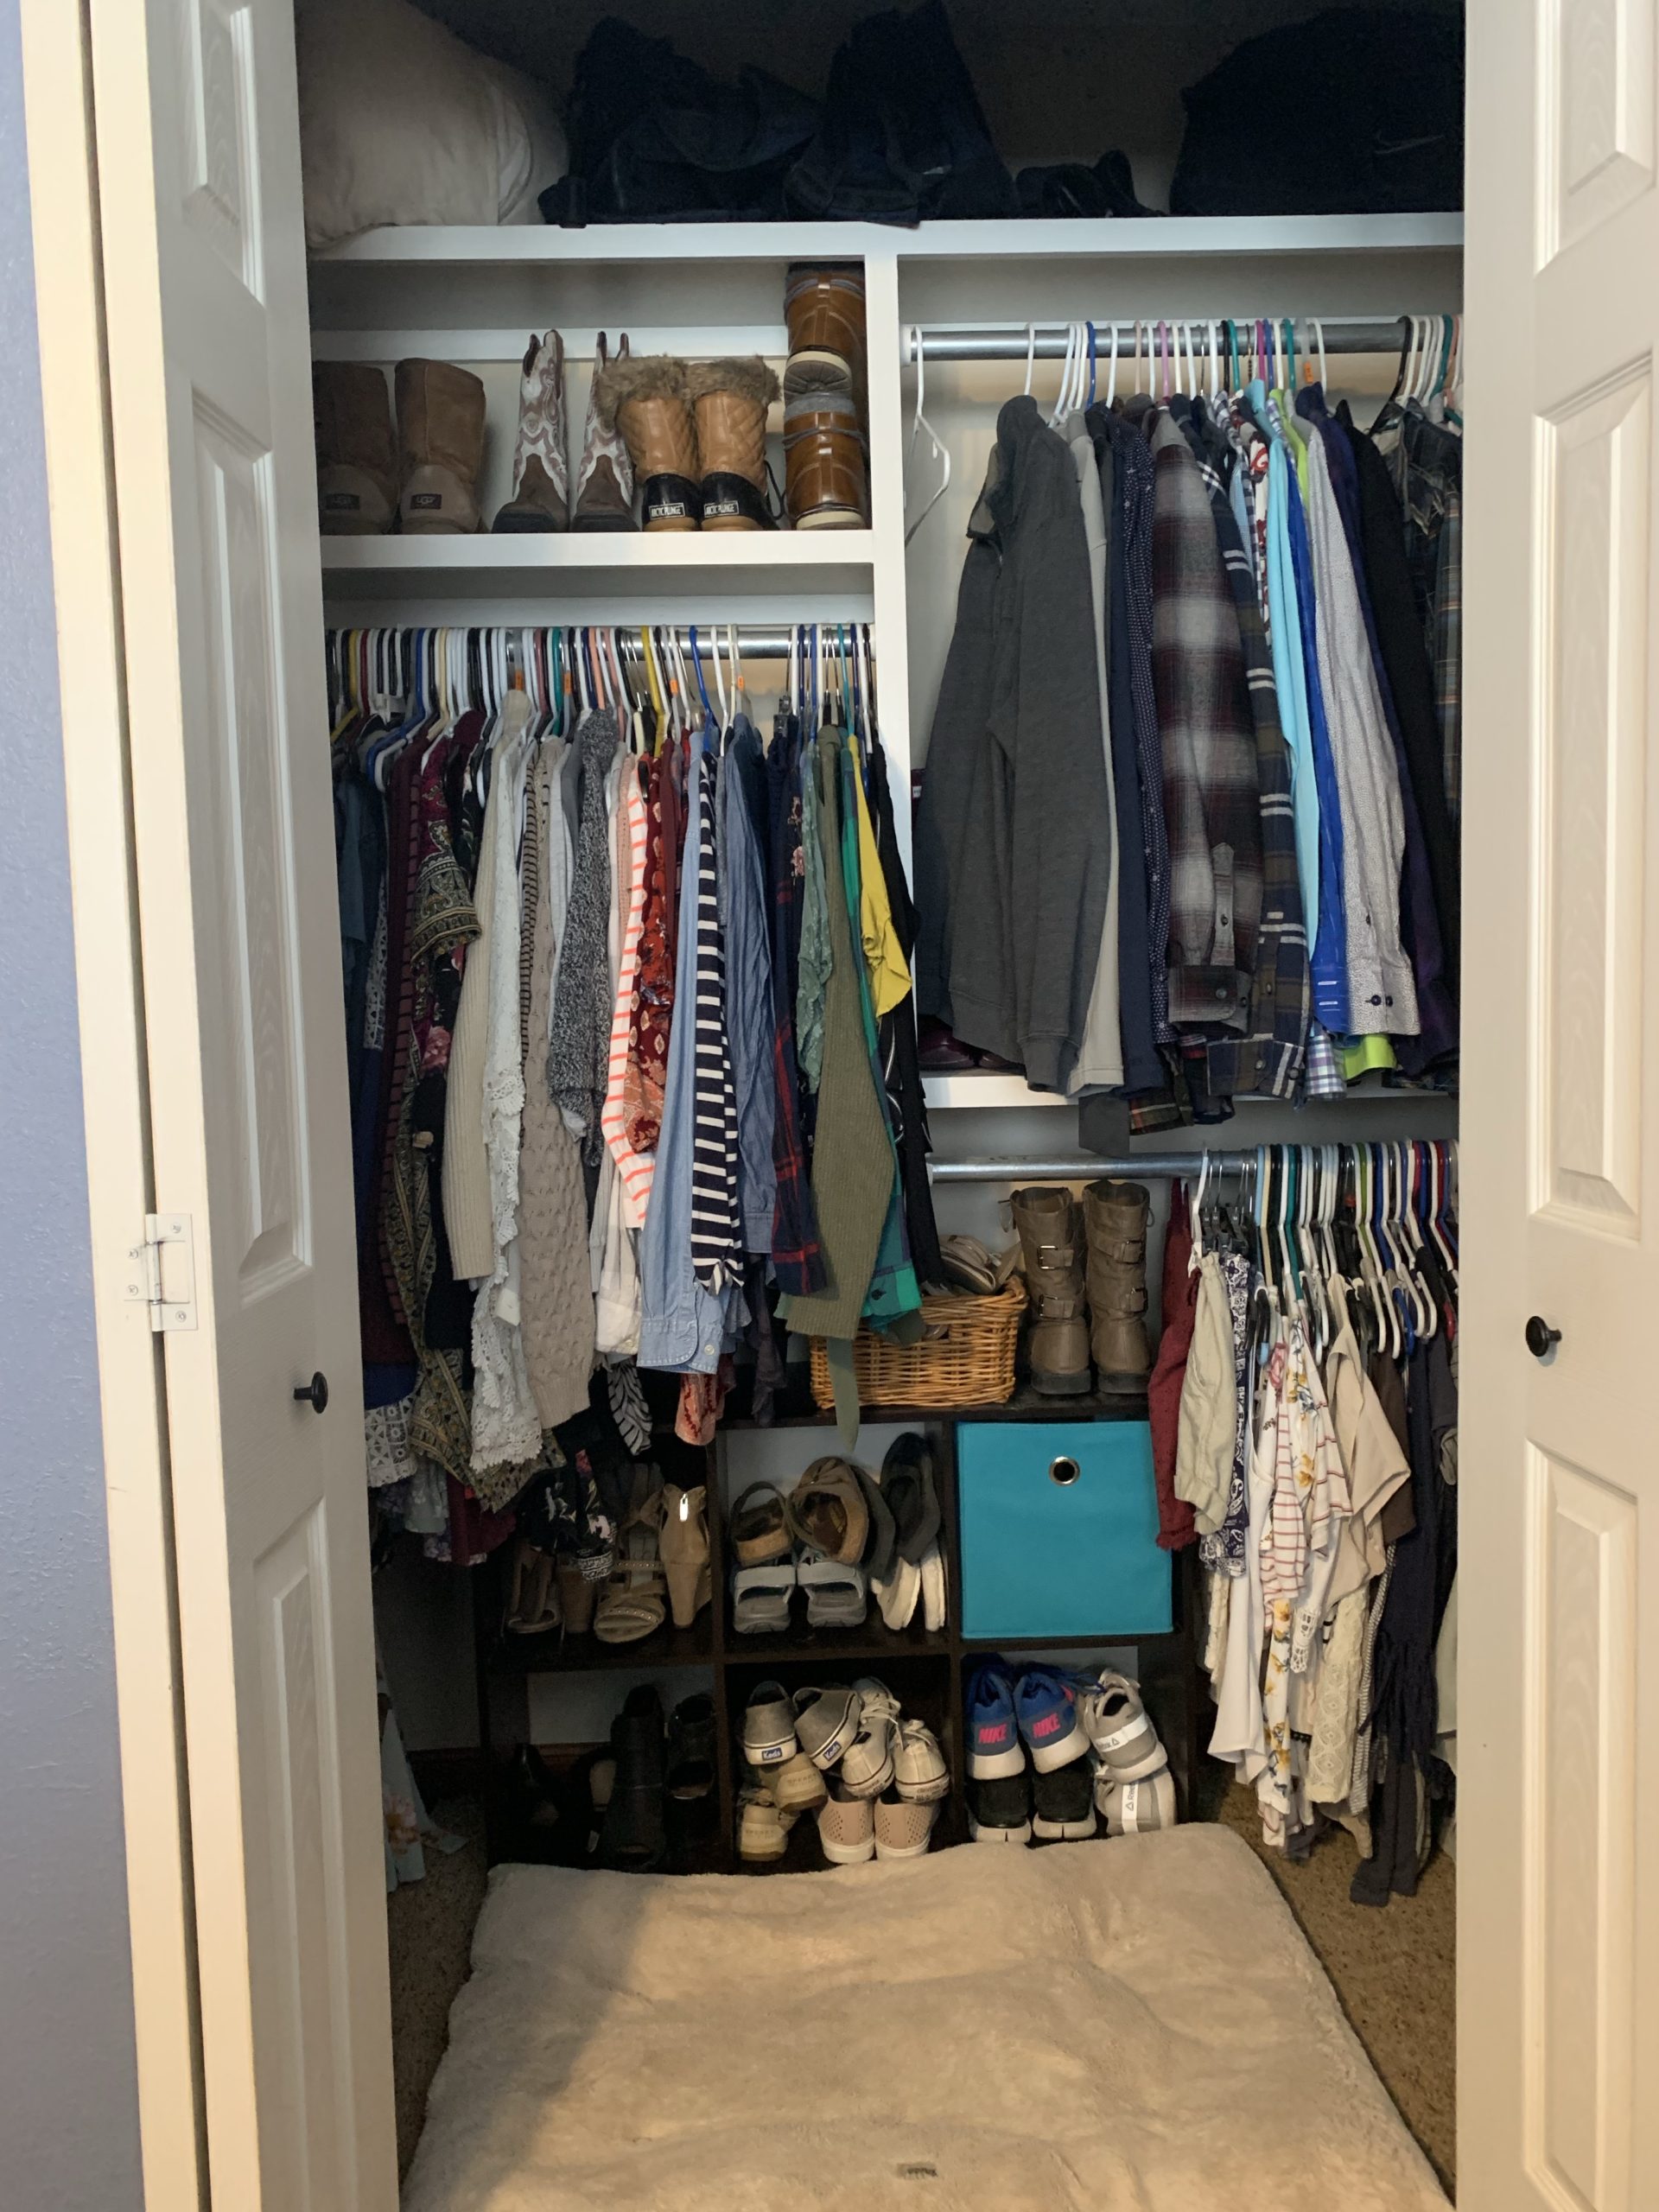
How everything was arranged before.
When I redesigned this, I really tried to evaluate what we had to figure out what kind of storage we needed.
- More double hanging
- Only about 18″ of long hanging
- SHOE STORAGE
- More overhead shelving
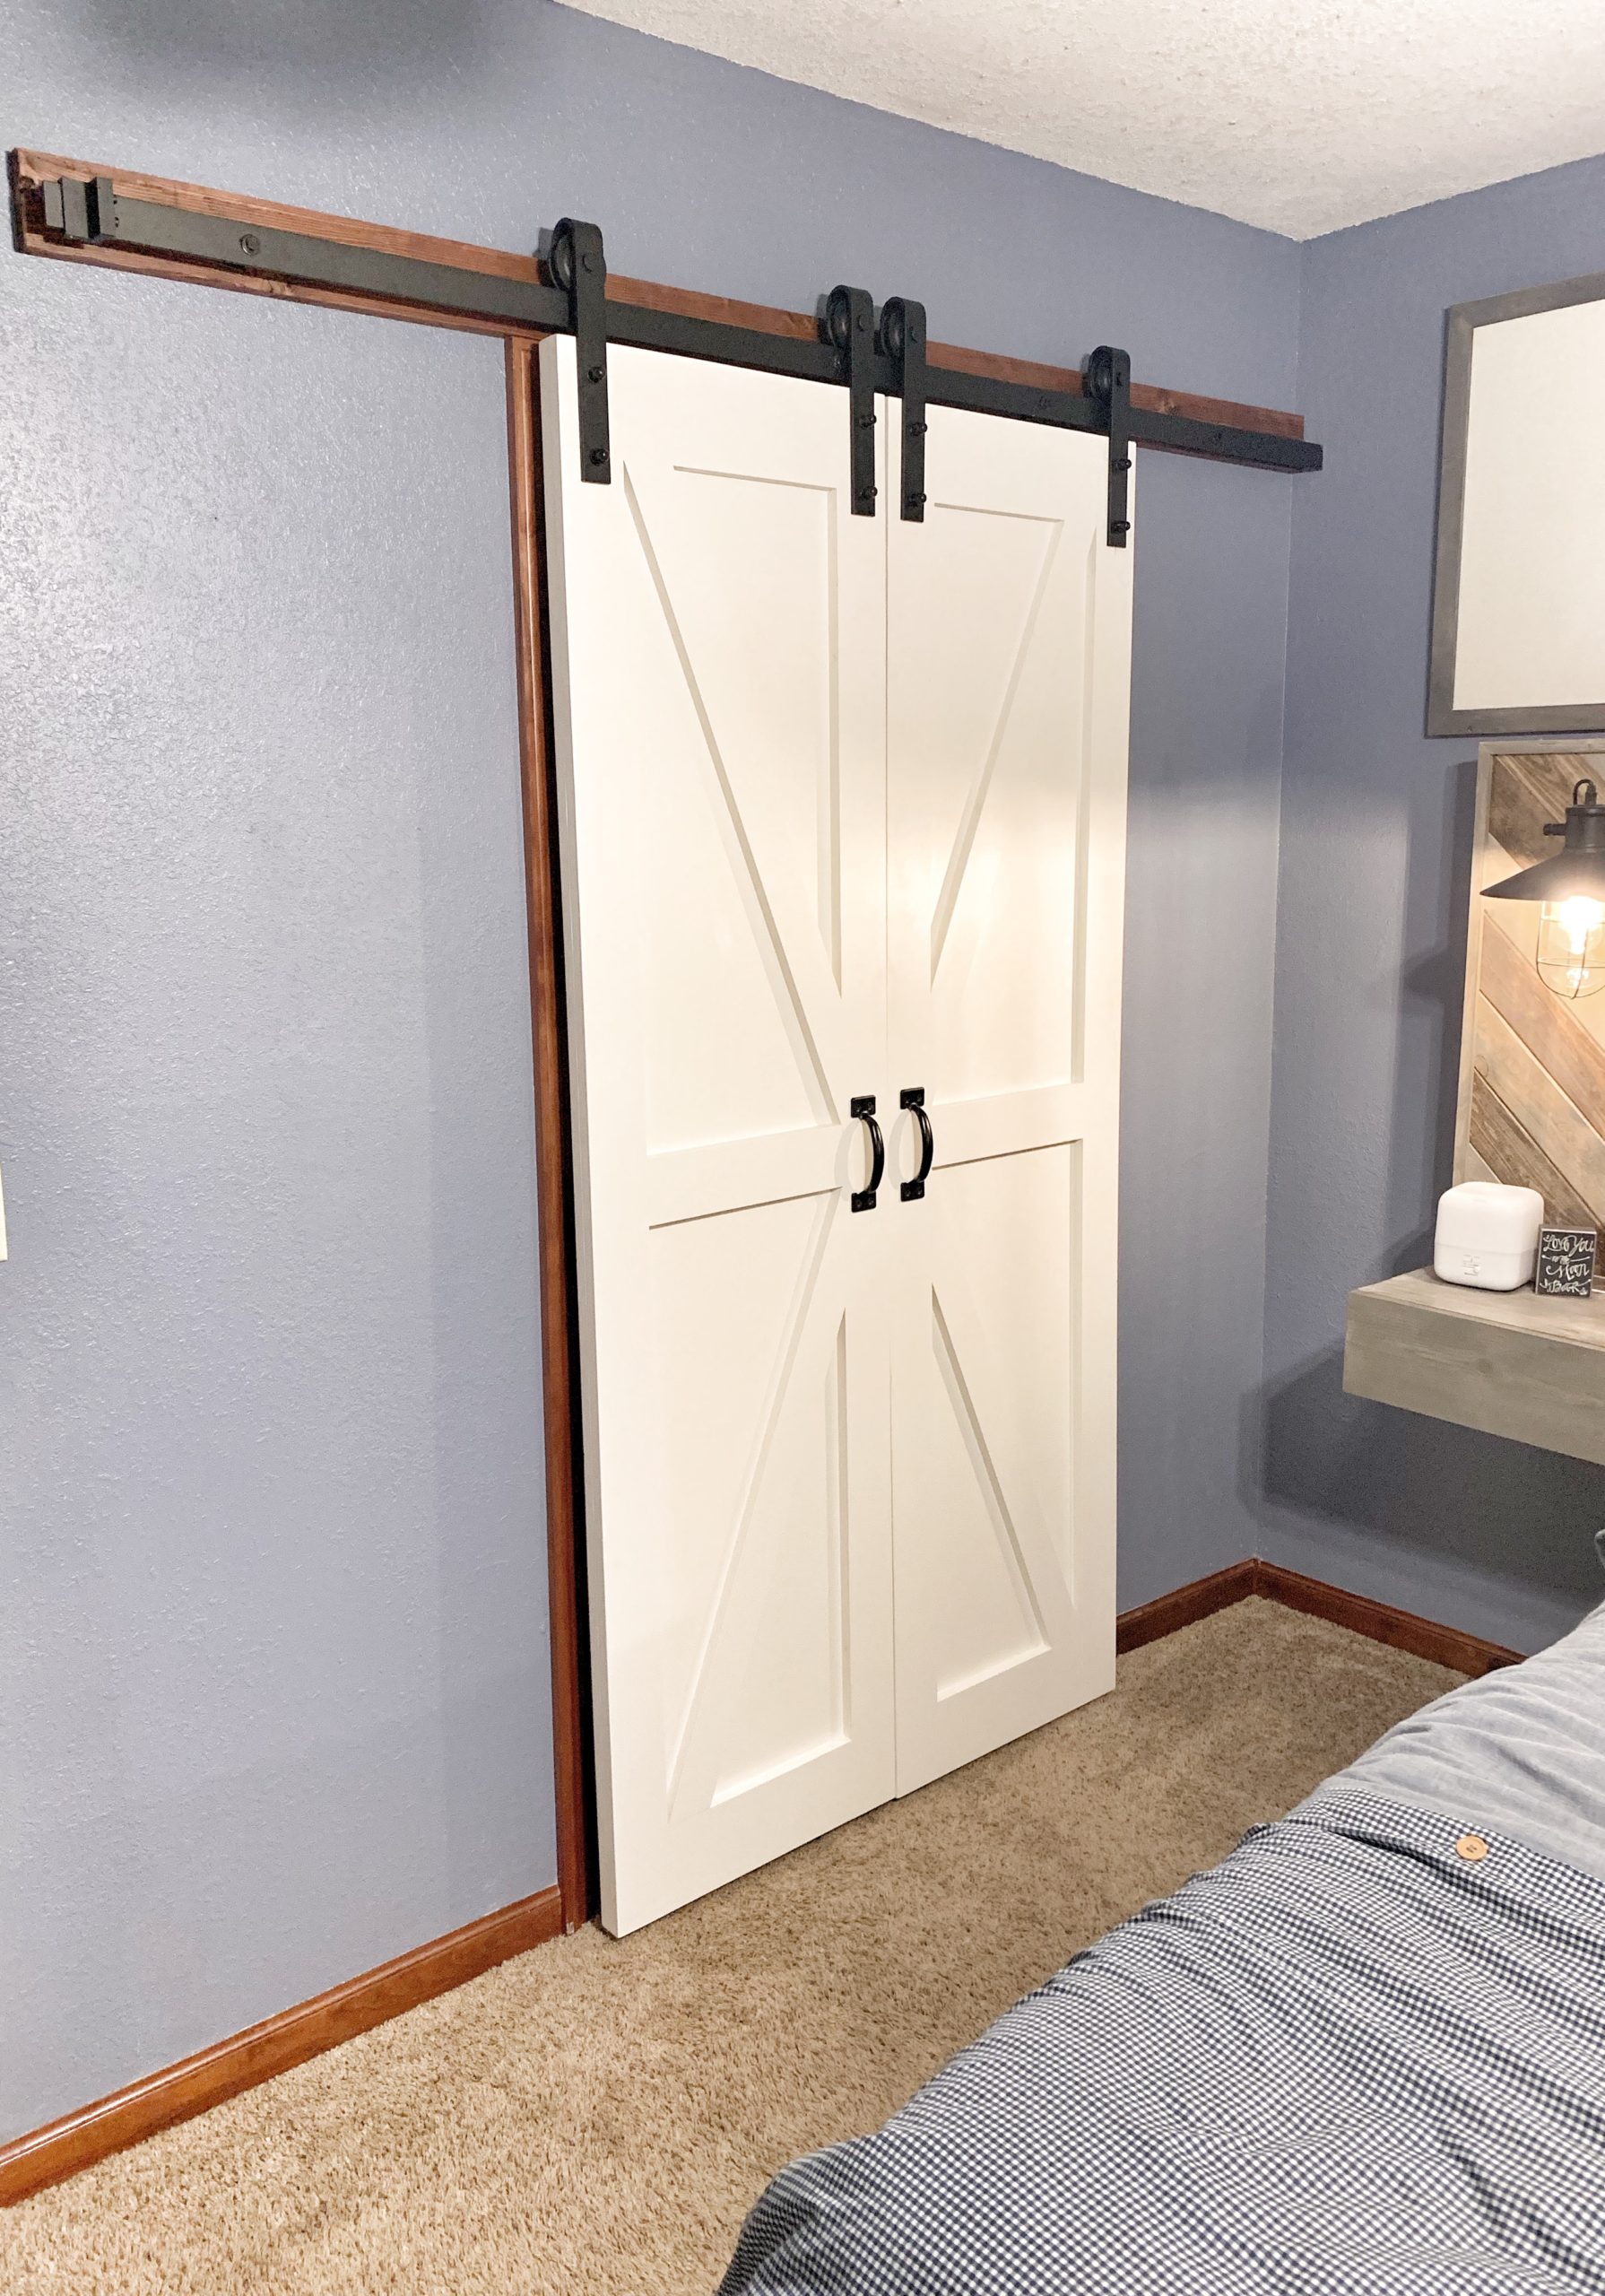
We also decided to update the asthenic by replacing the bifold doors with sliding barn doors, and adding trim to the cased opening. These kind of changes really make a dramatic impact on a space.
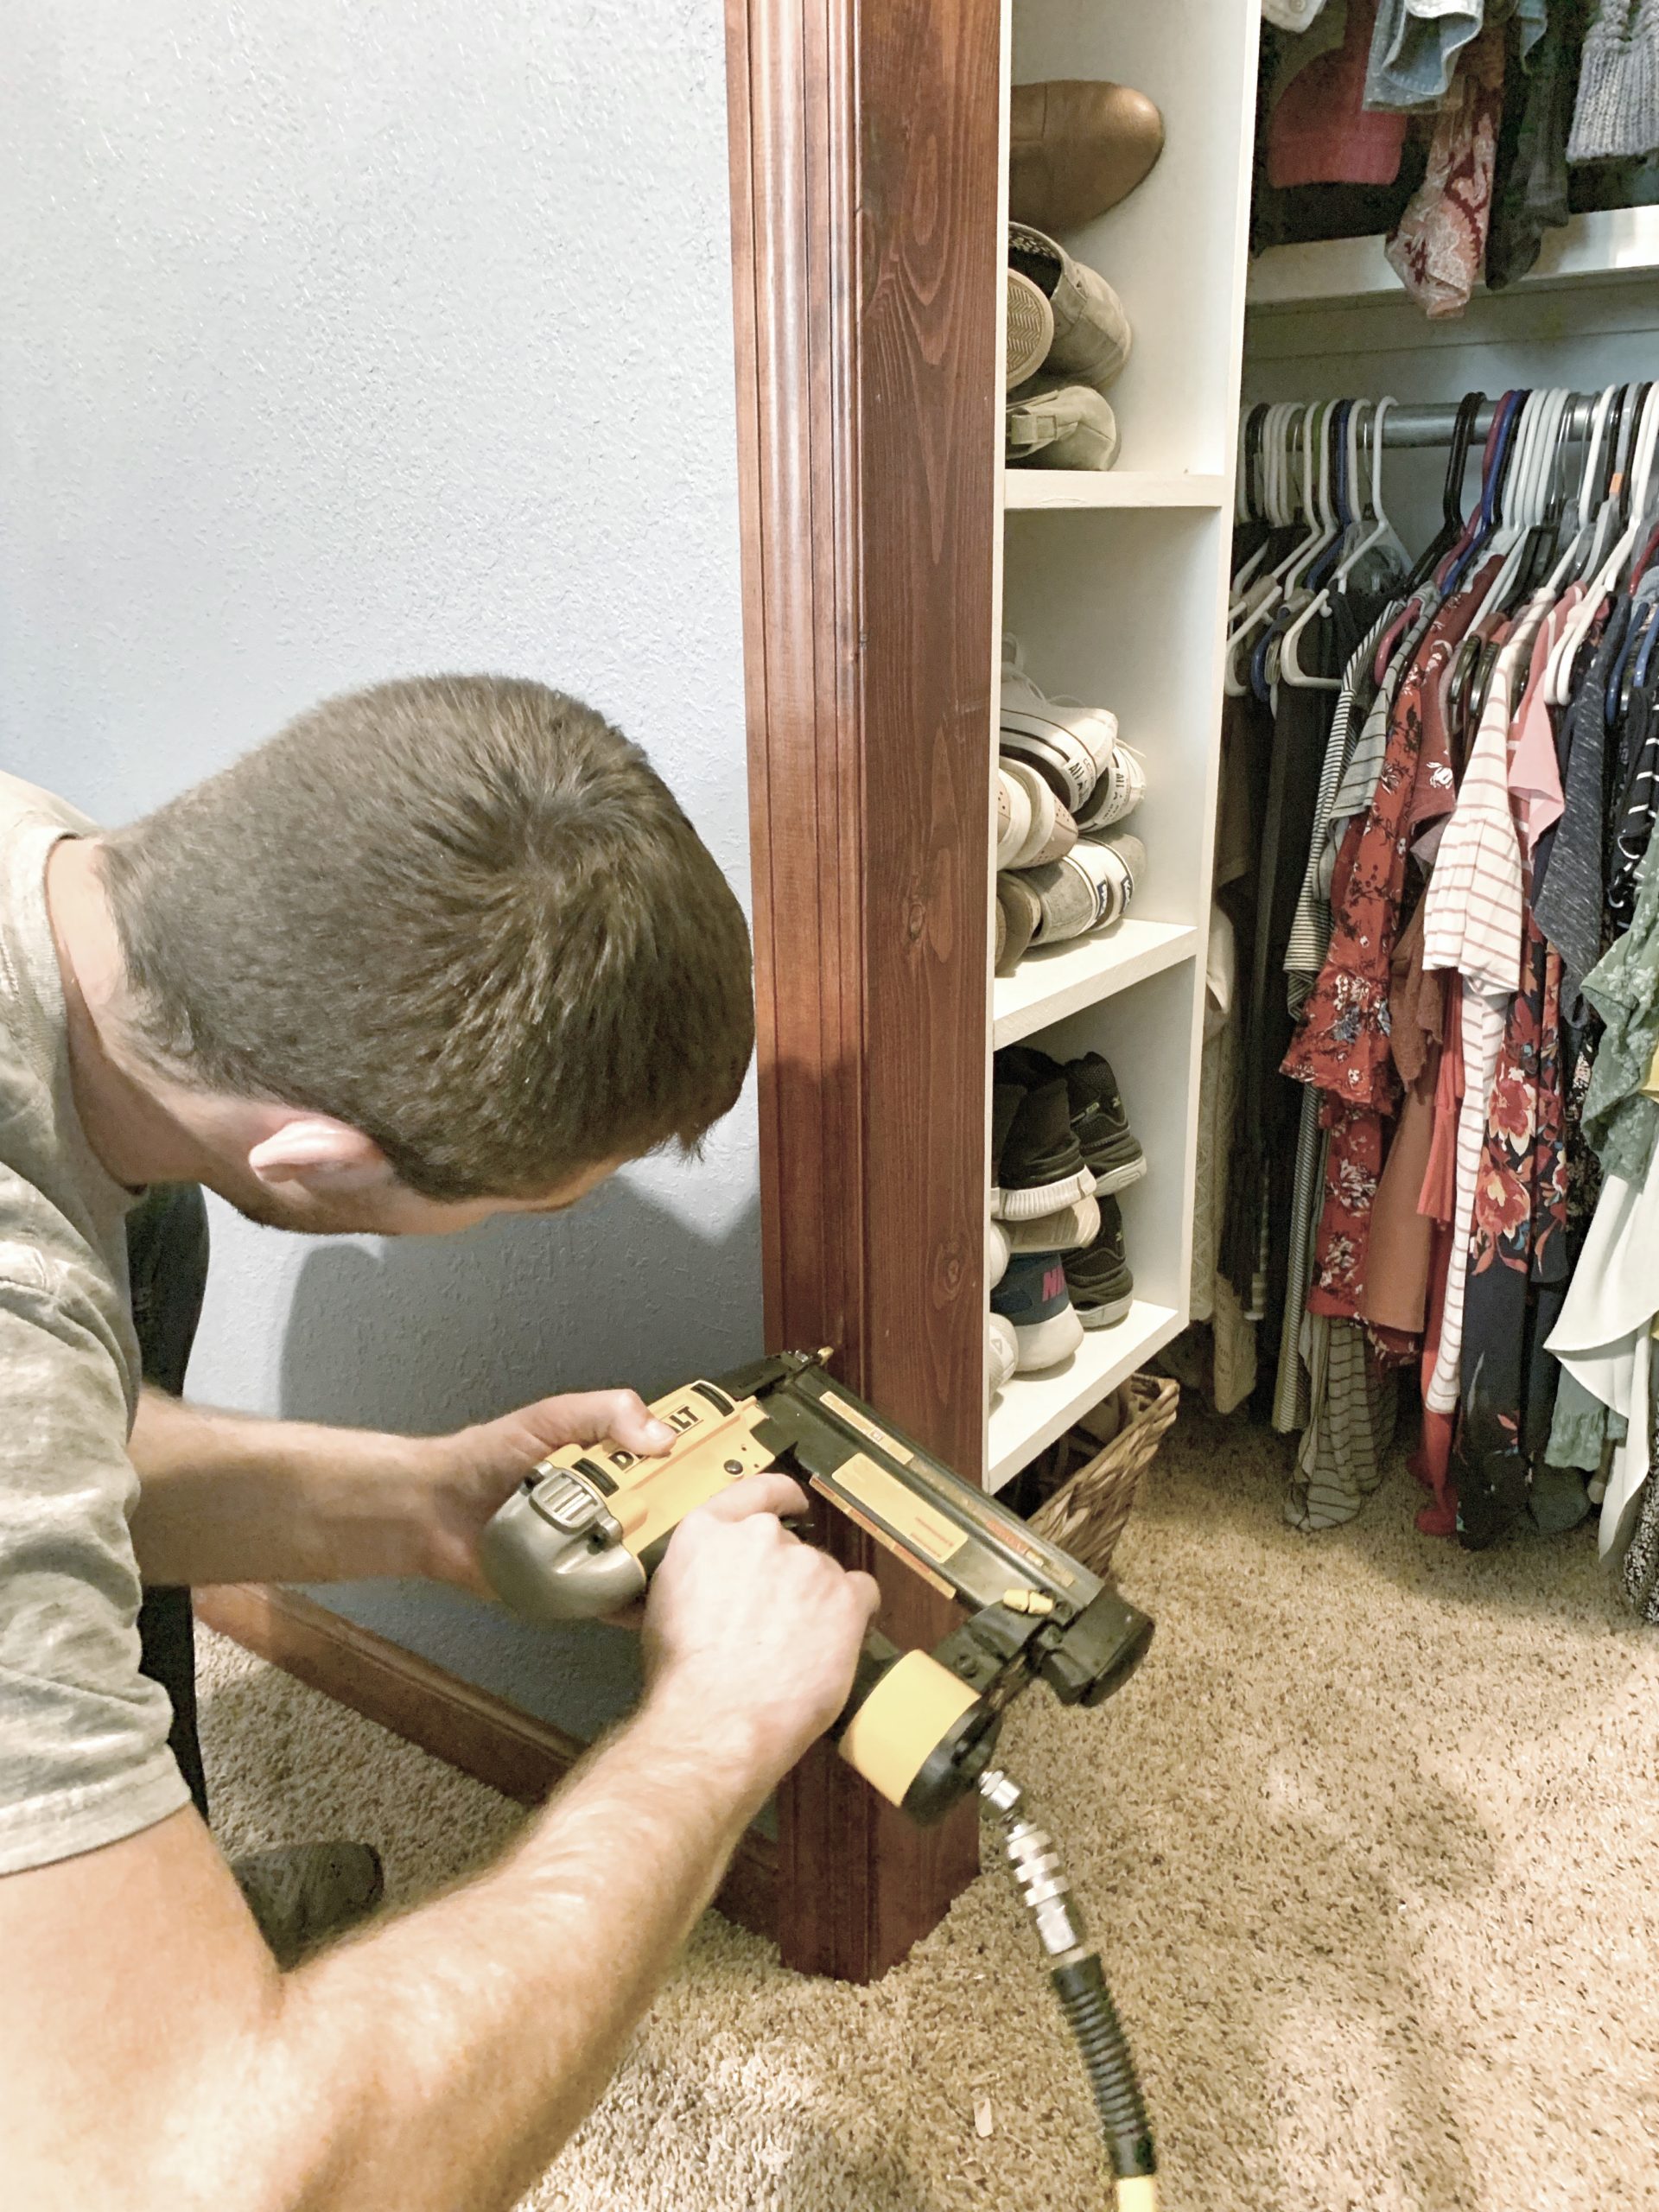
 I did a sketch of what I wanted with accurate measurements, and we got to work on demo (by we I mean Logan lol). It took about three weeks total to complete this project and that includes demo, relocating electrical, framing in the opening to accommodate the sliding barn door, drywall and matching wall texture, removing pop corn ceiling, built-ins from scratch, paint and finish work.
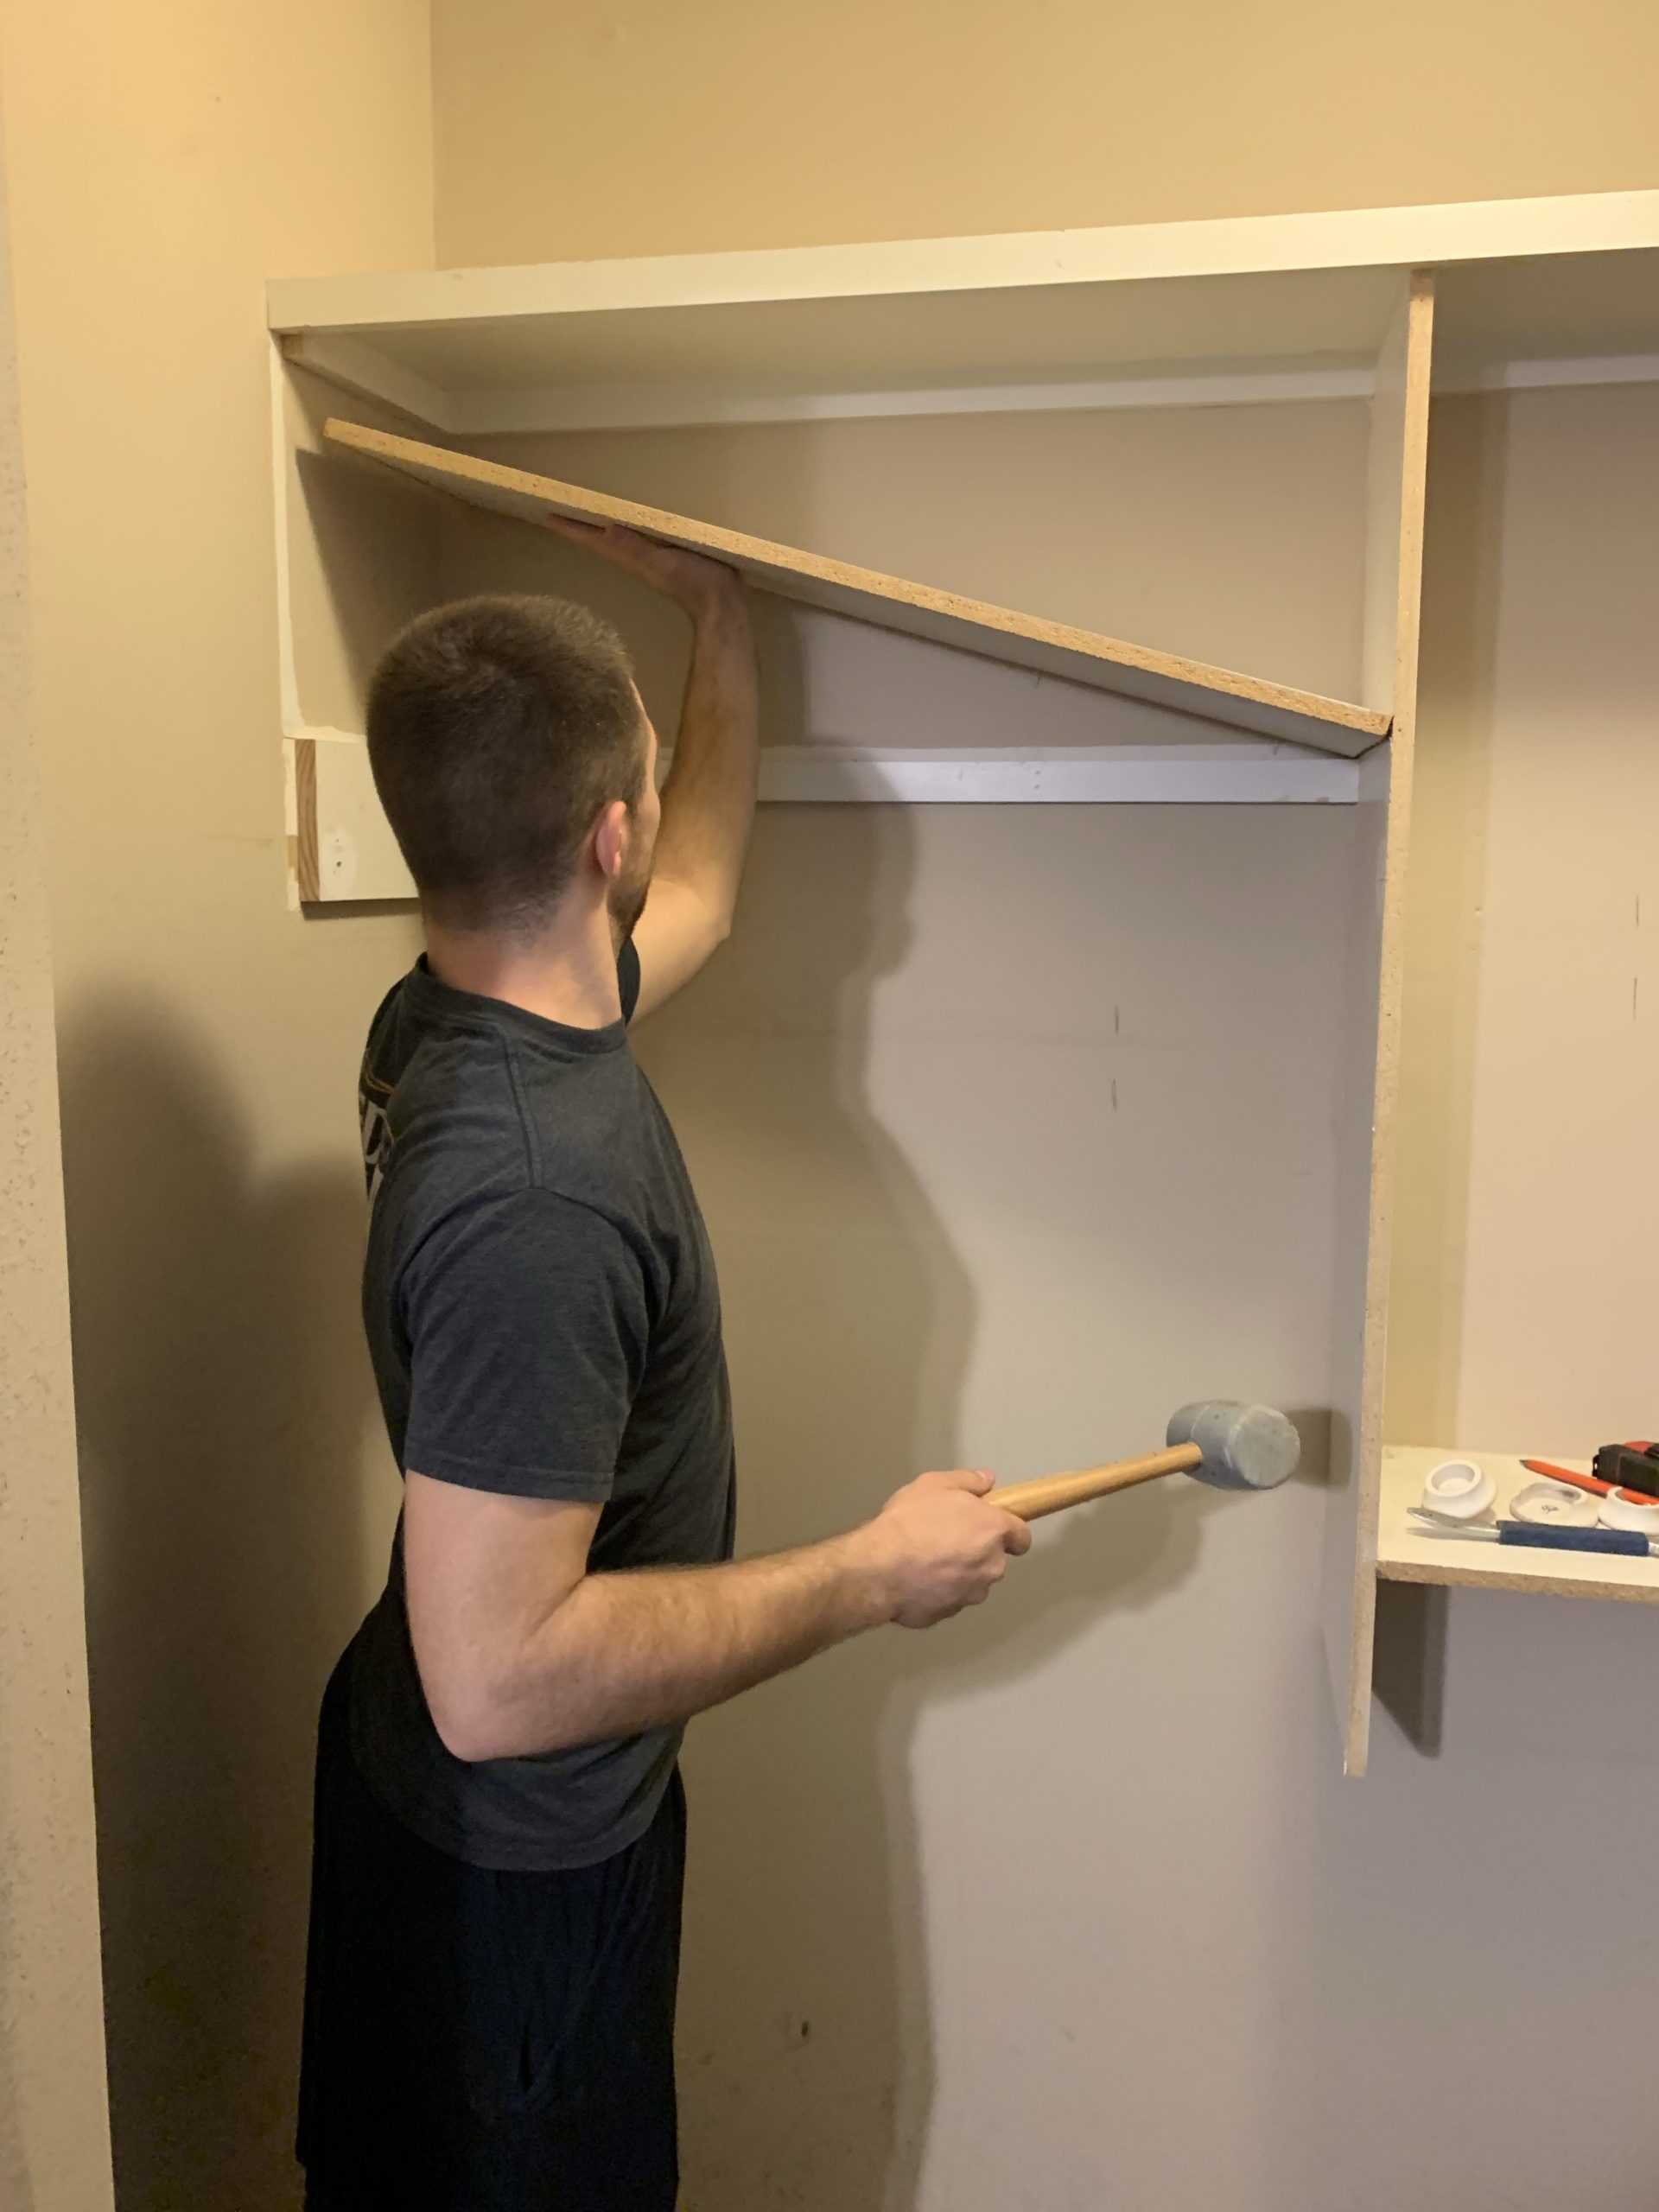
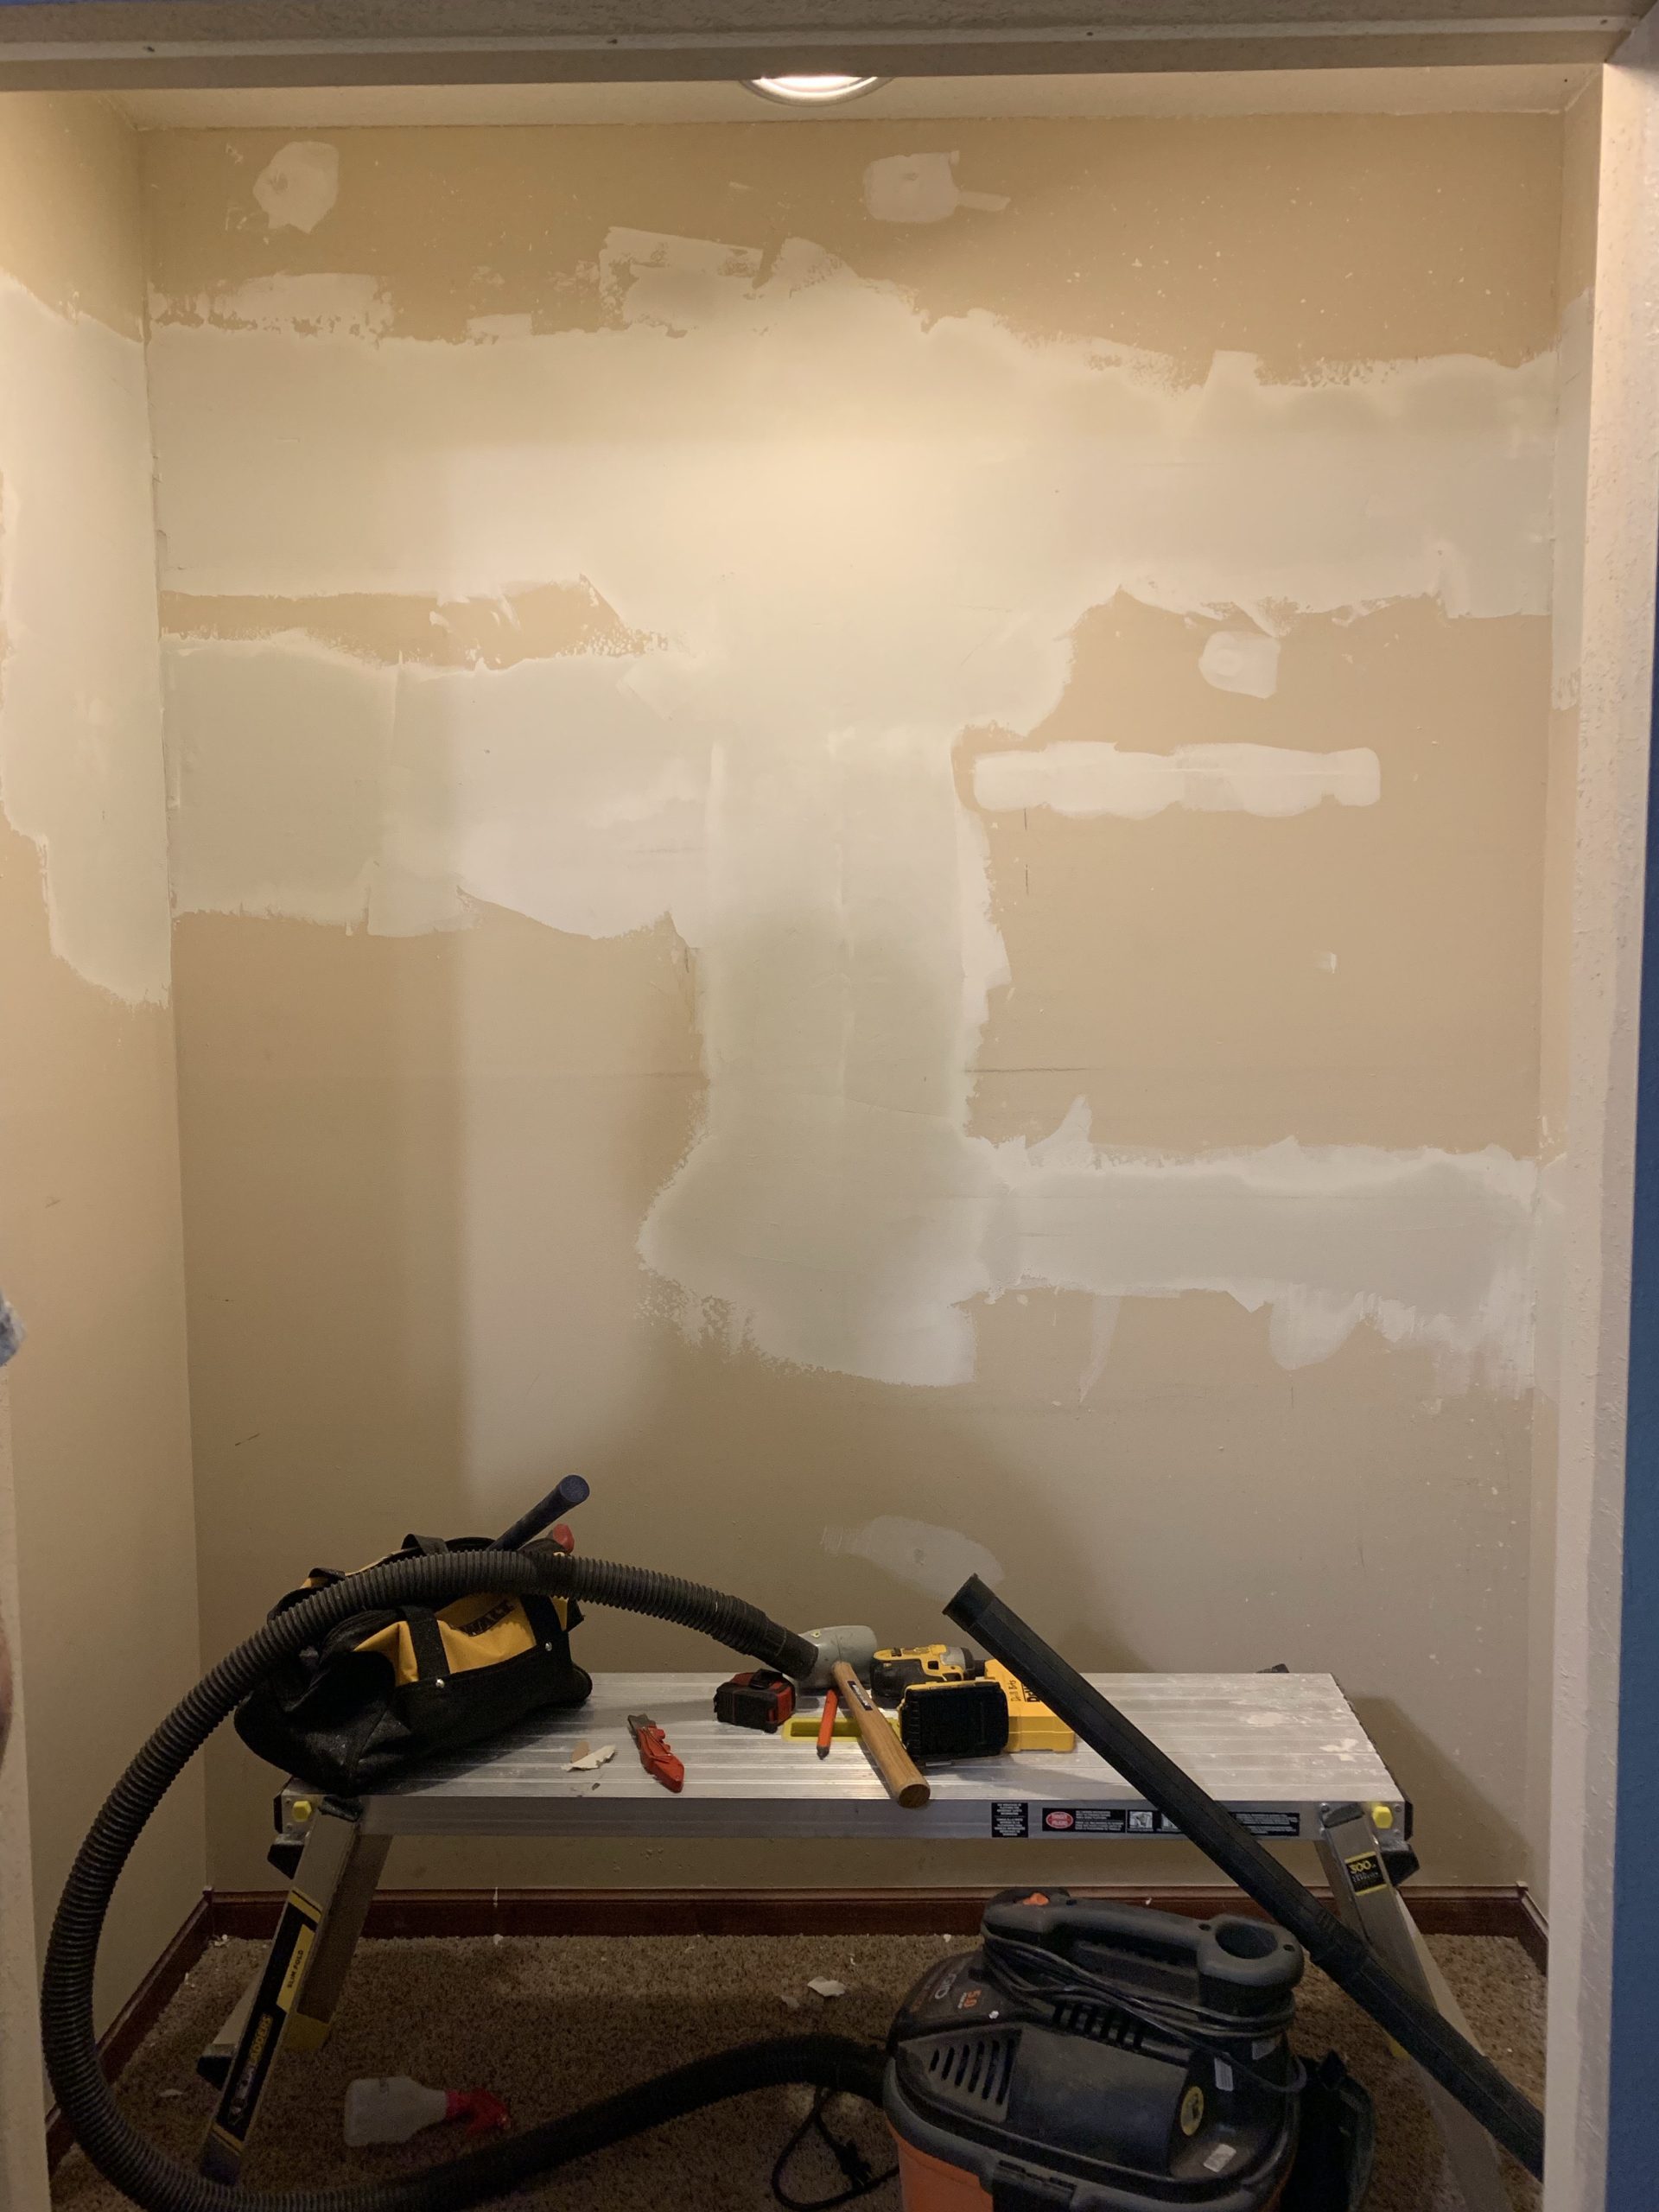
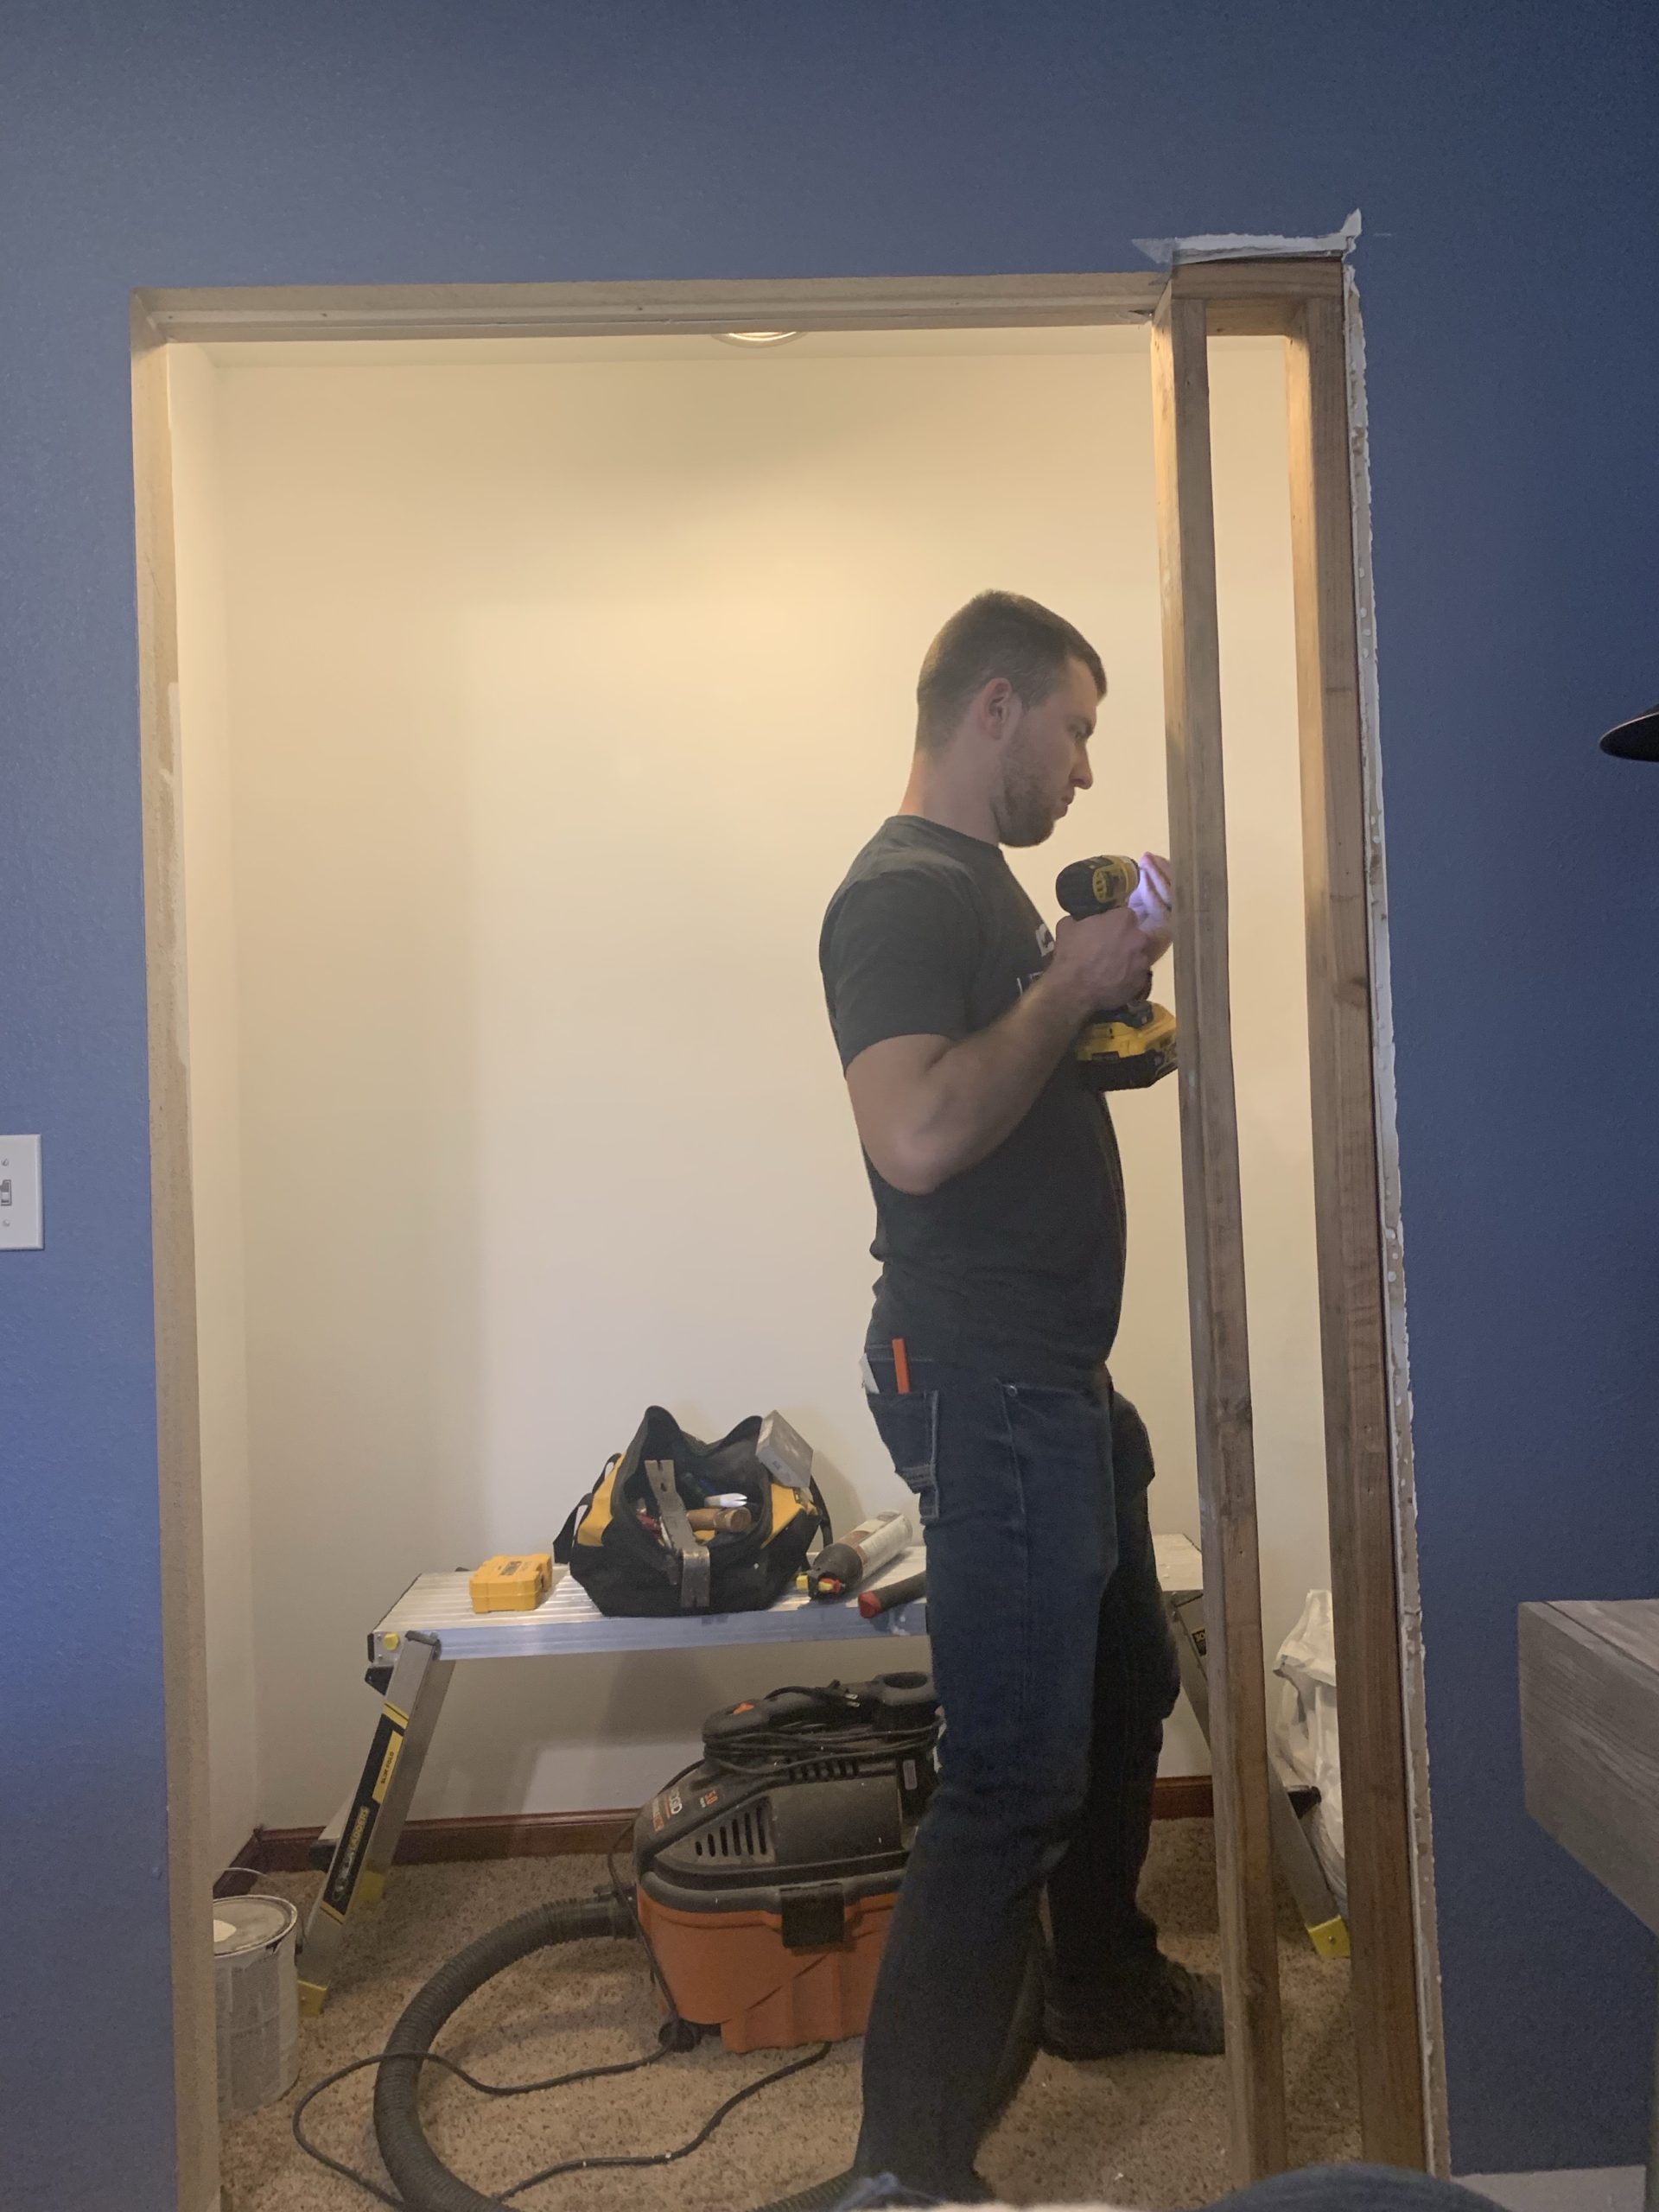
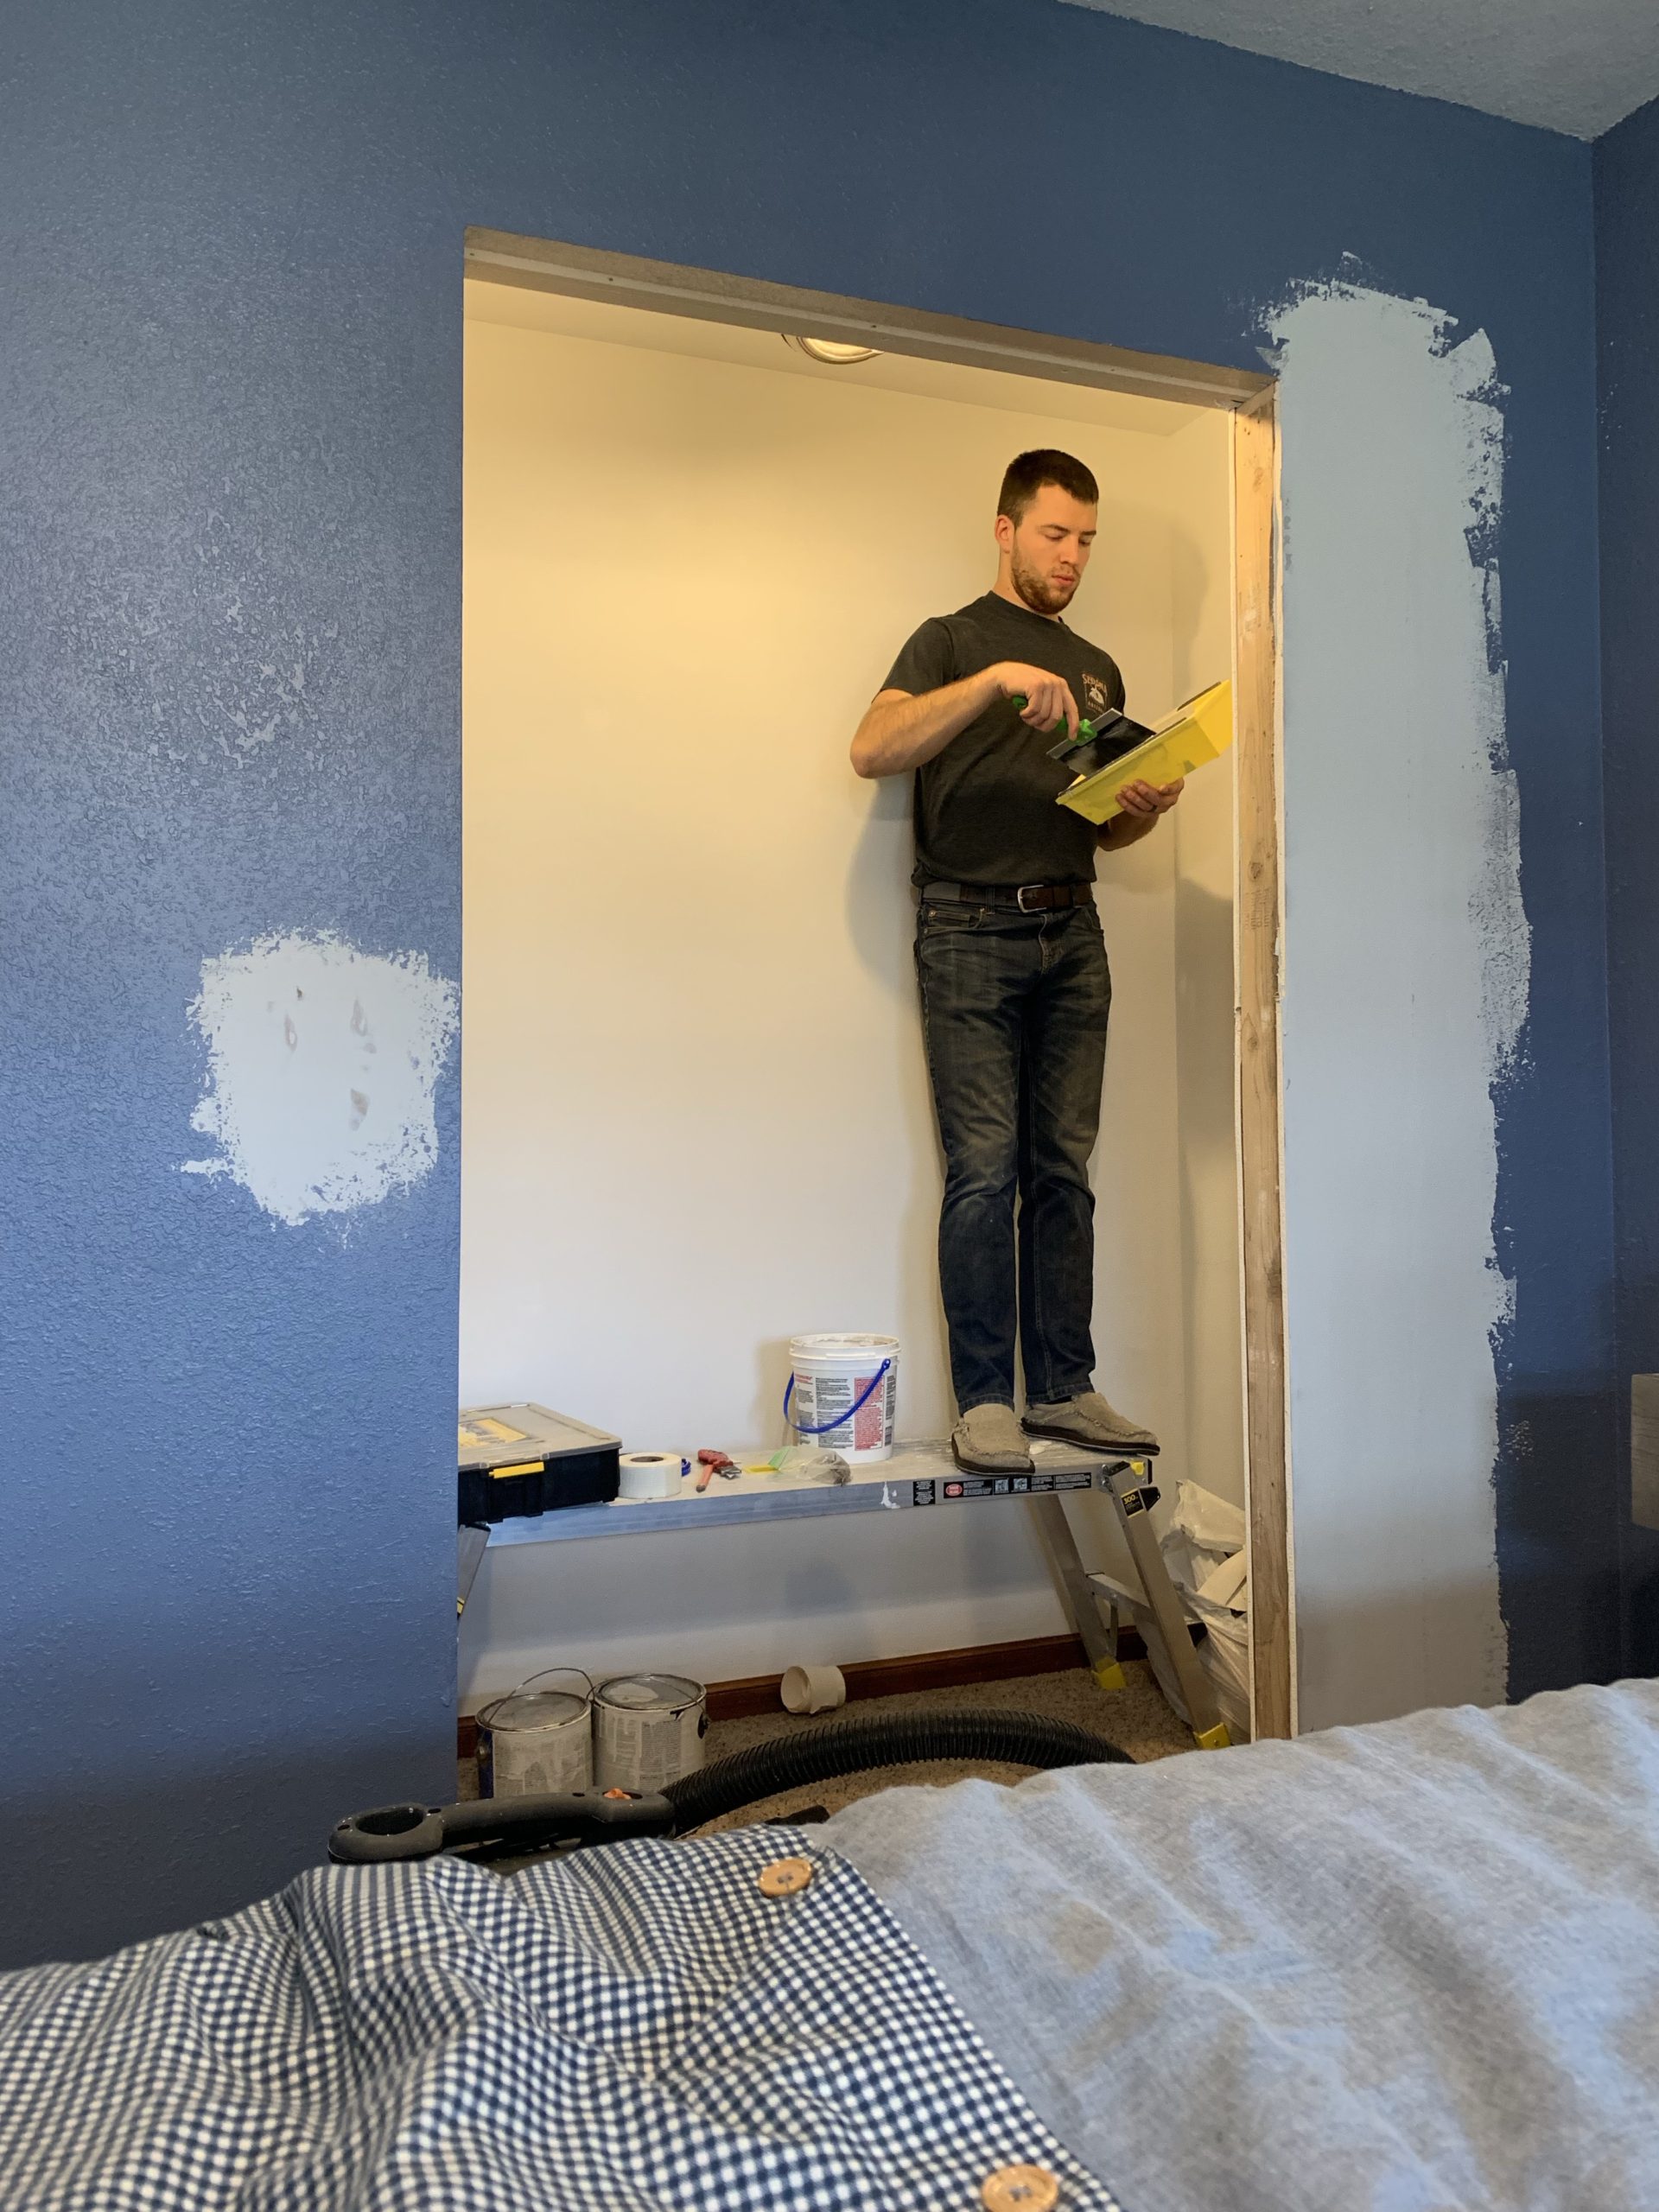
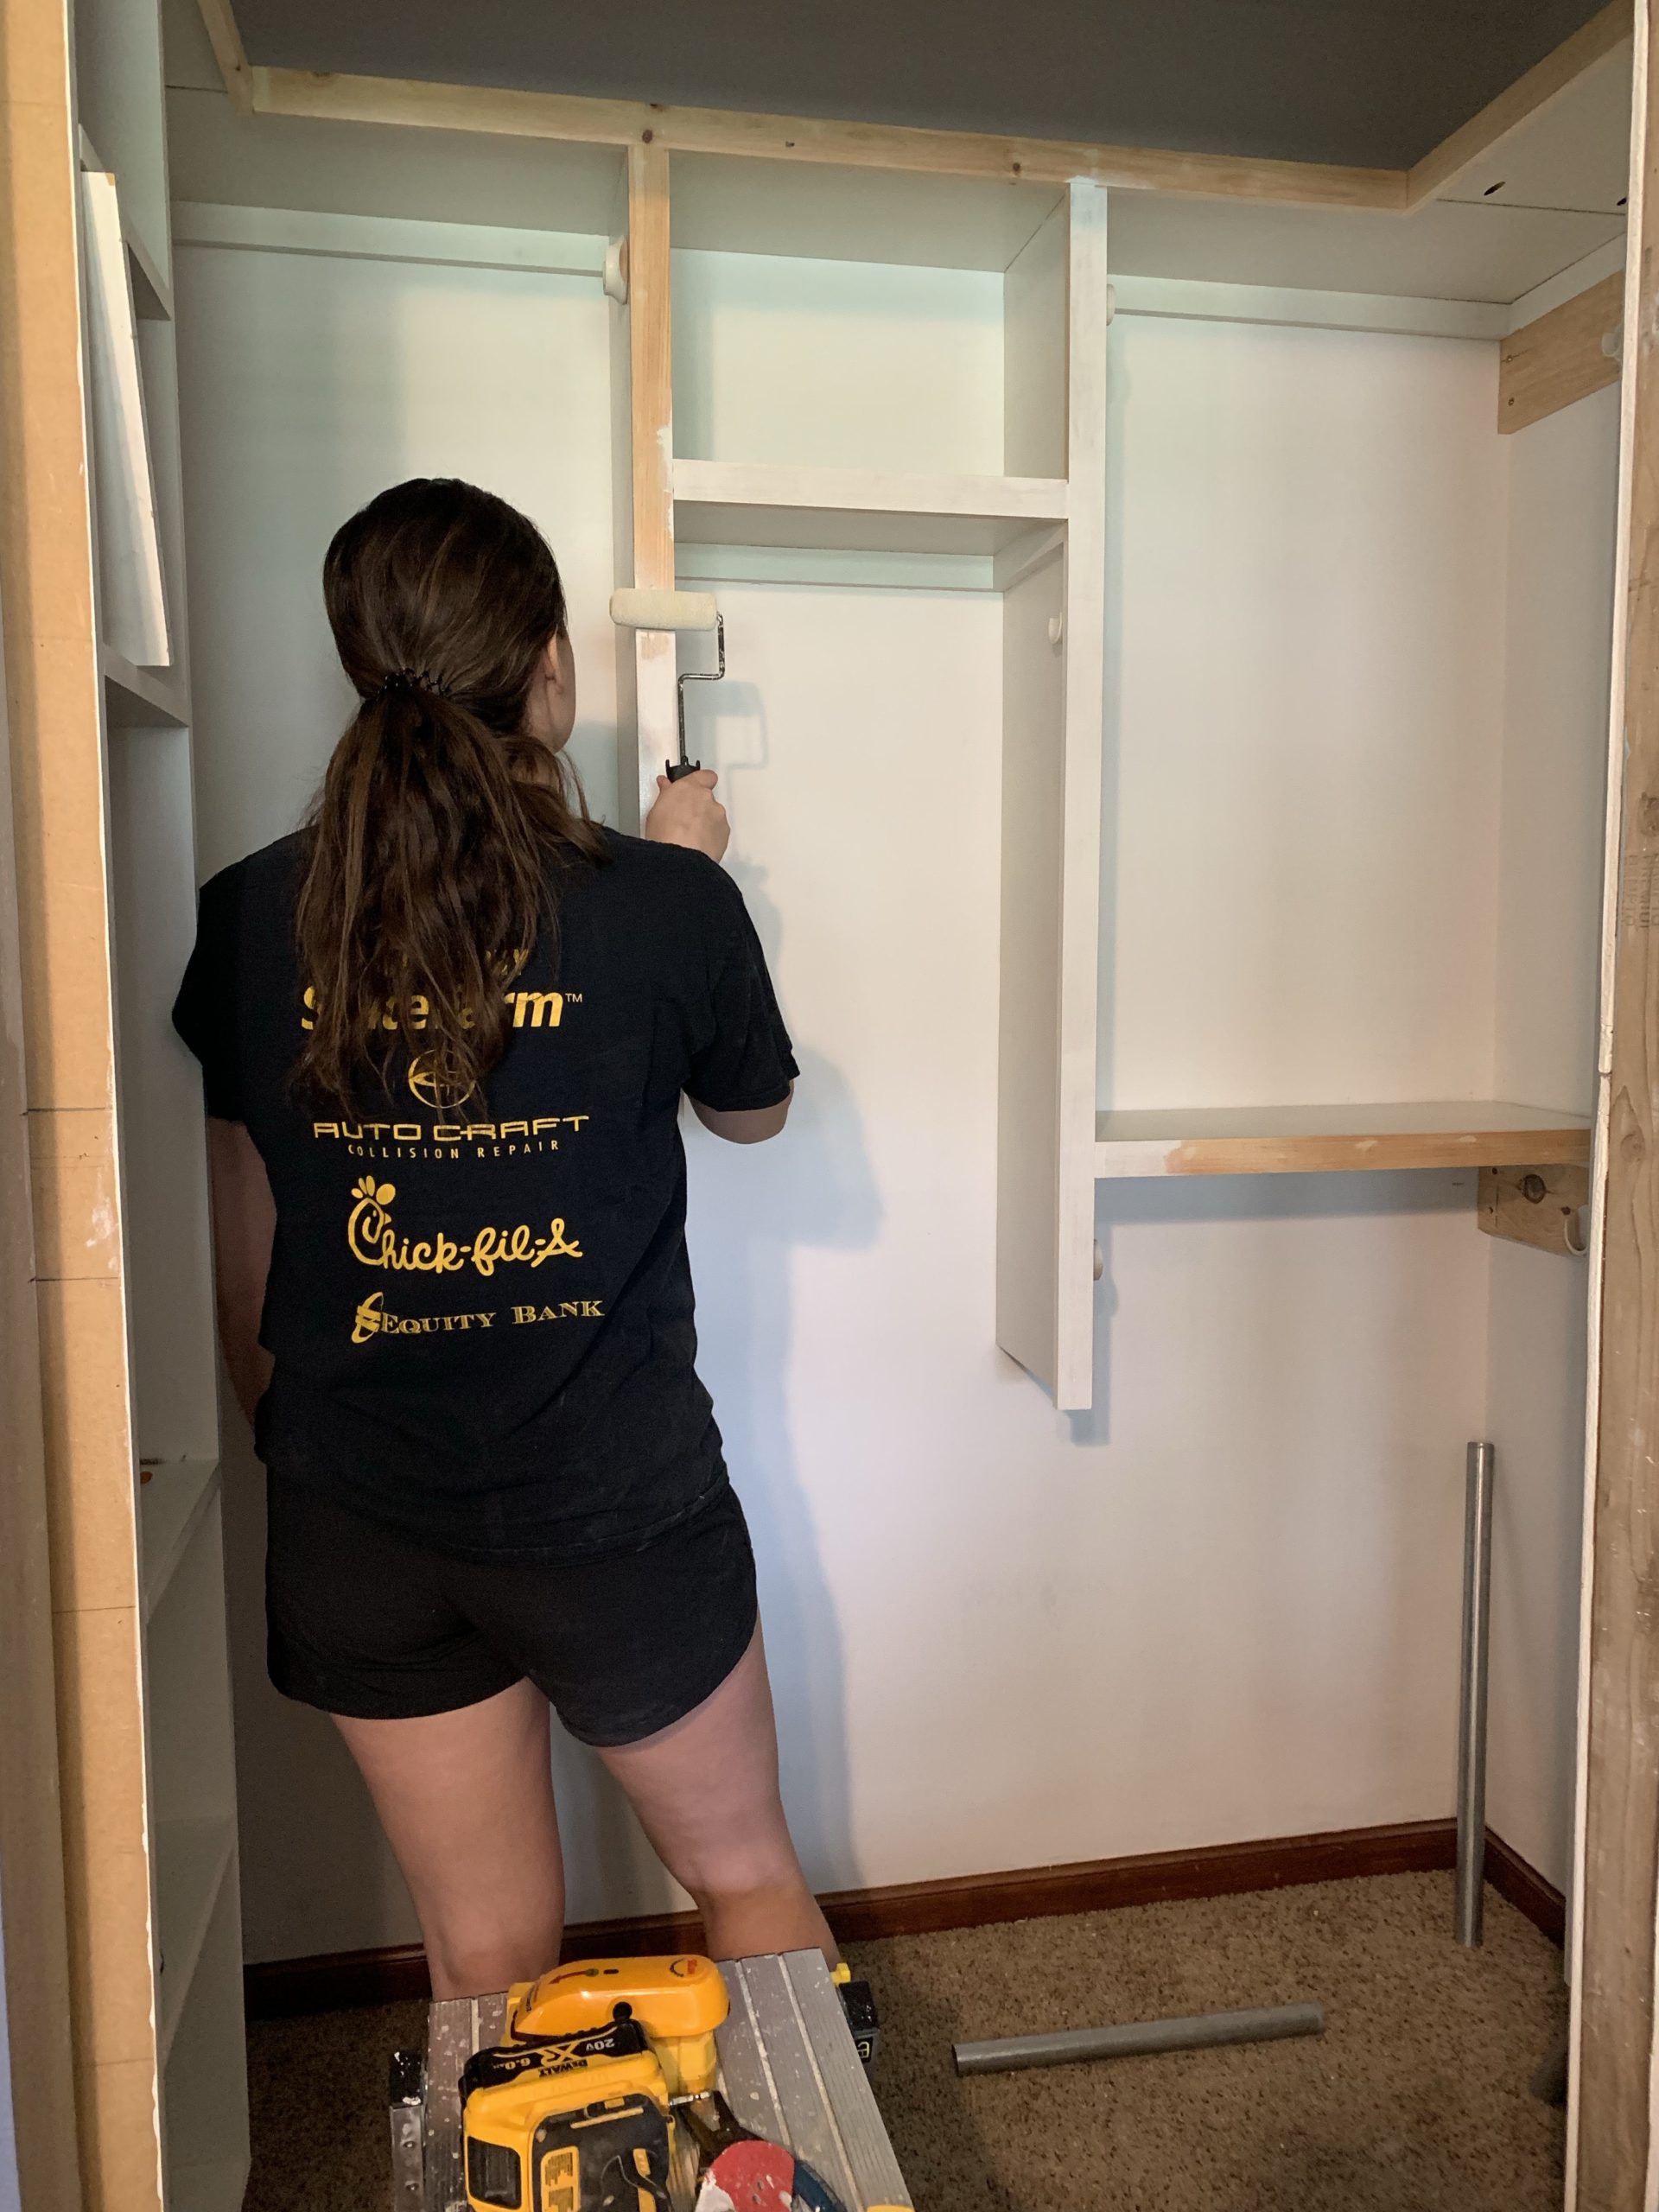
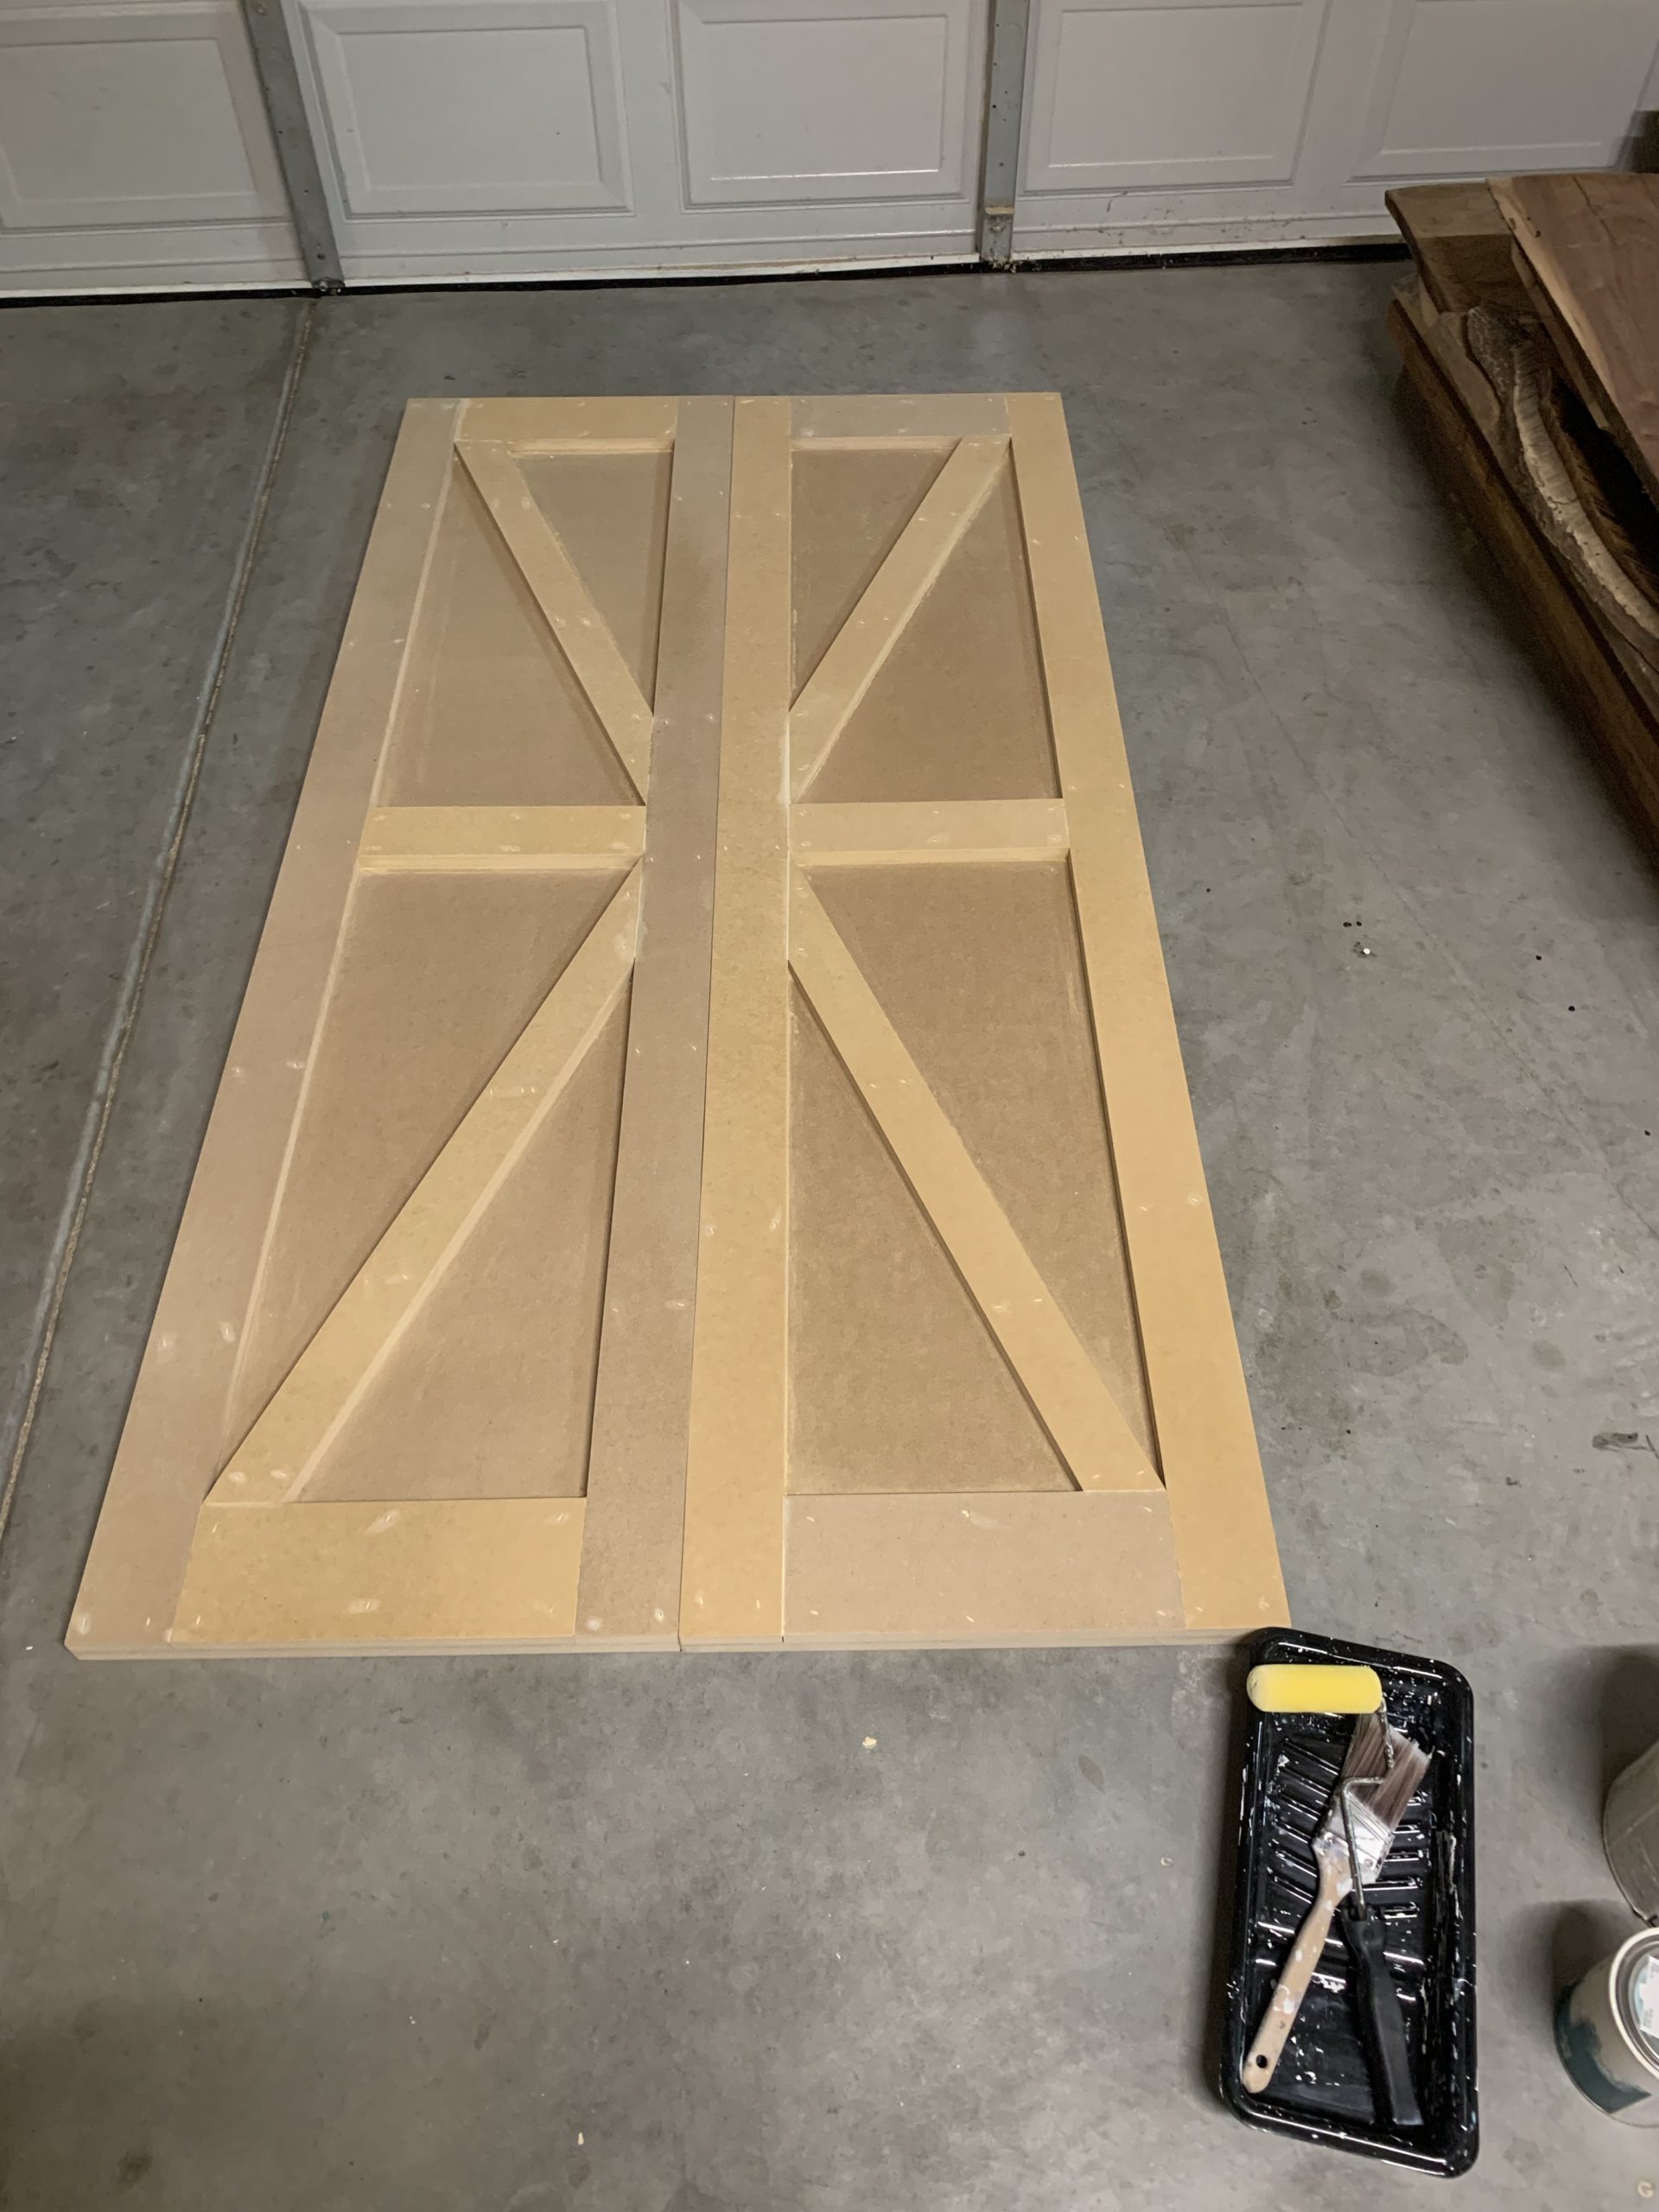
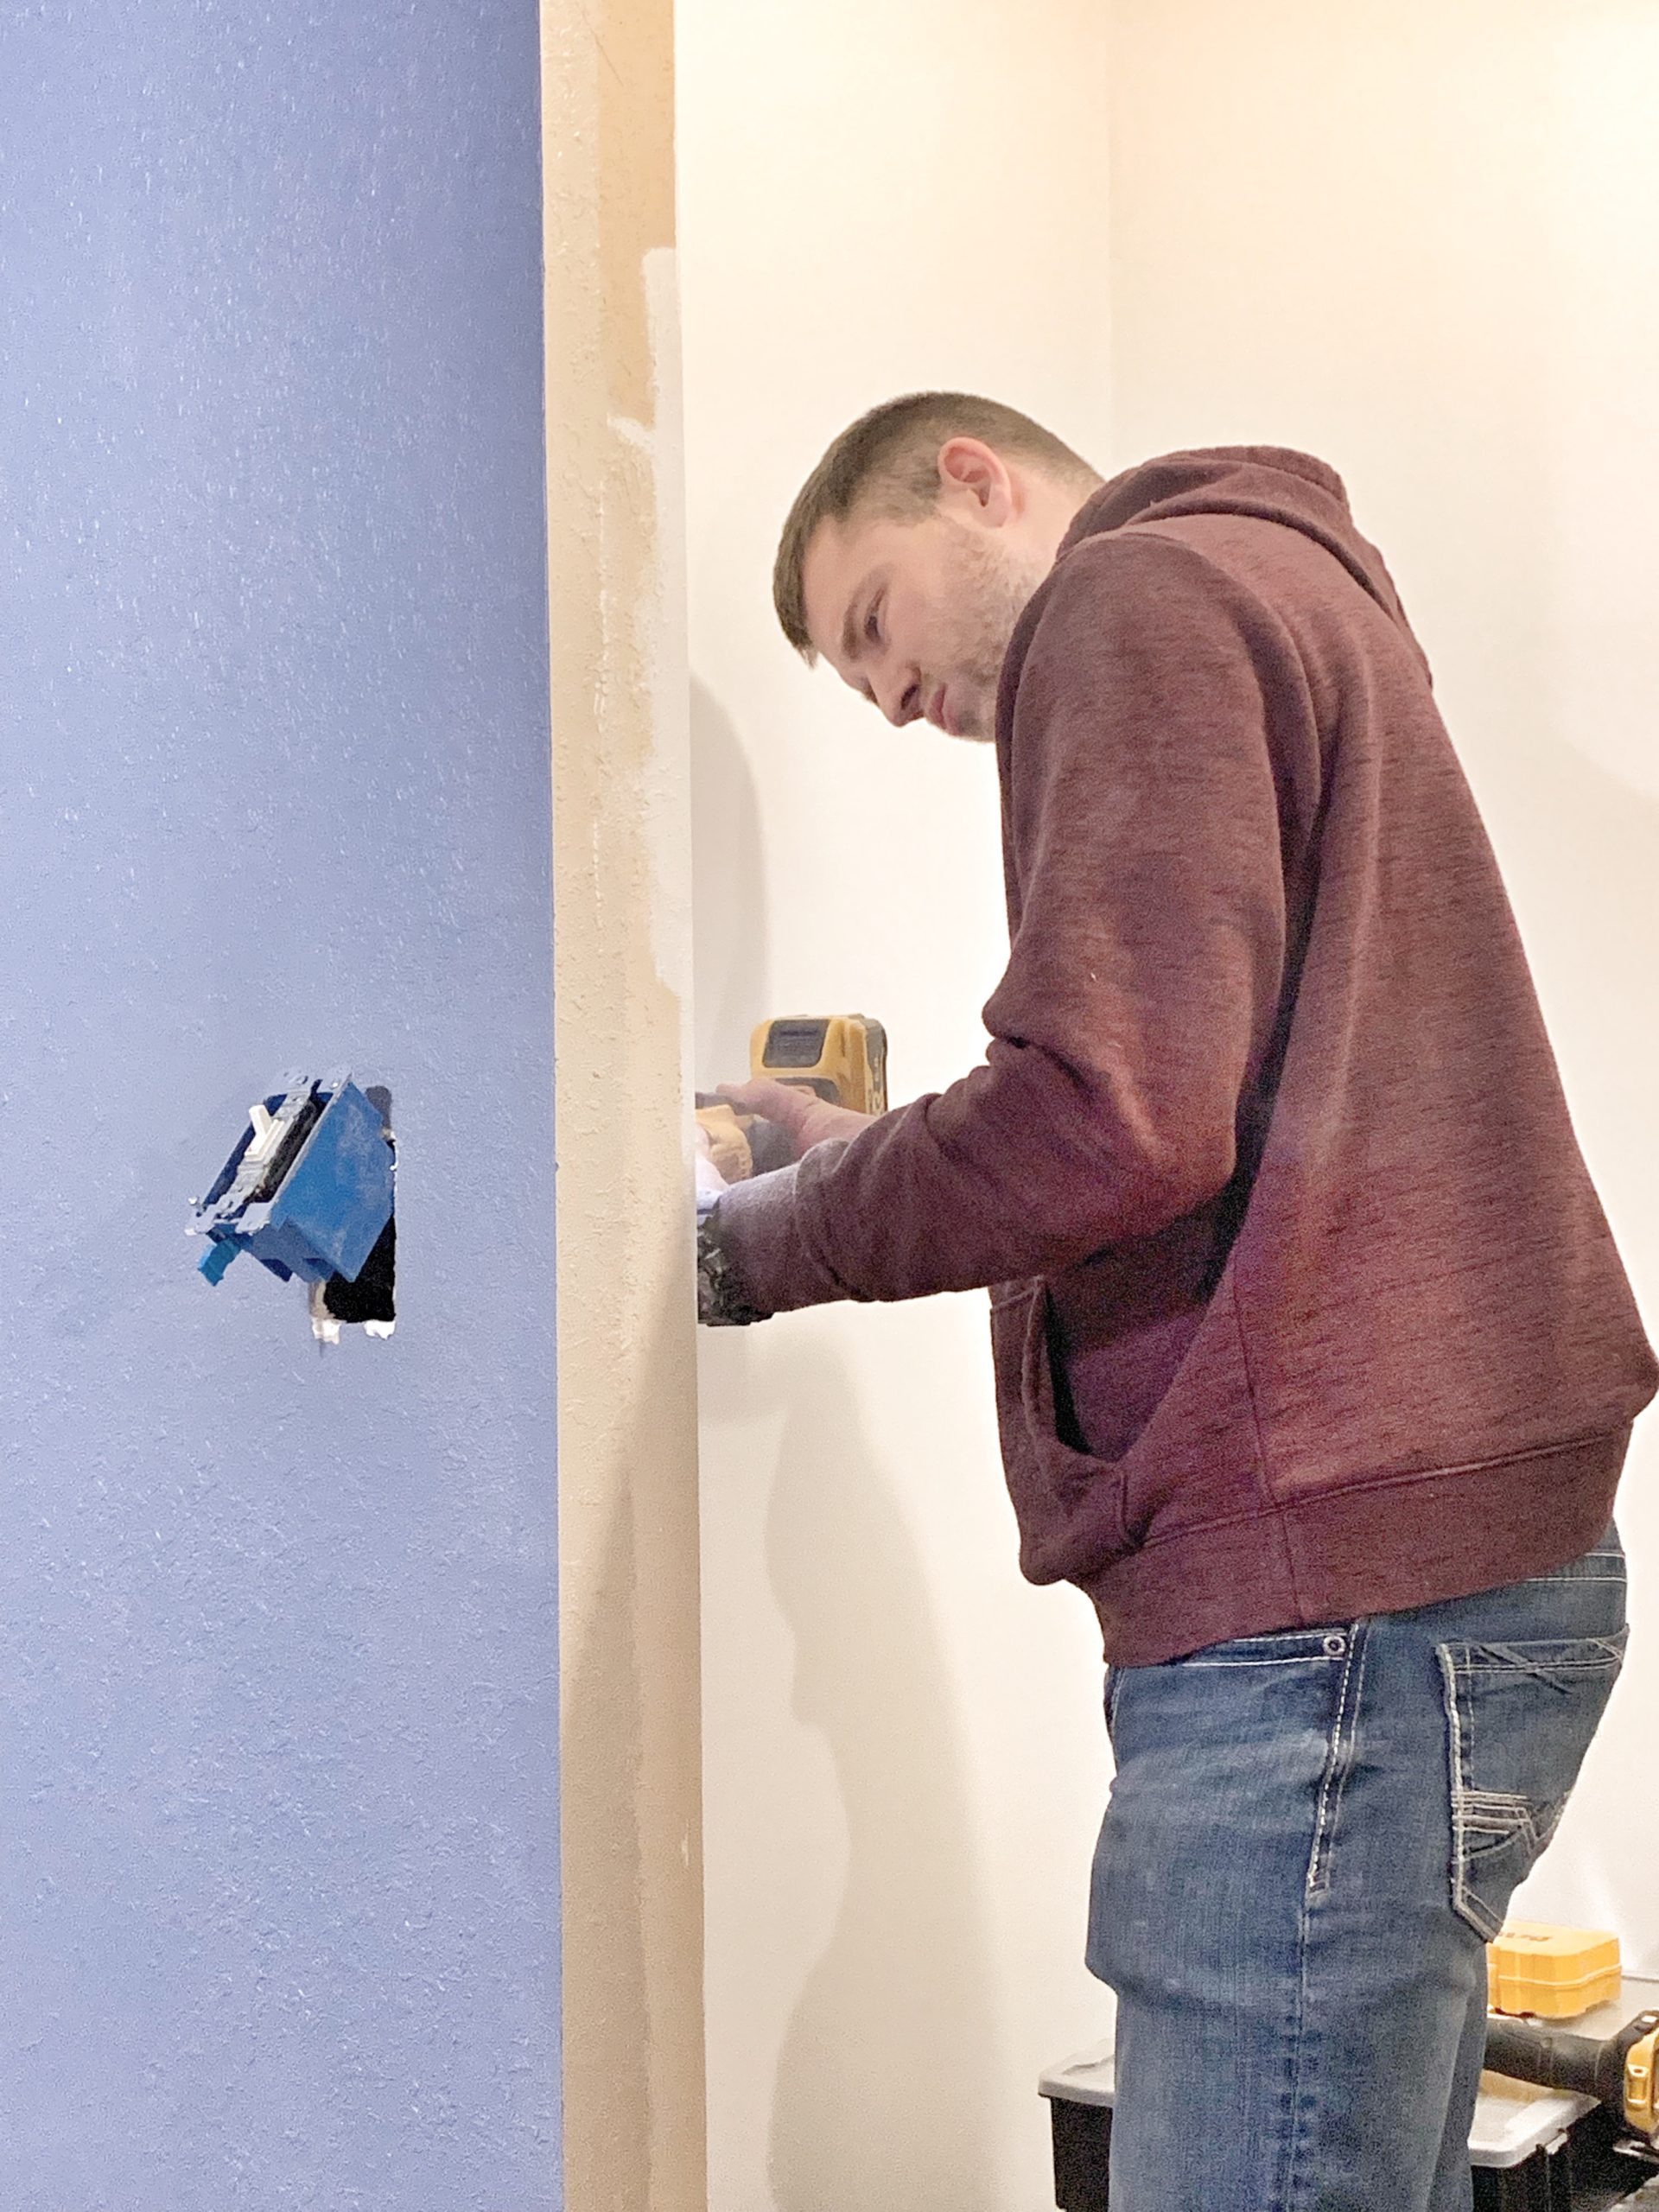
I won’t go into detail on everything to avoid a super lengthy blog post, but if you have questions about something specific, feel free to reach out!
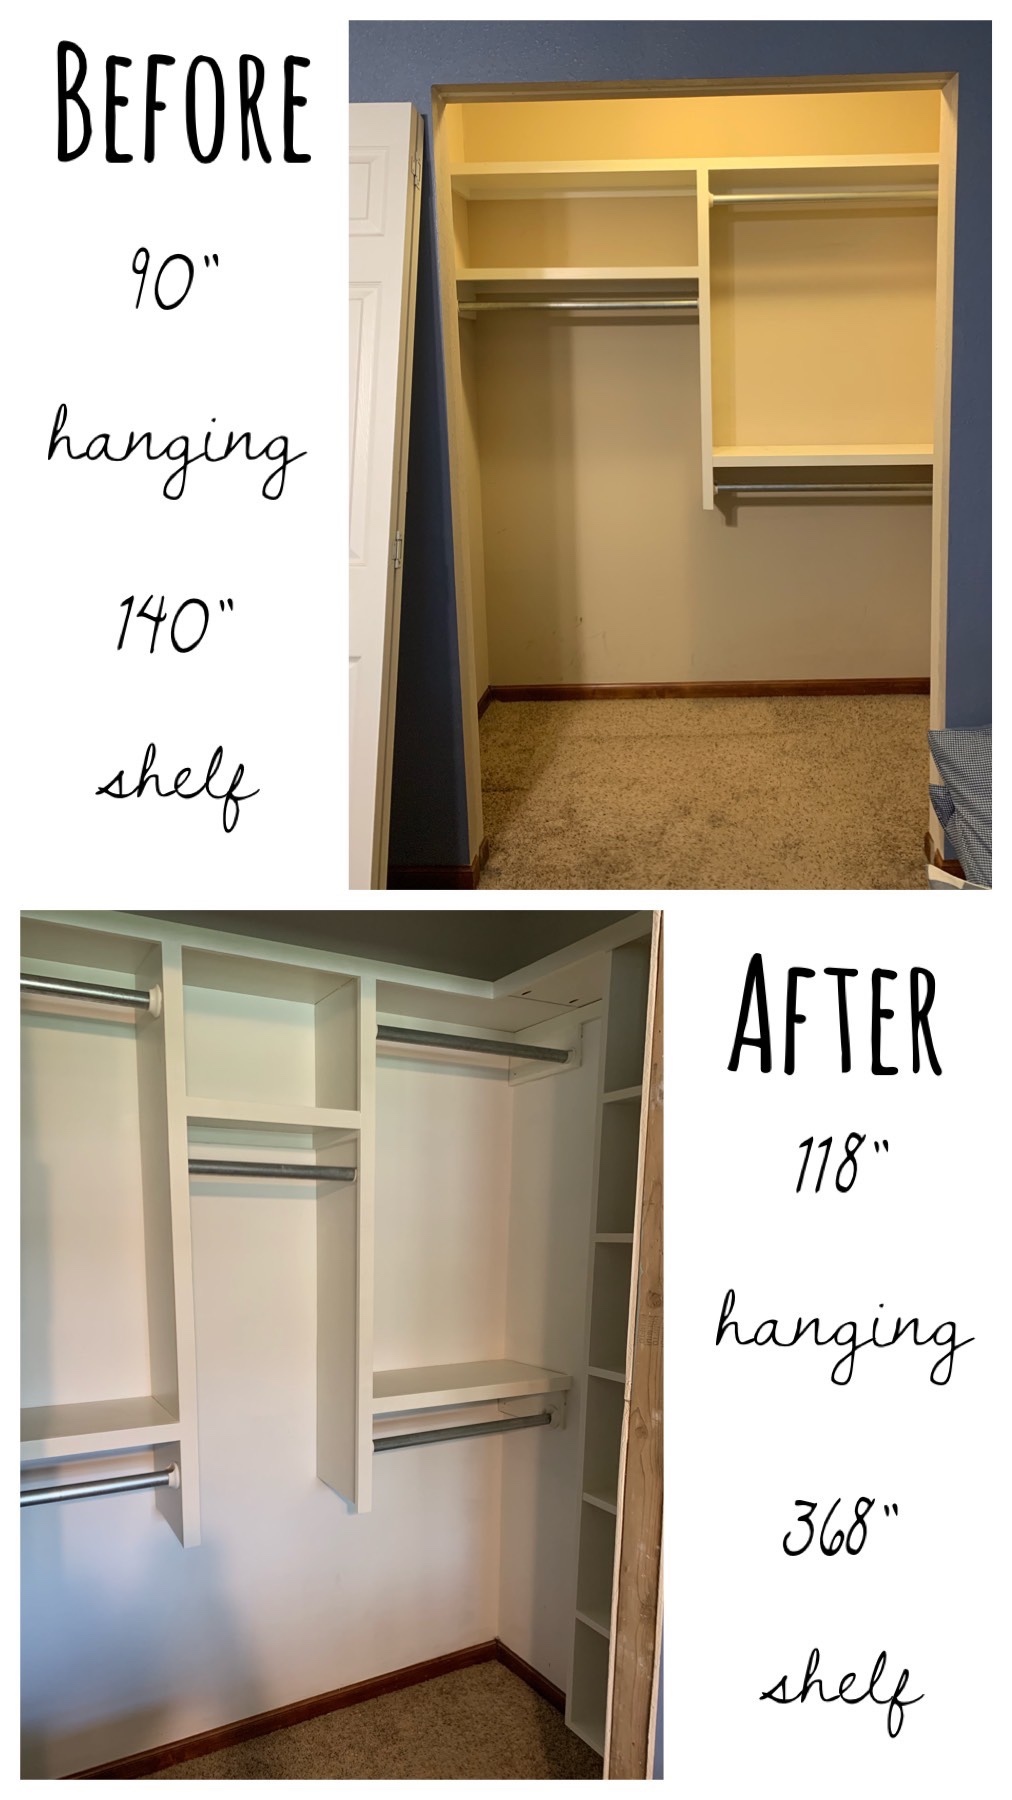
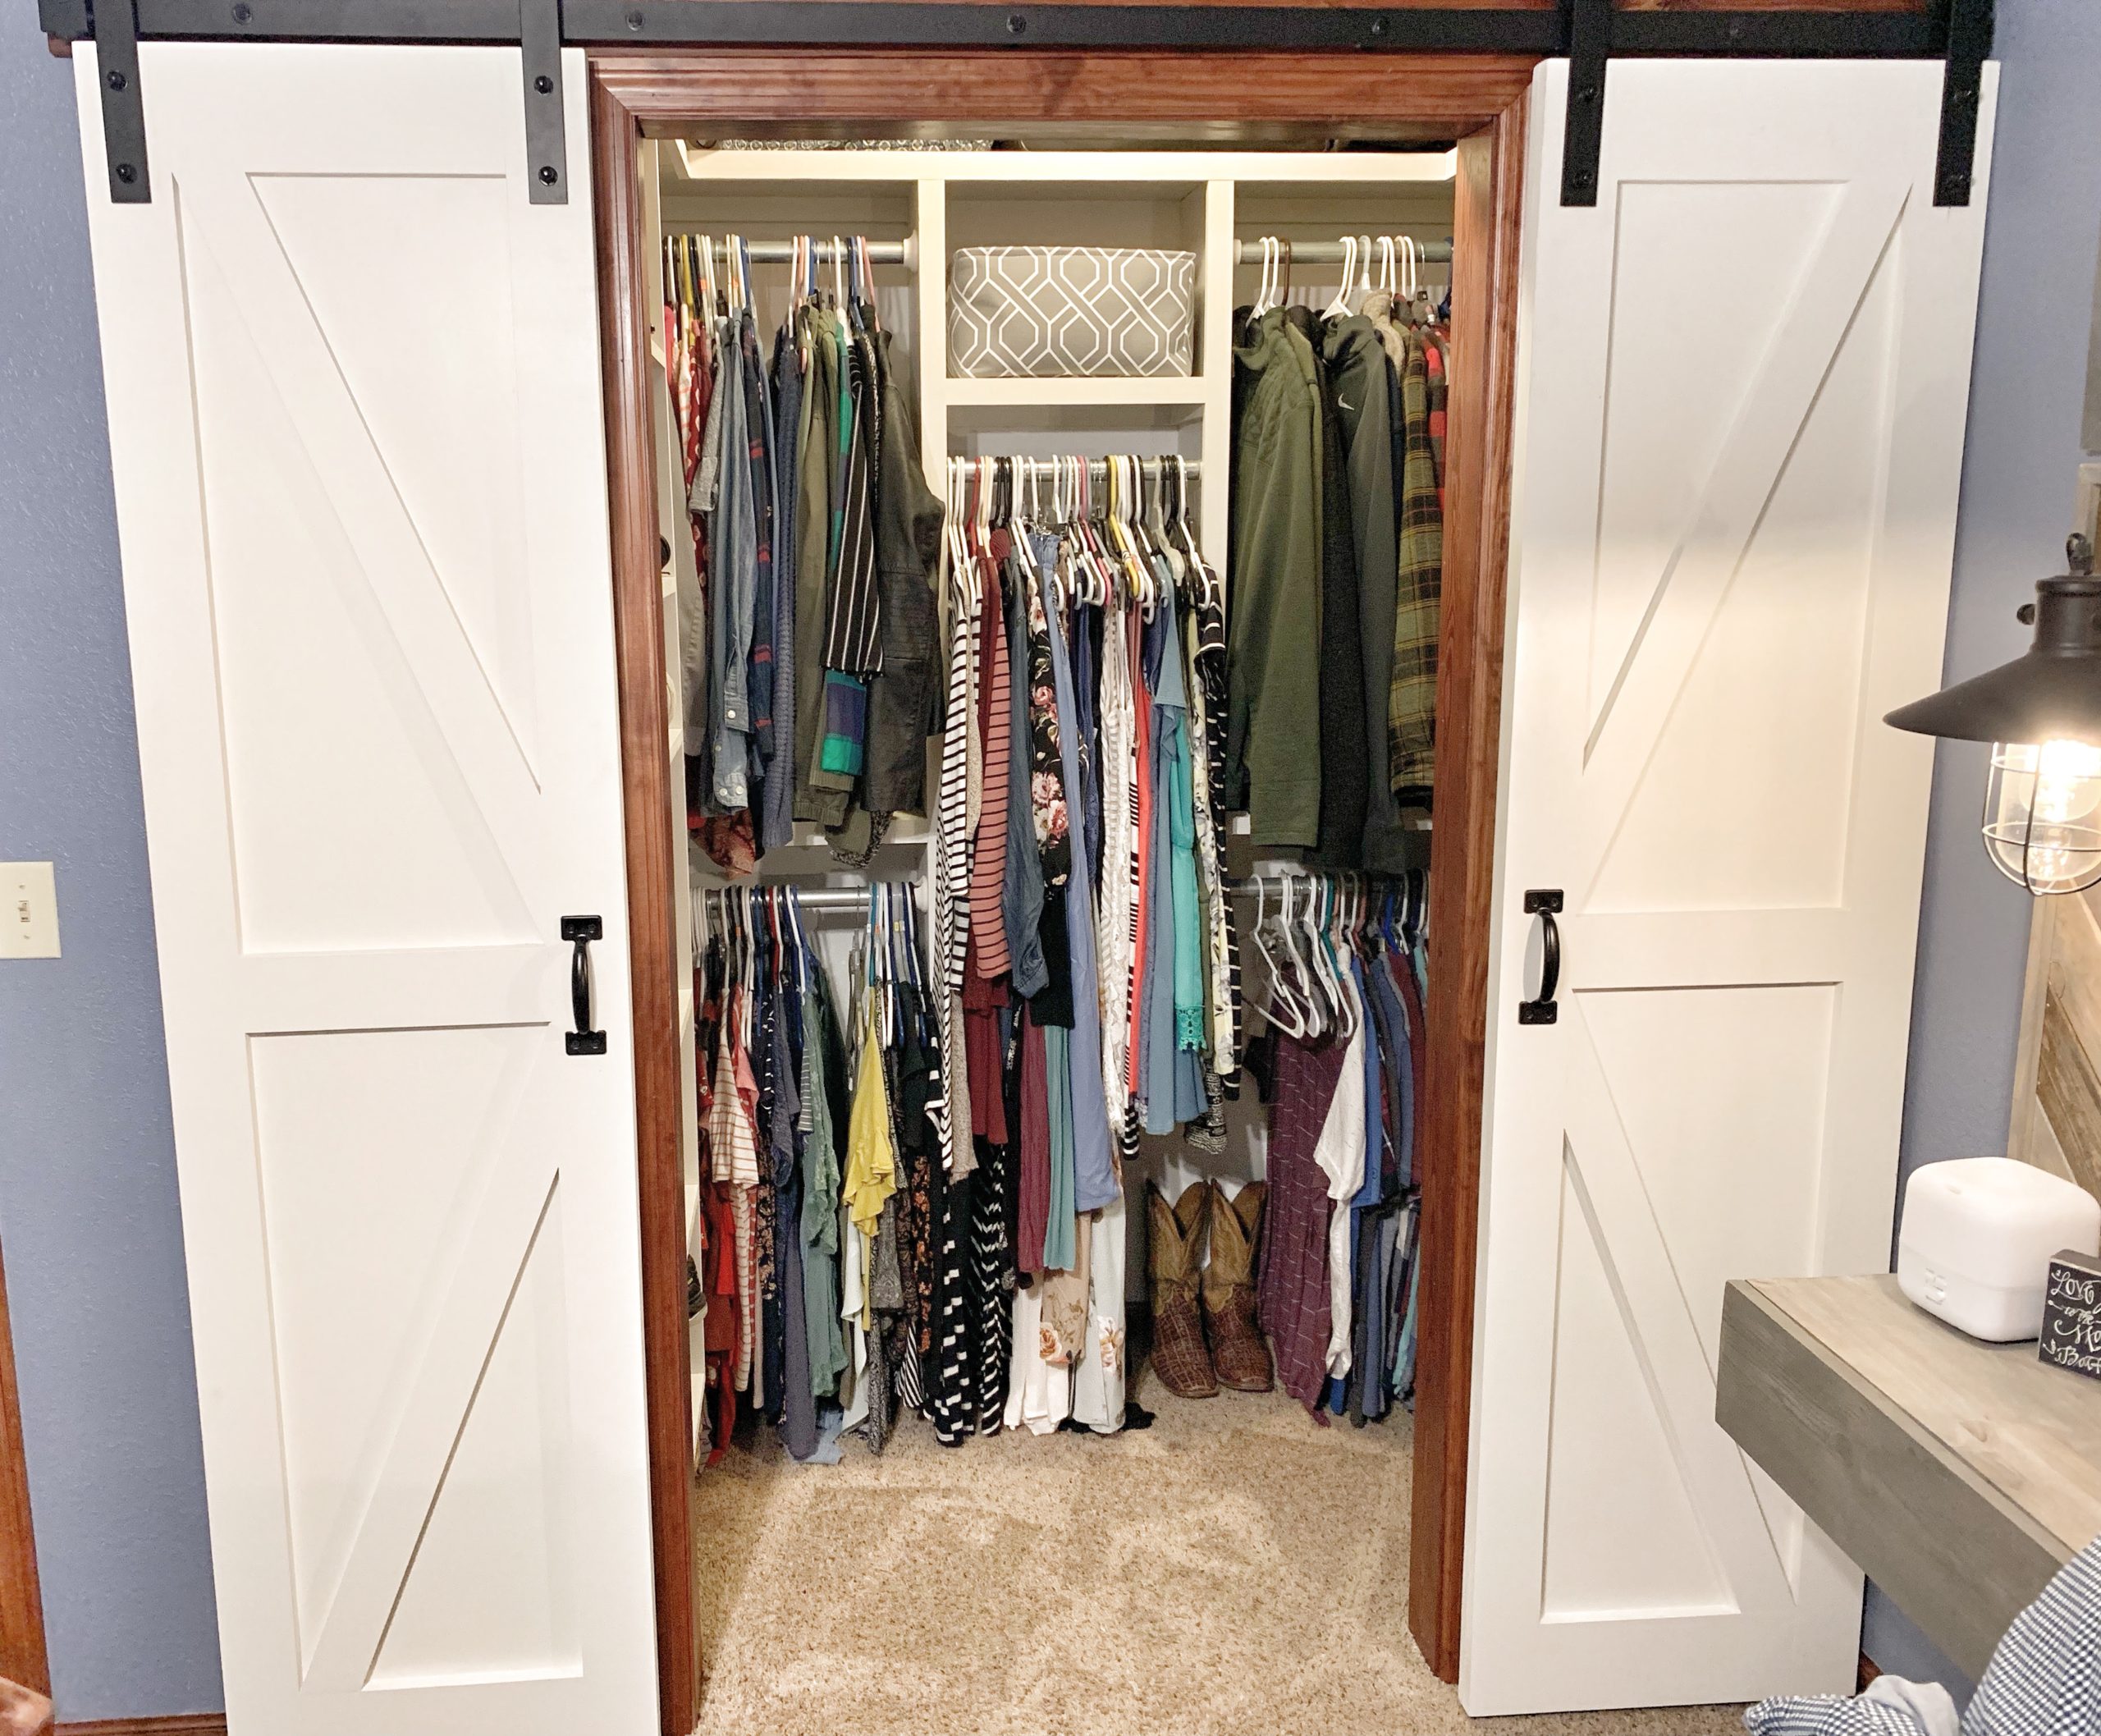
I’m very proud of how the new closet looks, but I’m most proud of how much storage we gained. I added up the numbers from what we started with and was amazed to find out we gained 28″ of hanging and more than 200″ of shelving! It just proves that you don’t need a ton of space to have a ton of storage, just a creative mind!
We now have his and hers double hanging for summer and winter clothes, as well as long hanging for all of my dresses.
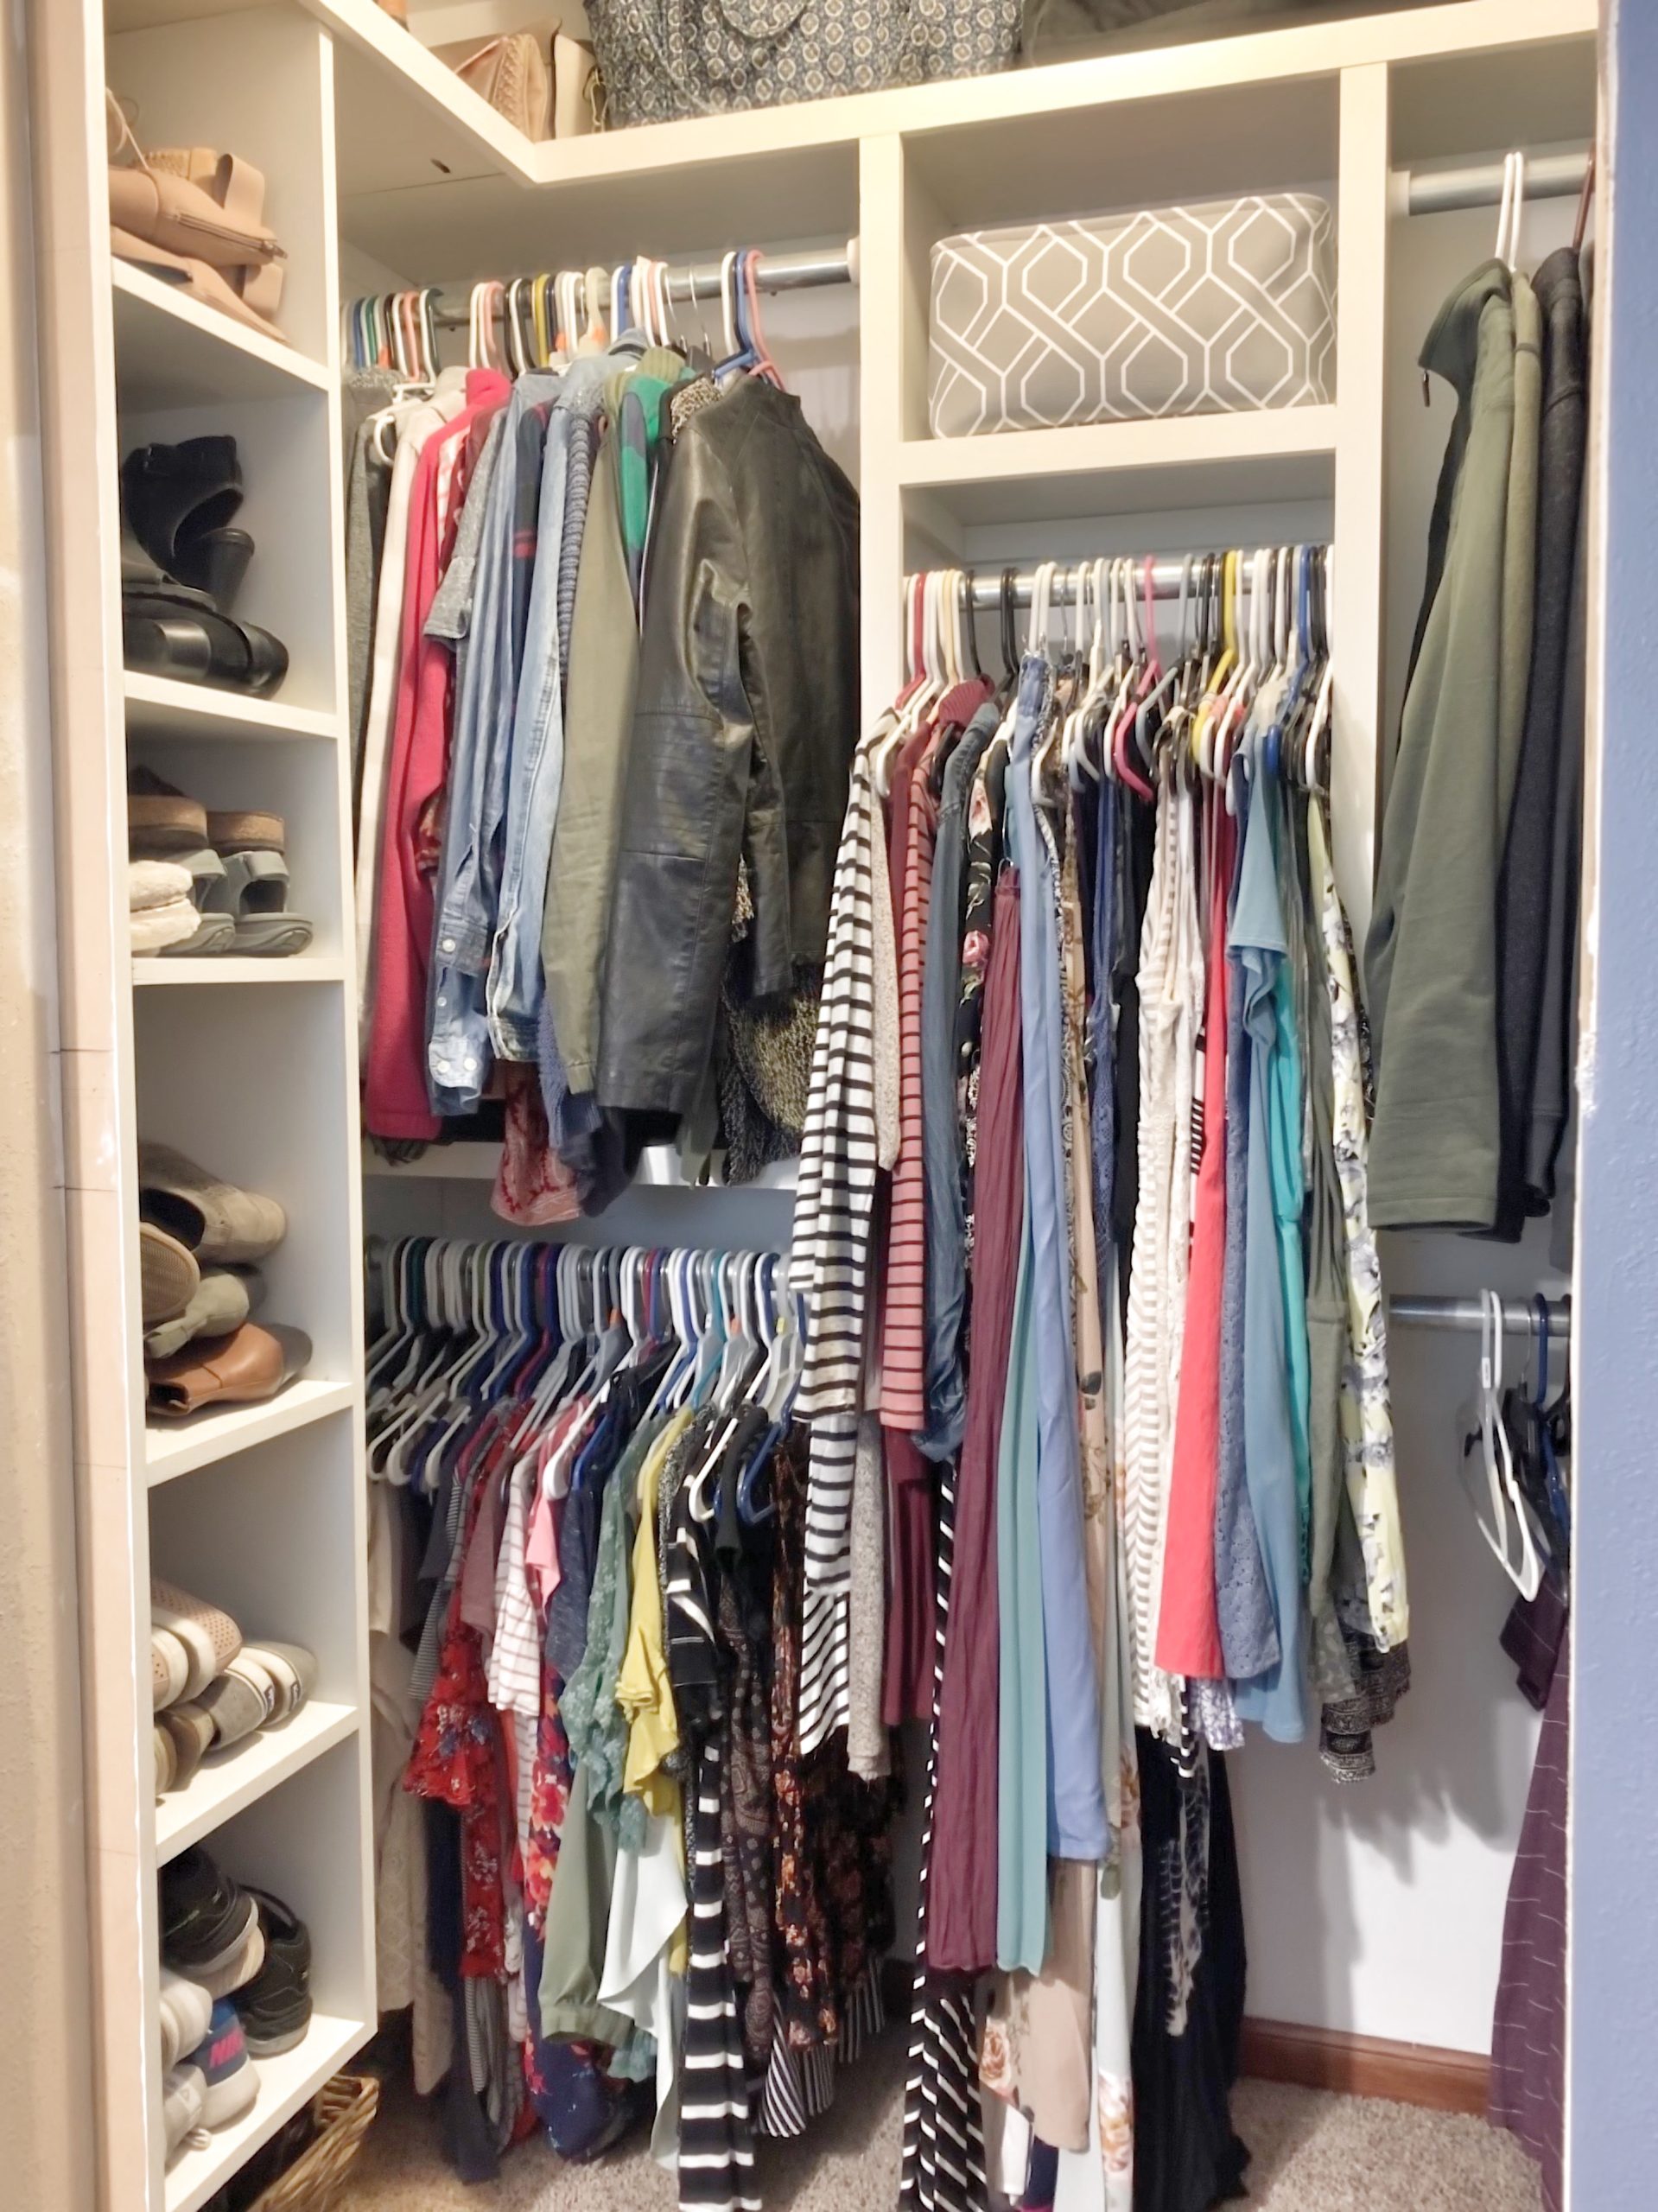
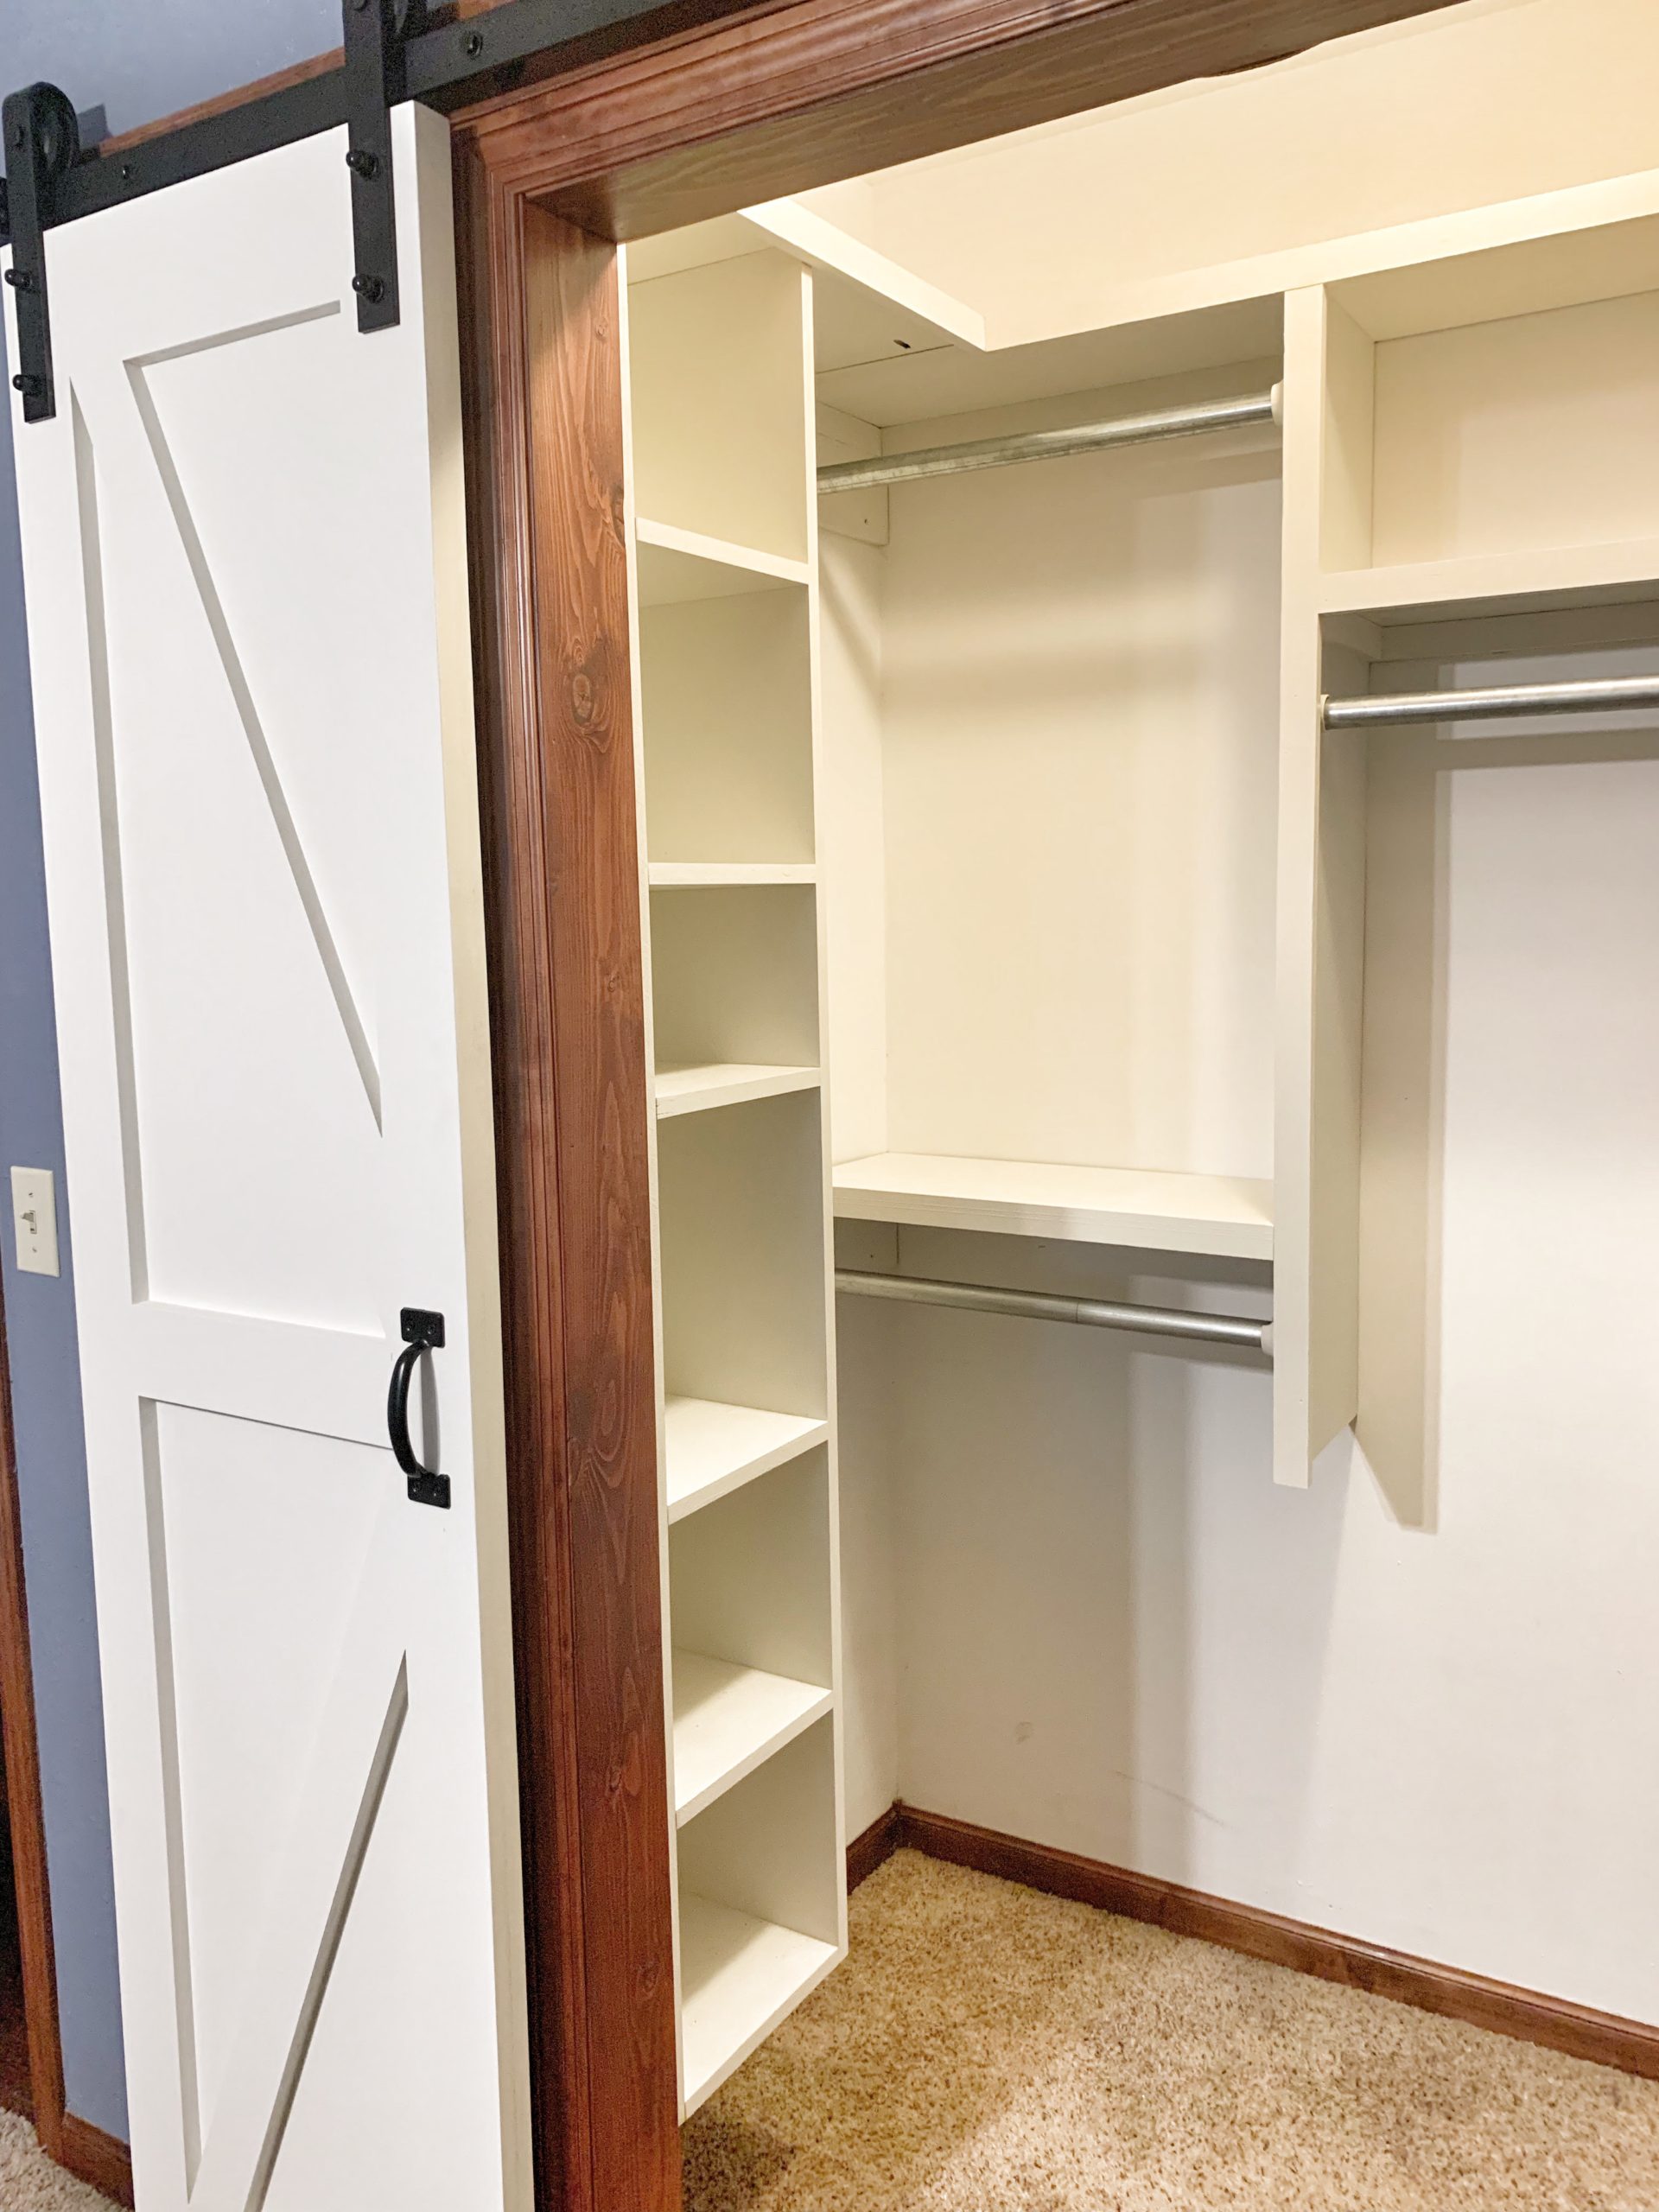
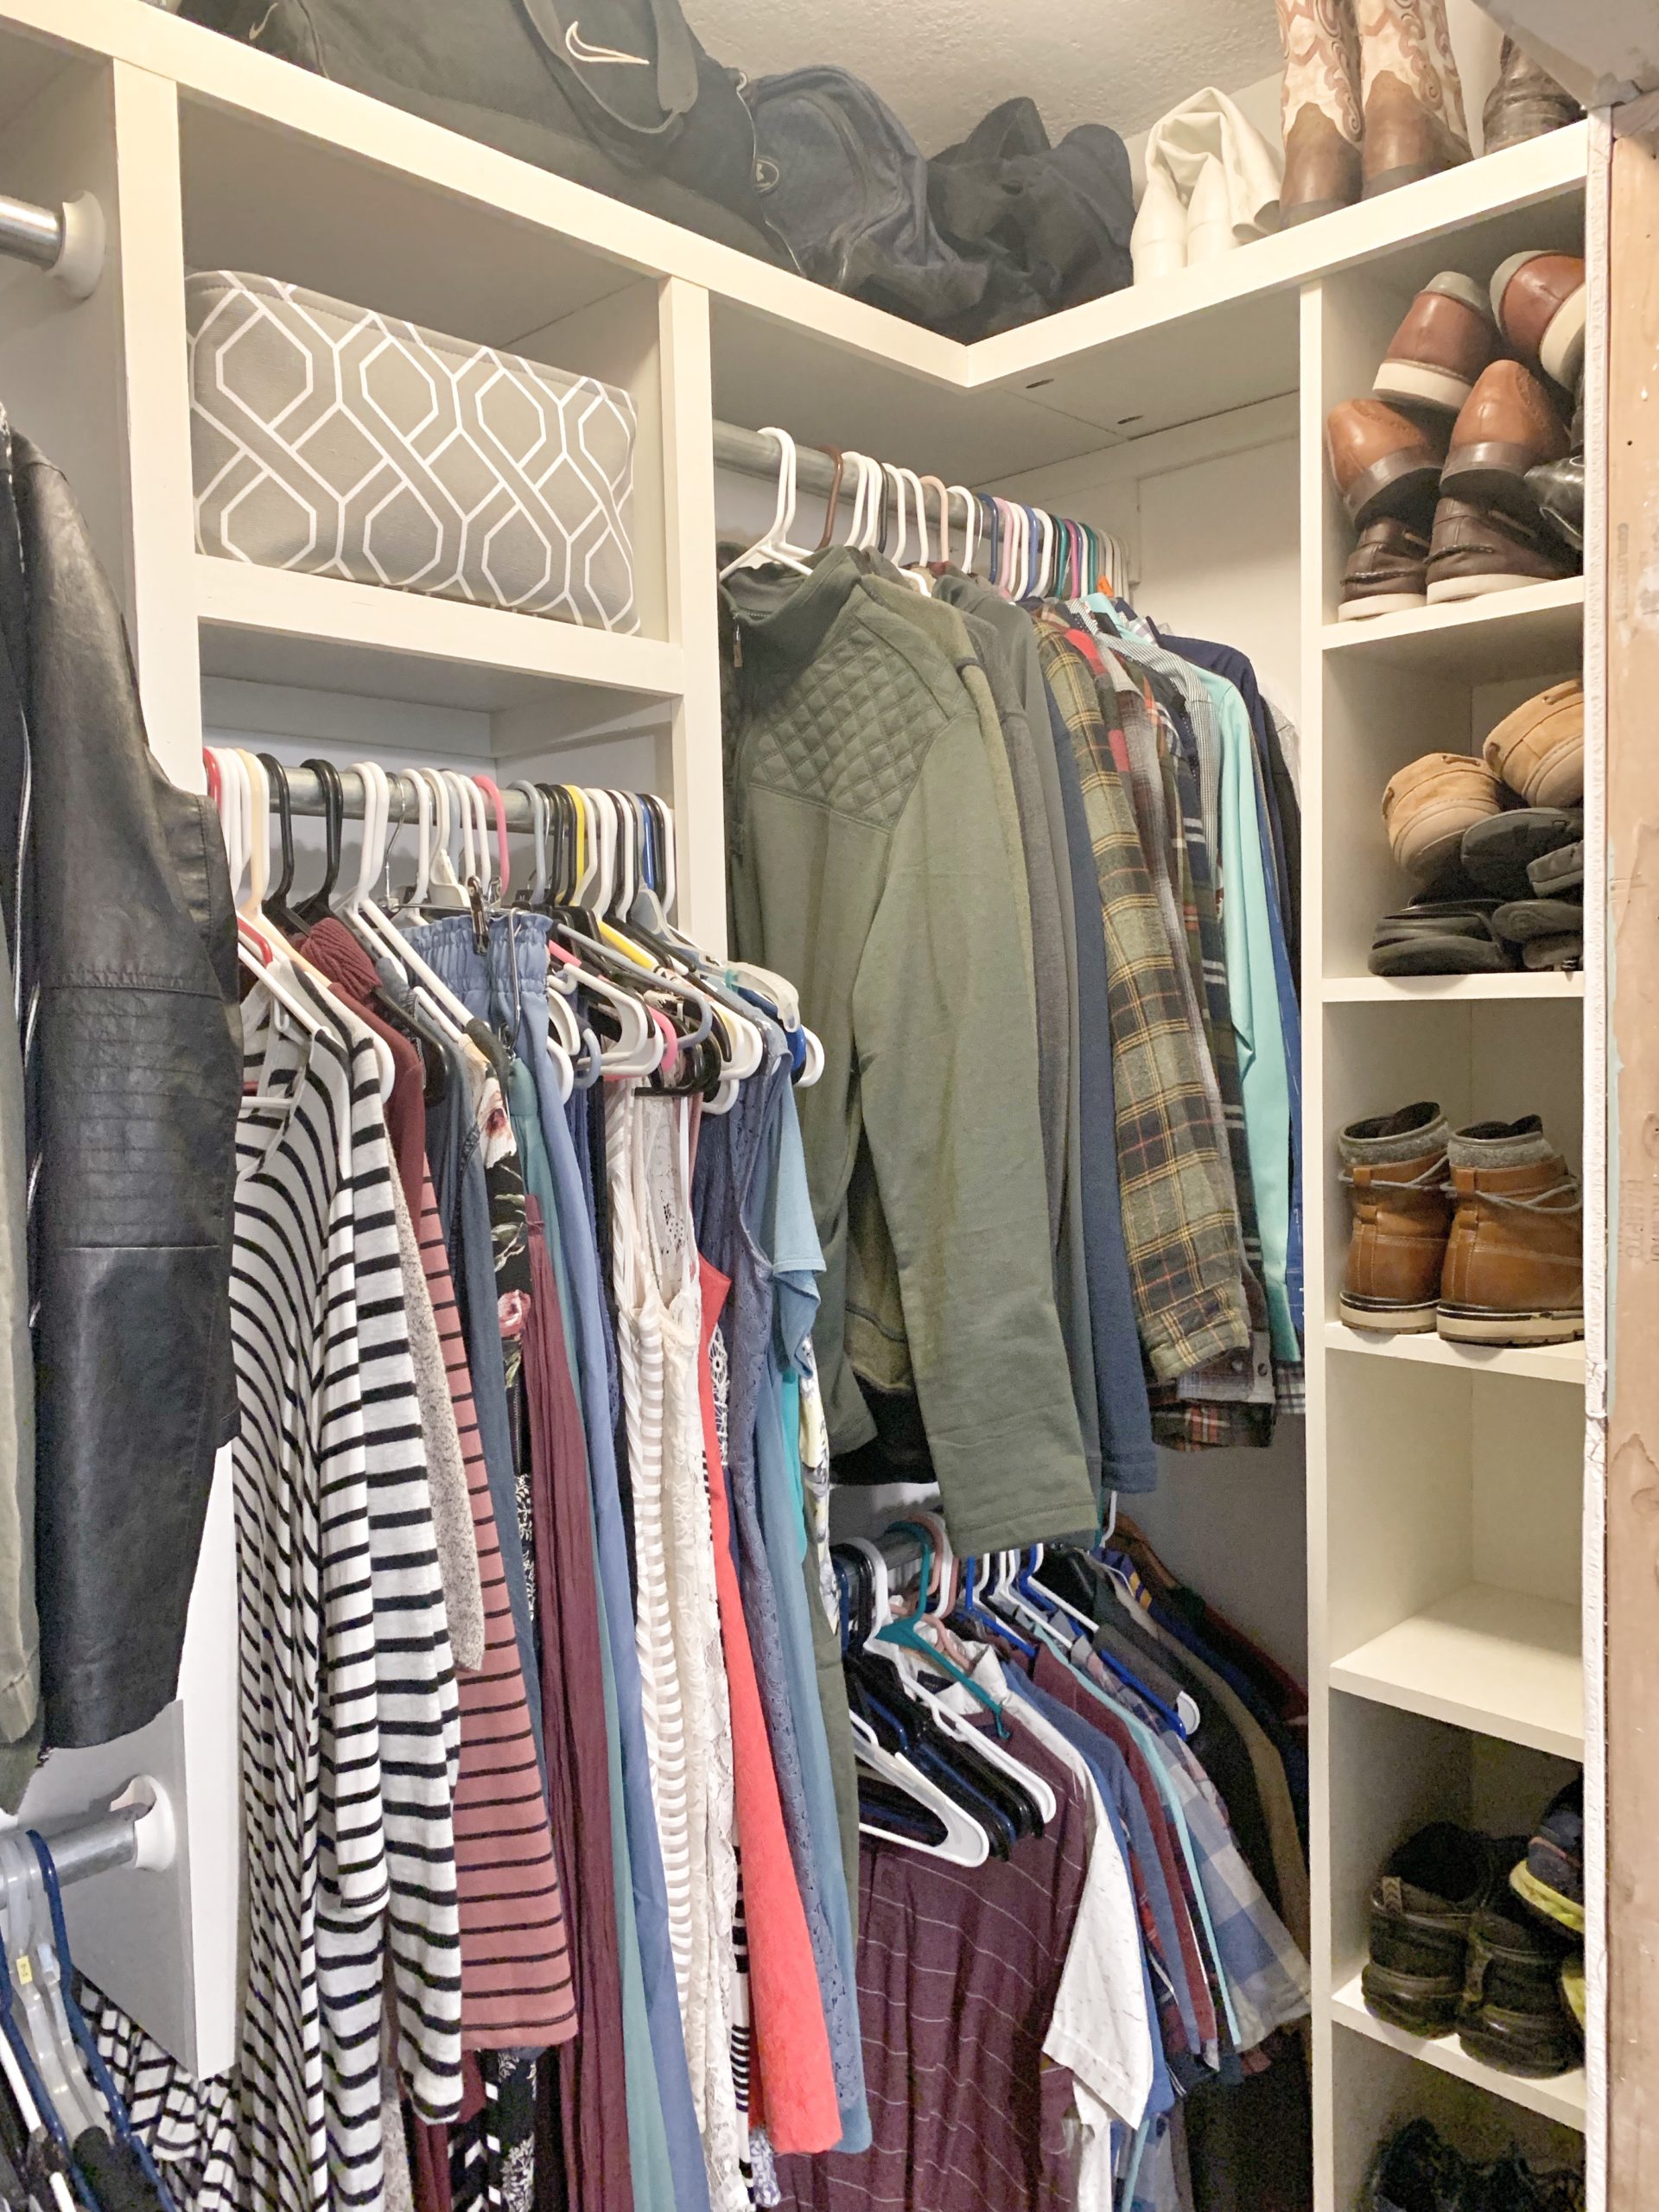 The shoe storage towers take advantage of the depth and vertical space on the sides of the closet, and each cubby holds 3-5 pairs of shoes depending on the size.
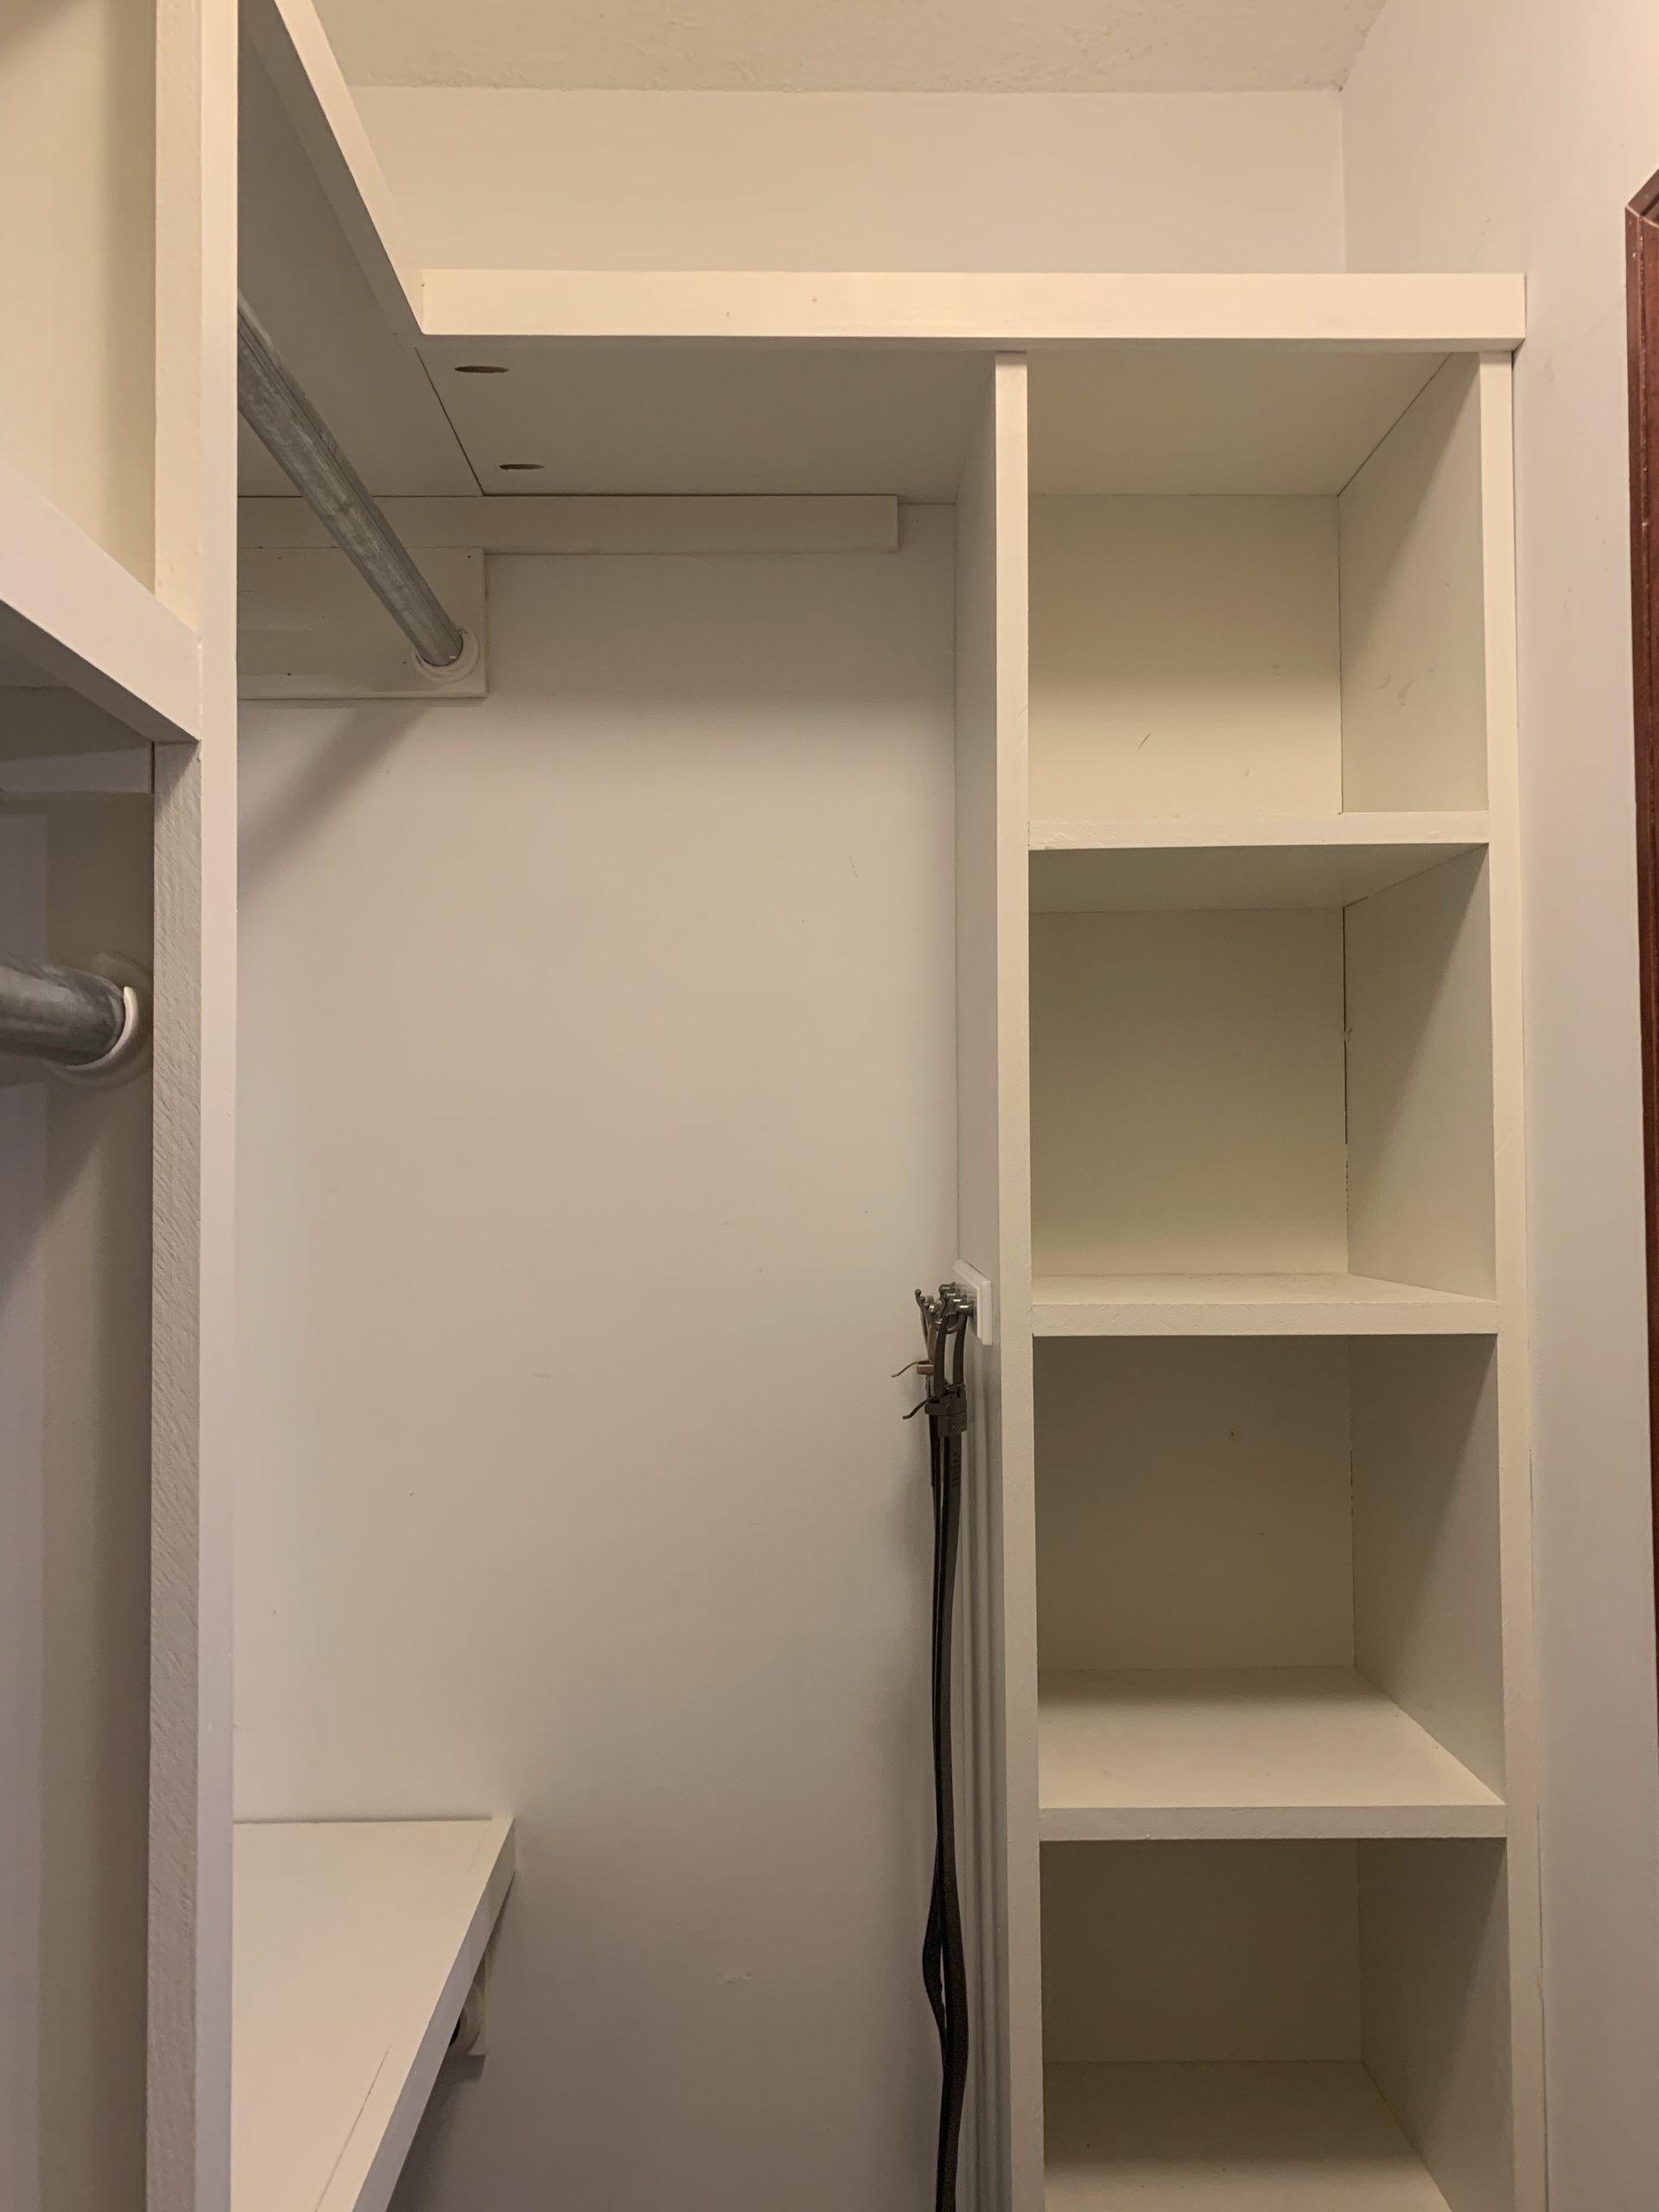
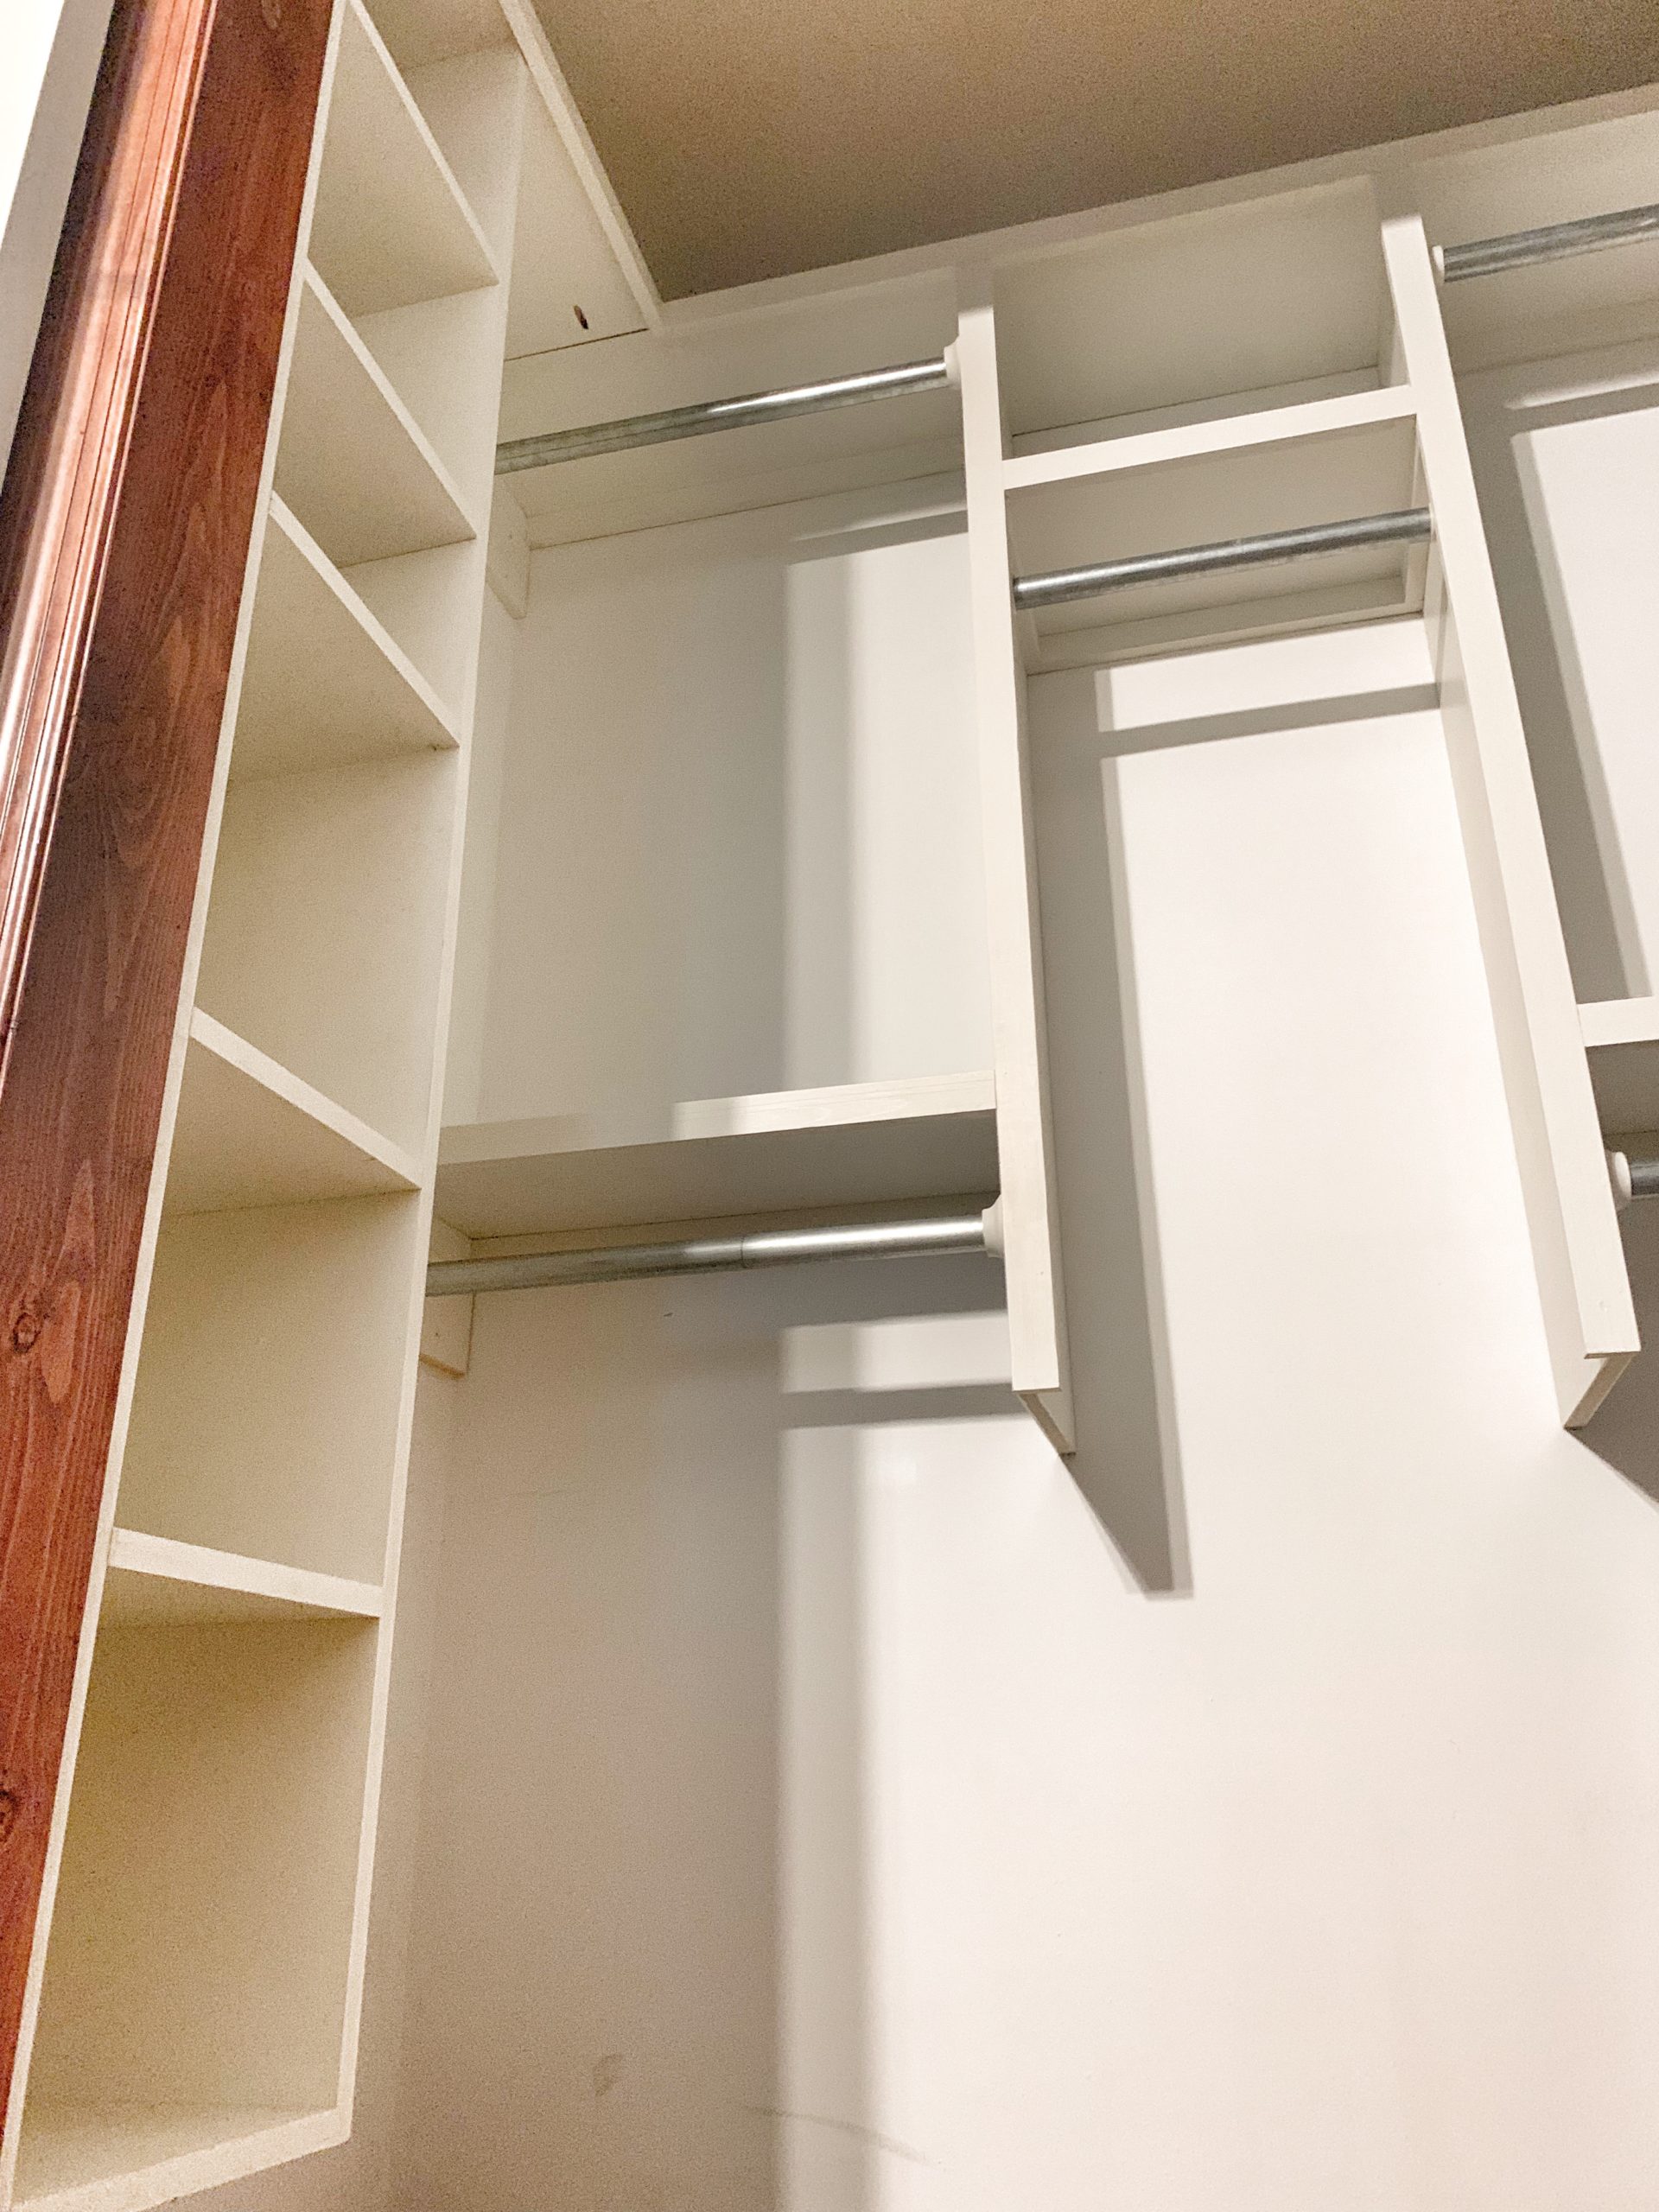
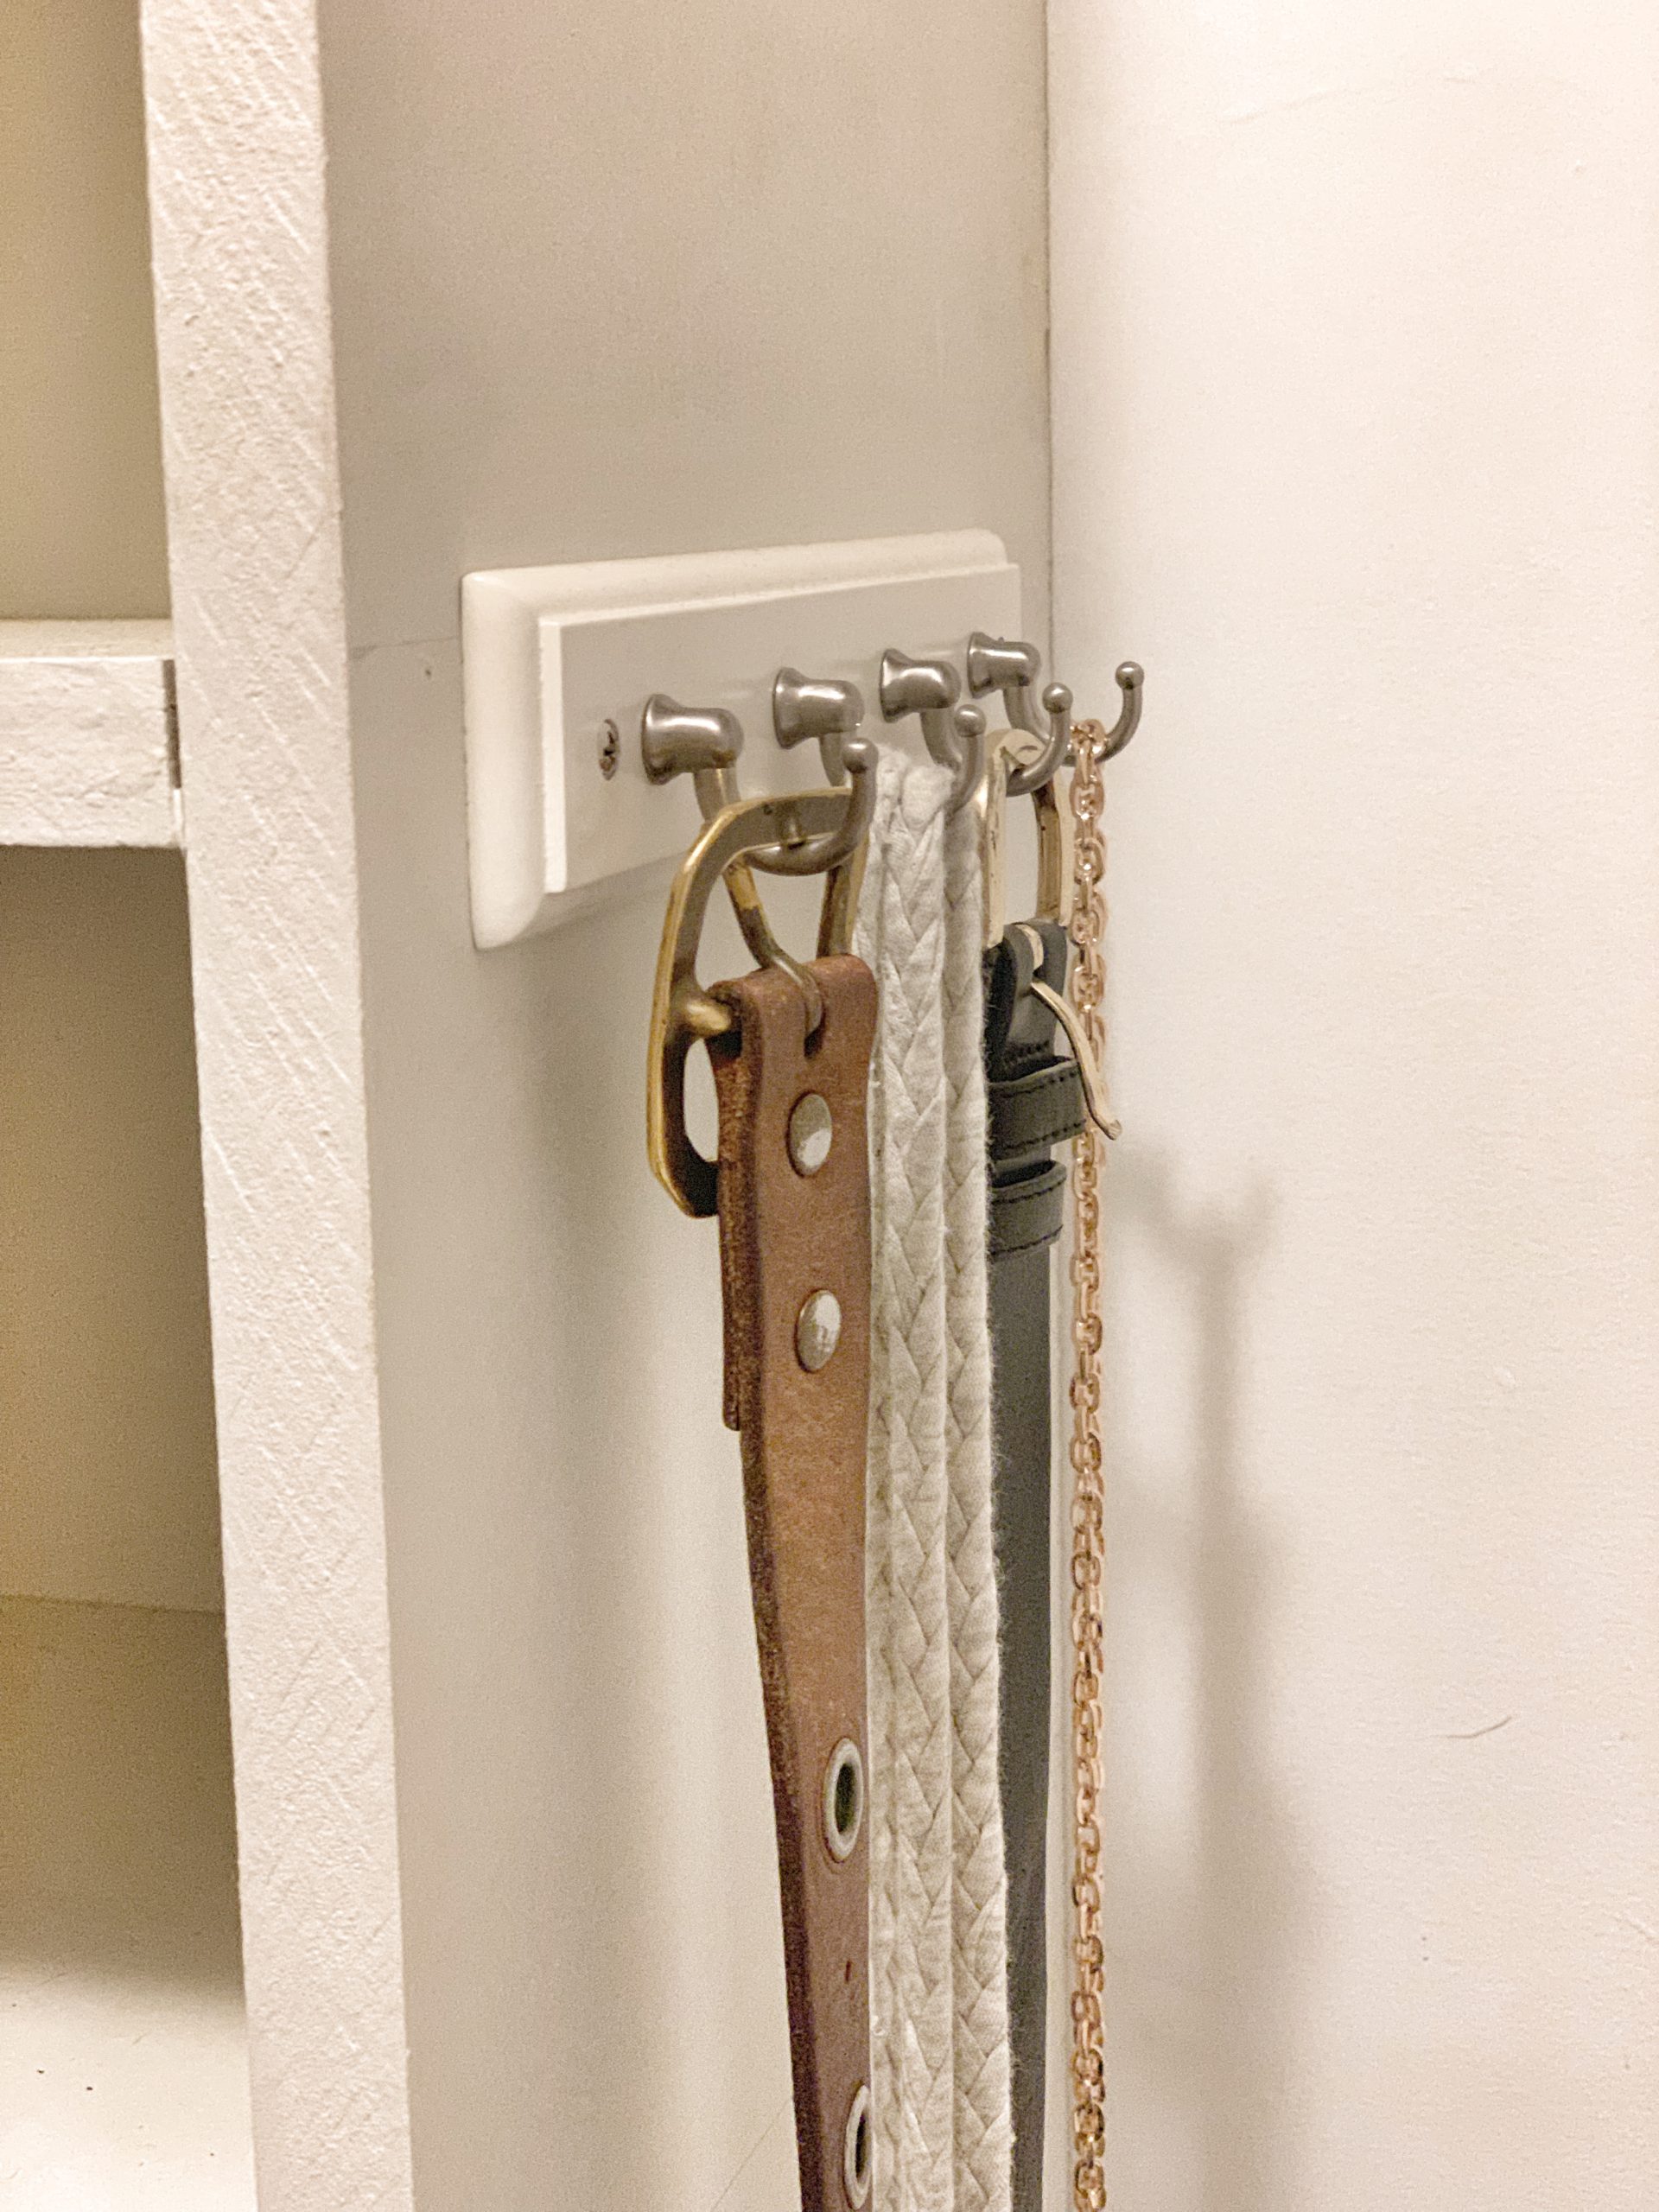 There is a spot for belts/necklaces/ties on the side of each shoe storage tower, where I added some hooks. Since the cubbies are lifted off the ground, there’s space at the bottom for a basket and a step stool (which I built so I could reach things on the top shelf lol).
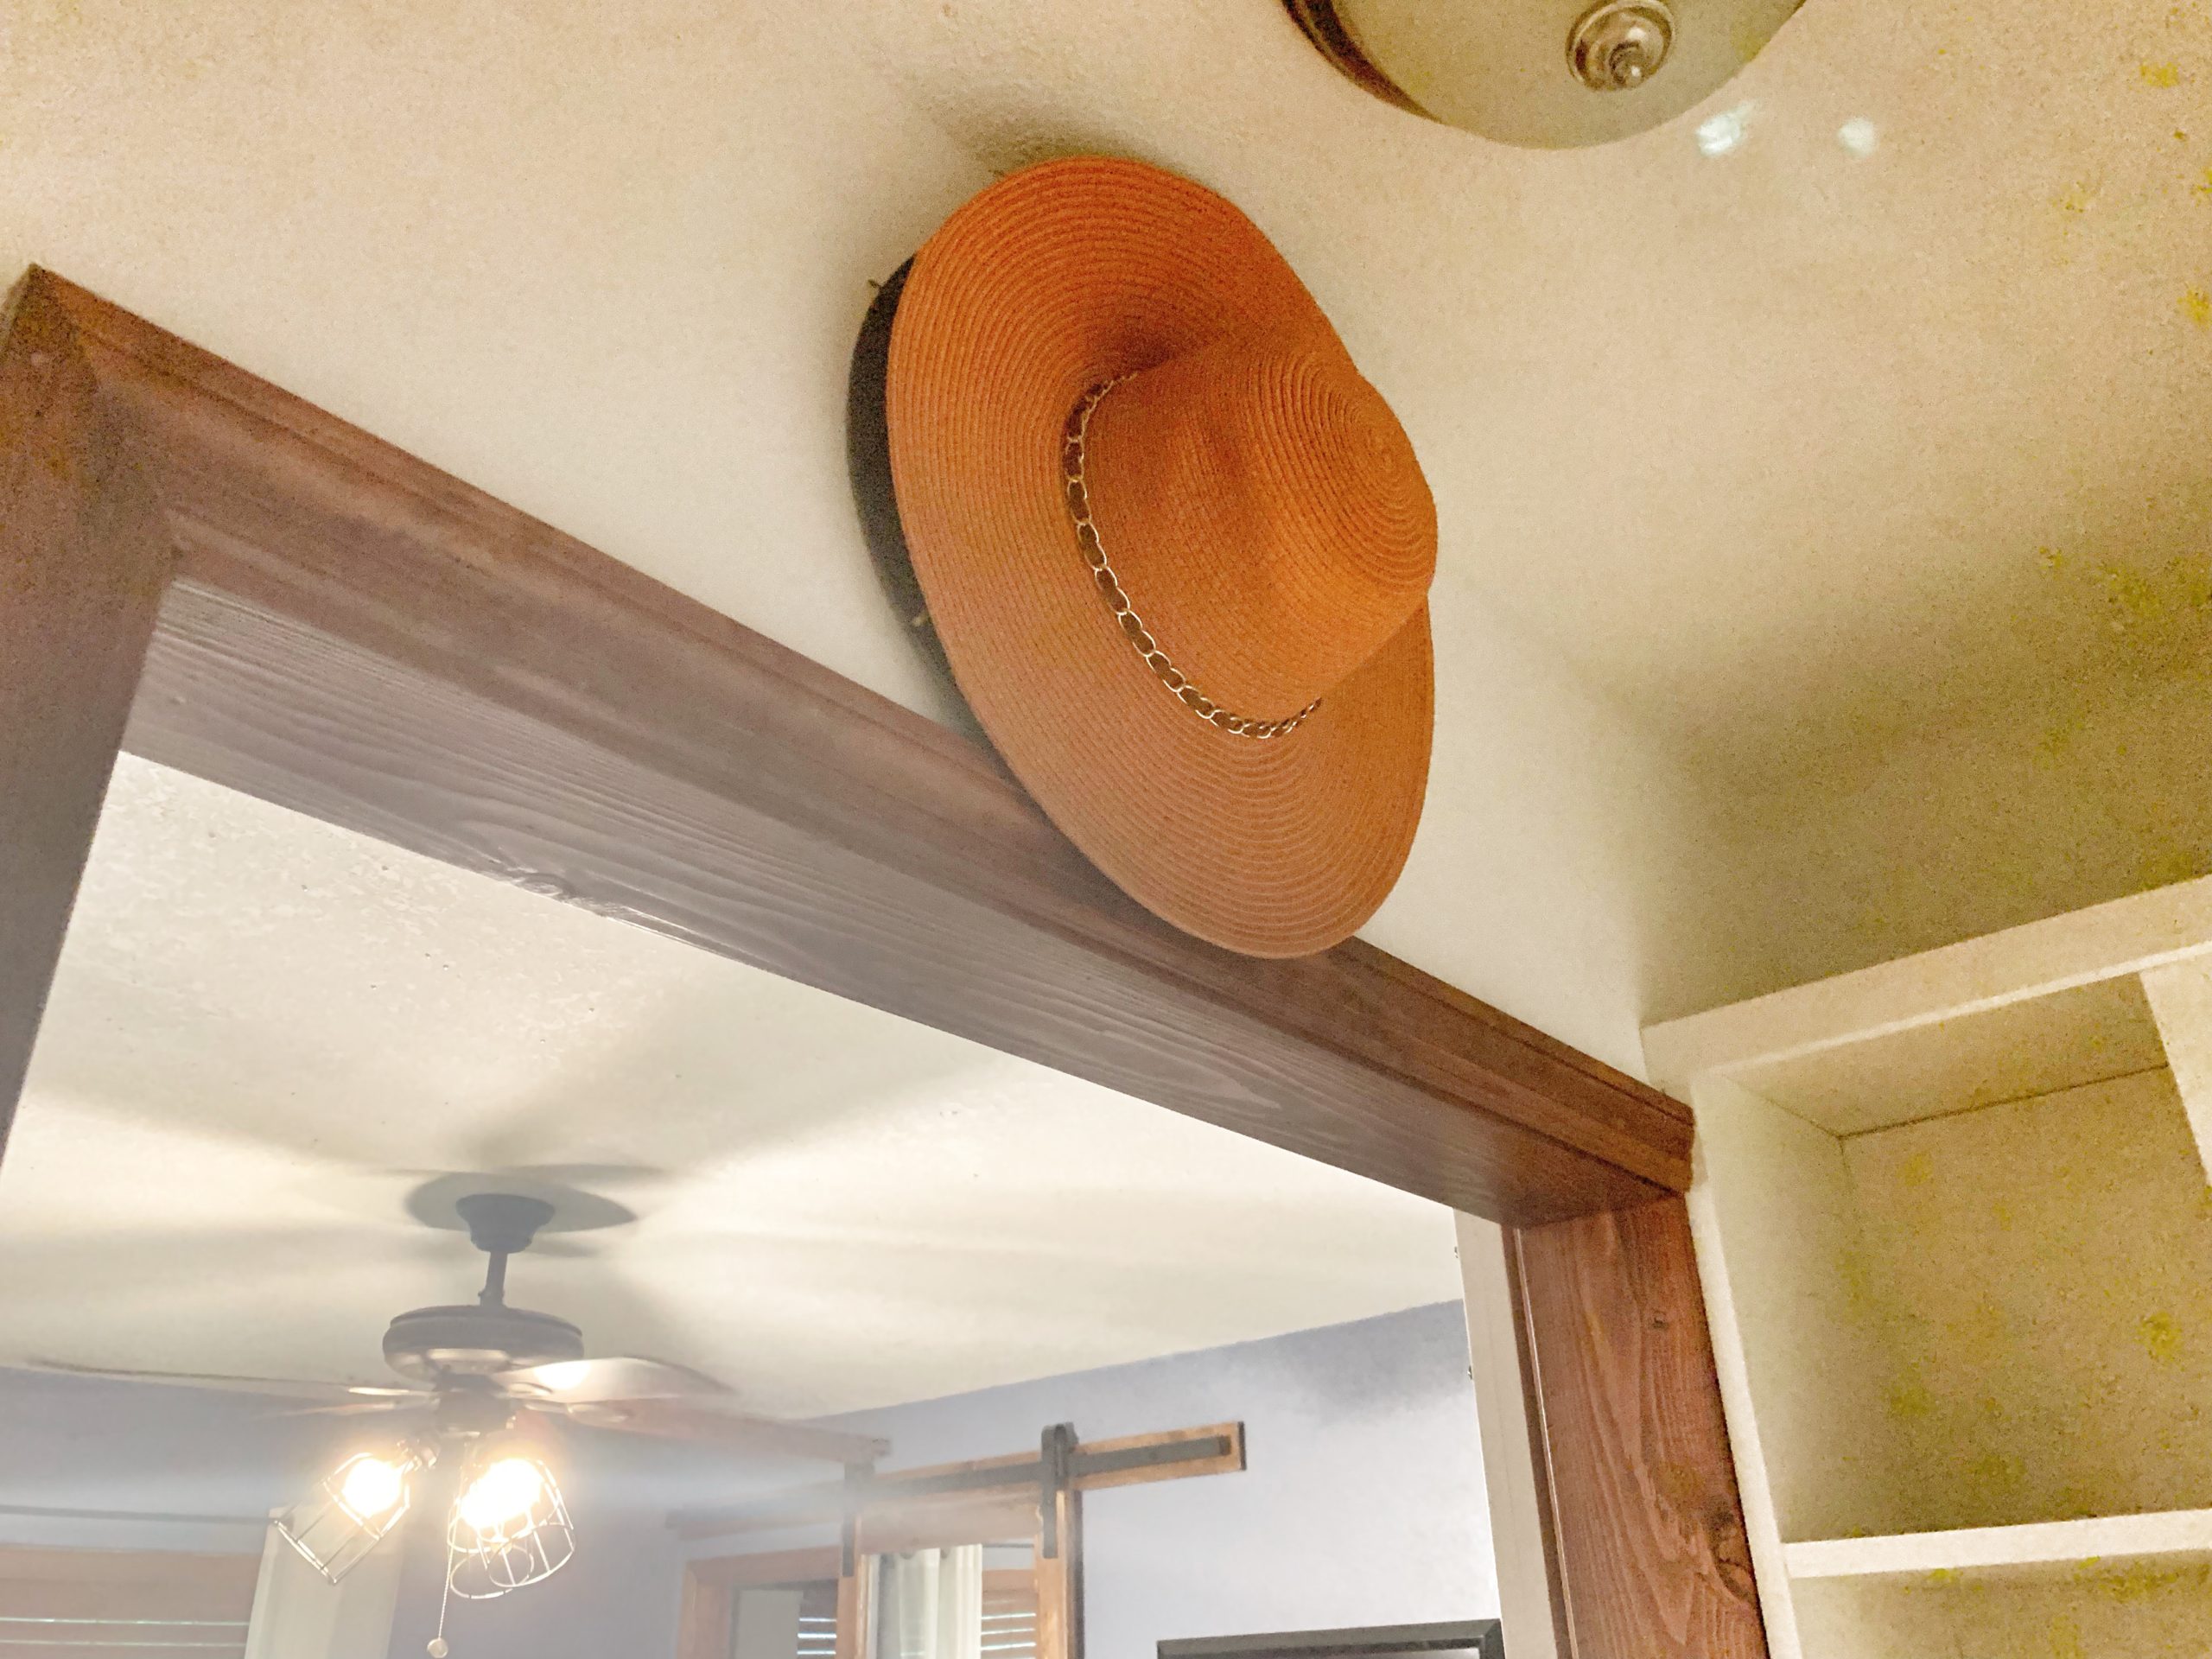
 The U-shaped shelf at the top is great storage for bags and short boots, and the cubby above the long hanging fits another small storage bin. Also, hidden behind the header in the opening is a place to hang my sun hats!
Every inch of this closet is now being utilized, and it makes my heart happy!
Even though this would be considered a small renovation in terms of square footage, we got a little taste of practically everything that goes into a large renovation. Being a DIYer is so rewarding because not only do you get the beautiful end product, but you get the satisfaction of knowing that you did something with your own two hands and saved so much money!
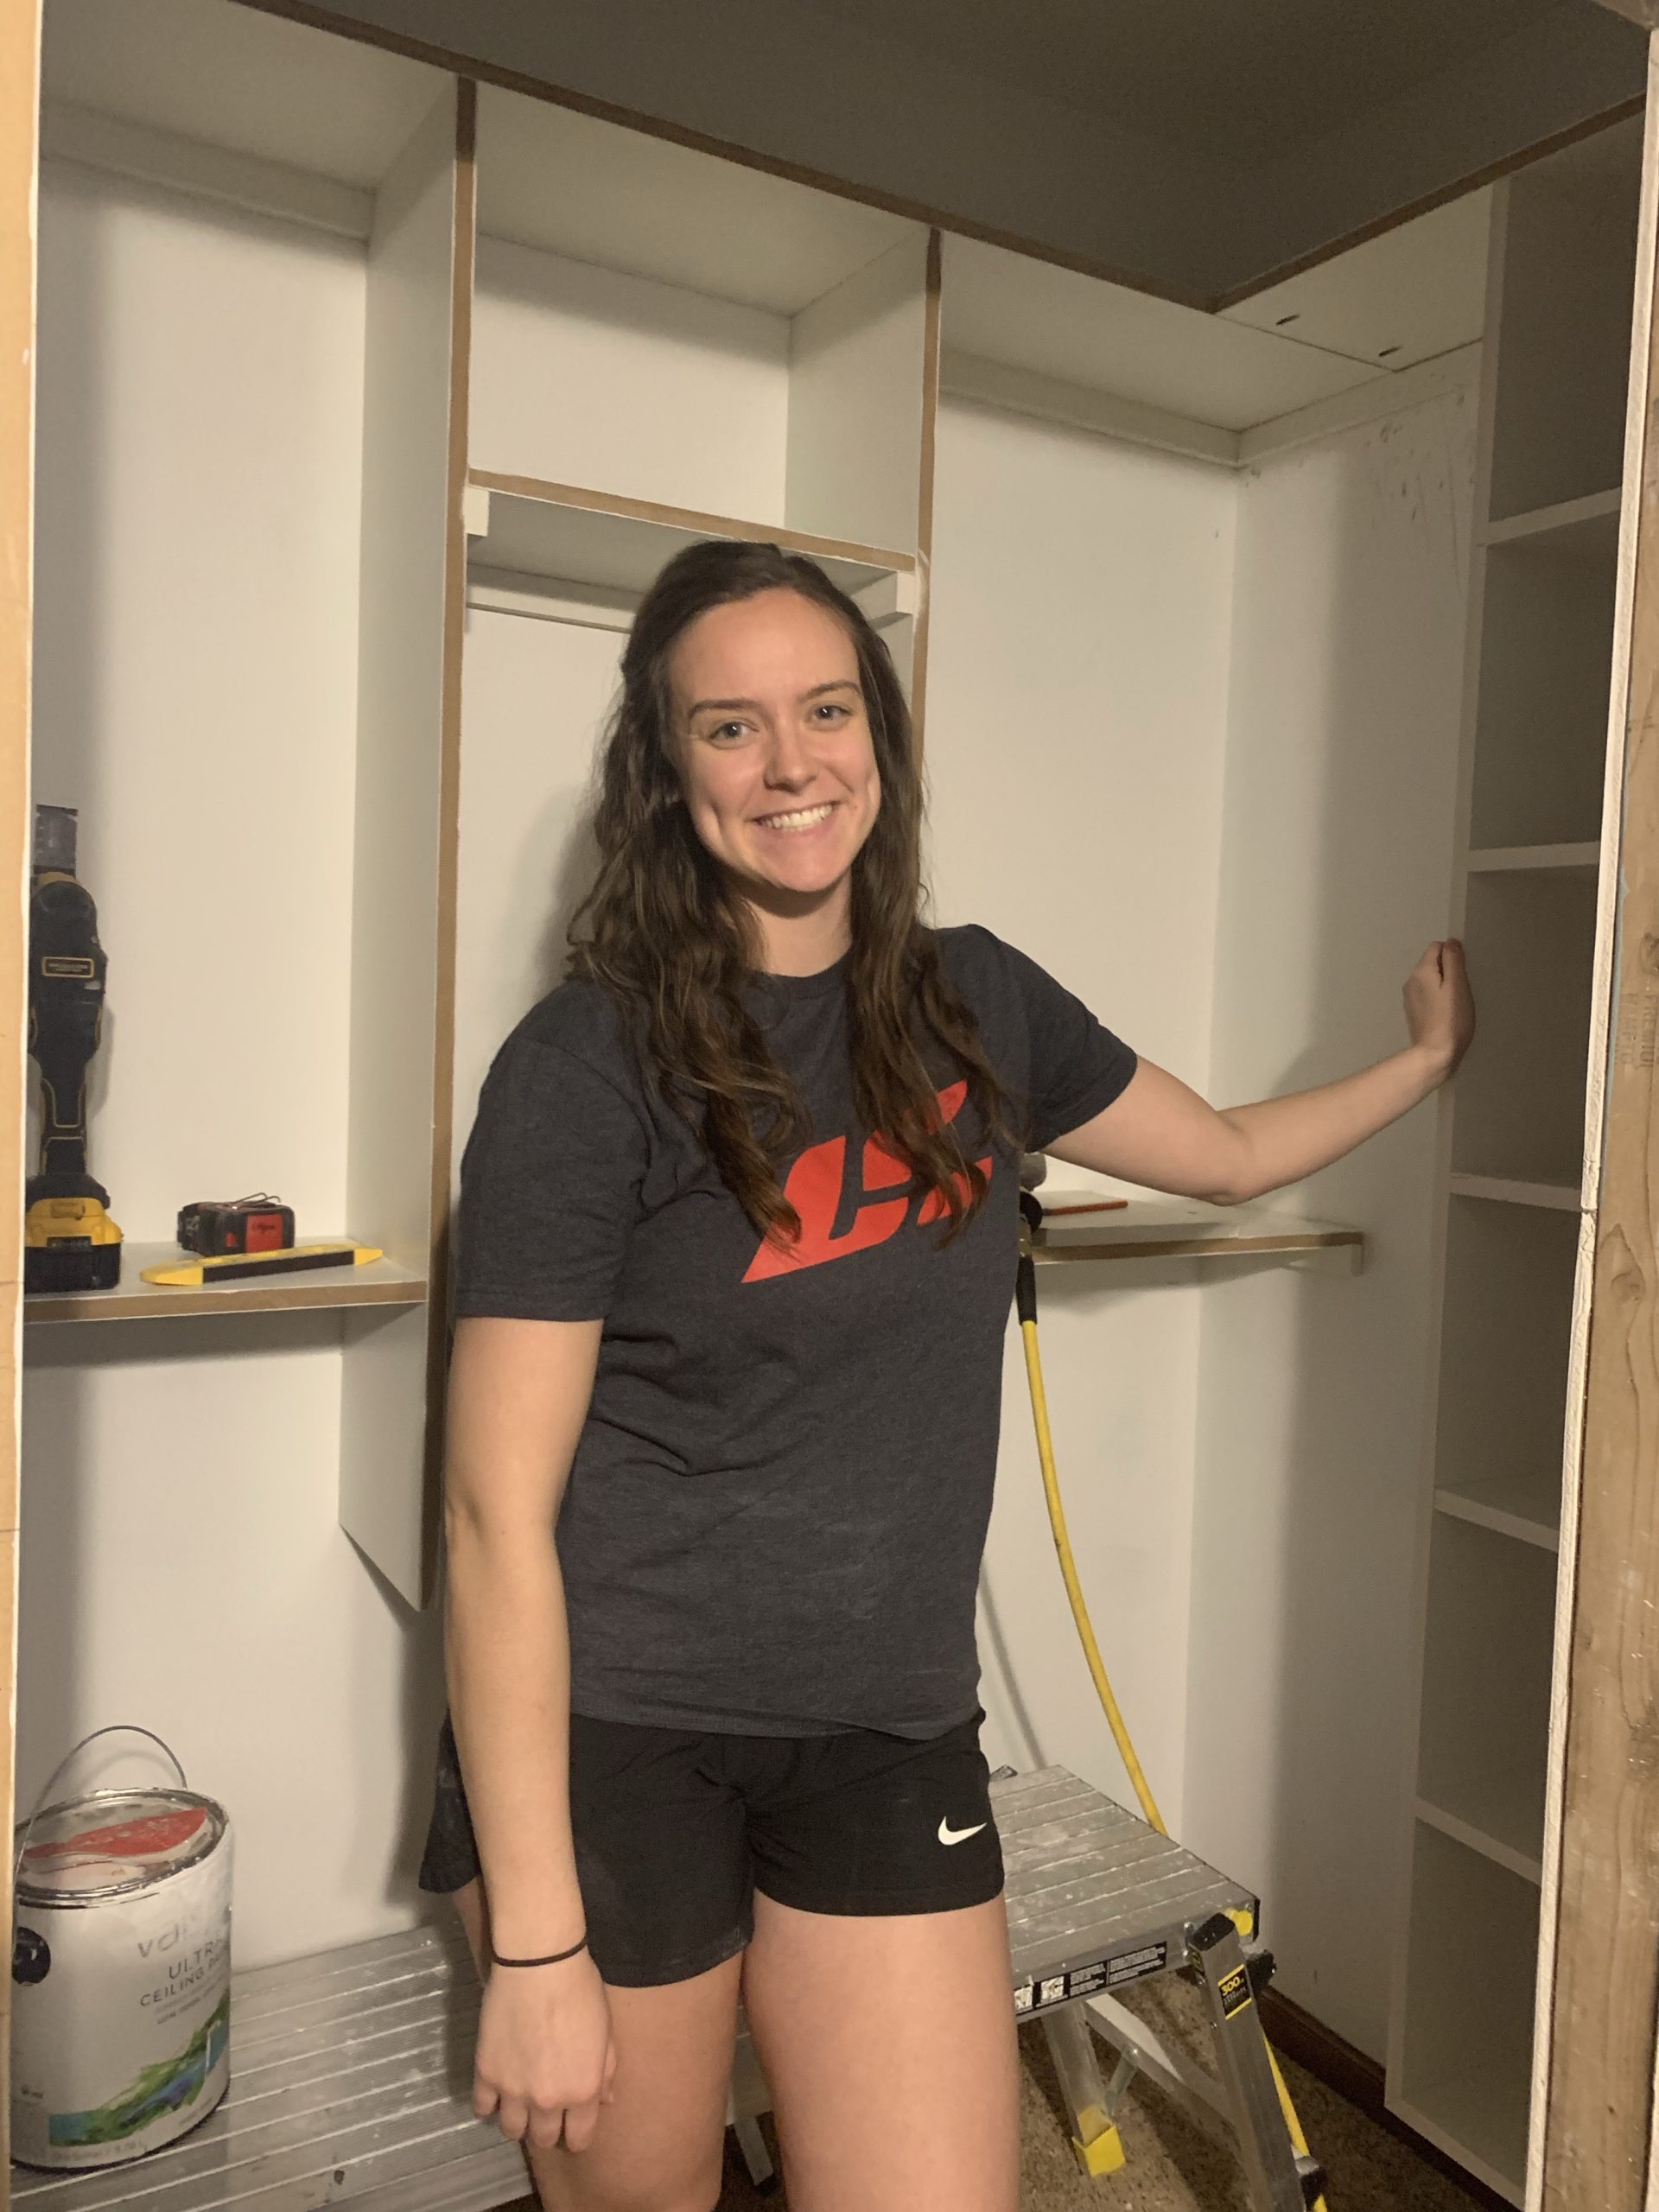 This was more work than we originally thought, but so worth it in the end! We took a space that by almost anyone’s standard was “fine,” and we made it so much better. Just by rethinking the layout to maximize the space, this closet holds almost twice as much as before!
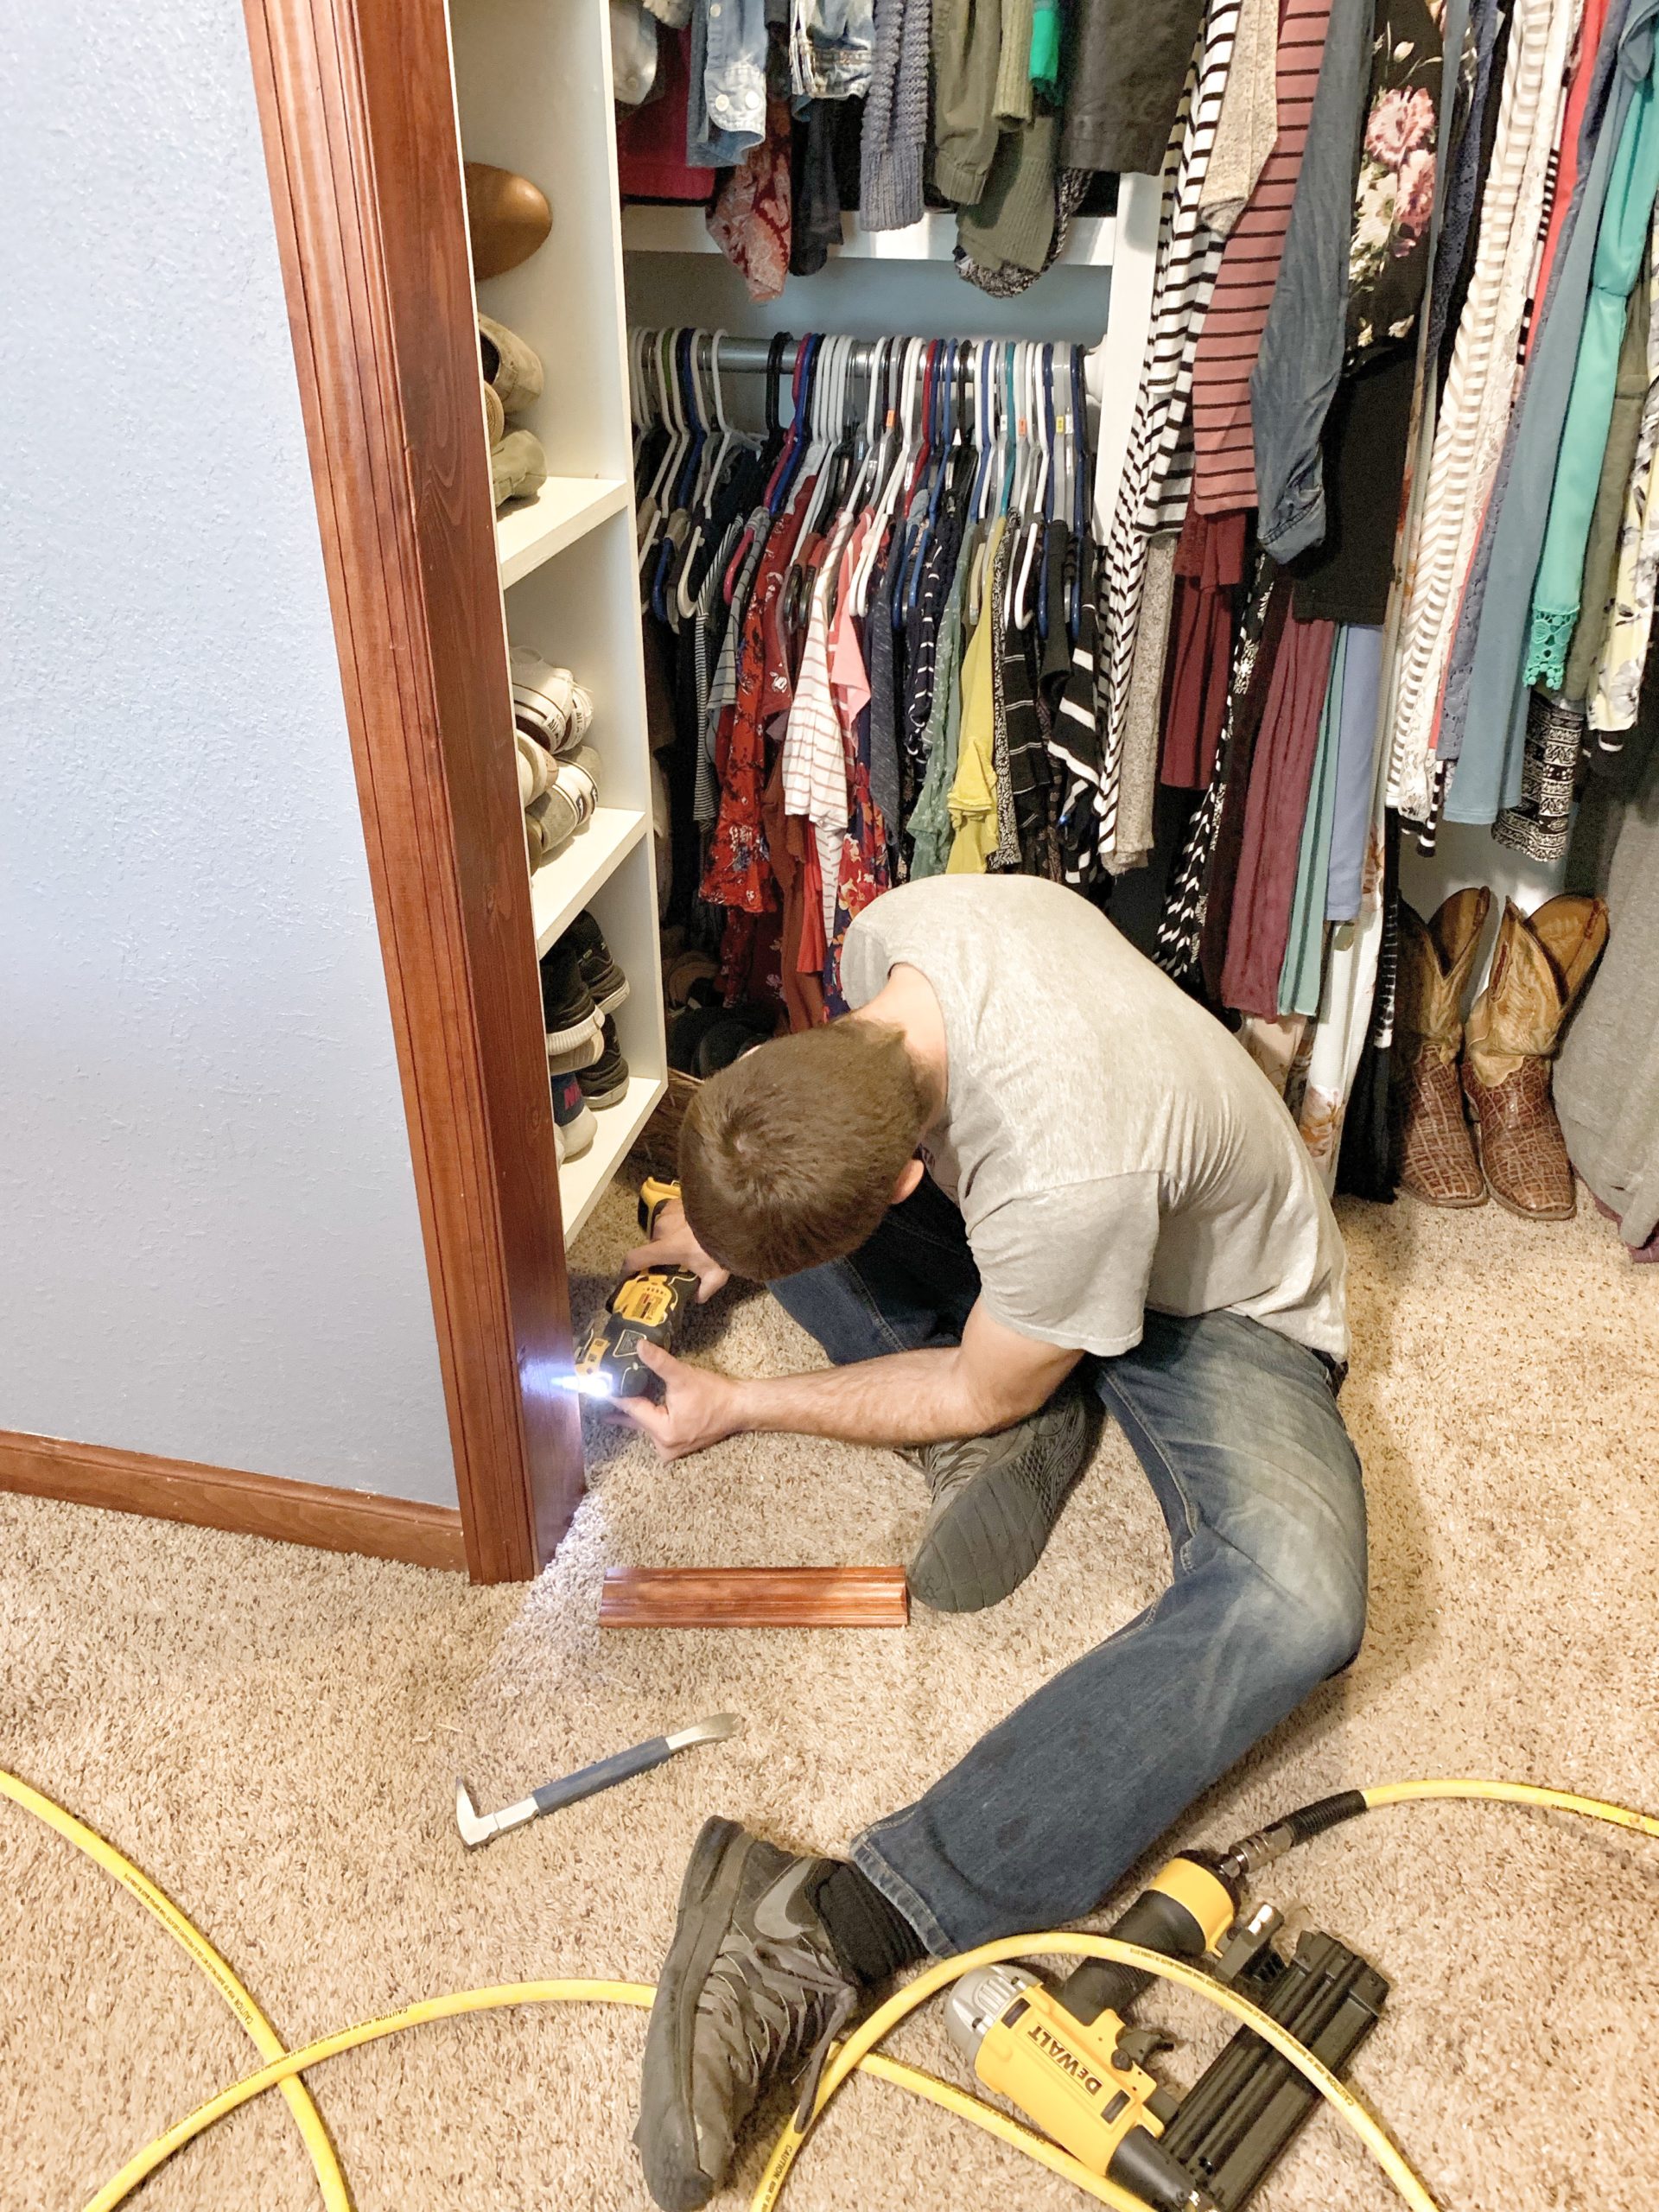
This is by no means my “dream closet,” BUT for this home right now, I couldn’t be more happy. And how about those sliding barn doors?? Again, the bi-fold doors were “fine,” but these are the details that take it from builder-grade to custom-made. I’m so glad we could update this part of our home, and make it exactly what we wanted without breaking the bank. For about $250 in materials (including barn door hardware), we were able to achieve this high-end closet on a DIY budget, AND add value to our home!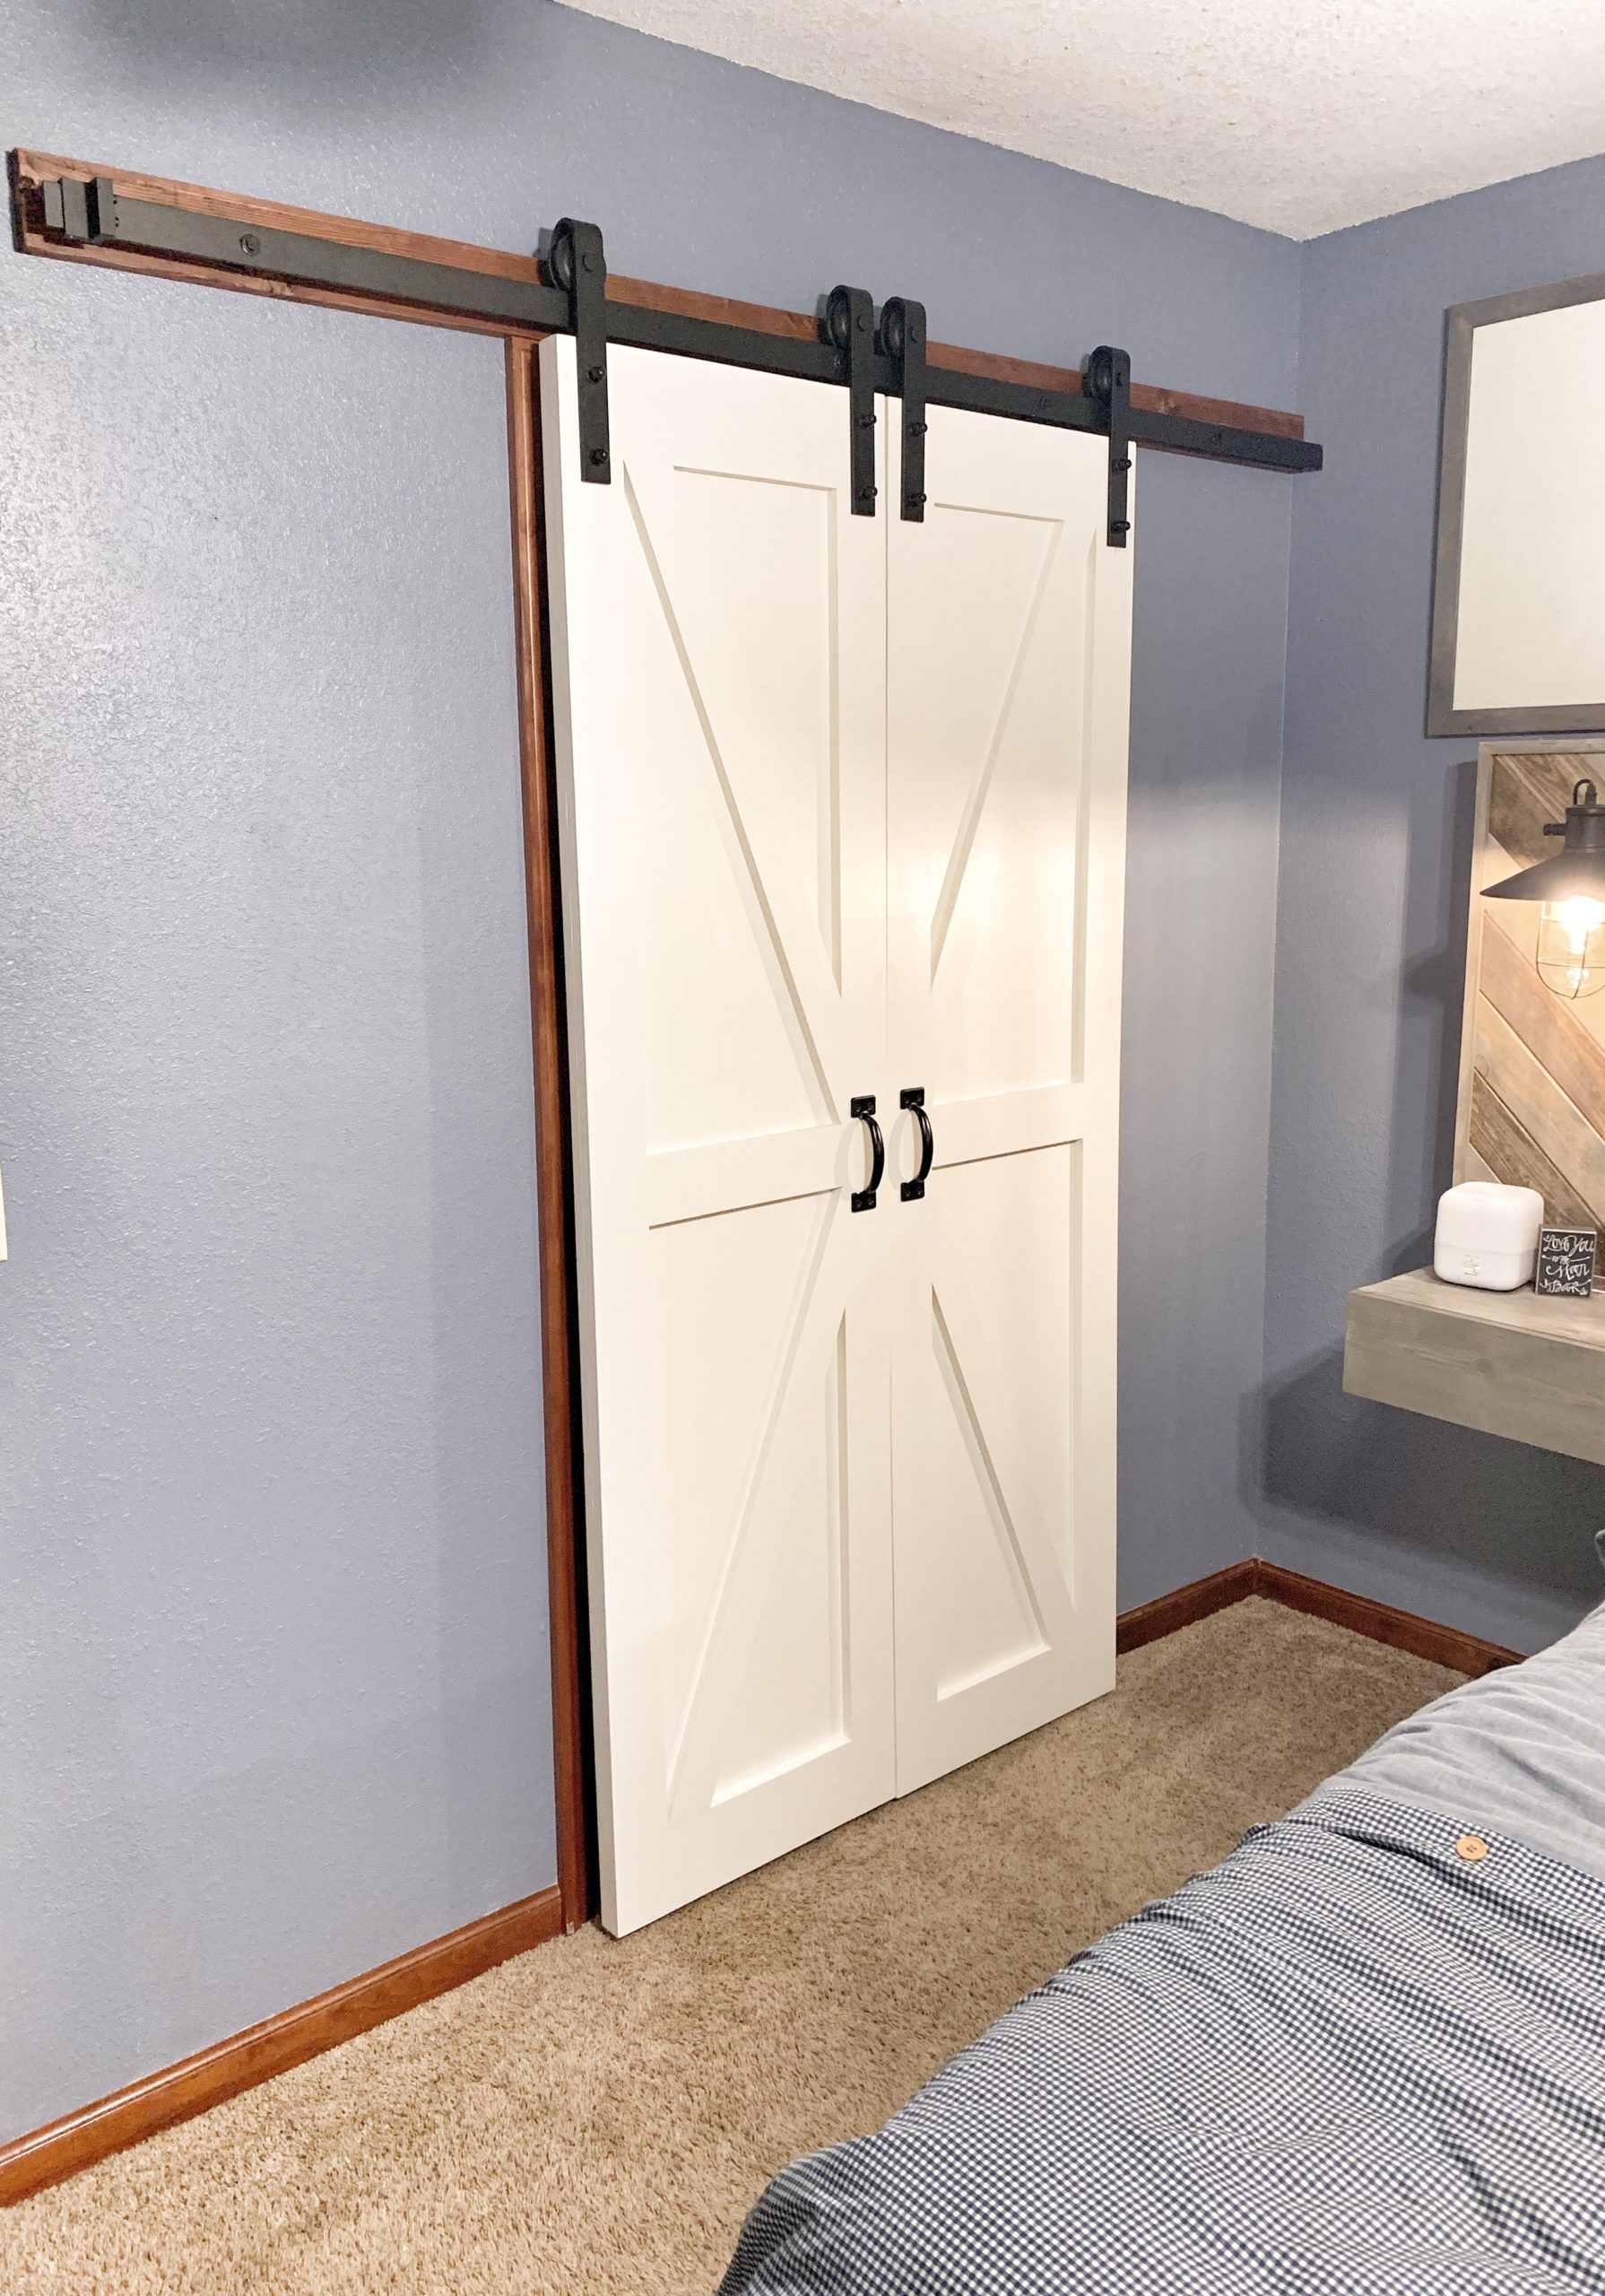
If you are wanting to redesign your closet, whether its large or small, I highly recommend taking “inventory” first. Figuring out what you have will help immensely with knowing what kind of storage you need. For example, you might find that you need more storage for hand bags or tall boots. This is something we personally didn’t need for ours, but I recognize that everyone’s storage needs are different!
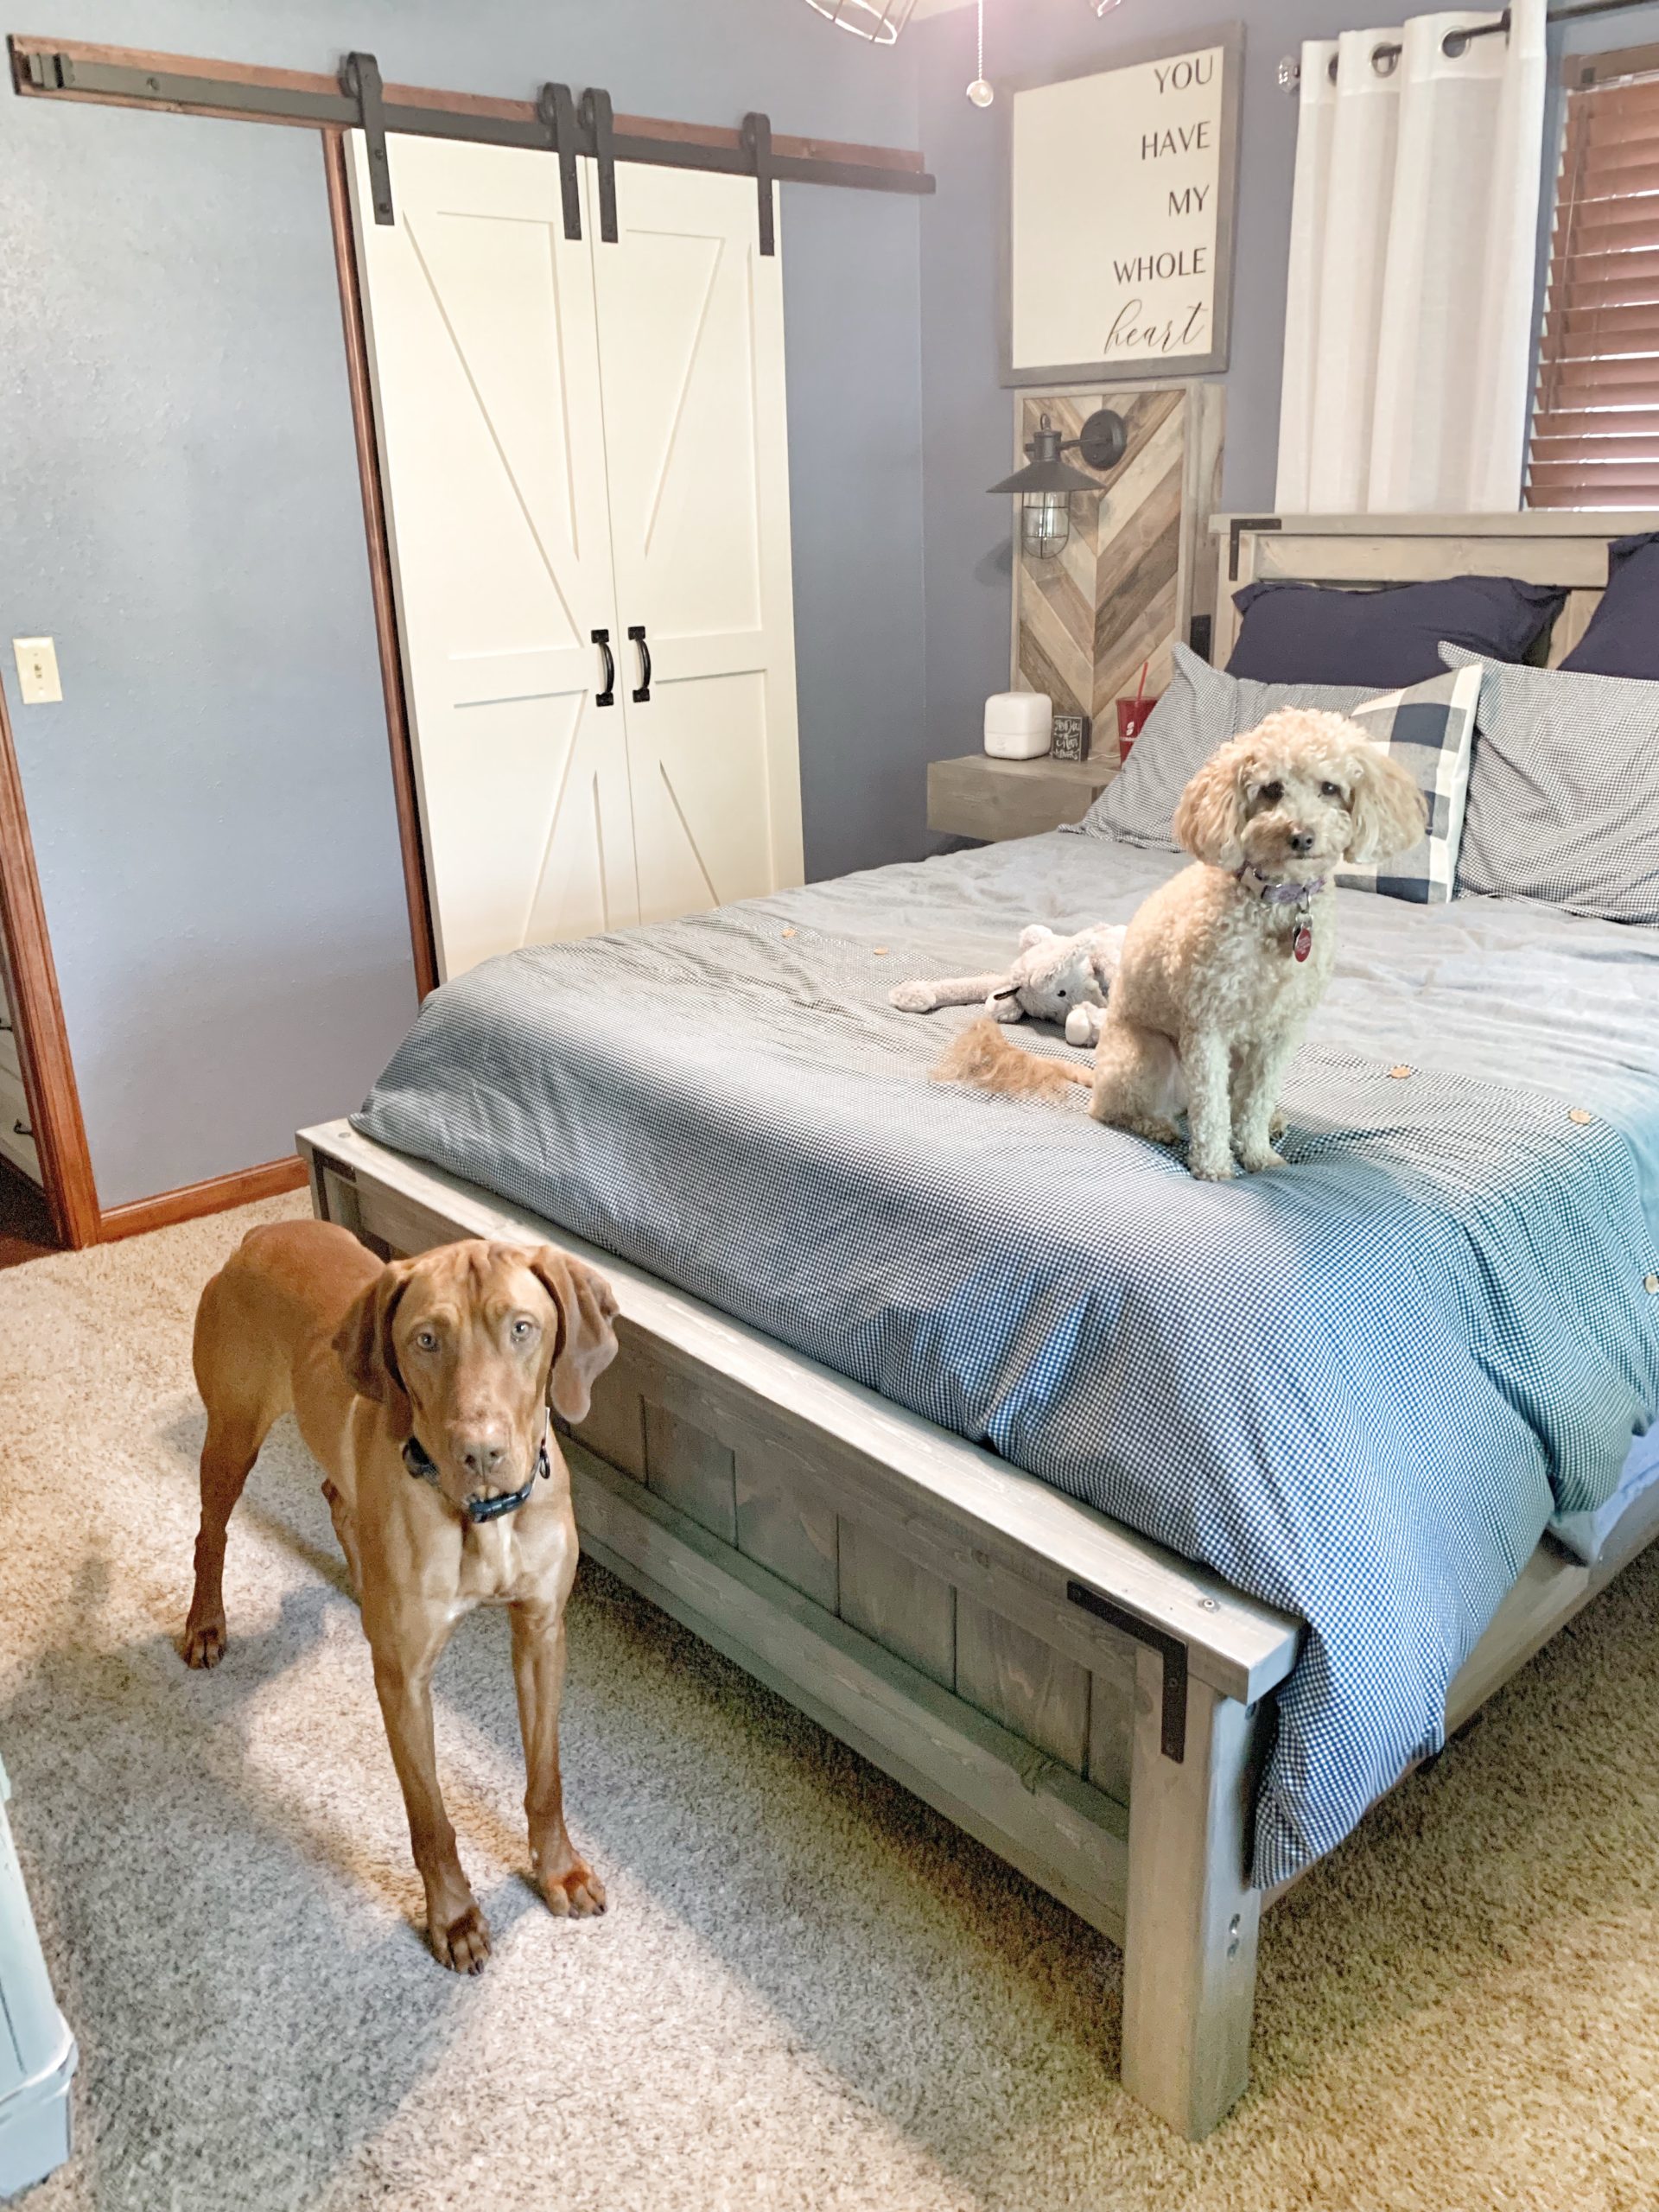
Well that wraps up the master bedroom makeover series! This update really has added a desirable feature to our home and made it stand out. It looks so much more organized, high-end, and custom! I hope you are inspired by this project and decide to take on a renovation of your own! (It’s really not as scary as it seems). Thanks so much for reading, we’ll see you on the next project! God Bless!
XOXO
ASHLEY DIANN
